


Metroid Walkthrough – Energy Tanks
Here you’ll find the location for every Energy Tank in Metroid, as well as detailed explanations on how to get them and what powerups you’ll need. It’s important to note that while there are 8 Energy Tanks in Metroid, you can only carry a maximum of 6! This means that you’ll want to be selective of which ones to grab and which ones to skip.
Energy Tank #1
Location: Brinstar
Requirements: None
Grab or Skip? Grab
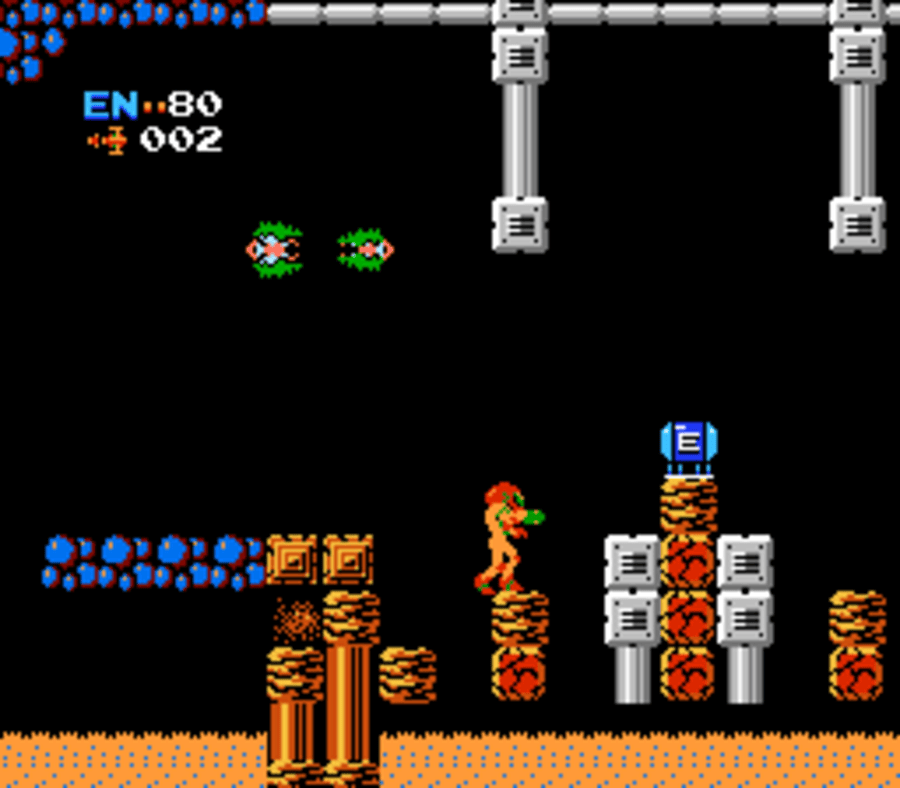
On your way t the Morph Ball Bombs, continue pressing right for a couple room, dodging enemies and platforming, and eventually you’ll run into ENERGY TANK #1!
Energy Tank #2
Location: Brinstar
Requirements: Morph Ball, Bombs
Grab or Skip? Grab
From the Varia Suit room, drop back down to the original small room we climbed up from. Continue working your way to the right. There are a lot of enemies in pretty close quarters, but hopefully the Screw Attack is allowing some reprieve. Continue forward and grab MISSILE EXPANSION #9. Keep heading right, until you get to a small alcove that looks like a dead end. Hug the wall and shoot up, revealing a tunnel. Jump up and over, continuing right.
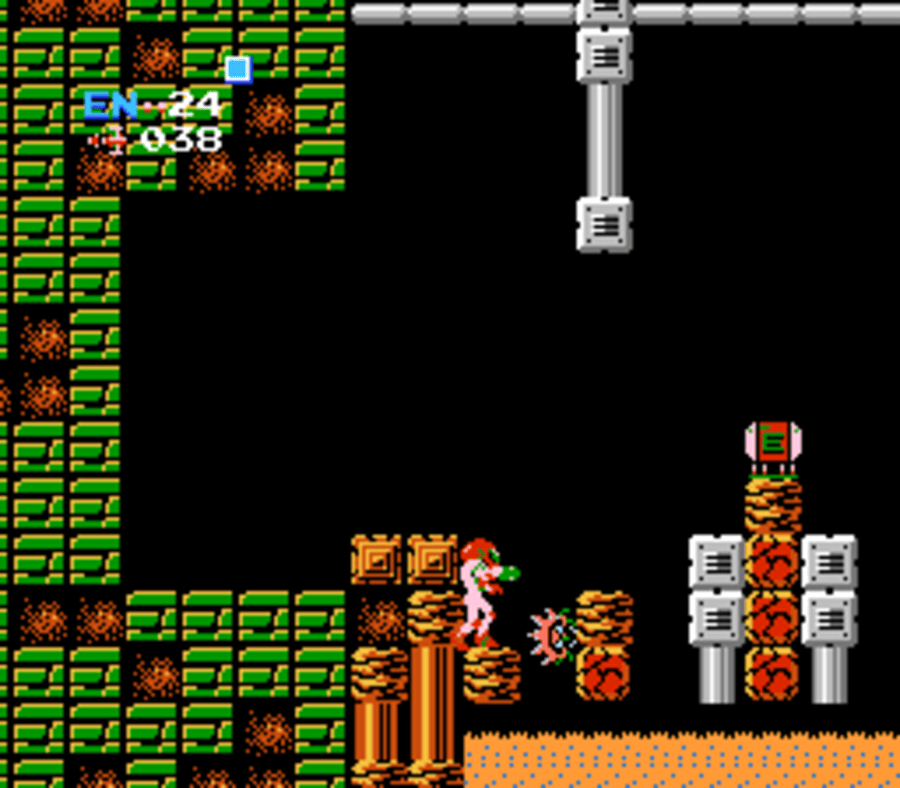
Keep heading left, bombing a few passages, and you’ll run smack dab into ENERGY TANK #2!
Energy Tank #3
Location: Ridley’s Lair
Requirements: Bombs, Morph Ball, Missiles
Grab or Skip? Grab
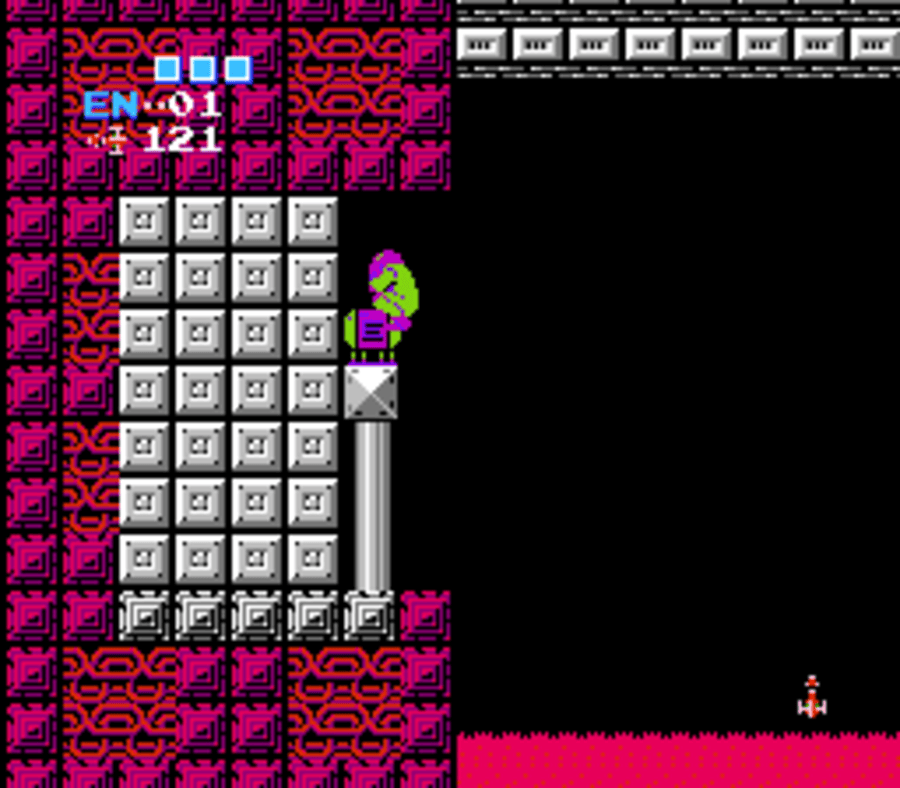
Blast that open and you’ll see an Energy Tank, BUT HOLD ON! The floor immediately in front of the Tank is an illusion and if you walk towards it, you’ll fall into a pit. Specifically, the three tiles in front of the Energy Tank and false. If you jump over at the fourth tile from the Tank, which is real, you’ll snag yourself ENERGY TANK #3! Alright!
Energy Tank #4
Location: Ridley’s Lair
Requirements: Defeat Ridley, Missiles
Grab or Skip? Grab
Once Ridley is defeated, head into the next room (don’t worry, you can walk on the lava!) and grab ENERGY TANK #4!
Energy Tank #5
Location: Brinstar
Requirements: Ice Beam
Grab or Skip? Grab
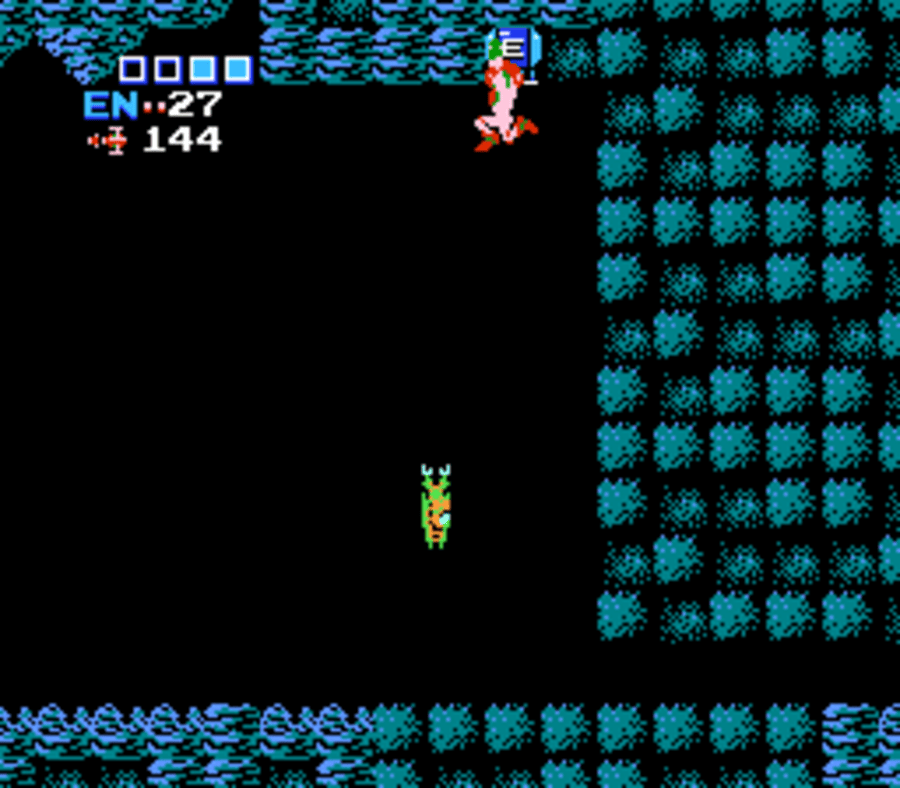
There’s an Energy Tank hiding up in the ceiling, but even the Hi Jump Boots won’t let you jump high enough to snag this expansion. To acquire it, you’ll want to roll under the tunnel so you’re on the right side of the door, and then lure a Skree to the ground. Don’t destroy it; instead, get it to follow you and roll through the tunnel. Once you get the Skree to the other side, freeze it with your Ice Beam and shoot the ceiling. You’ll see ENERGY TANK #5 exposed, which you can jump up and snag.
Energy Tank #6
Location: Kraid’s Lair
Requirements: Morph Ball, Bombs, Missiles
Grab or Skip? Grab
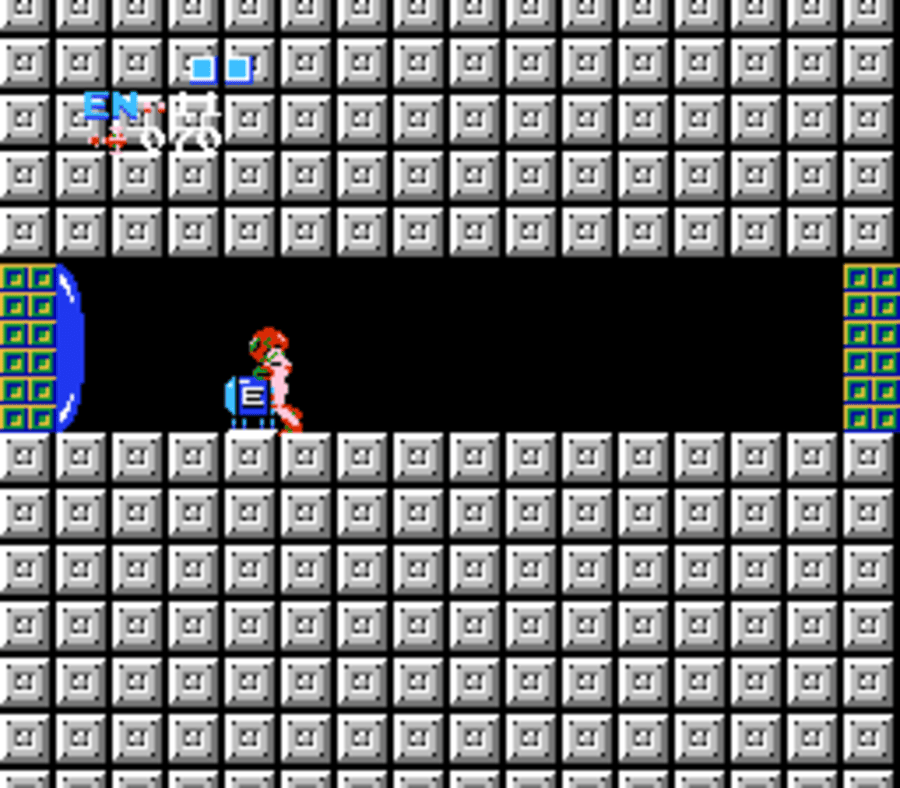
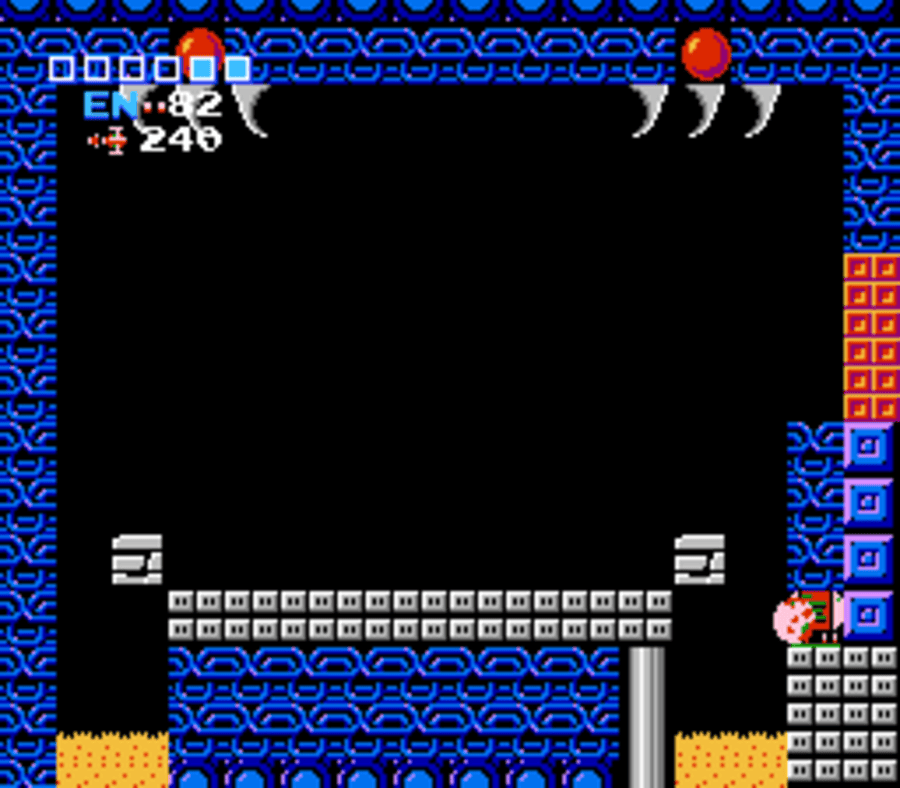
From the Brinstar elevator, drop down and take the second red blast door on the right. Jump across the platforms until you get to a wall. Do a little shootin’ do a little bombin’, and roll through a tunnel in the wall. You’ll pop out right beside ENERGY TANK #6 – the last Energy Tank that we’ll be acquiring for our run.
Energy Tank #7
Location: Kraid’s Lair
Requirements: Morph Ball, Bombs
Grab or Skip? Skip
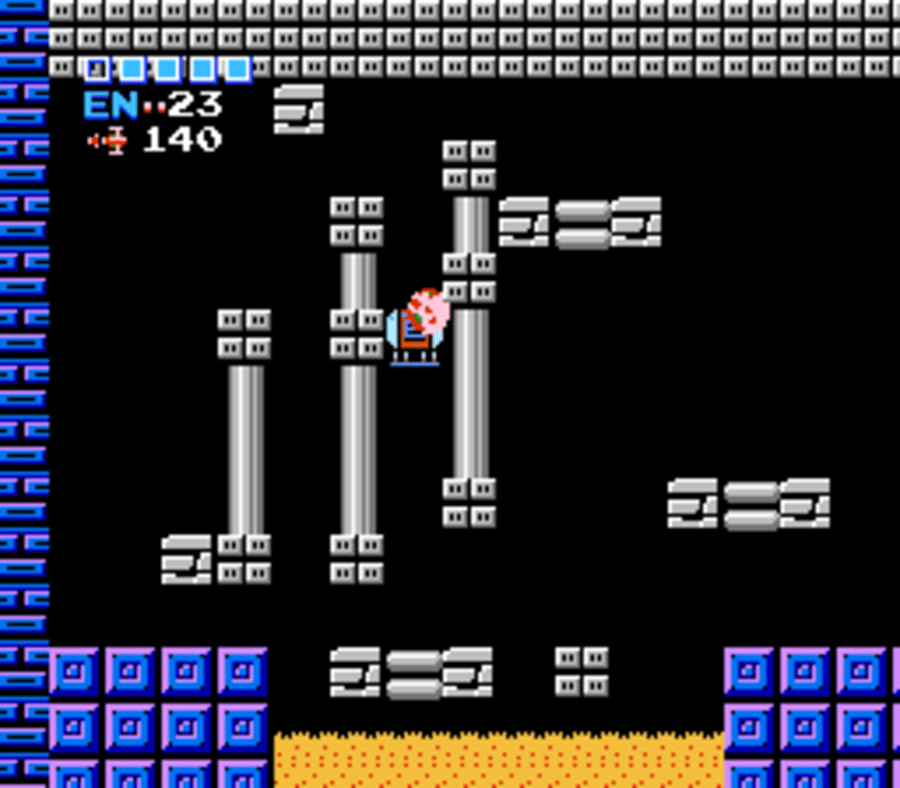
In the Kraid boss room, there is an Energy Tank. While it won’t add any extra Tanks to our health, it will completely heal you, either after or during the fight if you need it. It’s hidden directly below the door 4 blocks down. Jump in the lava, shoot the block, jump back up, Morph Ball and drop and tuck in to grab it.
Energy Tank #8
Location: Norfair
Requirements: Hi Jump Boots
Grab or Skip? Skip