Metroid Dread Walkthrough – To the Surface
Walkthrough
The Screw Attack
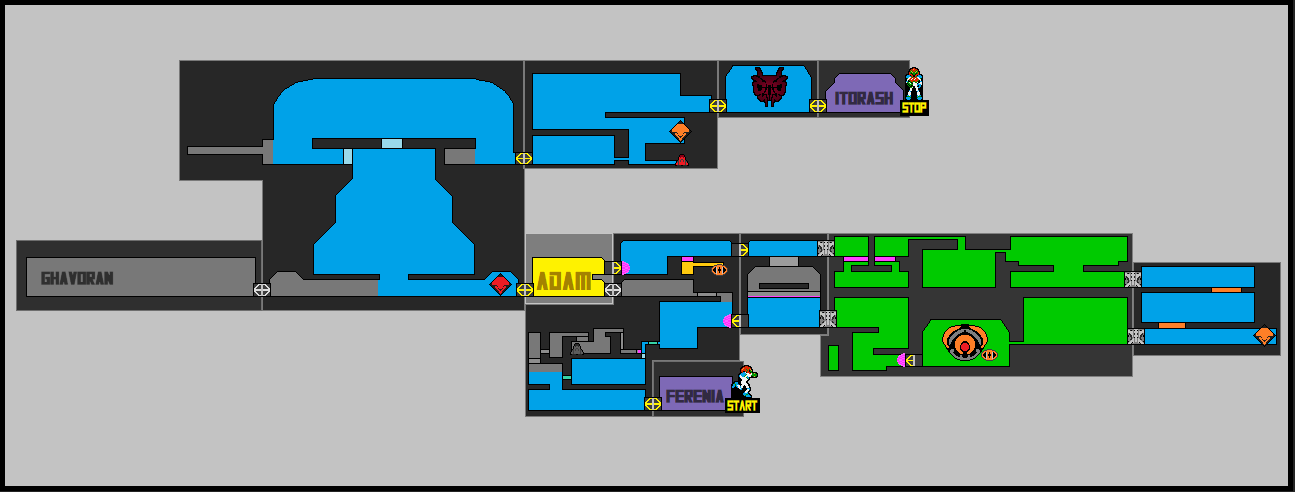
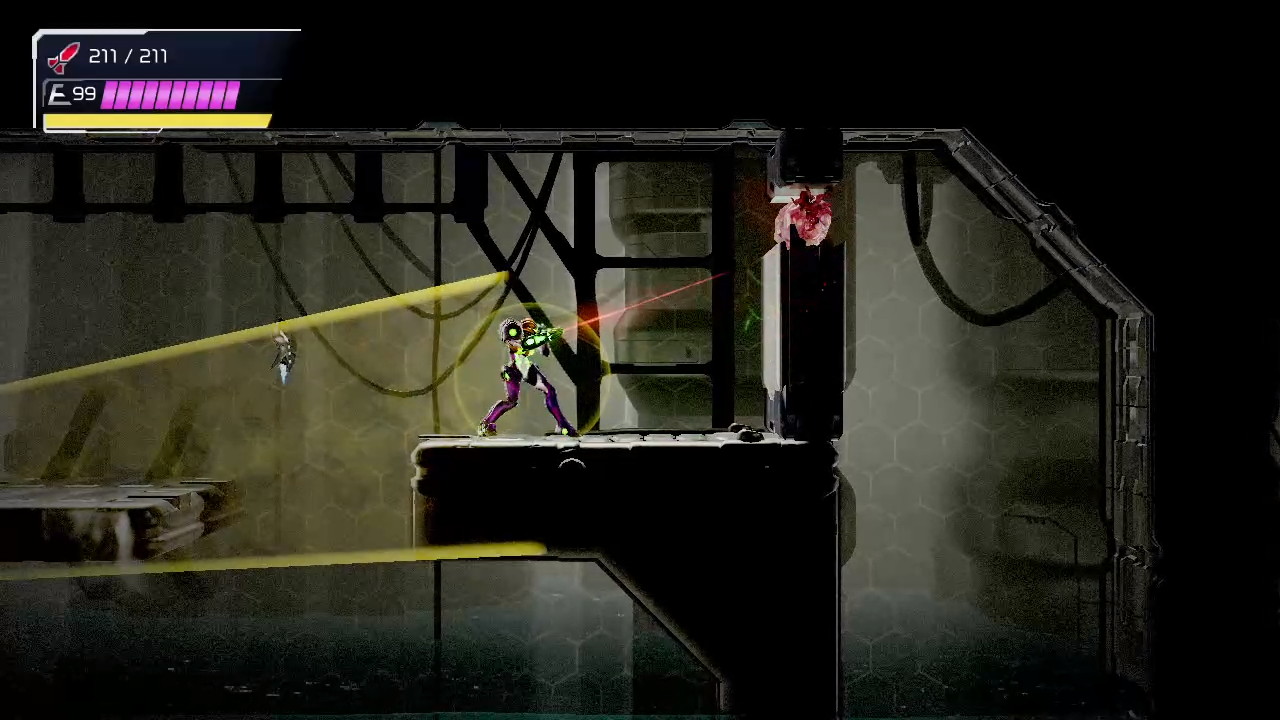
With Experiment Z-57 defeated and the rest of the ZDR restored back to normal, you’ll now be free to explore at will again. There are a few powerups that are available in Cataris, but for my money, I’d rather finish up and get the last couple abilities and then sweep the entire planet, area by area. The first ability we’ll want to grab is Samus’s ultimate weapon, the Screw Attack. To get there, head back to the elevator room to Artaria, but head through instead of taking the ride down.
Climb up and then enter the heated room in the top right corner. You’ll see a tunnel submerged in a bunch of lava, but hey, our Gravity Suit don’t take no damage from that, so go and slide right through it. Follow the path until you get to the Blue Teleportal Station. Shoot the tumor in the wall, giving you access to the Teleportal from the other side, and then warp back to Artaria.
Once you finish teleporting (the Teleportal had conveniently placed us right back by the Artaria-to-Burenia elevator), yank out the Grapple block from the wall and roll through. Drop down and enter the Plasma door. Roll through the opening and drop down. There, you’ll find a Chozo Statue housing the ultimate weapon: the SCREW ATTACK! This is easily the greatest of Samus’s abilities, as it allows you to slice and dice through pretty much any enemy just by jumping into it.
Use the Screw Attack to break the blocks above you, and then take a slight detour. Head back to the frozen room to the left of the Spear Chozo Soldier boss room. Jump up halfway, and then open the Grapple Door in the middle-right. Walk forward, drop into the water, lay some bombs, and then drop down. Use your Diffusion Beam on the wall to blow up a hidden tumor. Once the path is cleared, jump up and grab MISSILE EXPANSION #40.
Once you’re done there, head to the Burenia elevator room, except before you get on, shoot the wall on the right hand side. There’s a little passageway hidden there, so use your Screw Attack to break the rest of the blocks in your way and grab MISSILE EXPANSION #41! Once you’re finished, hop the elevator back to Burenia.
Twin Chozo Robots
Once you’ve landed back in Burenia, head forward and Screw Attack through the blocks at the top corner of the room, nabbing MISSILE EXPANSION #42. Head through and chat with Adam. As usual, Adam is beating to death the fact that he thinks that, despite all the firepower we’ve accrued since our journey’s beginning, we’re still no match for Raven Beak. What is it with this guy and his love of the Mawkin Leader? Hmm.
Exit the Network Station and continue forward. Screw Attack the blocks covering MISSILE TANK #11 (gotta say, that has to be the easiest Missile+ Tank in the game) and jump upwards. Keep heading all the way up, up, up, even through the small tunnel, until you pop out in a somewhat large room. Get ready though, cause we’ve got company.

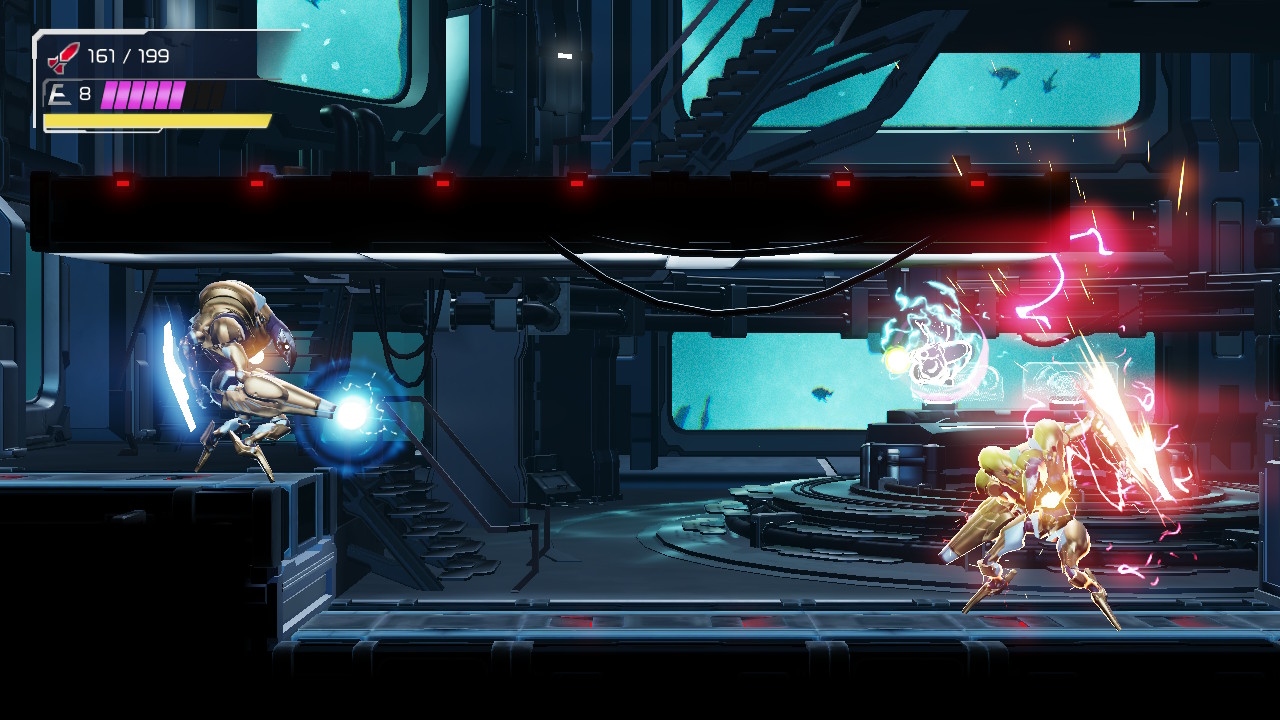
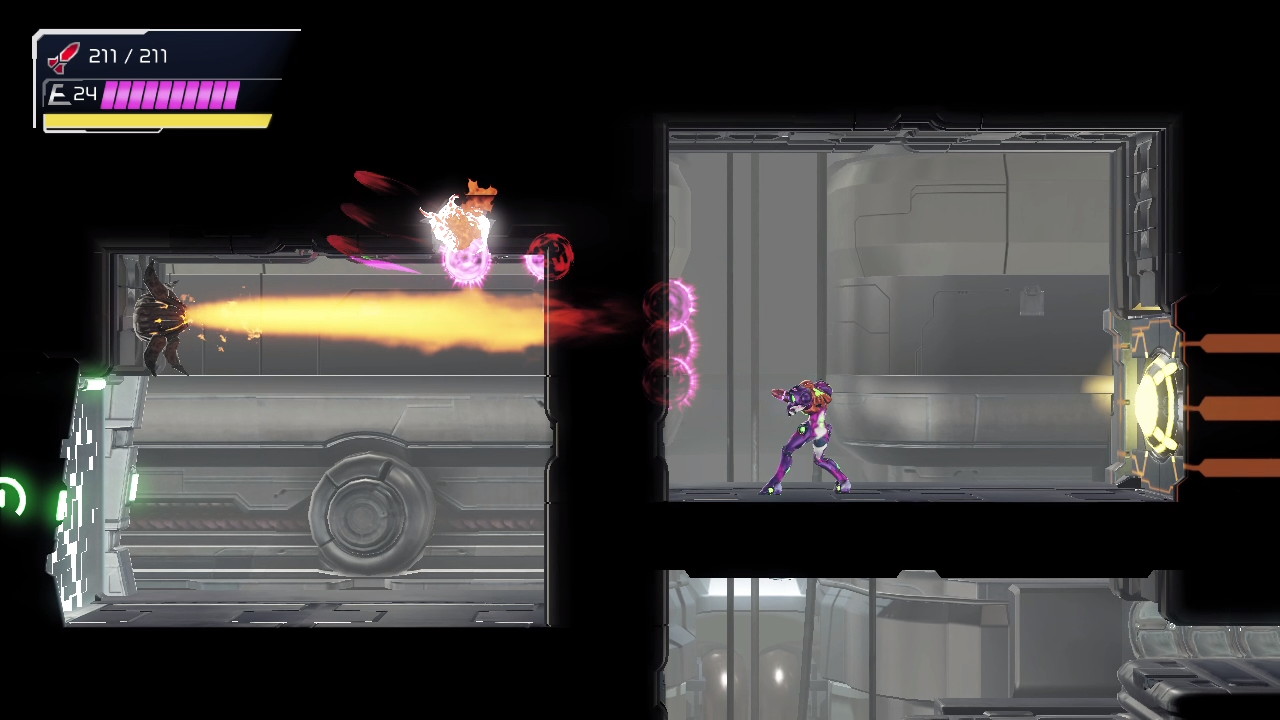
Two more Robot Chozo Soldiers pop out, and this time, they’re both gold. This is basically the exact same fight as last time, so check this out if you need a refresher on attacks and all that jazz. Despite both Robots being gold, this is actually an easier fight since you have more health, and most importantly, the Screw Attack. You can body these guys with Storm Missiles and that will destroy them quickly enough, but if you really wanna go full barbarian, crash into them with the Screw Attack. You’ll take damage, but it’s nothing compared to what they’ll receive. After a few rams, the Robots will blow up.
Head to the top corner of the Twin Robot boss room and fire a charged shot, opening the access door. Before you go in though, aim towards the ground. Line up your shot to hit the last step that’s level with the door. MISSILE EXPANSION #43 will reveal itself.
Step into the next room, which is actually the Green Teleportal Station. Before you warp away though, continue through the door on the other side. You’ll find yourself in that familiar submerged room yet again. Drop all the way down to the bottom of this room and get that Speed Boost going. Charge up your Shinespark and get yourself to the middle of the room. Go flying upwards and you’ll crash into MISSILE EXPANSION #44! Now you can go ahead and hop into the Green Teleporter and let it take you back to Ghavoran.
Once you’ve finished warping, head back to that oh-so-familiar pool of water that we know leads to the Spin Boost room. Normally, we would be taking that long mofo tunnel, but guess what? The ceiling is made up of Screw Attack blocks, so slice and dice! Open the Grapple Door and start Speed Boosting. Running into the next room, charge your Shinespark and head into the middle of this room. Shinespark straight up and you should see two tunnels appear. Once you’ve crashed into the top of the room, drop down and squeeze through the opening to the second tunnel. Jump up and grab ENERGY PART #12! That’s another full tank, so score! Continue falling down and you’ll see a tunnel that you can slip into that houses MISSILE EXPANSION #45.

Take the long way back, stopping at the Energy Recharge Station if you need, and get back into the same room you just came from. Use the Save Station and jump up to the top right door. Eliminate the Gadora and step inside.
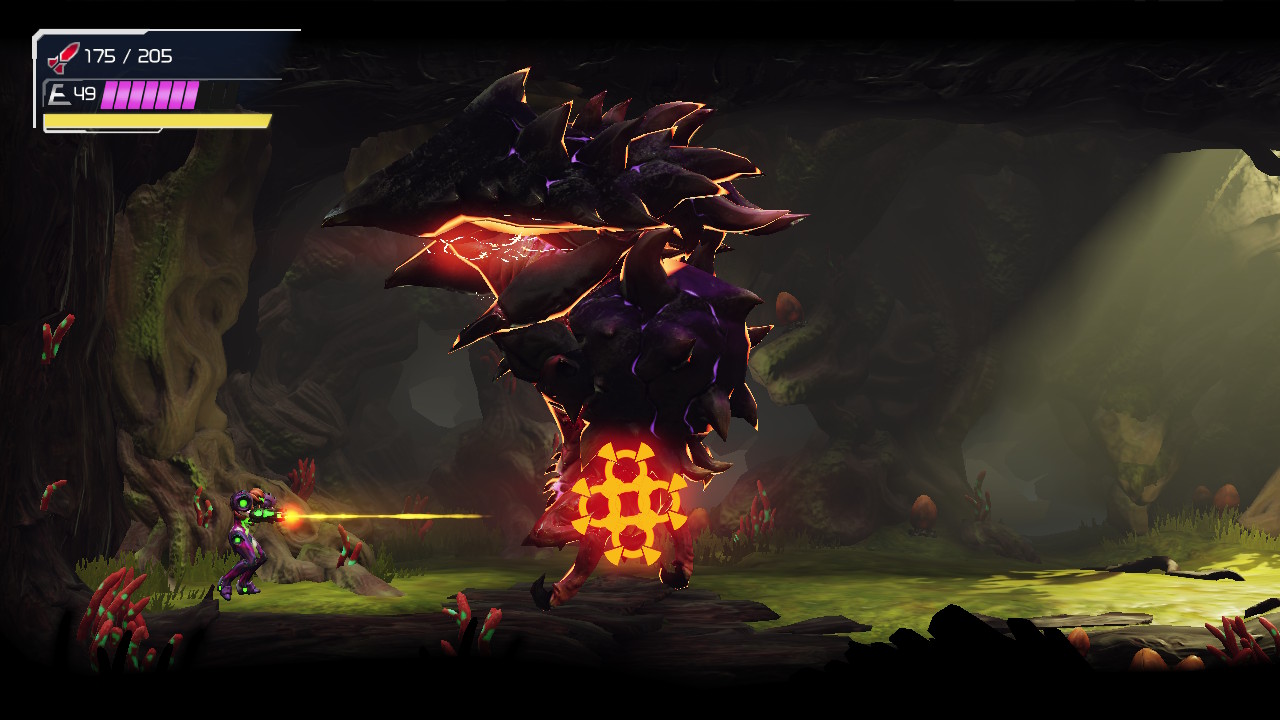
Golzuna
Giant enemy crabs, the meme that never stops giving. Metroid Dread seems to like that meme too, since in this boss battle you will face not one, not two, but three enemy crabs!
Start off by sliding in the tunnel and dropping down to the battlefield. The first enemy crab you’ve seen a million times, so destroy it. Now, an X will pop out of it. Watch it fly for a second and then start Speed Boosting to the other side of the room. Crouch and charge your Shinespark. As you’re doing this, a giant armored crab should appear. Jump over it, Flash Shifting to its other side, and Shinespark right into its backside to kill it right away (if you miss the timing, no worries, just wait for the crab to get close and then slide under. A couple Storm Missile shots will destroy it).
Now, once the second crab is dead, more X will pop out. Do the exact same thing as last time and Speed Boost to the other side of the room. Once you see the X take on the form of Golzuna, jump over and Shinespark it right in the butt. One shot won’t kill it, but Golzuna will be severely damaged. Once again, if you miss the Shinespark, don’t worry about it, you’ll just need to pump a few more missiles into ‘zully to beat him.
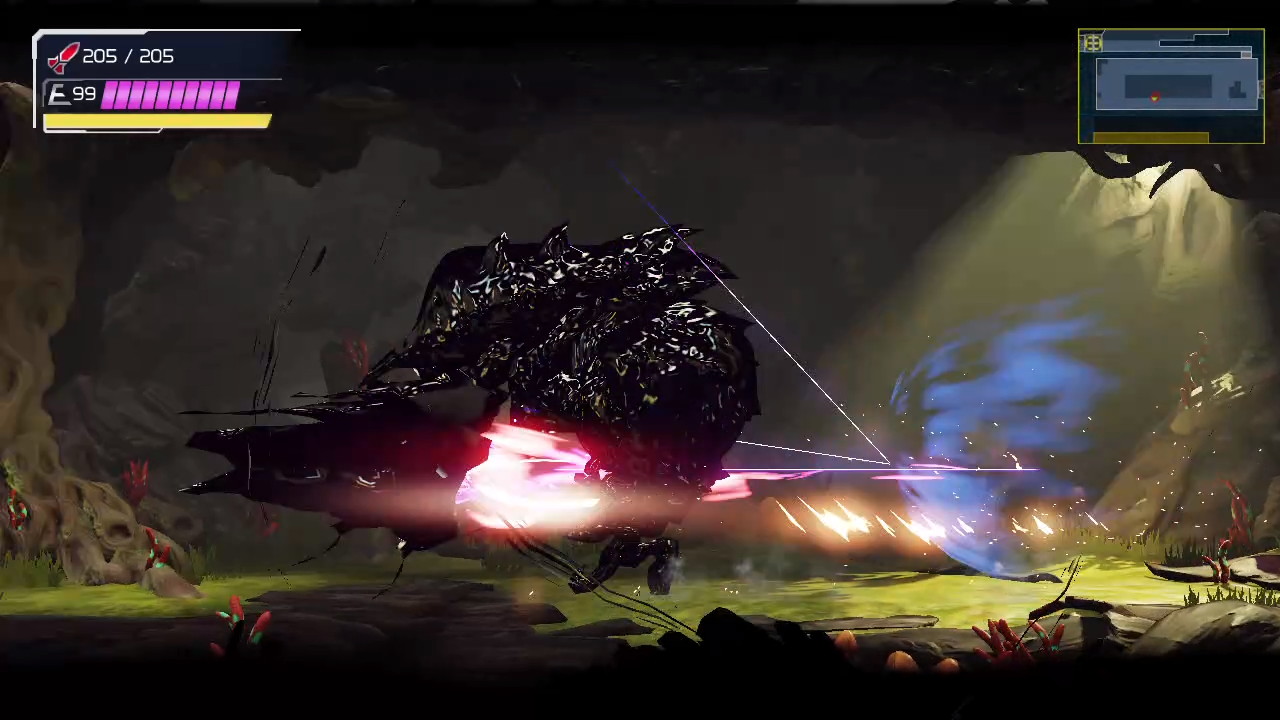
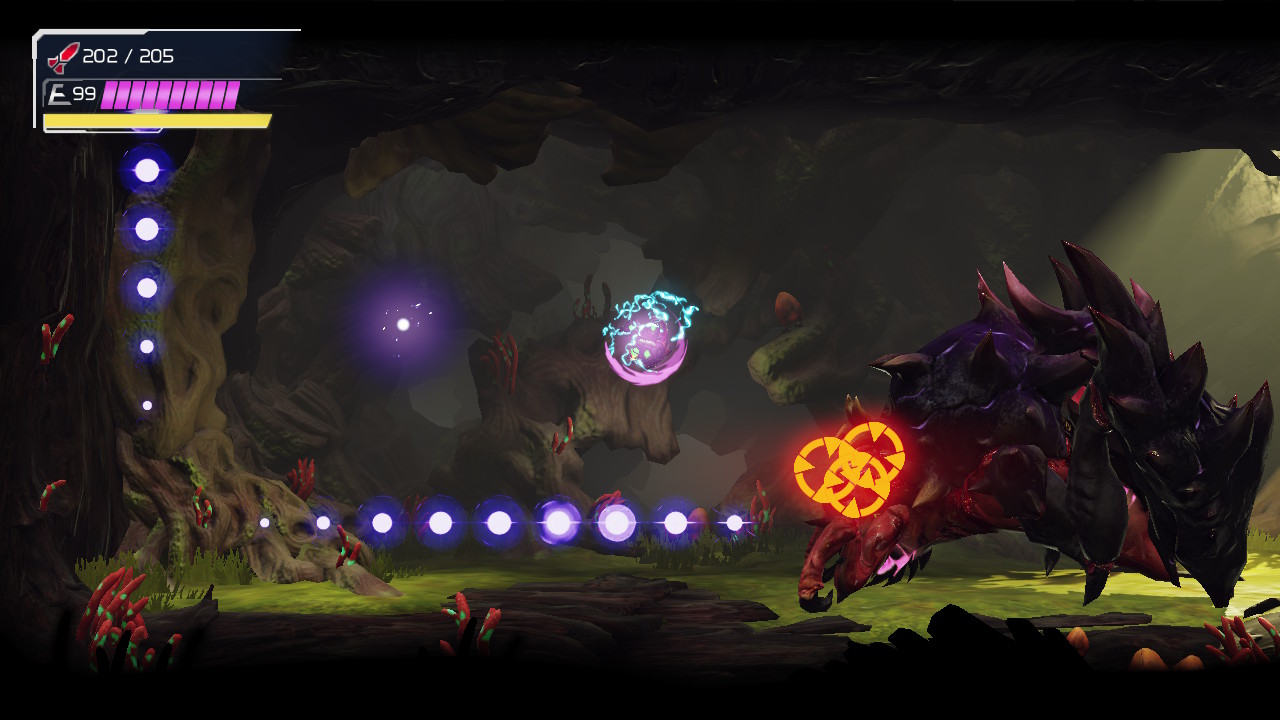
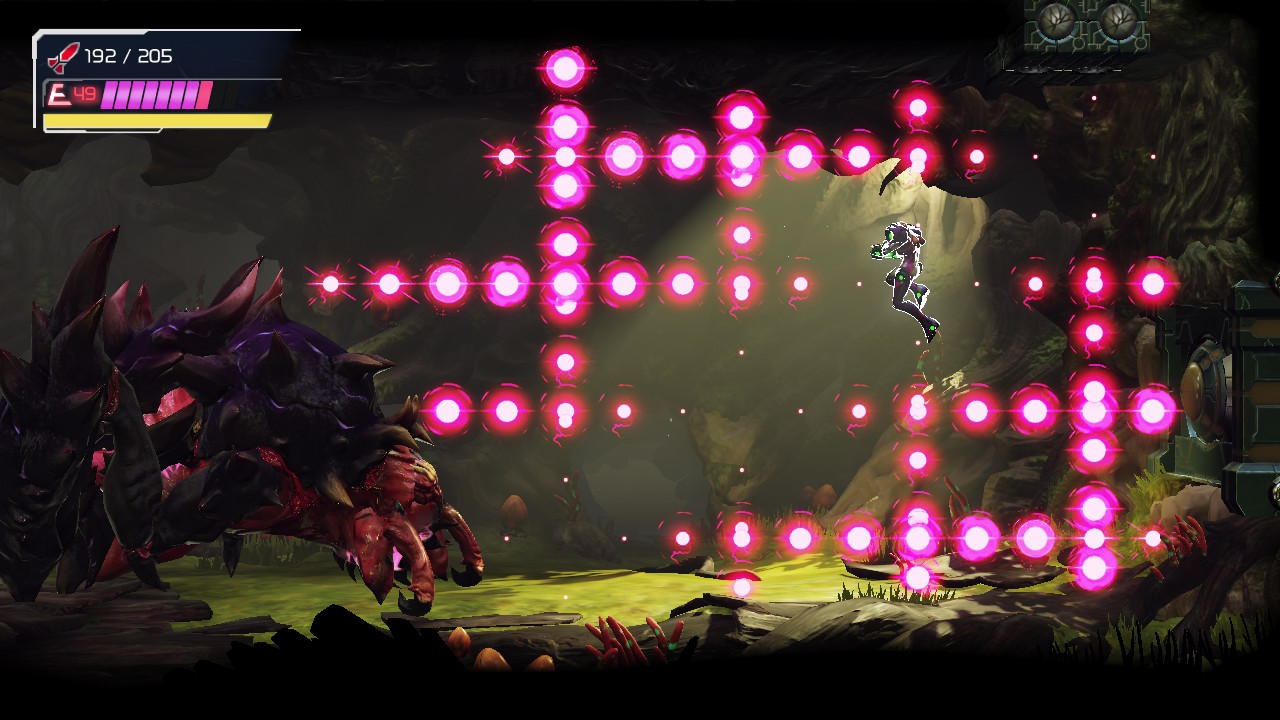
Golzuna himself is every armored enemy crab you’ve seen in the game. He has the same basic movements, the same lunging attack, the same ‘slide under it’ evasion technique, everything. Additionally, there’s no second phase or anything, Golzuna remains fairly consistent throughout this fight with what he does. This doesn’t make him a pushover, however; far from it, actually, as Golzuna is equipped with a special ability: the cross bombs.
First things first: when you are standing in front of Golzuna, he will charge at you, the same as every crab in the game. Simply walk back to the wall (he’ll always stop just short of actually ramming you) and wait for him to get up on his hind legs, claws in the air. Obviously, if those claws come down and smash you, that hurts big time, but when he’s standing on his back legs, that’s actually your queue to slide under him and get to the other side.
Once you’re there, you can fire off your Storm Missiles into his butt, but watch out: this is where the cross bombs come into play.
Golzuna has two different cross bomb attacks that he’ll use. The first is relatively easy to avoid; a purple orb will shoot out of his back that will follow you around for a second, before settling and exploding. As the name implies, these cross bombs blast off on the shape of a cross (or a lowercase “t”) and can do some mean damage. However, since the bomb follows you, you’ll have control of where it explodes, so lure the bomb somewhere in the air where it won’t hit you and stuff Golzuna full of missiles while the cross bomb misses you completely. Golzuna usually shoots out a few of these orbs in a row, so stay frosty.
The second cross bomb attack is far harder to dodge. Golzuna will shoot out four bombs at once, and they’ll fall into a randomly selected shape before exploding. This isn’t so bad if they form a box, as you can just Space Jump in the middle, but when they form a diagonal line, it can be trickier. The best way to avoid getting hit when you see the four bombs form a diagonal line is probably just to jump and quickly Flash Shift over to the front side of Golzuna. He’ll start charging at you, you can slide under him and then repeat the process again.
This is really it. Golzuna doesn’t have a whole lot of tricks up its sleeve. Keep pumping Storm Missiles into him, and he will be destroyed. A Core-X will pop out, so hit that with one last Storm Missile shot and you’ll destroy it. Absorb the floating X and you’ll gain the ability to use CROSS BOMBS.
The Cross Bombs are actually a pretty cool item, and the game doesn’t really tell you it’s most useful feature: if you lay a Cross Bomb and move just slightly to one side of the bomb, it will propel you in that direction. So for instance, if there is a strip of pitfall blocks, lay a Cross Bomb and you’ll go flying over all of them.
We’re actually gonna put this to use right away in the next room. Roll into the little nook on the floor and lay a Cross Bomb. A tunnel will open up, so go to the end and lay more Cross Bombs. You’ll see another tunnel that has MISSILE EXPANSION #46 just sitting there. Collect it and continue on, using the Cross Bombs to get you over the pitfall blocks and up to top of the room.
Open the access door to your left and then Screw Attack through the wall to your right to gain access to the elevator that will take us to the planet’s surface, Hanubia.
Ferenia Central Unit
We finally made it to the ZDR’s surface! Head forward until you reach the Network Station. Adam will tell you that even though you’ve finally broken through and are within spitting distance of your ship, Raven Beak and the X are too dangerous a threat to be kept unchecked. It’s hard to argue with that, plus, we’ve still got two rogue E.M.M.I.’s running around that need taking care of. Save your game and head forward.
Enter this new room and drop some bombs in the bottom corner and work your way down. There are those awful sucker things in the wall, but if you jump and Screw Attack, those dumb things will pull your vortex-weapon-of-a-body right into their own mouth, killing them instantly. HA. Drop down and break the Grapple block; roll through into the next room.
Lay some cross bombs and follow the tunnel over to the left (you’ll see a Screw Attack block under you when you drop your first bomb, but just ignore it). Follow the path over and you’ll grab MISSILE EXPANSION #47. Keep following the path, bombing as needed, until you drop out on the lower side. Yank the Grapple block out of the wall so you have a shortcut for next time and head through the door on the bottom right. Take the elevator to Ferenia.

Once you arrive, you’ll see a tumor in the middle of the wall that even your Diffusion Beam can’t reach. Ignore it for now, and head to the right of the elevator. You’ll fall through some pitfall blocks; eliminate the X and then head through the door with frost emanating from it.
You’ll be in a large, low-temperature room that’s actually connected to the Main Hall. Use your Screw Attack and crash through the blocks on the far left, dropping down until you see a little nook that you can fit in. Lay a Cross Bomb and then proceed through the Plasma door. Continue on, heading through the Grapple door and the Charge beam door.
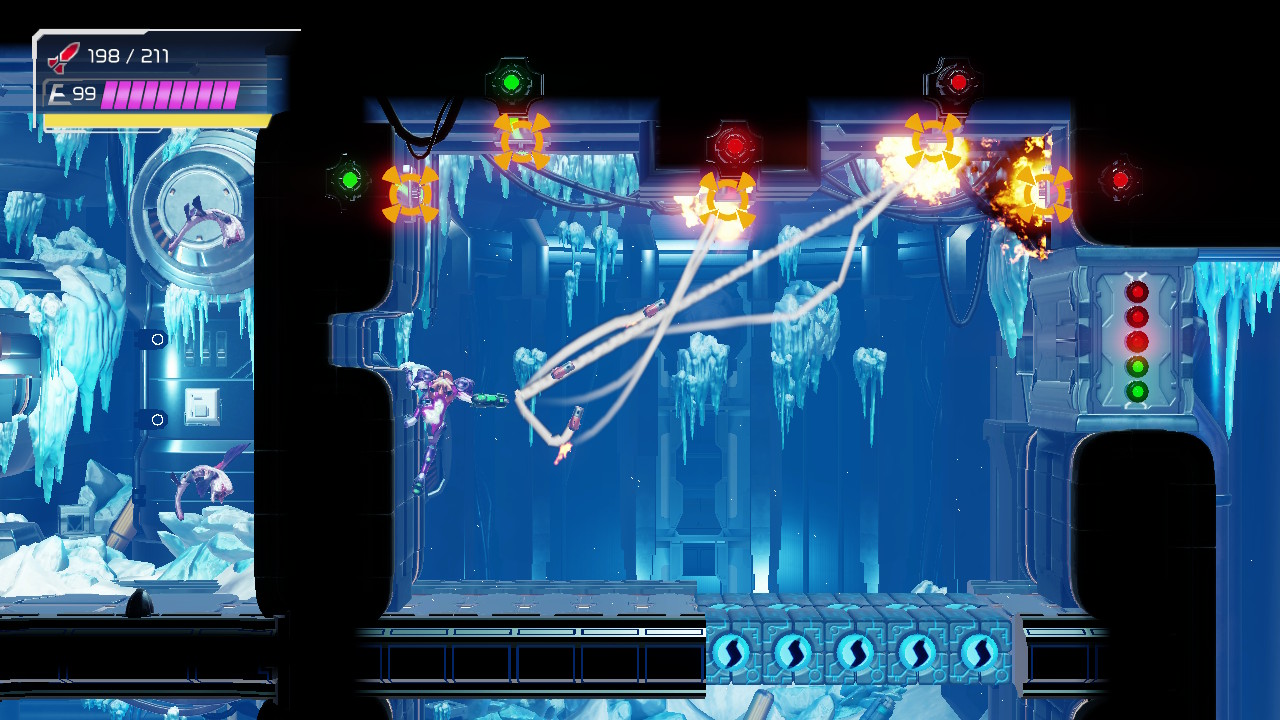
Once you’re through the Charge door, get rid of the enemies and then get ready to pull off a cool move. Start Speed Boosting towards the left and charge it before you hit the wall. Get in Morph Ball form and unleash your Shinespark; you’ll see a little alcove open up. Get in there and lay a bomb, allowing you to drop down. Pull out the Grapple block and then go back through the Charge door. Start Speed Boosting again; charge your Shinespark and quickly slide through the tunnel, shoot the floor, drop down and get yourself into the nook where the Grapple block was. NOW is the time to unleash your Shinespark! You’ll go crashing towards the right and end up in another little alcove. Shoot the wall above the tunnel and you’ll grab MISSILE EXPANSION #48! See Shinespark Puzzles for video!
Head back towards the Charge door and this time, bomb the bottom right blocks on the ground and head through. Jump up and you’ll eventually see a little nook in the wall that you’ll be able to grab the ledge on. Just hang out there for a second and get your Storm Missiles charged up. Shoot all the locks and then proceed over and down. From here, head inside the E.M.M.I. Zone.
We’re gonna make this trip as fast and efficient as we can, because that E.M.M.I. that can shoot us through the walls is still at large. Drop down and then head to the right and quickly jump up to the top of the room. The E.M.M.I. will almost for sure be below you, so act quickly. Once you’re at the top, roll through the tunnel to the right.
You’ll fall through some pitfall blocks into some water. Quickly jump up and aim at the wall. There are two pillars that each have tumors, so blast them away quickly and proceed over to the right. Drop down into the water and you’ll be in front of another wall with a tumor. Destroy it and jump up to the tunnel on the top-right.
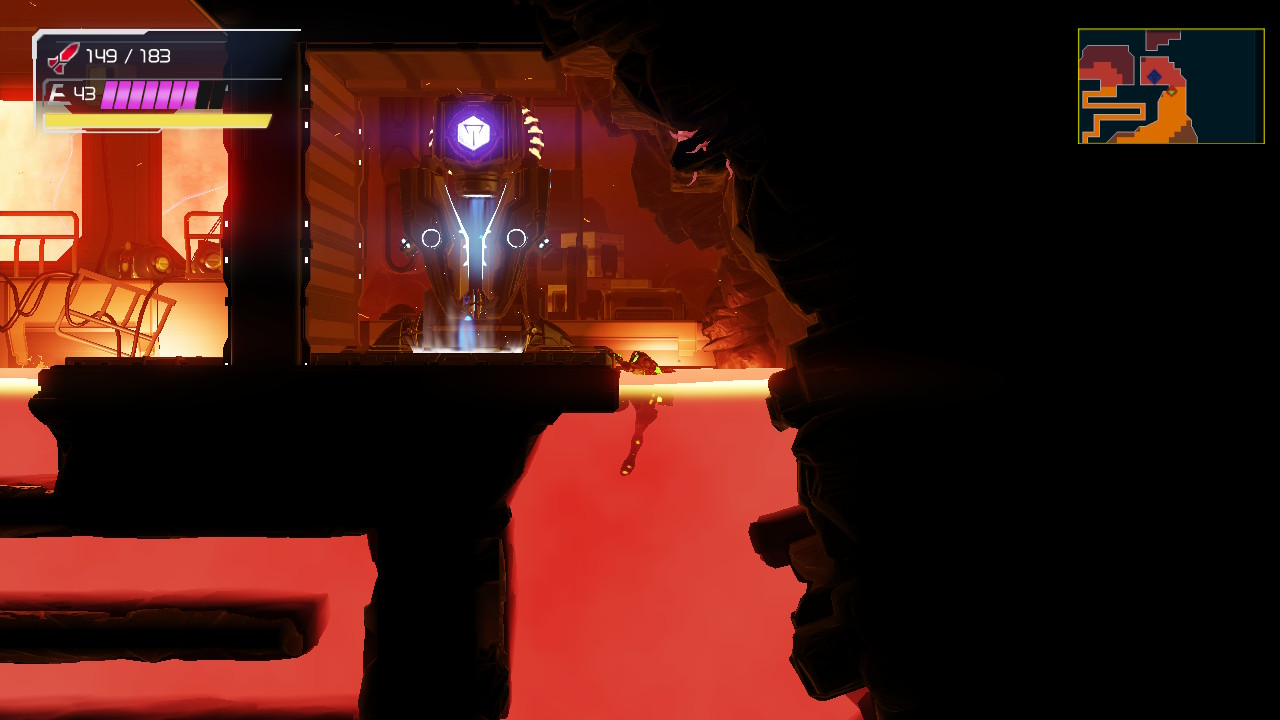
You’ll now be in an elevator room that connects to the Central Unit. You know what to do by now. Concentrate fire on the Central Unit and destroy it. Worth noting, you’ll be able to destroy the Rinkahs with your Screw Attack, so don’t hesitate to use that. Once the Central Unit is destroyed, absorb its powers and head back to the elevator.
E.M.M.I.-06WB
Use your Omega Cannon to blast your way out of the Central Unit room. Once you’re back in the elevator room, charge up another shot and let it rip; the elevator will start to descend, allowing you to take the Morph Ball tunnel and Launcher.
You’ll be spat out in a room that serves as somewhat of an obstacle course. You’ll need to lay bombs, blast blocks, shoot tumors, jump over shutters, and more, all while the E.M.M.I. is tracking you from behind. This probably sounds more menacing than it really is, however. You should have plenty of time to get yourself to the end of the course, and best of all, once you’re there, you’ll be able to see the E.M.M.I. crawling towards you which lines up PERFECTLY with your Omega Stream! Finish it off with a blast and go and claim the WAVE BEAM!
The Final E.M.M.I.
Now that we have the Wave Beam ability finally, head out of the obstacle course and towards the top left corner of the E.M.M.I. Zone. Take the door and then start firing at the tumor in the wall. The Wave Beam can fire through any object, so this will destroy the tumor with ease (this effectively makes the Diffusion Beam useless as well). Head over and save your game. Once you’re done, you’ll be back in the room you started off in, the Hanubia elevator room. Destroy the tumor in the wall and head back up to the surface.
There’s one final E.M.M.I. to confront, and it’s here in Hanubia, so let’s get to work. Head to the left and back into the room from earlier; slip through the small tunnel where you pulled the Grapple block from earlier and use your Screw Attack to break the block in the top right corner, slipping through the tunnel and into the next room.
You’ll be back in this familiar room, except now, we have the ability to break down the Wave Beam covers, so lock on to that purple shield and fire away.
As soon as you walk in the door, a cutscene will trigger showing some pretty ominous looking vats of enemies. One actually breaks out, and it’s here that Samus’s hand starts going nuts. Just when it seems like whatever is happening with Samus might come to a head, she regains her composure and blasts the creature with a missile. Adding to the uneasiness, Raven Beak is shown watching everything that’s going on. Once you regain control, head into the E.M.M.I. Zone.

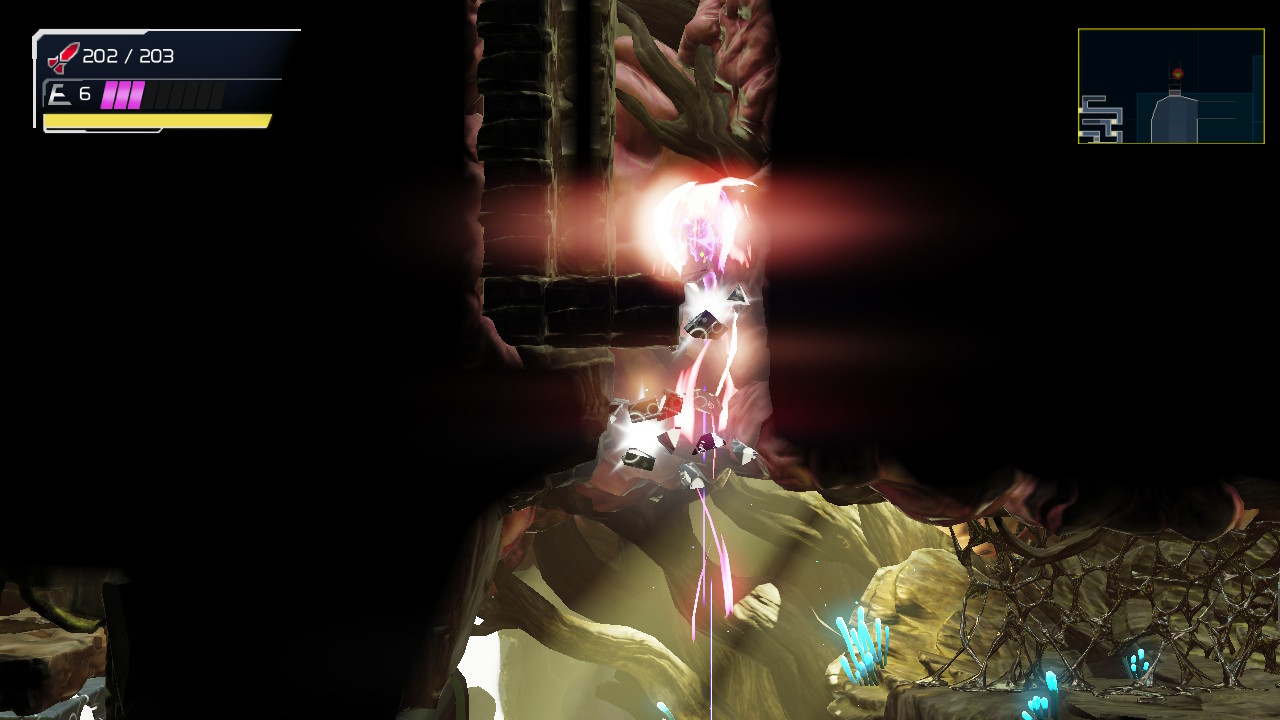
Drop down and head through the door. You’ll see that the E.M.M.I. knows we’re here, but there’s really nowhere to run. Suddenly, a huge blast will come and shatter the walls and knock Samus down to her knees. The E.M.M.I. is here. It will grab Samus by the neck and force her down, looking to finally finish off the Bounty Hunter. Something strange then happens, though. Whatever is going with Samus’s arm finally comes to a head, and Samus grabs the E.M.M.I.’s needle just as it’s about to pierce her suit. The new powers within Samus manifest themselves through her arm as she literally sucks the life out of the E.M.M.I., destroying it and ending the E.M.M.I. threat once and for all.
Confused as to what just happened, Samus stands up but doesn’t really get a chance to catch her breath as a Chozo Spear Soldier jumps into the room.
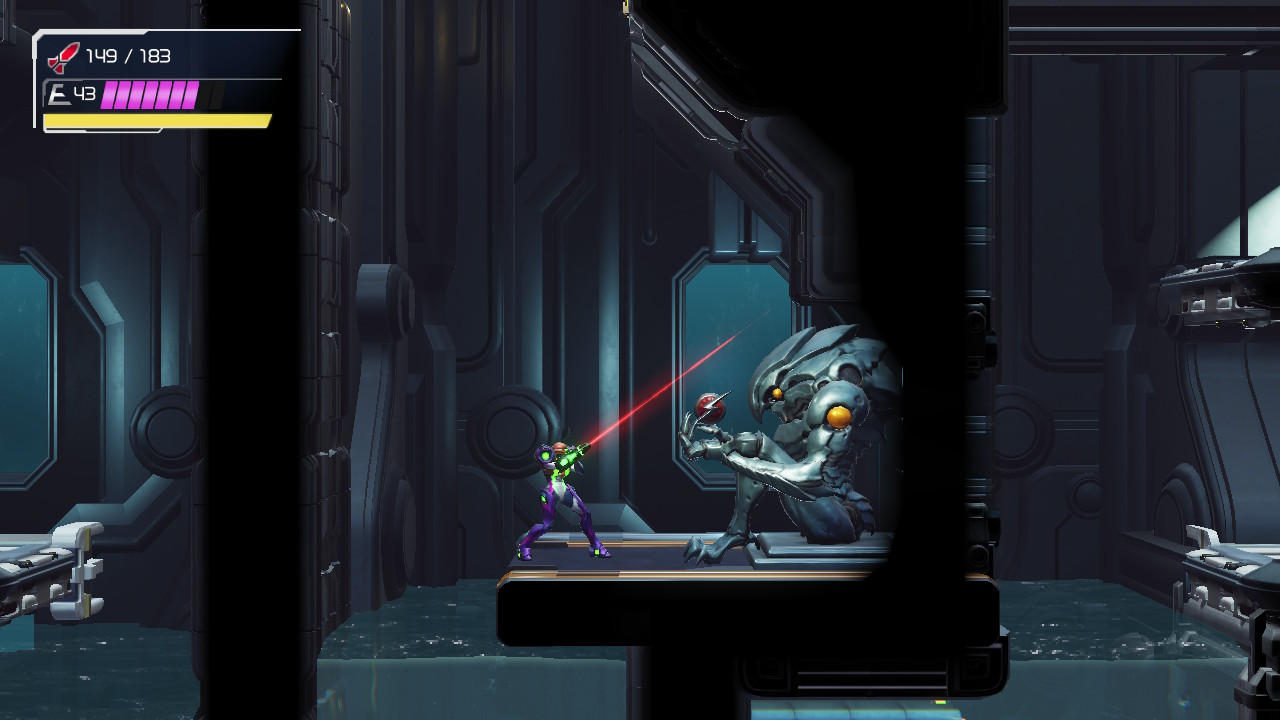
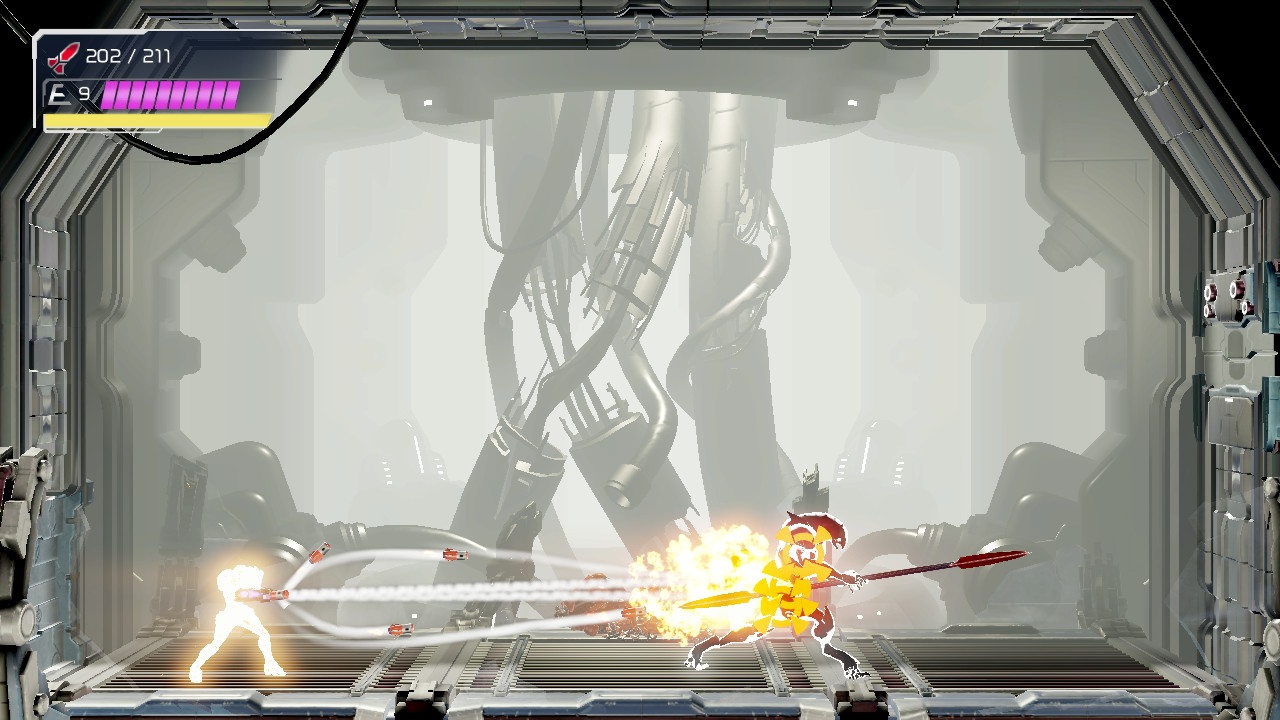
This is the exact same fight as all the other Chozo Spear Soldiers battles, so check out our previous strategies if you need them and eliminate this nuisance. Just remember, you can counter the Soldier in phase one and break his shield, which will make your life a lot easier, so do so and finish him off. One wicked thing about this fight? Instead of blasting away the Chozo Soldiers head with a charged shot, you’ll literally suck the life out of it with your hand.
Once you’ve defeated the Soldier, you will collect the final ability of the game – the POWER BOMBS.
The Quiet Before the Storm
Head through the small tunnel that opens up after obtaining the Power Bombs and exit the E.M.M.I. Zone. Lay your first Power Bomb here and watch as it just rips away the ceiling of the platforms above you. Man, these things are just ultra destructive, hooboy. As an added bonus, by the way, you’ll have three Power Bombs instead of two since we grabbed that “unknown resource” earlier. Head up and back into the E.M.M.I. Zone.
Lay another Power Bomb and then follow the path until you exit the E.M.M.I. Zone. Once you’re out of it, lay a Power Bomb right beside the door. You’ll see the ground give away, which is handy since we’re going for a powerup that could be a little trickier to get and having that opening will cut back on the backtracking time.
Stand as far back as you can behind the door to your left, open it, and start Speed Boosting. You’ll run into the next room, so stop and charge your Shinespark before you run off the edge. Quickly lay a Cross Bomb under you and you’ll see some bomb blocks give away. Shinespark directly downwards over where the bomb blocks used to be and the Speed Boost blocks hiding under those will disappear, revealing POWER BOMB EXPANSION #2! Once you’ve acquired that, head into the Network Station. As always, Shinespark Puzzles can provide more info.
Chat with Adam and he’ll confirm what you probably already suspected: the new ability that awoke in Samus is due to her Metroid DNA. She now has the ability to suck the life out of creatures, just like a Metroid. This is the final ability needed to confront Raven Beak. Adam tells us that he has located the Mawkin Warrior in a fortress above the clouds. “Fulfill your destiny”. No objections… let’s finish this!
Head to your left and get ready to participate in one of the most sacred and proud of Metroid traditions – destroying a glass tube with a Power Bomb! Lay your bomb and once the coast is clear, jump up and to the left. It’s a long way up, but once you get to the top, make your way to the right side of the room and go through the door.
Destroy the Grapple block in front of you and then fire a missile into the tunnel under the door. Slide under and you’ll grab MISSILE EXPANSION #49! Use the Total Recharge Station if you need to and then get ready for one final confrontation before Raven Beak.
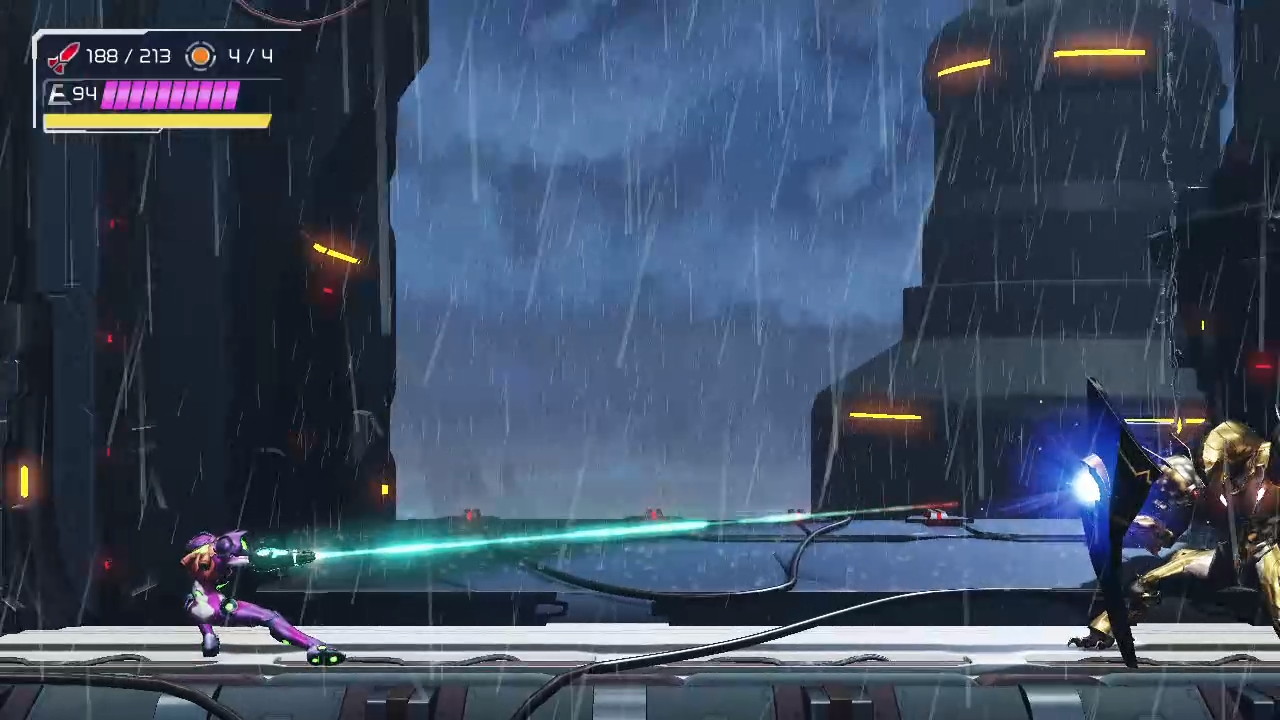
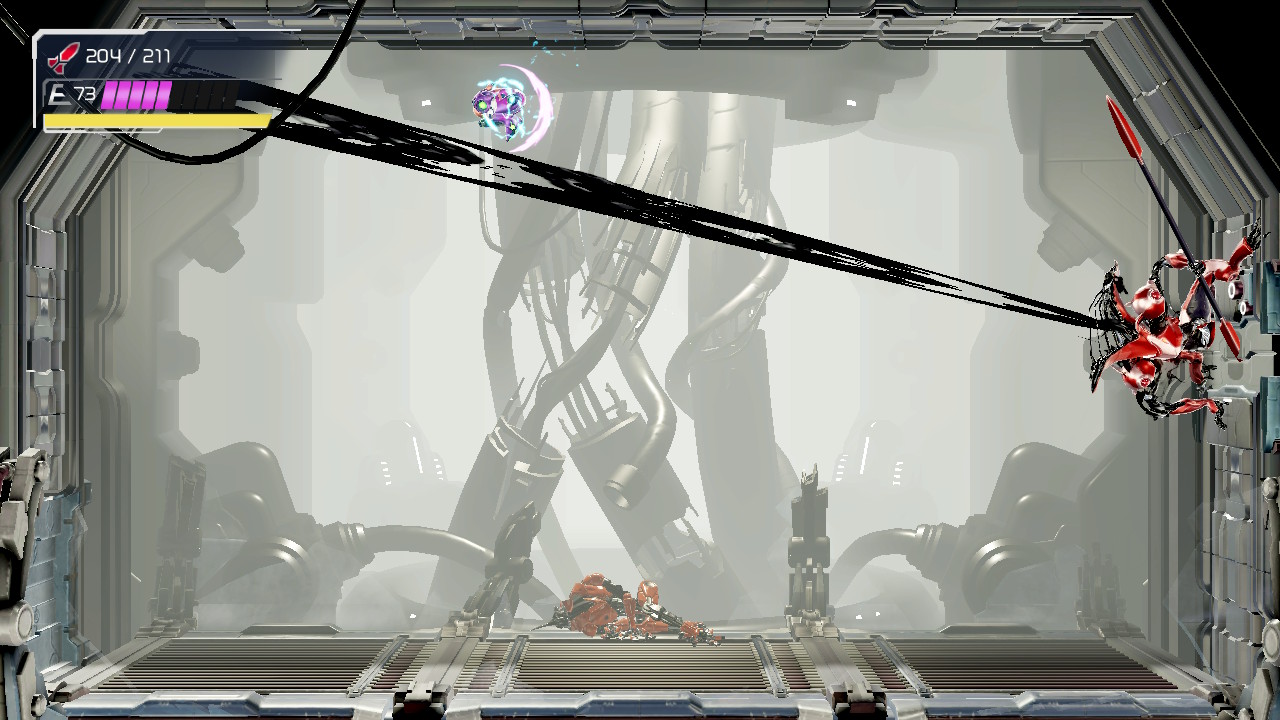
A golden armored Spear Chozo Warrior will jump down and accost you, so we need to put him down. Again, this is essentially the exact same fight as before, so check out here for strategies. One thing that separates the Golden Soldier from the other is his shield. The shield can’t be directly destroyed with missiles or a melee counter like previous Chozo Soldiers, but you can stun him with one. After you hit the melee counter, you’ll have a chance to whip out your Grapple Beam and yank his shield from his hands. This will destroy it, giving you health and ammo. The rest of phase one and two are identical to previous battles, so I’ll leave the fighting up to you.
Once the Golden Chozo Soldier is defeated, you can enter the next room. This is an elevator room that will take you up to Itorash, Raven Beak’s flying fortress.