


Metroid Fusion Walkthrough – Sweeping the B.S.L.
Walkthrough
- Biological Space Labs
- Sector 1 – Atmospheric Interference
- Sector 2 – Unknown Saboteur
- Sector 4 – Ultra-High Speed
- Sector 3 – Rogue Security
- Sector 6 – Frozen Parasites
- Sector 5 – Cold Arsenal
- Sector 3 – Meltdown
- Habitation Deck – Signs of Life
- Sector 5 – First Encounter
- Main Deck – Power Failure
- Sector 2 – Overgrown With Vegetation
- Sector 5 – The Nightmare Awakens
- Sector 4 – Diffusion
- Sector 6 – Revelations
- Sector 1 – Neo Ridley’s Cry
- Sweeping the B.S.L.
- The Final Confrontation
Sweeping Sector 1
Before we go ahead and confront the SA-X and attempt to alter the course of the B.S.L., let’s go ahead and get the rest of the expansions kicking around the ship.
The entirety of this section is completely optional, so if you just want to finish the game, skip ahead to the next section.
If you’re still here, great! I’ll be describing name rooms for the most part and leaving the navigation up to you, so take whichever route you think best to get to the rooms we need to get to; you can skip down to the different Missile, Power Bomb, and Energy Tank Expansion pages if you need a specific map of where to go. That being said, I will route us in the most efficient and effective way so we can grab the expansions in as little time as possible. For Sector 1 in particular, I’ll start our gathering from the Navigation Room.
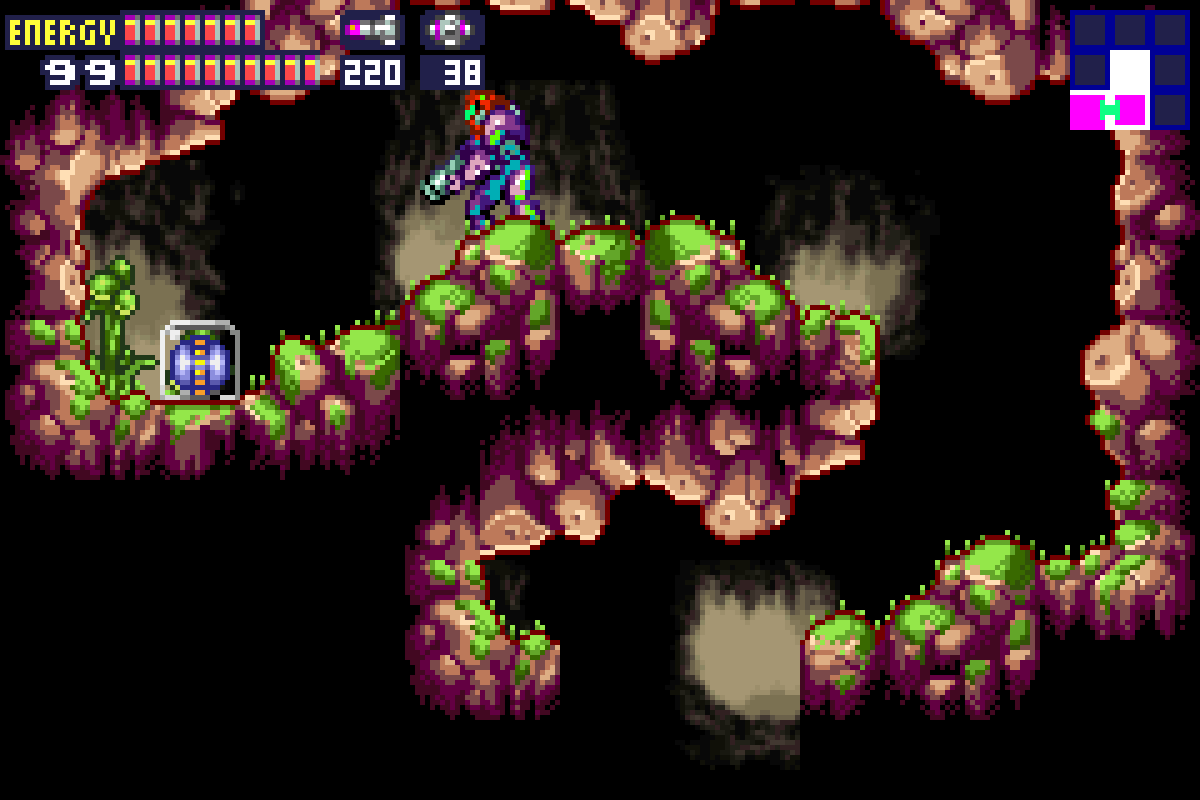
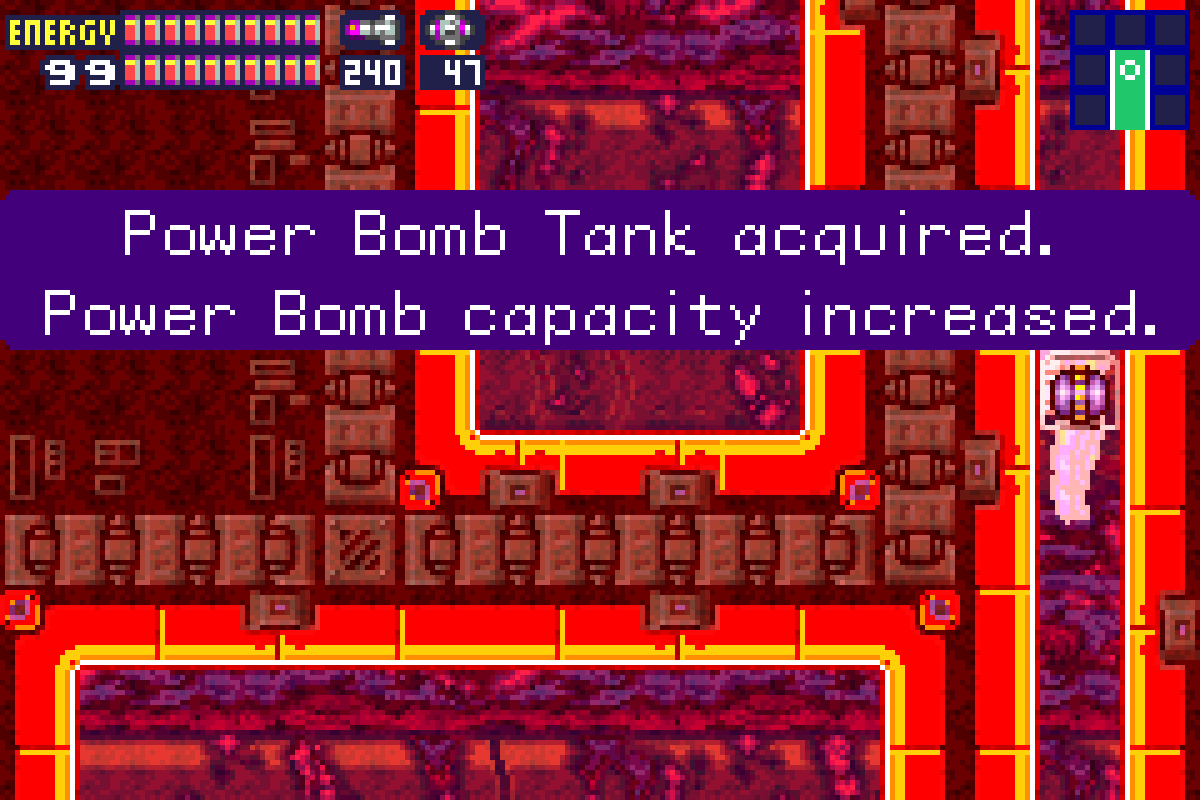
Let’s move swiftly. In the first “main” room following the Navigation Room, head to the top right and go through the Green Door. Screw Attack near the top of the ceiling and the roof will break; jump up and grab POWER BOMB EXPANSION #15.
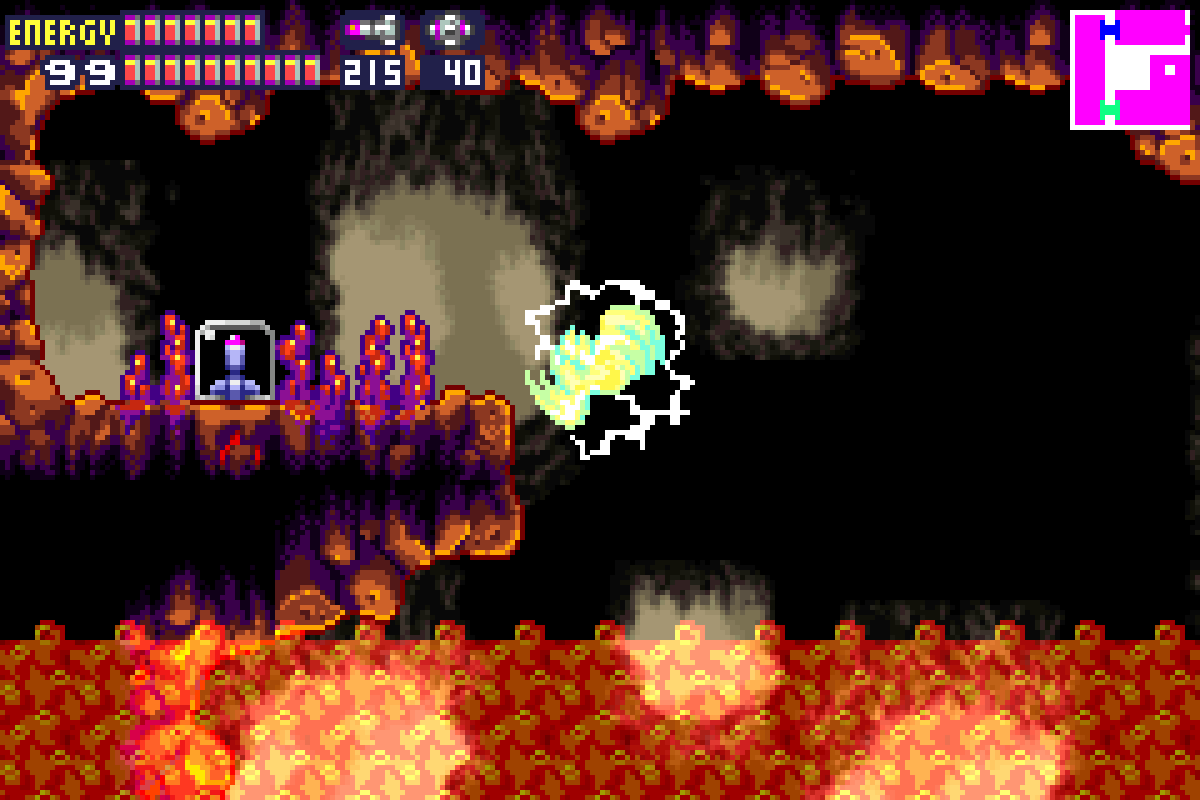
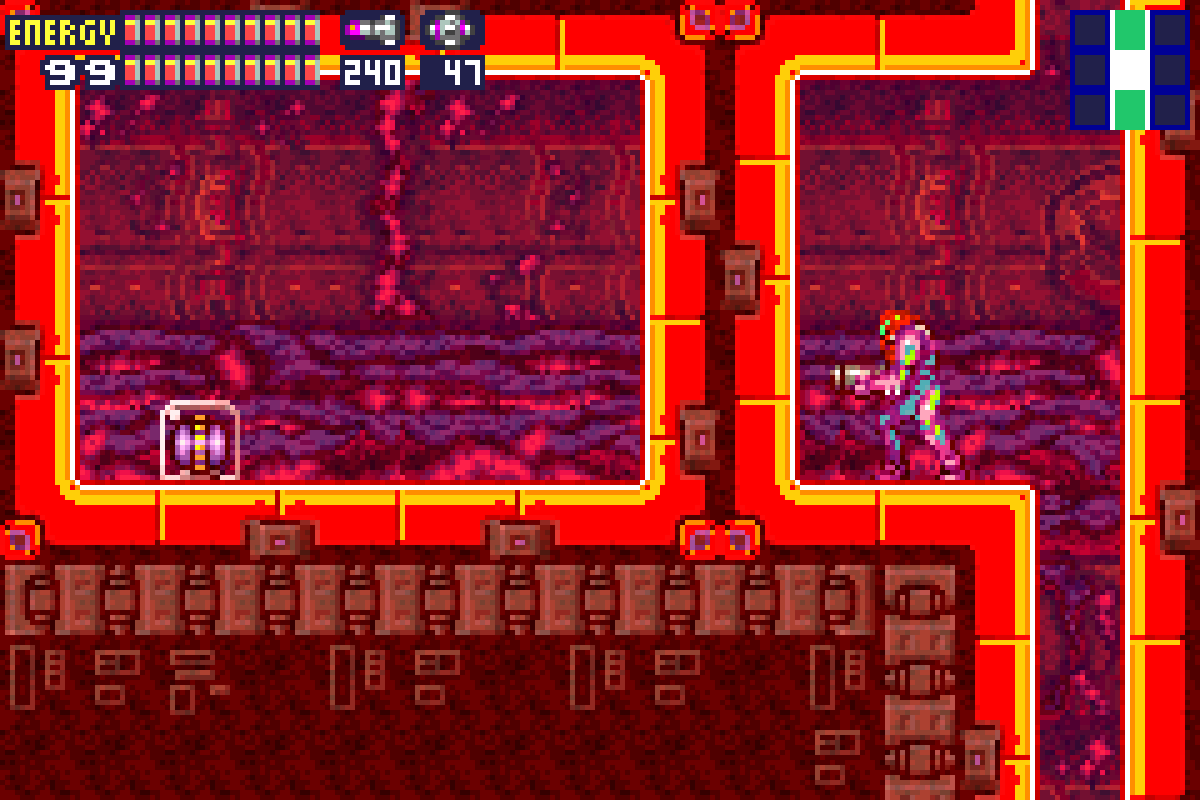
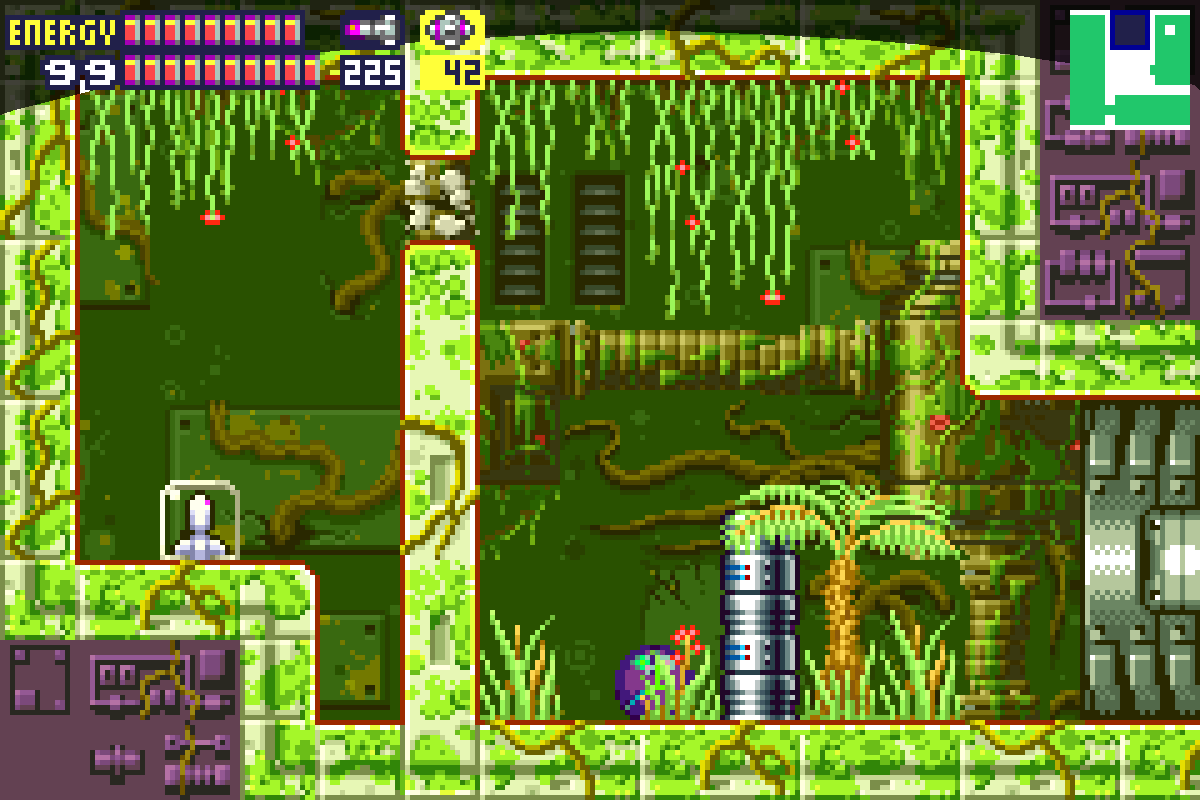
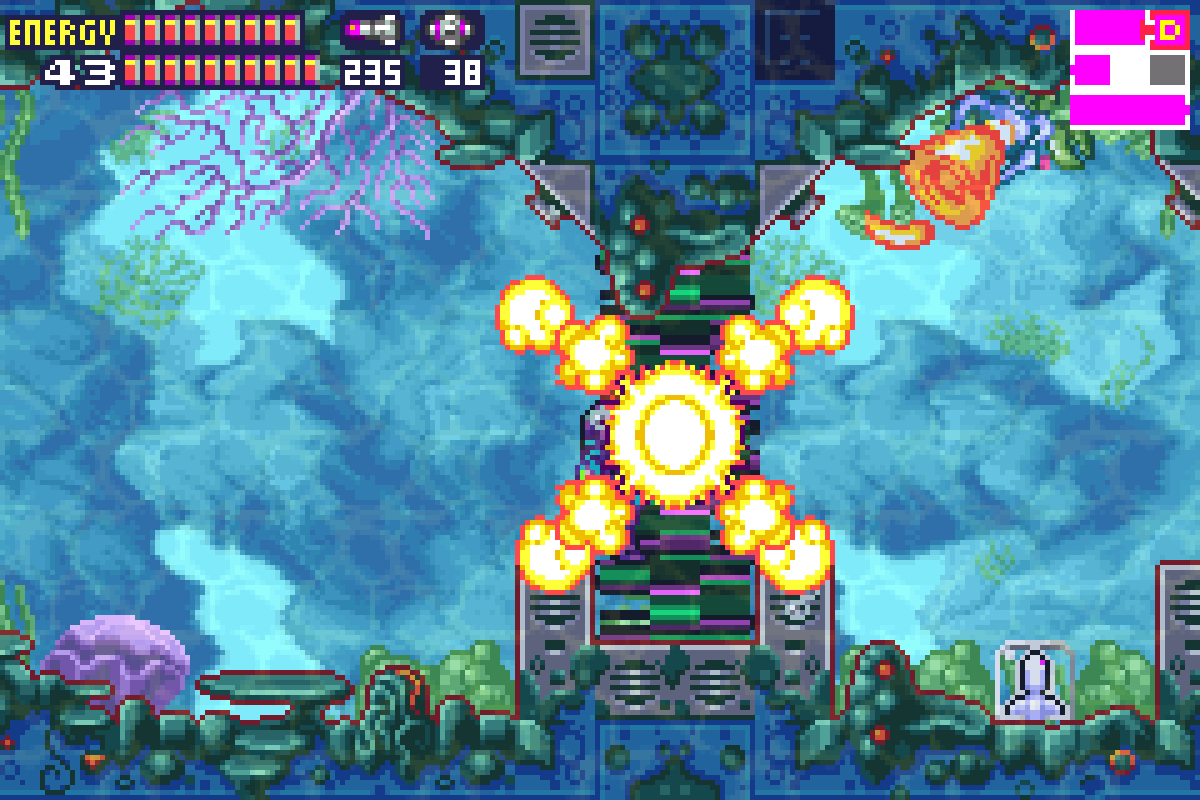
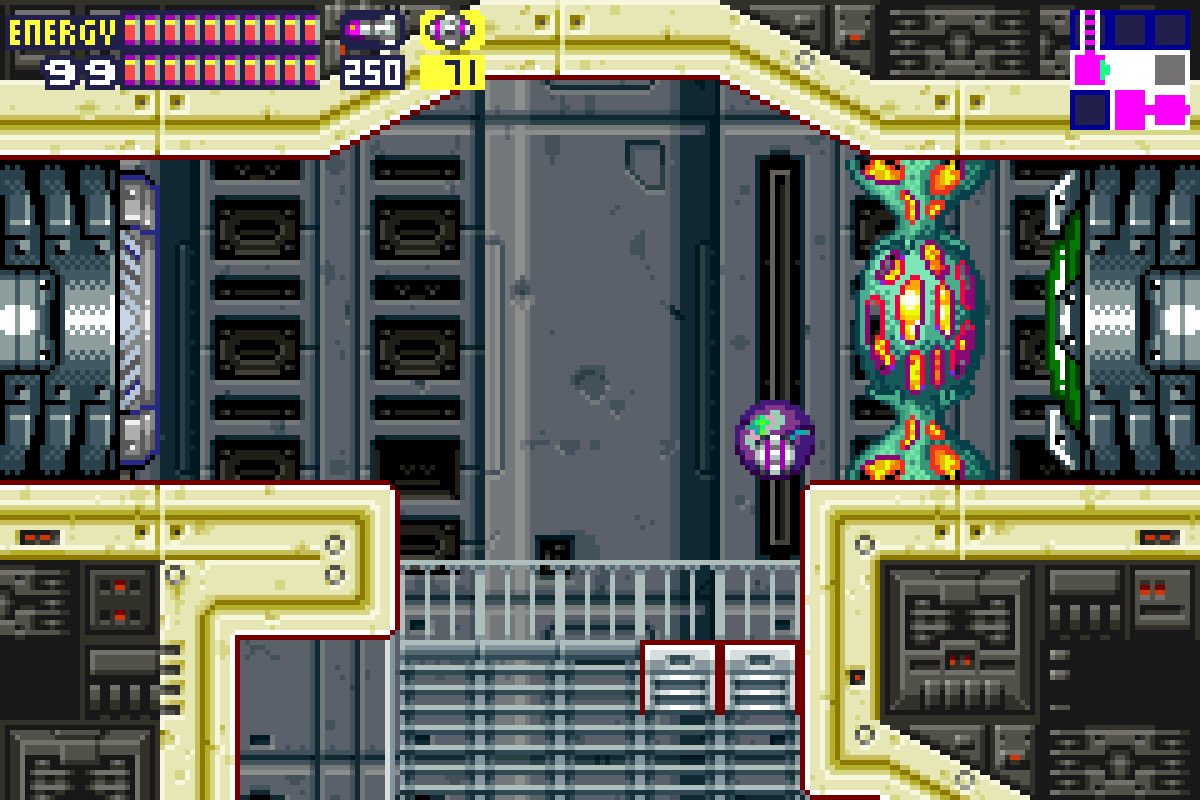
Exit back into the “main” room of Sector 1 (immediately after the Navigation Room) and take the Blue Door on the bottom left. Drop down the fiery hallway and exit into the giant room full of lava. As soon as you walk in, jump to the top of the room and grab MISSILE EXPANSION #42. Go back down the bottom, Morph ball, and roll over all the way to the right to grab MISSILE EXPANSION #43.
Get yourself to the Save Room directly under where you fought the Elephant Bird earlier. In the next room over there are two Hornoads, and in the room next to that is a set of monkey bars that leads to the Elephant Bird room; before doing anything else, lay a Power Bomb to get rid of the wall, allowing you to run straight through into a hidden room. Don’t go in yet, however. The next two expansions have the same basic principle: run, Speed Boost, and charge your Shinespark, unleashing it when you’re in position.
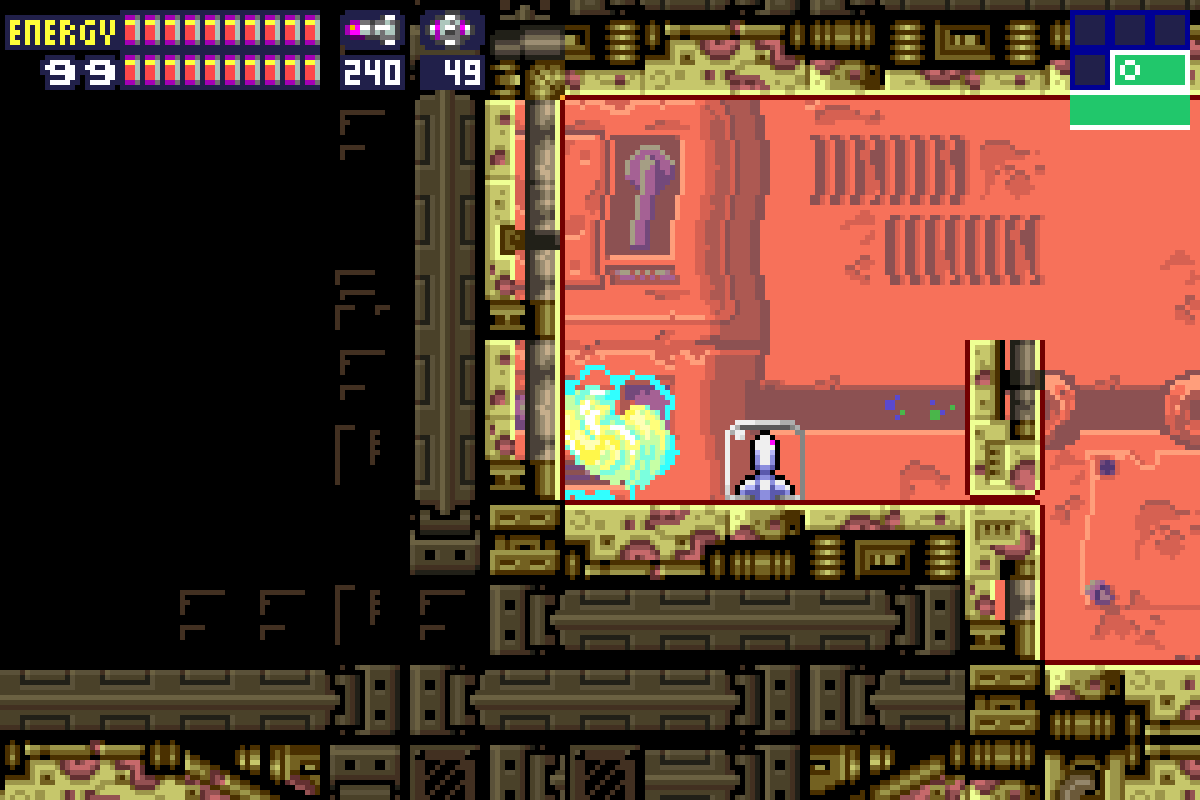
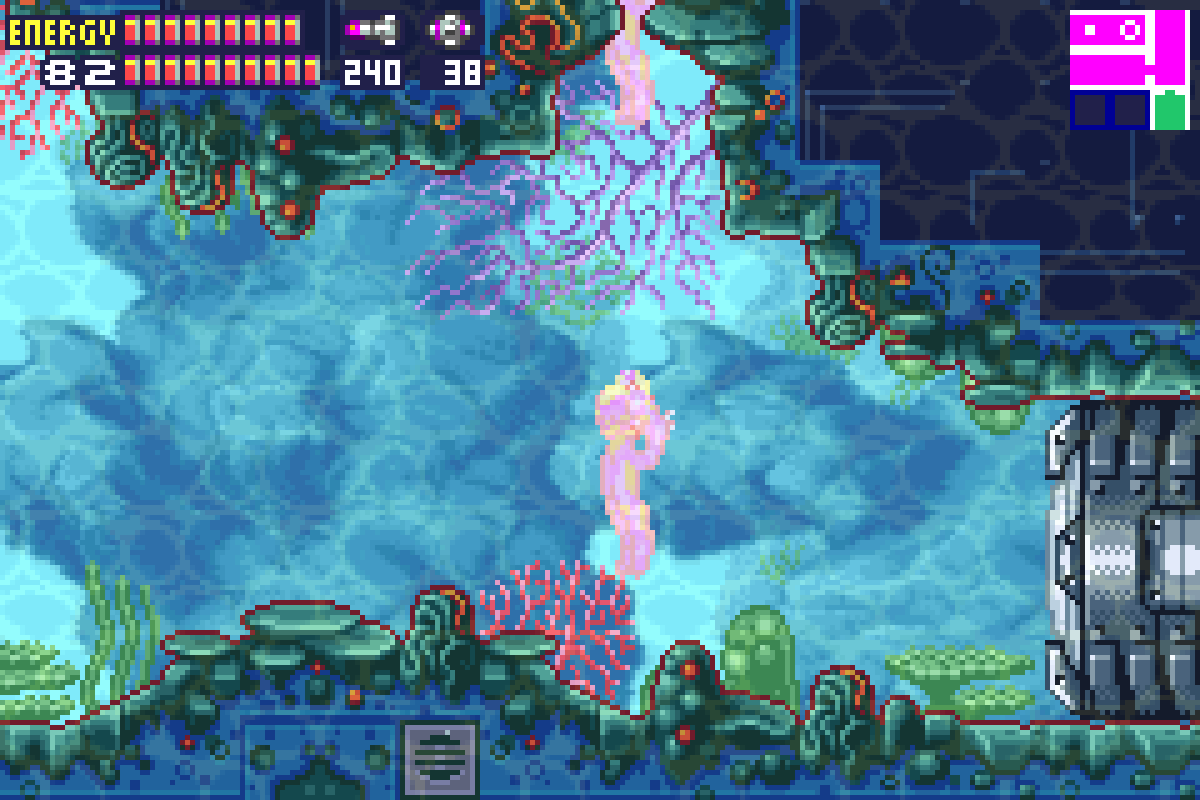
Start running from the Save Room and get your Speed Boost going. Run through the next two rooms and crouch as soon as you get into the hidden room. While your Shinespark is charged, jump to the right into the water (make sure you jump with the directional button so as to not activate your Shinespark). Once you land, quickly run to the far right and Shinespark straight up. Shoot the wall and you’ll nab POWER BOMB EXPANSION #16.
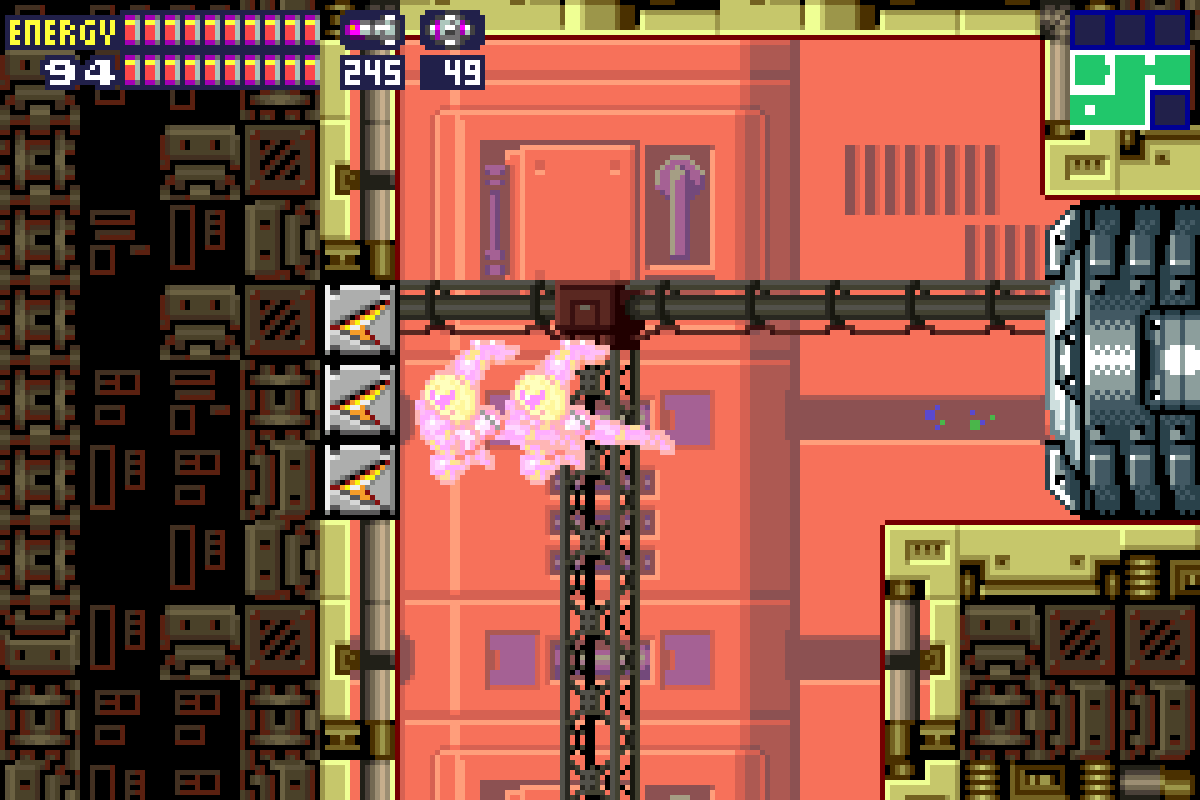
Exit this room and start back at the Save Room. Do the same thing: run, Speed Boost, and crouch as soon as you get past the room with the two Hornoads. With your Shinespark charging, quickly jump up to the top left door (again, make sure you use directional jumps so as to not activate your Shinespark). Shoot the door open and Shinespark into it. You’ll only be flying for a quick second, and then you’ll be running up a hill in the room. Keep running and crouch right before the little dip in the floor on the far left side. With your Shinespark charged, jump into the little dip and Shinespark straight upwards. You’ll grab ENERGY TANK #18.
That’s it for Sector 1! Make your way back to the elevator and get up to the Main Deck, and then descend into Sector 5.
Sweeping Sector 5
Get yourself over to the room directly beside the Yellow Lock Room on the right. Lay a Power Bomb and the ceiling will give away. Space Jump up up up and enter the door on the top right. You’ll see POWER BOMB EXPANSION #17 sitting right there.
You’ll have to take the long way around, but work your way back into the Thin Freezer room and from there, hit up the Save Station two tiles under it. From there, head right and keep going until you pass through a Yellow Door. You’ll find yourself in a freezer room; roll over and jump along the rightmost wall and you’ll find a hidden tunnel that will take you to a hidden vertical hallway next door. Shoot the platform above you and Space Jump up to the higher platform. Lay a Power Bomb and you’ll see MISSILE EXPANSION #44. (Note: we could have actually gotten this after getting the Diffusion Missiles, but this is so much easier.)
That’s all she wrote for Sector 5. Get out of here and head over to Sector 3!
Sweeping Sector 3
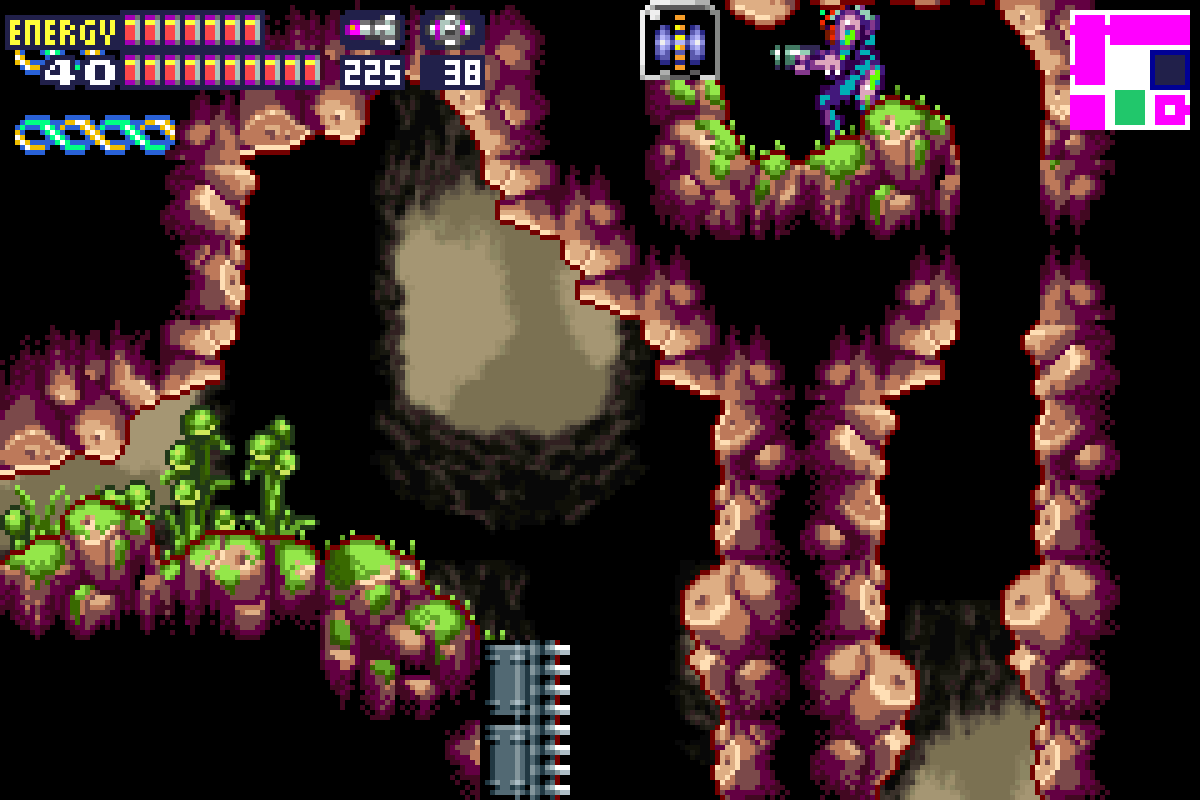
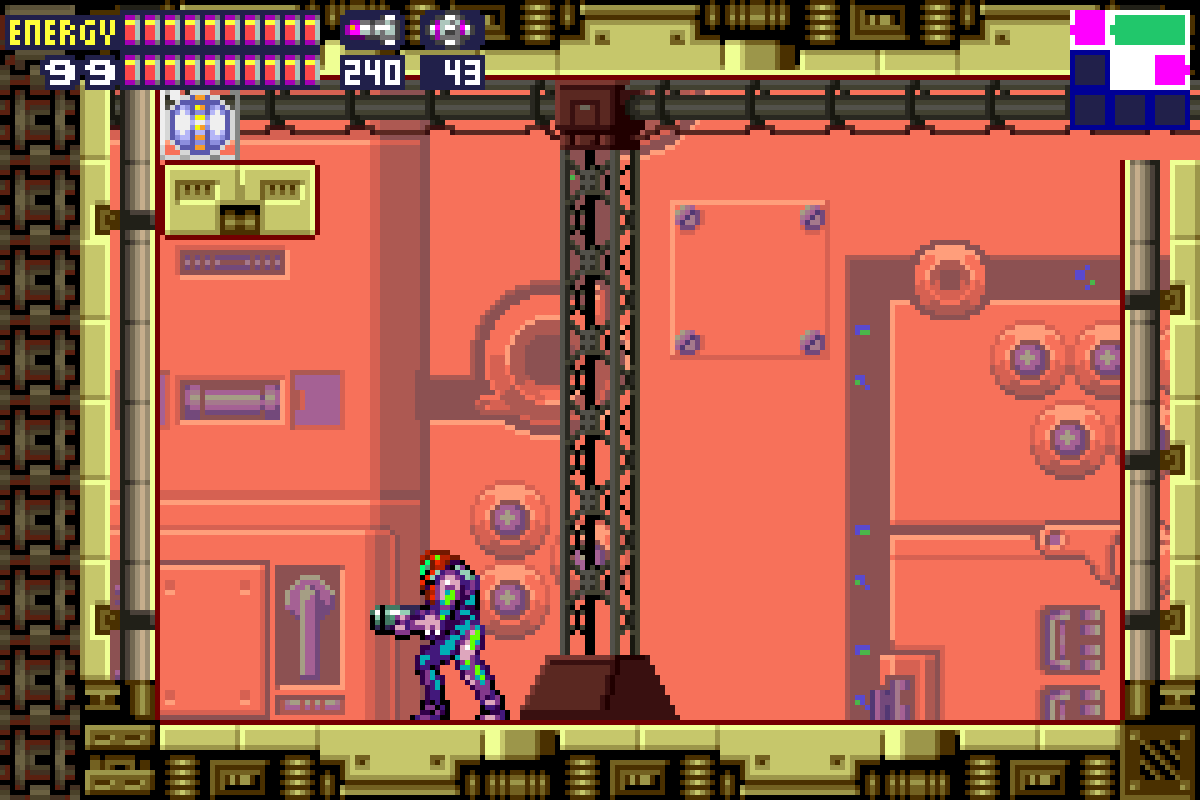
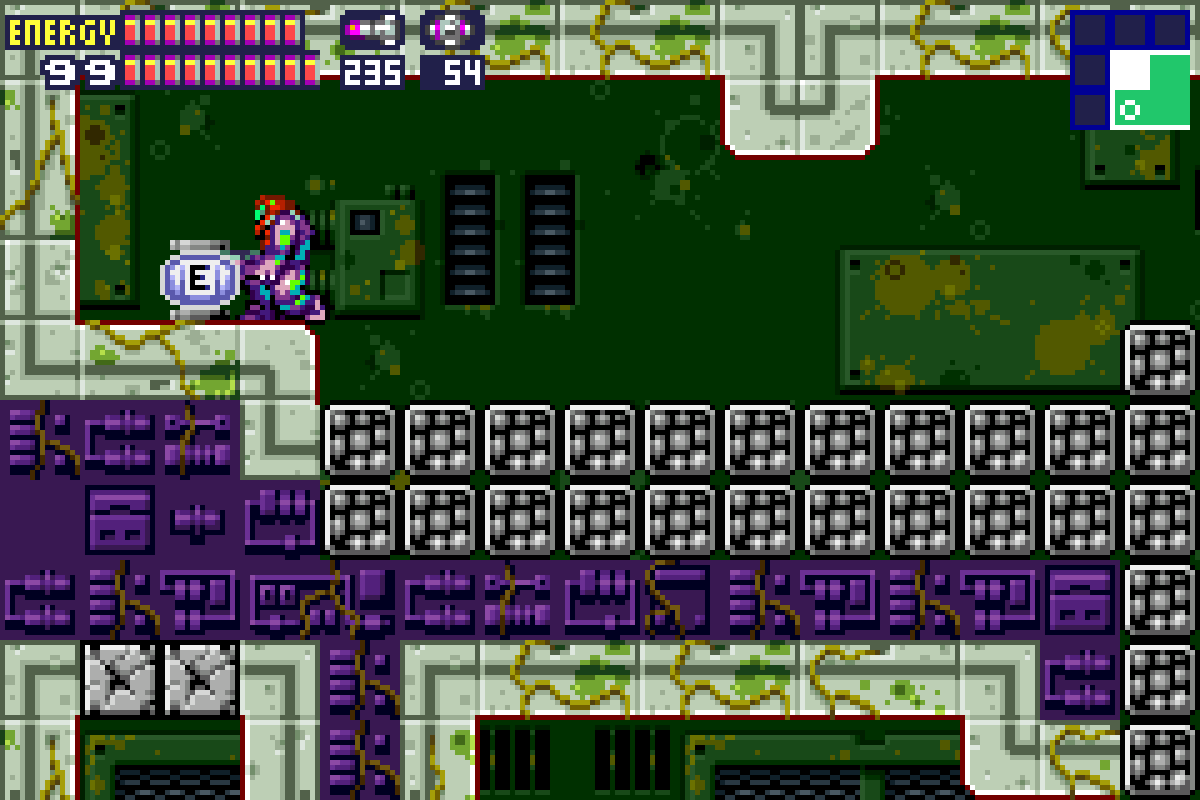
Once in Sector 3, head over to the Xeno Shaft. In the room to the left of it, the one right under the Speed Boost blocks, lay a Power Bomb and roll through the tunnel. Destroy the Xeno and jump up to grab POWER BOMB EXPANSION #18.
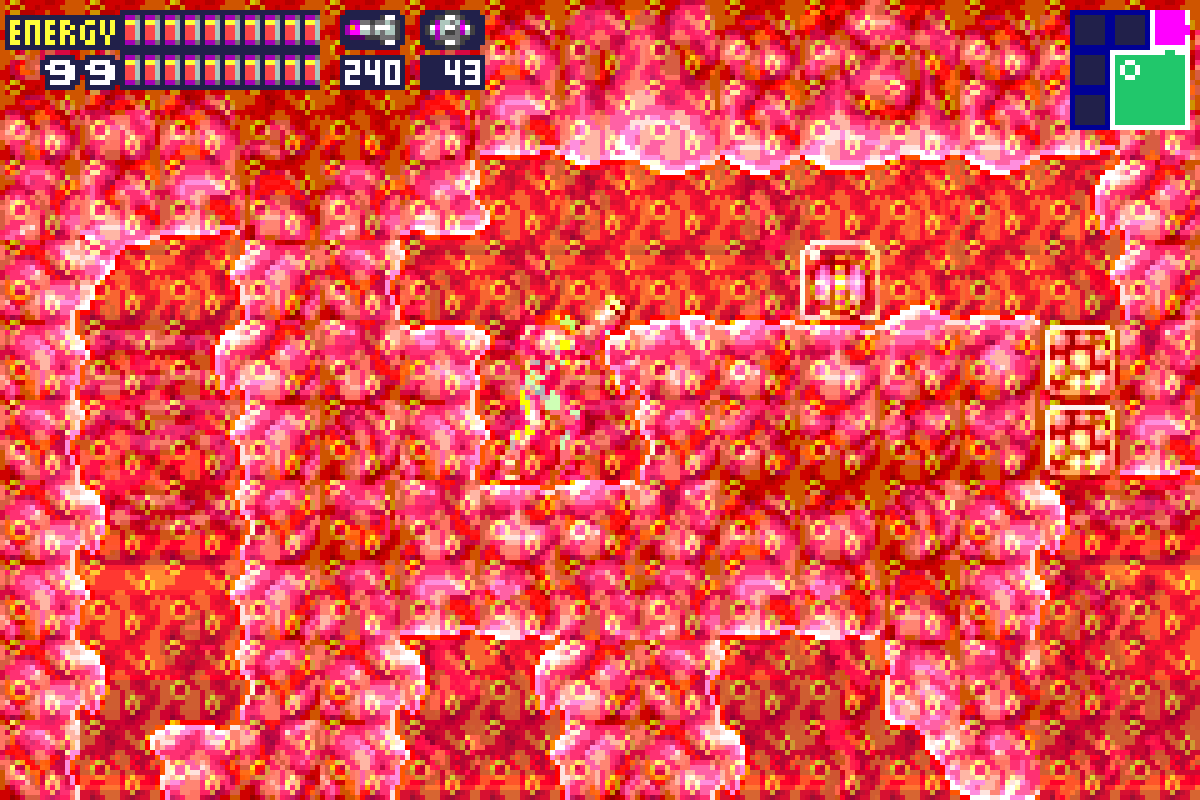
Once you’re actually inside the Xeno Shaft, get to the very bottom; head left through the next room with the monkey bars and lava and exit left. You’ll be face to face with a Xeno. Lay a Power Bomb and a tunnel will appear underneath the Xeno; drop down and you’ll be in a maze of tight rocky tunnels. Head over to the top right and jump through what looks like solid rock. You’ll pass through and get to a pathway in the top corner that, if you follow it, will lead you right to POWER BOMB EXPANSION #19.
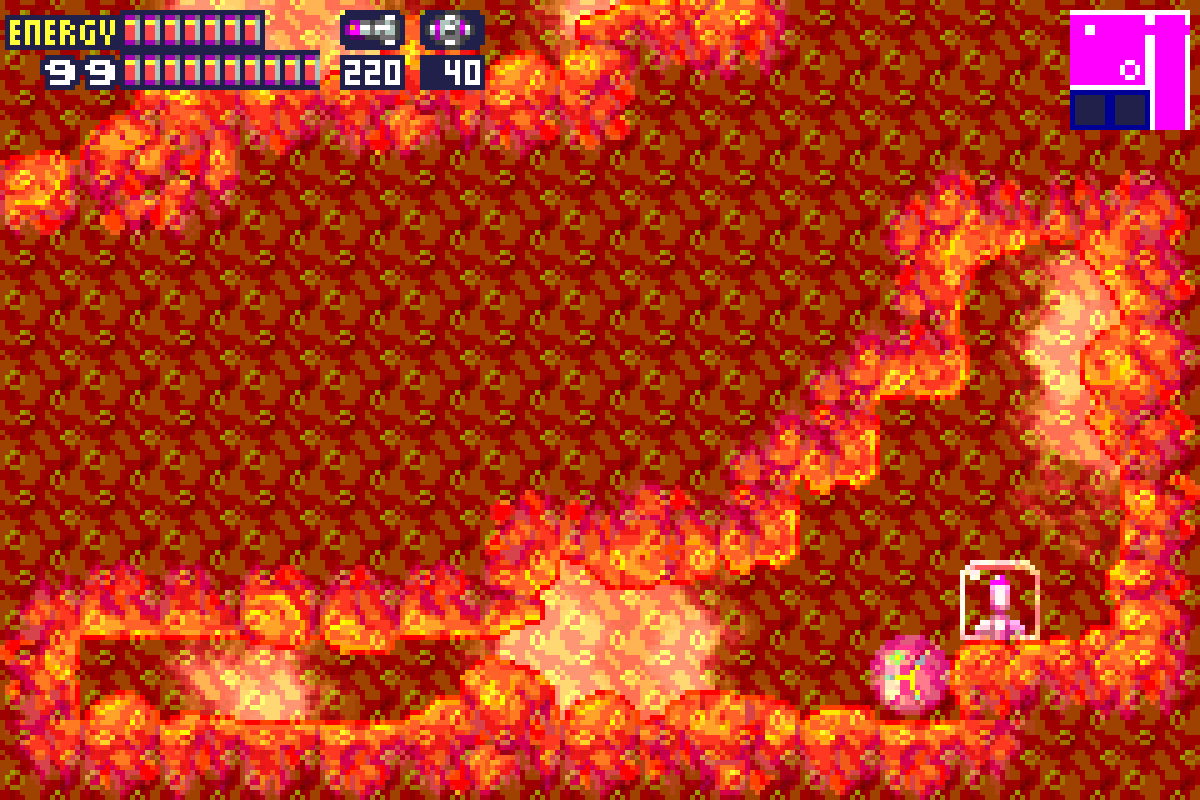
Head back to the bottom of the Xeno Shaft and this time, take the door to your right. Keep heading that direction until you get to the huge room with lava that we got the Energy Tank and Missile Expansion from earlier. Drop into the lava and run towards the bottom right corner. Take out the wall with your Screw Attack, run back, and Speed Boost through the door. Enter the next room, crouch and then at the very edge of the room, Shinespark straight up. You’ll literally fly right into POWER BOMB EXPANSION #20. When you get to the top, don’t leave the room yet though! Actually, when you hit the top of the wall with your Shinespark, just let yourself fall straight back down until you see a ledge. Grab onto it, Screw Attack the ceiling on either side, and you’ll nab yourself POWER BOMB EXPANSION #21!
Exit the top of this room and head left. Pass through the door and in the next room, shoot the ceiling and jump up to the higher platform. Head right until you get to the connecting bridge between Sector 3 and 1. Charge up your Speed Boost and run towards the left. You’re probably thinking about Shinesparking, but actually what you need to do is just a regular jump so your Screw Attack can take out the first wall and the activated Speed Boost in your jump can take out the second. You’ll probably need three short, tight hops. Once you’re at the other side, grab MISSILE EXPANSION #45.
Drop back down and clear out all the enemies. Start running towards the door to your left. As soon as you get through, crouch and Shinespark directly through the wall in front of you. Lay a Power Bomb and a tunnel will appear, leading you right to POWER BOMB EXPANSION #22.
That’s it for Sector 3 (that was a big one!)… on to Sector 2.
Sweeping Sector 2
Get yourself to the upper part of the Lock Room. Screw Attack the wall to your left and go through. This room is pretty fun. You’ll need to make a series of tough Space Jumps in here, as any time you touch the ground, it will give away. As you get closer to the expansions, you may have a quick half second of leeway to jump again if you hit the ground before you start sinking through. Keep your Space Jumps tight and good luck – there’s really not a whole lot of advice I can offer you! At the top of this room, in a tighter corner, you’ll find ENERGY TANK #19, and in the bottom corner, you’ll get POWER BOMB EXPANSION #23.
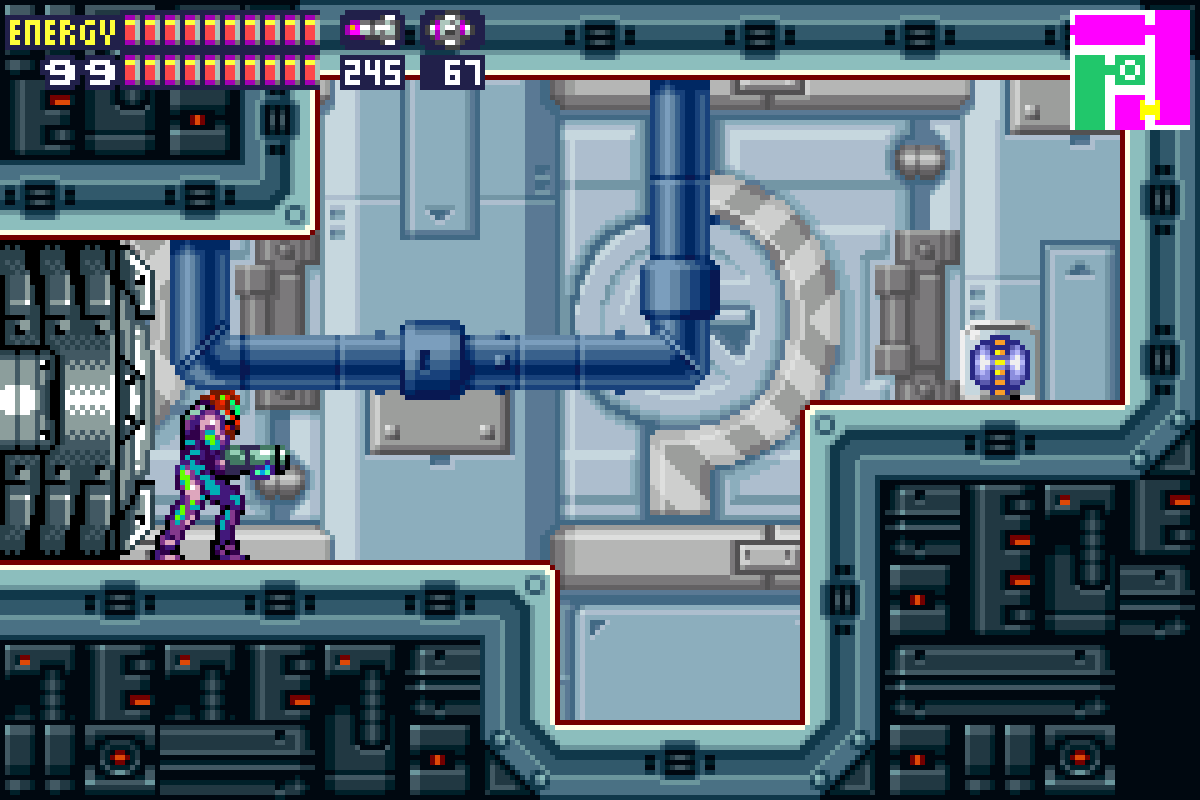
From here, head to the super long vertical hallway directly under the “main” room of Sector 2 (the first room after the Navigation Room, elevator, etc.). Fall down, roll under the pillar and into your first door on your left.

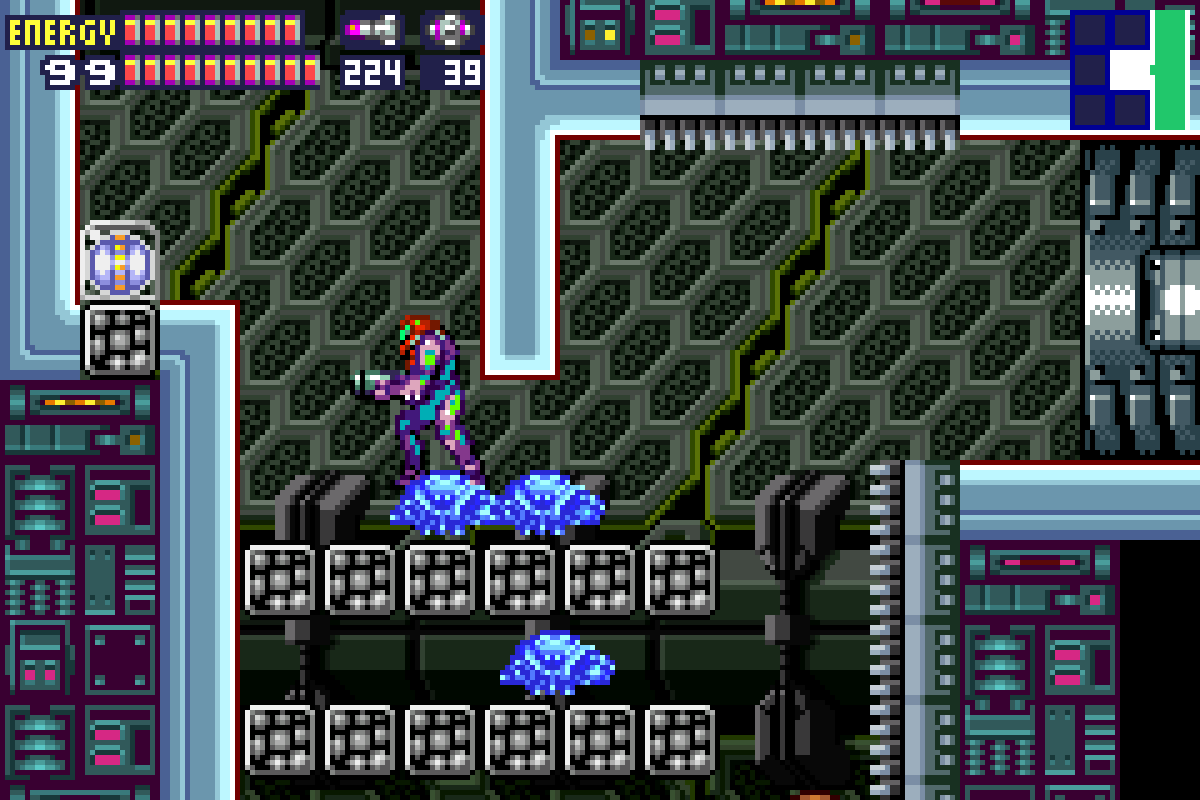
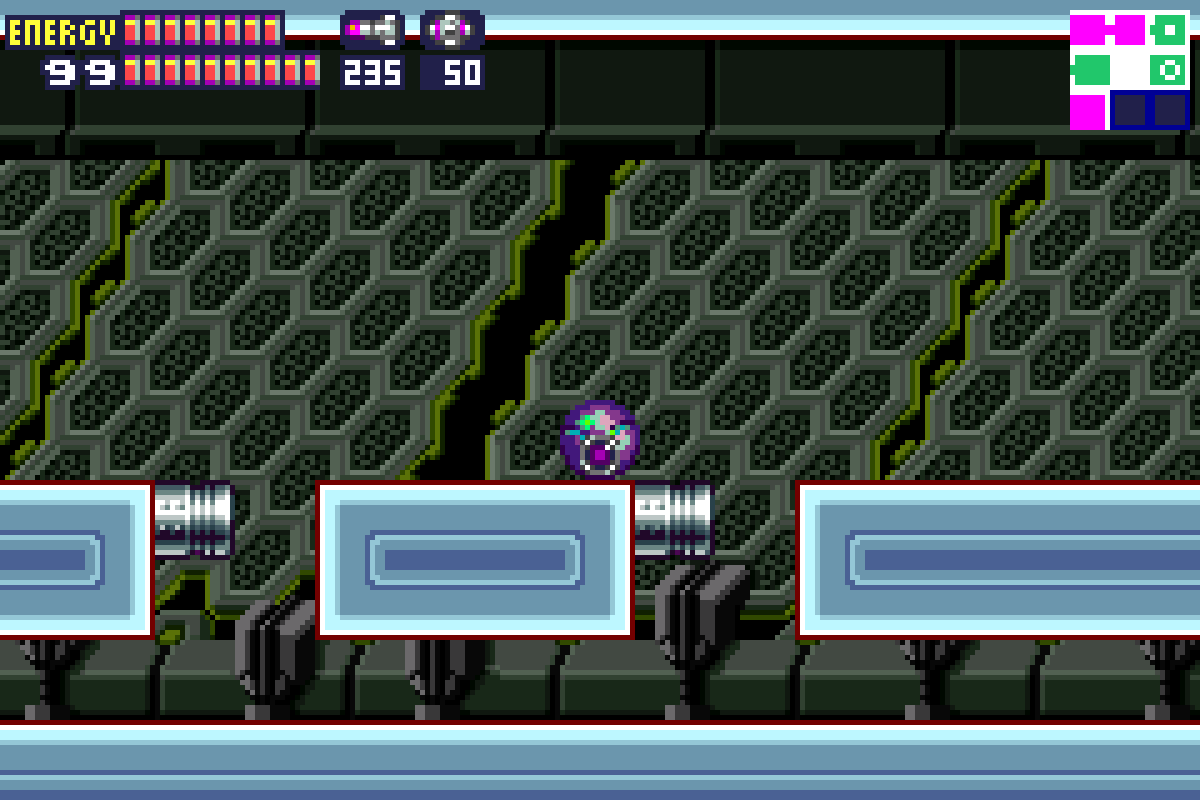
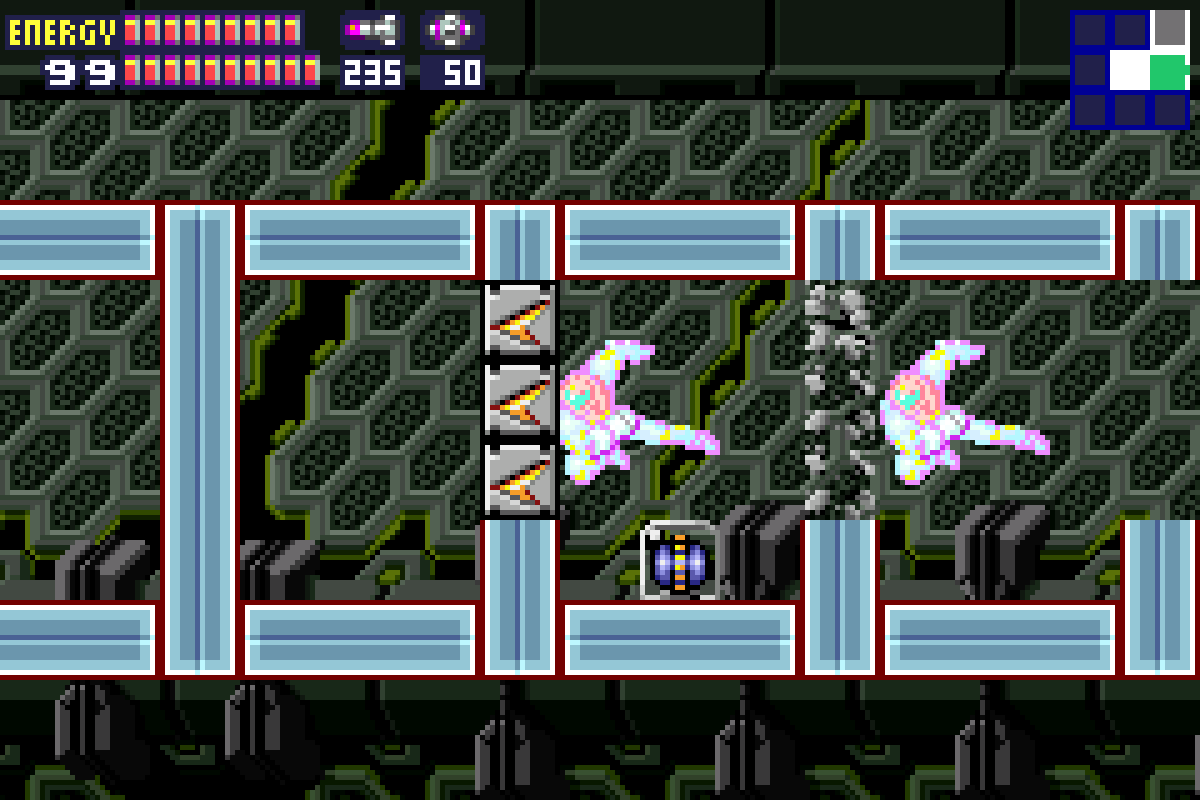
In this room, you’ll want to charge up a Diffusion Missile and use it to freeze the two Rippers under the pillar so you have a pathway or at least some platforms to jump over and grab POWER BOMB EXPANSION #24. Note: Springball jump instead of regular jump, as your Screw Attack will make short work of the Rippers. Immediately after getting your expansion, don’t move a muscle and the ground will give away, dropping you to the bottom of this room. Eventually, you’ll stop falling, so lay a bomb and you’ll find it was POWER BOMB EXPANSION #25 breaking your fall.

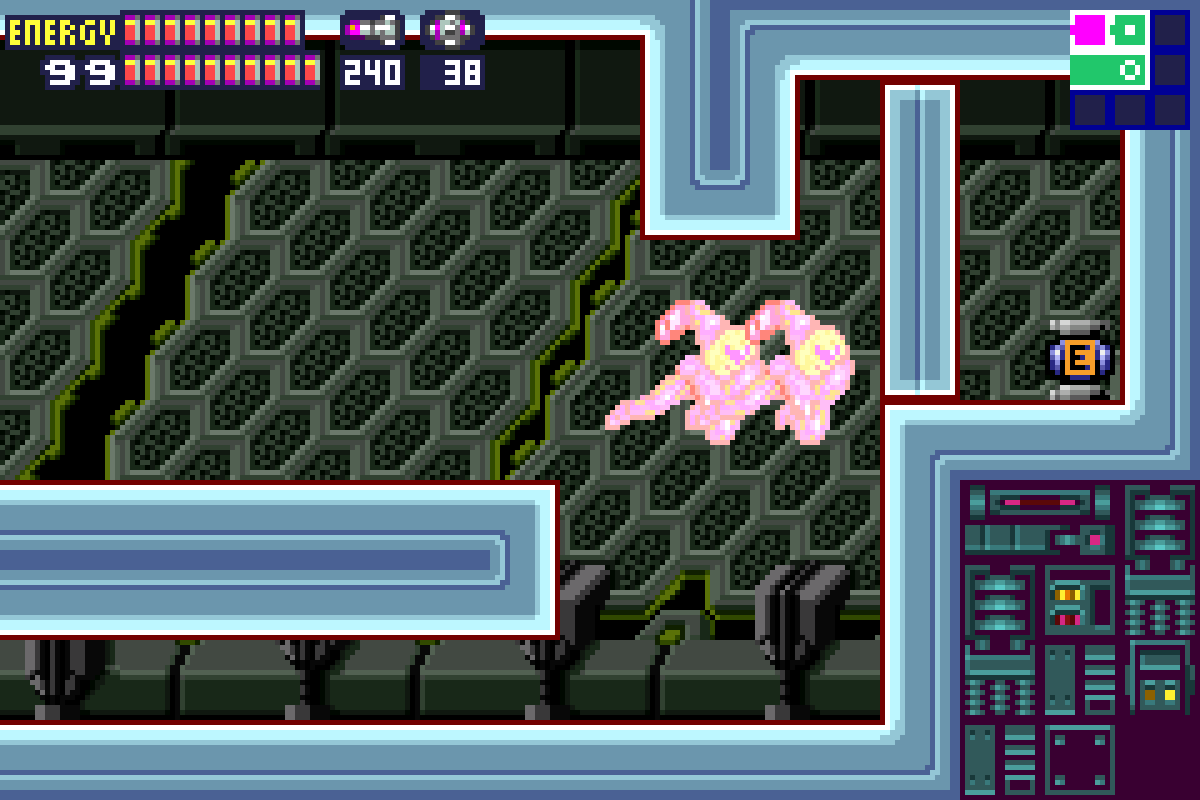
Exit this room and continue your descent down this long vertical hallway. Take the second door on your left (the door right under this one) and you’ll be back in a room full of water. Jump up, grab the ledge, roll over into the next room, lay a Power Bomb, and nab yourself MISSILE EXPANSION #46.
Get yourself over to the room you fought Zazabi in. Jump up to the top right corner and Screw Attack through the wall. This next room is pretty fun.
Drop all the way down to the bottom and run to the right side of the room. Instead of jumping up however, run right back to the left side. Crouch and get your Shinespark charged up. Jump in the air towards the pillar and Shinespark in the rightward direction. You’ll break the wall and reveal MISSILE EXPANSION #47.
Run back to the right, crouch, charge your Shinespark, and jump up to the next platform. As I’m sure you know by now, if you release a Shinespark and start flying, whenever you hit a hill or a slant in the road, you’ll be able to start running again, and thus, charge your Shinespark again. Keep running, crouching, flying, and then running again up every level (be careful on the top, you need to crouch twice!) and eventually, you’ll run right into POWER BOMB EXPANSION #26.
We’re done in Sector 2, onward to Sector 4!
Sweeping Sector 4
Head to the hallway directly under the Data Room (it should be unexplored on your map still). Screw Attack through the giant worm and pick up MISSILE EXPANSION #48. Congrats – that’s the last one!
We’re not done in this hall yet though. Get to the far right and then roll through a hidden tunnel in the wall. You’ll fall into the room below; take out the Yards and get yourself to the left of the room. Speed Boost over to the right side of the room and then Shinespark directly up from where you fell down. You’ll land right on POWER BOMB EXPANSION #27.
Sector 4 is done, on to our last area before heading up to the Main Deck!
Sweeping Sector 6 + Restricted Zone
Sector 6 has some pretty tough expansions to acquire, but for my money, they’re some of the most fun as well.
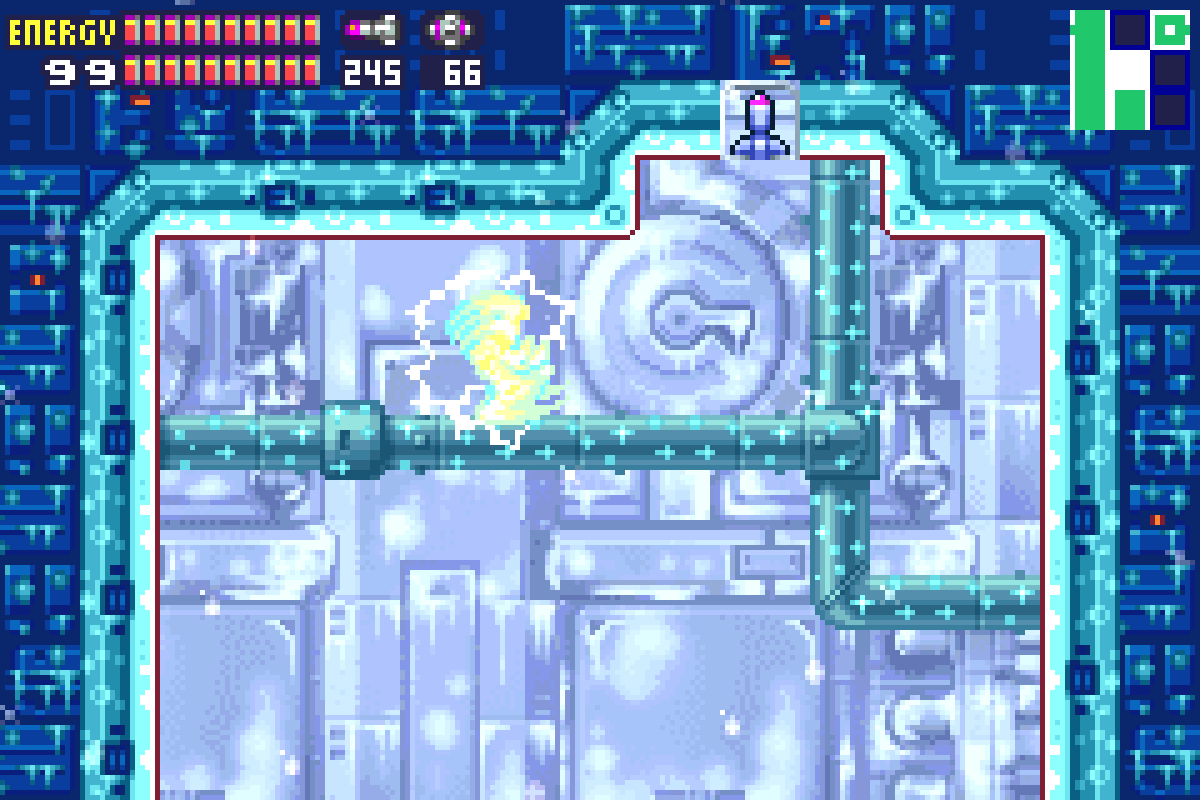
Head to the Frozen X room. In the middle will be a block that was preventing you from Speed Boosting before. Destroy it with your Screw Attack and head to the left. Speed Boost towards the right, crouch, shoot the door open, and Shinespark straight through the wall and into a hidden room.
This room will be tricky if you don’t know the sequence. There are four floating platforms and the goal is to bomb certain parts to activate connectors between them, allowing you to Speed Boost. Carefully lay bombs in the following spots:
- In the middle of platform #1
- In the middle of platform #2
- On the far left edge of platform #3
- On the far right edge of platform #3
- In the middle of platform #4
Doing so should activate all the connectors you need. Run over and charge up your Shinespark, go crashing through the far wall and get the last Energy Tank in the game, ENERGY TANK #20. Woo-hoo! Don’t forget – you need to Shinespark back towards the left through the wall you came in from!
Once you’ve done that, head back to the Frozen X room again and get rid of the middle block so you can Speed Boost. This time, run towards the left. Crouch and charge your Shinespark, jump up on the ledge where the door is, shoot the door open and fly away. You’ll go crashing through two rooms and then enter a massive room where you’ll STILL be flying!
You’ll notice that you flew just over a Power Bomb expansion. Once you hit the wall, jump towards the top of this room. The goal here is to charge your Shinespark, jump down and activate it in midair, almost exactly flush with the ground so that you go crashing through the expansion. This can be tricky, but honestly I think flying around as an indestructible bounty hunting bullet is kind of fun, so even if it takes you a few tries, you should still have a good time. Remember, when you have your Shinespark charged, make sure to jump forward so as to not activate it until you’re ready. Eventually, you will secure POWER BOMB EXPANSION #28.
You’re not finished though! Head to the bottom left of this room and start running rightward. Charge up your Shinespark and jump up to the little ledge and start running. There’s a catch though – this won’t get you through the wall since those aren’t Speed Boost blocks! The only blocks that can be destroyed with a Speed Boost are on the ceiling of the square surrounding the expansion. So basically as soon as you activate your Speed Boost and start running, the moment you hit the incline, jump, jump, and jump again. Three quick jumps should give you the height and the distance to control your landing and go crashing through the roof, nabbing you POWER BOMB EXPANSION #29.
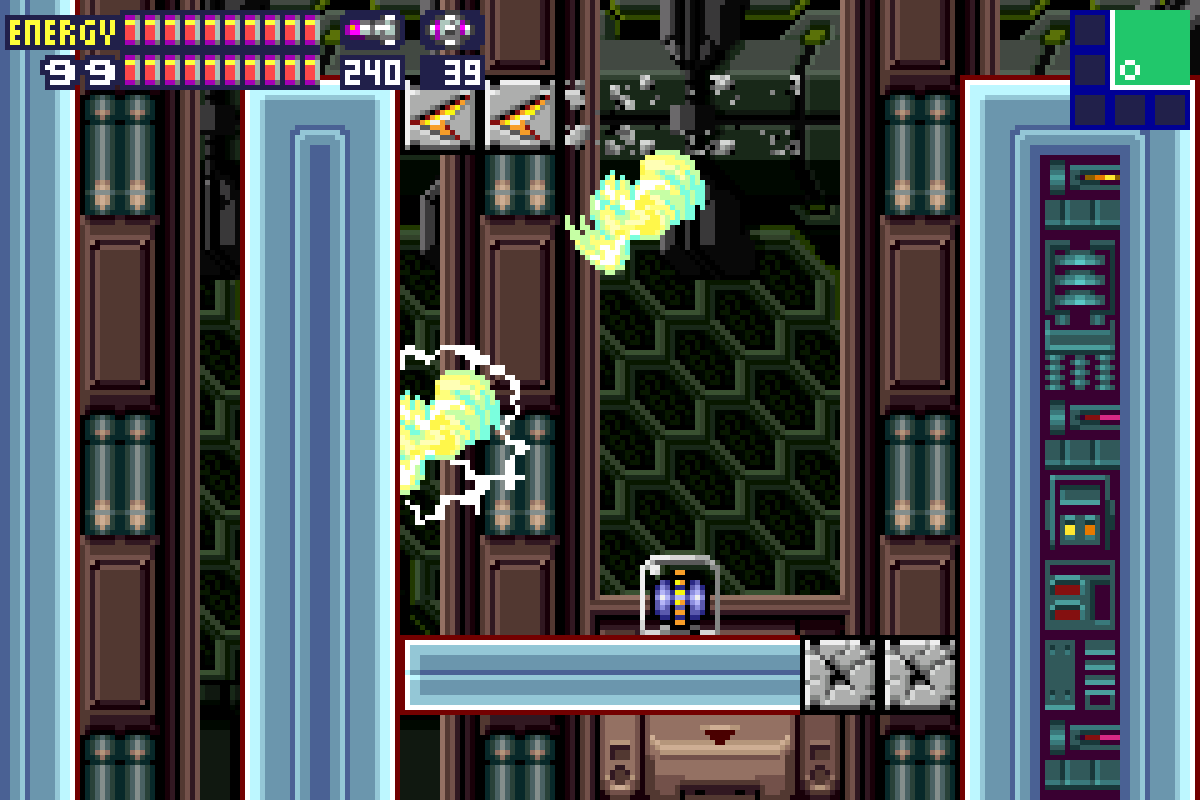
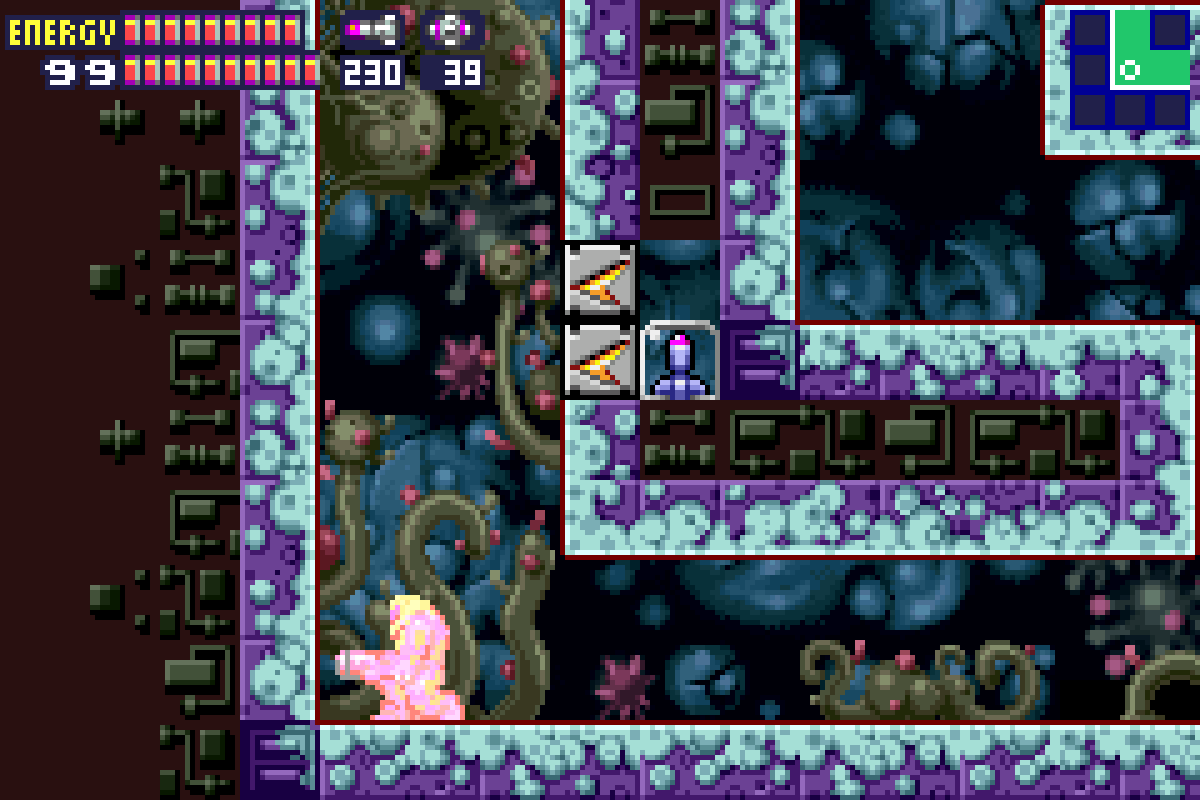
Exit and make your way to the room directly above where you fought B.O.X. for the second time. Instead of dropping down, jump across and Screw Attack through the wall. Do keep moving towards the right and you’ll enter a secret room. In here, you’ll see three Owtches crawling around. Keep at least one alive! Make your way to the upper right corner and a regular bomb to reveal a tunnel. You’ll find there’s a little alcove towards the end of the tunnel right before the expansion – the ground here will give away if you roll over it. Wait until one of the Owtches is in the middle and then freeze it with a Diffusion Missile. Use it as a platform and grab POWER BOMB EXPANSION #30.
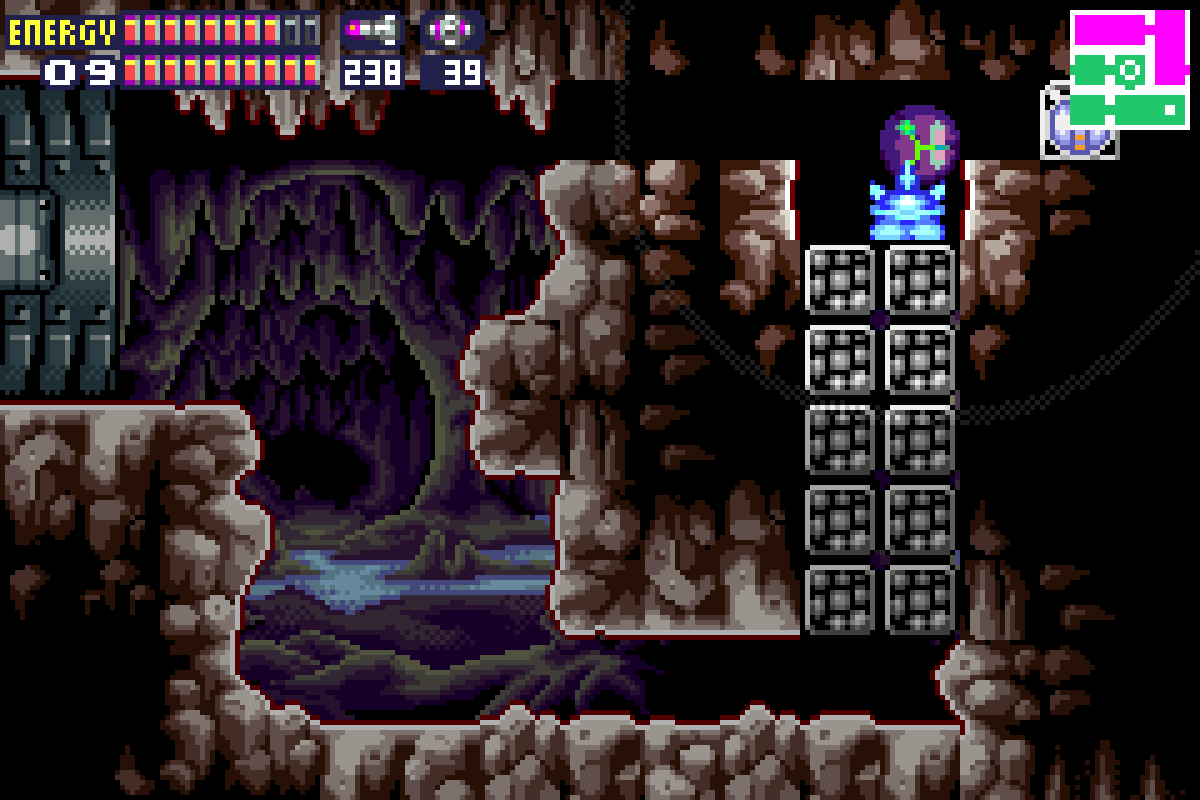
Once you’re done here, make your way to the Restricted Zone (or at least where it used to be). Once you get past the Save Room, keep running and Speed Boost until you reach the room where you can see outer space. Stop and crouch; once you’re in the center of the room, Shinespark directly up and Samus will literally fly through space and grab POWER BOMB EXPANSION #31.
You’ll come up in Sector 1, so make the long trip back to the Main Deck. Congratulations, all Sectors should now have 100% item completion!
Main Deck Cleanup
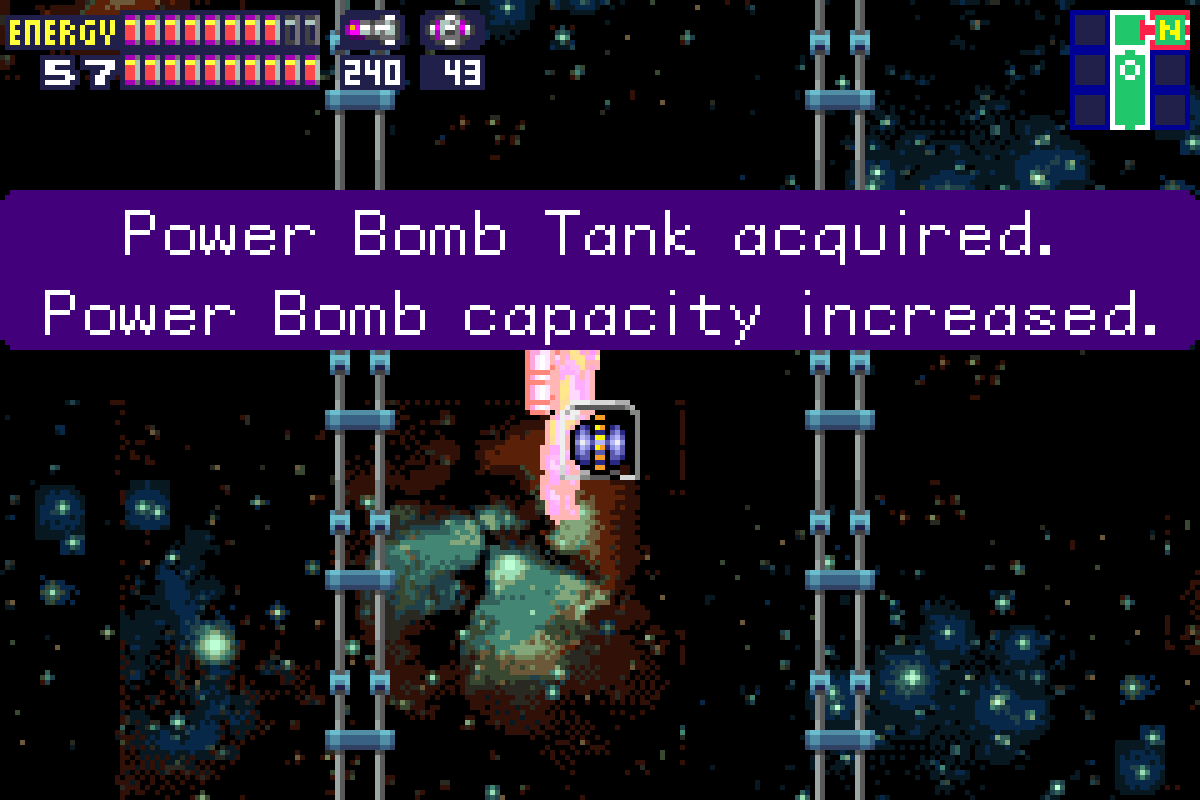
Once you’re on the Main Deck, head to the Green Door directly opposite the elevator that took you up to the Habitation Deck. Go through and enter the last room with a hidden expansion. Springball jump up and towards the right on the rightmost wall and you’ll enter an invisible tunnel. Jump up again and to the right and you’ll fall over and right into POWER BOMB EXPANSION #32. Amazing! You now have 100% items for Metroid Fusion! All that’s left is to finish the fight, so save your game and head towards the targeted position on the map.
Next Chapter: The Final Confrontation