


Metroid Dread Walkthrough – The Hunt for Kraid
Walkthrough
The Wide Beam
Welcome to Dairon, the industrial complex full of killer machines and metallic surfaces. Our stay here will be relatively short and then we’ll be heading back to Cataris, but don’t worry – we’ll be seeing much more of this area soon.
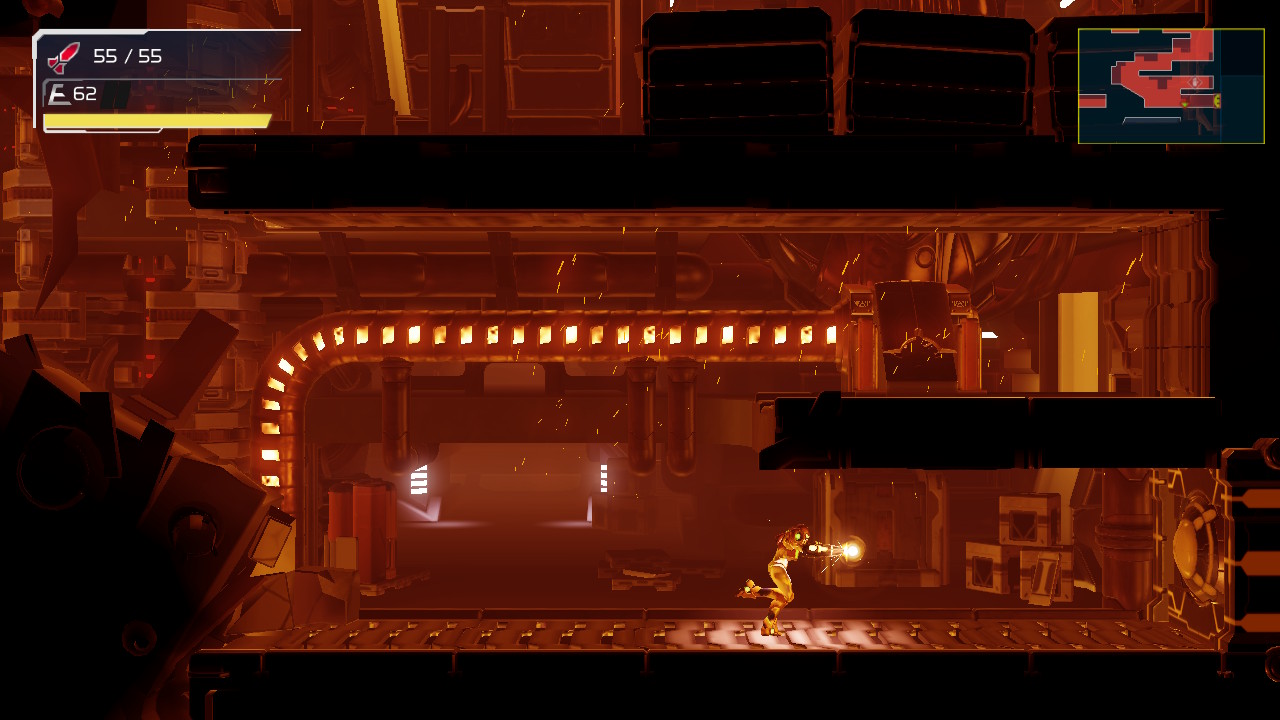
Start off by exiting the elevator room (I guess they’re more like tram cars than elevators, eh? Super cool, but the old school Metroid fan in me can never not call these rooms elevator rooms) and jumping on the spider tracks leading up. Follow the path until you reach the hint butterflies. Go forward and you’ll see what looks like a dead end – we know better than that though. Shoot the floor (although don’t shoot the blocks that look all messed up, those can only be broken with the Speed Booster) and you’ll drop through.
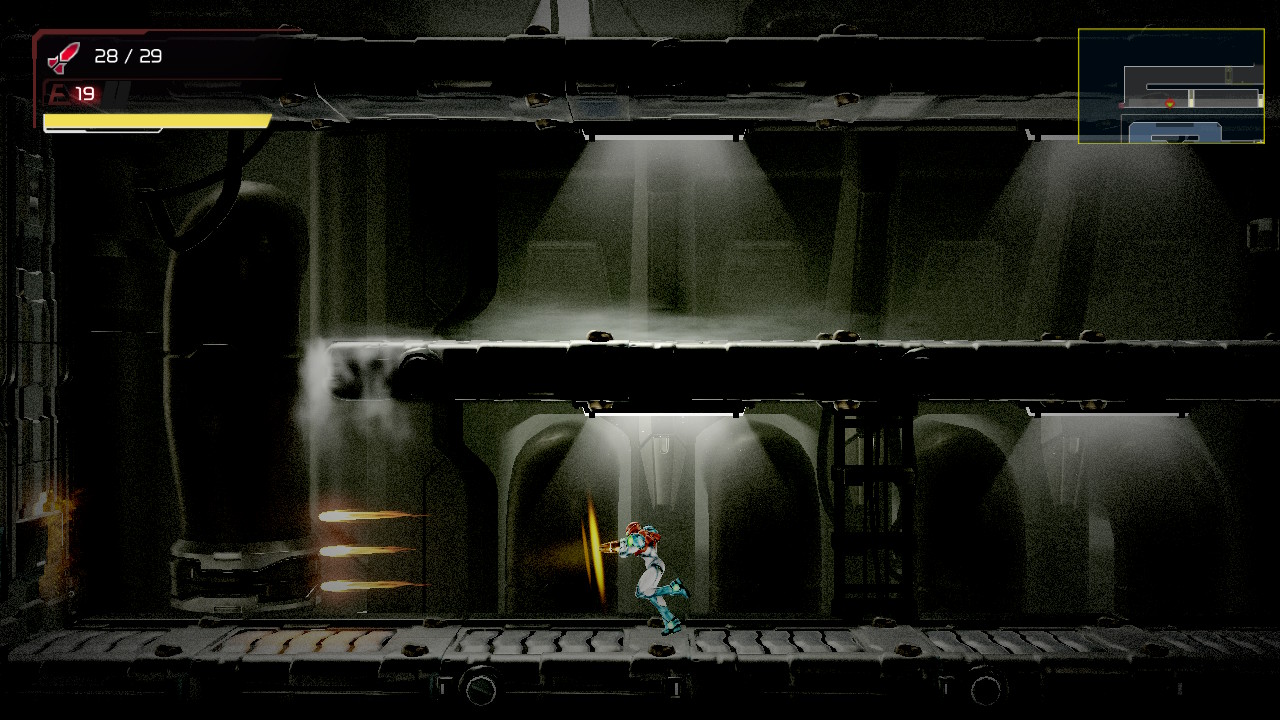
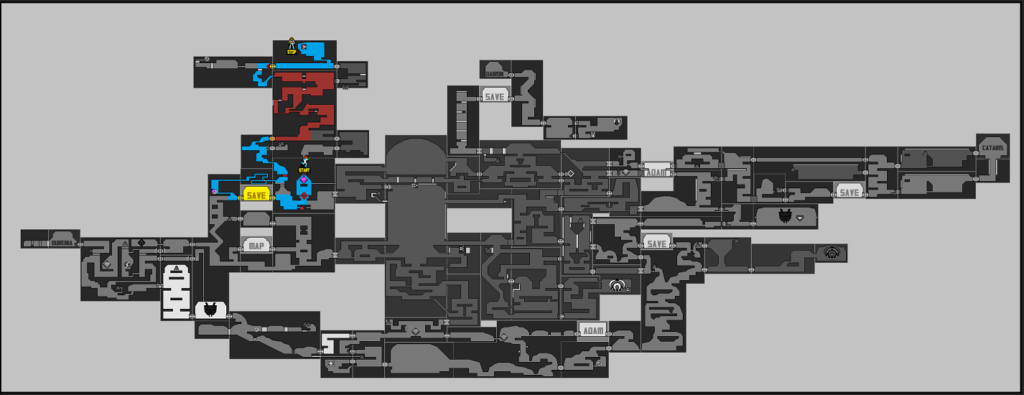
Drop all the way through to the bottom of the room and exit left into the Save Station. Do your business and then exit left. You’ll be in a long vertical hallway full of deadly machines trying to run you over. Carefully make your way to the very, very bottom of this room and exit left.
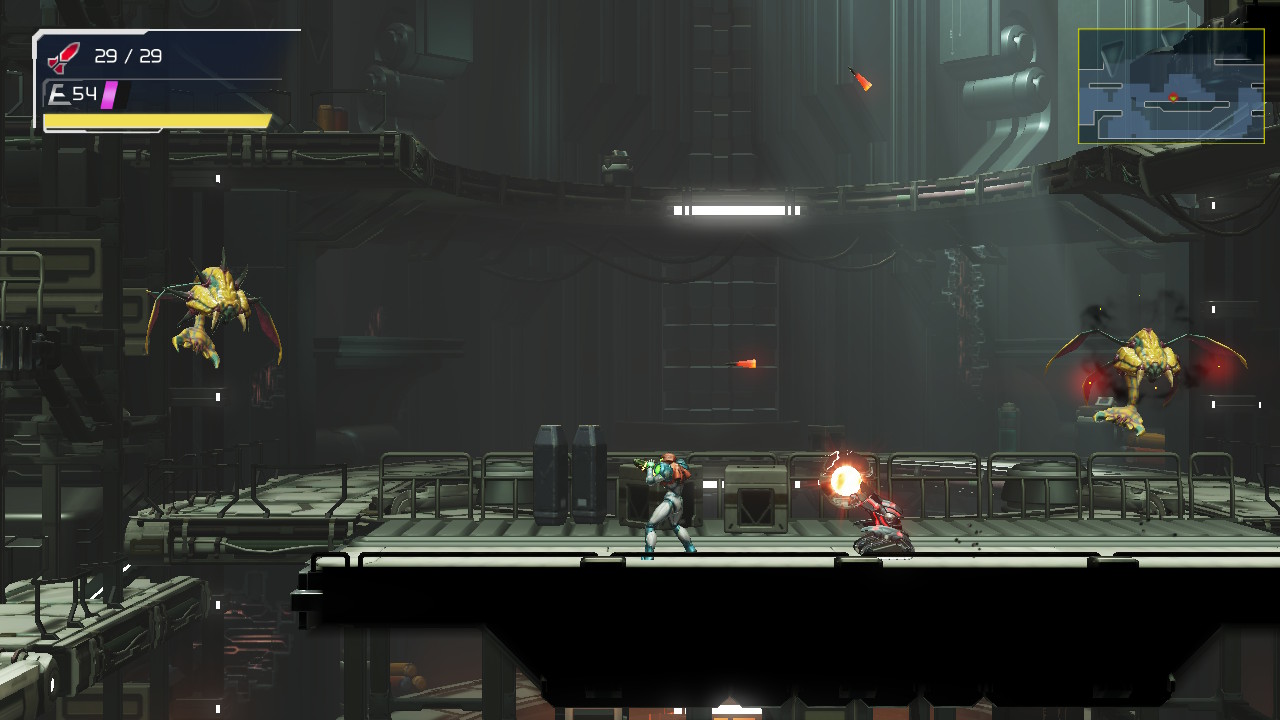
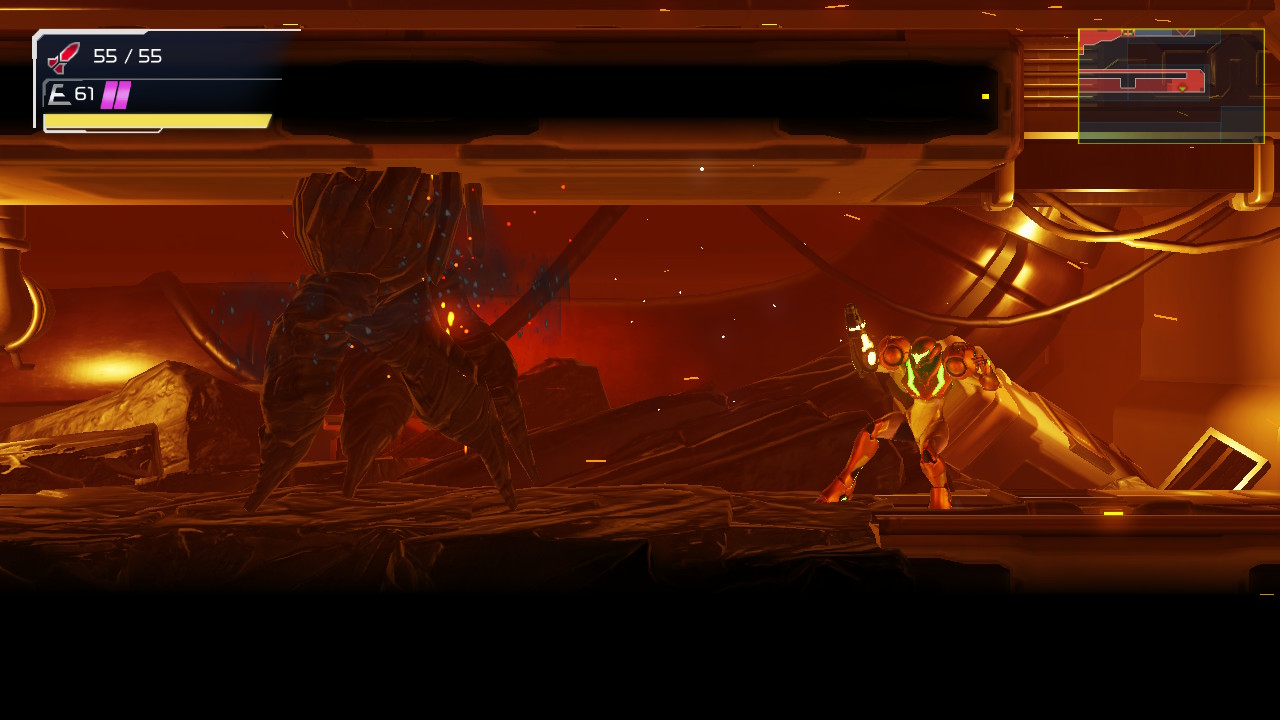
You’ll be in a large room full of some really powerful Kihunter-esq enemies that can shoot bullets at you in almost any direction. These guys suck, so I would advise either hauling butt as fast as you can to avoid them, or blasting them with ~4 missiles to eliminate them. This isn’t to say anything about the rest of the creatures in here, either. Anyways, for such a giant room, there’s really not much that we can do in here right now, so make your way to the bottom left door.
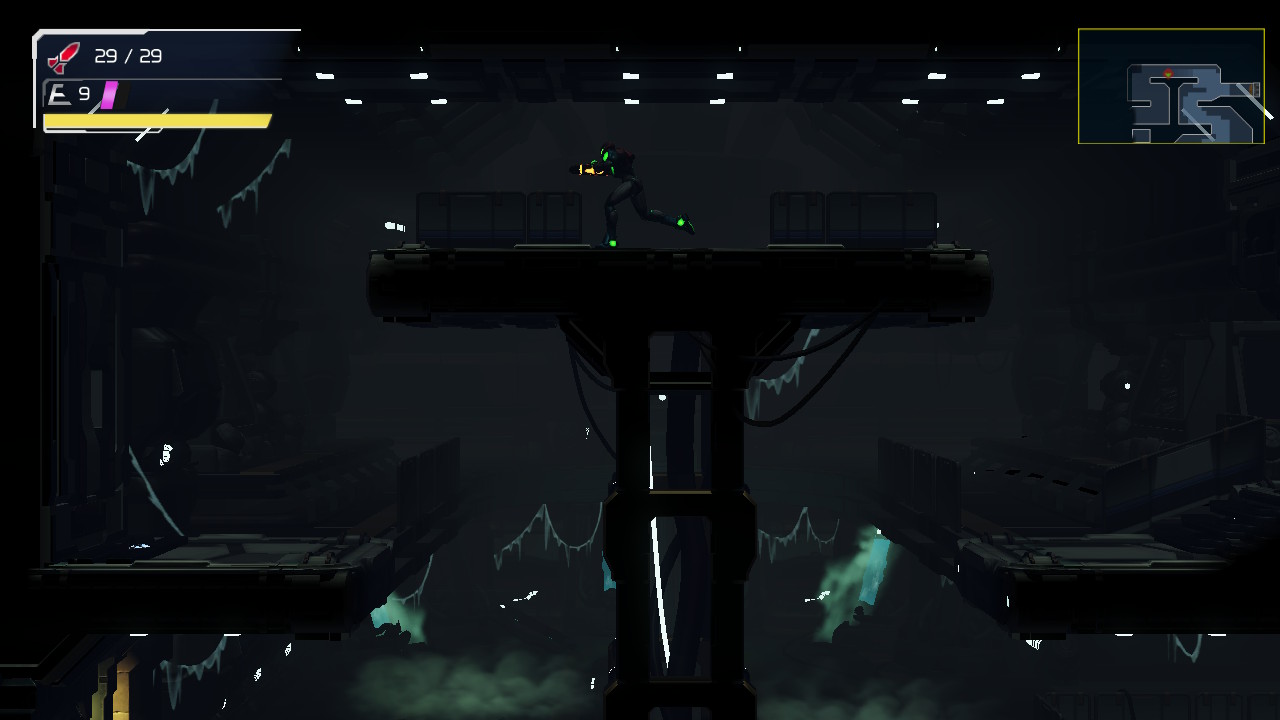
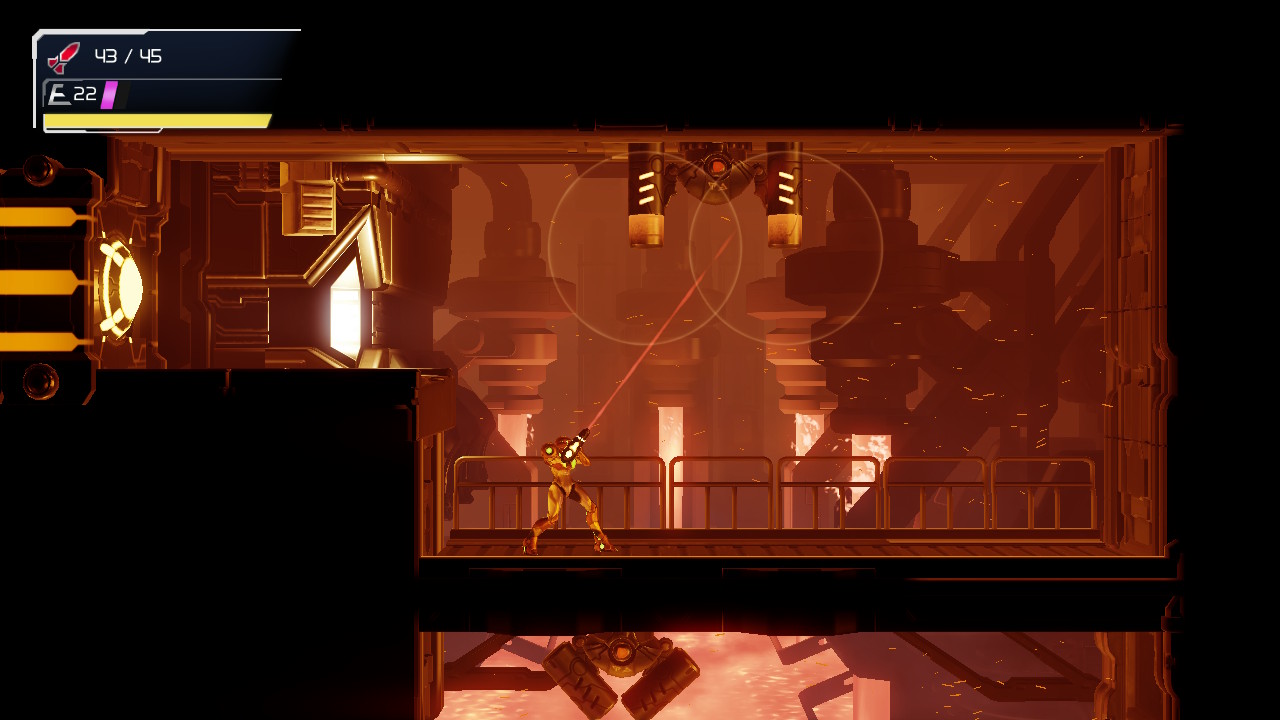
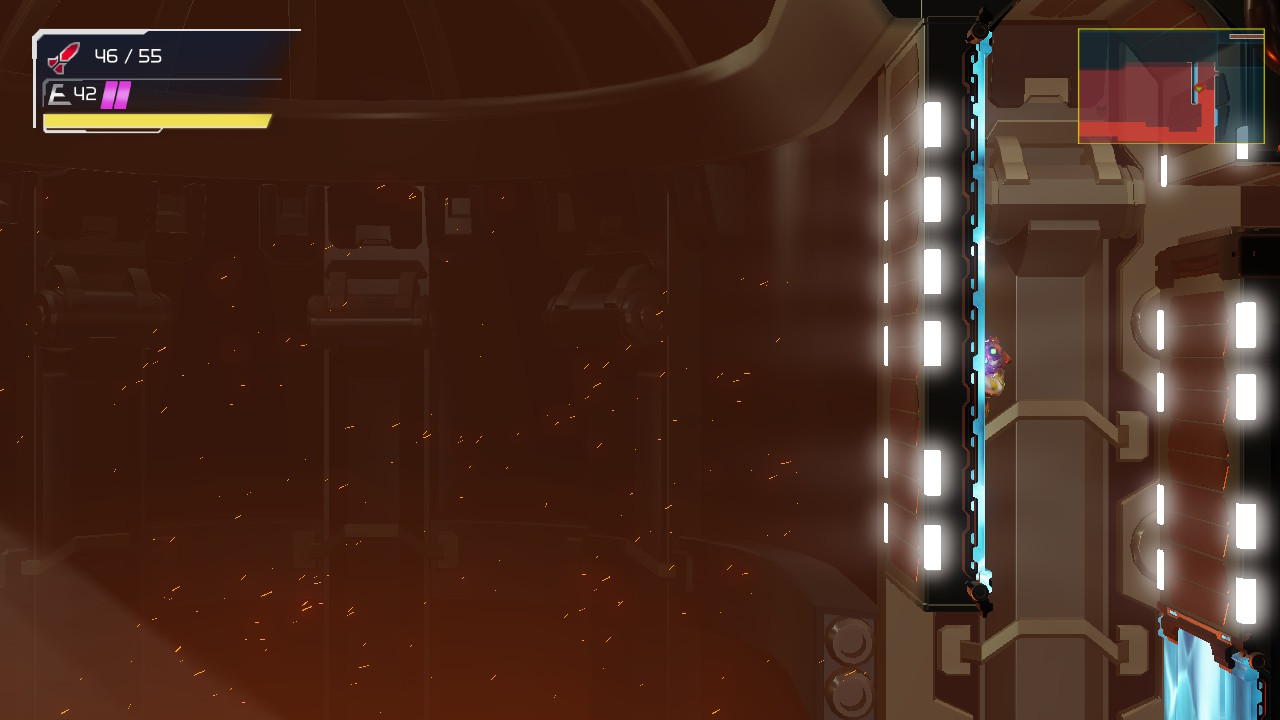
And into the dark we go. The power will be out in this section of Dairon, meaning no doors work, no recharge stations work, and no lights work. Don’t know about anyone else, but this gives me some definite Wrecked Ship vibes.
Since the power is out and the doors don’t work, the way forward is fairly simple. Press forward to the left, and in the new room, follow the pathway up. When it seems like you’ve reached the end, you guessed it, shoot the floor and slide over to the left. Once you’ve landed, activate the power.
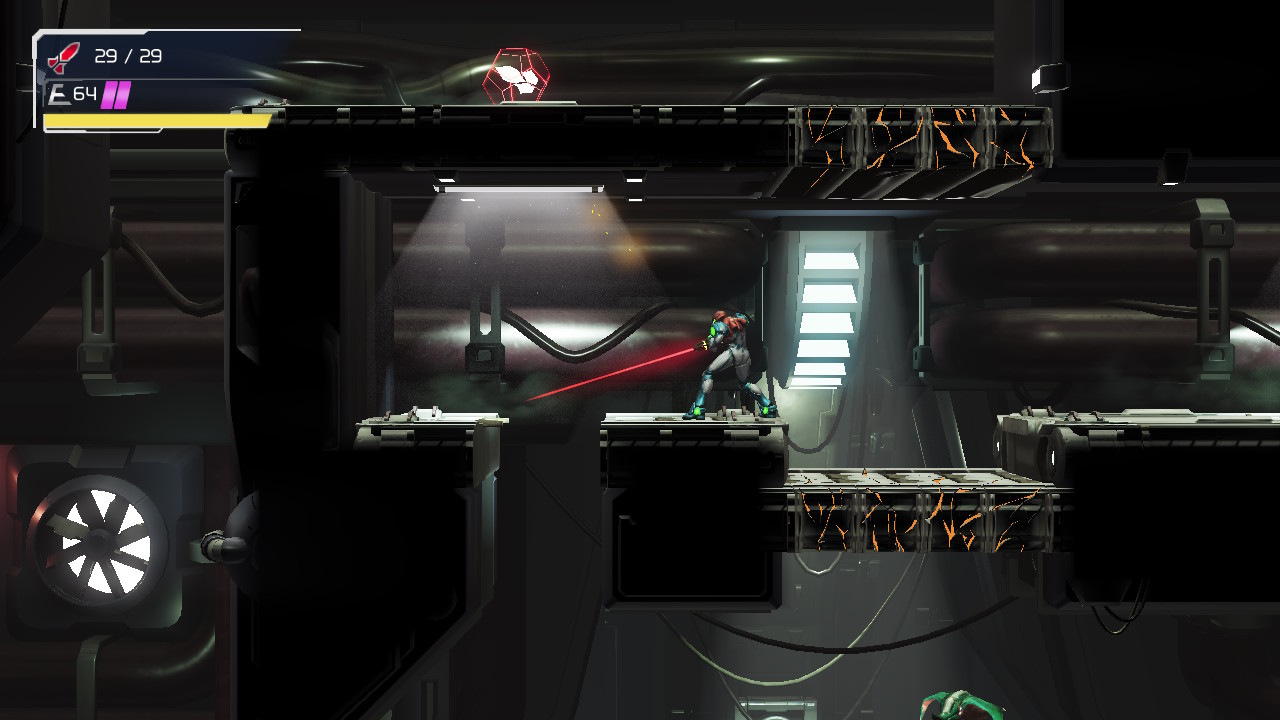
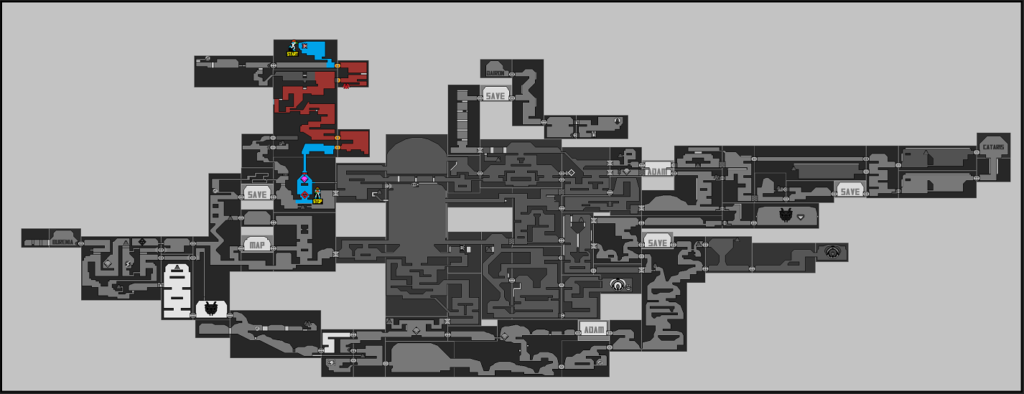
Once everything is back online, head out of the door and up. You’ll see a missile cover on a door, so destroy it and step inside this room. There’s a Chozo Statue holding the WIDE BEAM, so go and take it! Arsenal upgraded! The old school in me is again coming out – what’s up with this not being called the Spazer Beam??!
Shoot the floor and keep blasting until you get out the door. You’ll be back in the large room from before; shoot out the Wide Beam box and proceed up towards the top right, the circle back to the left. Here we go, another E.M.M.I. Zone. Yay…
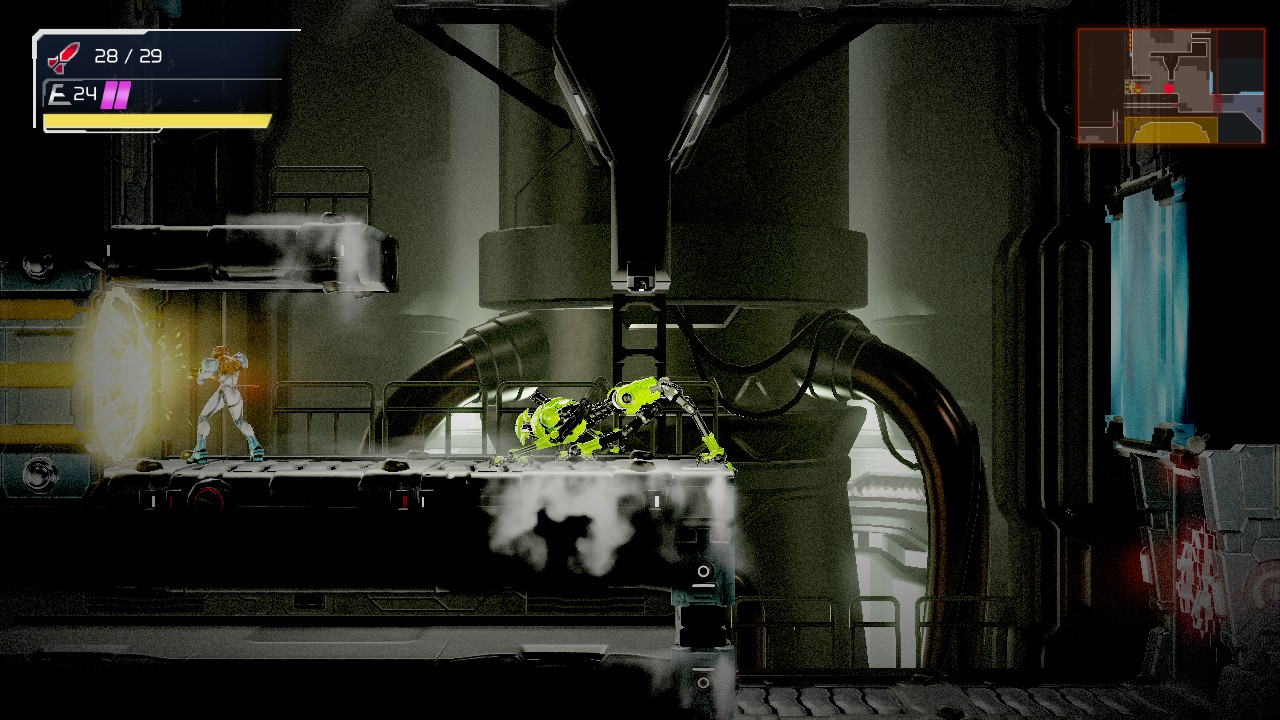
Enter and head left. Almost immediately, a cutscene will trigger and you’ll meet the newest E.M.M.I. you’ll need to contend with. This E.M.M.I. is yellow and suuuper fast, fast enough to easily catch Samus if not for a well placed shutter. Once the cutscene is over, start moving! Head to the right until you leave the E.M.M.I. Zone. We dodged a bullet there, but soon enough, we’ll have to pay the rent and confront that guy. Right now, all you need to do is follow the path back to the Cataris elevator, blasting any Wide Beam boxes in your way, and taking the tram back when you finally make it.
Cataris Central Unit
Once you’re back in Cataris, head out of the elevator room. You won’t need to go the long way around to get back into the E.M.M.I. Zone; you can just shoot the pillar and slide right through, dropping down and blasting the Wide Beam box to the other side of the room. Enter the E.M.M.I. Zone.
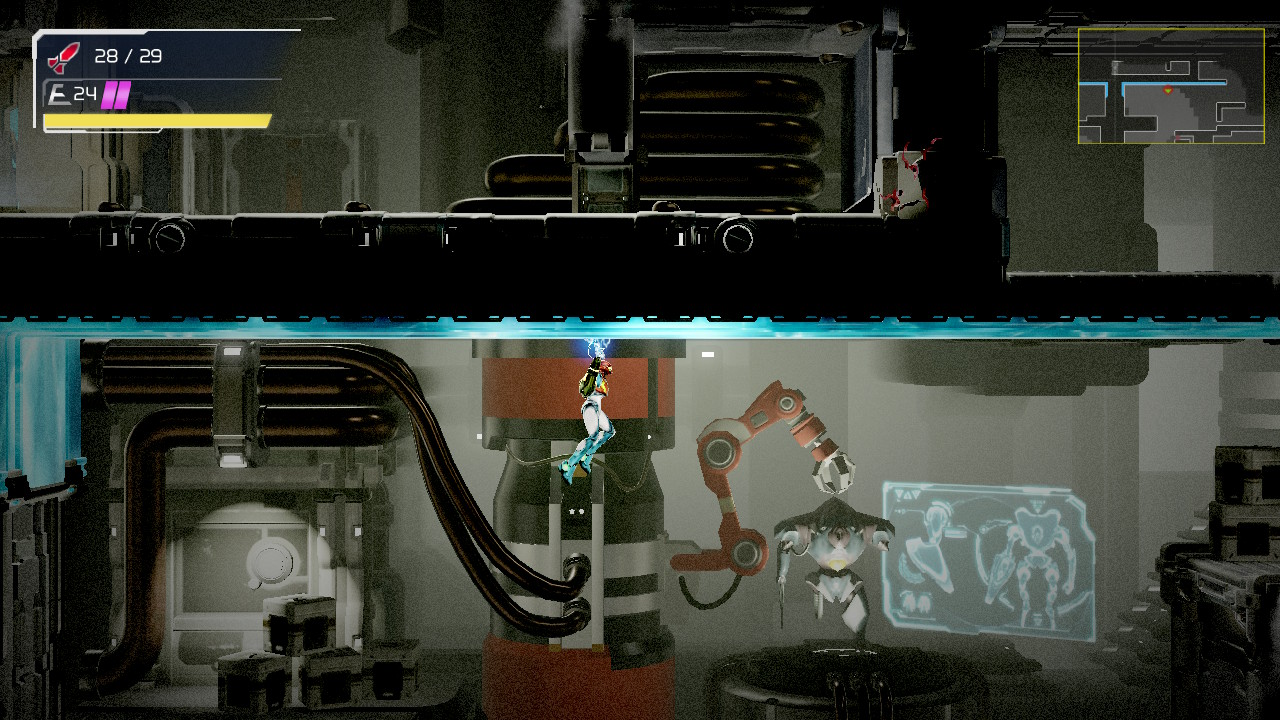
Once inside, jump over and drop all the way down to the door on your left. This door will have three eyes just begging to be blasted by our Wide Beam, so let’s not disappoint it. Act quickly, since the E.M.M.I. will probably be hot on your tail.
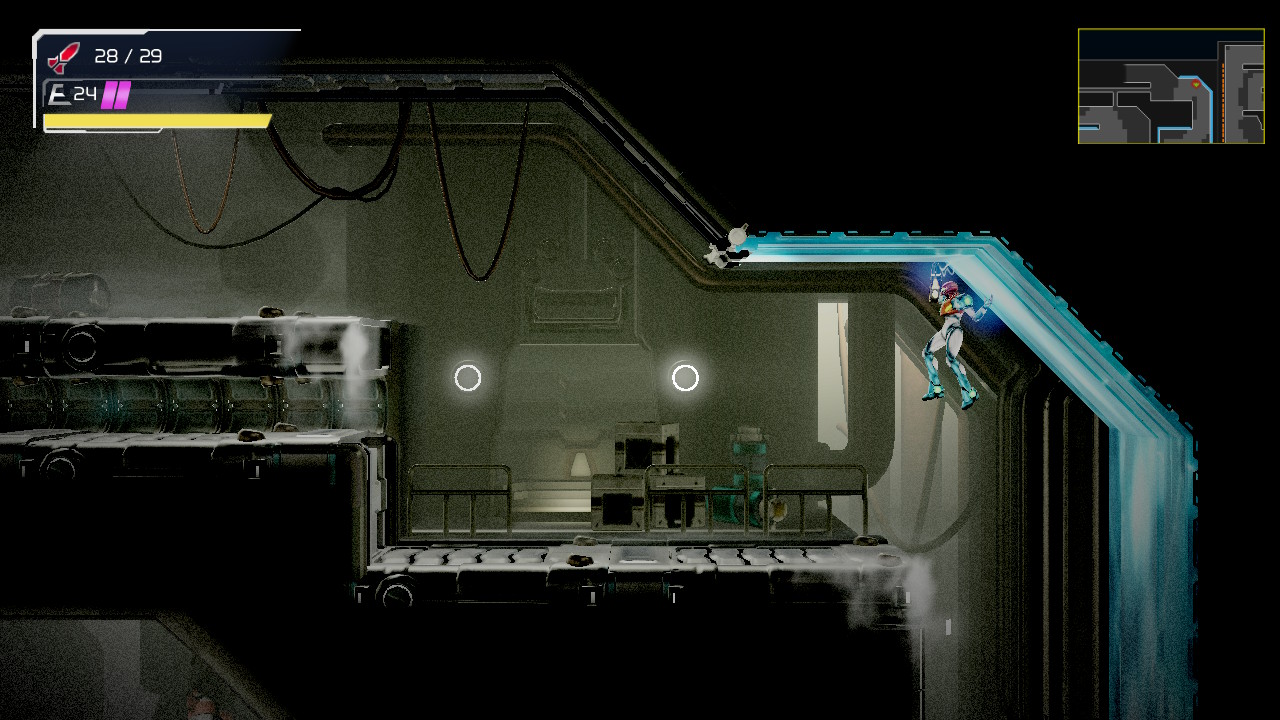
In this next room, you’re going to zigzag, kind of making a Z-shaped pattern of movement. Press left, sliding twice until you reach the end of the room. Climb up and start making your way to the right until you see spider tracks. Climb up over, making your way all the way to the left of the room, entering the Central Unit.
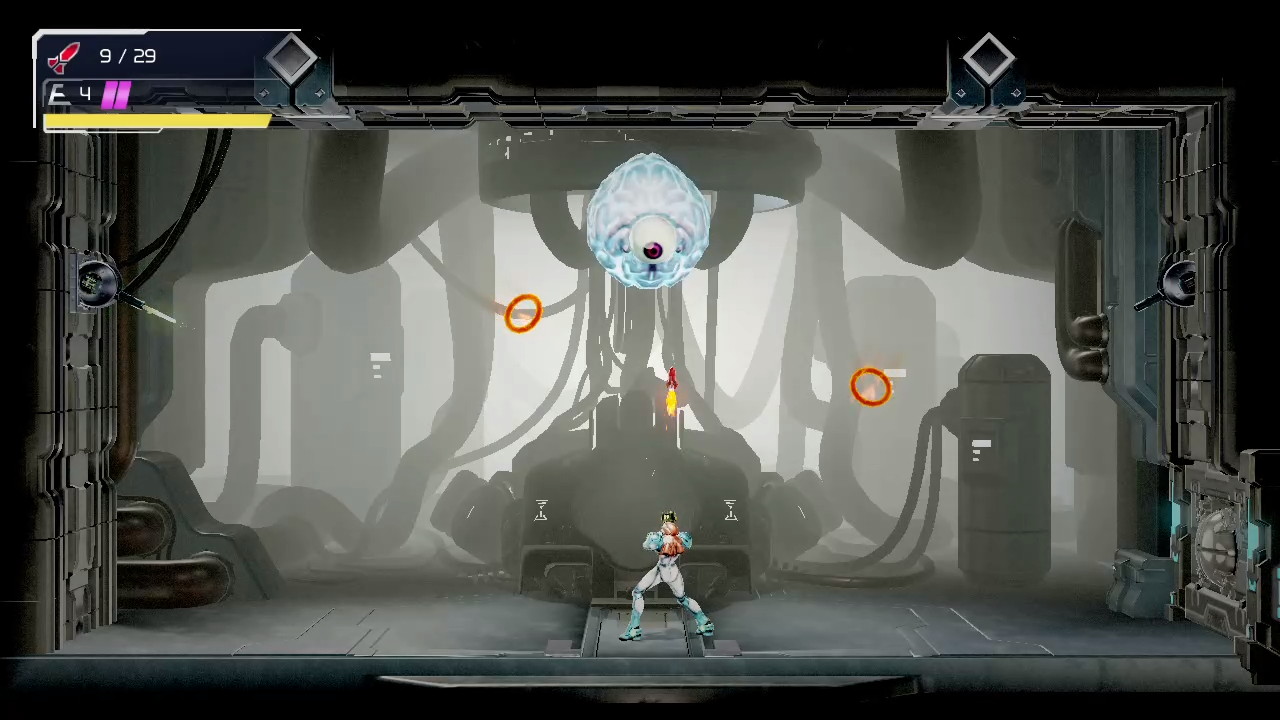
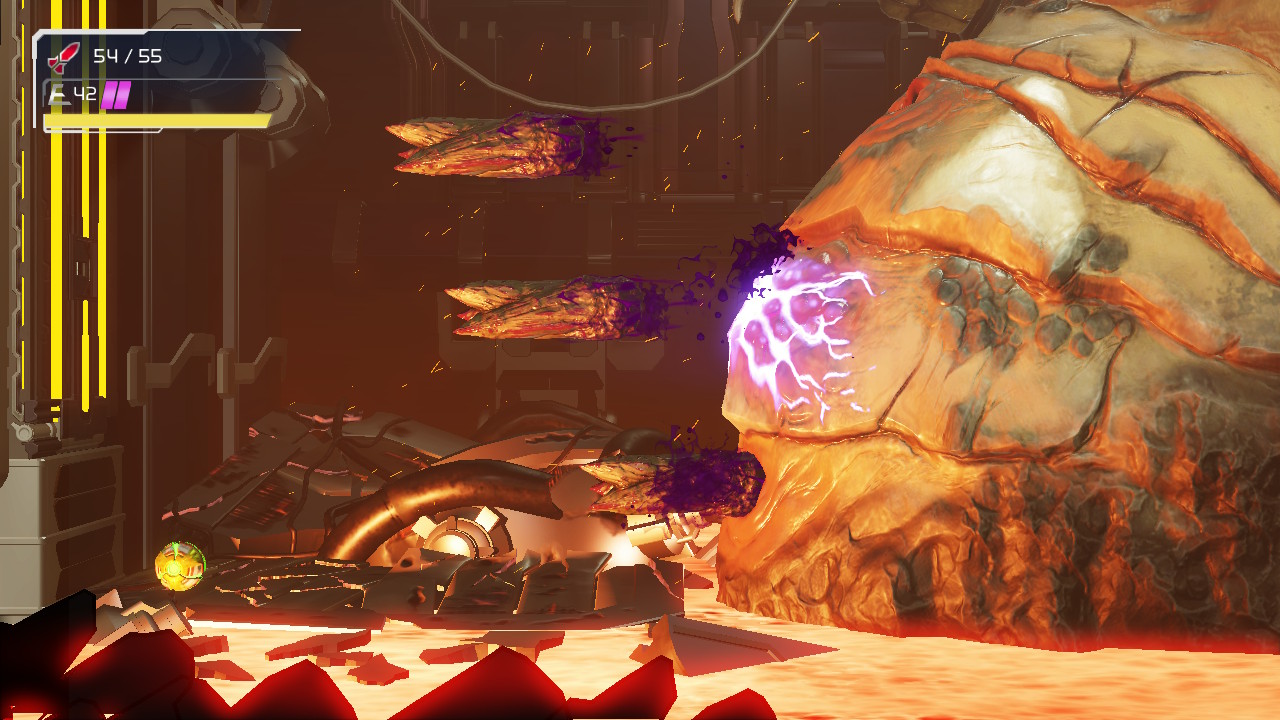
This will be the same idea as before. The Unit will float up, wrapping itself in a protective barrier. Pelt it with missiles and charged shots, avoiding the Rinkas and turret gun fire, and after around 25-30 hits, the Central Unit will fall, giving you access to the Stream and Omega Cannon.
E.M.M.I.-03MB
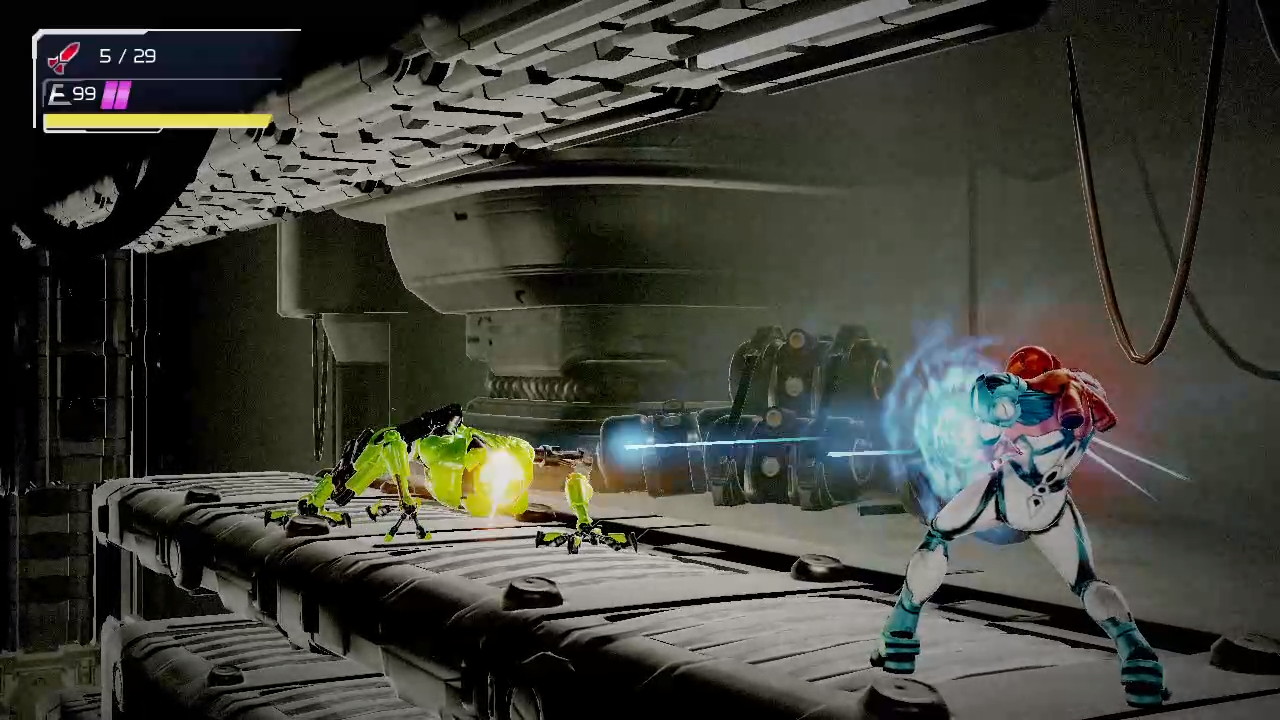
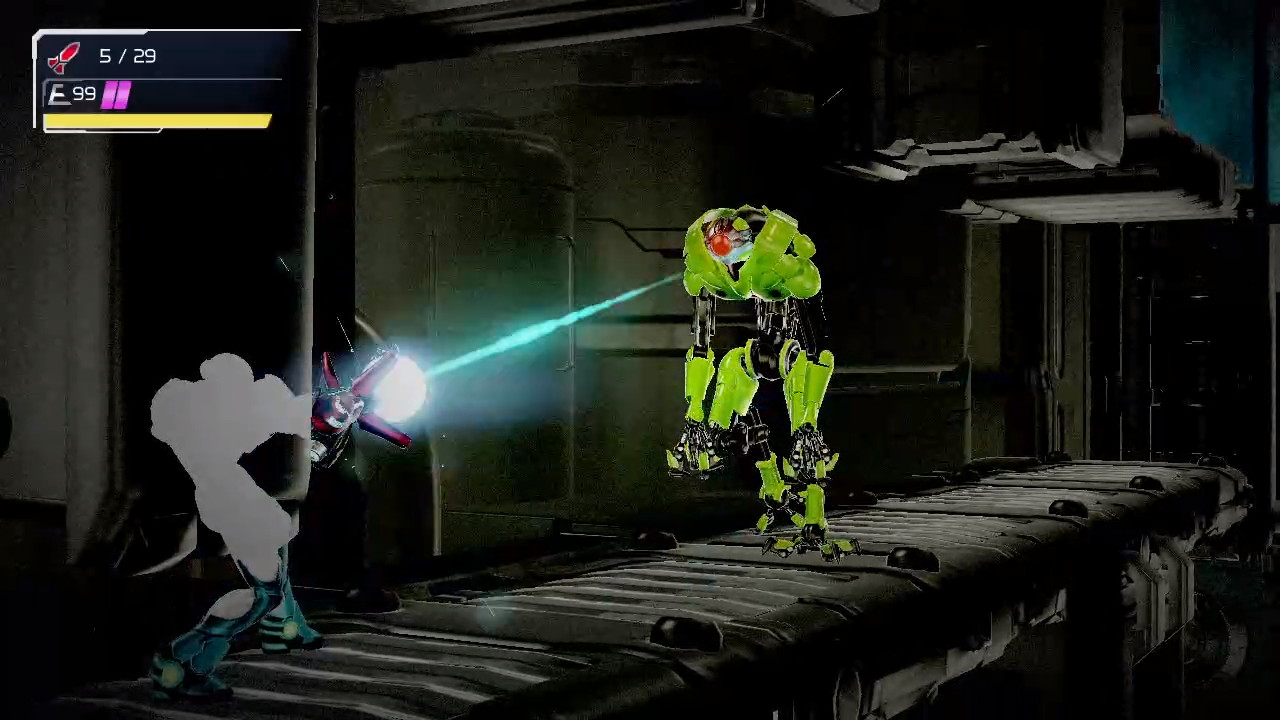
The alarms are of course going haywire and the E.M.M.I. will be crawling towards you. This is fine actually, because there are a bunch of places where we can finish off this green goblin pretty easily. For starters, jump on the middle platform right outside the Central Unit room. There’s a passageway for the E.M.M.I. to crawl under, so just watch out for which side it goes to. You can probably finish the E.M.M.I. off entirely on this platform if you act fast actually. Wait until the E.M.M.I. comes up and melt its face off; with the time that it spends shedding its armor and readjusting itself, you should have enough time to change up the Omega Canon and blast it. If not, no worries – just drop down and there’s a big flat piece of ground where you can charge your shot. When the E.M.M.I. comes down, boomshakalaka. Once he’s defeated, get yourself the MORPH BALL.
The Varia Suit
Sweet! May we all never take getting the Morph Ball early in game for granted again! Not only can we finally fit in all those small tunnels, but Metroid Dread’s Morph Ball comes equipped with the ability to jump while in ball form, aka the Spring Jump, a separate powerup in many other Metroid games. Pretty awesome!
For now, let’s get moving. Drop down to the very bottom of this room and take the Morph Ball tunnel to your left. It will drop you back down to the lower part of this room. You’ll see a missile expansion, but hold on just a sec! Instead of grabbing it right now, book it to the right, continuing right a couple rooms, past the Map Station, over the moving spider rail room, into the E.M.M.I. Zone again. Right under the E.M.M.I. Zone door to exit, you’ll see a Morph Ball tunnel. Go slide in!
In this room, there is a robotic enemy called a Shakernaut. It’s imperative that you counter and destroy this guy asap, since his beams hit insanely hard. Once you’ve done so, scale the spider tracks along the ceiling. Go to the far left and shoot the top part of the wall with a missile. One more missile will clear the path and you’ll be rewarded with MISSILE EXPANSION #8.

Exit this room and make your way back, past the Map Station, back underneath the Central Unit room at the very bottom. You’ll see that expansion we passed by earlier just sitting for the taking, so roll through the tunnel and grab MISSILE EXPANSION #9!
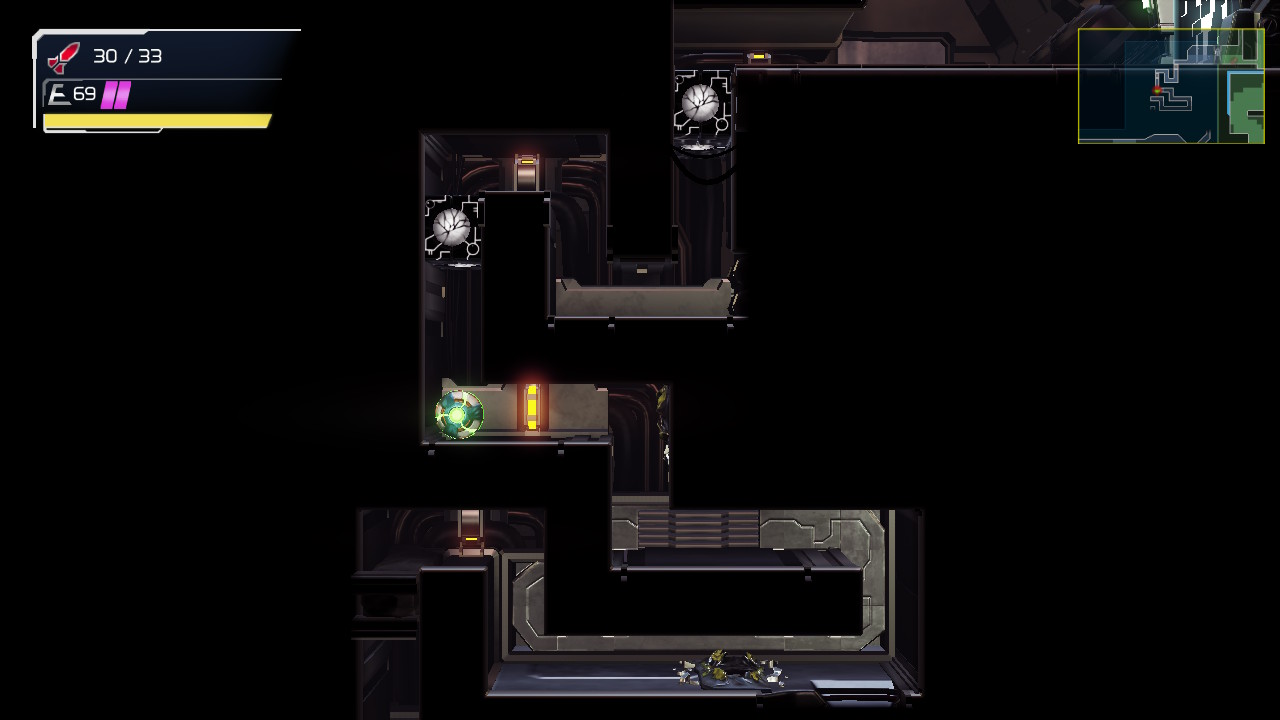
Exit the E.M.M.I. Zone and follow the tunnel downwards. You’ll fall right in front of that weird Statue from earlier; roll into its mouth and drop down. Shoot the tumor to your right so you can get back up and then shoot the walls to your left, above the heated door, and slide through.
Keep going until you pop out of the tunnel. To your left will be a Save Station; use it if you need. Up above is a small tunnel, so jump up and start rolling! In pretty plain sight, you’ll see MISSILE TANK #1, which grants you a whopping 10 missiles! Collect it and keep rolling until you get to the Red Teleportal Station. For the time being, the Teleportal Stations will only teleport you to the Teleportal Stations that have the corresponding color, but that’s fine for now. Step inside and wait to be moved to Artaria.
Once you’ve finished teleporting, drop down and into the water. You’ll probably recognize this room from earlier. Once you’re in the water, drop to the left side and immediately turn around. Shoot a missile at the wall and you’ll see a tunnel exposed. Roll over and grab MISSILE EXPANSION #10. Continue on through the door and into the Save Station.
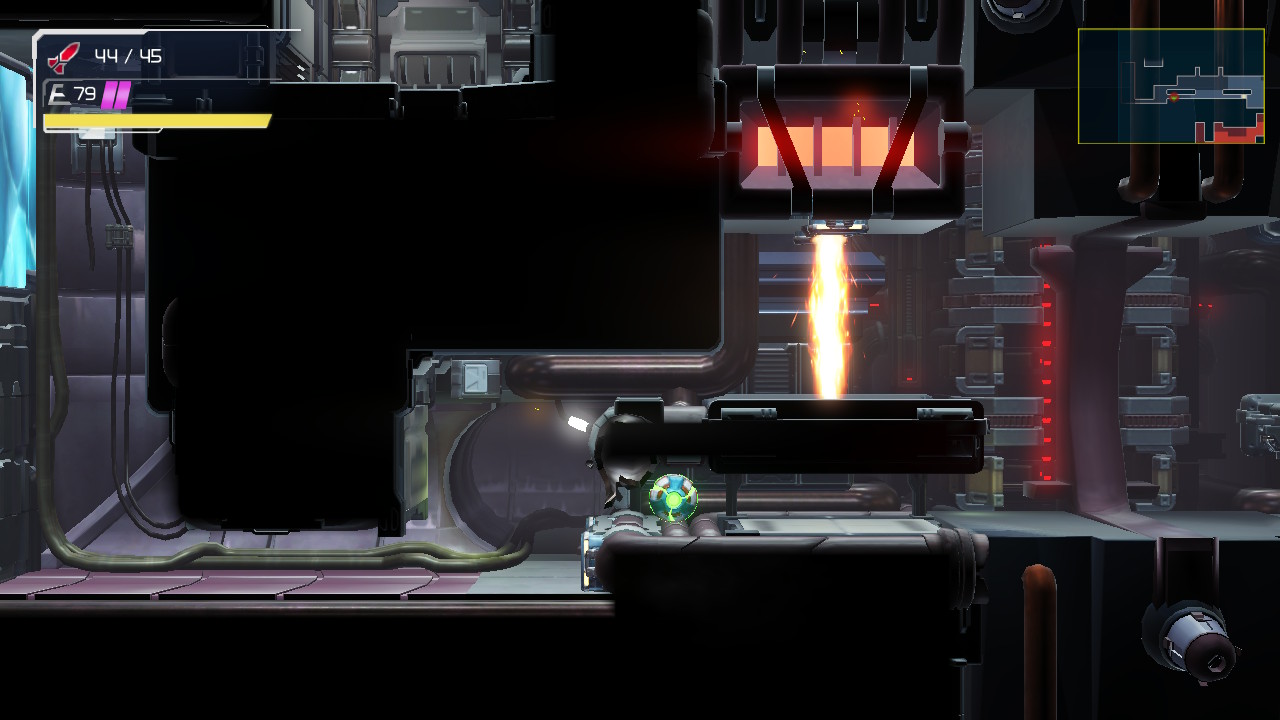
Do your thing and then proceed left. In this next room, jump up and enter the tunnel; ENERGY PART #2 will be right there waiting for you! Follow the tunnel upwards, passing a Super Missile door cover, until you come to a room with yet another thermal fuel switch. Press it and brace yourself for what comes next.
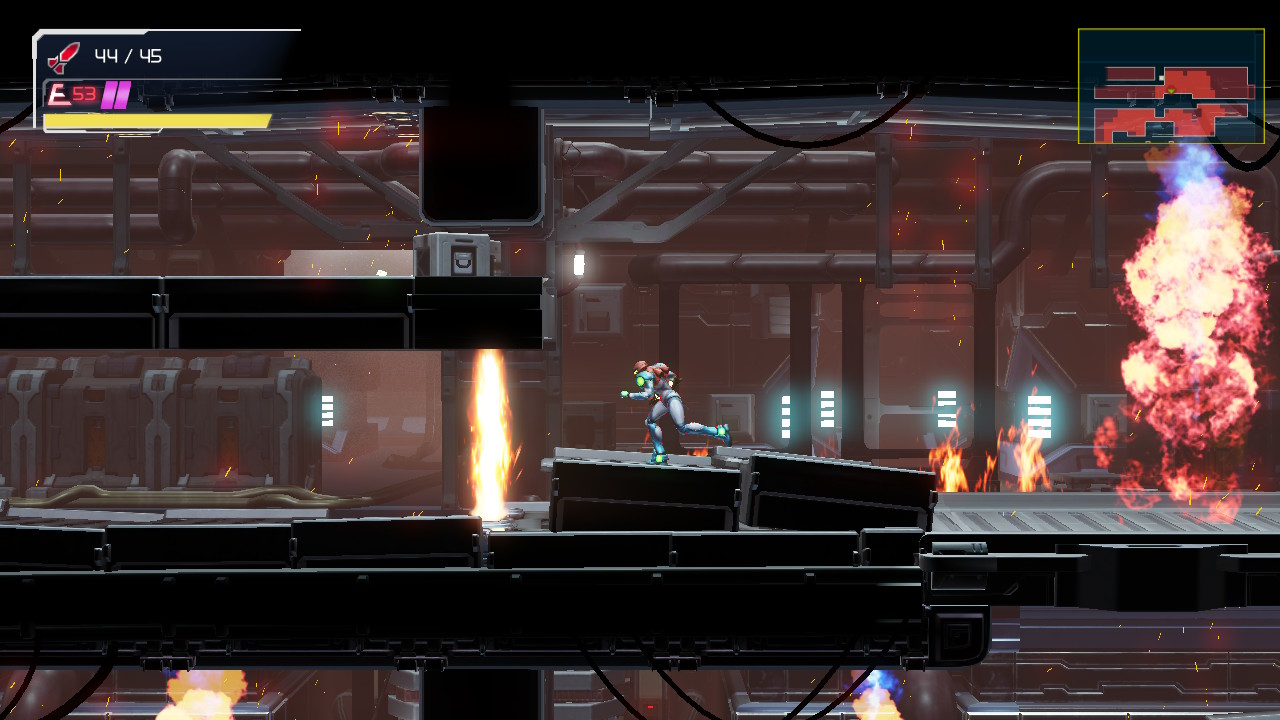
Everything will start going to hell immediately, from platforms breaking to fire shooting out to all kinds of craziness. You need to work your way up, but be careful – everything will be breaking and falling apart when you touch it, so don’t go rushing in too quickly. On the same hand though, you do need to move fast, because if you linger too long, the rising heat will start to damage your suit. Make your way up and over and eventually you’ll pop out underneath a door with a missile cover. Blast it away and run into this next room. Up in the Chozo Statue, the VARIA SUIT awaits you.
Cataris Depths
Although I really love the turquoise and white combo of the Dread Power Suit, our new orange Varia Suit will allow us to finally explore all those heated areas that were damaging us before. Go through the door on your right and drop down. Take care of the enemies in this room and then get ready to do something crazy. Below you, you should see a missile tank submerged in lava. Now, common sense would tell us to come back later with the Gravity Suit, but I’m gonna encourage you to live dangerously and get it now. You should have three Energy Tanks, so make sure they’re all full and then as quickly as you can, roll underneath and grab MISSILE TANK #2. For the love of God, don’t dilly dally! You should roll out with a tank/half tank of life left, and I promise you those extra missiles are gonna come in handy.
Basically just follow the path back to the Red Teleportal Station now (and conveniently, there’s an Energy Recharge Station right above it!) and warp back to Cataris.
Now, we have a boss encounter with an old friend coming up, and if you’re so inclined (and skilled enough) you can actually take a trip back to Dairon and get some items that will make that battle significantly easier (see Sequence Breaks). As this guide is being written from a “how the game intends you to play” perspective however, I’ll assume you’re going to follow my directions and continue on the path. For what it’s worth, though, the sequence break in Dairon isn’t that hard and the cutscene is really cool when you get to the boss.
Once you’re done teleporting (or once you’ve returned from Dairon), drop down and hit the Save Station if you want. Once done, continue to the right until you get to the Missile Recharge Station. Load up and then take the door to your left. Shoot out the pillar above the pool of lava, jump over, and roll through to the right.
Drop down and you’ll be face to face with a tree-like monster called Obsydomithon’s. Don’t worry, I don’t know how to say that either, so let’s just call them Obi’s. There are about a million of these things on your path to Kraid, so be patient and counter all of them and they’ll fall.
Keep on following the path, blasting Obi’s, jumping over lava, and blasting tumors until you make your way to a Gadora. Eliminate it and then get ready to fight an old friend….
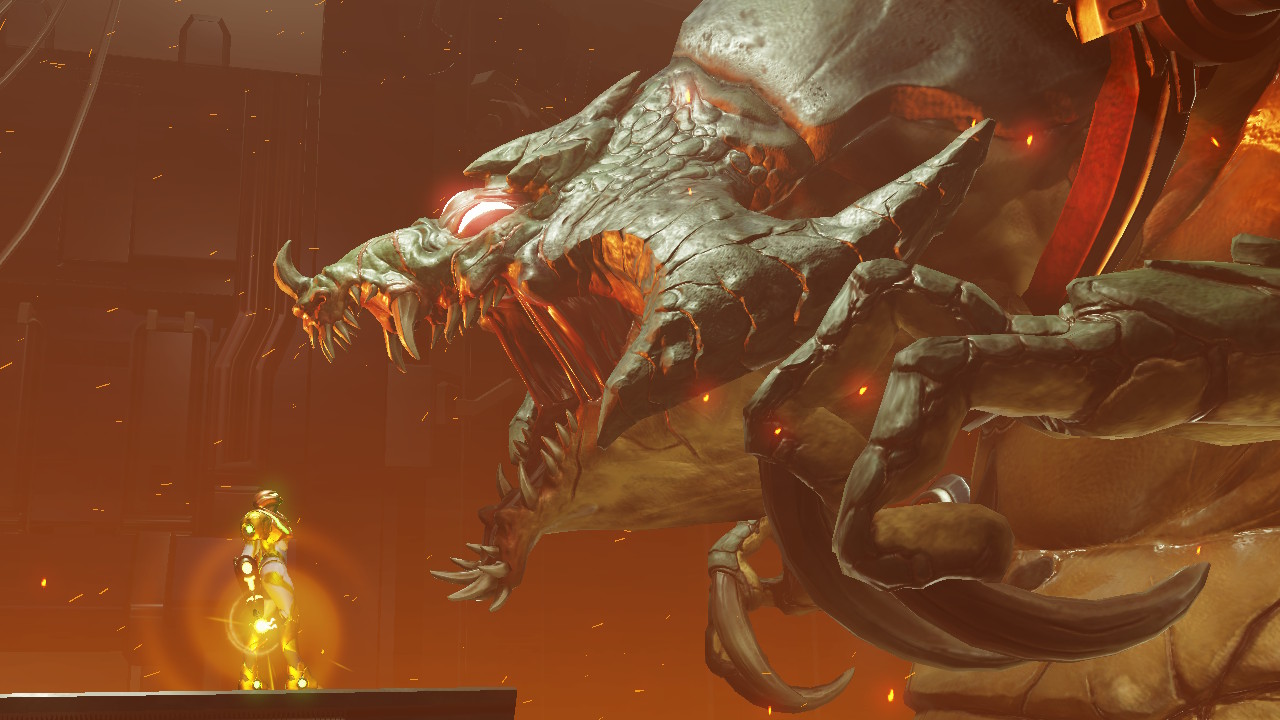
Kraid
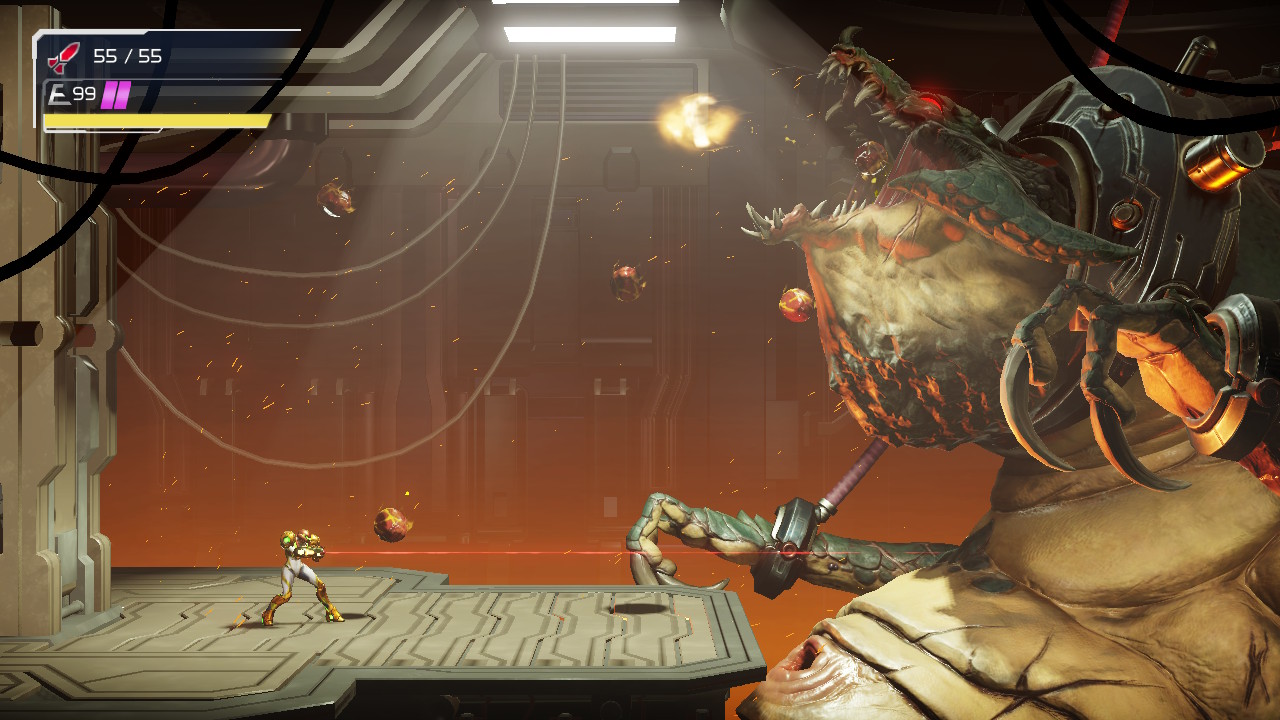
He’s baaaaack! Big Daddy Kraid returns after a decades long hiatus and looks more imposing than ever!
For anyone that’s familiar with Samus’s previous battles with Kraid in Super Metroid or Zero Mission, you can take comfort knowing the general principle of this fight is the same: blast him in the face, getting him to open his mouth; once his mouth is open, fire away. Kraid won’t make it this easy for us in Metroid Dread, however, since he has a whole slew of new attacks for us to be mindful of.
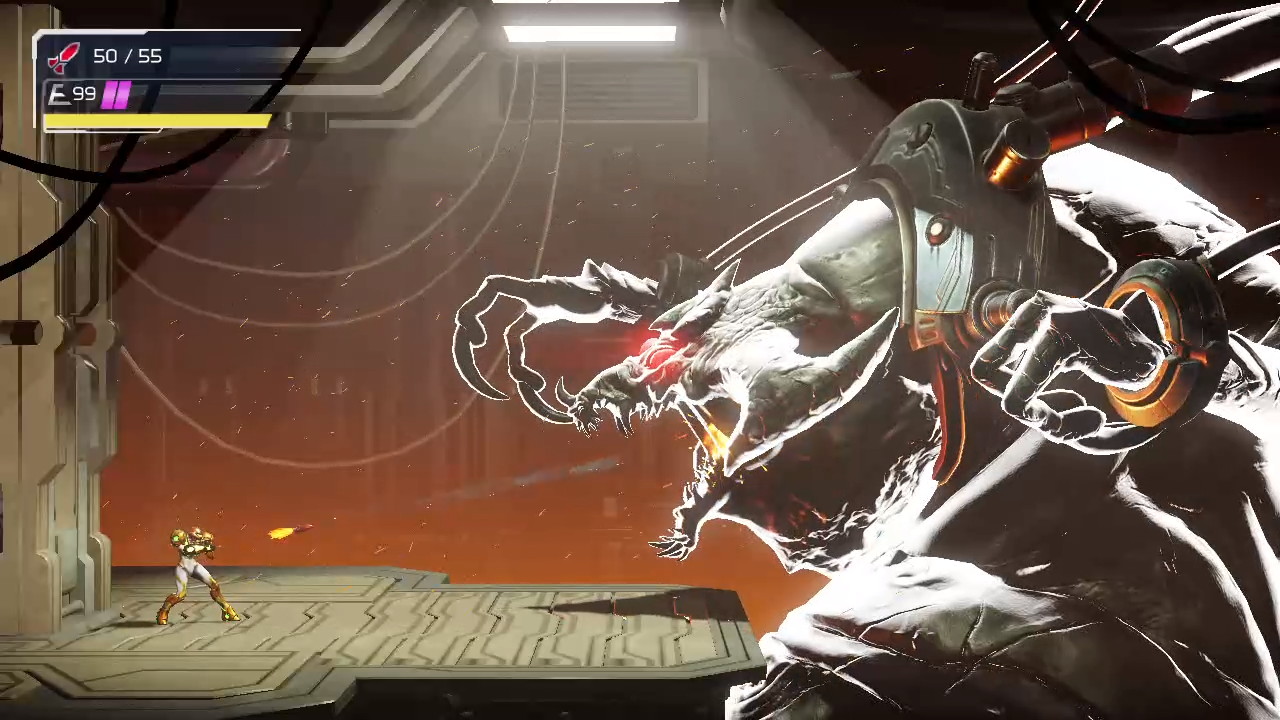
First things first, after that (incredibly badass) cutscene, when you take control, you’ll obviously want to keep some distance between yourself and Kraid. There’s no reason to fight close quarters, and the closer you get, the higher the chances are you get hit with Kraid’s little Tyrannosaurus arms. Kraid will usually open his mouth and scream to start the battle, so this is a good opportunity to unload some free missile shots.
Once he’s settled, he’ll start attacking regularly. One of his most go-to attacks is barfing up little balls on you. You can shoot these little balls to get ammo and health, but don’t get too comfy in one spot, because there are three fireballs in each regurgitation that can’t be destroyed and will damage you. Your best best is to plant your feet, shoot up and destroy some of the balls, jump out of the way of the fireball, shoot up, and repeat.
Kraid will also throw some pretty heavy duty spikes at you. These are somewhat manageable, since one missile will destroy them and they’ll usually drop ammo. Just be careful, the spikes that Kraid’s right arm throws are usually pretty low to the ground and come at you in a straight line, whereas the spikes thrown from his left hand tend to curve up in the air and drop down on you. It’s important to shoot out the spikes, which I know sounds obvious, but you can get caught up in blasting Kraid’s mouth with missiles pretty quick and forget to destroy them, which damages you heavily. The top curve spike in particular is one to watch out for.
That’s pretty much his entire shtick in this phase of the fight, so keep dodging his attacks and concentrating fire on his head. If you want to be missile-conscious, hit his head with charged shots and then blast him with missiles in the mouth. Do this enough times and phase one will end.
Let’s start phase two.
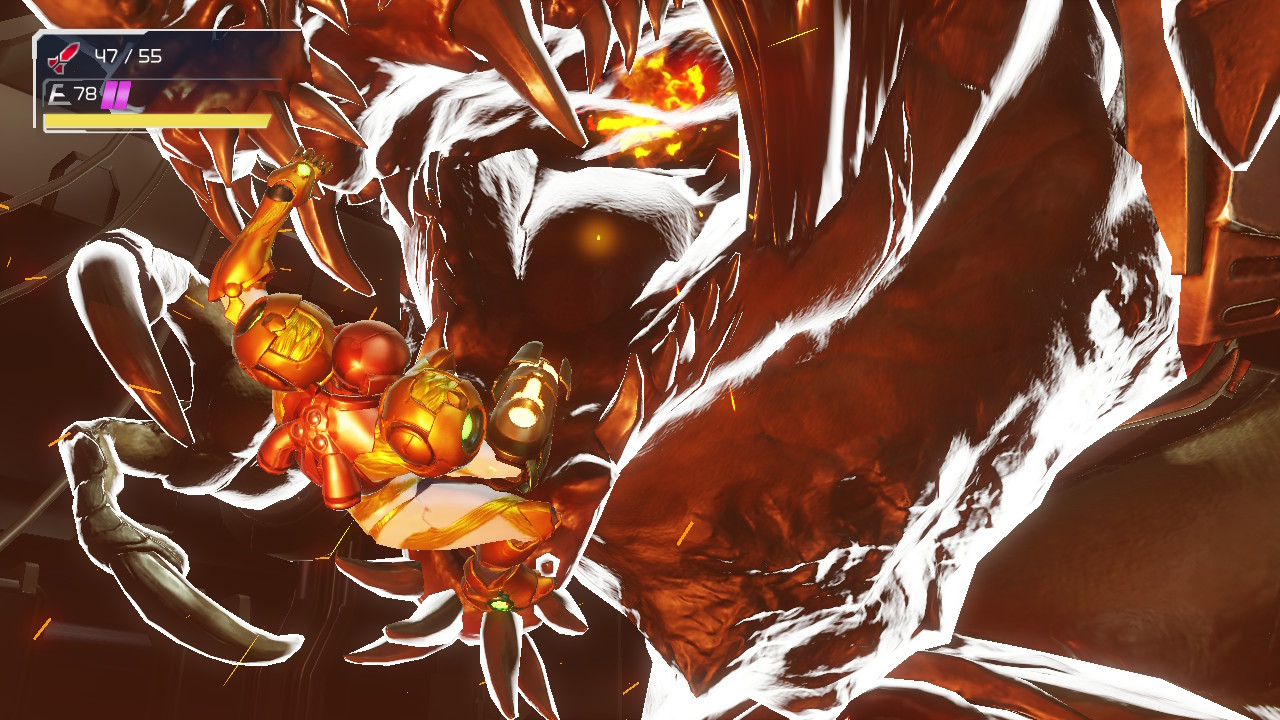
Kraid will smash the stage, destroying the floor and sending you crashing down so that you’re face to face with his disgusting, puss filled belly button. Yummmm!
This belly button is going to be the source of most of his attacks, and the spot we want to concentrate fire. The belly button will fire out more little balls, except these little balls bounce (minds out of the gutter people!). Priority #1 should be eliminating these balls; they’re annoying and will basically keep bouncing until they are destroyed, so don’t delay. Destroying them will also give you some health/ammo. I would recommend using charged shots versus missiles to take them out since your shot radius will be wider. In fact, I would recommend using charged shots to shoot the belly button over missiles as well.
One thing you can try and do is jump up and release a charged shot at the belly button and time it so that you fire a split second after the bouncing ball is released. If you timed it correctly, you’ll destroy the ball and hit his belly in one shot. Worth noting that his belly will also shoot out little purple puss bombs; just watch for these and jump over them before they touch the ground.
The other attack that Kraid has at his disposal is far more devastating. He will periodically shoot out massive spikes from his belly at you. Now these spikes will hurt like heck if they hit you, but they also represent an opportunity. Let’s just get this part out of the way: if you want to play it safe, just Morph Ball as soon as you see the spikes forming and they’ll shoot over you.
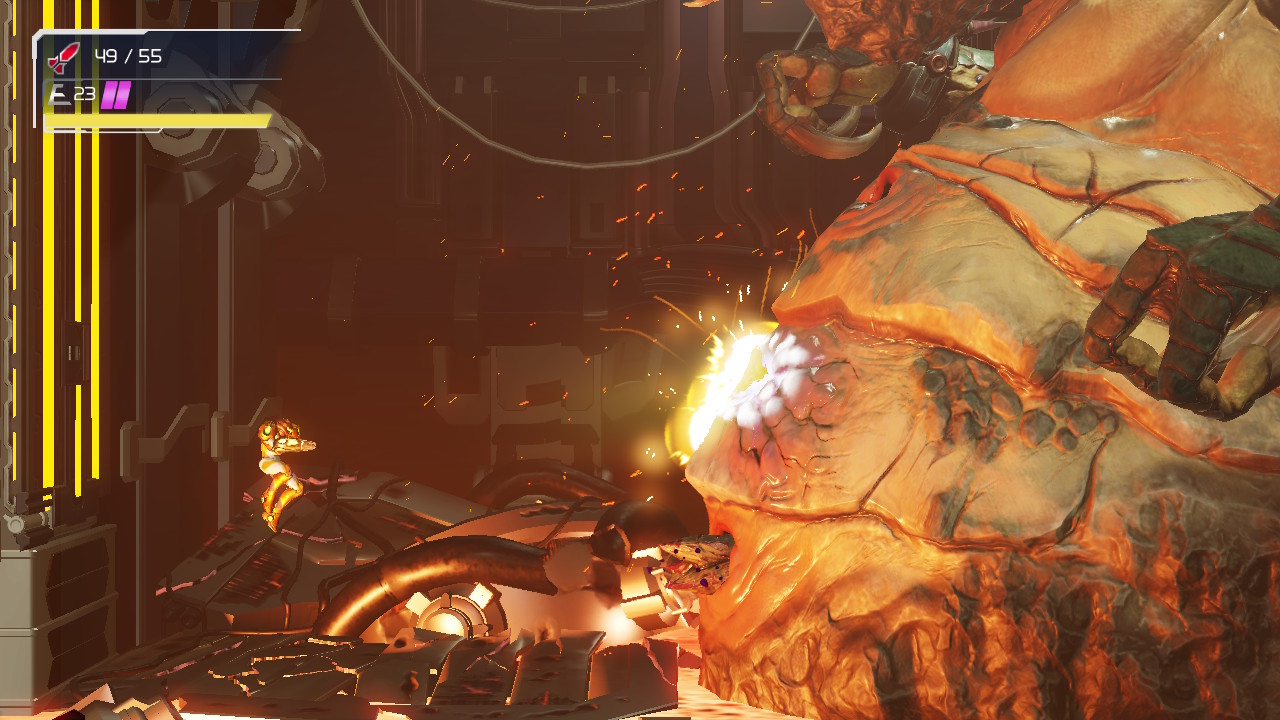
There are two ways these spikes are shot out: the first way is after continuous fire to Kraid’s belly, he’ll eventually put his hand over the belly button and shoot a ton of spikes. Just duck under these, as they all shoot at the same time and will just do damage. All these spikes will cause a spider rail to fall; jump on the rail, ride it up and you’ll be face to face with Kraid’s head, where you’ll want to repeat what’s worked: shoot his head, wait for him to open his mouth, and fire missiles. It’s worth repeating, but please be aware of the other spikes he shoots! As soon as you see one, shoot it! Don’t wait, since one hit will knock you off and to the bottom. Eventually, Kraid will grow tired of you shooting him and move in to hit you down. Just drop down before he connects and you should emerge unscathed. This is the safest and most sure way to win this battle.
However, there is another way the giant spikes come out.
Occasionally when you’re on the ground shooting Kraid’s belly, he’ll start shooting up spikes, but instead of shooting all of them at once, there’s about a second delay between him shooting the bottom spike, then the middle spike, then the top. This means that instead of ducking under the spikes, you can jump on the first, then jump up and land on the second, then the third. From the third spike, you can grab the spider rail and start firing away as usual. Kraid will sometimes cock his arm back in an attempt to bat you off the rail, but this can be melee countered, giving you some huge missile refills and health, as well as a chance to blast away at Kraid. There is far more room for error in this strategy, but this can be a huge damage dealer.
Eventually after enough hits, you’ll be treated to an awesome cutscene and Kraid will fall.
ADVANCED STRATEGY: if you went and backtracked to Dairon after getting the Morph Ball and performed the sequence break allowing you to get Bombs early, here’s the payoff. Simply get in Morph Ball form as soon as phase two starts and bomb the lower wall. You’ll see a Morph Ball Launcher; get inside and it will shoot you directly into Kraid’s horrifically disgusting belly button. Bomb bomb bomb away and Kraid will die almost instantly. Worth noting, being in there will damage you, but you should kill Kraid quickly enough that it won’t matter.
Leaving Cataris
Once Kraid is defeated, climb the spider tracks and follow the path until you get to the Chozo Statue. Grab your well earned reward: the DIFFUSION BEAM! Use it to exit the room and follow the path until you end up at the Purple Teleportal Station. Don’t go quite yet though – instead walk past it and start climbing the wall to the left of it.

Keep climbing up, blasting away all the enemies, and get yourself to the spider track on the upper right part of the wall. Use your Diffusion Beam to blast the tumor on the wall and jump over and grab MISSILE EXPANSION #11.
Once you’re done, head back to the Teleportal. Step inside and warp to Dairon.
Next Chapter: The Complex of Dairon