


Metroid Prime Walkthrough – Space Pirate Assault
WALKTHROUGH
- Frigate Orpheon
- Planet Tallon IV
- The Ruins Come Alive
- Fire & Ice
- Phazon Laboratory
- Ghosts & Gravity
- Space Pirate Assault
- The Entrusted One
- Artifacts in the Wild
- The Great Poison
The Gauntlet Part 1
Scans in This Section
Pirate Data: Elite Pirates, The Hunter, Impact Crater
Creatures: Mega Turret, Wave Trooper, Power Trooper
Phazon Mines, the heart of the Space Pirate operation on Tallon IV. This is where they’ve been excavating the raw material for their horrific biological experiments in an attempt to create an unstoppable army.
This section of the game is no joke. We have to make our way through a linear combat gauntlet filled with the toughest enemies we’ve faced WITHOUT ANY CHECKPOINTS OR SAVE STATIONS. This is where a lot of players struggle, but follow this guide and you don’t have to share their fate. As we enter the Main Quarry, take the left side and scan one of the MEGA TURRETS guarding the force field. They’ll be able to fire at you before you get within scanning range, so you’re gonna have to get in close. Mega Turrets do more damage than your standard Auto Turret and go down in three missiles as opposed to two. Once you’re done, ride the Spider Ball Track up on the left for a Save Station. Save now, because this will be our only safe haven for a while.
Next follow the catwalks up to the second story. You’ll soon attract the attention of some pirates, but it’s nothing you aren’t already used to. Continue to the second level towards the backside, but watch out for the pirate hiding in the vent who will try to get the drop on you. On the third level, activate the Thermal Visor and look for a conduit on the left side of the crane. Blast it with the Wave Beam and a terminal inside the cockpit will start blinking. Scan the terminal to rotate the crane and lead a path to a hidden Missile Expansion. Go to the back and ride the Spider Ball Track up the crane and onto the platform, then jump into the gap holding MISSILE EXPANSION #25. Once that’s all finished, drop to the bottom near the force field and scan the two blue symbols to lower it and proceed through.
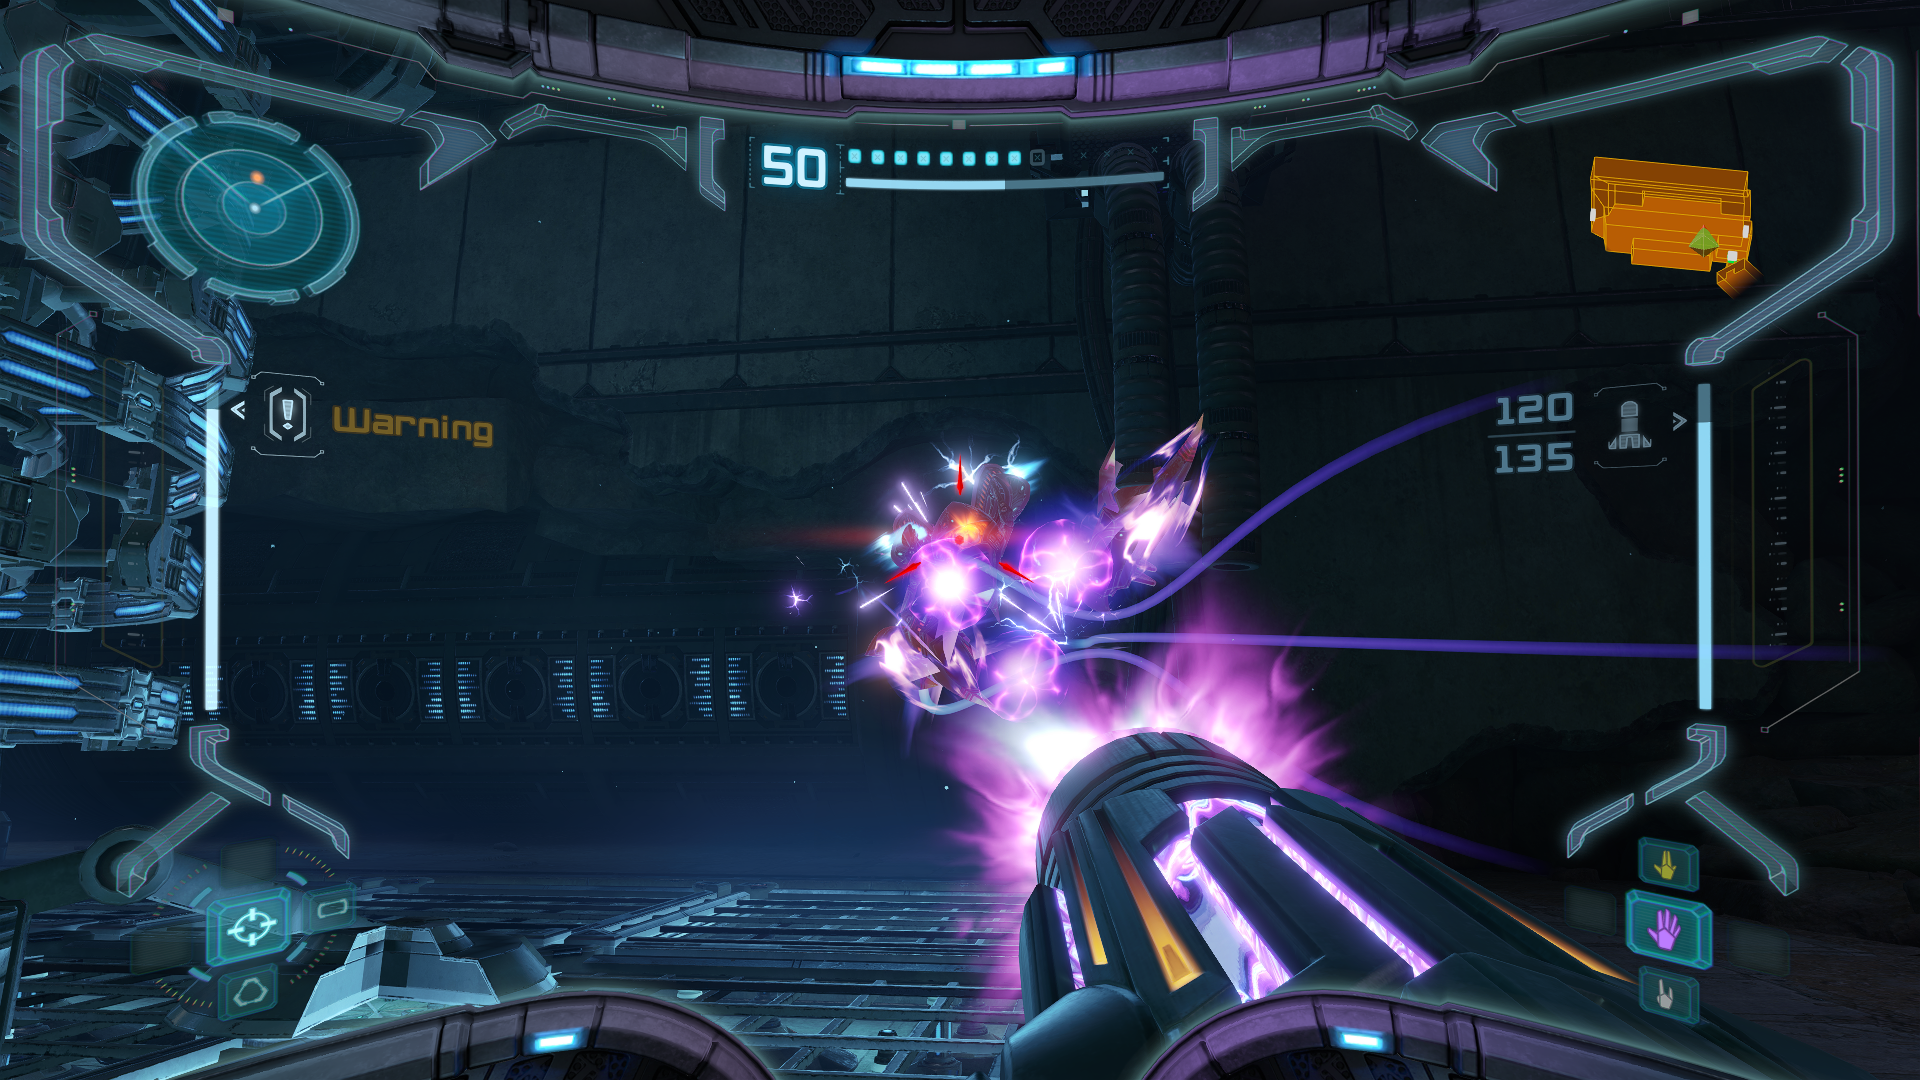
In Security Access A, you’ll be attacked by two more Mega Turrets. There’s a blue symbol in the back to deactivate them or you can take them both out in a single blast with a Super Missile. In the Mine Security Station you’ll be attacked by a series of Shadow Pirates. A charged Ice Beam shot followed by a single shot will take them down without costing you any ammo. On the second level, you’ll be ambushed by a new Space Pirate division: the WAVE TROOPER. Wave Troopers are one of several pirate variants that are only vulnerable to specific beam weapons, in this case being the Wave Beam. They also hit like a truck so these guys are to be taken VERY seriously. After scanning them, you’ll want to use charged Wave Beam shots to deal with them, preferably one at a time. The charge shot will stun them long enough to charge another just before they break free, allowing you to stun lock them as long as you don’t have any other shooting at you. Don’t wait for the Wave Beam to fully charge! As soon as it begins to charge, release it!
In Security Access B, you’ll run into more Shadow Pirates. Just use the same charged ice shot method as before to take them out swiftly. In Elite Research, scan the Pirate Data “ELITE PIRATES”, then scan a terminal to lower the platforms to the next floor. On the second floor you’ll encounter two more Wave Troopers that try to rush you. Just use the stun strategy and you’ll be fine. Scan another terminal to lower a set of platforms to the third floor and you’ll be greeted by a POWER TROOPER, which as you probably guessed is only vulnerable to your Power Beam… sorta. You see, all the beam troopers aren’t just vulnerable to the beams themselves, but also the beam combos. That means a single Super Missile will take out a Power Trooper in one shot! On Hard Mode, you’ll also have to follow up with a standard charge shot to finish the trooper off, but that’s not so bad.
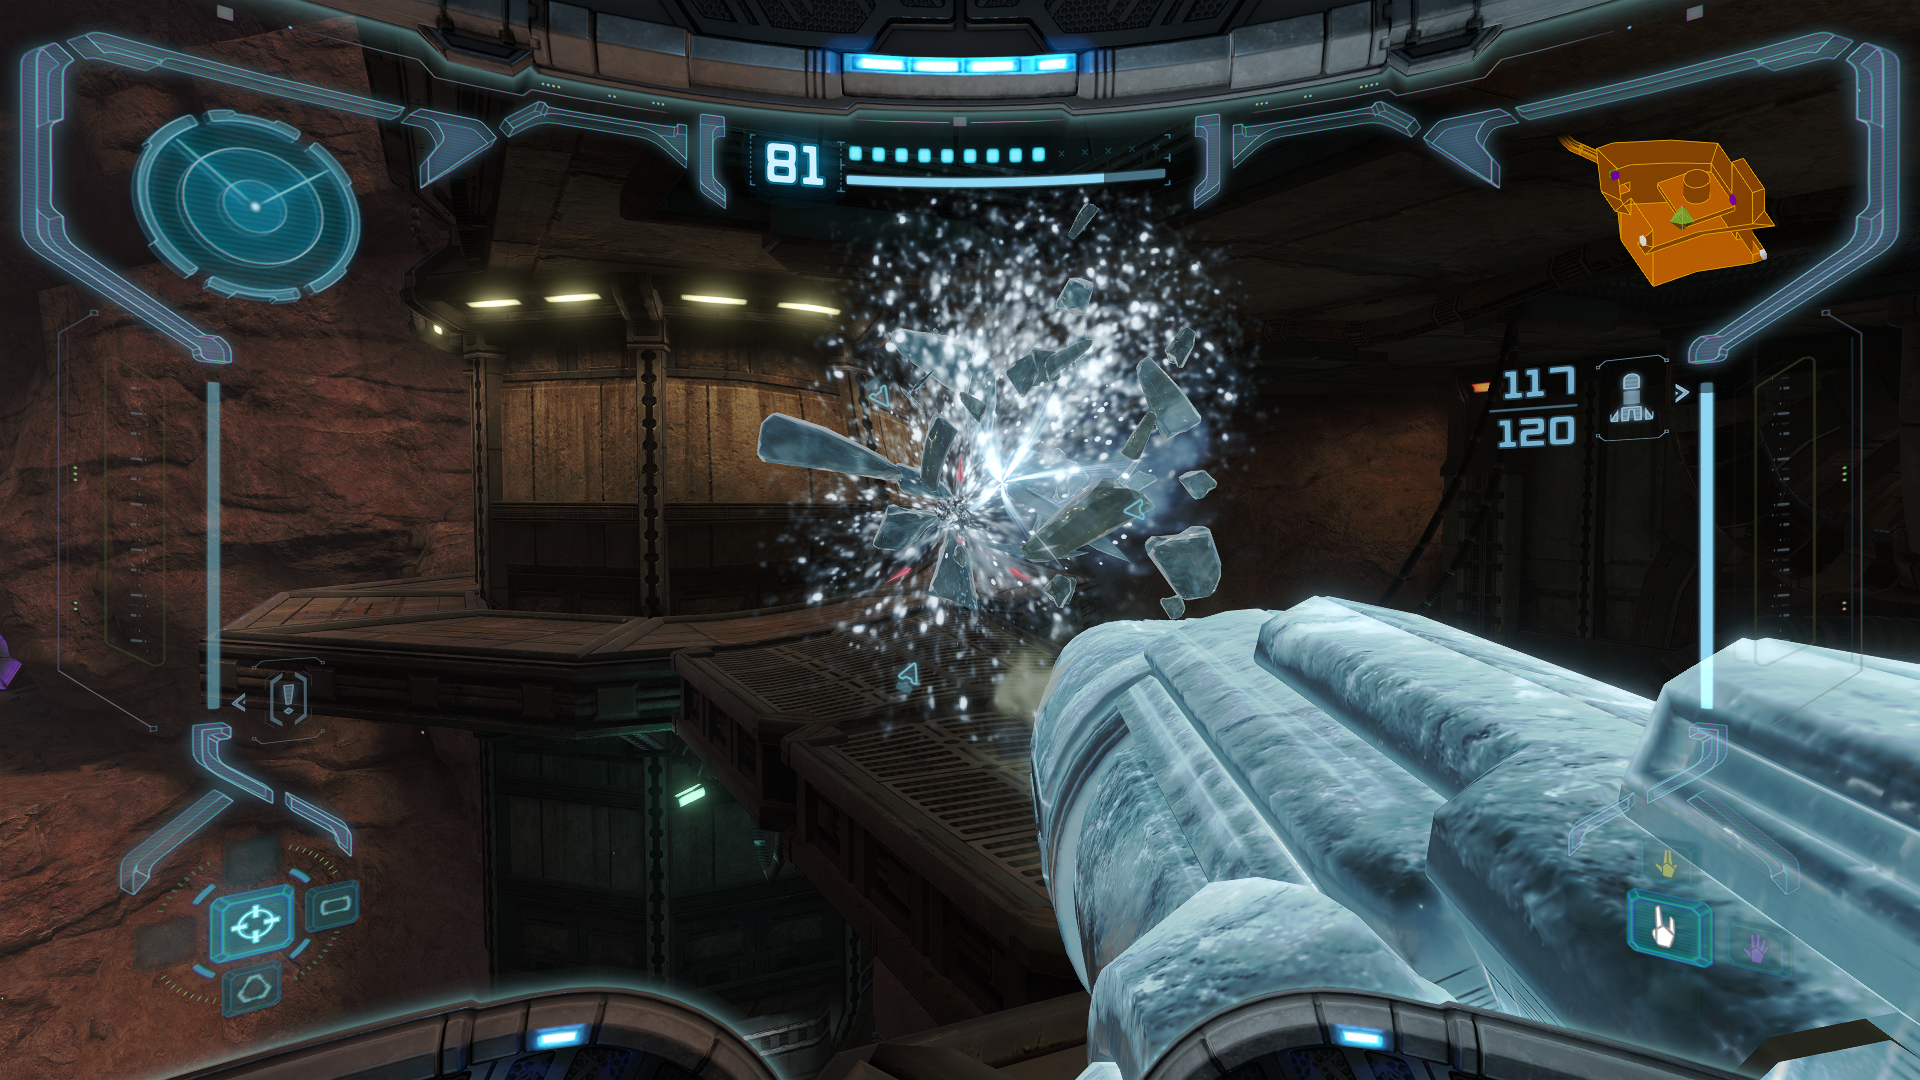
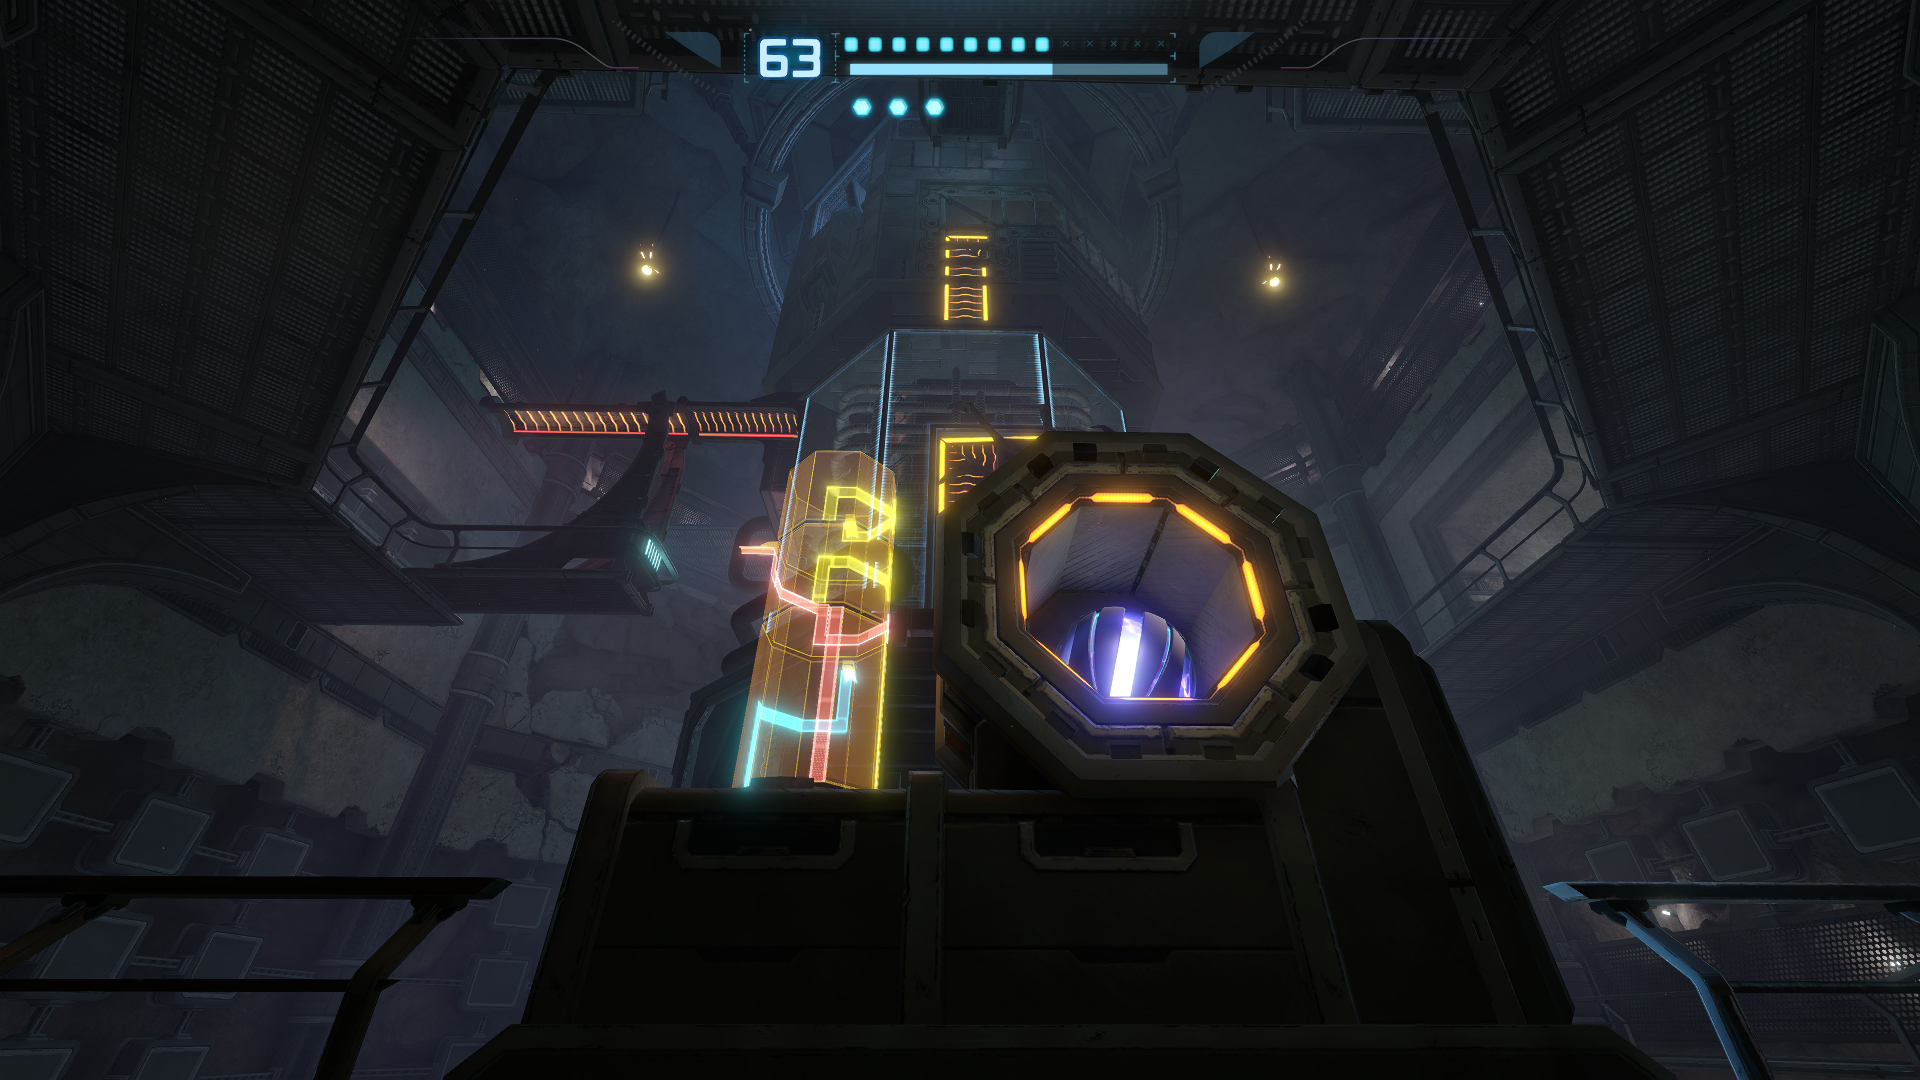
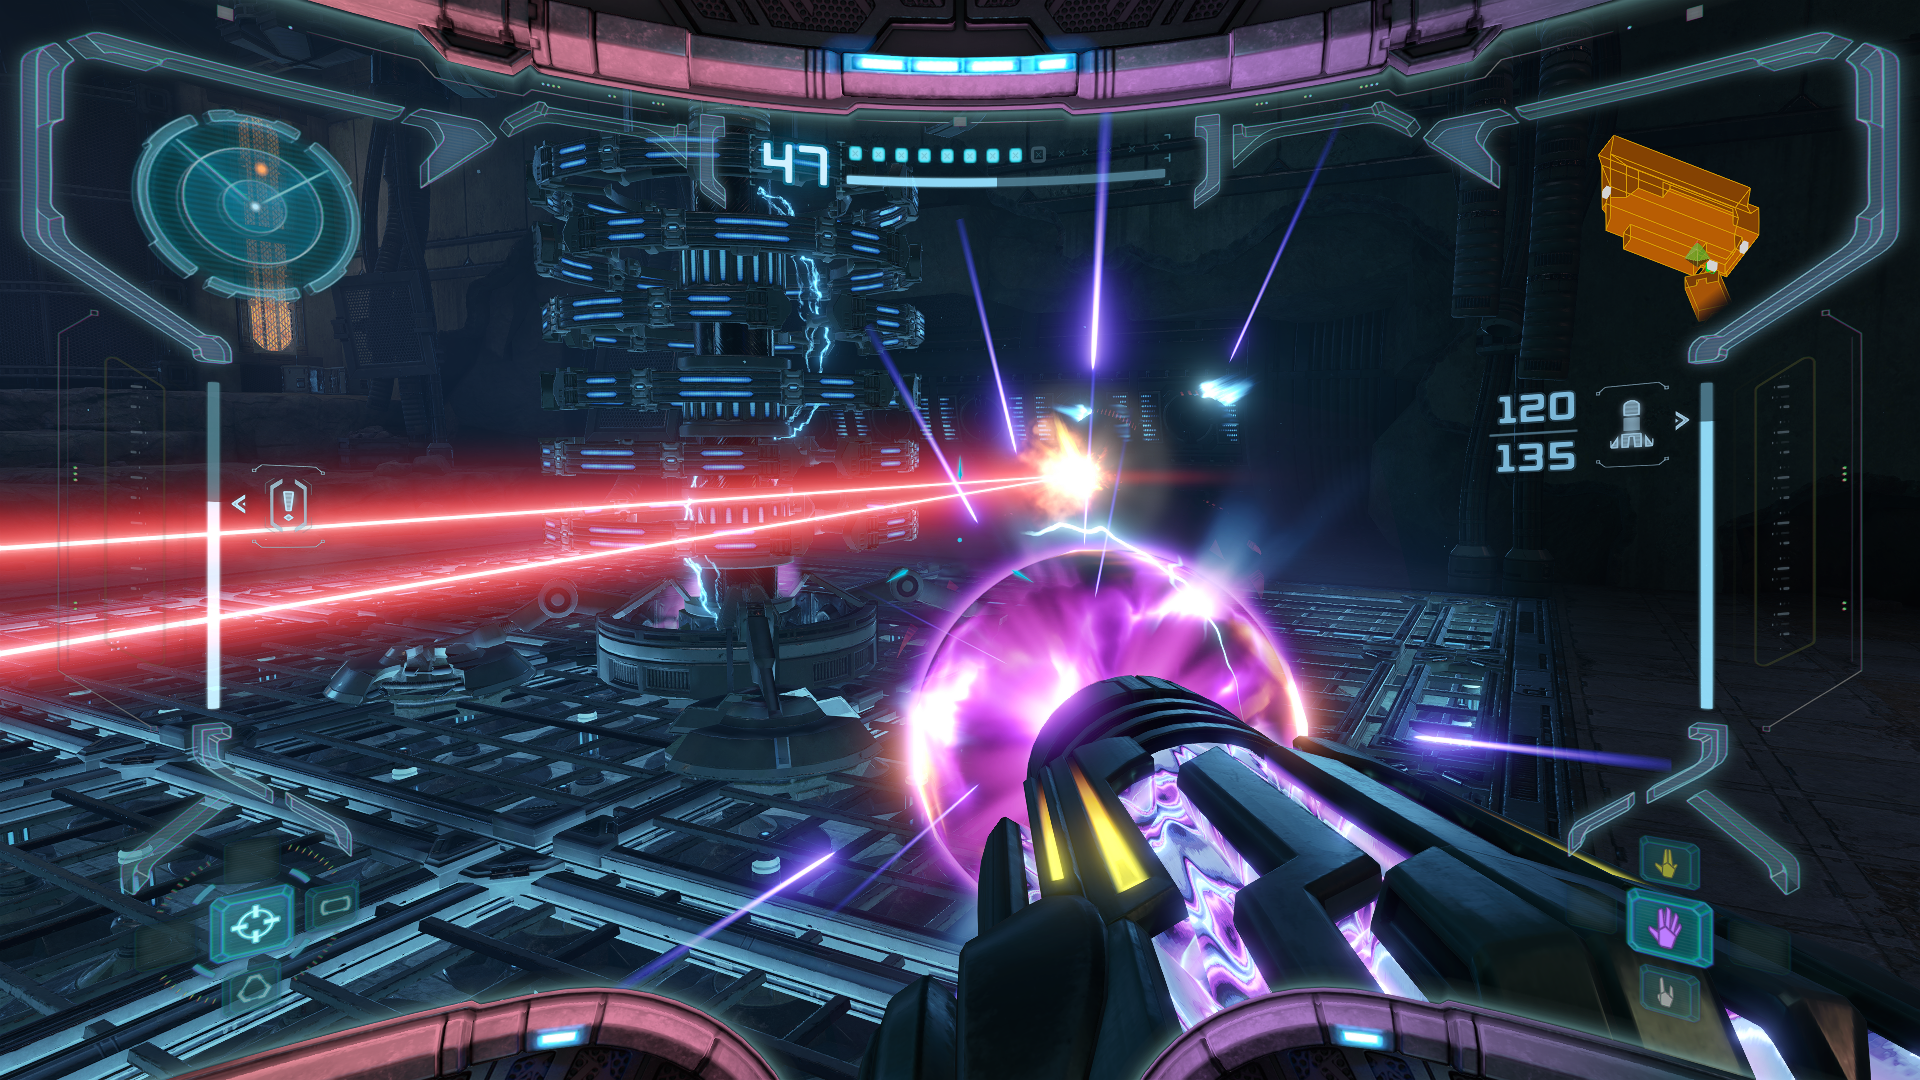
For this next puzzle, you need to use the spinner to line up the Pulse Cannon with various sections of the wall and scan the terminal to fire it. You can also scan each section of the wall that can be destroyed along with its integrity. The red square with 42% integrity is the door out and the yellow square at 8% integrity holds MISSILE EXPANSION #26. Use a bomb to exit the Spinner each time. In Research Access DO NOT TOUCH the energy cylinders, these things do several energy tanks worth of damage. Be patient going down the Spider Ball Track and avoid these at all costs!
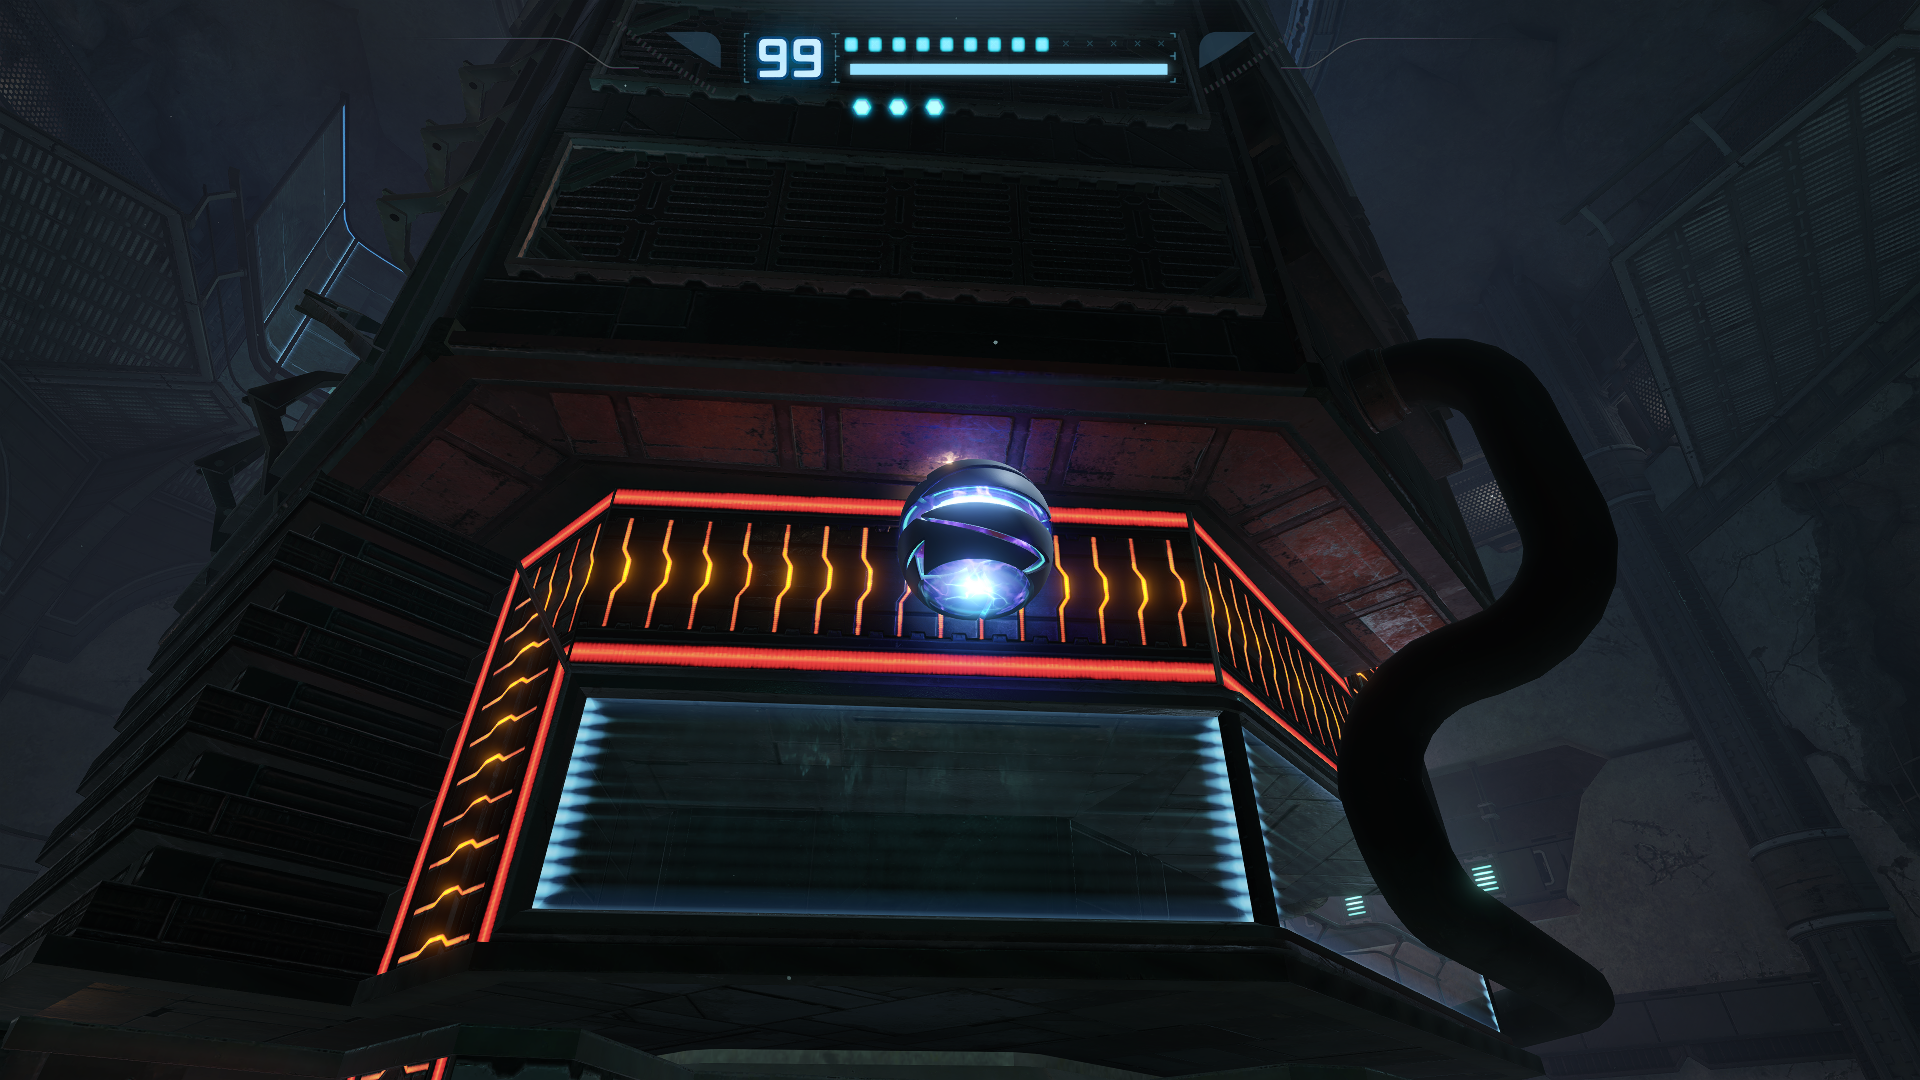
Ore Processing is home to one of my favorite puzzles in the game! We have to use the rotation control units to turn various sections of the central pillar to align the Spider Ball Tracks. We have a hologram on the side showing us the full layout too which is great for tracking what’s in the back out of view from us. First we need to line up the blue track with the one on the second level. Drop a single bomb and that should do the trick. From the second level, align the red track with the one on the third level. Then jump back down and align the bottom red track to the one you just moved on top. When it’s all lined up, roll through the track and onto the third level. A Wave Trooper will try to get the drop on you, so give him a jolt before moving onto the next room.
If you need more health, you can farm the Pulse Bombu in Elevator Access A. The explosive crates at the end of Elevator A are also great farm spots, just be sure you have a good distance so that you don’t take any damage. In Elite Control Access, destroy the explosive crate blocking the vent to blast two pirates hidden there as well as expose MISSILE EXPANSION #27. As soon as you turn the corner in Elite Control, stop and scan the two Pirate Data entries, “THE HUNTER” and “IMPACT CRATER”. Proceed forward and prepare yourself for a mini boss that actually isn’t that bad.
Elite Pirate
Scans in This Section
Creatures: Elite Pirate *missable*
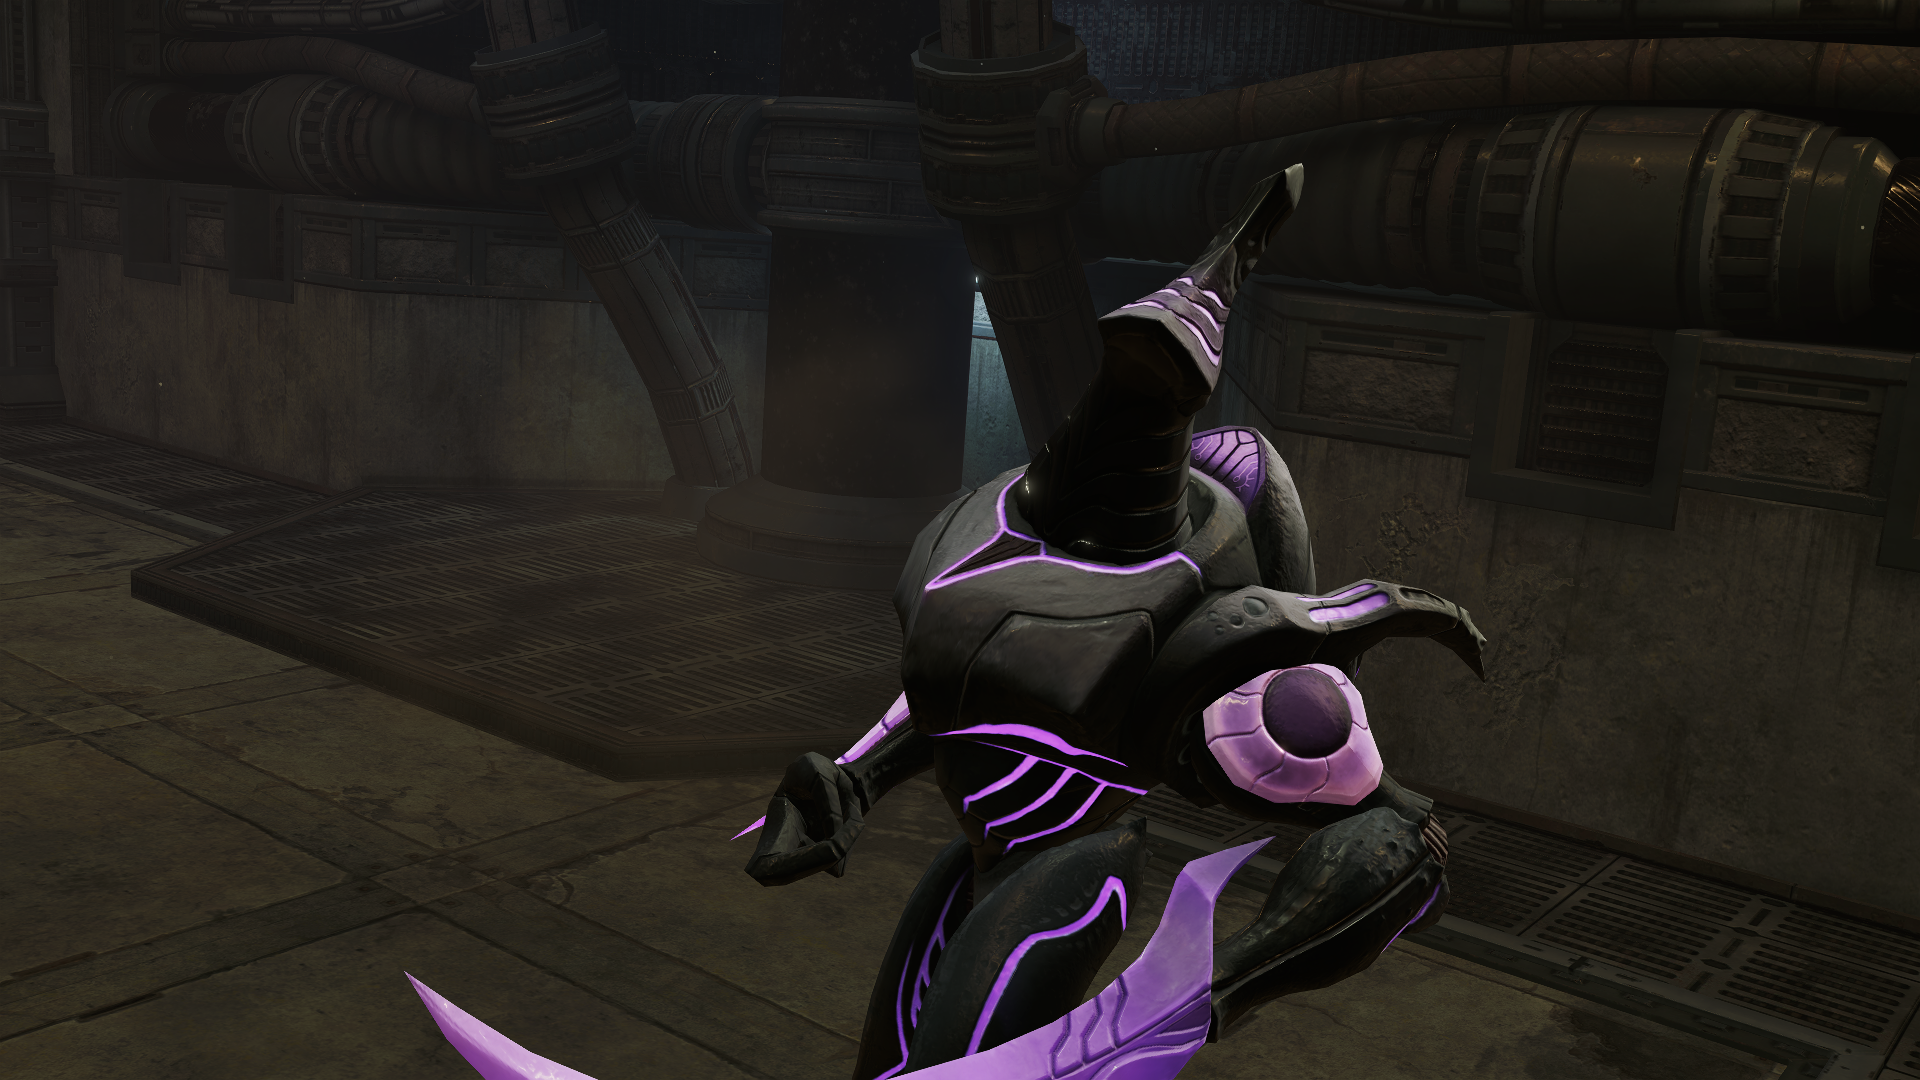
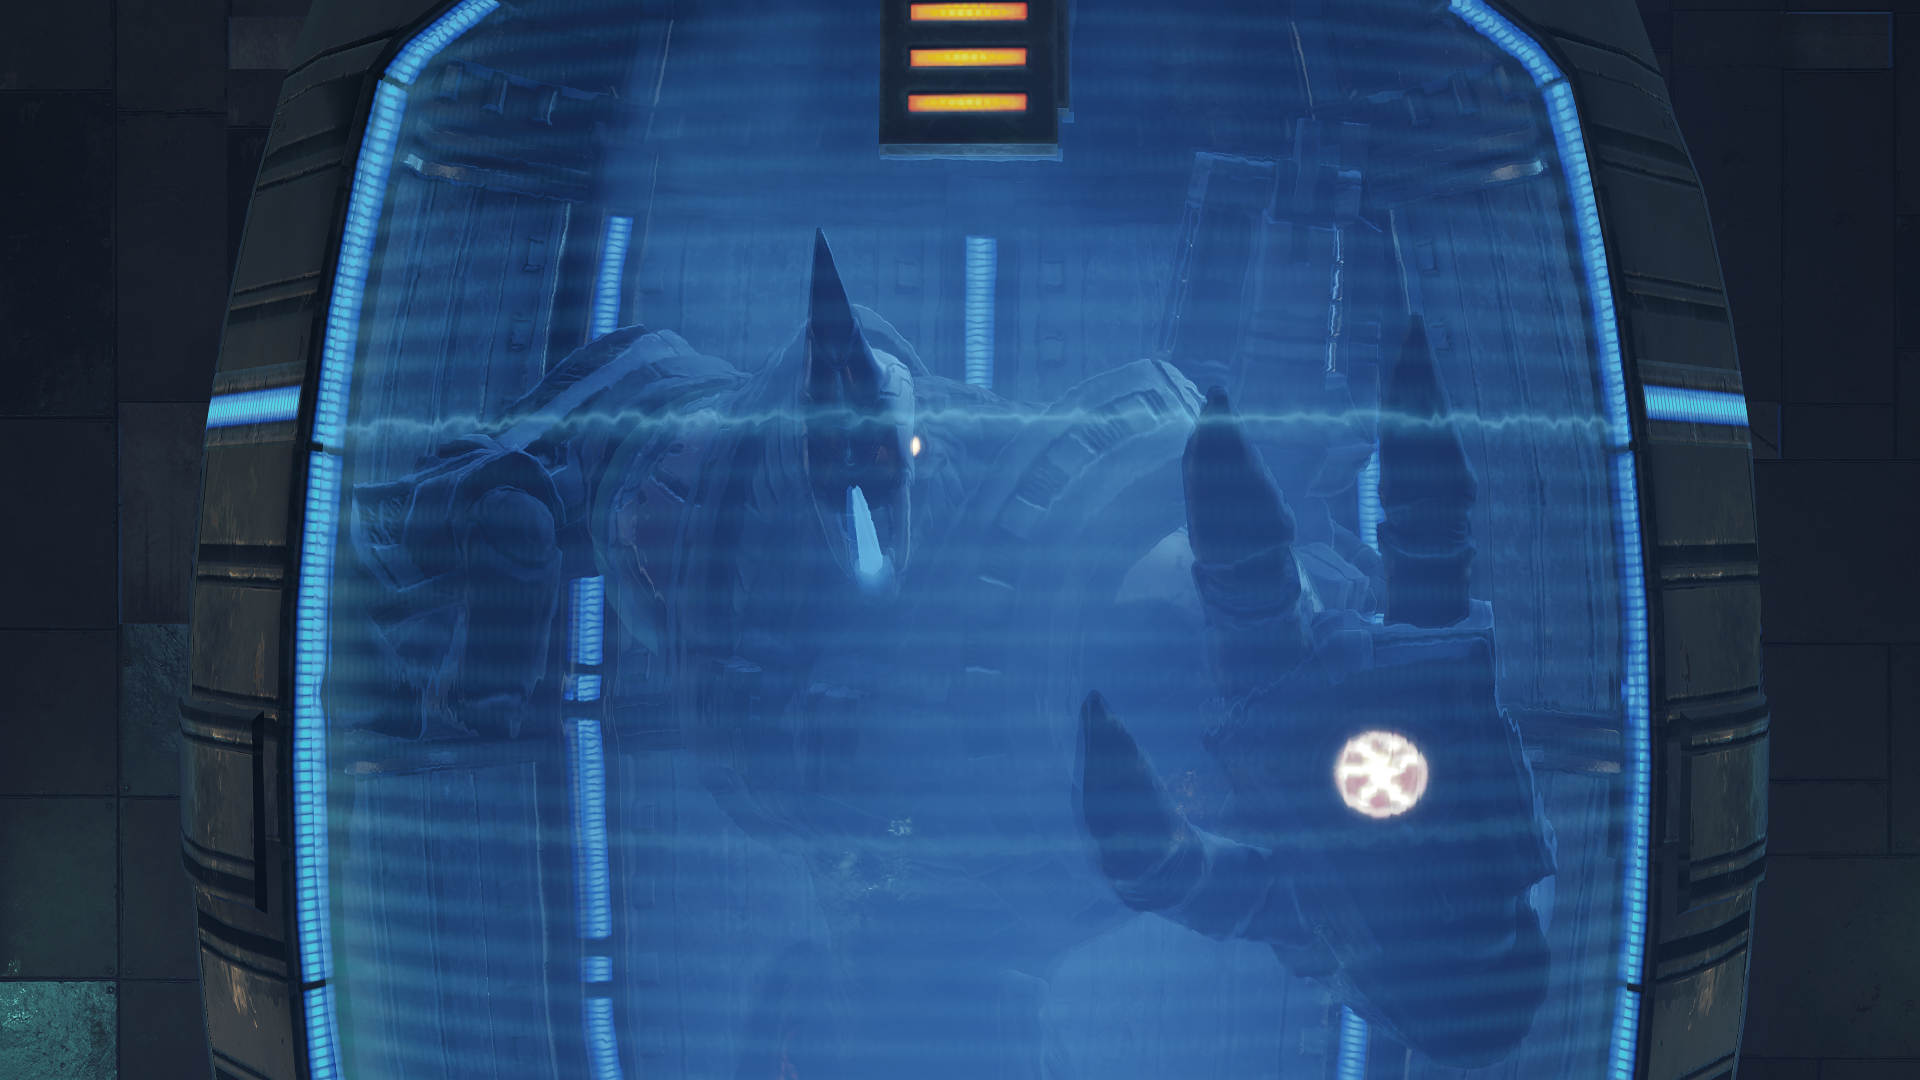
Honestly, this Pirate is more mini- than -boss, but nevertheless, let’s make taking him out easy for all. Scanning the ELITE PIRATE reveals that it comes equipped with an energy-siphon system that absorbs beam weapon shots. Concussive weapons are still on the table, but this will be our biggest obstacle. Its main attacks are some ground pound shockwaves and a cannon on its back it will fire occasionally. If you get too close, it will do serious melee damage so it’s best we keep our distance or have some cover between us. You can use the Thermal Visor to target the cannon specifically so that it can’t be used, but honestly, you can probably end the fight a lot sooner than the time it will take you to destroy the cannon. Elite Pirates go down after three Super Missiles, so just fire one off whenever it doesn’t have its energy-siphoning device active. It’ll be over before you know it.
The Gauntlet Part 2
Scans in This Section
Pirate Data: Hunter Weapons, Gate System, Artifact, Chozo Studies, The Key, Chozo Ghosts, Omega Pirate
Creatures: Ice Trooper
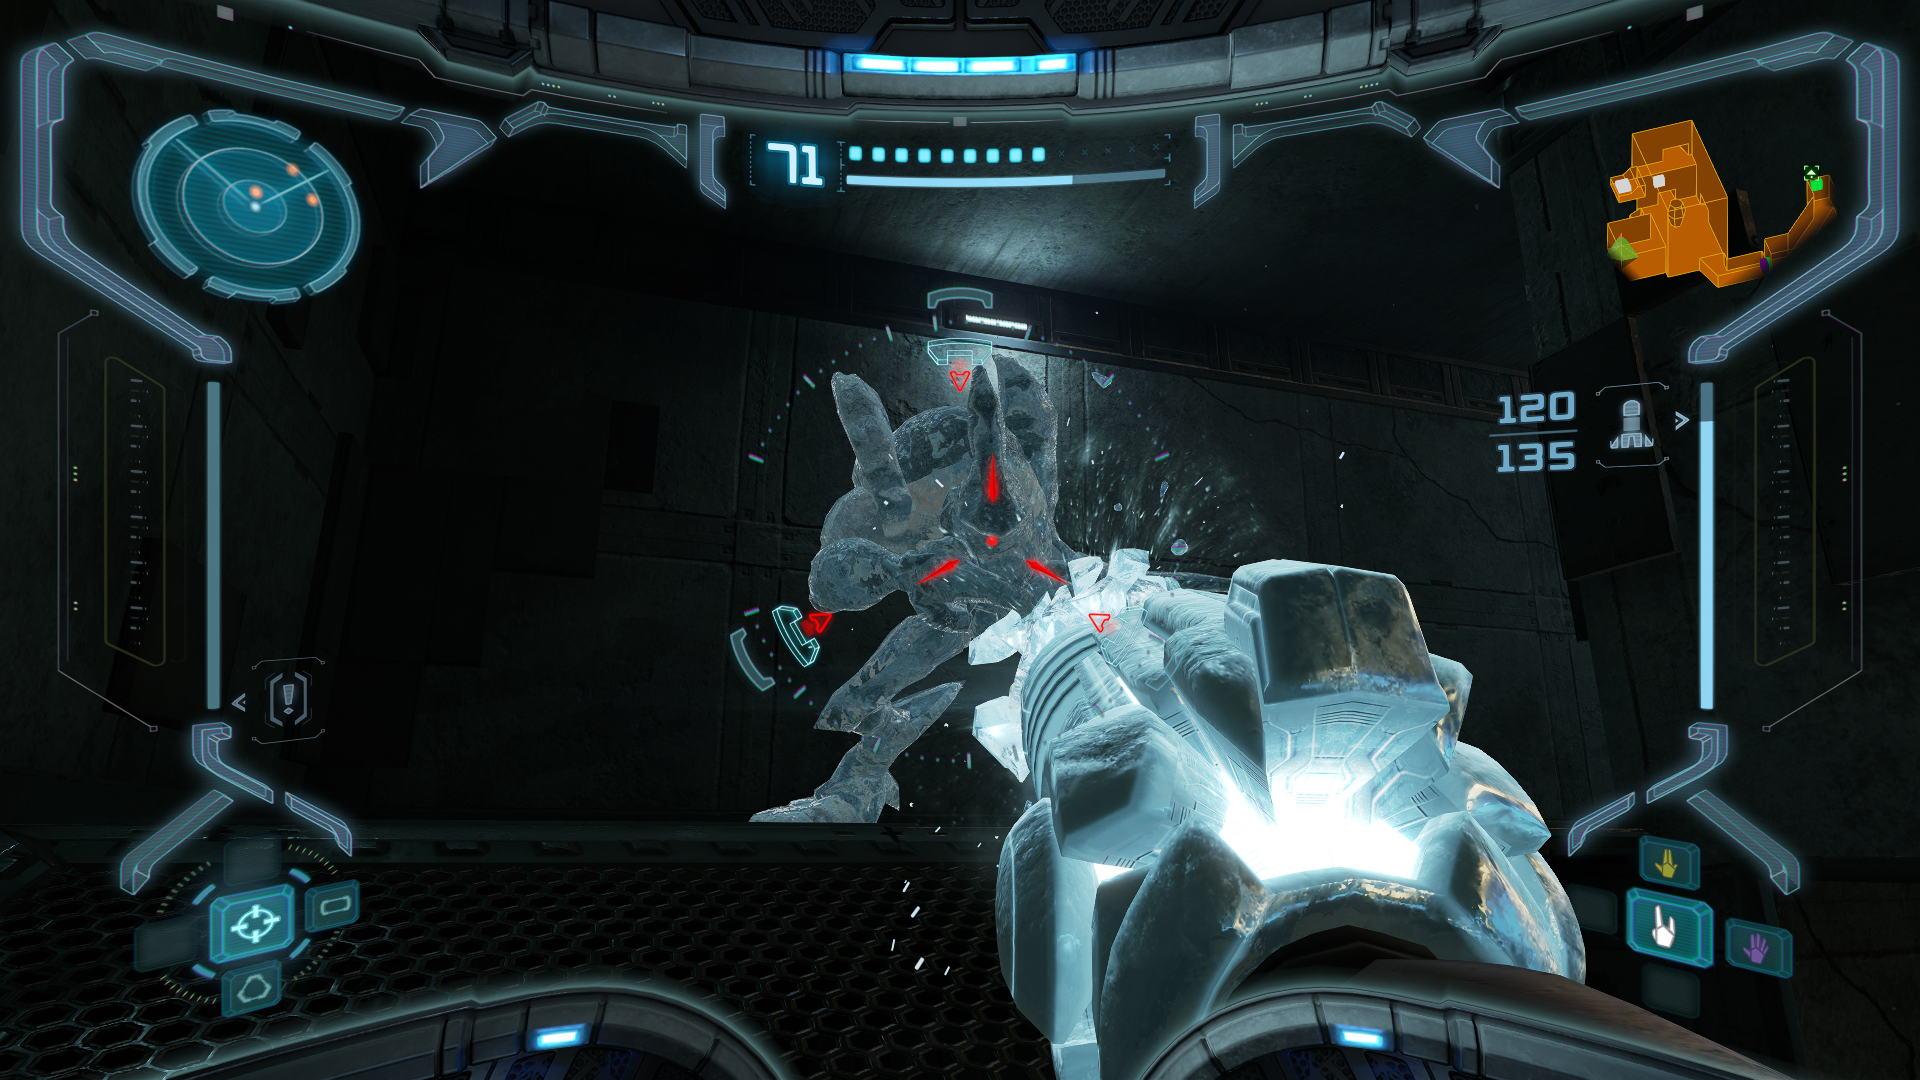
After defeating the Elite Pirate, the Space Pirate battle theme will start playing, so we know the area isn’t clear yet. Go up to the second level to find a squad of ICE TROOPERS waiting for us. Much like the Wave Troopers, we want to use a similar strategy here to keep these guys locked in place. Only charged ice shots will freeze Ice Troopers, so you want to freeze them, wait for the Ice Beam to start charging and then release the shot the moment it does so. Show them what killed the dinosaurs and then go back down to the first level to scan a piece of Pirate Data near the stairs, “HUNTER WEAPONS” (without any spoilers, I highly recommend giving this one a read for some S-tier comedy).
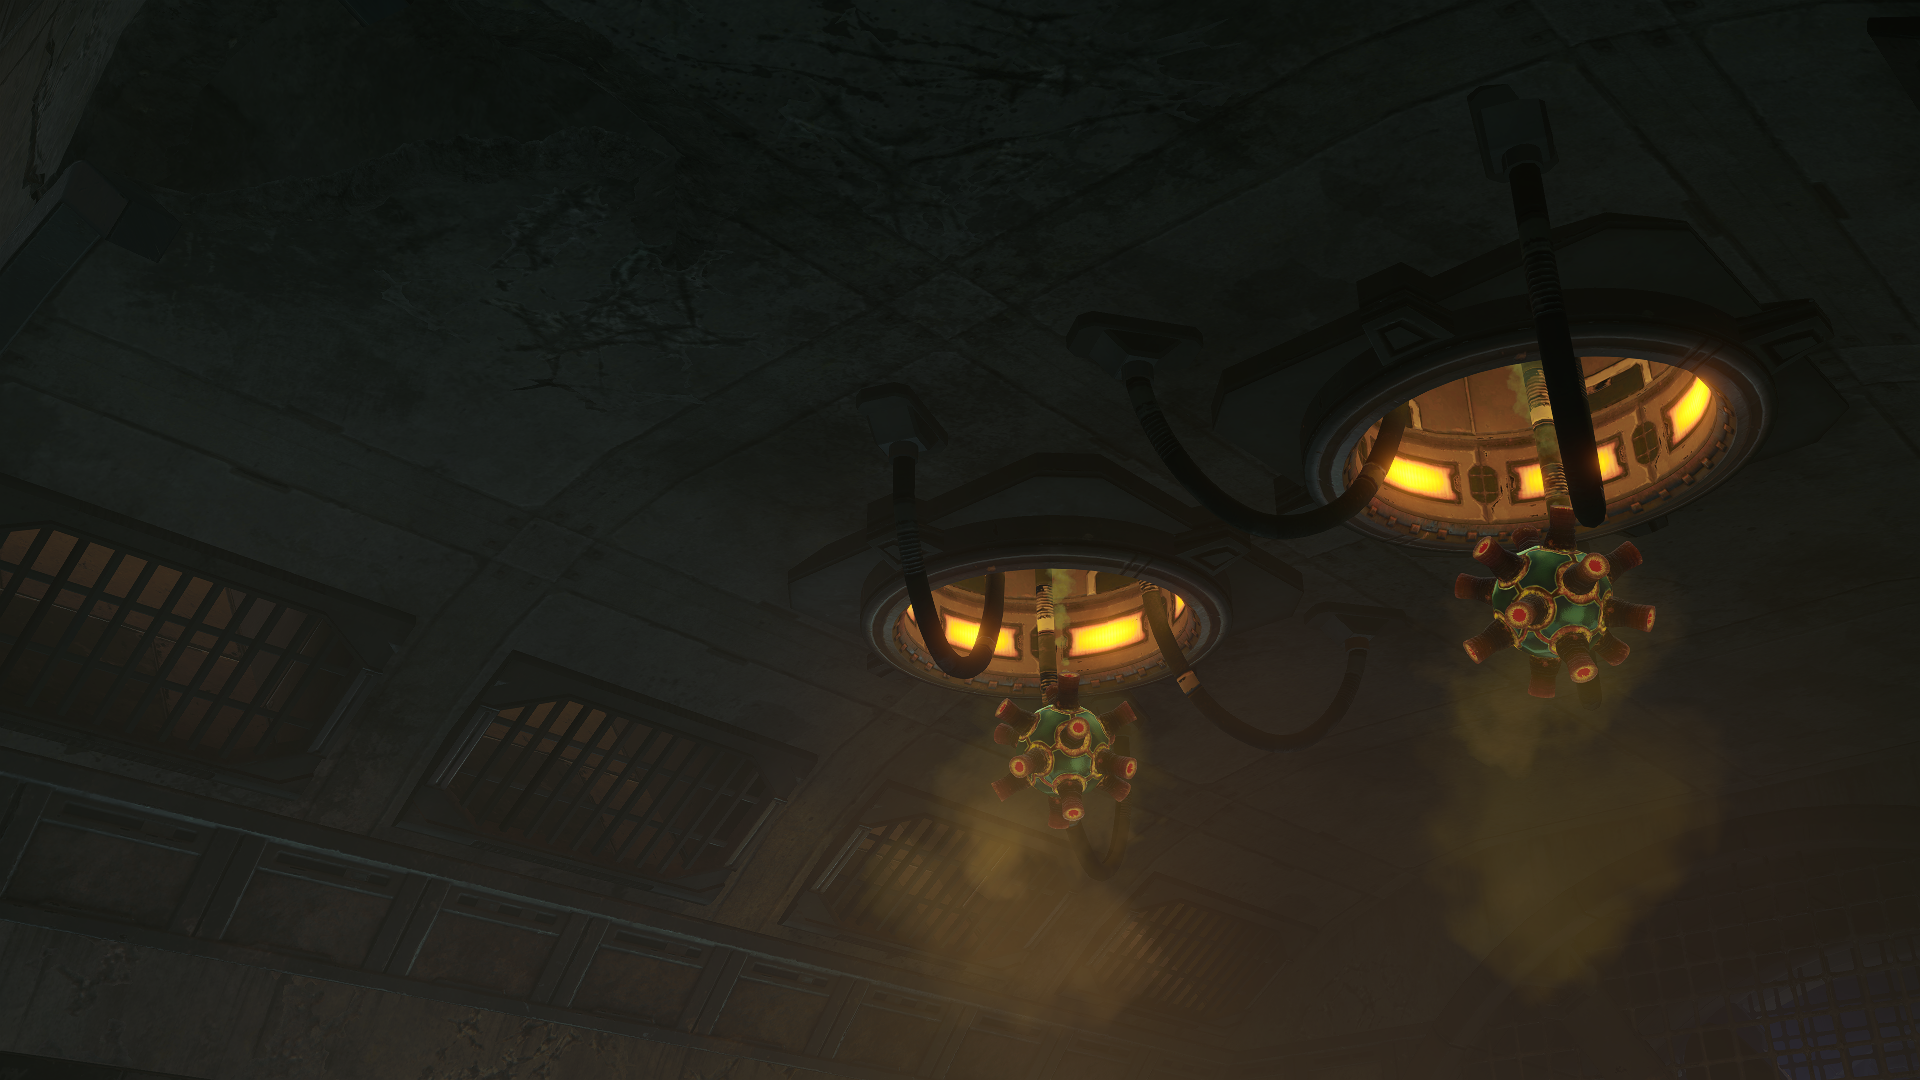
At the top level you’ll find more crates to replenish some health and missiles along with five more Pirate Data entries: “GATE SYSTEM”, “ARTIFACT”, “CHOZO STUDIES”, “THE KEY” and “CHOZO GHOSTS”. Alright, storytime is over, back to work! After dropping down the Ventilation Shaft, Puffers will begin pouring from the vents and filling the air with their corrosive gas. Run out of the exit to Omega Research immediately!
The top floor of Omega Research where you enter will have two Wave Troopers, one hiding behind the wall on the right, and one that will drop down onto the floating platform at the front. Take care of them then focus your attention on the three Power Troopers on the floor below. For some reason none of them will hear the commotion from above, so you can get the drop on one of them, only needing to worry about two at the absolute most. Once they’re taken care of, go to the terminals at the center of the bottom floor and you’ll find an entry of Pirate Data, “OMEGA PIRATE”. Take care of that and proceed forward until you reach the Central Dynamo.
Cloaked Drone
Scans in This Section
None
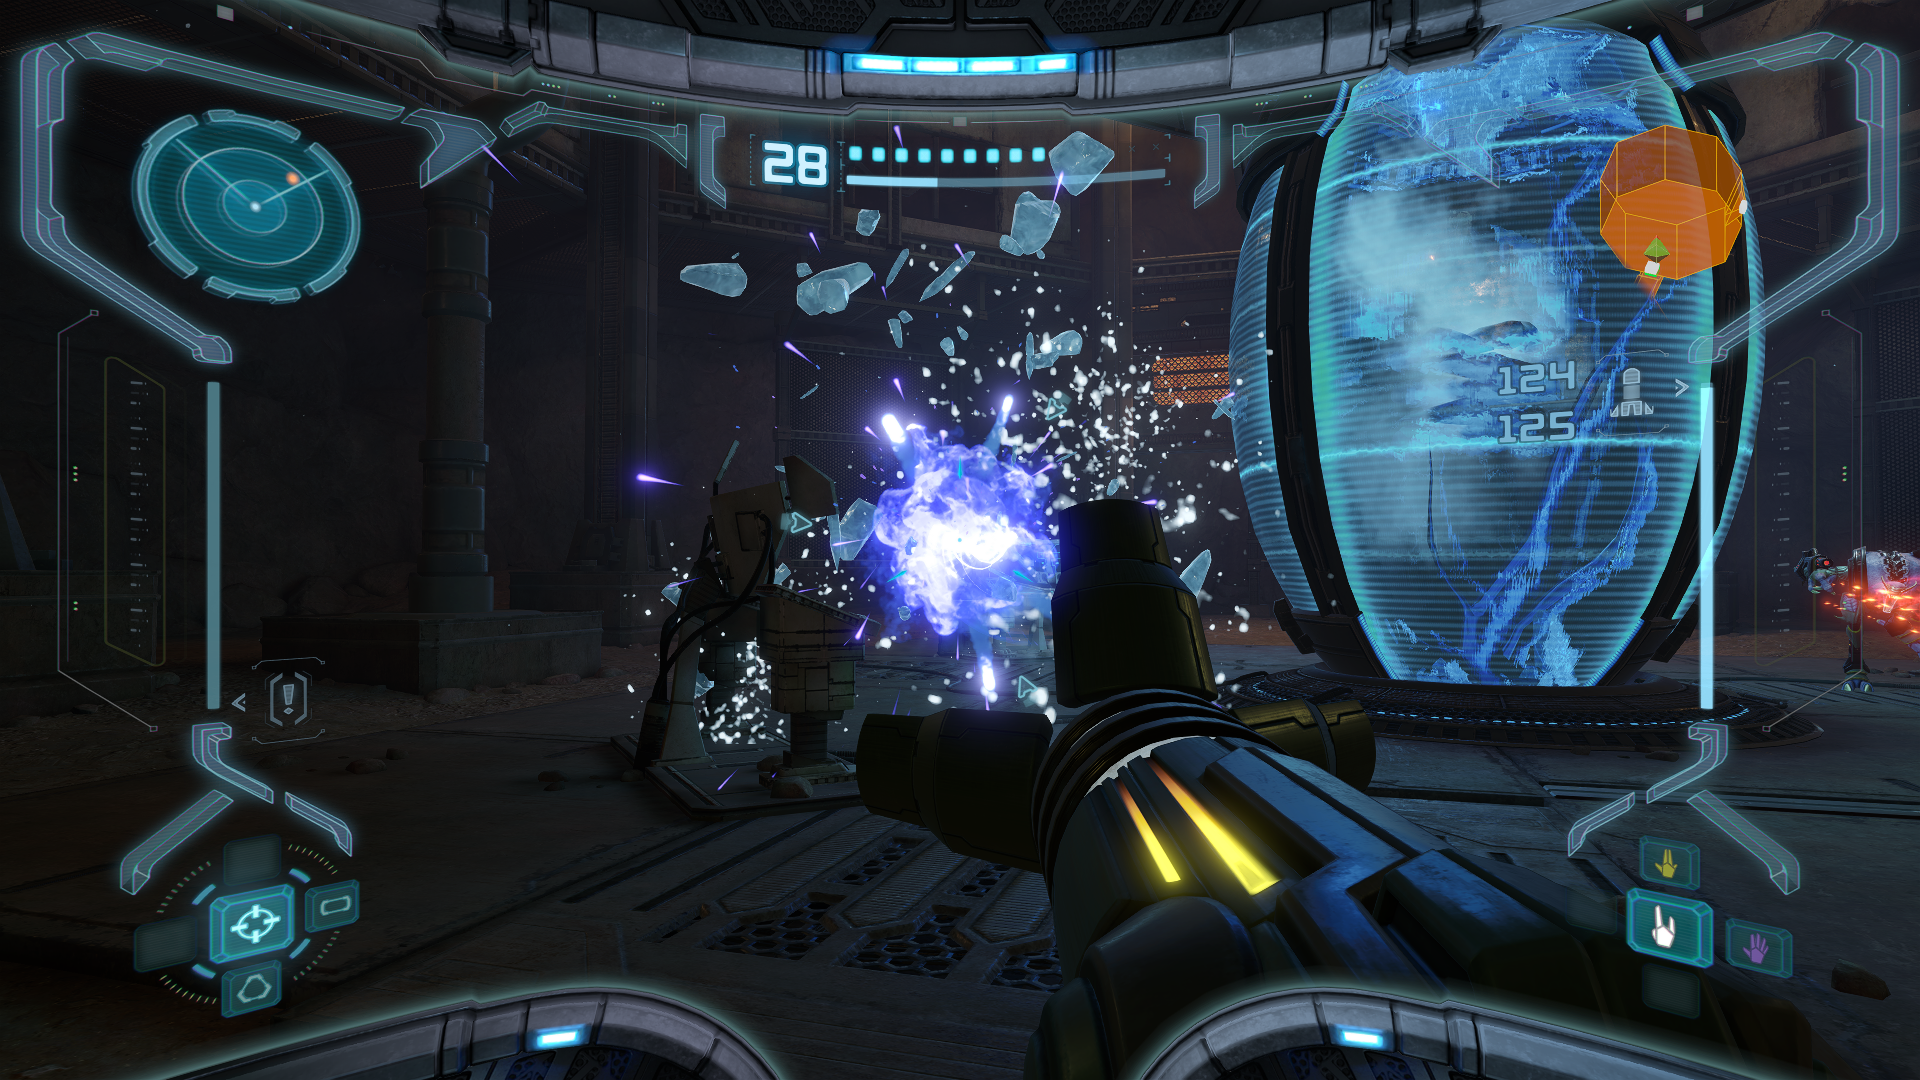
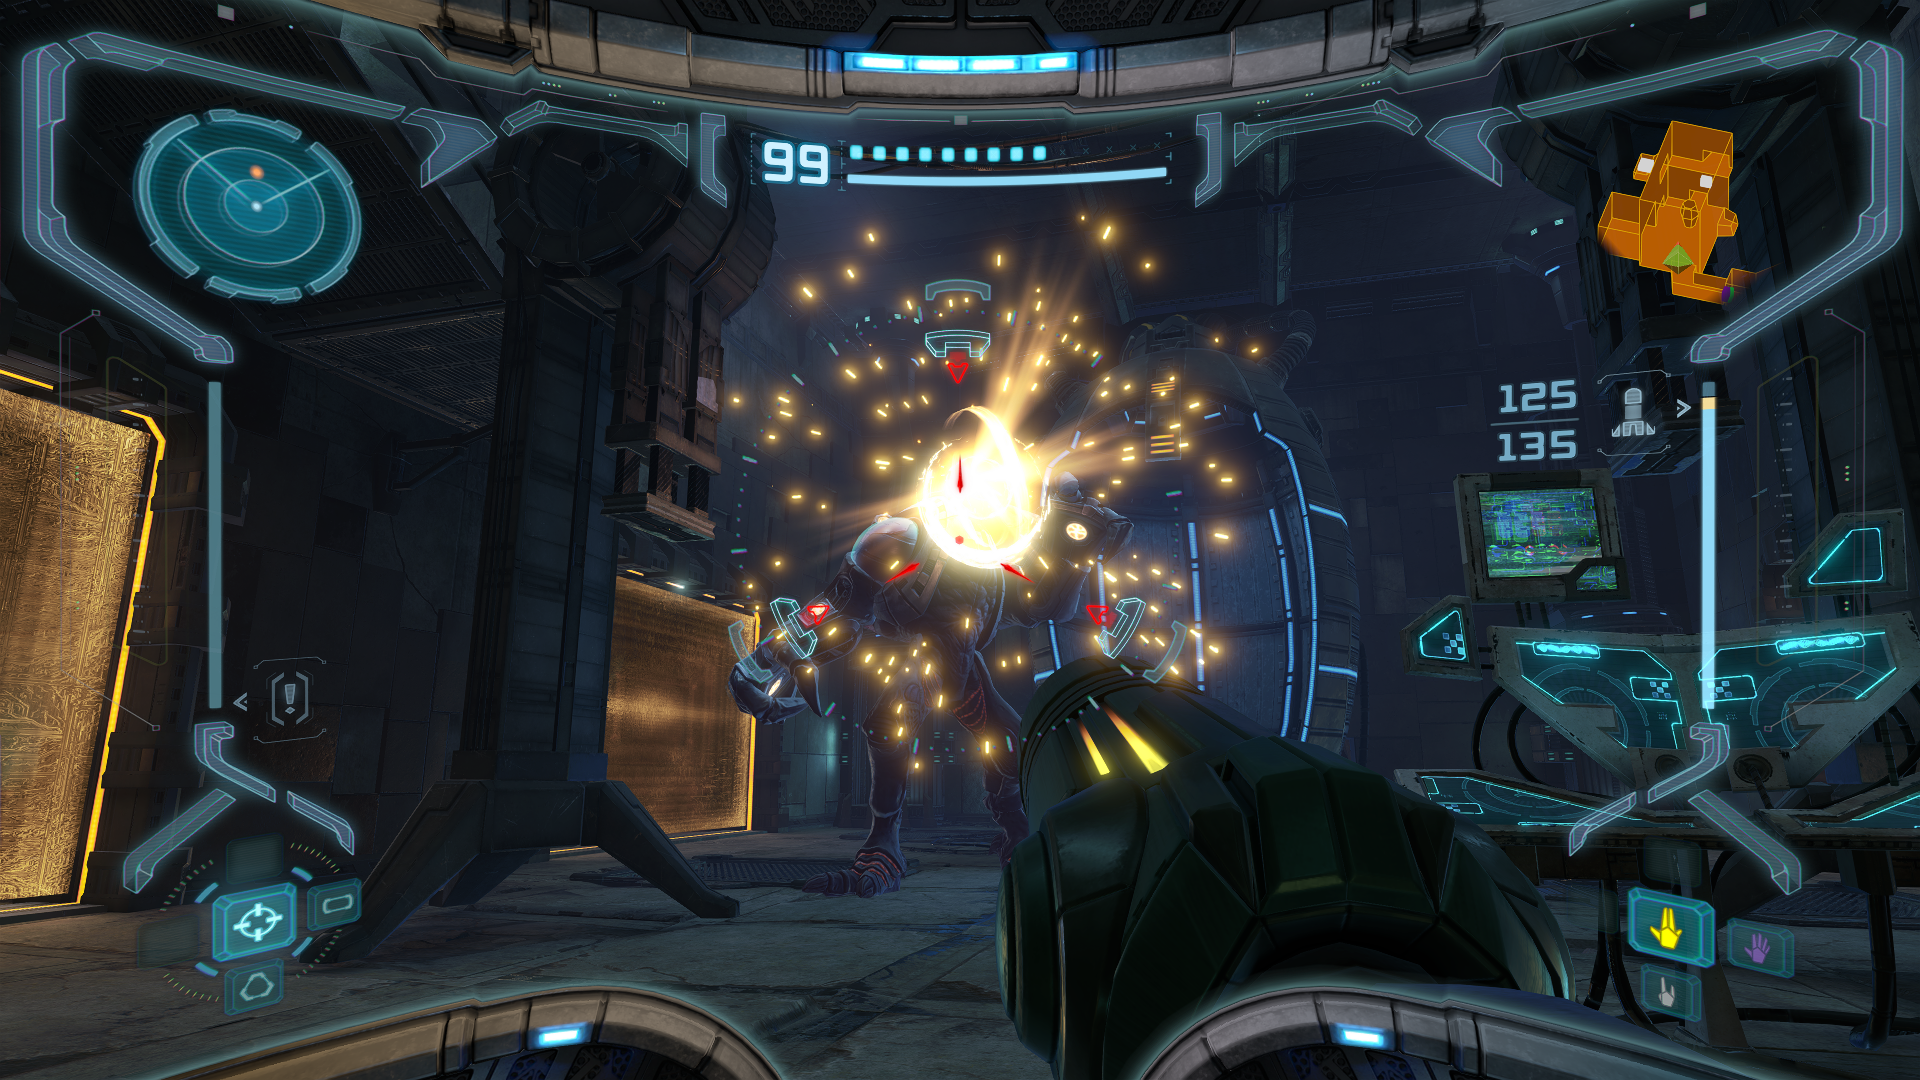
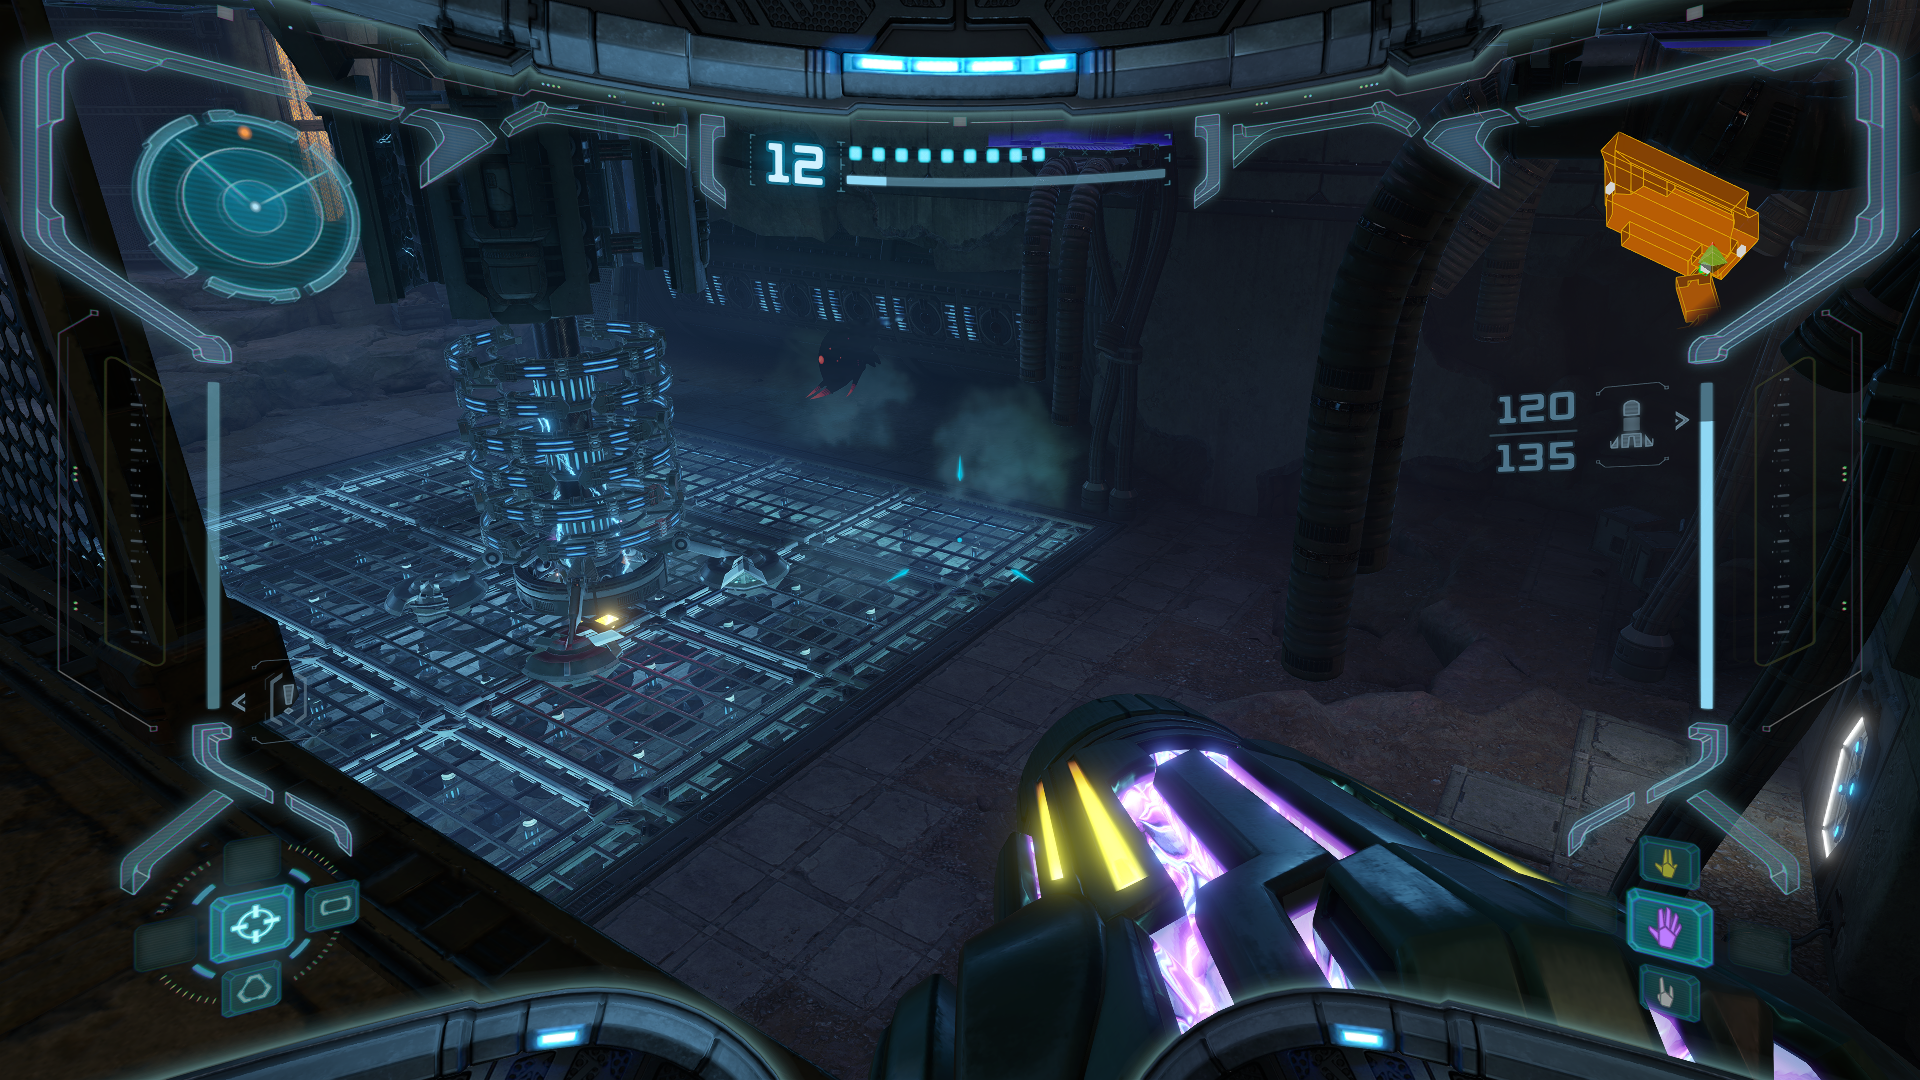
This Sentry Drone has a cloaking device that limits its visibility and prevents us from locking on, which not only means we have to use manual aiming, but takes away our dash ability. It’s also one of the few enemies in the game that CANNOT be scanned, so you don’t need to worry about that. The drone won’t attack you until you either drop down or fire at it, but we can use this to our advantage to get the first shot.
If you took the time to get the Wavebuster earlier in the game, use it now! The beam will hit the drone, allowing you to bypass the lack of lock-on ability in this fight, and after a couple of seconds, it will completely destroy it, making this encounter easy-peasy. If you do not have the Wavebuster, this fight will be a little more involved.
Dual analogue and motion control users will have a much easier time with this fight, but classic tank controls will definitely have the biggest hurdle, needing to stop in place to adjust aim. This is another rare exception where the Wave Beam is the best weapon to use here. Normally we would still opt for fast missiles, but without our lock-on and the need to manually re-adjust our aim, it’s not as viable here for most users. The Wave Beam does extra damage and momentarily stuns mechanoids, which is why we’re using this as our default choice for this fight.
Try to keep yourself moving as much as you can. When the drone activates its laser, step to the side and then jump over as it tries to sweep it into you. You’re gonna take damage no matter what, but by moving you can avoid a few of the shots which saves precious health. Keep a level head and just continue pumping damage into the bot until it finally explodes.
ADVANCED STRATEGIES: Before jumping down, a well-timed Super Missile will destroy the Cloaked Drone in 1 hit (Normal Mode only), allowing you to bypass the fight entirely! If you miss, you’ll have to take it down the old fashioned way. You’ll want to compensate for the moving target, firing delay and projectile velocity by leading your shot just a bit.
Power Bombs
Scans in This Section
Research: Power Bomb Ammunition
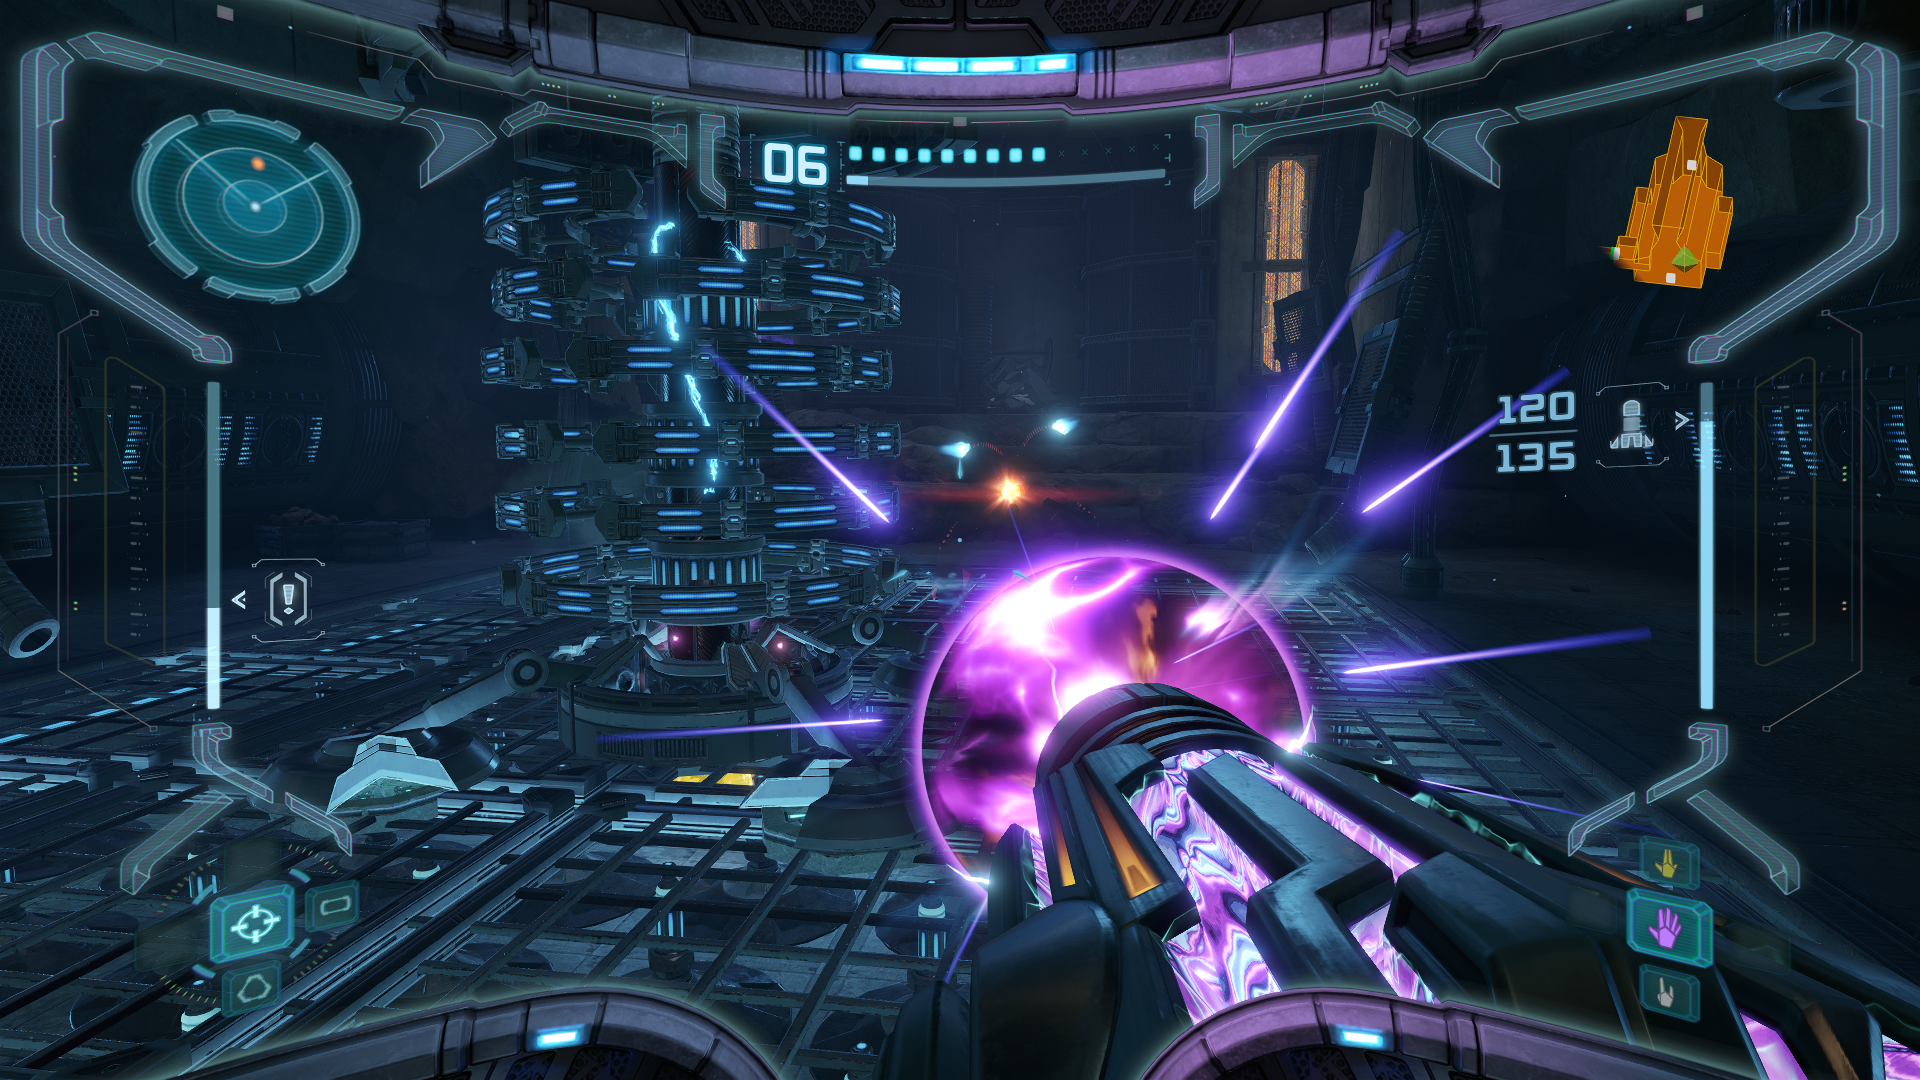
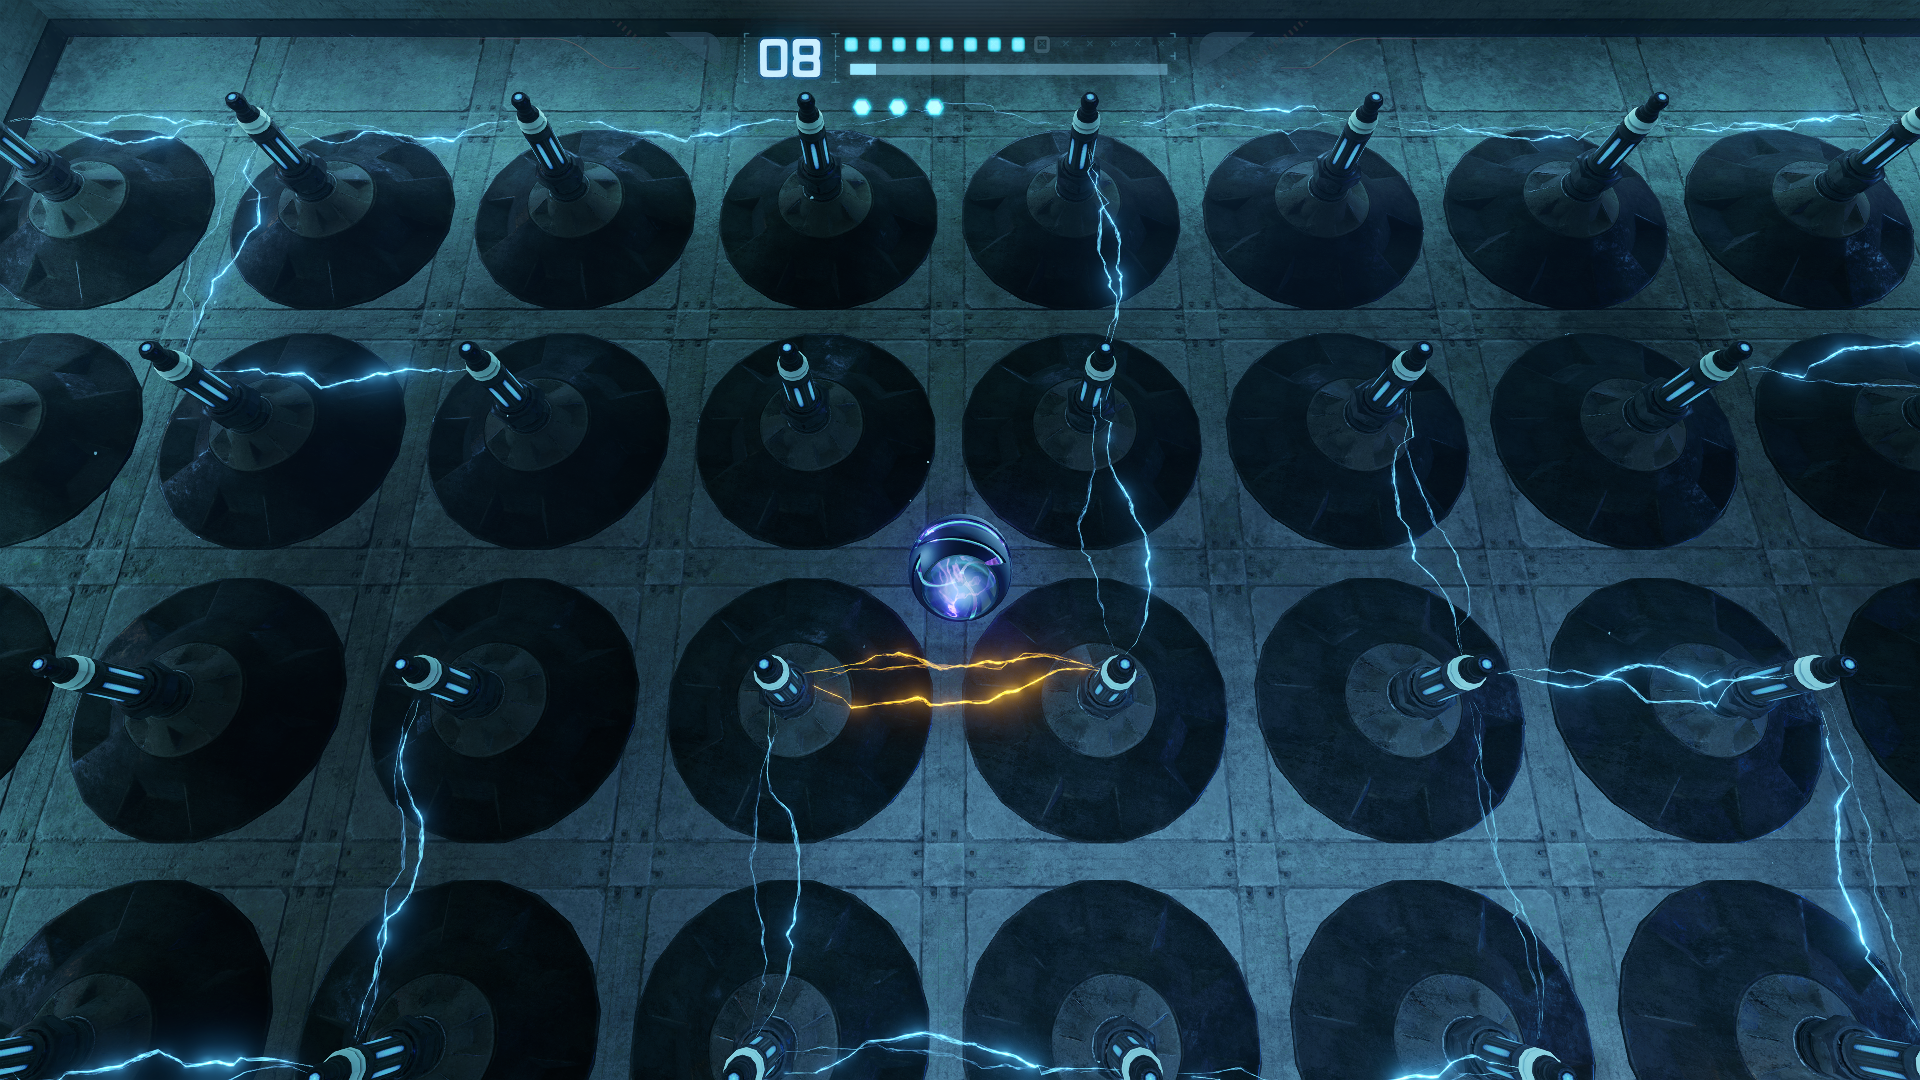
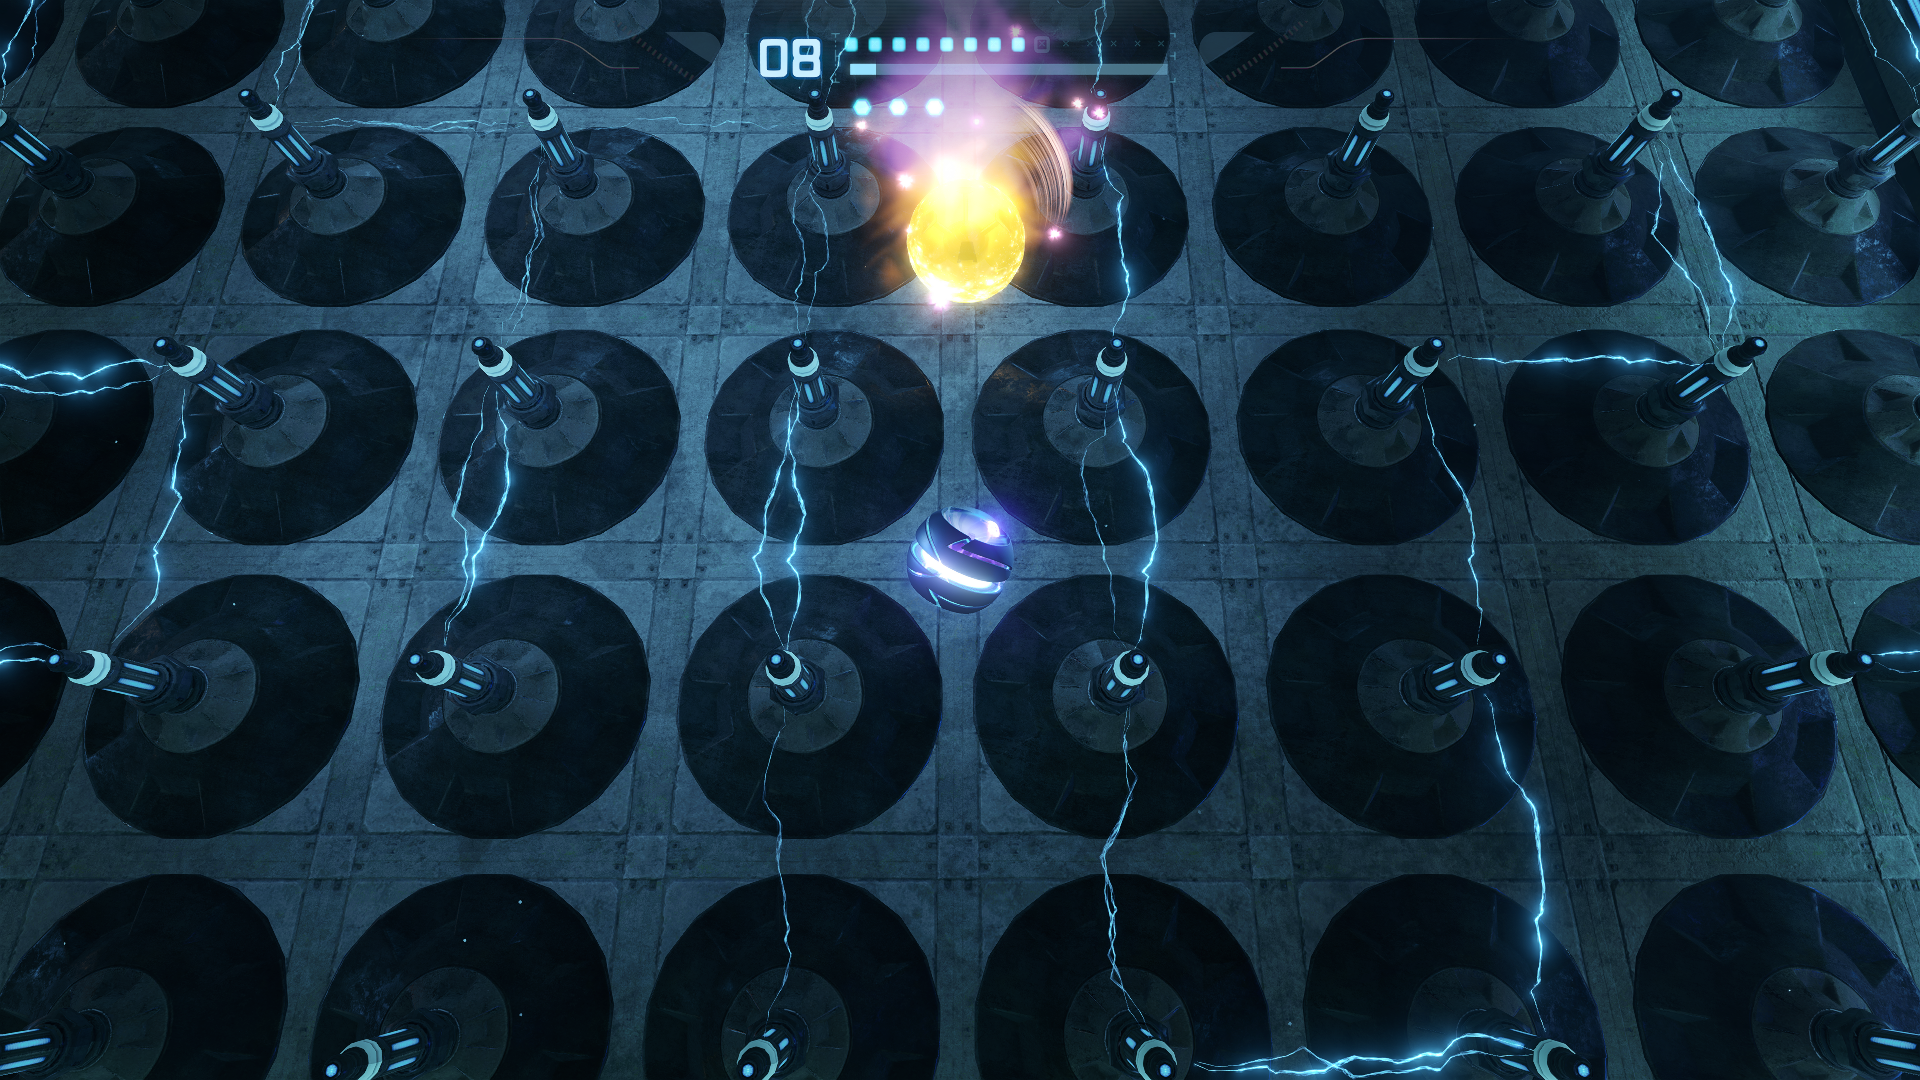
As if all that wasn’t enough, we have one more task before we’re finally home free. An opening in the floor will be revealed along with a series of electric pylons at the bottom of the floor. We have to navigate the maze and get to the center. Unfortunately, there are over fifty random combinations the maze can be set to, so a directional guide really isn’t feasible here. The good news is that it’s fairly easy no matter which one you get and navigation isn’t too slippery. When you come to a puddle, bomb it to short circuit all the surrounding pylons, allowing you to roll through. Pylons with yellow electricity will be active only momentarily, allowing you to slip through briefly once they dissipate
Once you reach the center, you will be granted the POWER BOMB. This massive explosive can take out hordes of bunched up enemies (including some real nasty ones later) and destroy materials made of Bendezium. Speaking of which, go up to the collapsed Bendezium debris and try your new toy out! We’re not gonna go through this room yet, but better to knock it out in advance, right? Afterwards look to your right for a pile of crates. Shoot them to get a guaranteed drop of POWER BOMB AMMUNITION. Scanning this will cover the final health/ammo pick-up needed for your logbook! These are the hardest ammo drops to come by, so savor them. We’ll need a lot of Power Bombs for some puzzles just up ahead. For now go to the opposite door to find a much needed Save Station to reward you for your hard work.
Next Chapter: The Entrusted One