


Metroid Prime Walkthrough – Frigate Orpheon
WALKTHROUGH
- Frigate Orpheon
- Planet Tallon IV
- The Ruins Come Alive
- Fire & Ice
- Phazon Laboratory
- Ghosts & Gravity
- Space Pirate Assault
- The Entrusted One
- Artifacts in the Wild
- The Great Poison
Distress
Scans in This Section
Creatures: Parasite *missable*, Auto Turret
Pirate Data: Fall of Zebes *missable*
Research: Map Station *missable*, Small Missile Ammo, Small Energy, Save Station
“Unidentified distress beacon has been tracked to a derelict space vessel in orbit above Tallon IV.”
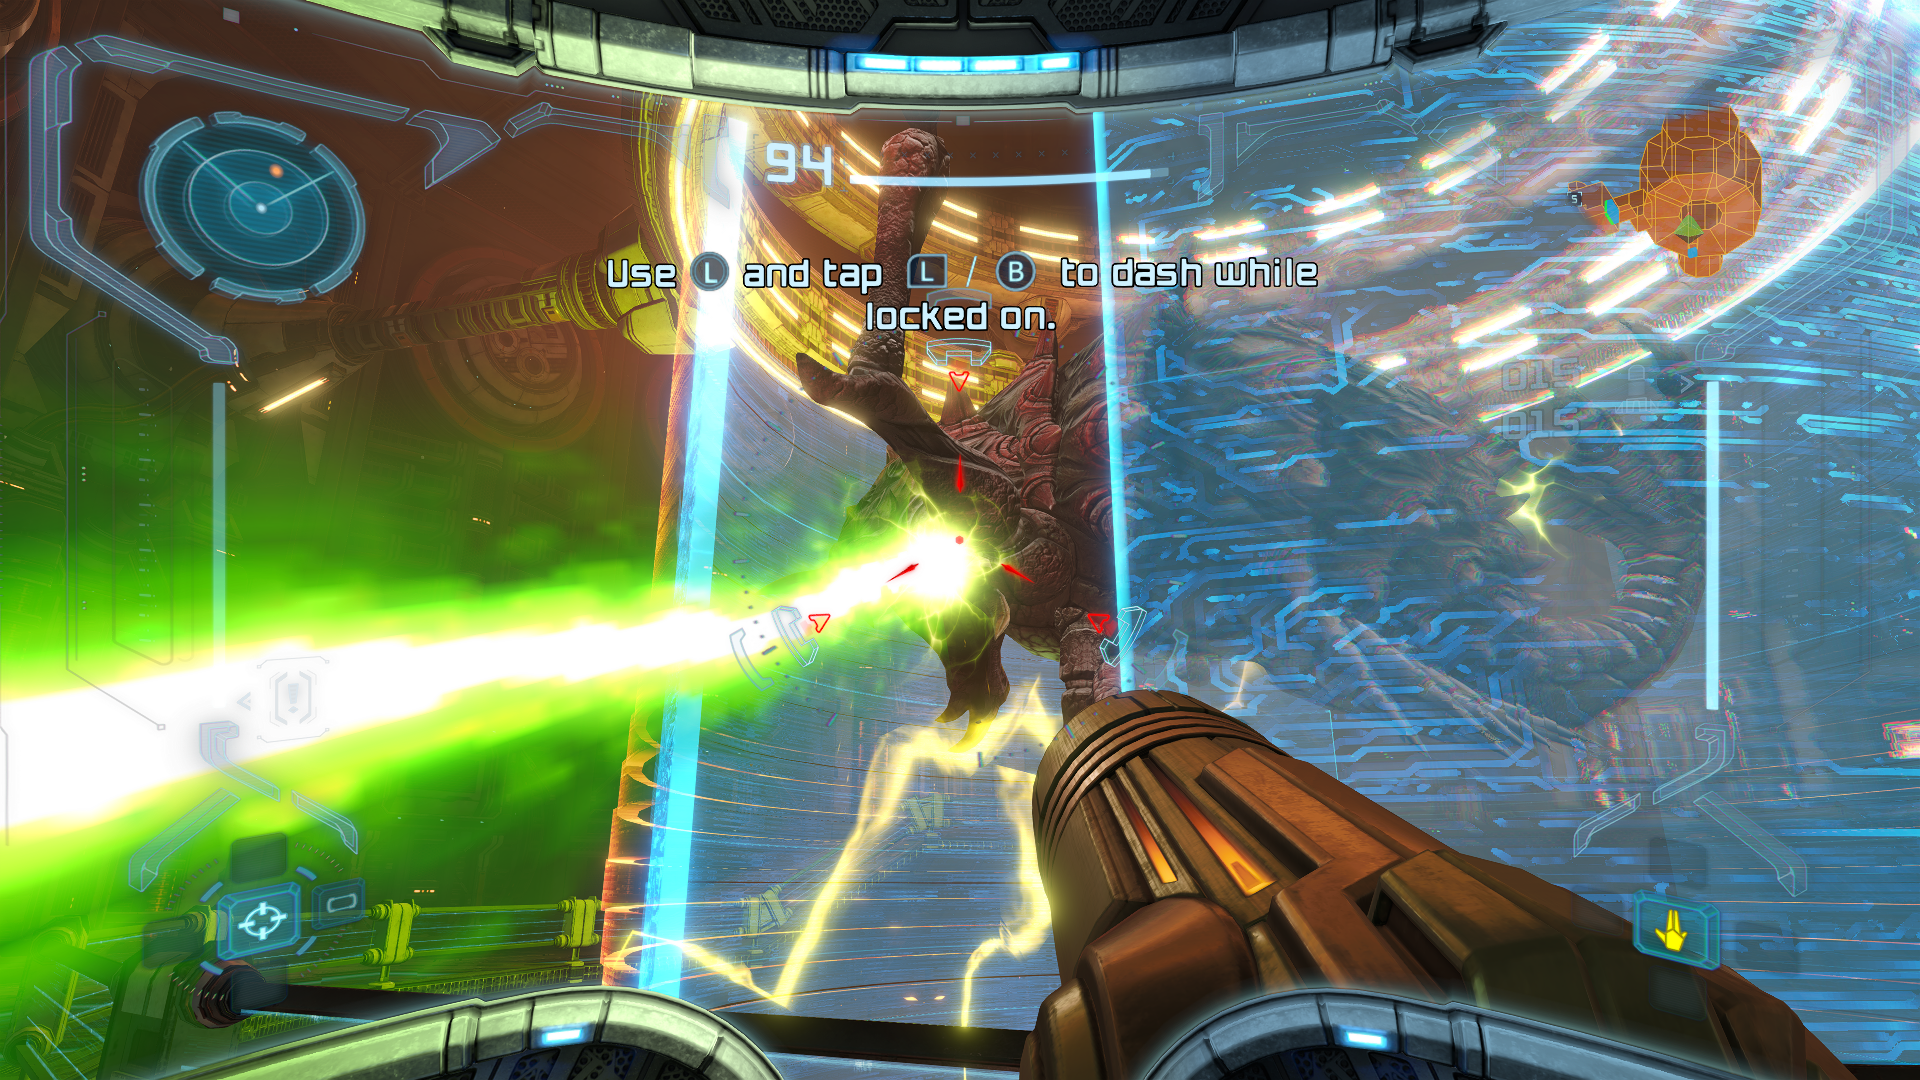
This is the only information we’re given at the start of the game. It’s straight, to the point and a bit cold. After Samus does her superhero landing (y’know, that’s really hard on your knees?) she will be standing in front of a blue force field surrounded by four glowing red dots. Simply shoot the dots to deactivate it and proceed through. The Frigate Orpheon serves as the game’s tutorial level, emphasizing the lock-on mechanic in particular, as it’s absolutely vital to the gameplay.
After walking through you’ll see another force field to your left, this time much taller and with the red dots deactivated. This section introduces the Scan Visor, another important mechanic for this game (and something we’ll be using quite a bit to get 100%). Activate the Scan Visor and scan the blue symbol to the right of the force field. You can see which objects are scannable as they’ll have a yellow or red square highlighting them. Yellow squares are for creatures and extraneous information, whereas red is for critical info and logbook entries. You can scan as much as you want if you’re interested in the game’s worldbuilding and want every juicy detail, however we’re only going to highlight the required scans for 100%. After scanning the panel, shoot the red dots to deactivate the force field. There’s a third set higher up this time, so don’t miss those as they will be just out of your eyesight! Proceed through the hallway until you get to the Air Lock. The door directly in front of you will be deactivated, but conveniently there’s another blue symbol identical to the one you just scanned moments ago. You know what to do! Scan the panel to activate the door and keep moving through the hallways.
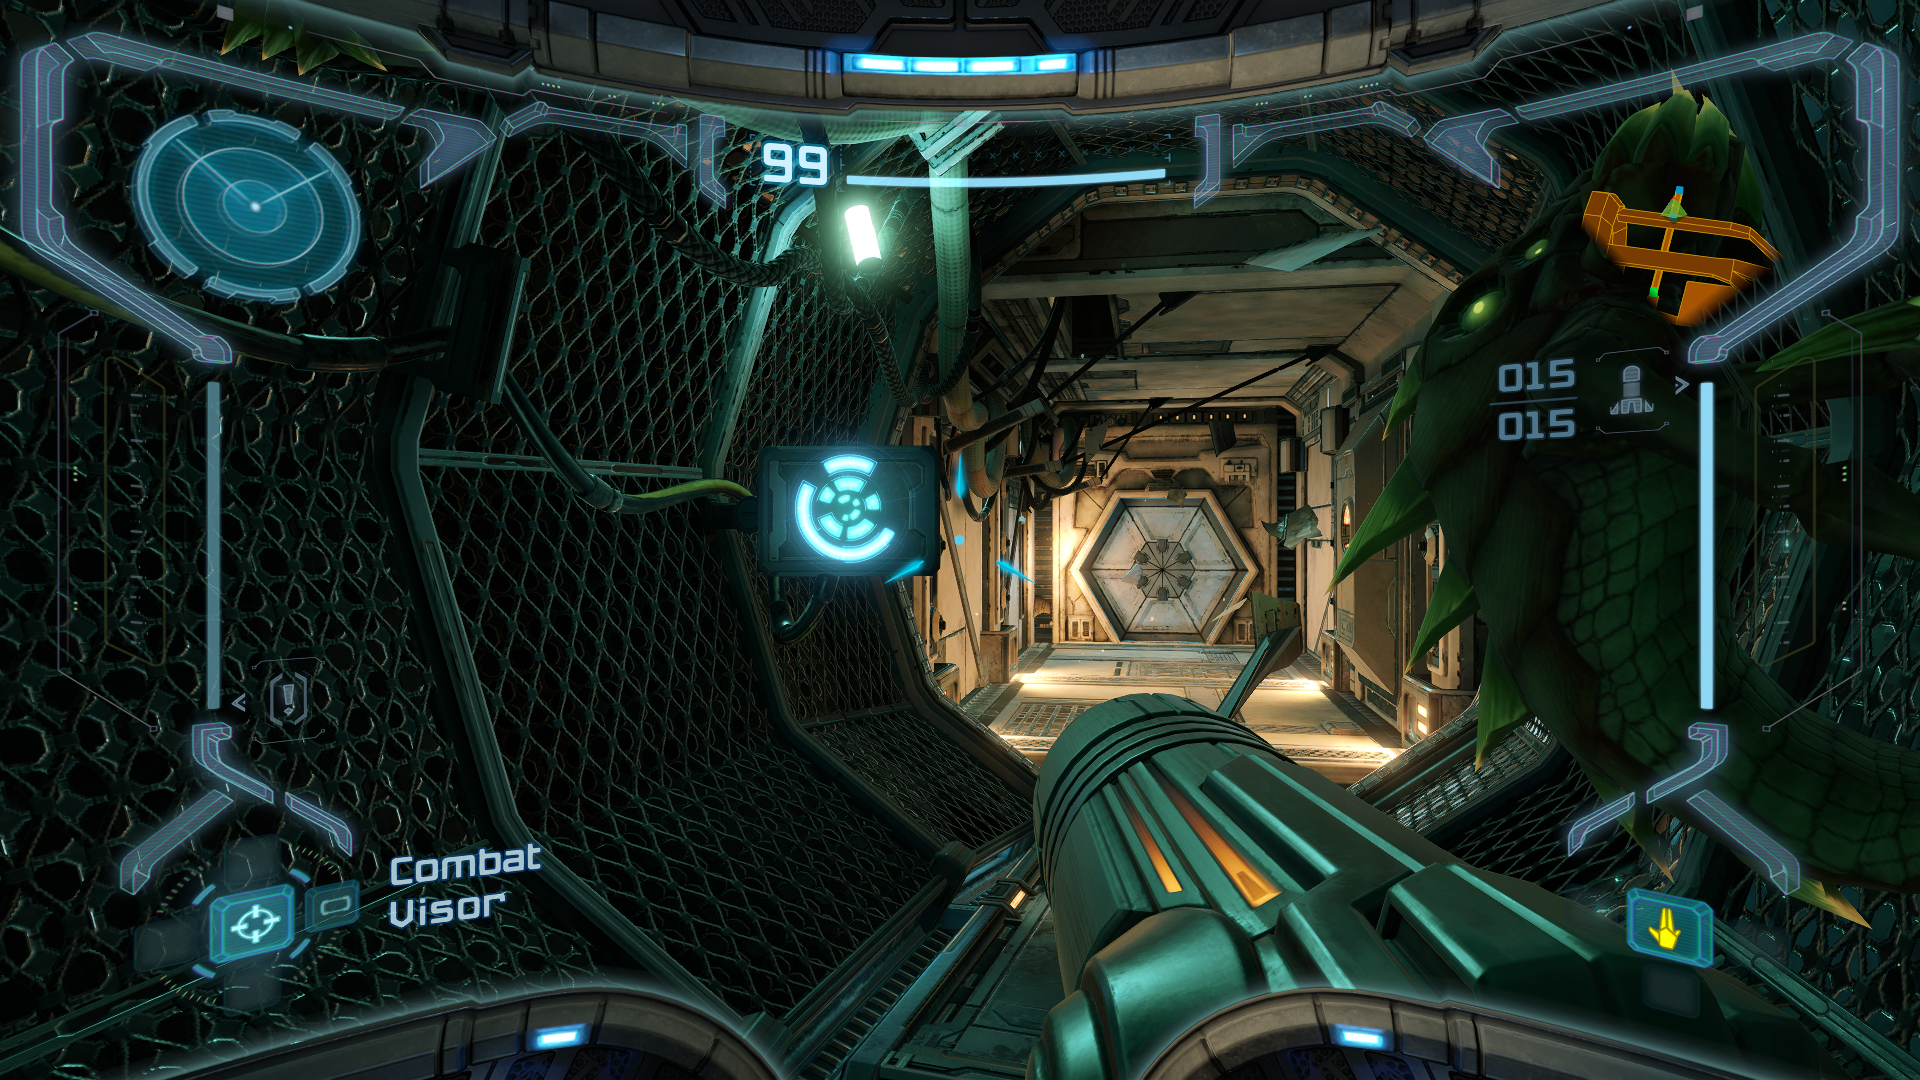
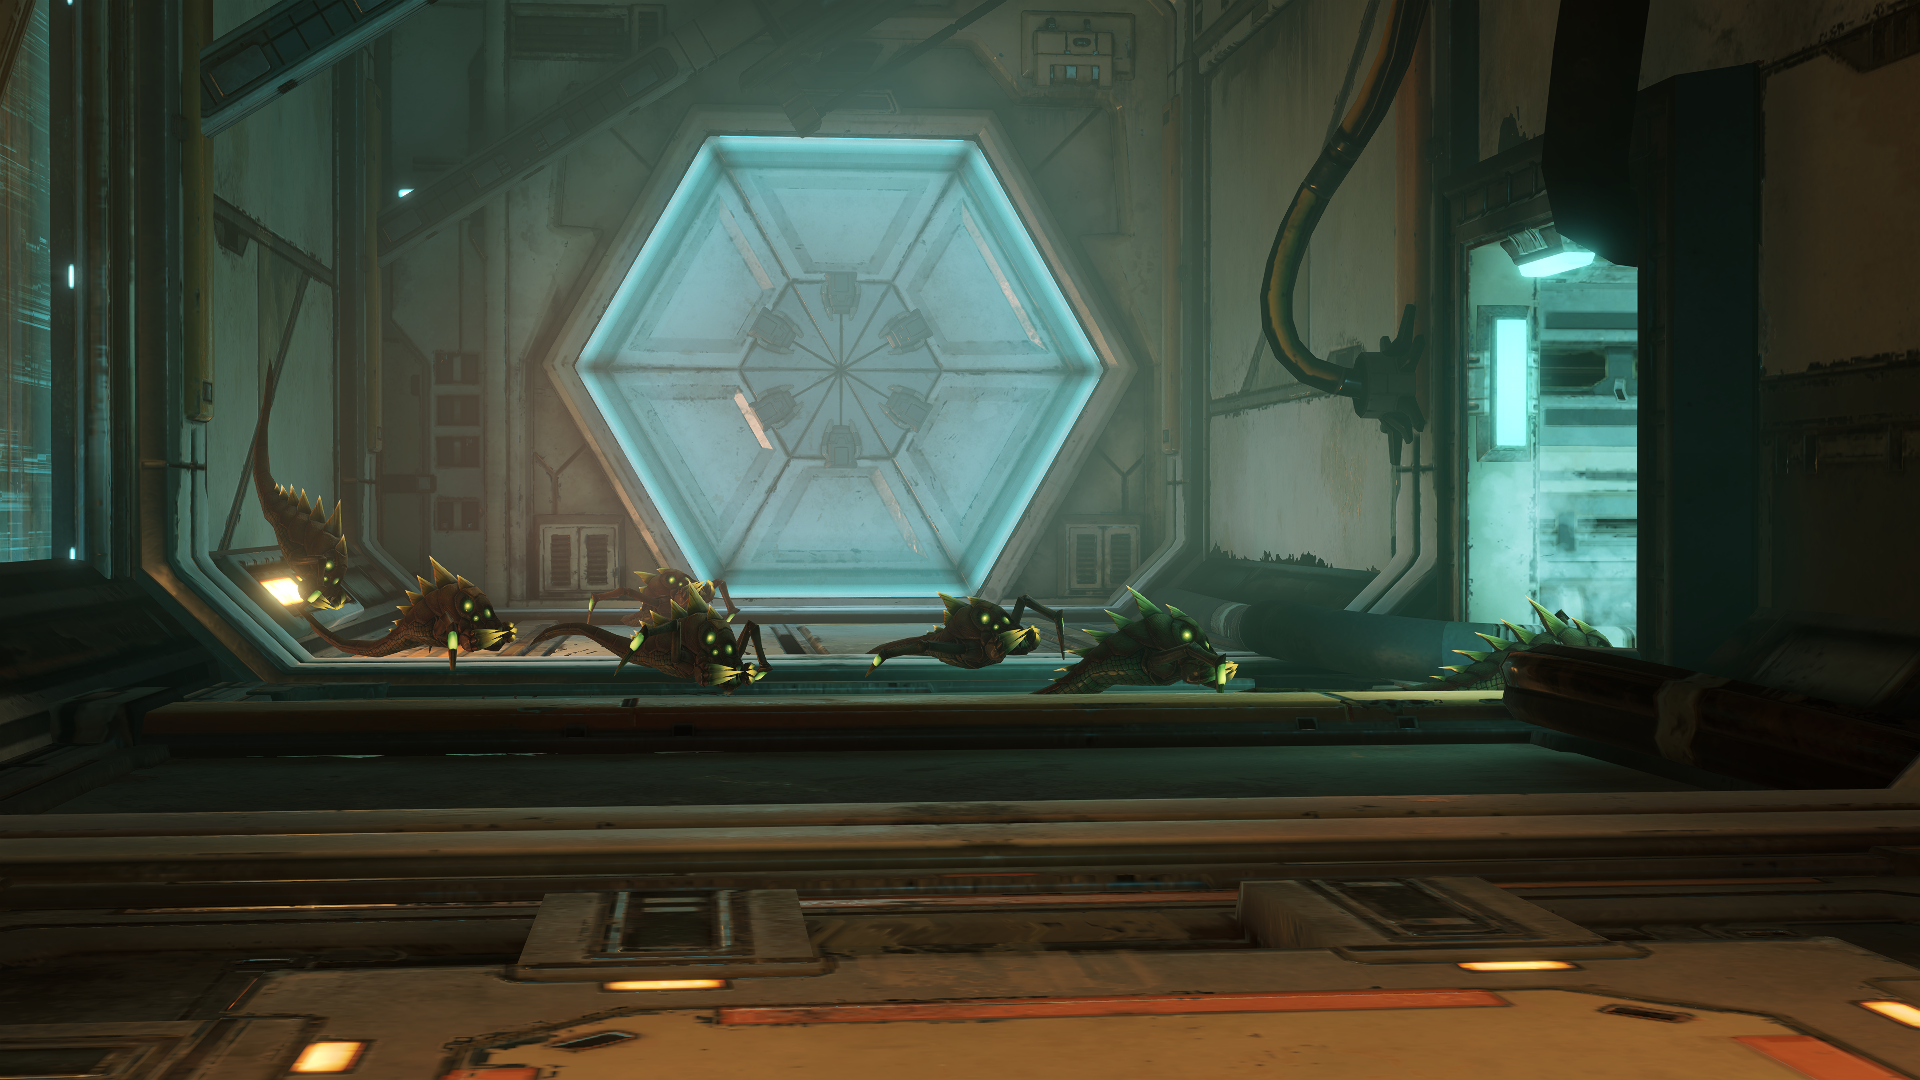
Once you get through all of the hallways, you’ll find yourself in the Emergency Evacuation Area… and it is not a pretty site. A giant deceased creature of unknown origin lies across nearly the entire width of the room, with one of its legs impaled into one of several… Space Pirate corpses? First off, BRUTAL! Second, if Space Pirates are involved in this distress signal, that’s anything but a good sign, so be ready to utilize your firepower. Before getting TOO trigger happy however, activate your Scan Visor and look towards the impaled pirate. You’ll notice some small creatures chewing at its remains. These are PARASITES, the first of three mandatory scans located on the Frigate Orpheon to get 100%. This is important because this short tutorial is the only place you can get them. If you’re going for 100% scans and you miss any of these, you’ll have to start all over again. If you get too close to the Parasites, they’ll scurry away, however there’s a second set gnawing at another body on the catwalk to the right. If you miss those too, you’ll still have a few more opportunities near the end of the tutorial, but it’s best to get them out of the way sooner than later if you can. Just before leaving the room, a barely conscious Space Pirate near the exit will recognize you and try his hardest to fire his weapon (it’s almost adorable in a kind of pathetic way). None of the pirates in the tutorial count towards your scan completion, so you can skip those if you want. Put this poor guy out of his misery and proceed to the next room.
The next hallway is blocked by fallen debris, but as the game will prompt you, the Charge Beam will make short work of it! Blast it and keep moving. The next room shows a cutscene of some Parasites (you did scan them, right?) scurrying into a small alcove in the wall. Some people might be inclined to try crawling through here, but we’re instead going to use the most iconic ability in the Metroid series to navigate this tunnel, the Morph Ball! The Morph Ball has the ability to morph Samus… into a ball (that was surprisingly self-explanatory). This ability is critical in every Metroid game and Prime is no exception, so be on the lookout for similar sized holes in the walls throughout this mission. Go on through and once you reach the other side you’ll see a hologram that the game wants you to step into to get the map, but BEFORE YOU DO THAT, make sure to scan it first to add the MAP STATION to your logbook! Once you’ve gotten the map, the device can no longer be scanned. If you do accidentally walk in, there’s still plenty of other Map Stations throughout the game, but this is a good one to knock out early if you can. Once you’ve finished up, go back through the tunnel and enter the next room.
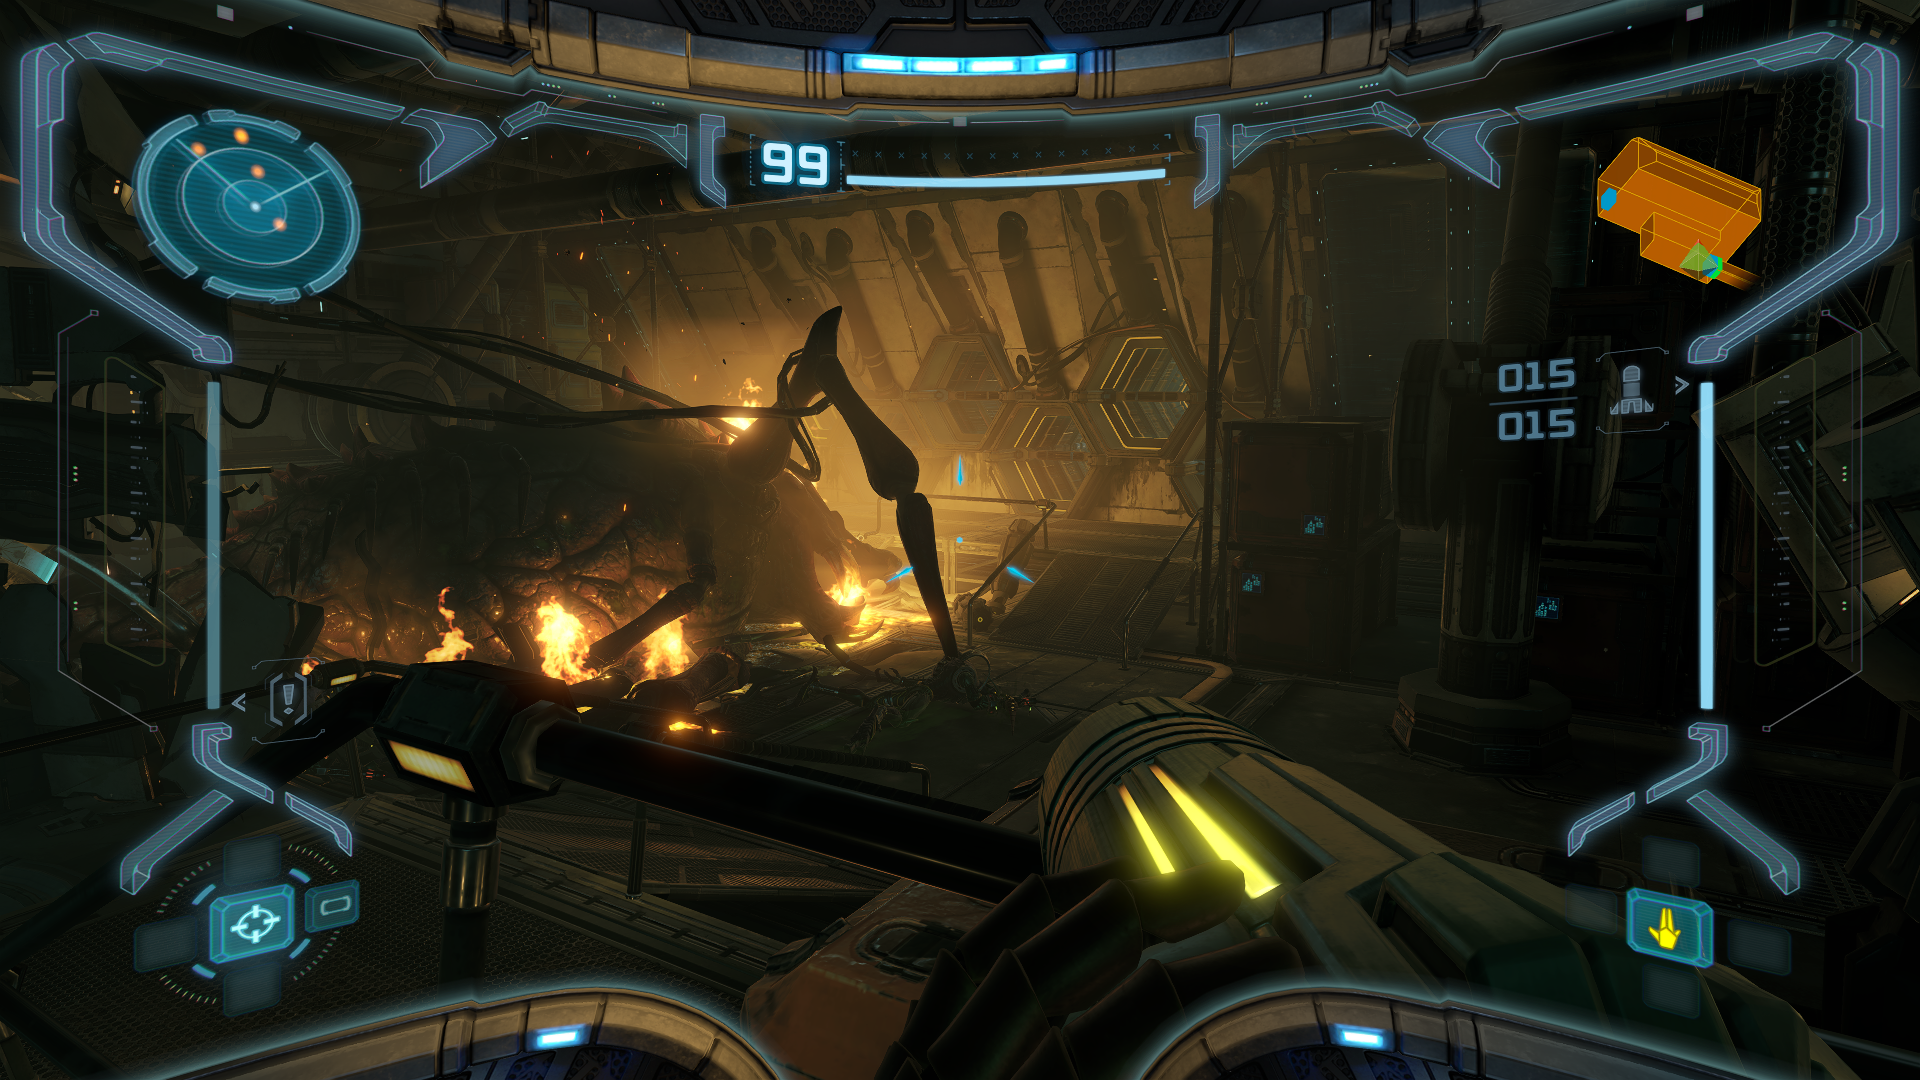
The next room will have another blue symbol to scan. Scanning this will activate a hologram in the center which controls an elevator leading to the bottom of the shaft. Your next obstacle is another large pile of debris, though this time there’s too much blockage for your Charge Beam to be effective. What’s more, there’s an electrical current in front that periodically goes off. Just behind the current is a hole wide enough to fit a Samus sized Morph Ball though, so wait for the current to dissipate and quickly roll on through to the other side. In Biotech Research Area 1 you’ll encounter a couple more injured pirates. One will be walking, but he’s not that much more capable than the cannon fodder you’ve already encountered. After dealing with them you might notice a stasis tank housing a creature that looks similar to the one from the evacuation area. Behind that creature is… two shattered stasis tanks missing its contents. We can probably make an educated guess and say that one of those tanks belonged to our deceased friend, so the question is… where is the creature that was in the second shattered tank? All we can do for now is keep moving forward.
In the next hallway, you’ll encounter an AUTO TURRET. Scan it, then blast it to smithereens with a missile. Afterwards scan the SMALL MISSILE AMMO drop (replenishes 3 missiles) as every single unique health and ammo drop is required for getting 100% scans. None of them are mandatory for the tutorial, but they’re some of the easiest to forget about. The next room is Biohazard Containment and directly in front of us is an entry of Pirate Data, “FALL OF ZEBES”, our second mandatory scan for 100%. You can tell it apart from other scans on the various computers due to its red square. After that, you can choose to destroy the turret on the other side of the test tube OR deactivate it by scanning the blue symbol located to the left of the door you came out of. You’ll notice various species in containment throughout the room, however none of these scans will count towards your percentage, just like the injured pirates. Once you get to the other side, you’ll see another blue symbol. Scan it to activate a lift which will take you to the second floor. On the second floor, you’ll encounter some more injured pirates, however one of them is still in fairly good condition. This guy can actually move around a bit and has way better control of his recoil. Take him out quickly before he does too much damage, then scan the SMALL ENERGY drop (replenishes 10 energy units) he leaves behind. He’ll always drop it even if you don’t take any damage, so this is another great opportunity to get an easy scan out of the way.
In the Cargo Freight Lift to Deck Gamma, you’ll encounter a turret on your right the moment you enter, so be quick with your missiles. Scan the blue symbol to activate the lift and make your way down. At the bottom, a pirate will drop down and attempt to get the jump on you, but since you’re reading this guide you get the special ability of foresight! Once he’s out of the way, scan the blue symbol to activate a hologram that has a striking resemblance to your Morph Ball. Roll into the hologram to unlock the giant sealed door leading to the next room. In the next room, you’ll be met with TWO turrets. Dispatch them quickly, then head through the door on the left to save your game and refill any health you might have lost. Don’t forget to scan the SAVE STATION! Unlike the Map Station, the Save Station can be scanned at any time even after completing the process! Go back to the previous room, scan the blue symbol and roll into the hologram just like you did in the one before it. You’ll be greeted with a pile of dead pirate bodies. Scanning one of them reveals that it still has a heat signature, indicating it hasn’t been here for long.
That can only mean one thing – time to encounter our first boss of the game!
Parasite Queen
Scans in This Section
Creatures: Parasite Queen *missable*
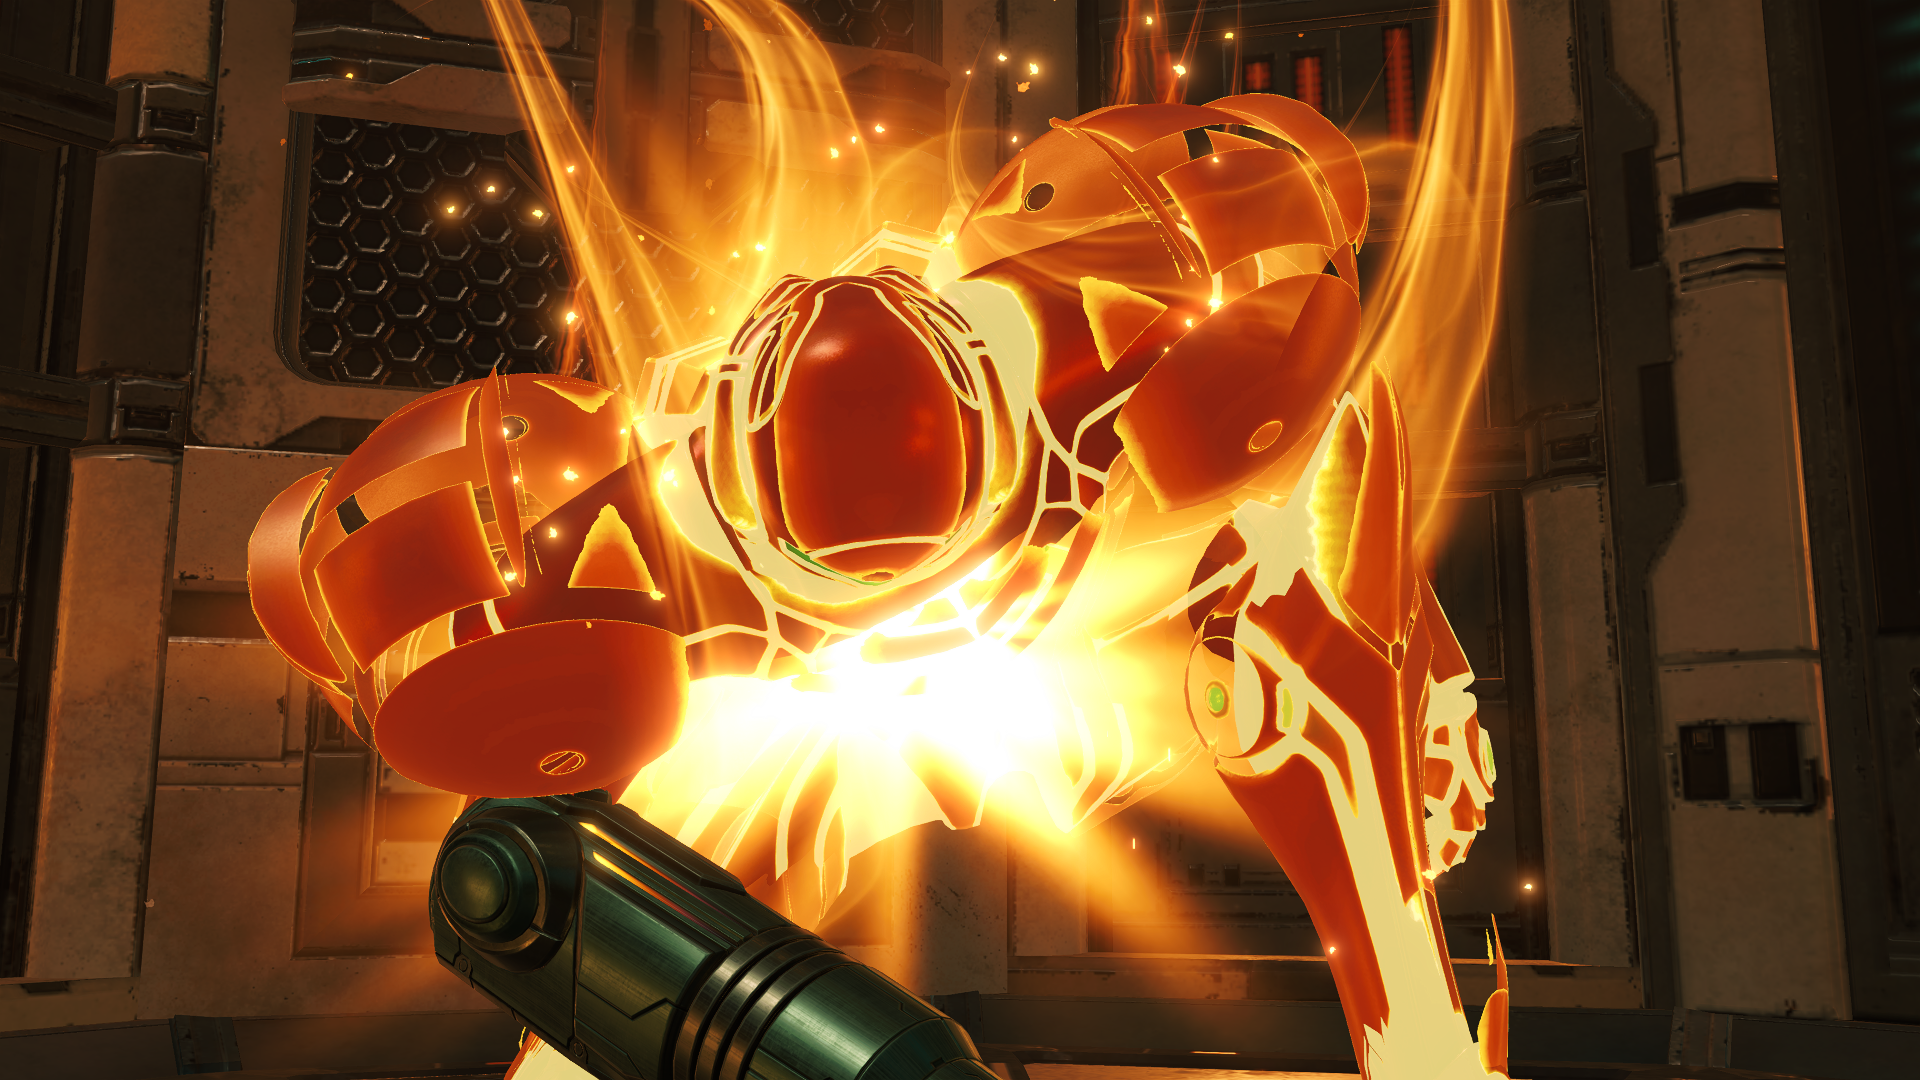
The PARASITE QUEEN might look absolutely massive and daunting, but don’t let its looks intimidate you – the main purpose of the Parasite Queen is to teach new players how to circle strafe in first person. If you don’t scan it, you’ll target its stomach when you lock on. However if you do scan it there will be a note about its head being the most vulnerable spot and your lock-on will default to the head from that point forward. This is the only boss in the game which has a feature like that which is kind of weird, but a cool detail nonetheless.
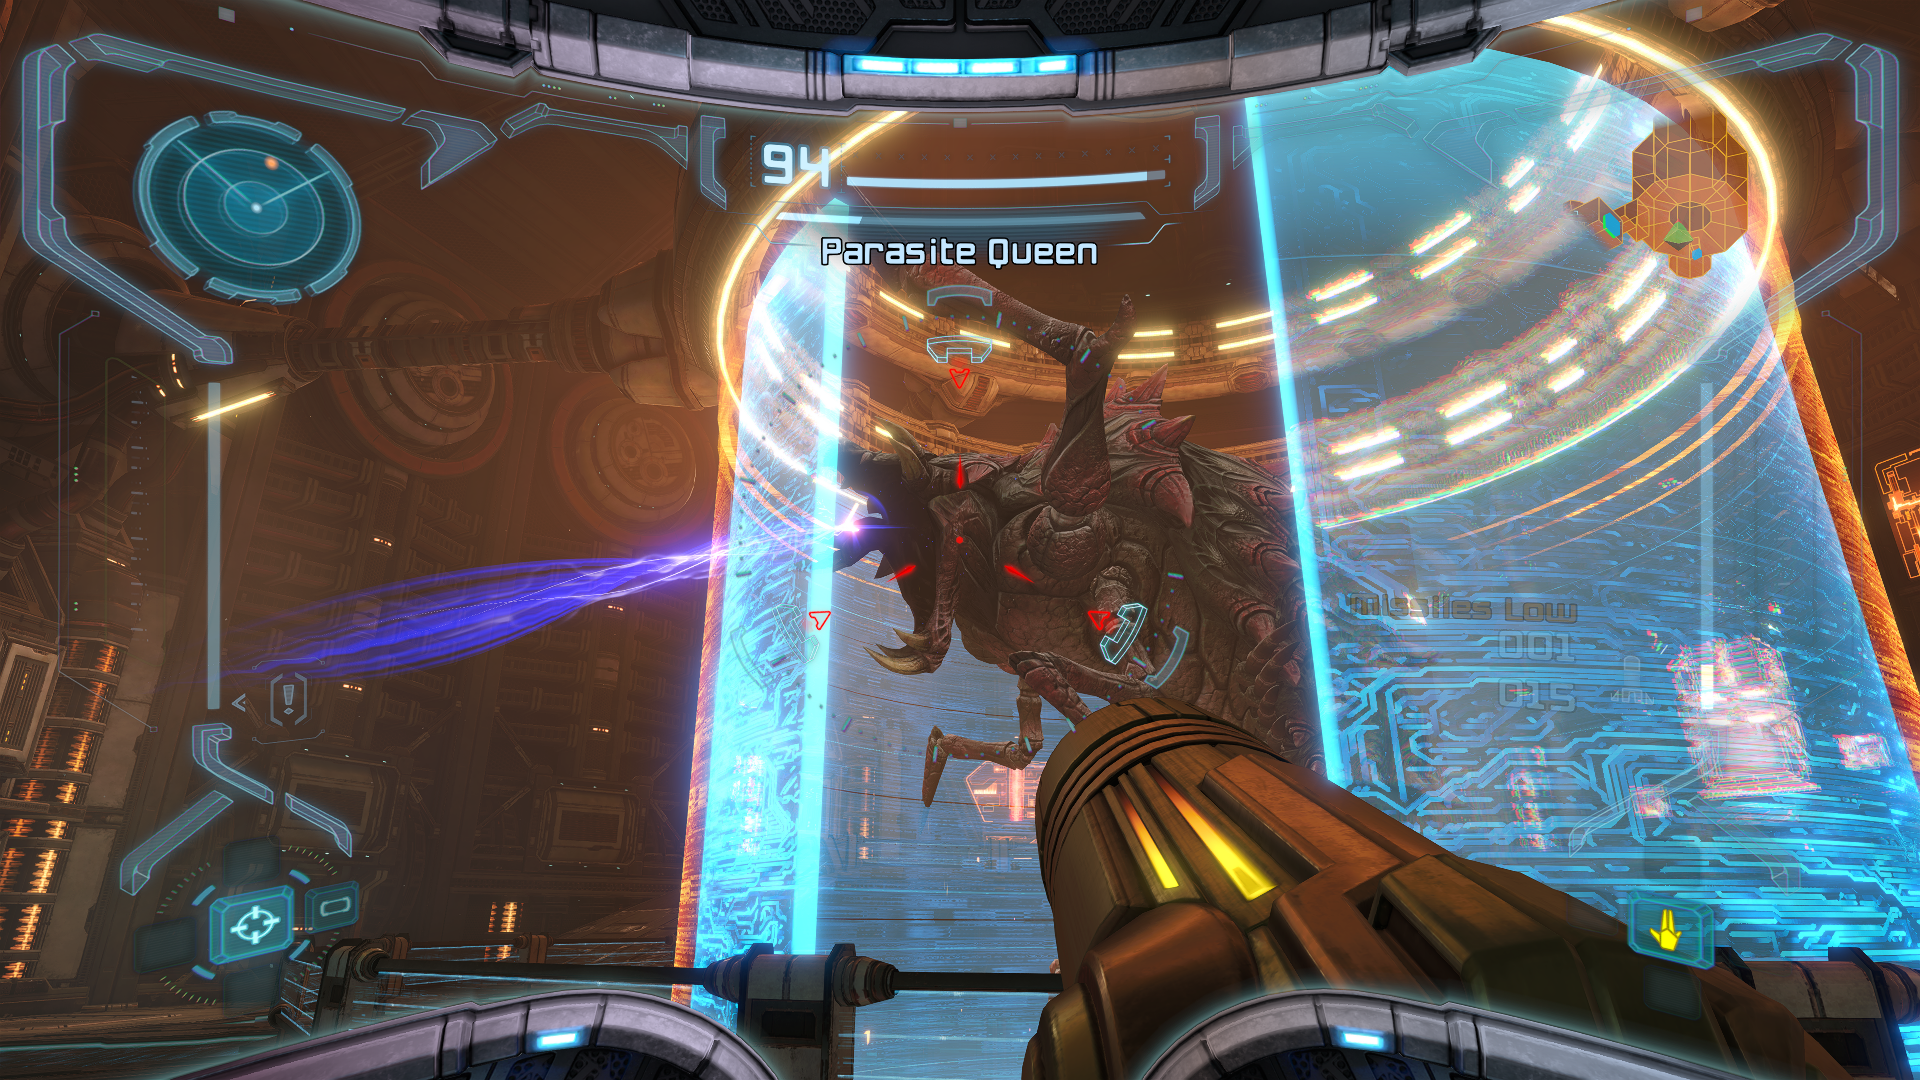
It’s pretty straight forward from here. To defeat the Parasite Queen, shoot at it until it dies. Use your dash to get out of the way of its acid breath and to realign yourself with the reactor force field if you find it blocking your shots.
ADVANCED STRATEGIES: This is actually something you can use throughout the game moving forward, in both general combat and boss fights. The firing rate of the Missile Launcher is pretty slow, and I’ll bet you wanna pump those numbers up, right? Well if you press the button to fire a regular shot from your arm cannon immediately after firing a missile, the configuration will automatically reset. This will let you fire off a second missile instantly. The key here is to find your groove so you can repeat this over and over again for consistent rapid-fire missiles. You get this technique down, and that Parasite Queen is pulverized!
Evacuate Immediately!
Scans in This Section
None
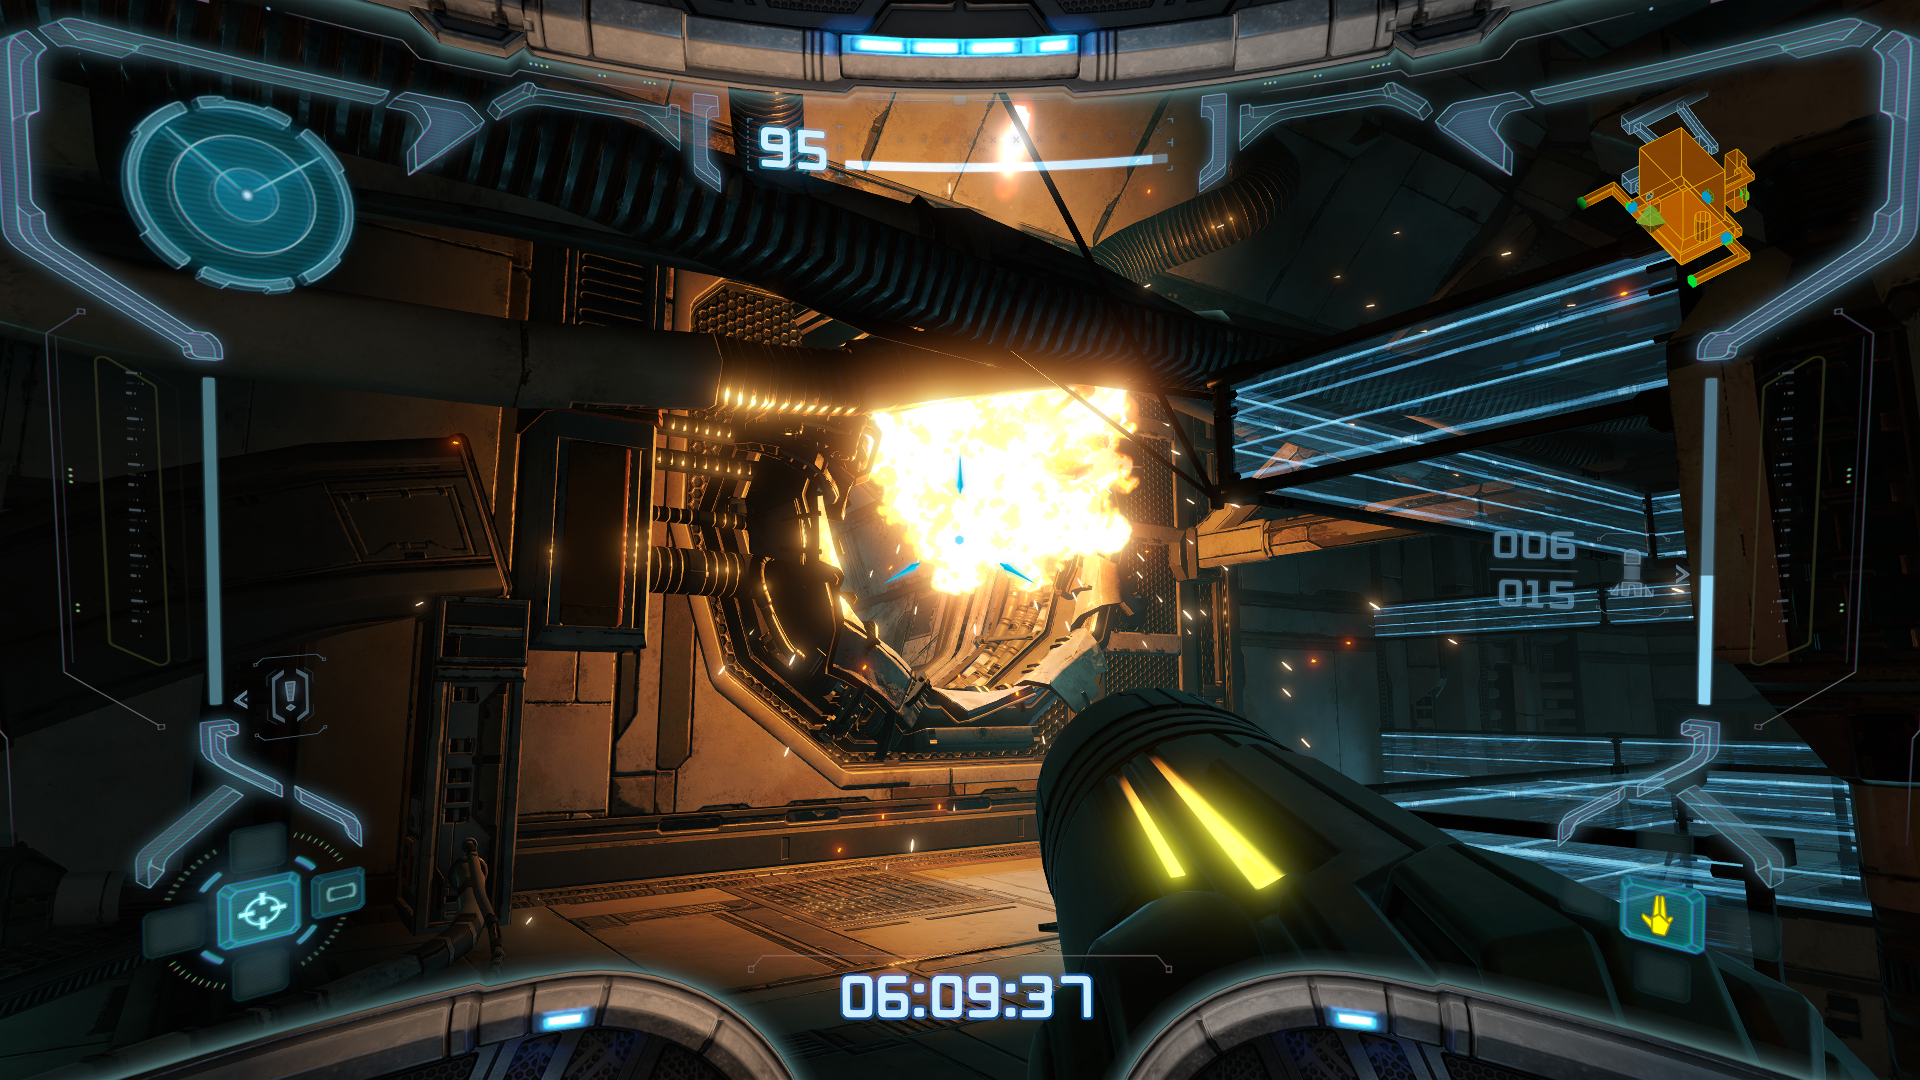
Well it wouldn’t be a Metroid game without an escape sequence! Though aren’t these things supposed to happen at the end? No matter, we don’t have time to ponder these thoughts as we gotta get out of here. You have seven minutes to make it back to your ship, which is actually kind of generous for Samus, but let’s not take that for granted. Run through the hallway until you reach the elevator and scan the blue symbol to activate it. Have your Scan Visor at the ready because once you get to the top, you’ll have another blue symbol right in front of you which you can scan to deactivate a hidden turret on the other side of the wall. Through the next door, you’ll be back in Biotech Research Area 1, this time on the ground floor. To your left you’ll see some pirates fighting off the Parasite Queen we saw earlier in stasis, now having broken free. Don’t mind them, an explosion will be triggered and kill the whole party off as you approach. Some new debris leads back up to the floor you first entered the room on. Get there and quickly dispatch the pirates in your way. All of the doors are blocked by debris, but if you head towards the Deck Beta Security Hall, an explosion will reveal a new path through the ship’s ventilation shafts.
In the ventilation shafts, you’ll be swarmed by numerous groups of Parasites. Just ignore them (unless you still haven’t scanned them, this is your LAST CHANCE) as they barely do any damage. Use the Morph Ball to quickly speed through and save yourself some time.
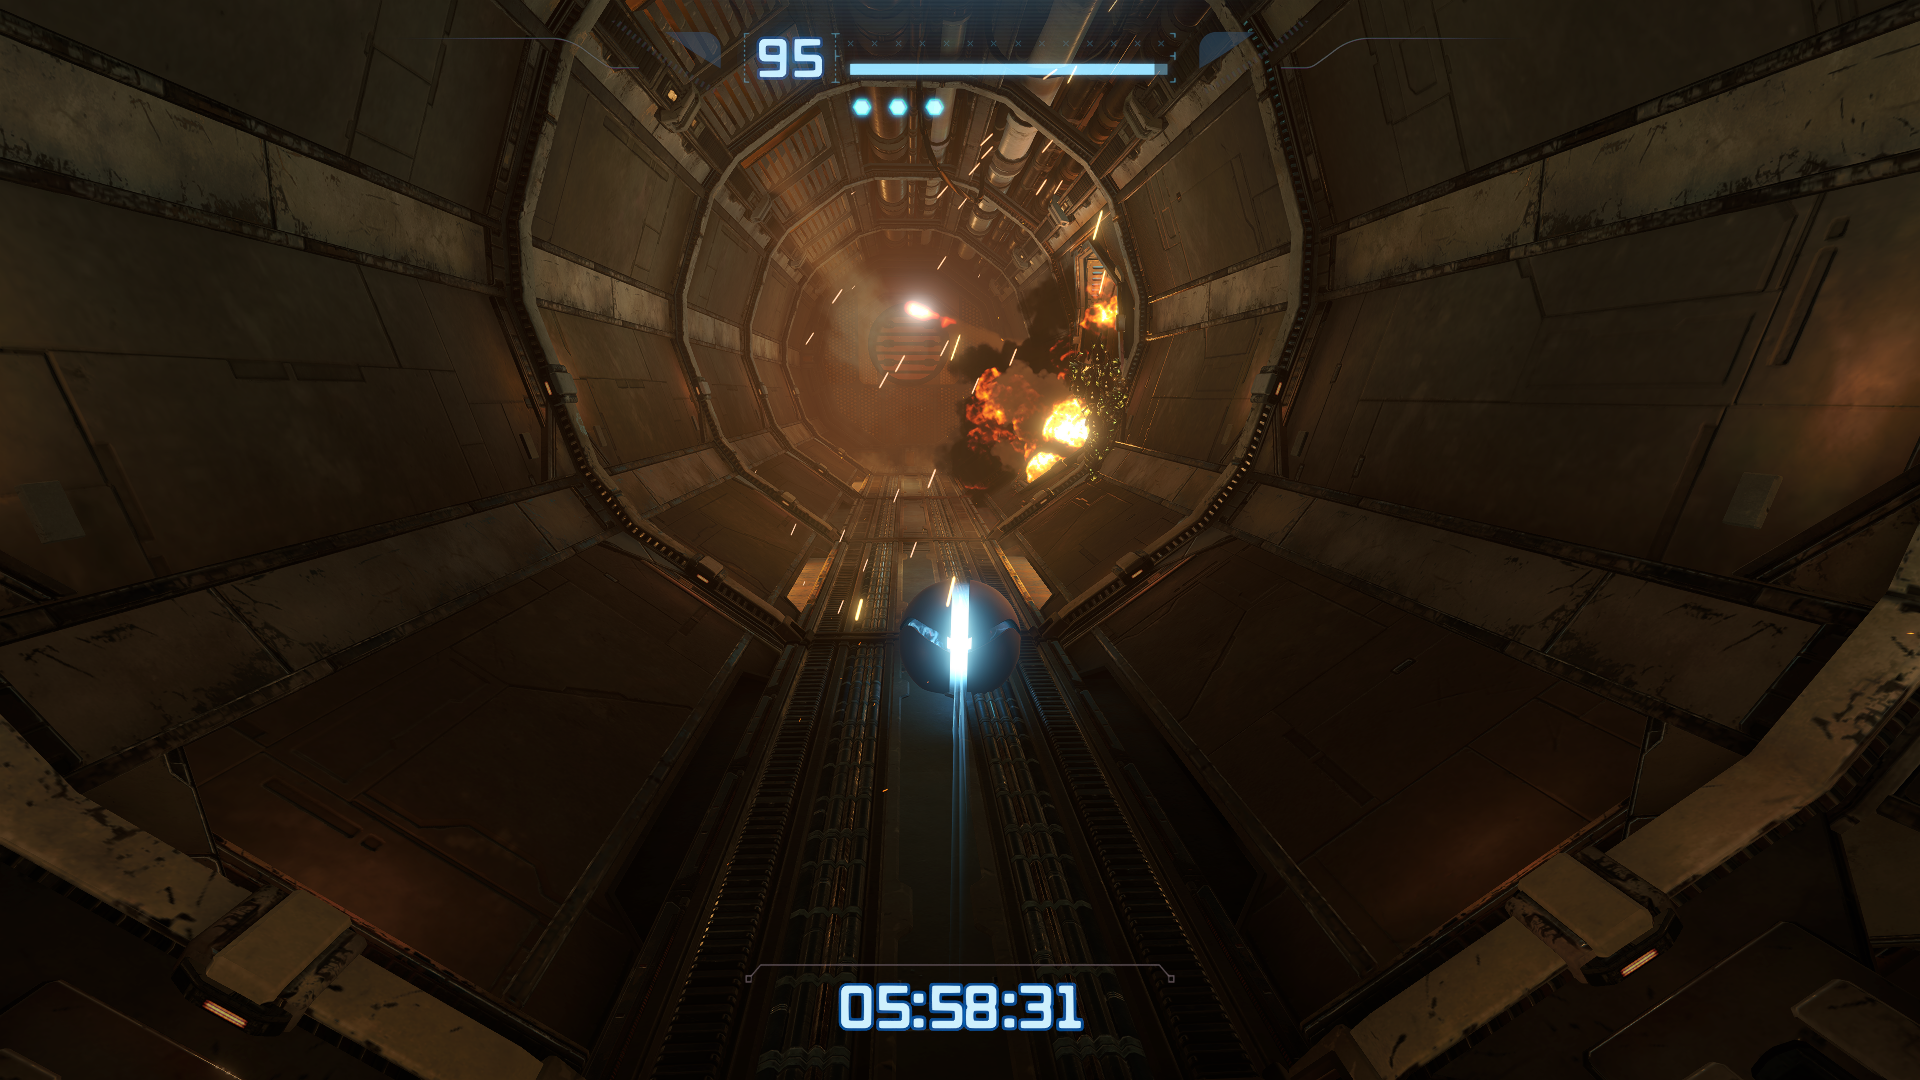
When you reach Main Ventilation Shaft Section B, you’ll be greeted by two more turrets. Use missiles if you still have leftover ammo, otherwise use charge shots to quickly turn them to scrap metal. In Main Ventilation Shaft Section E, a giant piston will block the shaft right before you enter. Don’t worry, it’s not as scary as it looks. Just wait for the piston to retract and start following it down the shaft. You’ll have plenty of time to exit the room once you reach the other side.
Keep up the hustle and make your way towards Biotech Research Area 2. Now in order to cross over to the other side you’ll have to us-WAIT WHAT’S THAT.
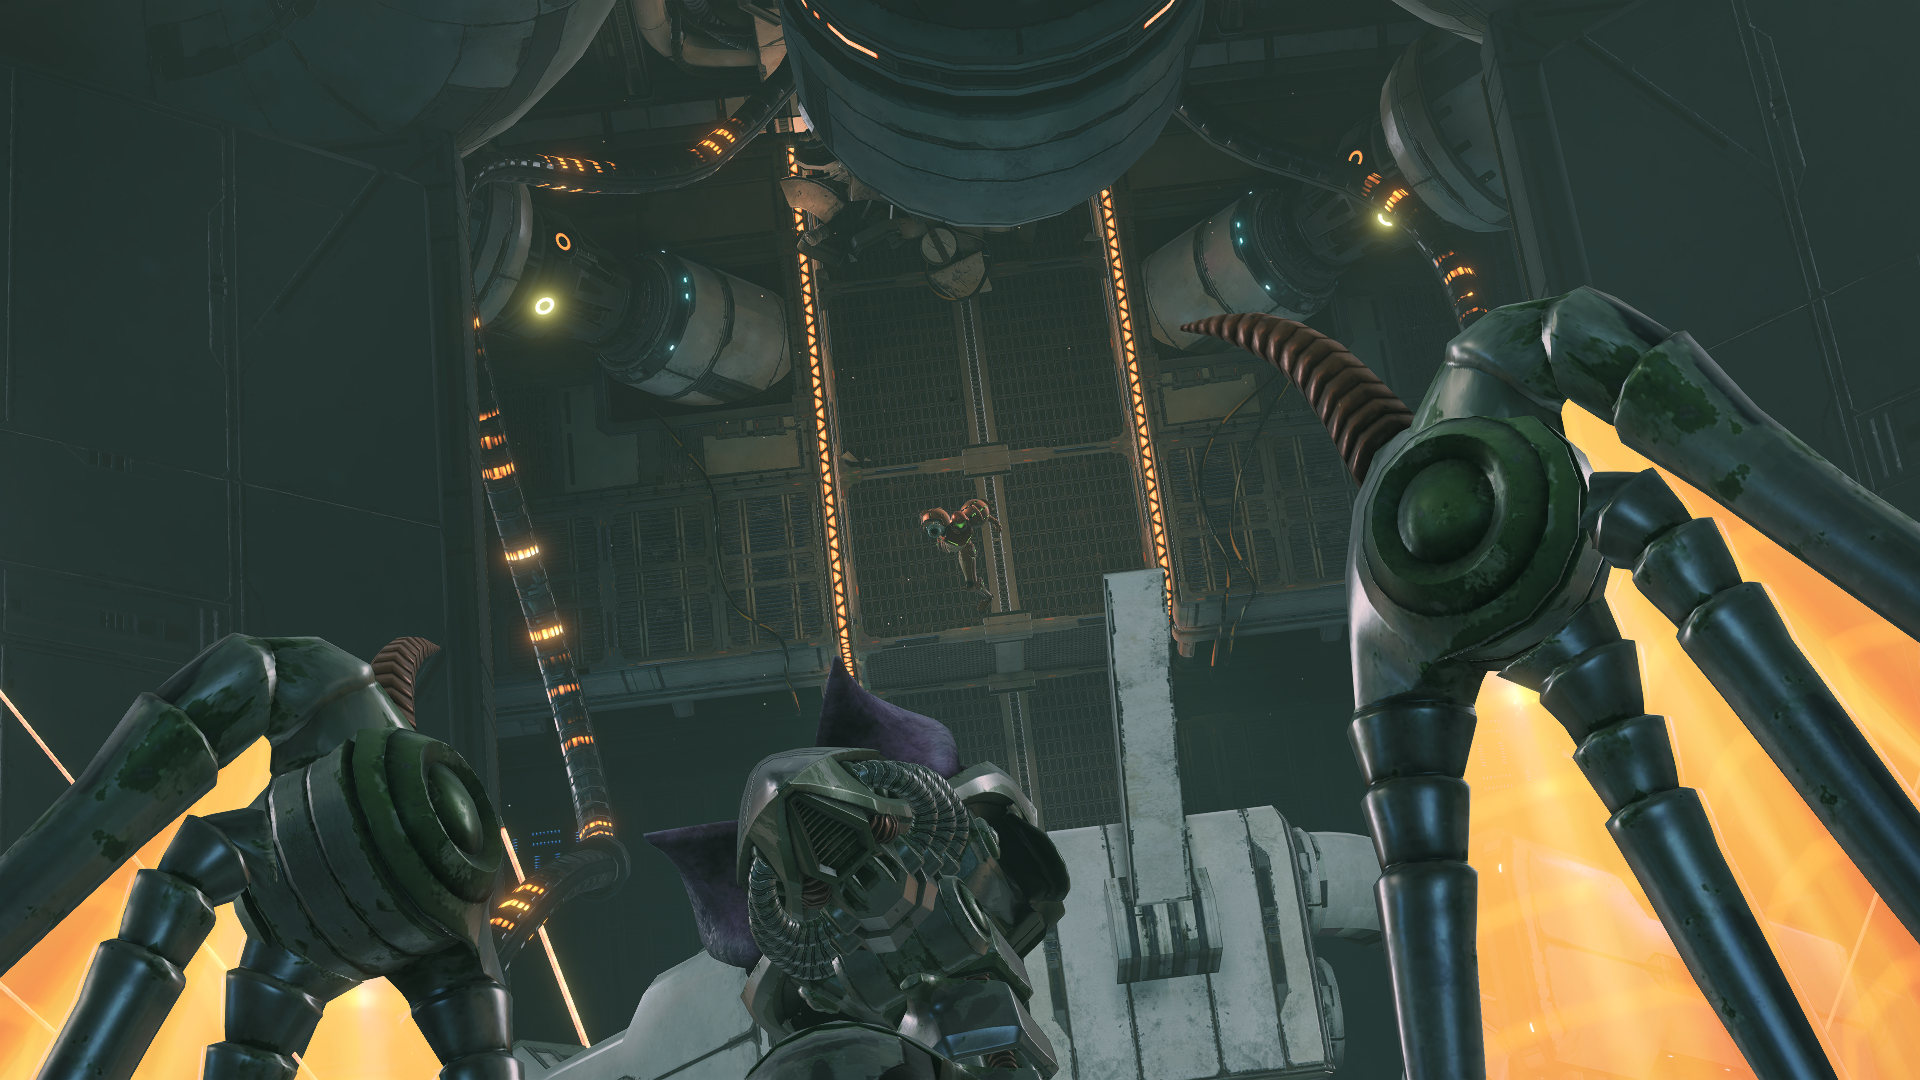
Yup, he’s back folks! The Cunning God of Death has returned. Previously thought to be defeated on Zebes, Ridley, now reborn as Meta Ridley, has been augmented with several cybernetic enhancements to make him the ultimate killing machine (allegedly). Unfortunately, with the frigate minutes away from exploding we don’t exactly have time for a boxing match. We’ll have to contend with our nemesis later, for now we still have to get out of here alive. Cross the gap using your Grapple Beam by locking on to the targets above. If you fall, don’t worry, the Grapple Beam can still reach the targets from the small pit by jumping. As soon as you enter the Connection Elevator to Deck Alpha, scan the blue symbol in front to disable a hidden turret on the other side of the wall. Keep your visor open and scan another blue symbol at the end of the hallway to activate the elevator.
Things are about to take a turn for the worse though, unfortunately, as an explosion rocks Samus and sends her crashing into the Orpheon’s hull. In classic Metroid fashion, that explosion hit us so good that most of our abilities have malfunctioned, except for our base Power Suit, Power Beam, Combat Visor, and Scan Visor.
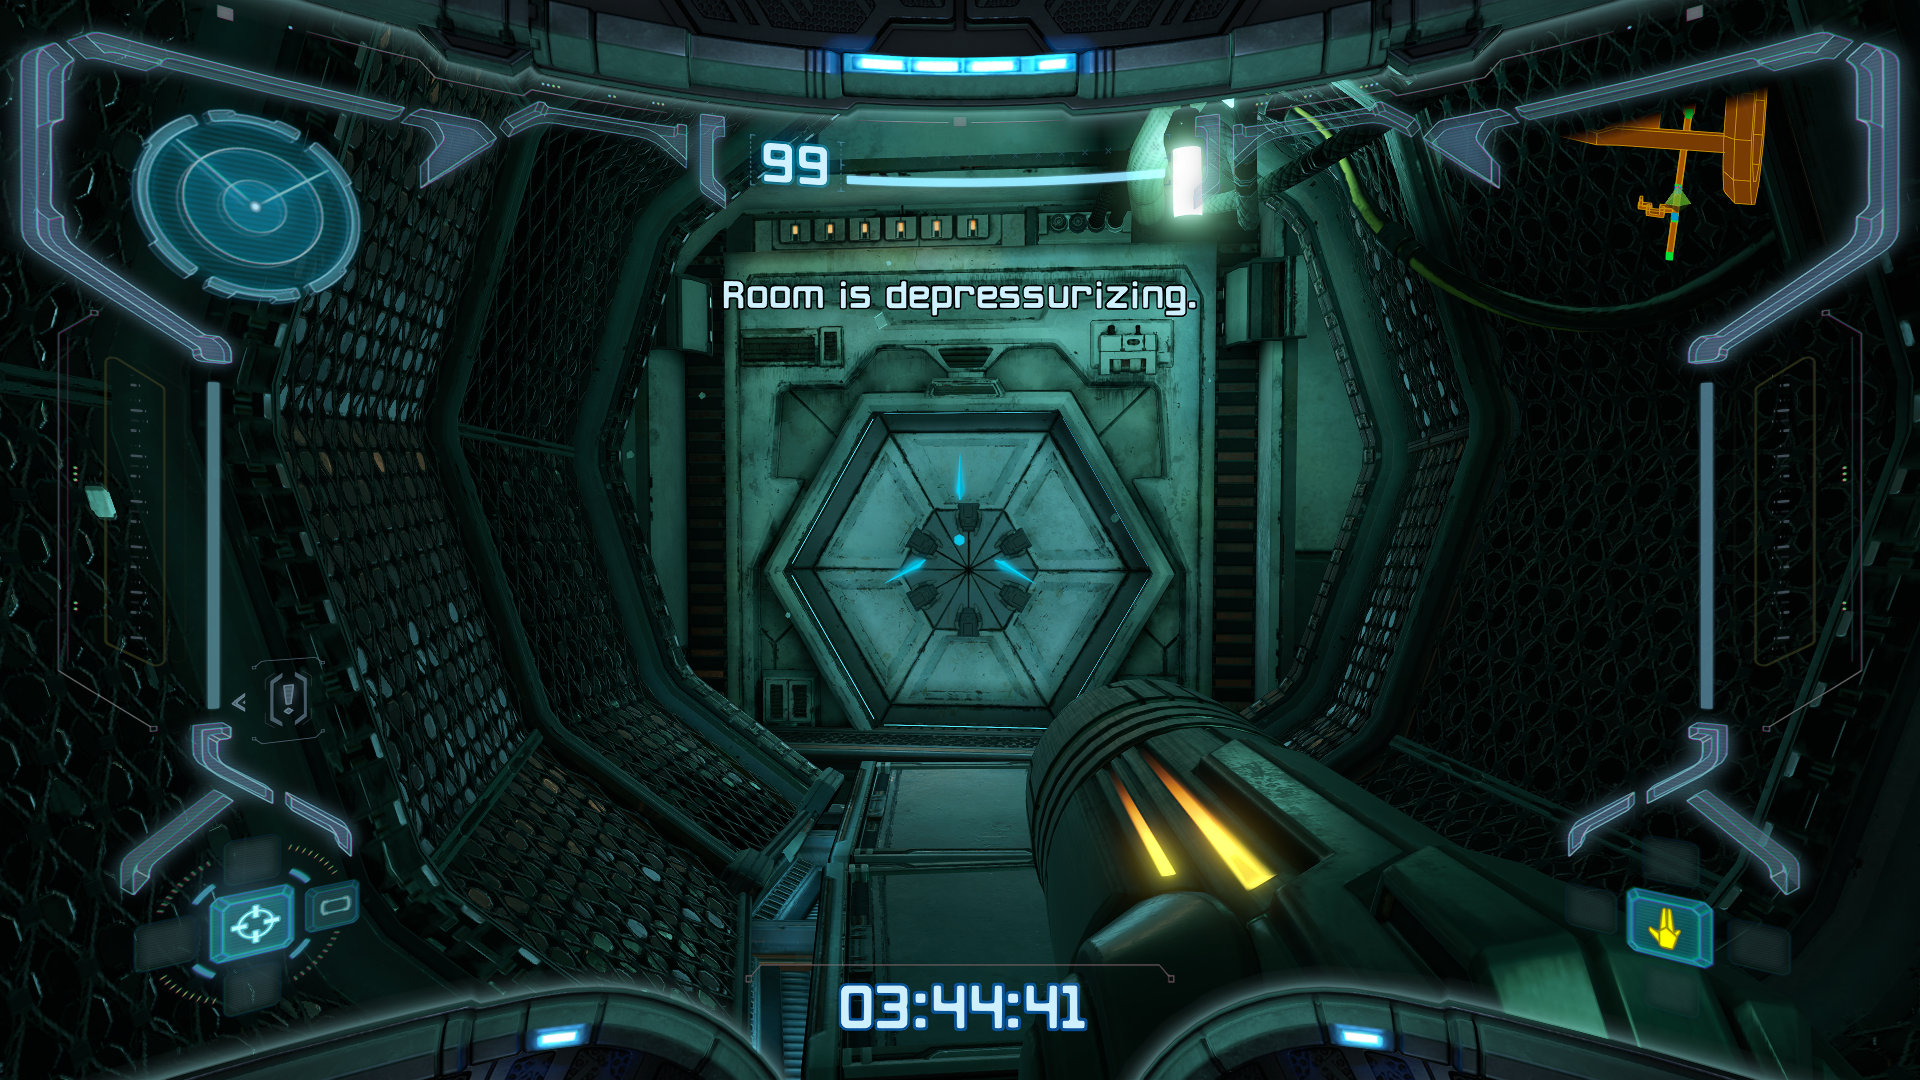
Your suit AI will remind you of all the cool tech you just lost as you ride the elevator up. Sad! Once you reach the top, navigate your way through some pretty narrow corridors and you’ll find yourself back at the Air Lock near your ship. Approach the door leading outside and wait for the room to depressurize, then make a mad dash for the exit. You’ve successfully escaped!
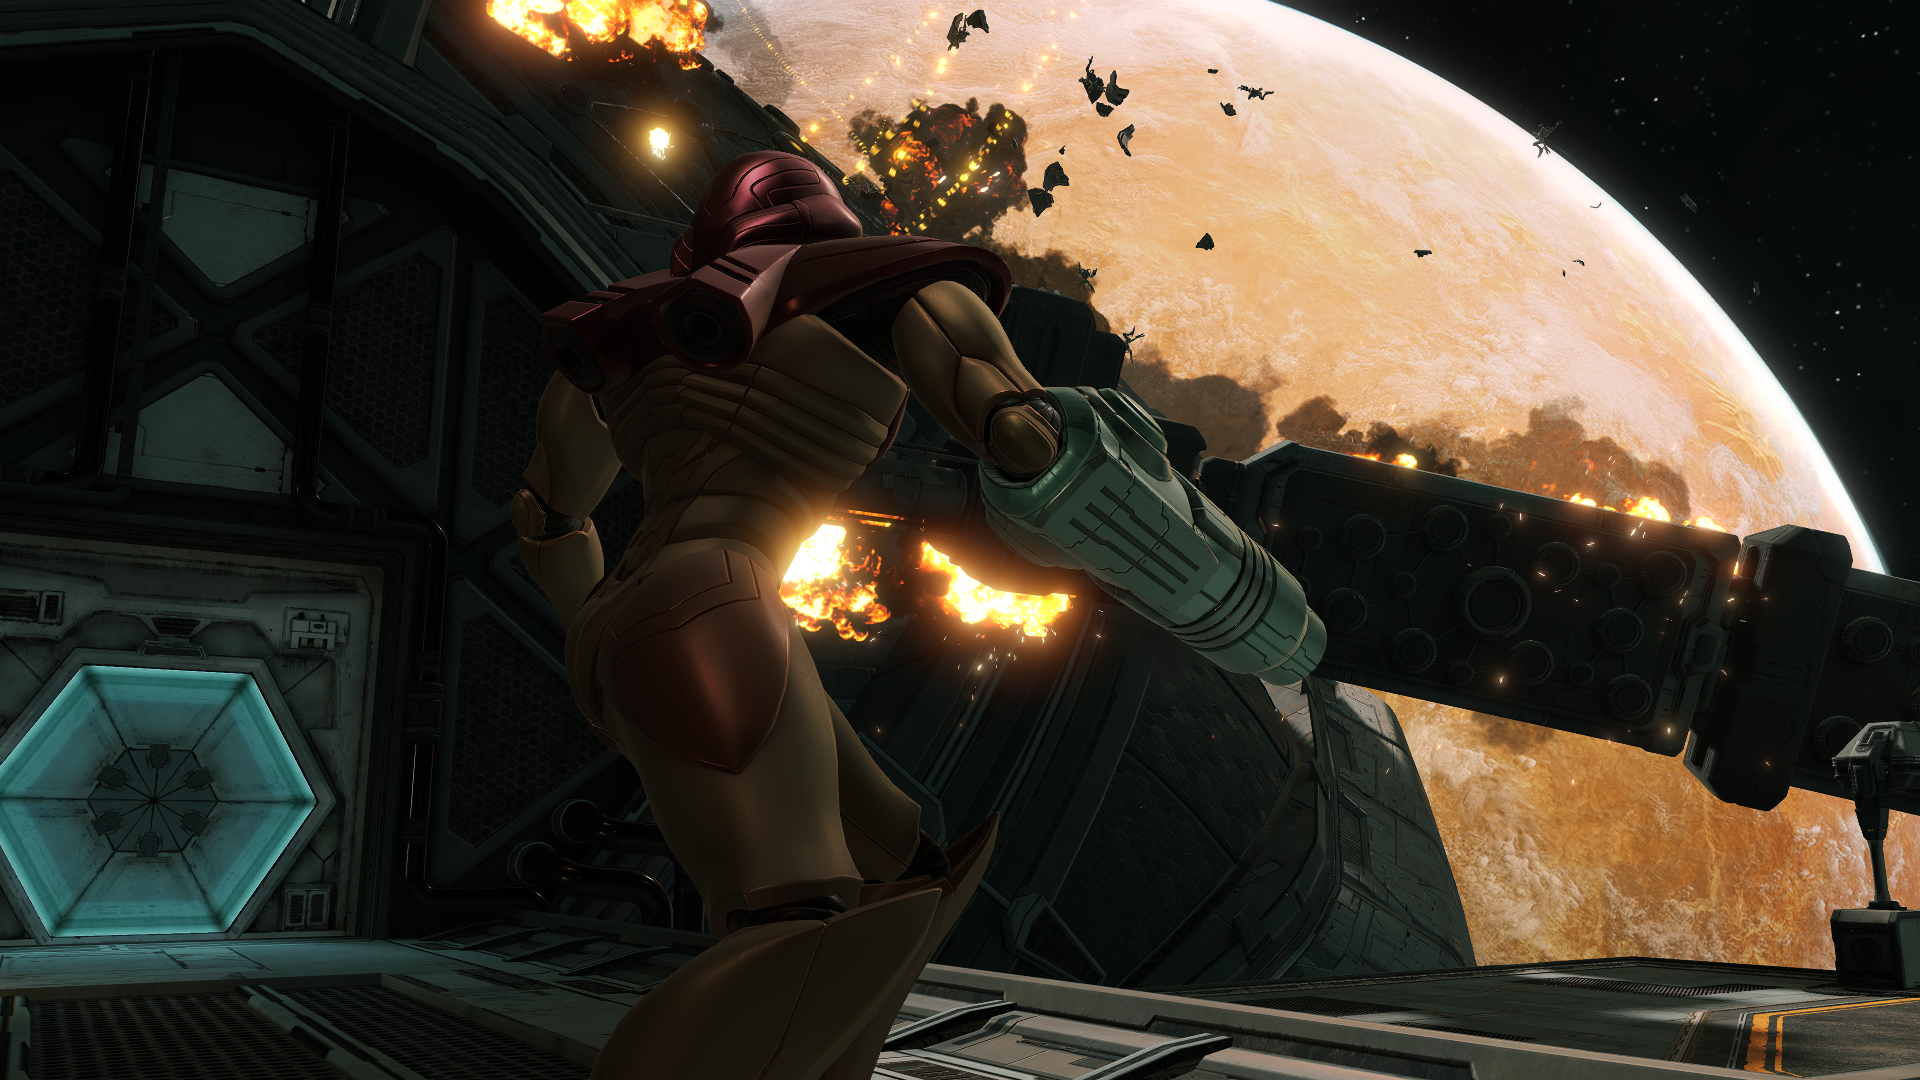
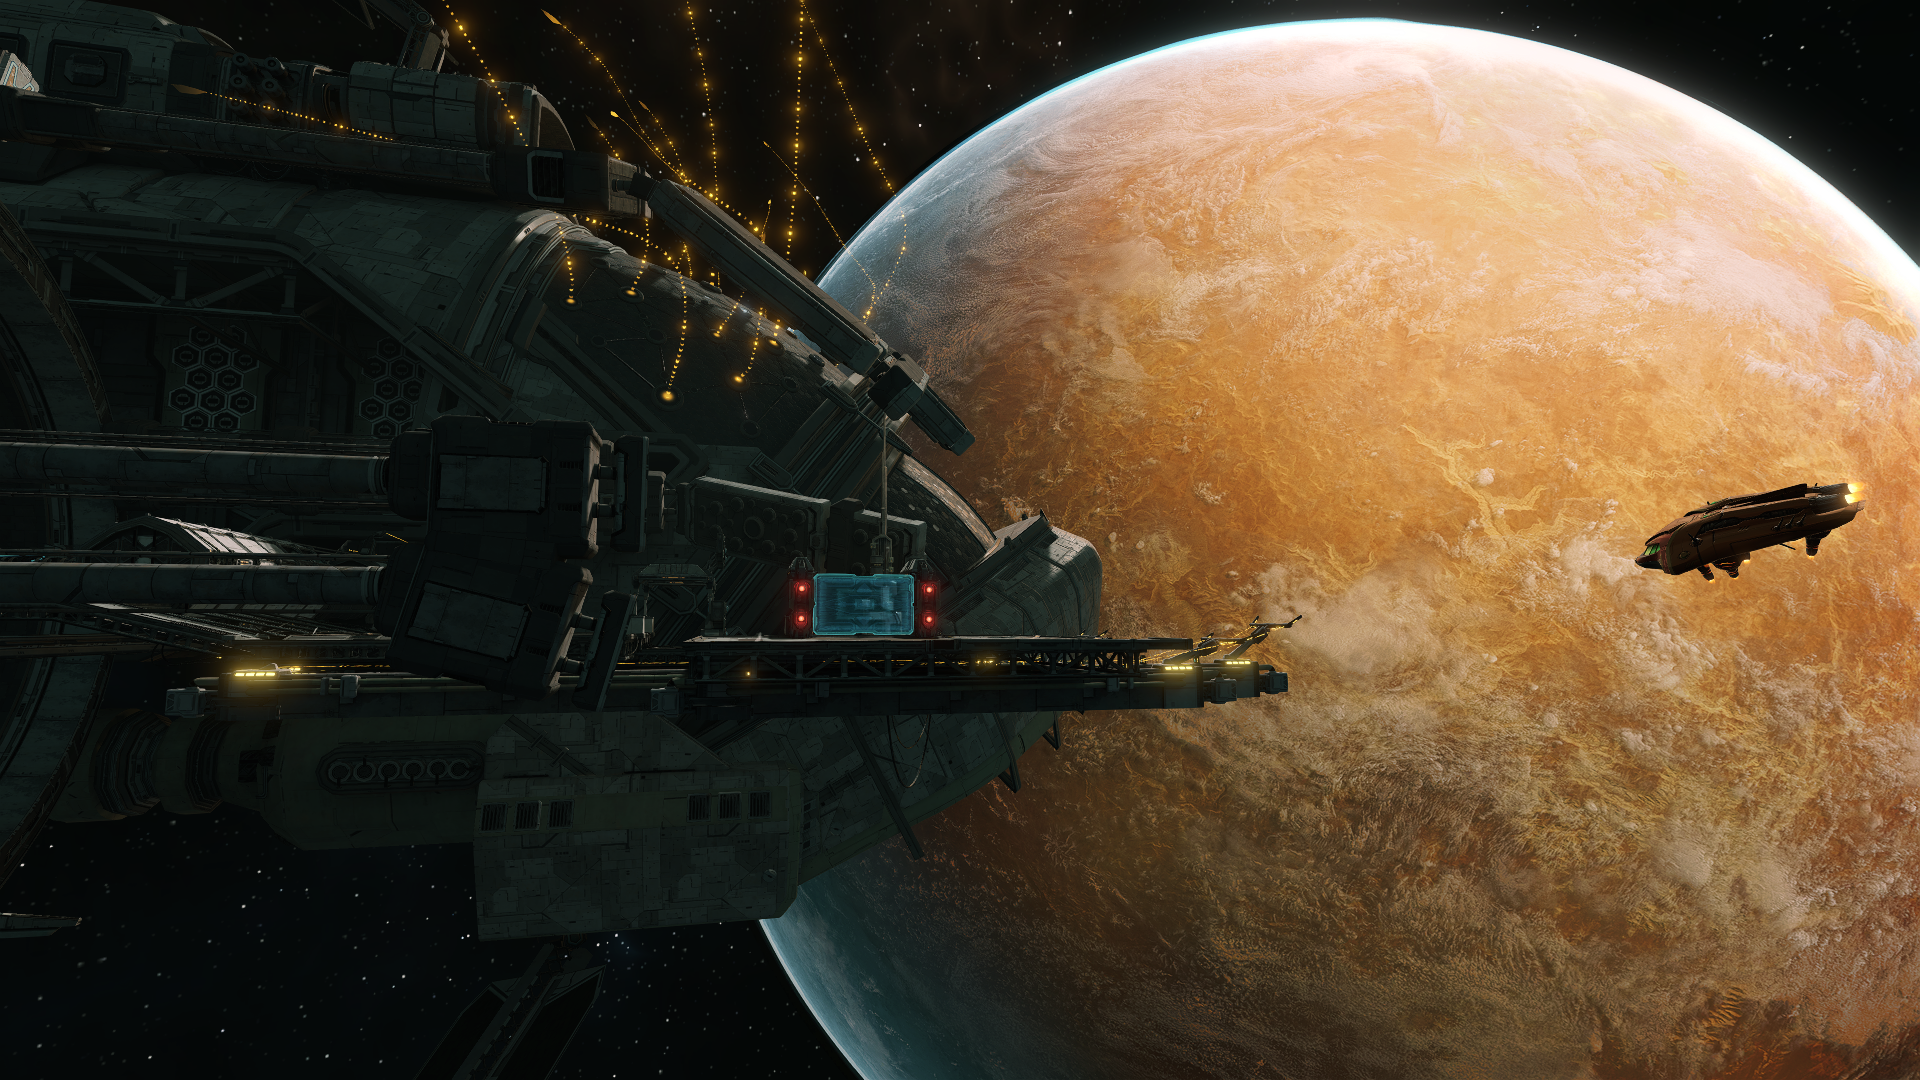
Before getting back to our ship, we catch Meta Ridley trying to fly away unnoticed. We got a score to settle, so our next move is to chase that punk down to Tallon IV and hopefully get some more answers as to what went down on this vessel before we arrived.
Next Chapter: Planet Tallon IV