Metroid Prime Hunters Walkthrough – Universal Ammo Expansions
Here you’ll find the location for every Universal Ammo (UA) Expansion in Metroid Prime Hunters, as well as detailed explanations on how to get them and what power-ups you’ll need to acquire them!
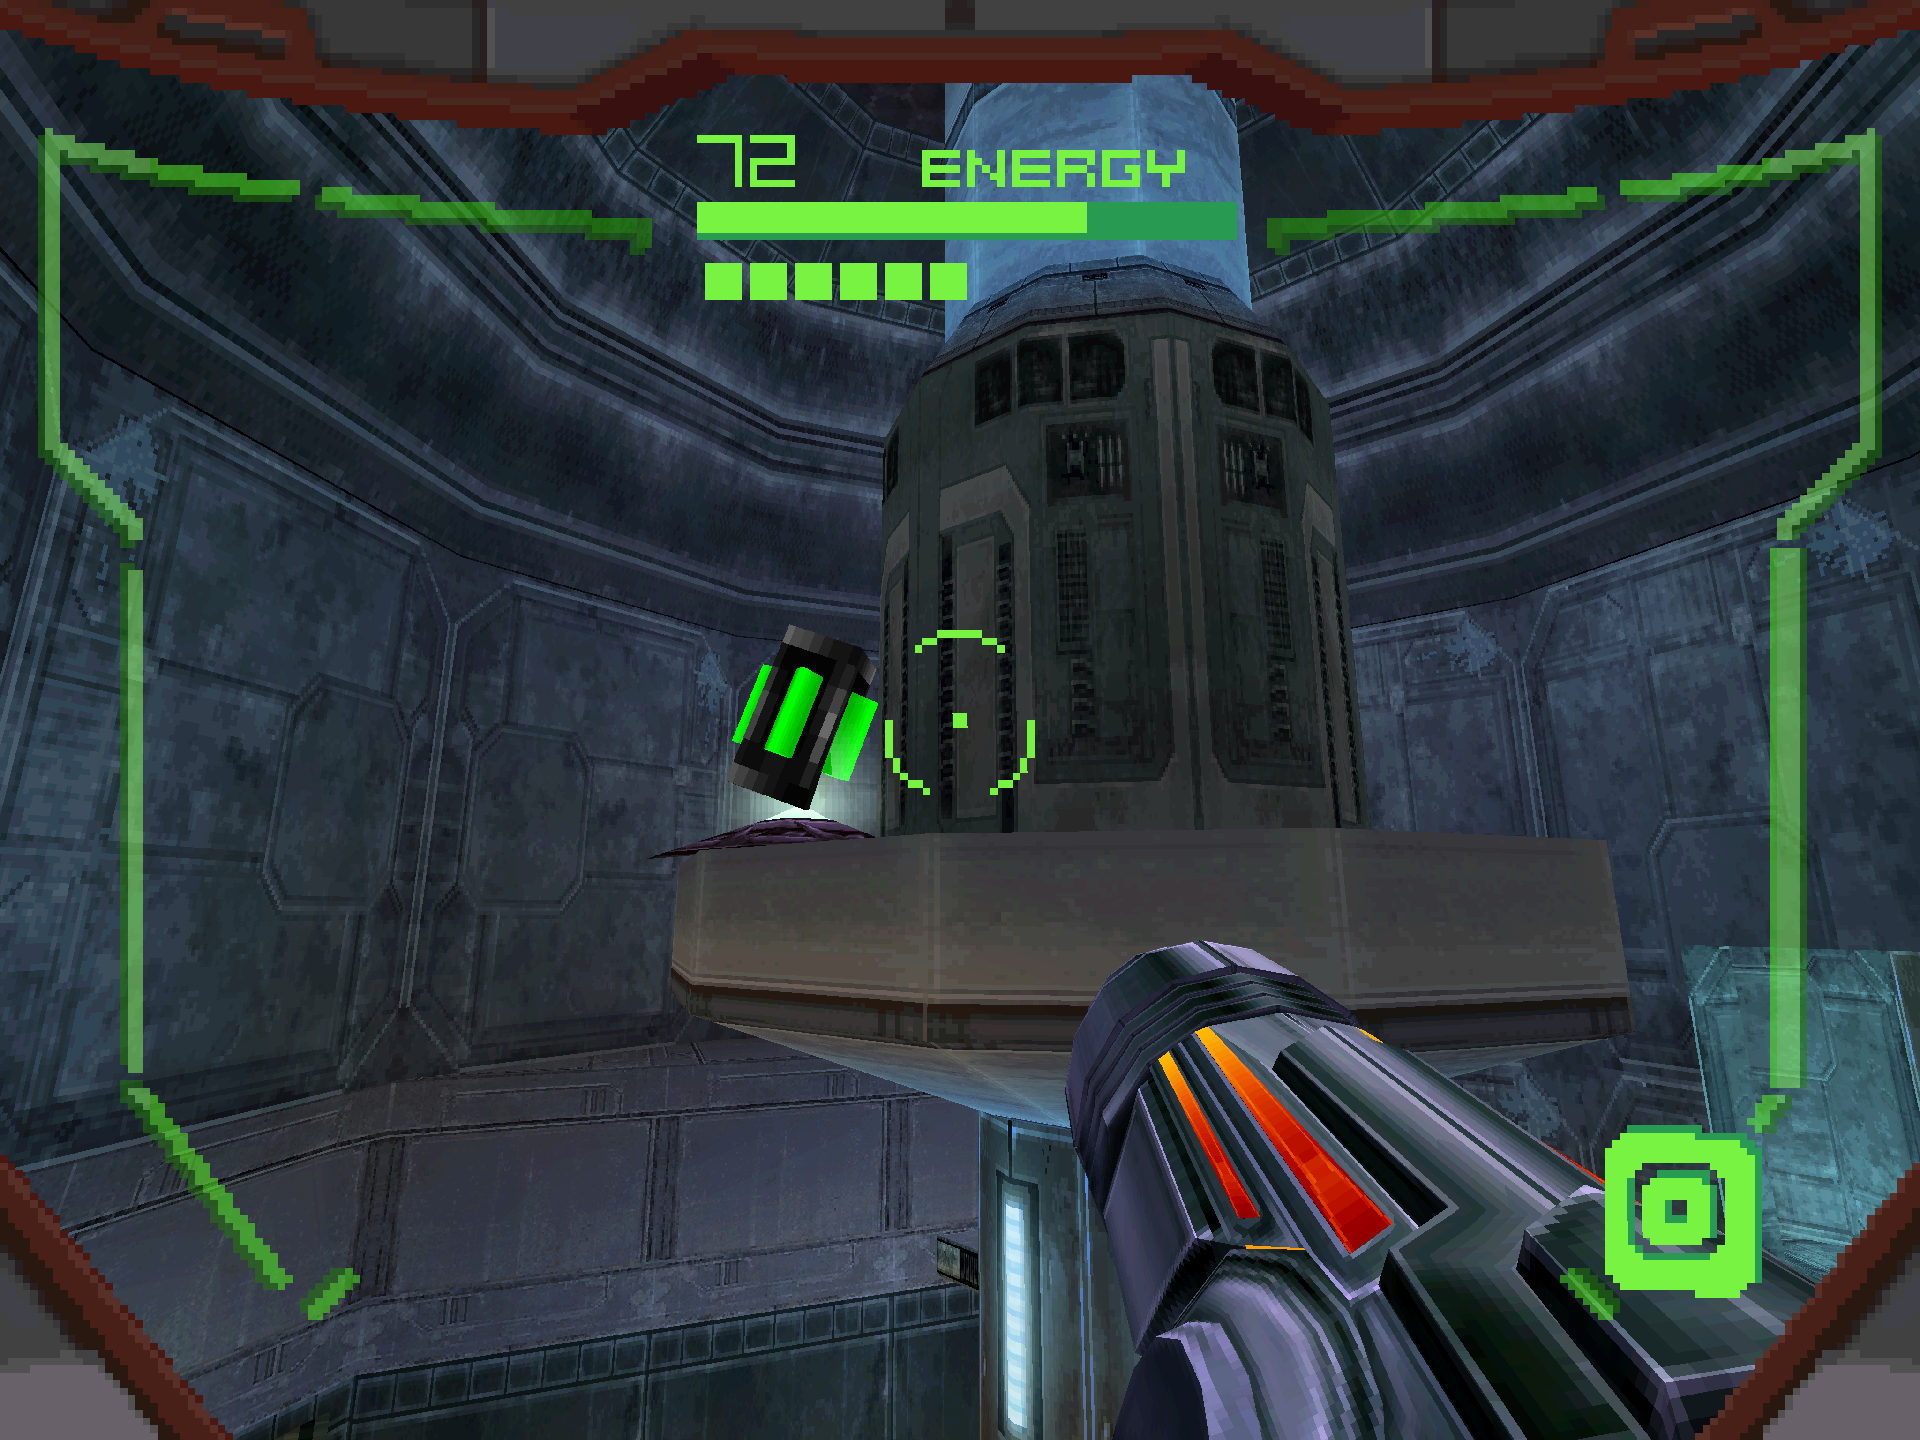
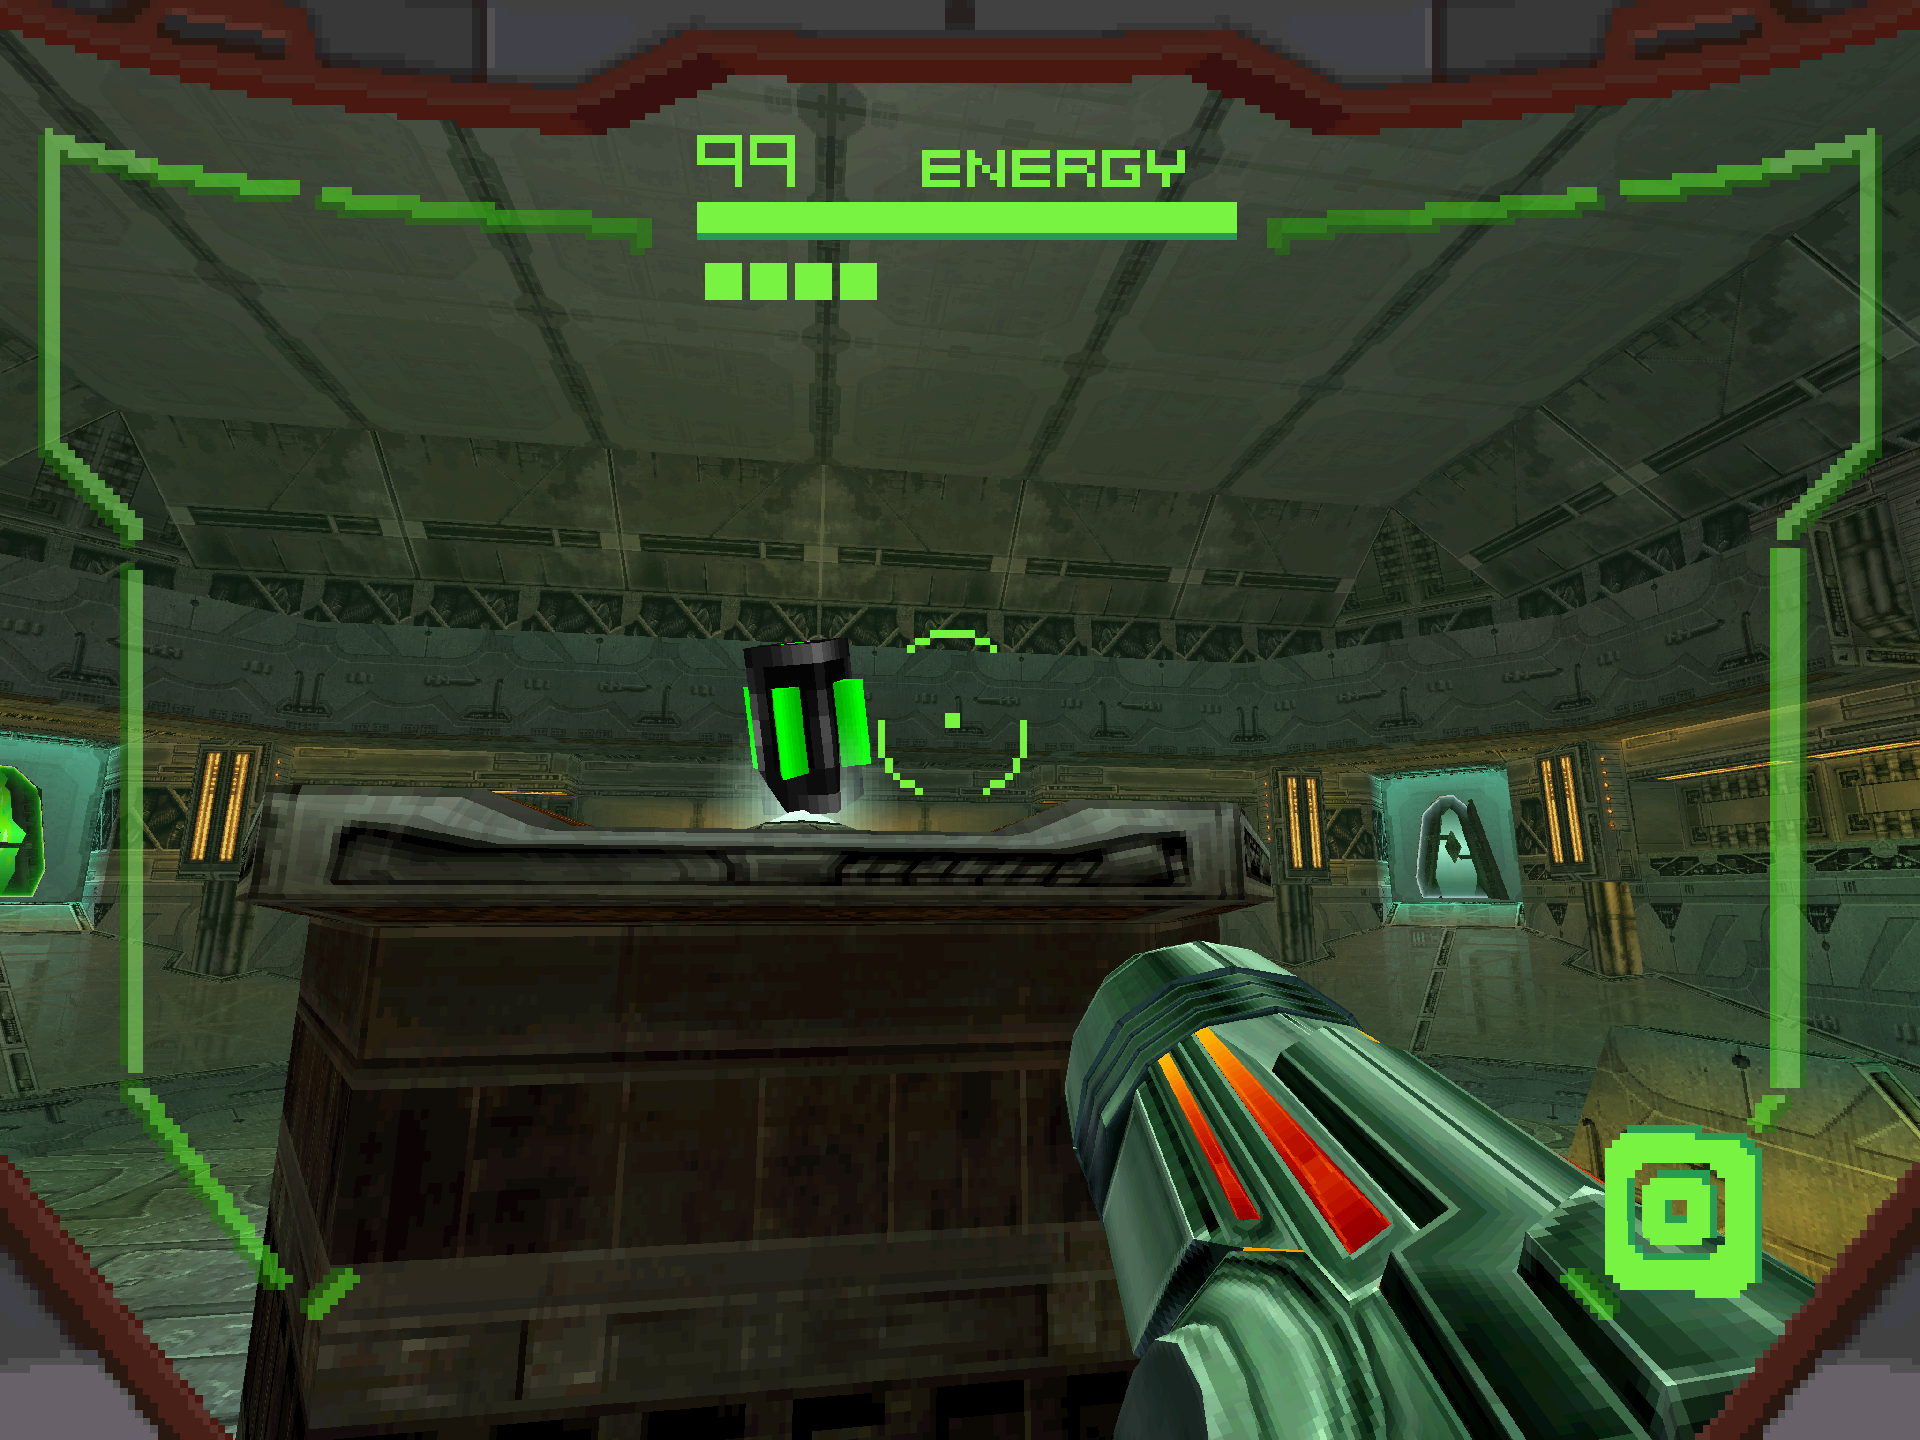
UA Expansion #1
Location: Compression Chamber, Vesper Defense Outpost (First Visit)
Requirements: Battlehammer
After acquiring the Battlehammer, take the middle tunnel in Cortex CPU and blast away the green force fields blocking access to the upper half of the Compression Chamber. Enter and scan the shield lock release terminals and then head back down to the lower half of the Compression Chamber. Roll through to grab UA EXPANSION #1!
UA Expansion #2
Location: Ice Hive, Arcterra (First visit)
Requirements: Judicator
After acquiring the Judicator, you’ll see a purple force field on the wall across from the bridge leading to the Stronghold Void entrance. Blast the force field away and claim UA EXPANSION #2!

UA Expansion #3
Location: Ice Hive, Arcterra (First visit)
Requirements: Judicator
After grabbing the Judicator, head back to the Ice Hive’s main room where you fought the Barbed War Wasps. Blast away the purple force field and grab UA EXPANSION #3!
UA Expansion #4
Location: Celestial Gateway, Celestial Archives (Second Visit)
Requirements: Battlehammer, Morph Ball
After landing, morph down and roll under the platform your gunship is resting on. Use your Battlehammer to blast away the green force field and drop down to the basement level. You’ll see UA EXPANSION #4 sitting there for the taking.
UA Expansion #5
Location: Data Shrine 02, Celestial Archives (Second Visit)
Requirements: Battlehammer
When you return to the Celestial Archives, use the Battlehammer to open the green blast shields leading to the inner center room in Data Shrine 02. Defeat a few Guardians and you can grab UA EXPANSION #5 from the middle platform.
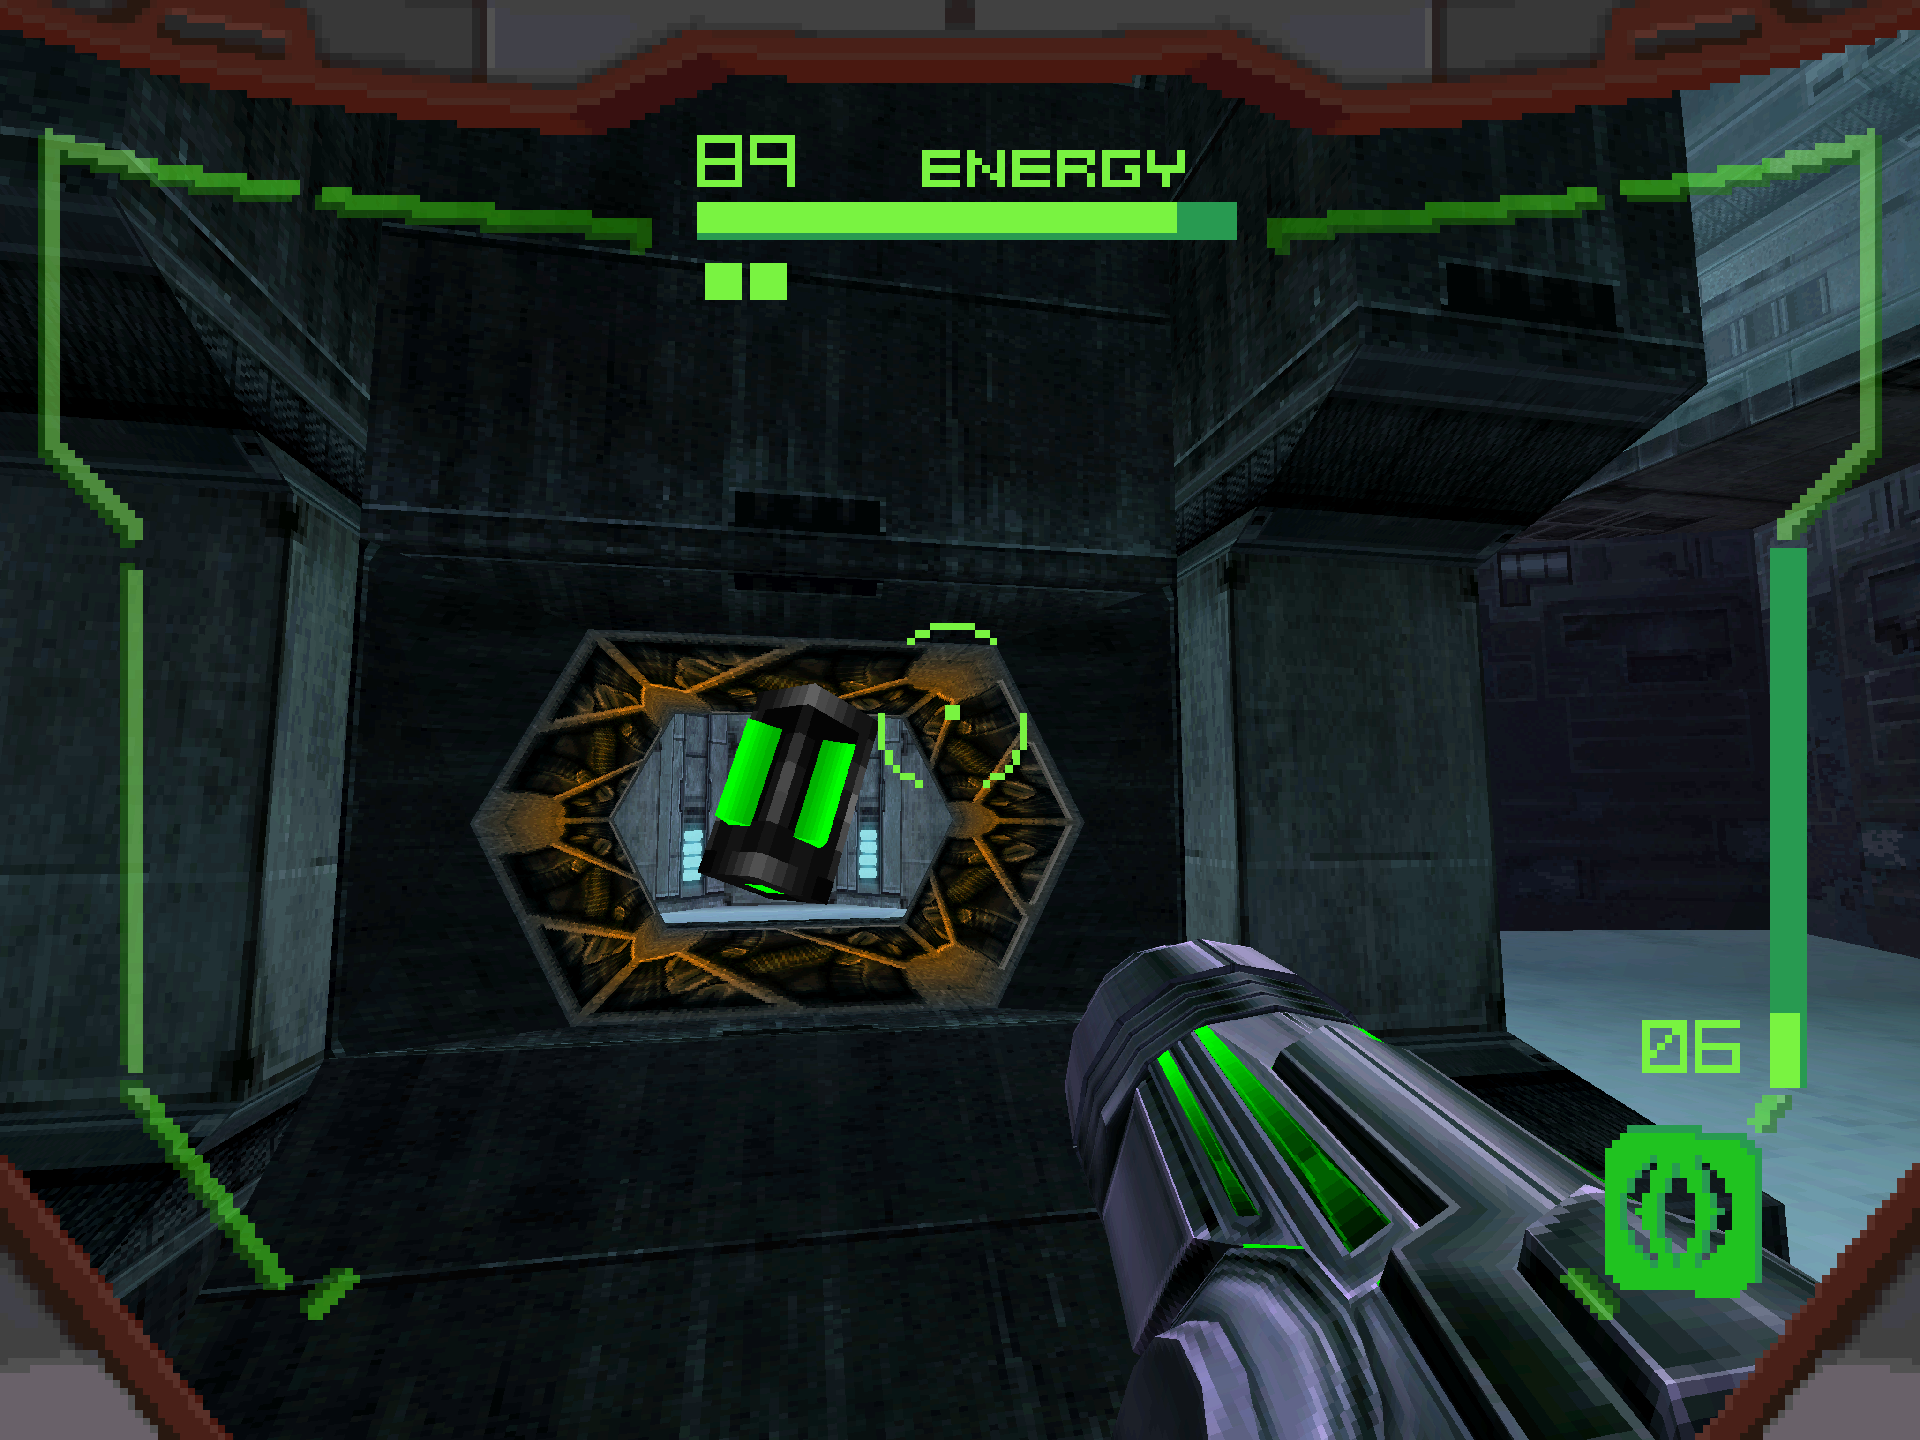
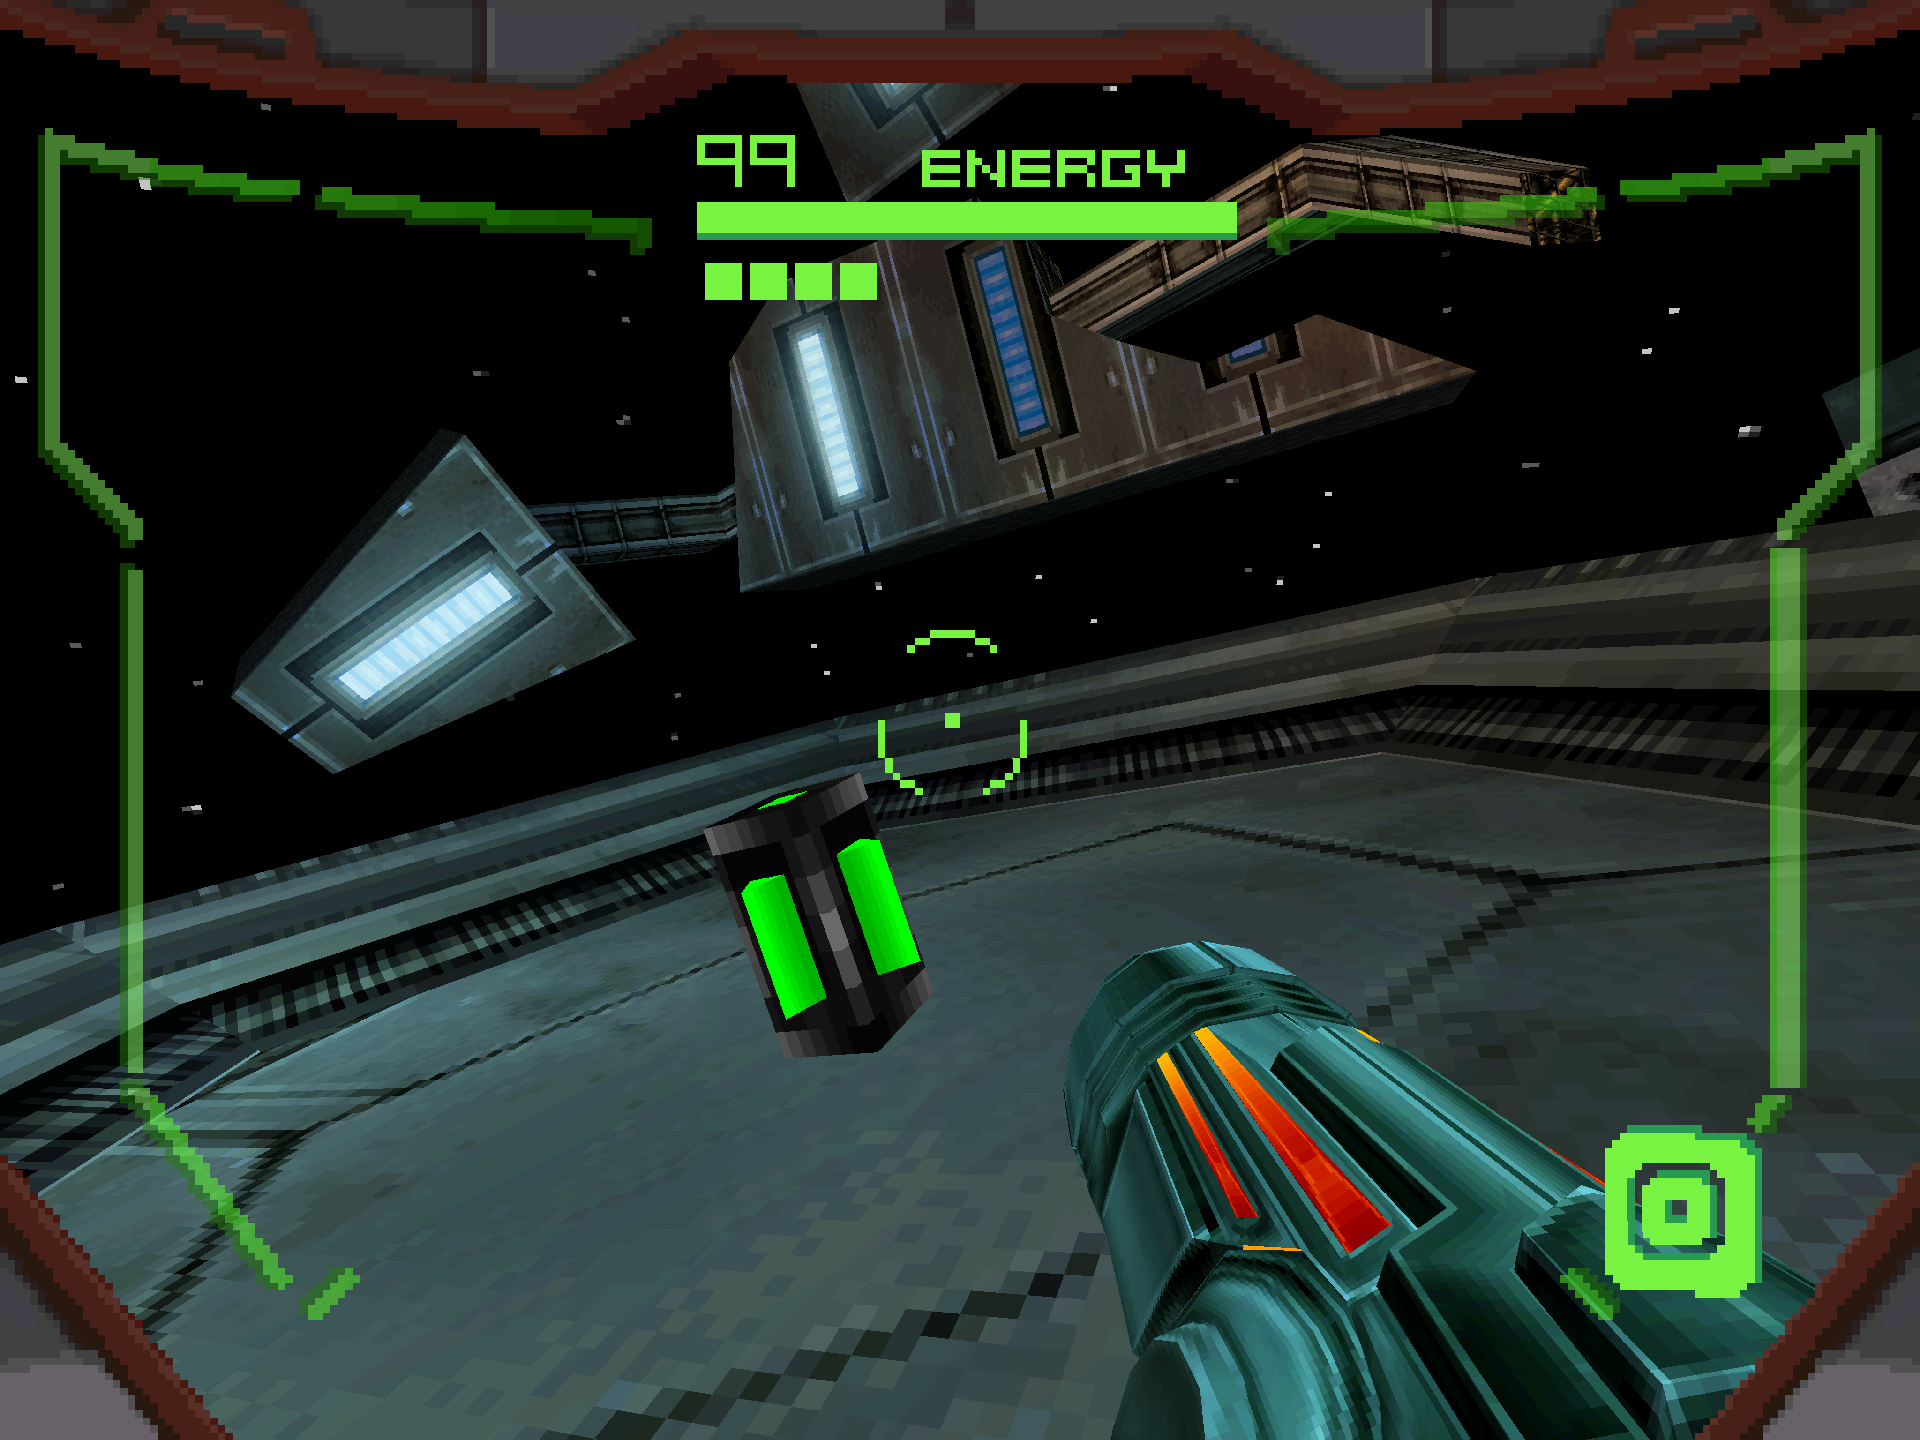
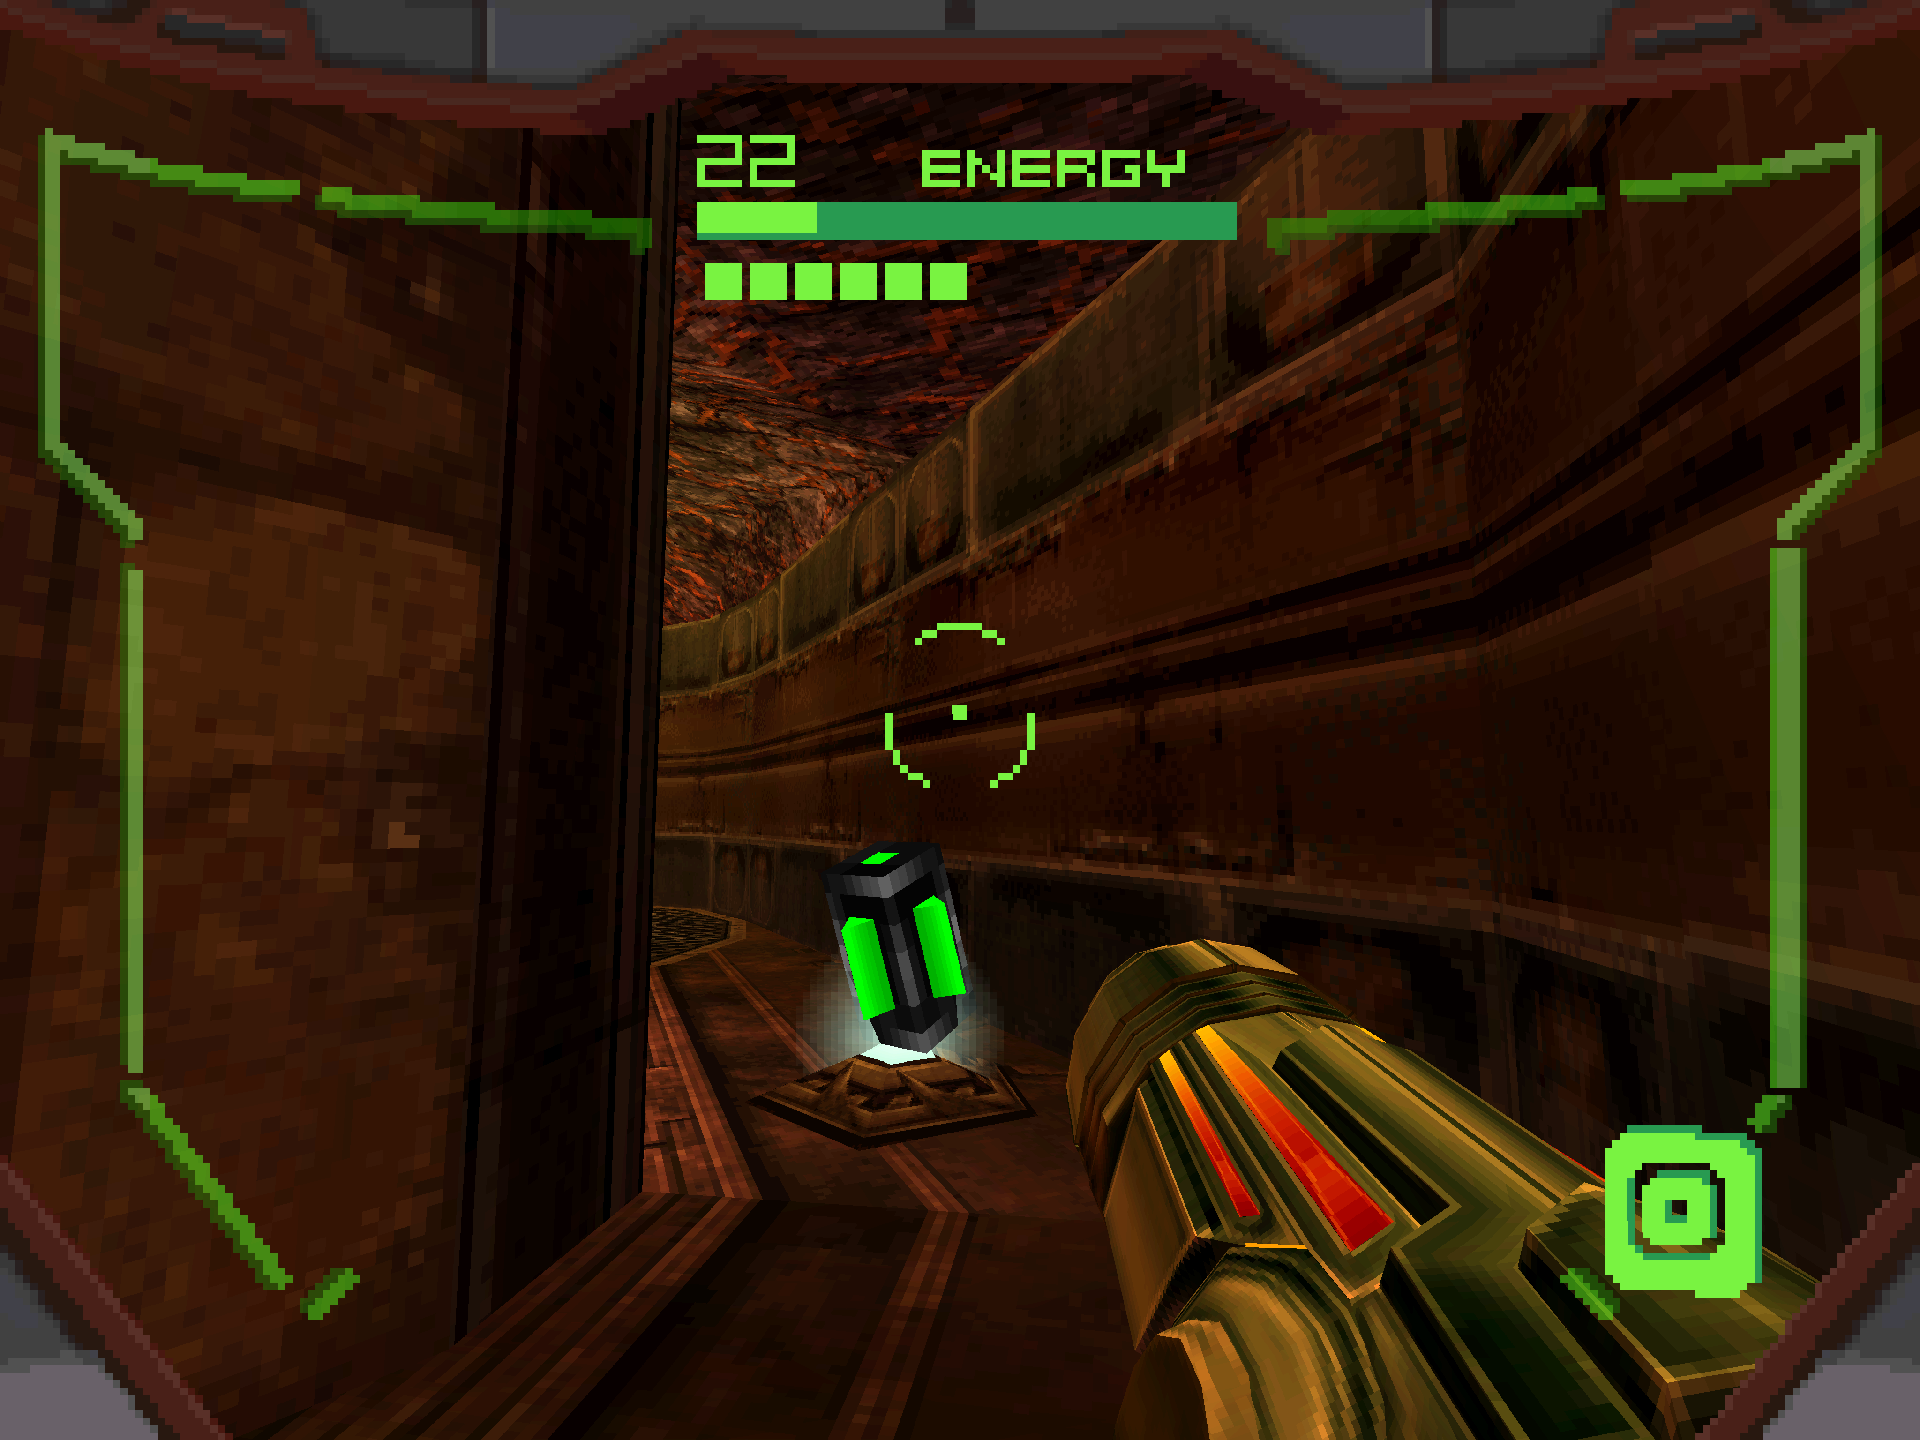
UA Expansion #6
Location: Transfer Lock, Celestial Archives (Second Visit)
Requirements: None
After acquiring the Volt Driver and warping up to the Transfer Lock room, there will be a spawn device producing Voldrums on the left side of the room. Destroy it, and you’ll see tucked in the corner behind it is UA EXPANSION #6.
![]()
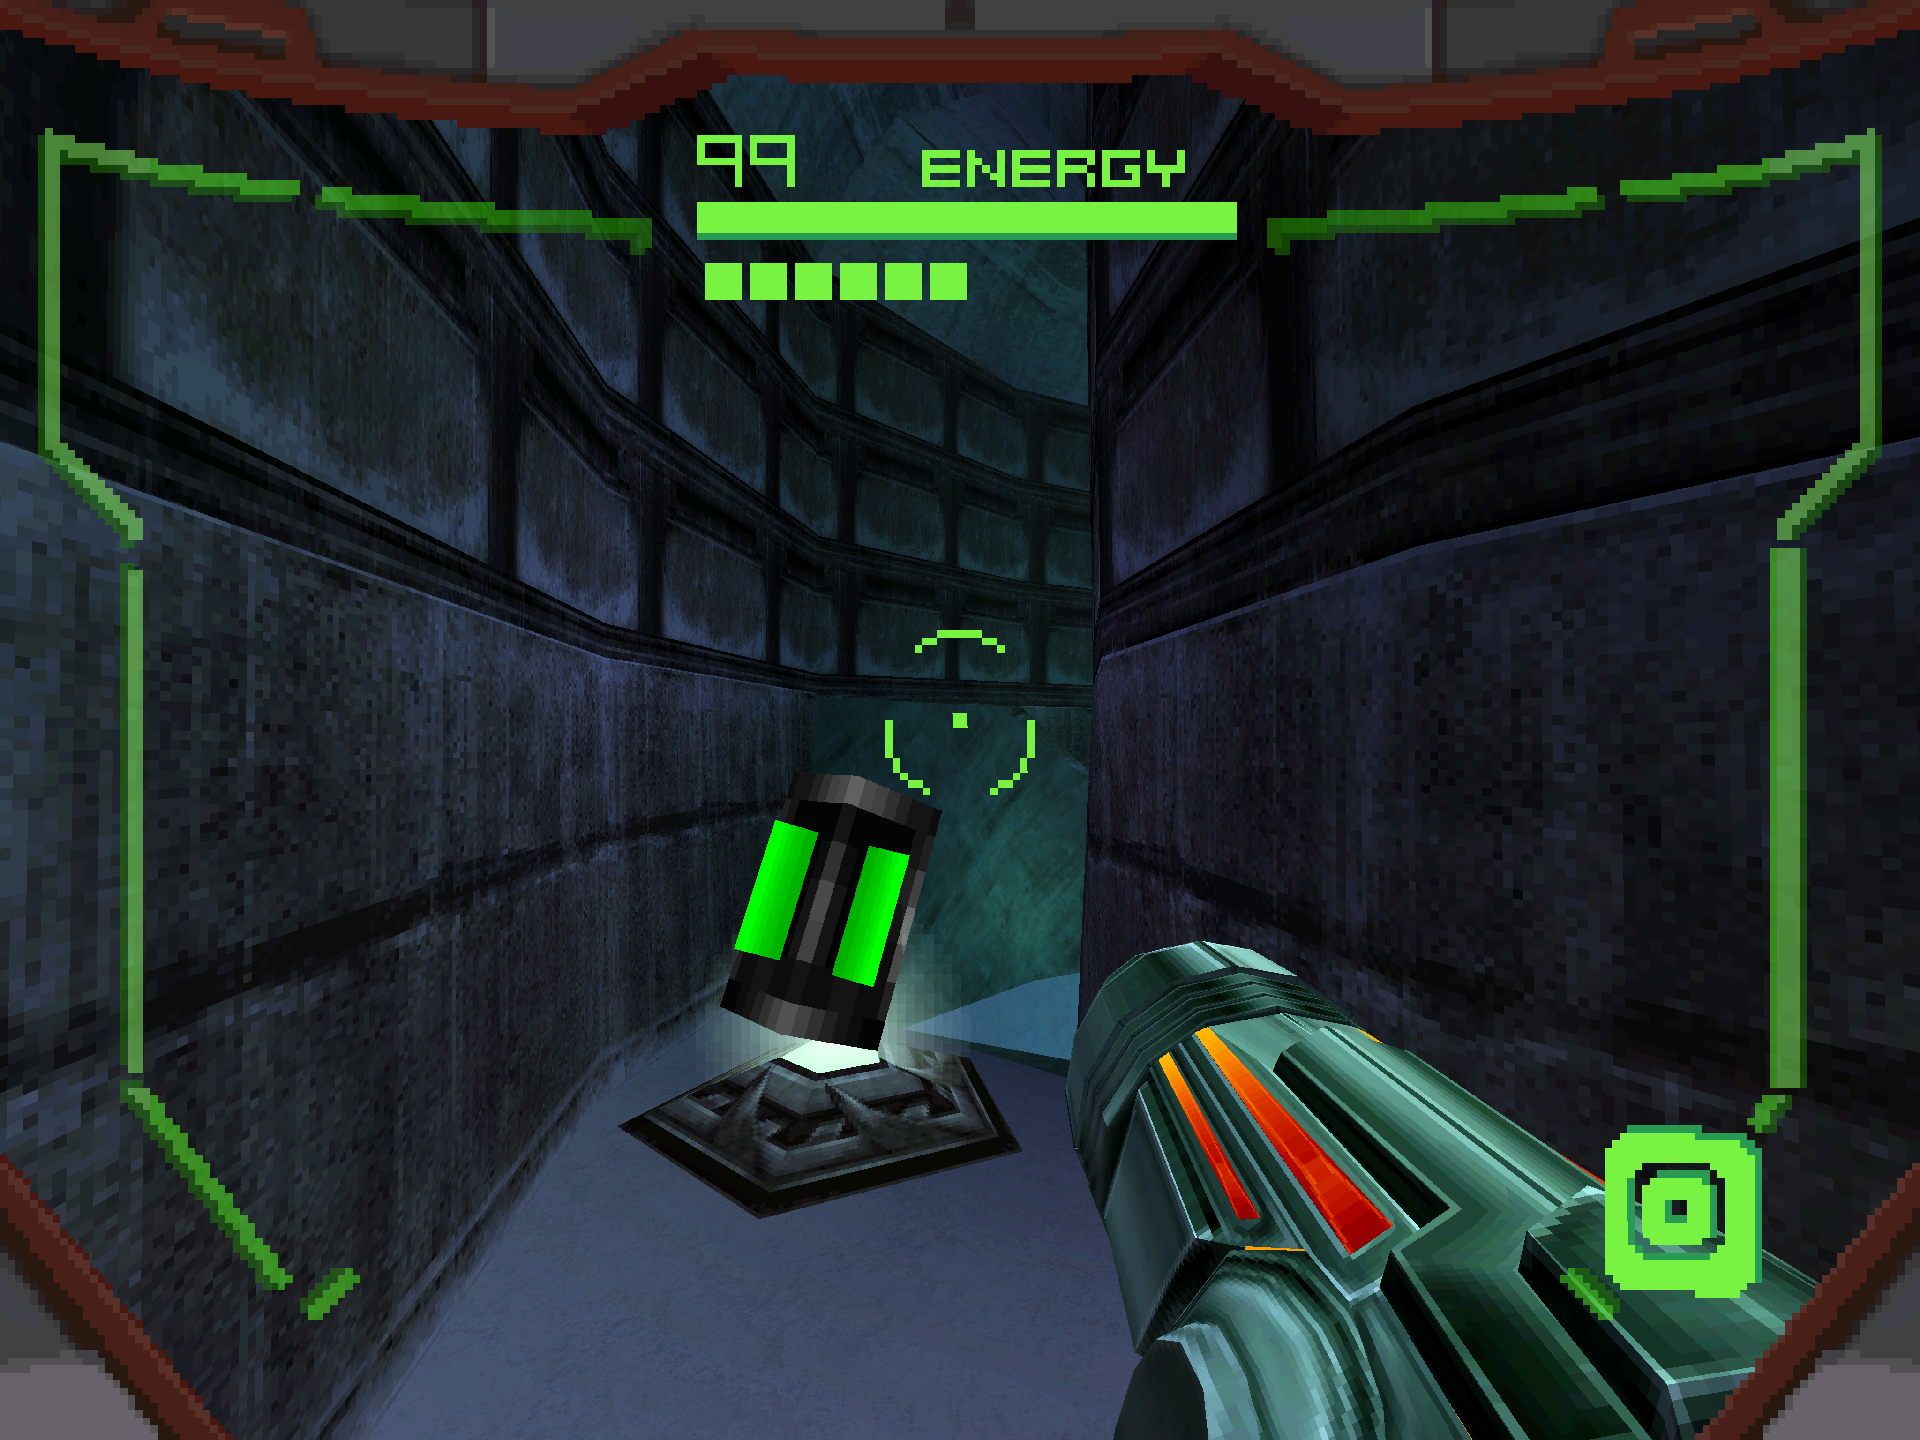
UA Expansion #7
Location: Docking Bay, Celestial Archives (Second Visit)
Requirements: None
After dealing with the Guardian in the room, jump up to the upper bridge where the floating platforms dock and get on the second one from the left. It will carry you over to a platform that is housing UA EXPANSION #7!
UA Expansion #8
Location: Magma Drop, Alinos (Second visit)
Requirements: Judicator, Morph Ball, Bombs, lots of health
Enter High Ground and drop to the underground level below the main floor. In the hallway to the left of where you came from, you’ll see a purple force field blocking a Morph Ball passage filled with magma and a Large Energy orb sitting on top. Disable the force field and jump right into the spice! You’ll fall into a large reservoir of magma constantly damaging you, but with various energy orbs littered about to replenish your health upon contact. The viscosity also alters the physics a bit differently, slowing your fall while also giving you a massive boost when performing a bomb jump. Follow the trail of energy down the passage, using a bomb jump if you get stuck on a piece of terrain. You’ll eventually hit a path straight out of Green Hill Zone that loops you around to the right side.
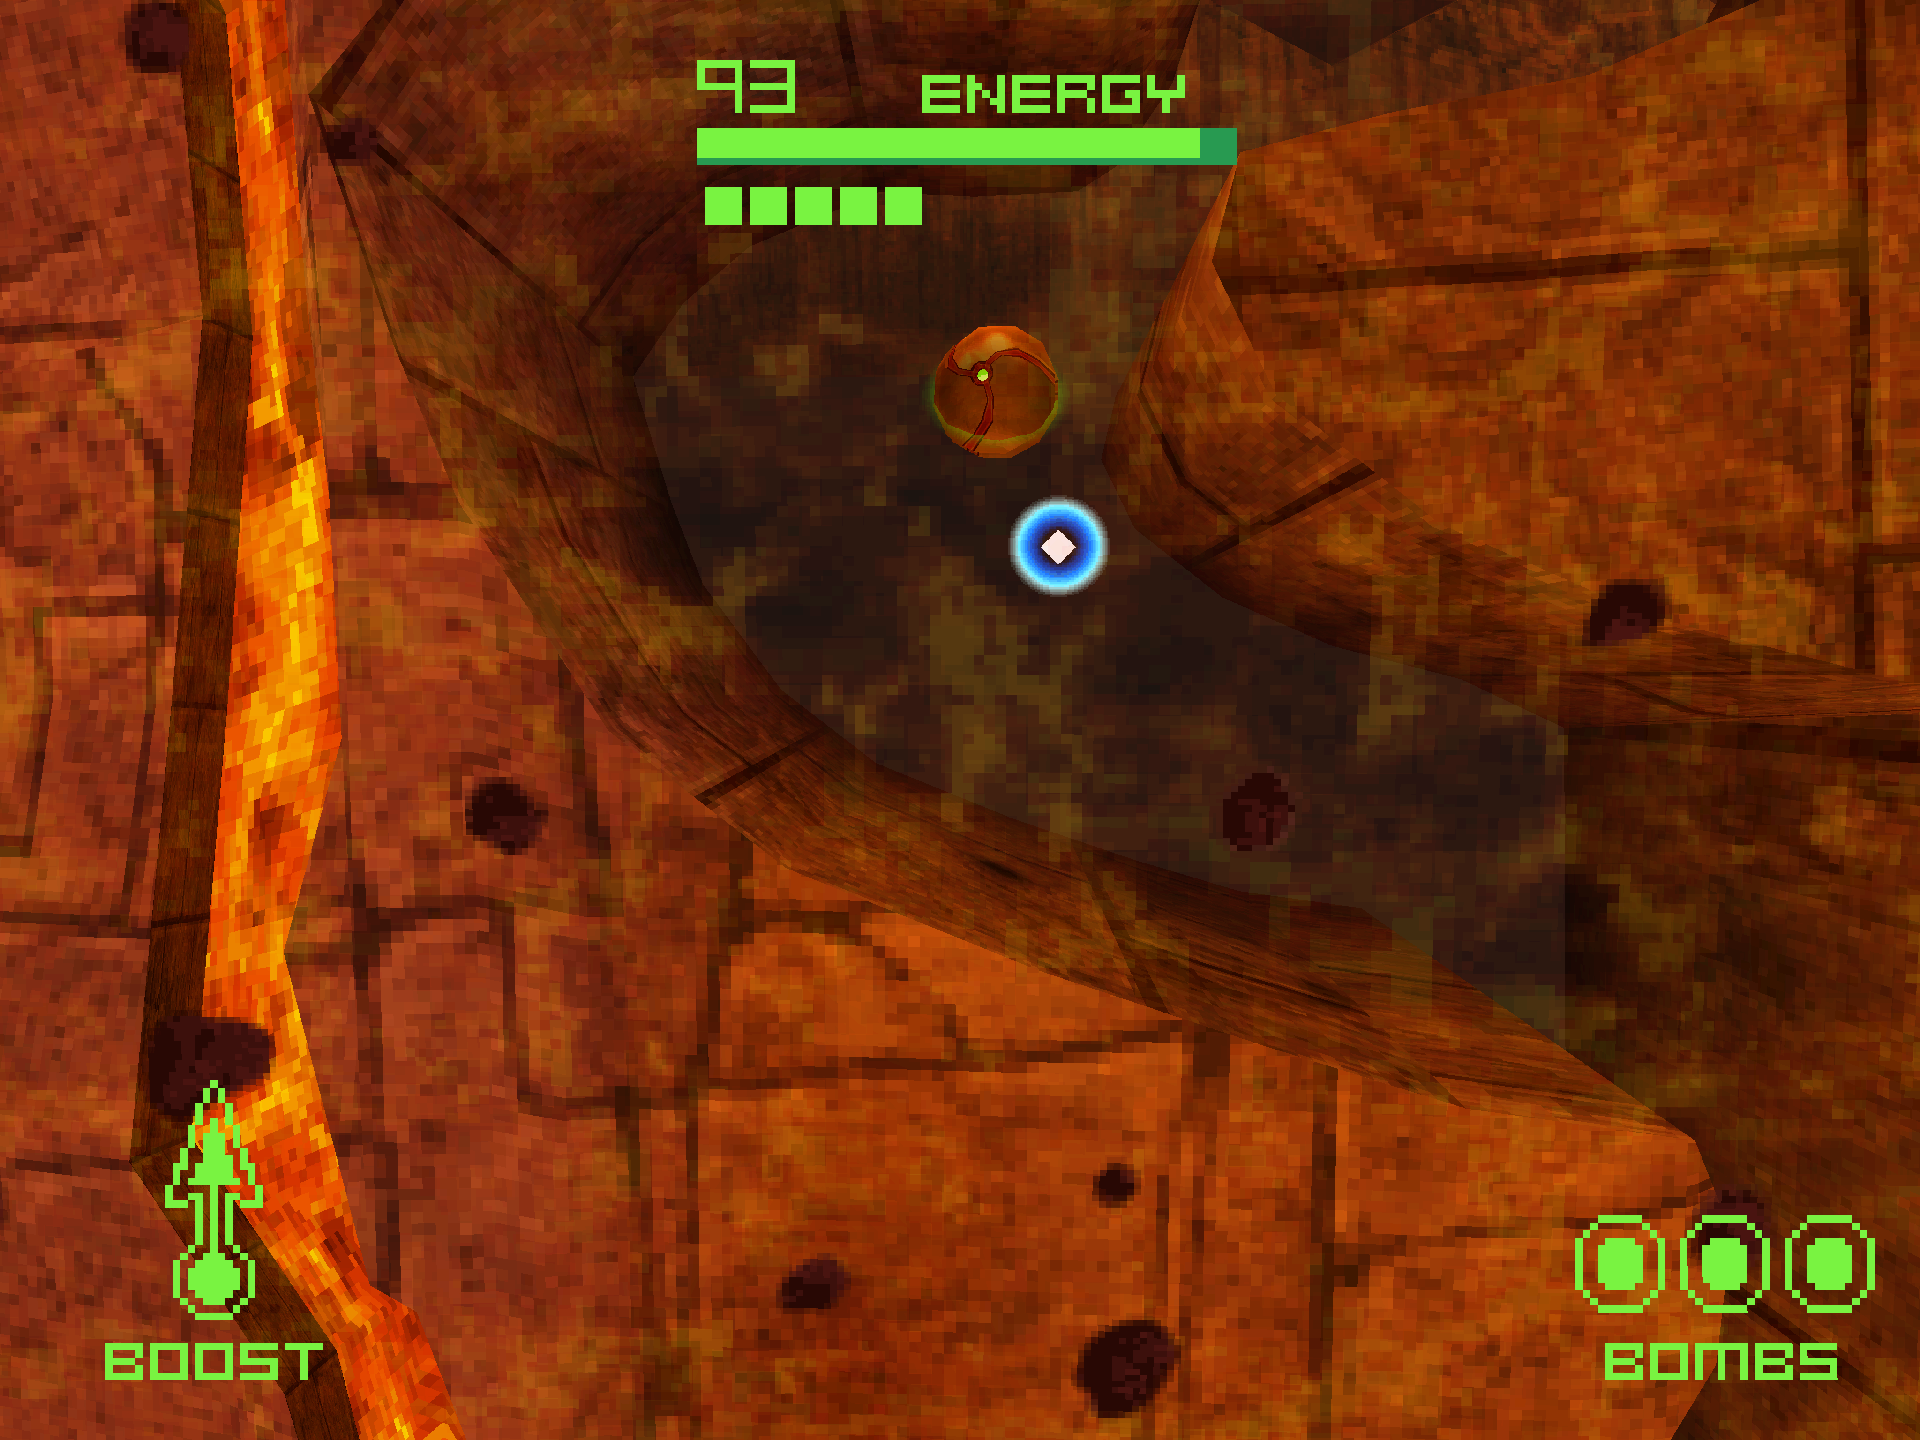
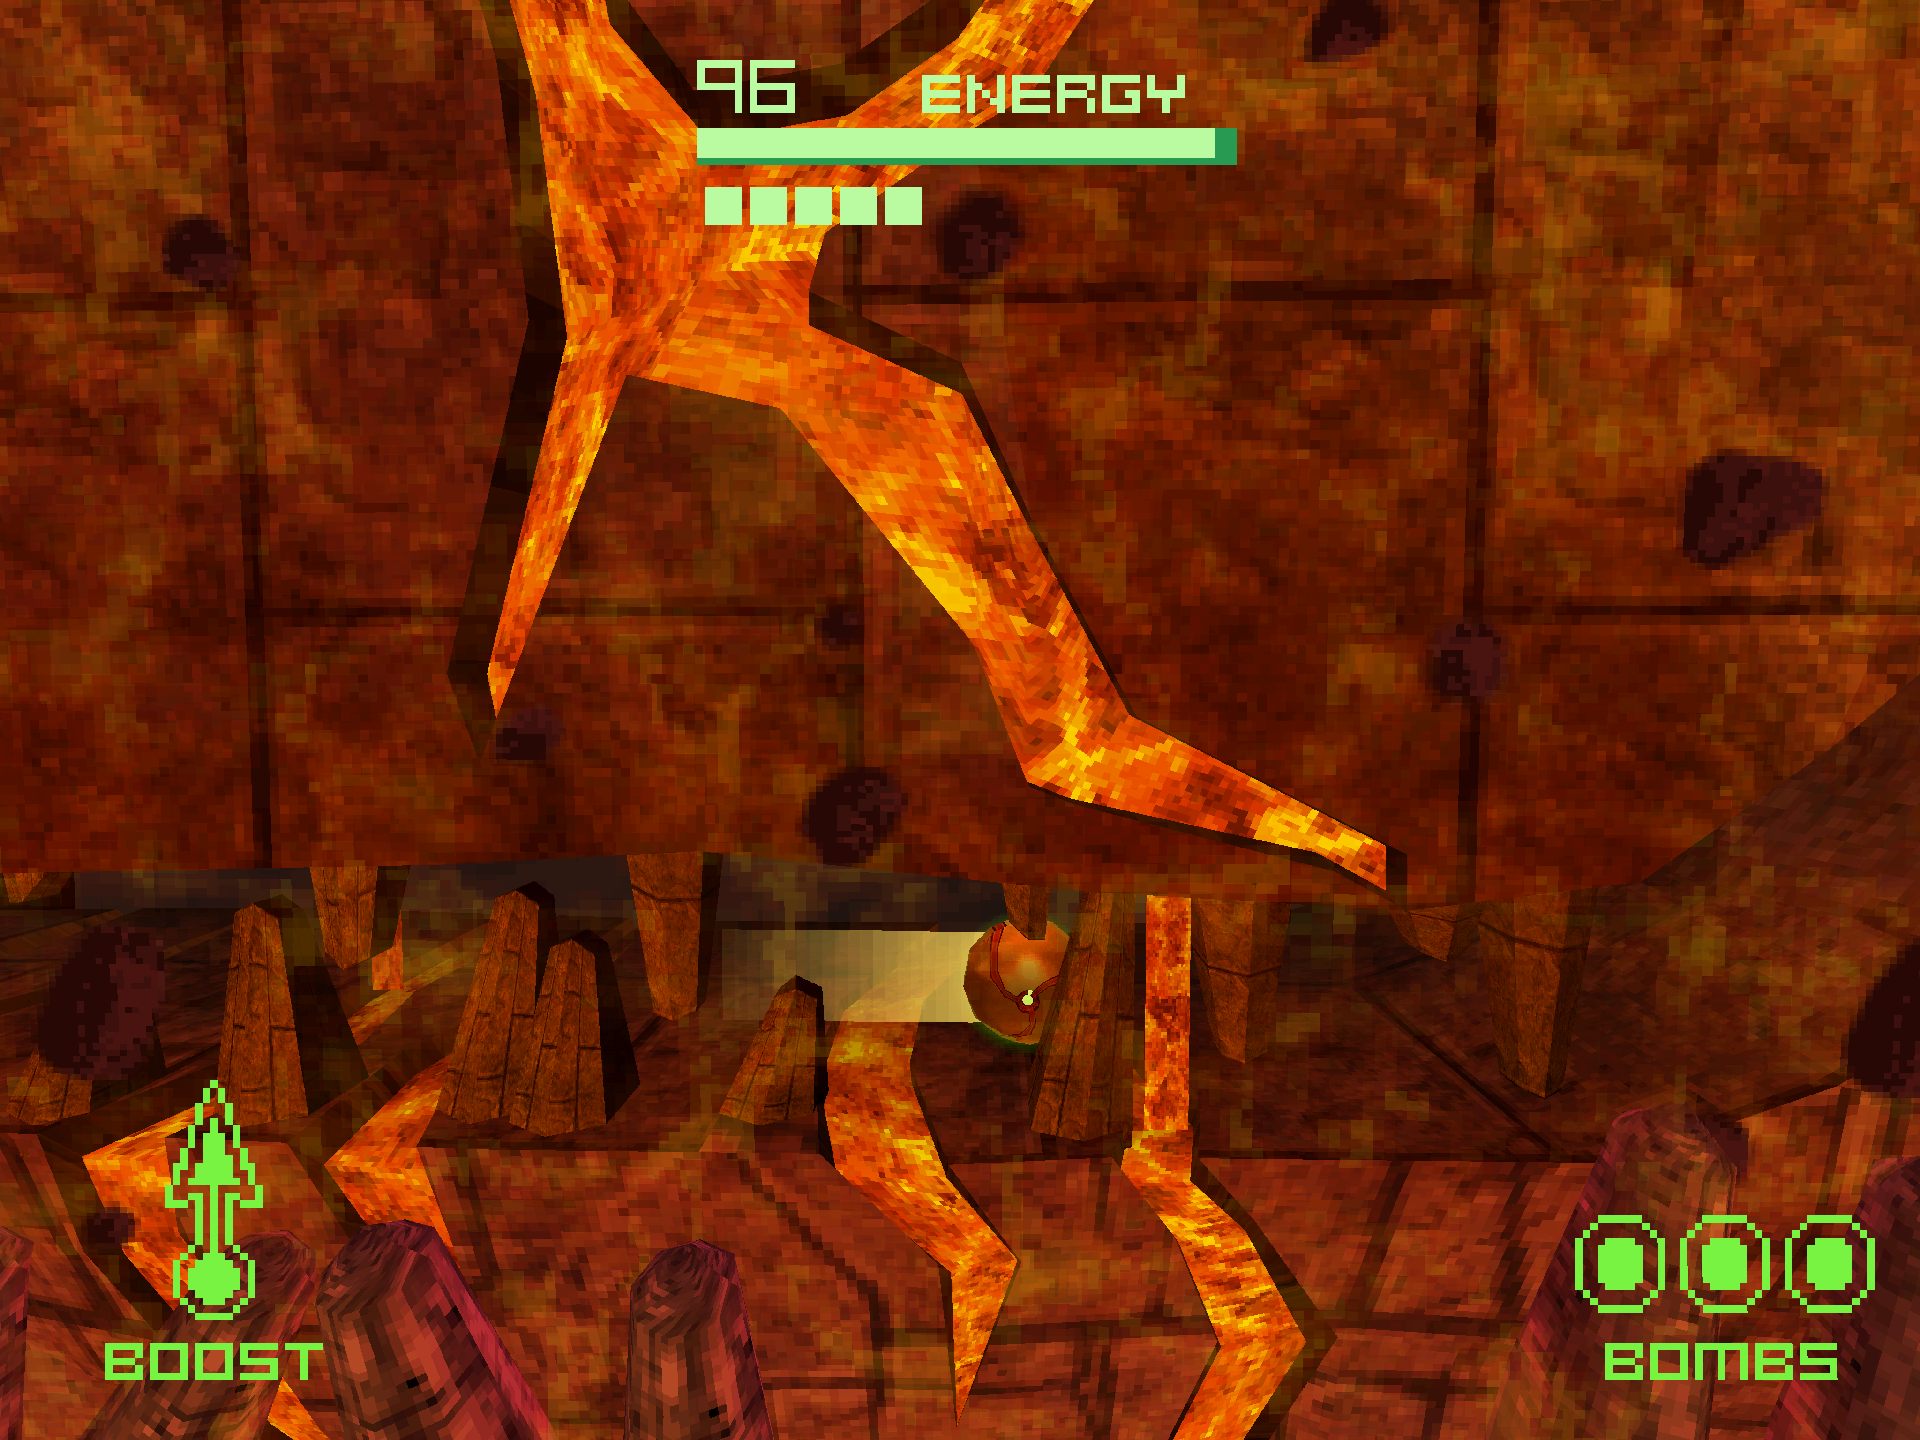
Here you’ll have to use bomb jumps to ascend, which can be a little tricky if you’re still adjusting to the physics. The first bomb on the ground is easy, but it takes longer than you would think at first for your ascent to slow down and drop the succeeding bomb. It’s something you have to “feel out” with experience, but the best tip I can give is that once you believe you’re about to hit the apex of your ascent, spam a string of bombs and one of them should connect to propel you forward. When you do this, stay in the center of the shaft and you should hit a rock formation. As soon as you hit the rock, steer left to fall on a platform close by. Plant your next bomb and hug the left wall until you hit the ceiling, then fall right and you’ll land on a platform holding UA EXPANSION #8. Plant one final bomb after collecting it to boost yourself through a tube and back to the surface of High Ground.
If you need additional help with the puzzle, check out the video below to watch a perfect run from start to finish.
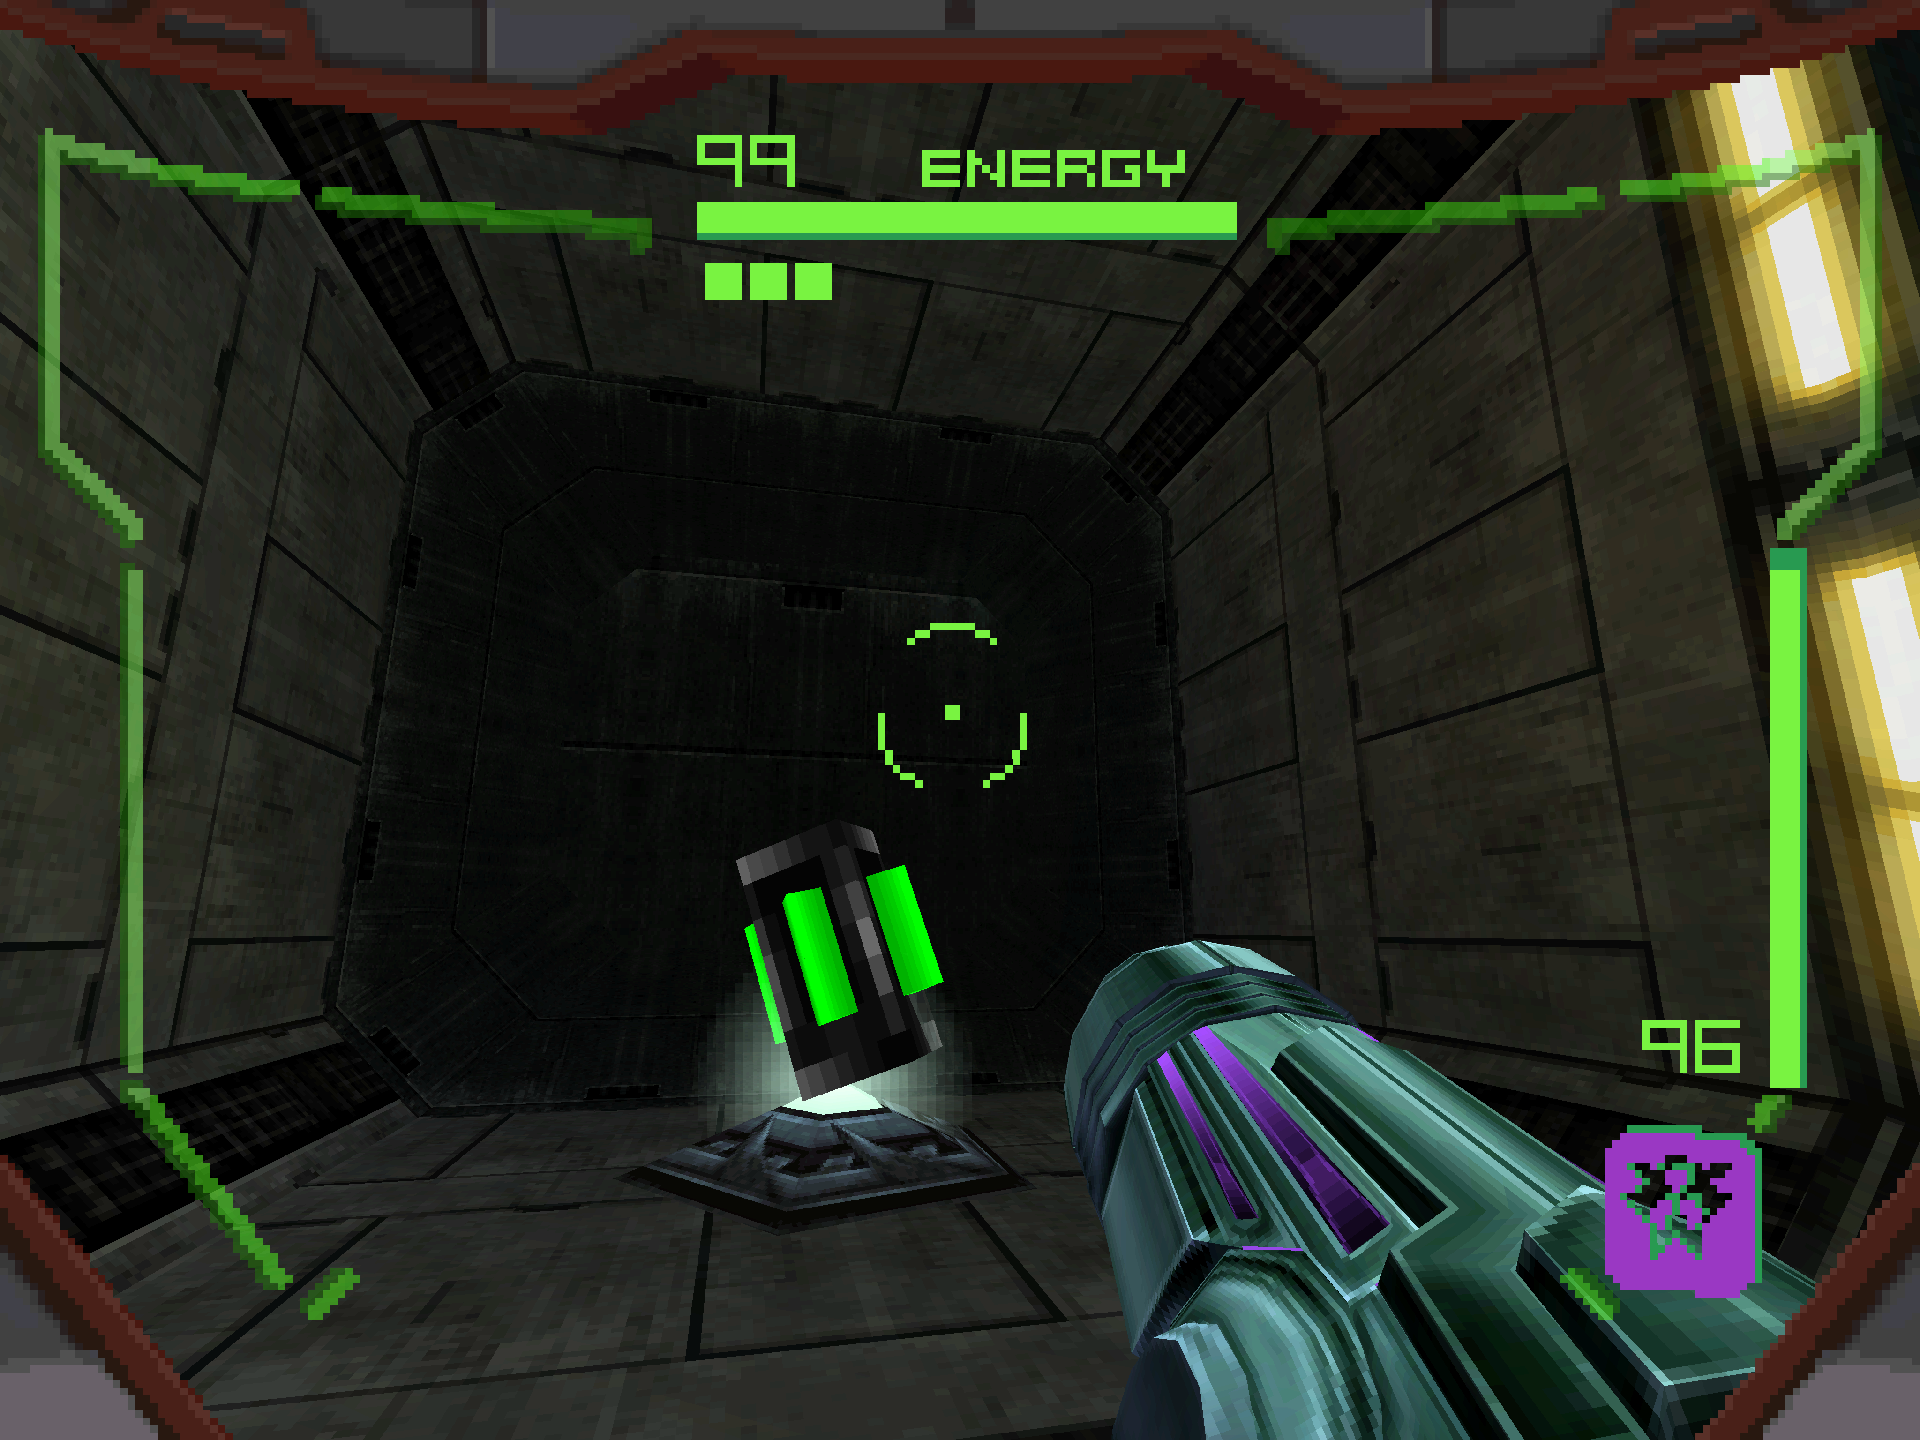
UA Expansion #9
Location: Processor Core, Alinos (Second Visit)
Requirements: None
After walking into the Processor Core for the first time, hop over to the opposite side where UA EXPANSION #8 will be awaiting to the left.
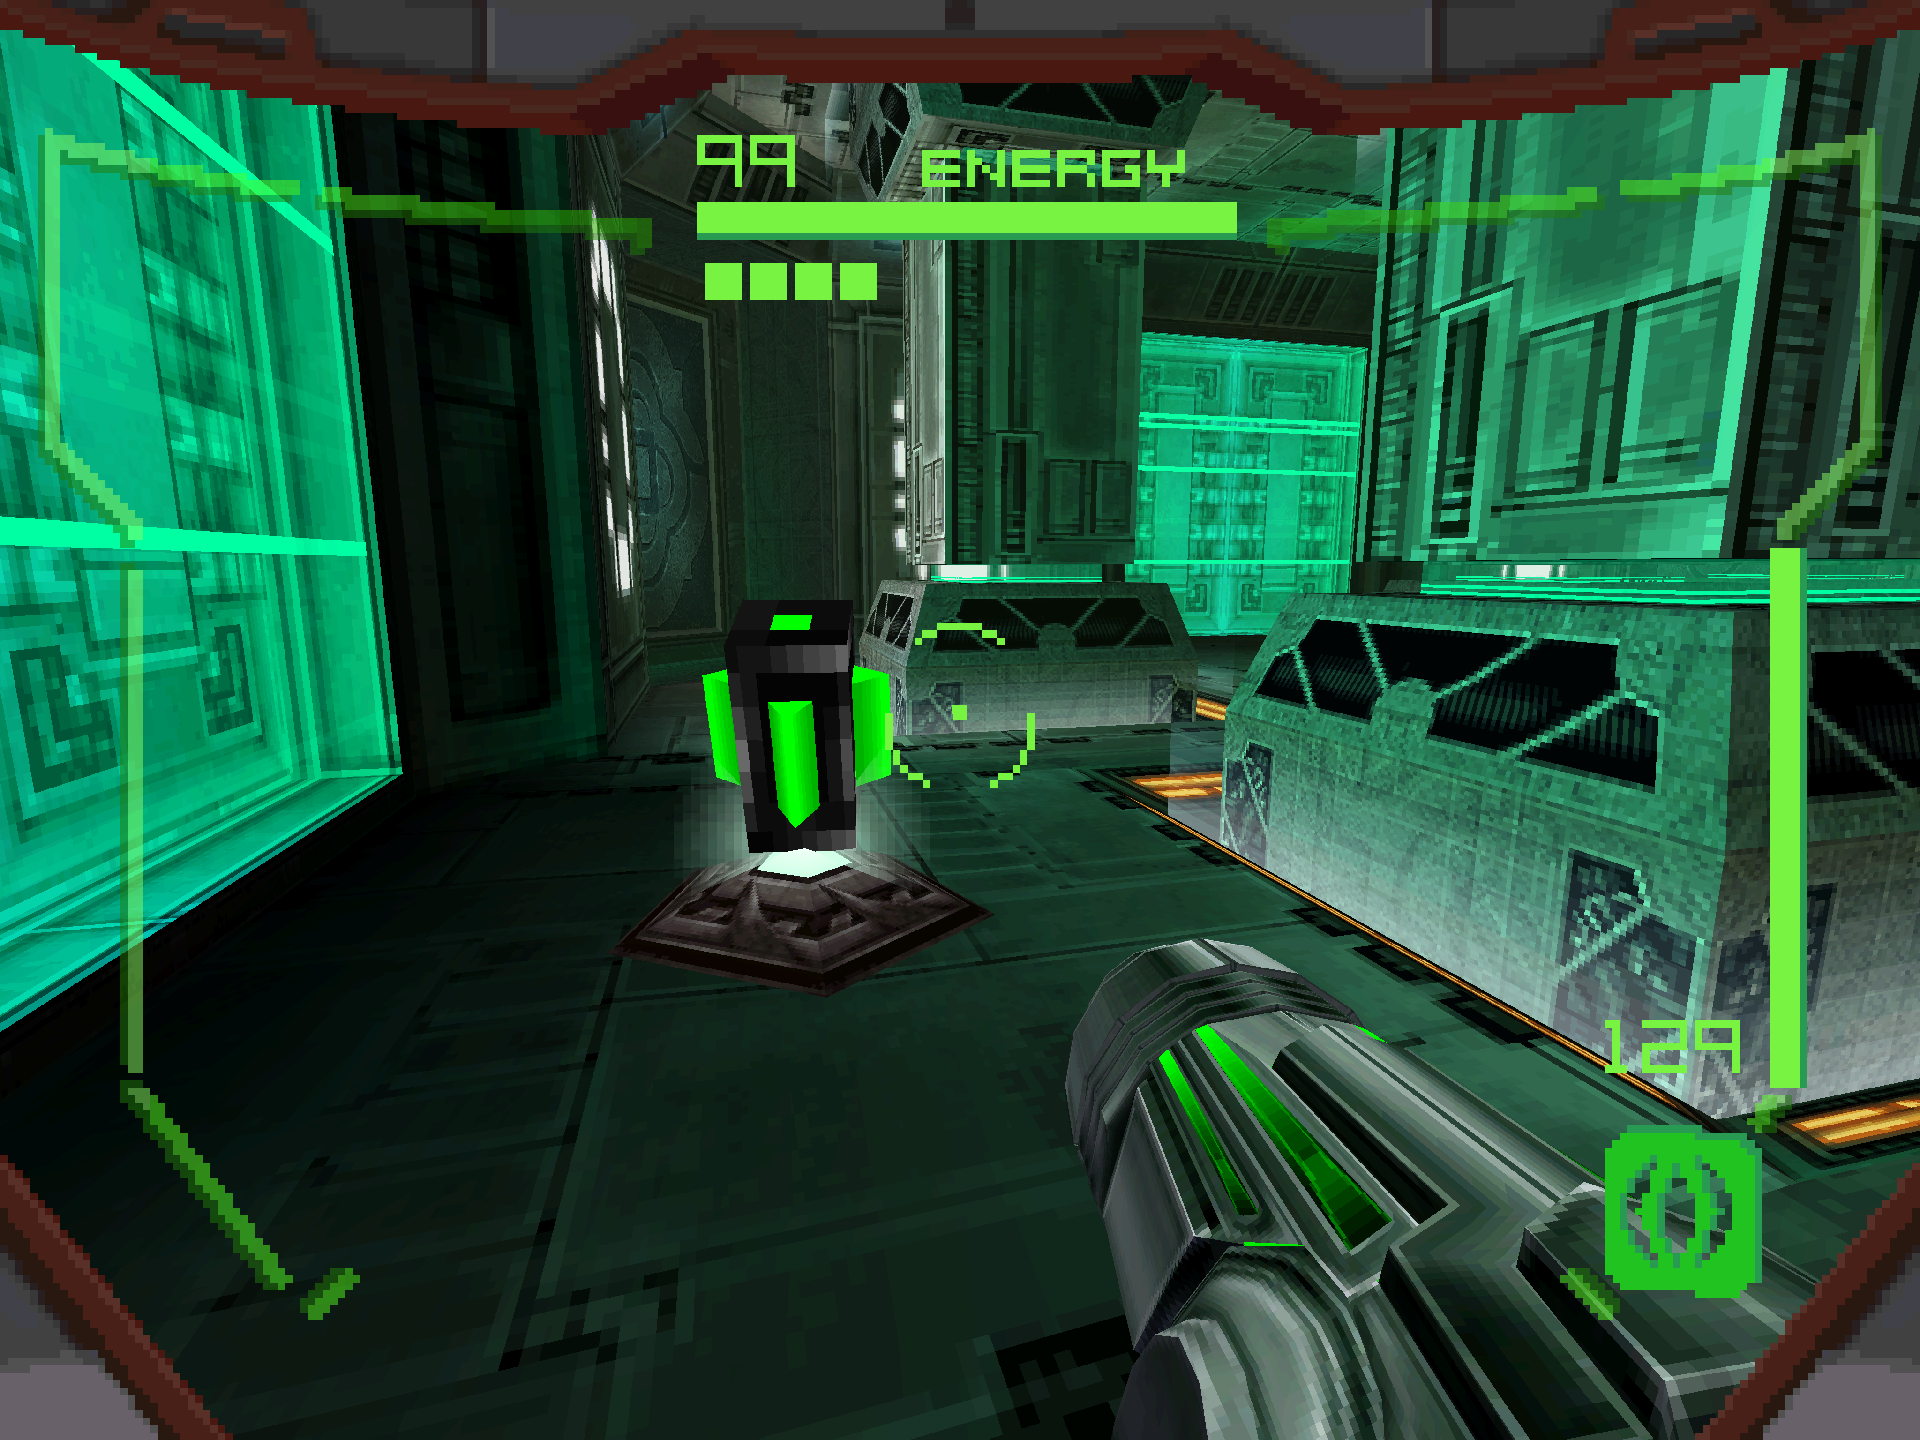
UA Expansion #10
Location: Sanctorus, Arcterra (Second visit)
Requirements: Imperialist, Morph Ball
From Frost Labyrinth, navigate your way to the northern part and exit through an opening. You’ll be right in front of a red blast shield, so blast it open and walk into Sanctorus. Take the left pathway and you’ll run directly into UA EXPANSION #10.
UA Expansion #11
Location: Drip Moat, Arcterra (Second Visit)
Requirements: None
After arriving at the Drip Moat, hop over the moving platform and you’ll fall right into UA EXPANSION #11, which will be floating in midair. If you miss it during the drop, use the jump pad at the bottom to launch yourself back up.

UA Expansion #12
Location: Stasis Bunker, Vesper Defense Outpost (Second Visit)
Requirements: None
After arriving at the Stasis Bunker, proceed forward to the higher portion of the room until you see a small opening with two blue pillars on either side. Go through it and you’ll be directly in front of where the Shield Key spawns, looking at the machine spewing out cooolant. Jump on the ledges on the side of the room and you’ll find UA EXPANSION #12 sitting on a small platform on the backside of the machine.