Metroid: Samus Returns Walkthrough: Energy Tanks
Here you’ll find the location for every Energy Tank in Metroid: Samus Returns, as well as detailed explanations on how to get them and what powerups you’ll need.
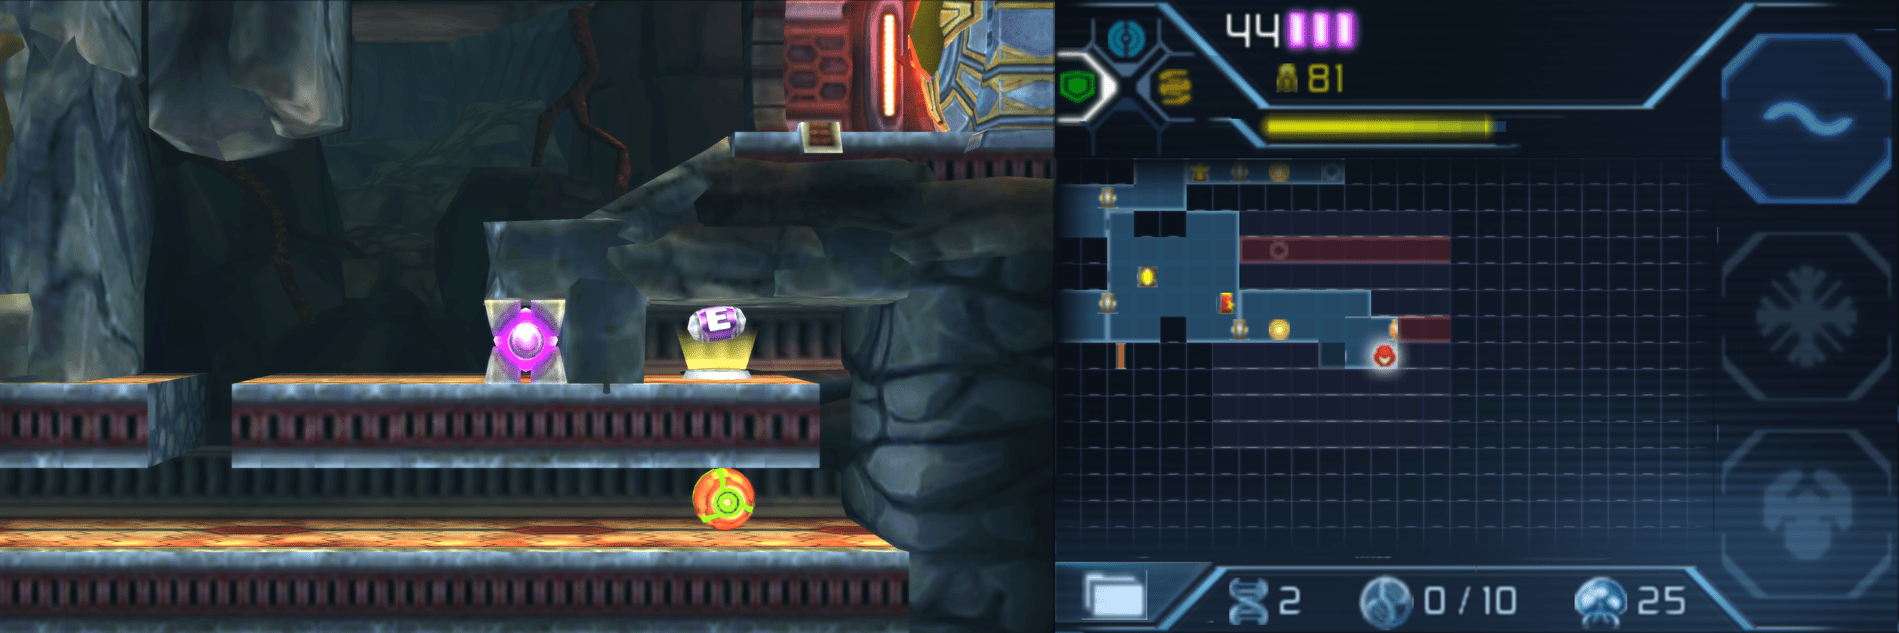
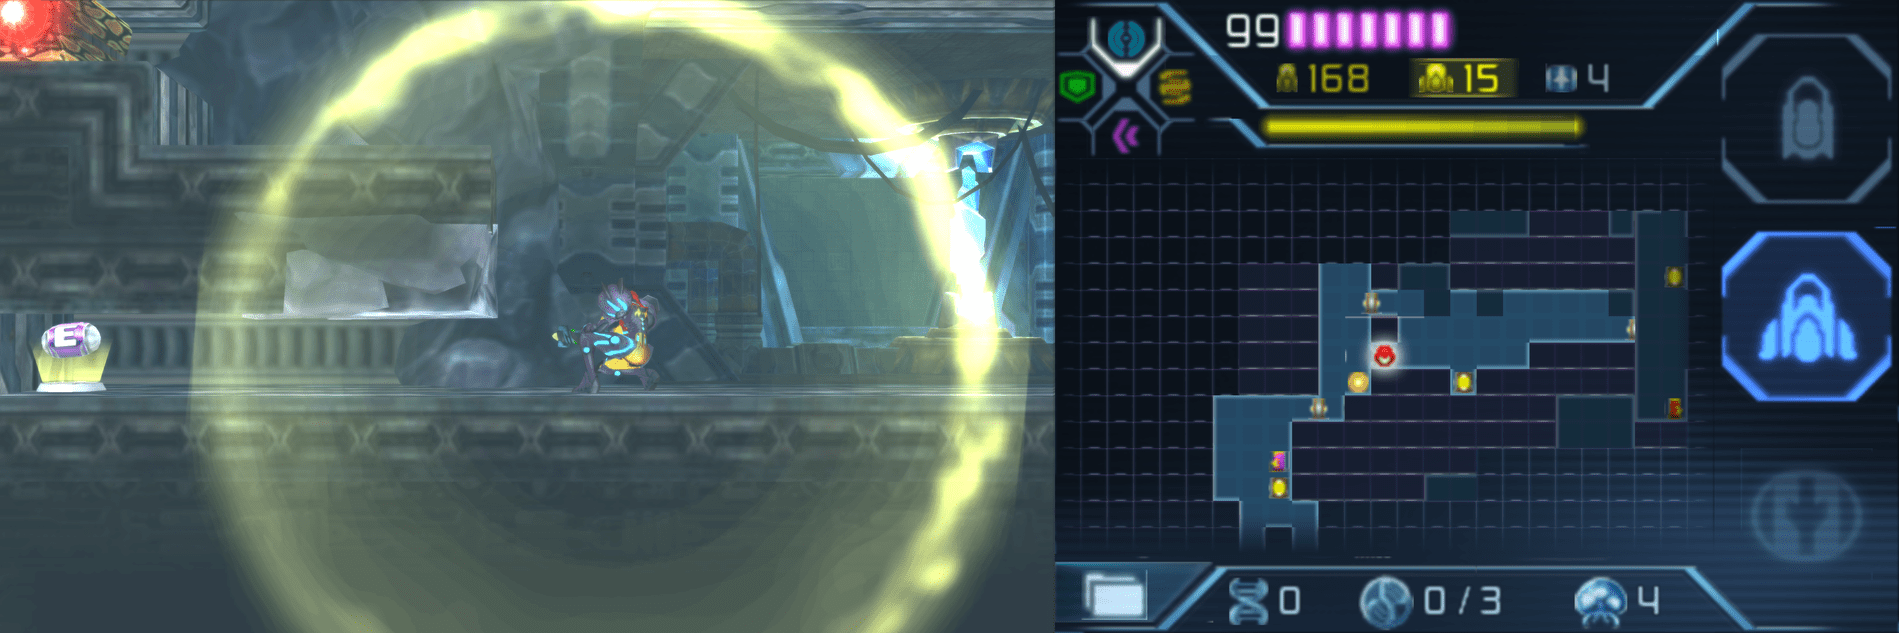
Energy Tank #1
Location: Surface Area (First Visit)
Requirements: Morph Ball
Starting at the Missile Recharge Station, go through the door, drop down, and roll under a small ledge to grab ENERGY TANK #1.
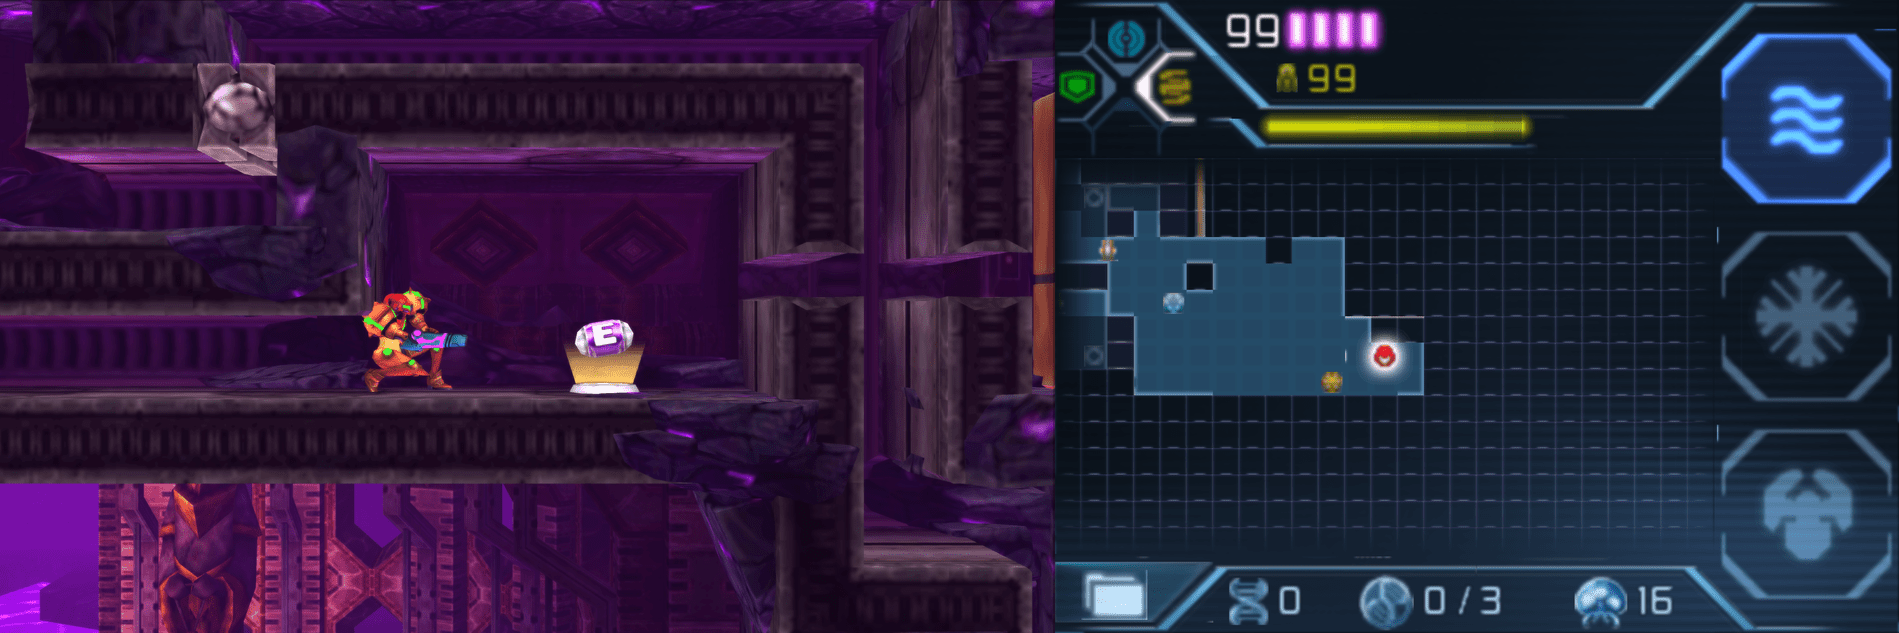
Energy Tank #2
Location: Area 1 (First Visit)
Requirements: Spider Ball
After you’re finished fighting the Alpha Metroid in the eastmost room in Area 2, roll up the righthand wall and bomb in the top corner; a new tunnel will open up, leading you right to ENERGY TANK #2!
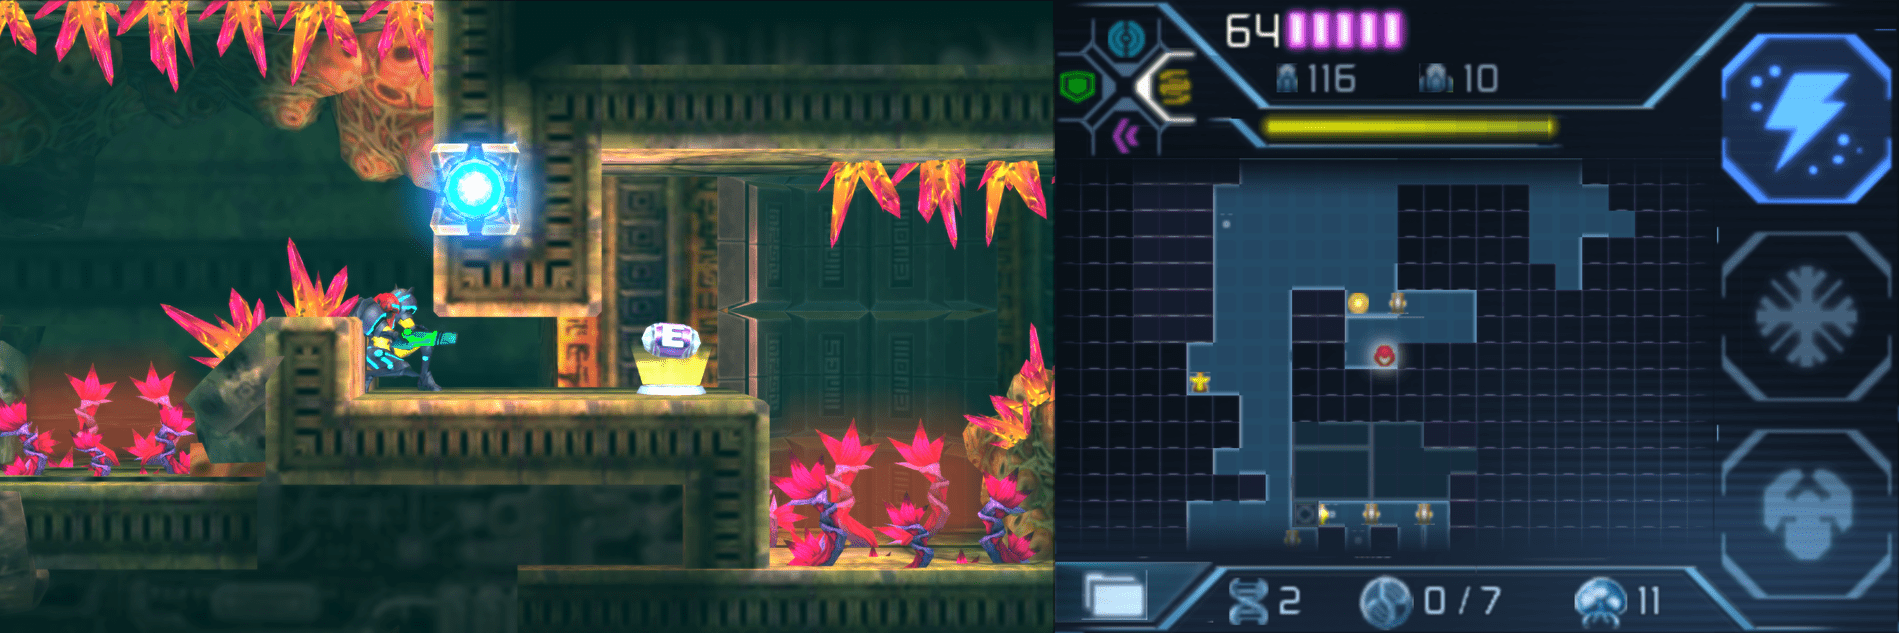
Energy Tank #3
Location: Area 2 (First Visit)
Requirements: High Jump Boots, Bombs
Starting from the room you acquired the High Jump Boots in, exit out and make the climb upwards, exiting out of the room and back into the small Morph Ball tunnel you entered from. Continue downwards, bombing the floor. Eventually, you’ll land in a pool of water. Exit the pool to the left and continue your descent. Once you’ve finally, mercifully gotten to the bottom, take the Blast Door to your right and proceed ahead into the new room. You’ll run straight into ENERGY TANK #3!
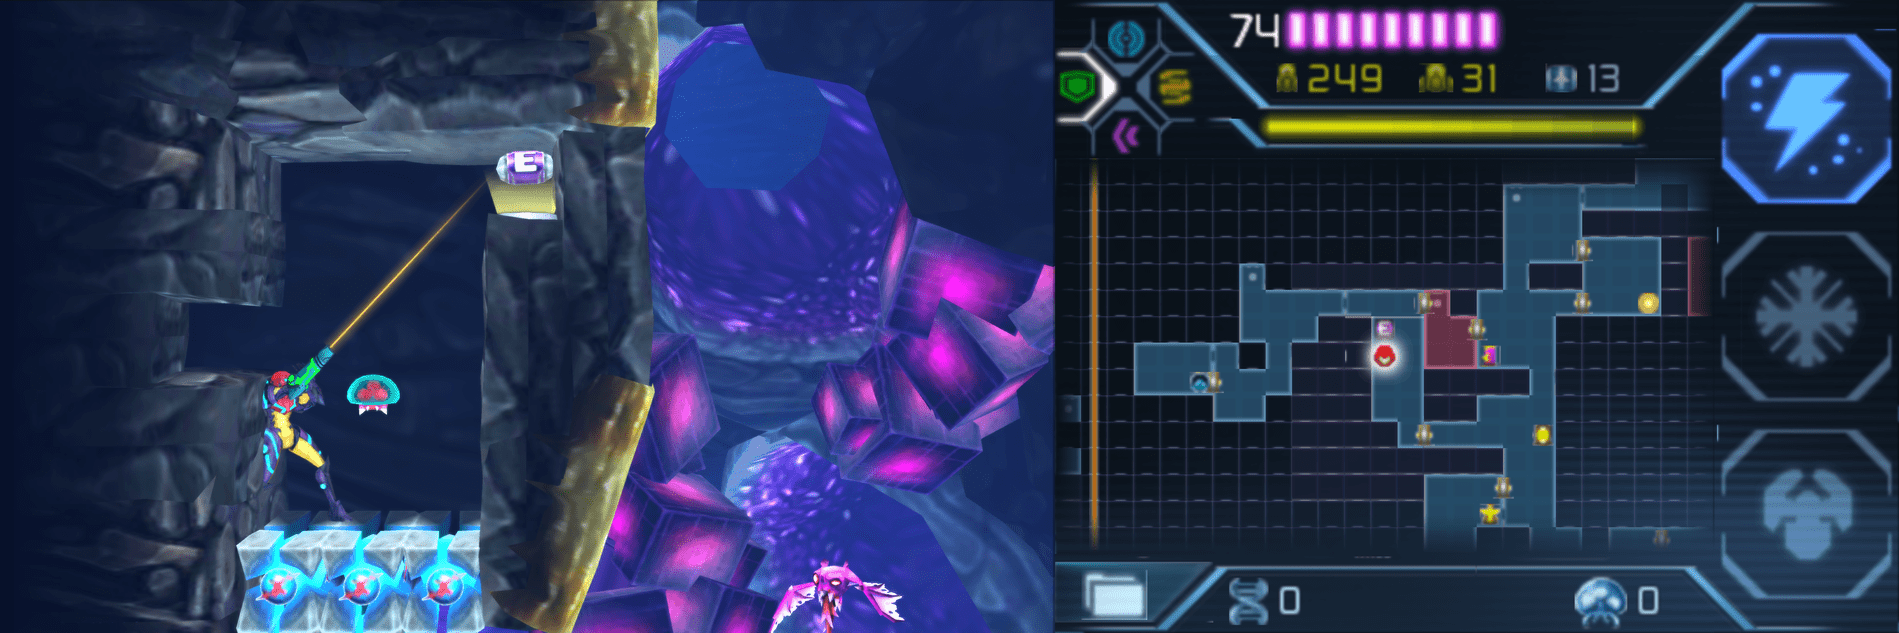
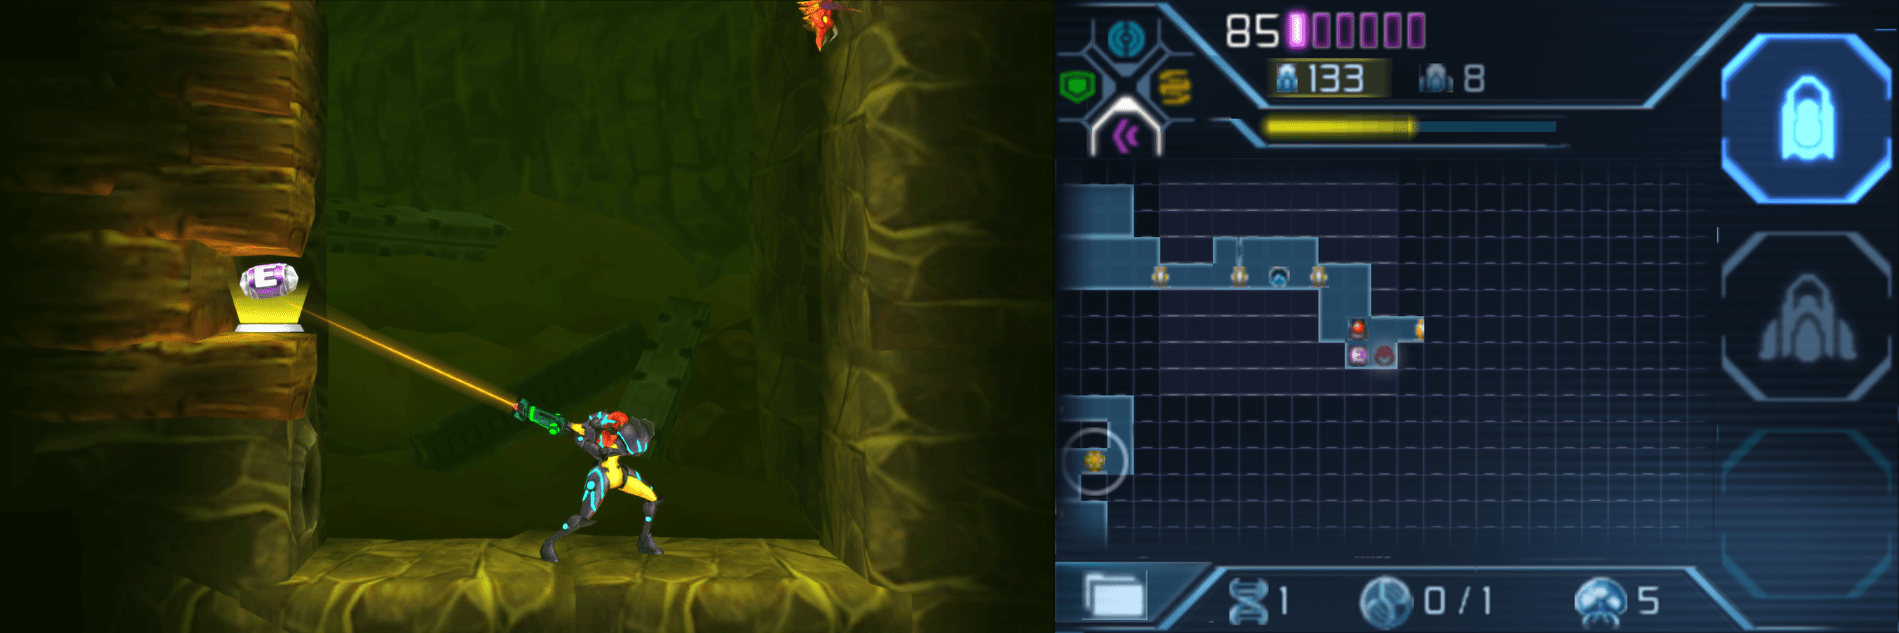
Energy Tank #4
Location: Area 3 (First Visit)
Requirements: Bombs, Grapple Beam
Head to the room with a Save Station and a Missile Recharge Station next to each other and take the lower left path. You’ll need to grapple over a pool of water to reach a Missile Recharge Station and a Blast Door submerged in the water. Go through it and press forward, going as far to the left as you can and dropping down a small tunnel. When you land, use your Scan Pulse and you’ll see some blocks on the floor that can be destroyed. Bomb them and roll over to grab ENERGY TANK #4!
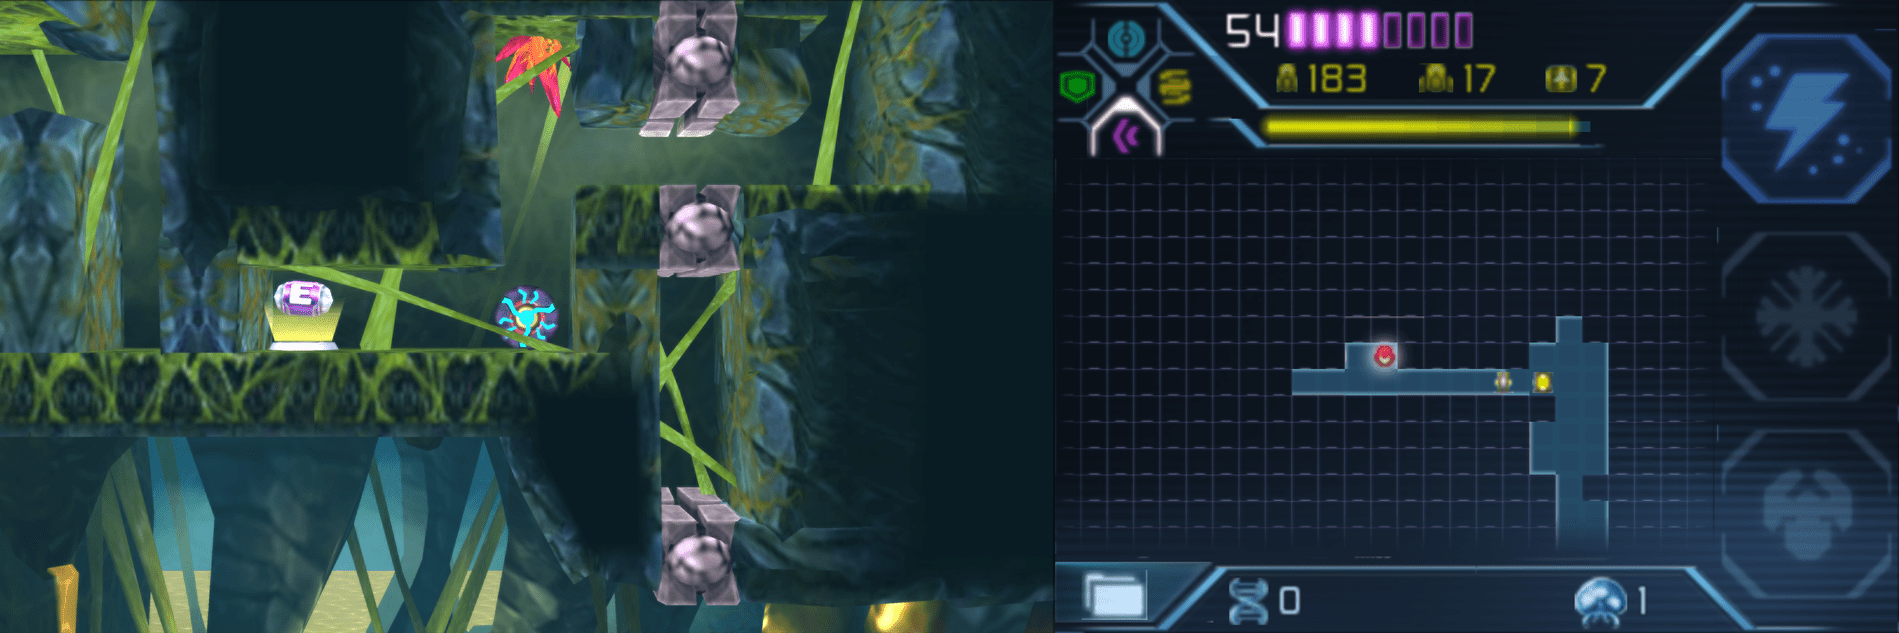
Energy Tank #5
Location: Area 4 (First Visit)
Requirements: Bombs
Get to the second Chozo Seal and continue ahead. Destroy the single block blocking the vertical Morph Ball tunnel and jump up (use your Scan Pulse if you need to!). You’ll see a Grapple block that you’ll want to destroy in the tunnel, so do so and keep moving up and over, rolling back into a tunnel on the left, right past the Grapple block that you moved earlier, over a pit of acid, and right into ENERGY TANK #5!
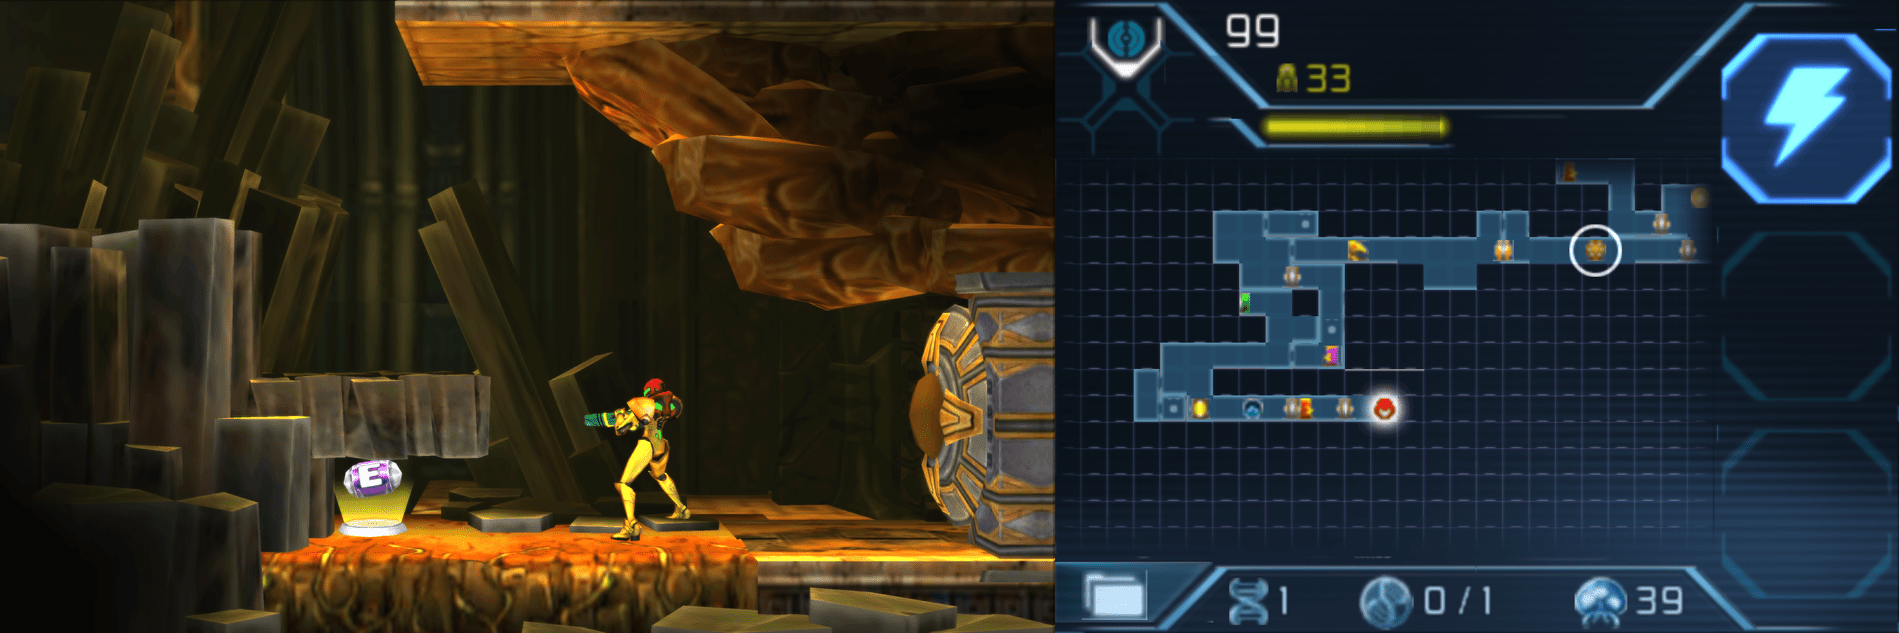
Energy Tank #6
Location: Area 5 (First Visit)
Requirements: Space Jump, Super Missiles
Jump up and over until you’re at about the center of Area 5’s giant top room, which we’ve dubbed ‘the Atrium’. Drop down and land on the upper “ceiling” of the Atrium, and eventually you’ll see a spot where you can drop down. Do so, and destroy the green Blast Door shield to enter a new room. There’s more to do in this room later in the game, but for now. Roll through the small tunnel on your upper left and then fall through the pitfall blocks. Grapple over to the right and grab ENERGY TANK #6!
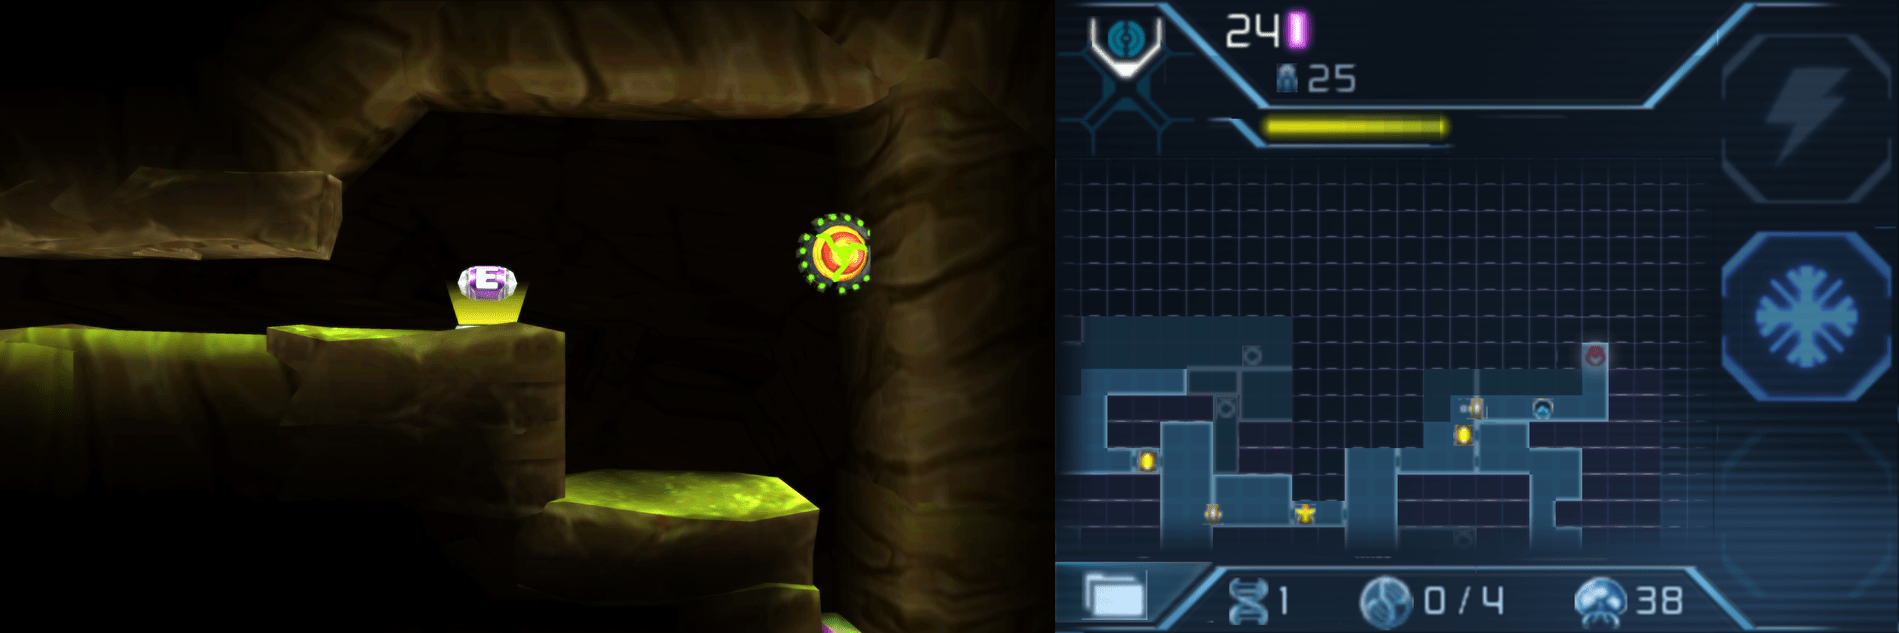
Energy Tank #7
Location: Area 6 (First Visit)
Requirements: Missiles, Bombs
To the right of the Zeta Metroid room, drop down through the tunnel and you’ll land beside an expansion on the other side of a bridge with a fan blowing right in front of it, meaning you can’t lay a bomb to simply get it. No worries – roll across the bridge, which is made up of pitfall blocks, and just let yourself fall down. You should notice a block on the left side wall that looks funny – almost like when you’re playing Zelda and notice a portion of the wall that looks like a different color and could maybe be bombed. Shoot it to reveal ENERGY TANK #7!
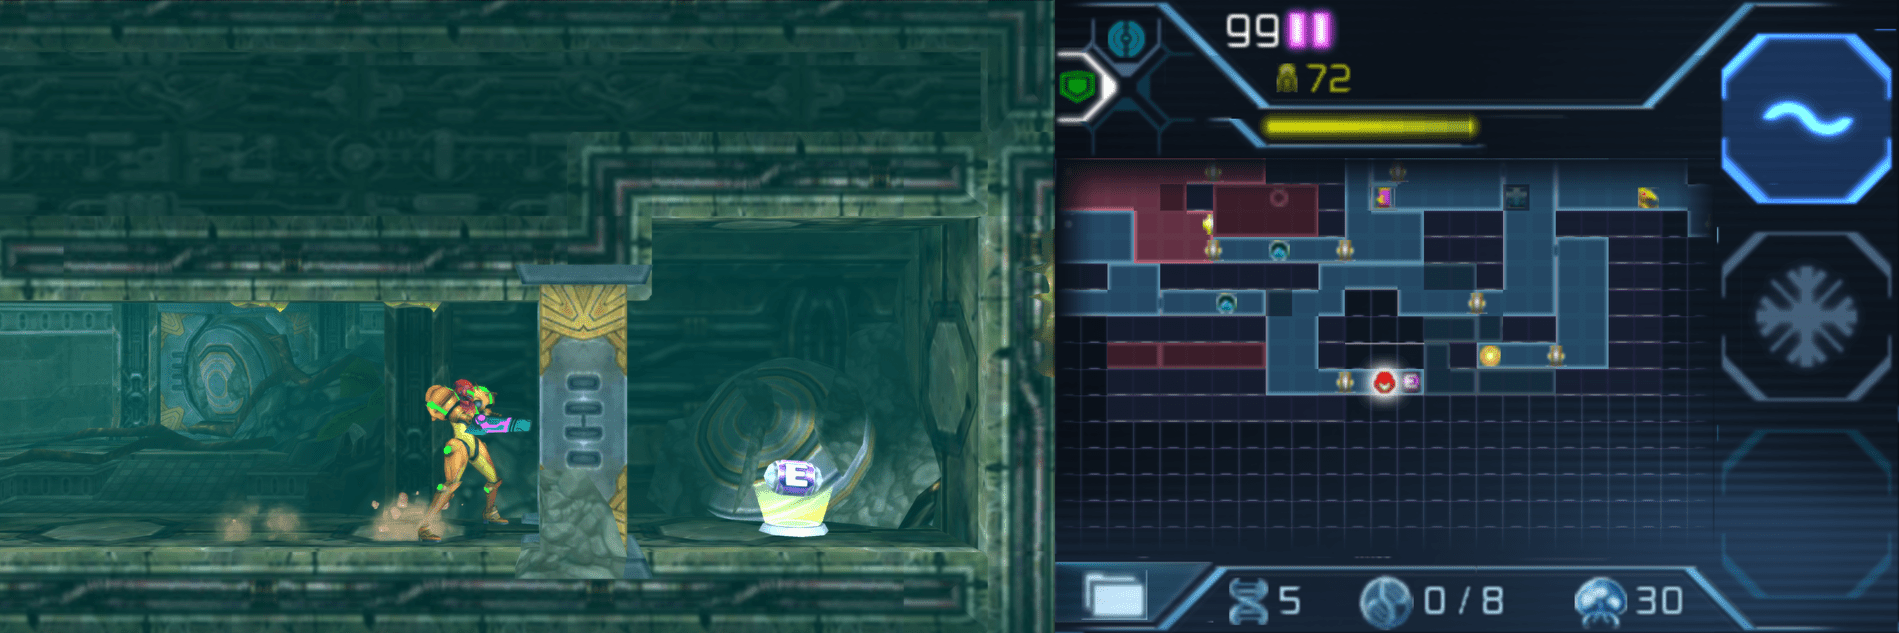
Energy Tank #8
Location: Area 7 (First Visit)
Requirements: Spider Ball, Power Bombs
From the Missile Recharge Station at the top-left of Area 7, drop down and go through the charge beam door on the right wall. You’ll enter another fairly large room with a couple of pools of water, some orange spikes, and some red weeds. When you get out of the first pool of water, you should see a small alcove with a Autrack hanging upside down; destroy it and then bomb the floors, and you’ll go tumbling down to a secret passage; press forwards and you’ll see another Autrack and a small platform; use your Spider Ball to stick to the left wall and lay a bomb just above where the wall meets the floor (the floor is pitfall blocks that will send you tumbling to the Save Station beneath it). Head through the opening, lay a Power Bomb to destroy the block, and then snag ENERGY TANK #8!
Energy Tank #9
Location: Area 8 (First Visit)
Requirements: Screw Attack, Phase Drift
In the room right before the lower Teleportal, you’ll see pools of yellow liquid in it (I think it’s supposed to be liquefied Aeion, so get your minds out of the toilet!); about halfway in, use your Scan Pulse and you’ll see some Screw Attack blocks in the ceiling. Break them and jump up; activate your Phase Drift and roll through the tunnel across some pitfall blocks, grabbing ENERGY TANK #9 for your troubles!
Energy Tank #10
Location: Area 4 (Second Visit)
Requirements: Screw Attack, Bombs
Get to the other side of the hot zone in the middle of Area 4. Slip through the Morph Ball tunnel and drop down a bit; you’ll see a couple of blocks on your left, right on the other side of some nice yellow gunk, that you’ll want to Screw Attack through. Grab the ledge and pull yourself up into the nook and wait for the Screw Attack blocks to respawn. Once they have, roll down and jump up to lay some bombs, which will break the blocks that are guarding ENERGY TANK #10! Congrats – that’s every Energy Tank in the game! A reminder that if you have the Samus Returns amiibo, you can scan it to get a reserve Energy Tank on top of this.