Metroid: Samus Returns Walkthrough – The Last Metroid
Walkthrough
- Return to SR388
- Area 1 – Ancient Chozo Ruins
- Area 2 – Hydroelectric Station
- Area 3 – Aeion Mines
- Area 4 – Crystal Caverns
- Area 5 – Flooded Greenhouse
- Area 6 – Diggernaut’s Domain
- Area 7 – Chozo Laboratory
- Area 8 – The Nest
- The Last Metroid
A quick note on this chapter before we get going – almost all of this chapter is optional! If you want to just get to the end of the game, simply follow the path ahead and then instead of following the guide when we get to the Teleportal, skip ahead to here and you’ll get to the final sequence. If you made it this far, though, let’s go for that 100% completion rate!
We’ll be doing an area-by-area sweep for the remaining items in the game, and we’re gonna be doing this fast and dirty, with minimal guidance and routing. I’ll leave it up to you to decide how you want to get yourself to the different areas and what routes work best for you.
That being said, let’s get to it!
Chapter 10 Direct End Game Route:
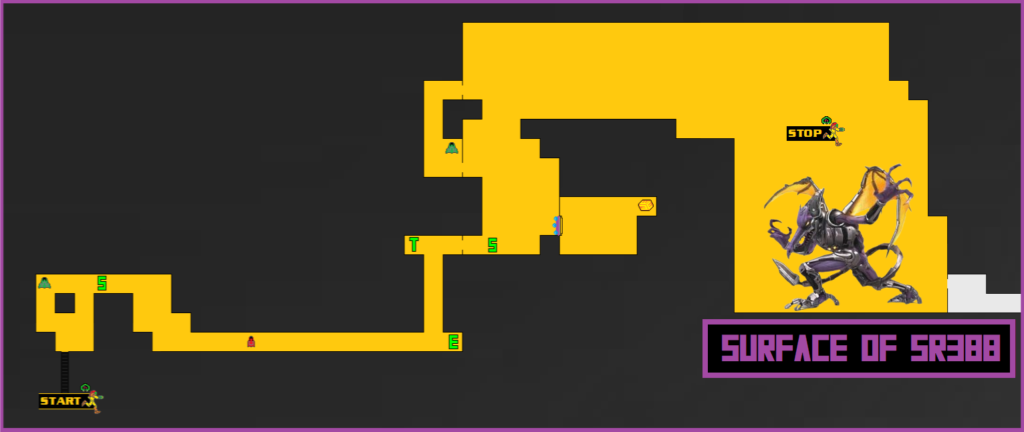
Items On The Surface
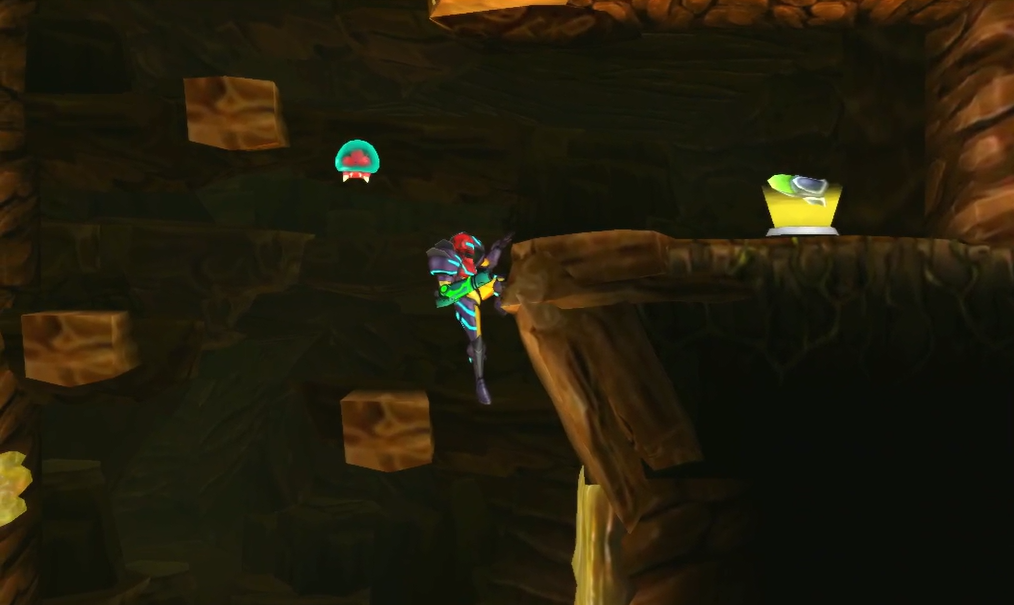
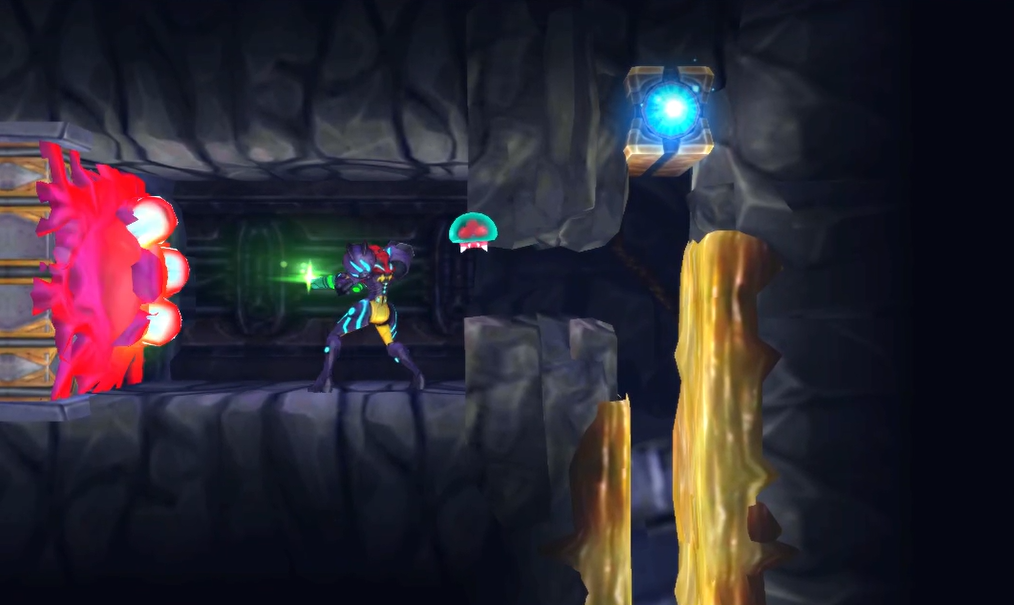
You’ll emerge back on the Surface of SR388, and immediately you can tell that something ominous is blowing in the winds.
Jump upwards and take the first left that you see, almost directly above the elevator. There will be a bunch of red weeds on the left side wall; get that Lightning Armor going and jump up the tunnel until you reach the top. Destroy the red Grapple block and grab SUPER MISSILE EXPANSION #16. Pop back out after and make your way right towards the Save Station.
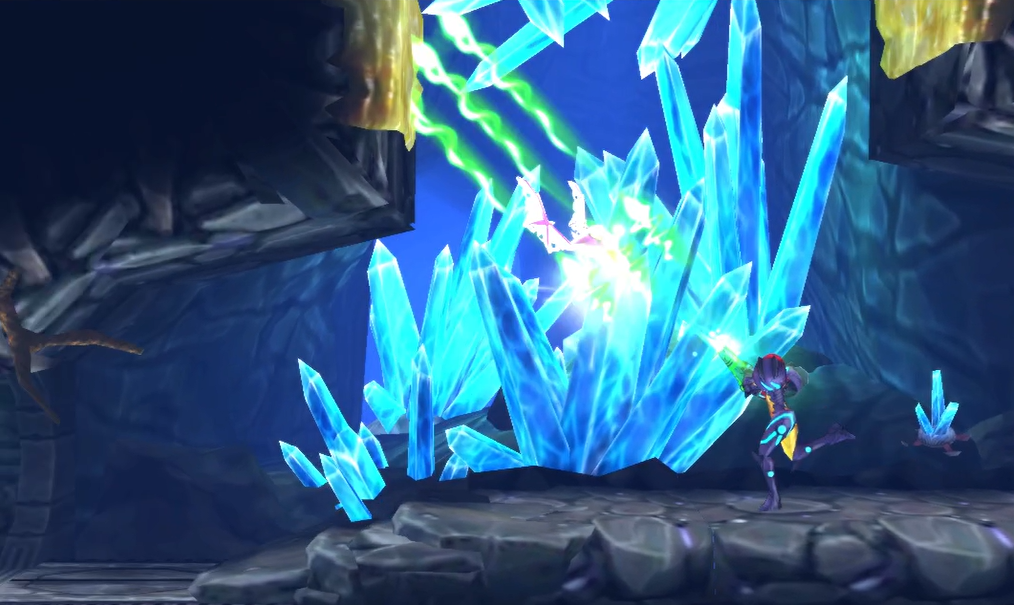
Follow the path, letting the Baby Metroid destroy the crystals along the way, until you get to the point where the floor is covered in red weeds and you see a little spire sticking out of the ceiling that’s surrounded by crystals. Spider Ball it up to the ceiling and let the Baby destroy the crystals; once it’s had its fill, bomb the spire and MISSILE EXPANSION #64 will appear.
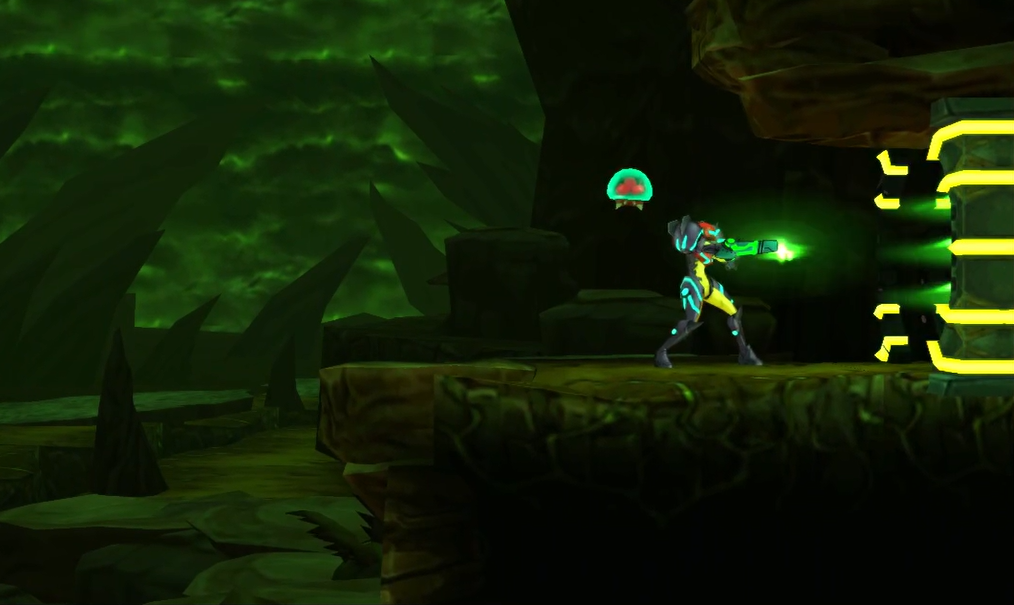
Press forward until you reach an Energy Recharge Station, and then upwards until you hit a Teleportal. We’ll be coming back here in a quick second, but for now, keep heading towards the right. The sun will be setting on SR388 and the night’s dark green clouds are matched in sombreness only by the lightning flickering in the background. Keep pressing forward and use the Save Station, and then enter the Spazer Beam door.
This new room will have a tricky puzzle inside of it! Jump up on the right side and you’ll see a blue Grapple block across from you. Grapple over to it, BUT LET GO of your grapple when you’re in between the orange spikes. As you fall, hug the left side, and you’ll land on a small platform (the right side is pitfall blocks); aim above you and latch onto the blue Grapple block above you and tuck into the Morph Ball tunnel. Use either the Spider Ball on the roof or the Phase Drift to get across the – all together now! – bridge of pitfall blocks and you’ll grab AEION TANK #10!
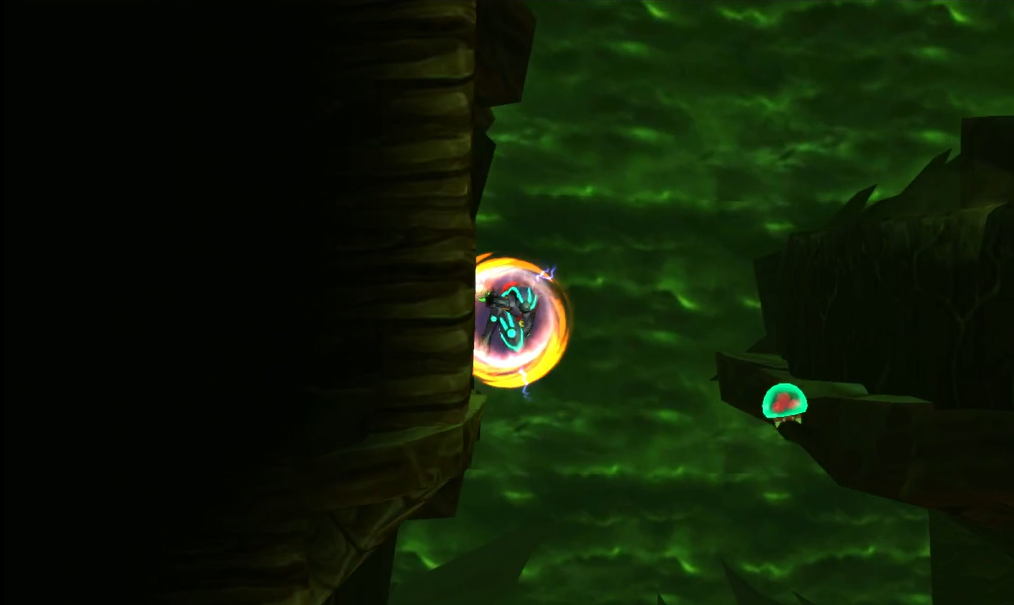
Exit back to the Save Station and then start Space Jumping upwards until you see a little ledge on the left side cliff that’s just big enough for you to stand on. Lay a Power Bomb and a little alcove will now open up with a shaft that will take you down closer to the surface. Jump down, but don’t just fall – every single platform here is a pitfall block! Slowly Space Jump your way to the bottom and on the right side, you’ll see a little nook you can jump into that’s housing SUPER MISSILE EXPANSION #17.
Once you’ve gotten that, head back to the Teleportal from earlier and warp to the east side of the Surface Area.
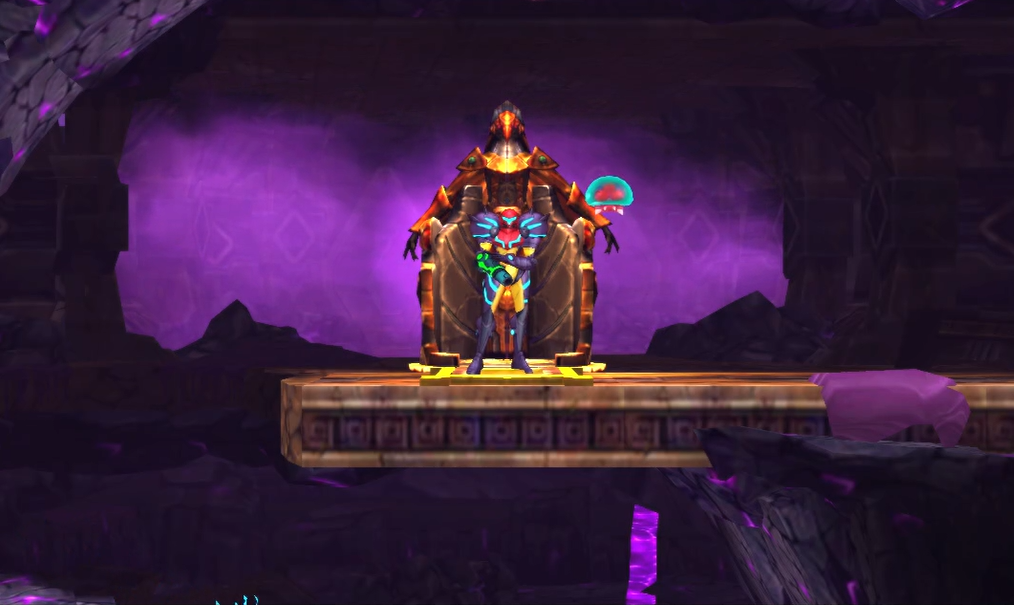
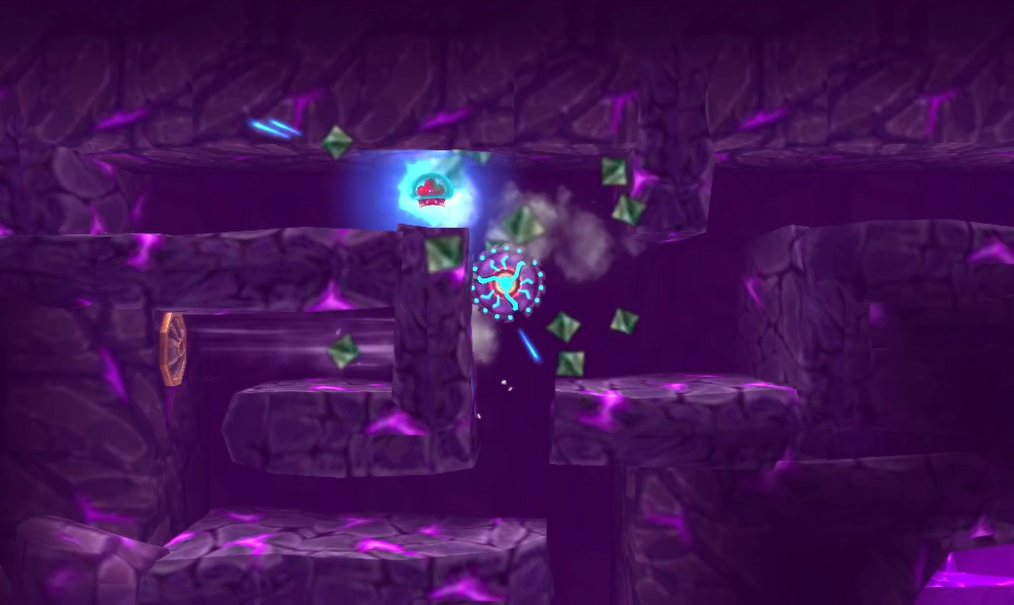
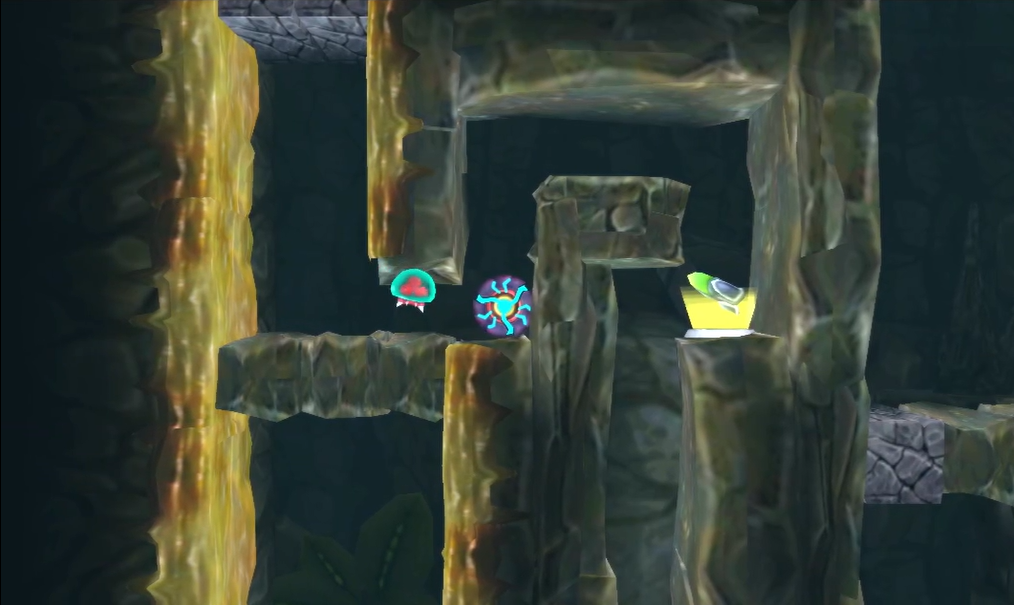
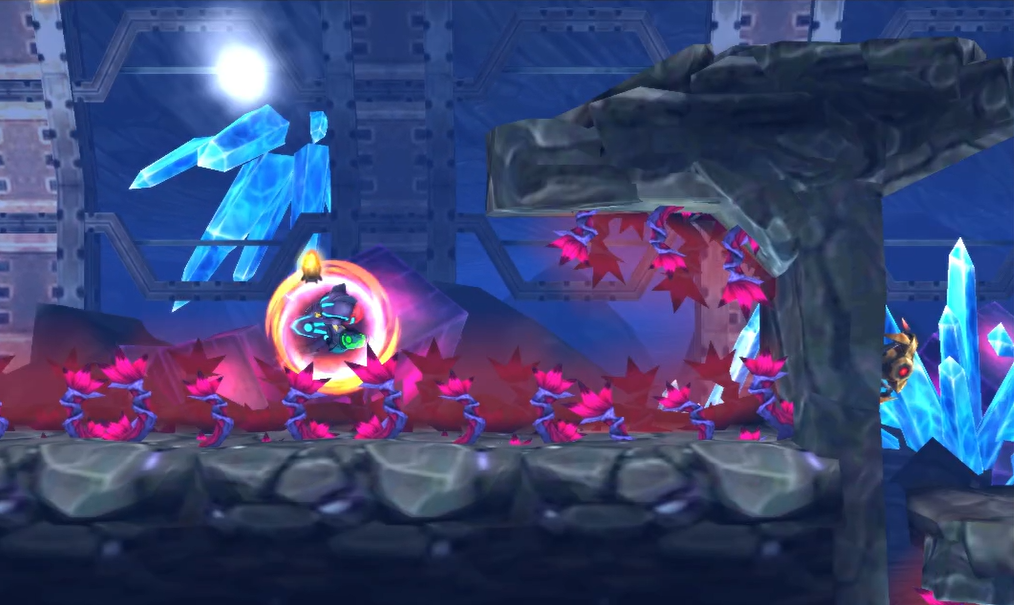
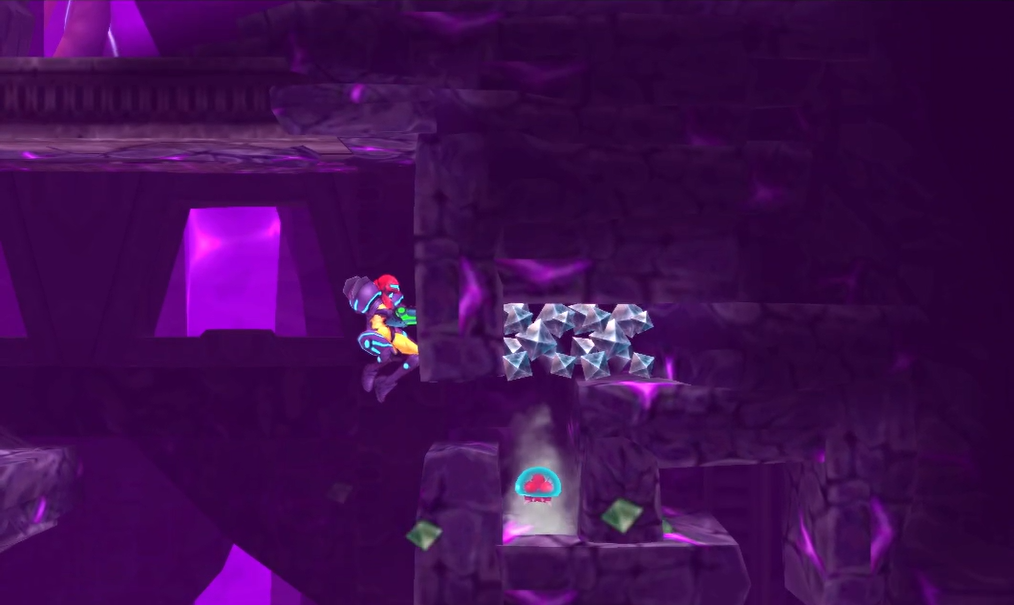
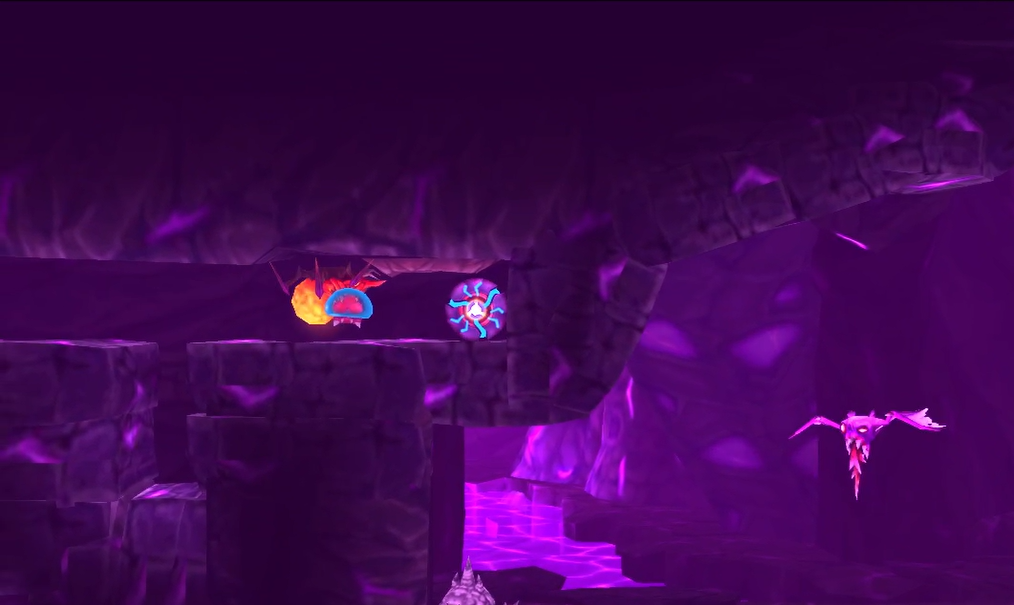
You’ll now be in the purple caverns from the games very beginning! All you need to do is go down towards the elevator and you’ll see a bunch of crystals blocking the entrance to a small nook. Let the Hatchling do its thing and eat them up, and you can go into the nook and grab POWER BOMB EXPANSION #5!
That’s the final item you’ll need from the Surface, so take the elevator to Area 1!
Items In Area 1
Get yourself over to the room you grabbed the Ice Beam in. Bomb the floor and drop down into a little crevice and roll to the left. The Baby will break away the crystals blocking your path, so once it’s done, scoot inside and fire a regular missile at the wall. Doing so will break a missile block that’s hiding SUPER MISSILE EXPANSION #18!
That’ll do it for Area 1, so get back to the Teleportal and then warp to the Teleportal closest to the Chozo Seal in Area 2.
Items In Area 2
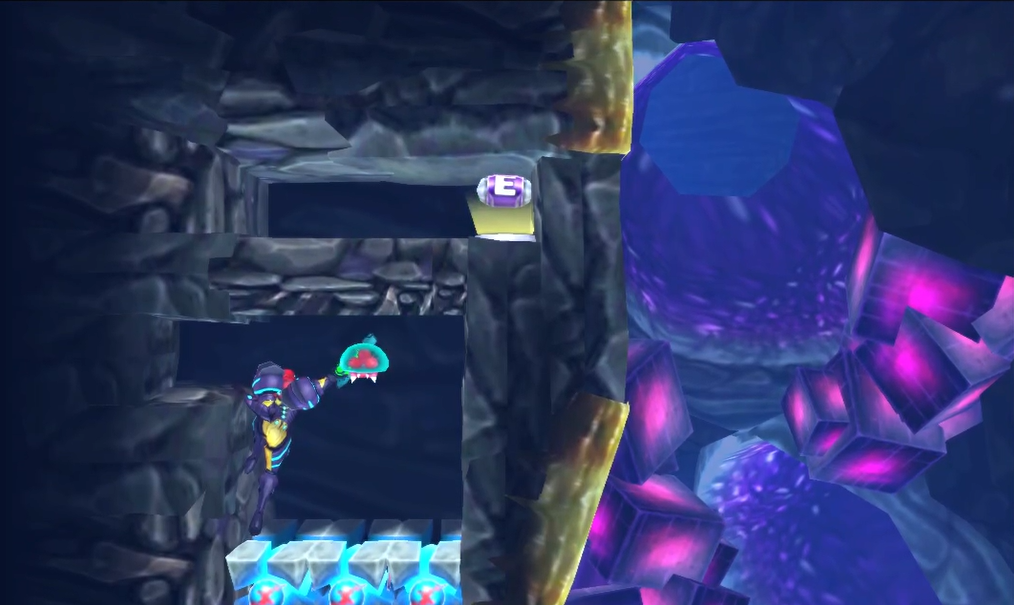
Start off by heading towards the Chozo Seal itself, and then dropping down. Eventually, you’ll see a Morph Ball tunnel on the left that you can roll into. There’s more crystals at the end of the tunnel, so let the Baby Metroid destroy them and then bomb the end of the tunnel. Doing so will reveal POWER BOMB EXPANSION #6.
Head back towards the Teleportal you arrived in and continue forward, making your way up the elevator and into the room with the hydroelectric station in the middle (you fought Arachnus in this general area earlier). Space Jump straight upwards pretty much as soon as you get off the elevator and you’ll find MISSILE EXPANSION #65 tucked away in a little nook in the top right corner.
Next, Space Jump across the cavern and get to the room you fought an Alpha Metroid in earlier in the top left corner. You might remember that there was a green blast shield we couldn’t destroy earlier, but that will pose no problem now! Destroy the shield and enter the next room. Jump up to the top tunnel and slowly and carefully bomb your way down; tuck into the tunnel about halfway down and you’ll be able to grab SUPER MISSILE EXPANSION #19.
Next up, get to the long shaft room on the westside of Area 2 (there’s a hot zone that leads to a Missile Recharge Station in this room if you need a visual reference to use on your map!). Once there, drop down until you see a couple of crystals on the right-side wall. Have the Infant destroy them and then Spider Ball it across the roof the now-opened up area. Lay a bomb and SUPER MISSILE EXPANSION #20 will reveal itself.
Almost directly across from that is a wall that can be broken on the left side (use your Scan Pulse to find it!). Bust in and grapple across using the blue Grapple block and you’ll land directly on top of AEION TANK #11.
Next up, head to the room directly above where you acquired the High Jump Boots (they don’t connect, so take another way; just using this as a landmark!). Go through the Plasma Beam door and get next to the Morph Ball tunnel and the fan. Jump up, lay a Power Bomb, and immediately after fire a missile straight ahead. Quickly roll through the tunnel to grab AEION TANK #12.
Now get yourself back into the room you acquired the Varia Suit in. Directly under the statue is a small opening that you can access using your Screw Attack. Once you’re there, use your Scan Pulse to reveal a block on the floor that you can bomb. Destroy it and SUPER MISSILE EXPANSION #21 will be unearthed.
From here, get into the hot zone that connects to the Varia Suit room (the one that connects to the small room you fought your first Gamma Metroid in, too). Towards the bottom of the hot zone is a yellow blast shield covering a door. Drop a Power Bomb to destroy the shield and then enter the room. Activate your Phase Drift and then run across the pitfall block bridge, Screw Attacking into the first set of blocks in your way. You’ll need to morph down and roll through to pop out on the other side, so quickly, with the Drift still going, un-morph and Screw Attack upwards to grab the ledge above you. Roll over and you can snag POWER BOMB EXPANSION #7.
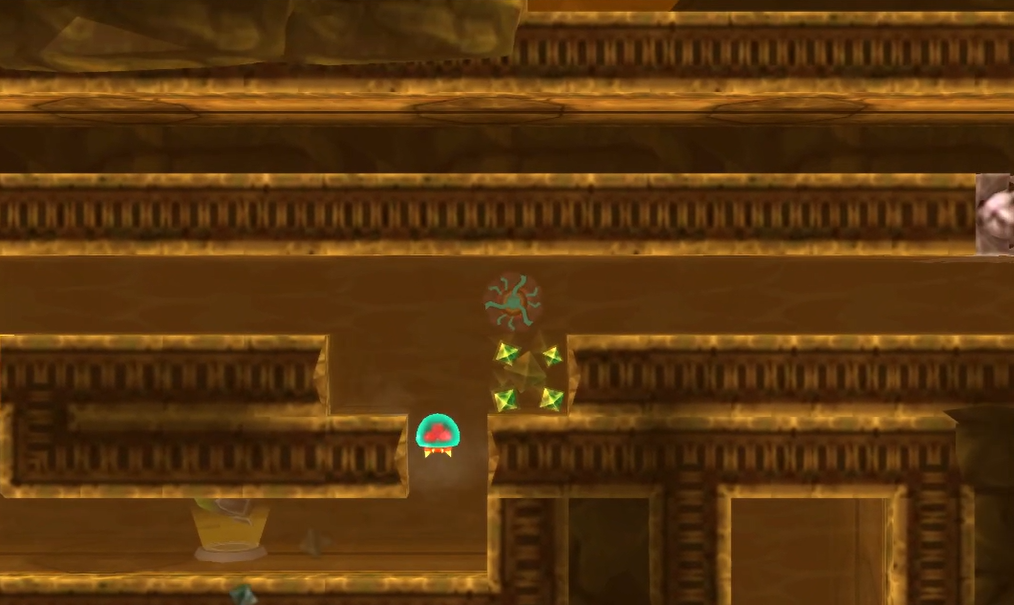
From here, make the long journey to the hot zone in the very bottom left corner of Area 2! Press forward until you reach the Teleportal. Once you’re there, use your Beam Burst to blast away the grey mushroom just above and then jump into the nook it was covering. Lay a bomb and you’ll grab MISSILE EXPANSION #66.
That’s it for Area 2! Step into the Teleportal and warp to Area 3, picking the bottom most Teleportal to begin.
Items In Area 3
There is an absolute ton of stuff to do in Area 3, so buckle up. Just to reiterate, you’ll want to start off at the Teleportal in the lowest point of Area 3.
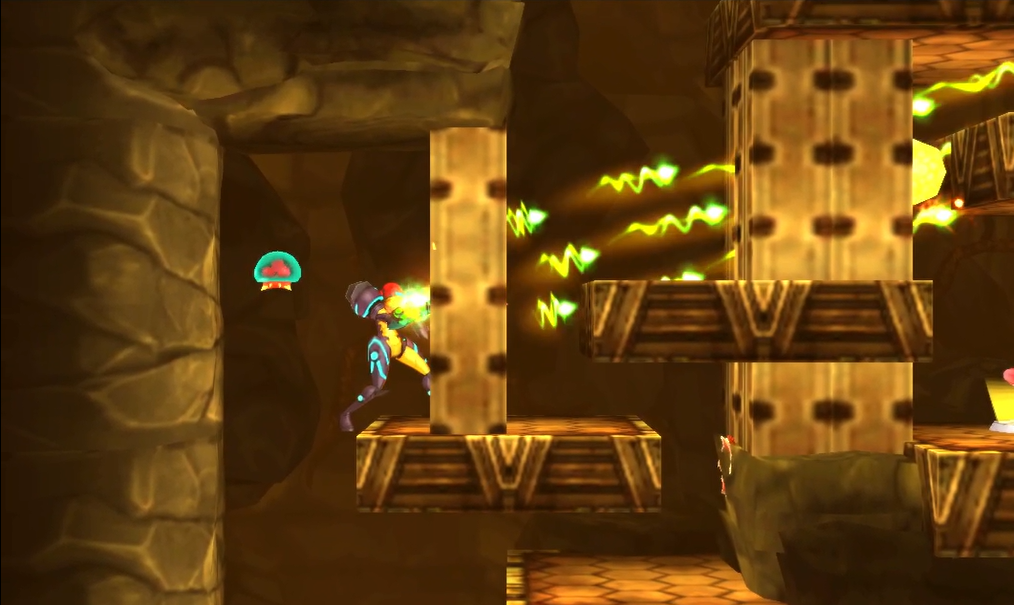
When you’re ready, exit the Teleportal and slip into the long shaft you find yourself in. Drop pretty much to the bottom of the shaft and take the Blast Door on your right. Go through, and you’ll find yourself in another long shaft room; head up about half-way until you see a Morph Ball tunnel on the right wall. Slip through and then either grapple or simply Space Jump upwards in between the yellow-gunk-covered tunnel and blast open the Gigadora with your Spazer Beam. AEION TANK #13 will be waiting for you on the other side!
Make your way back to the Teleportal and keep climbing upwards in the shaft until you reach a few tunnels with two of those annoying indestructible grey mushrooms blocking on your way. Beam Burst their butts into oblivion and slip into the tunnel, going through and landing right bedside MISSILE EXPANSION #67.
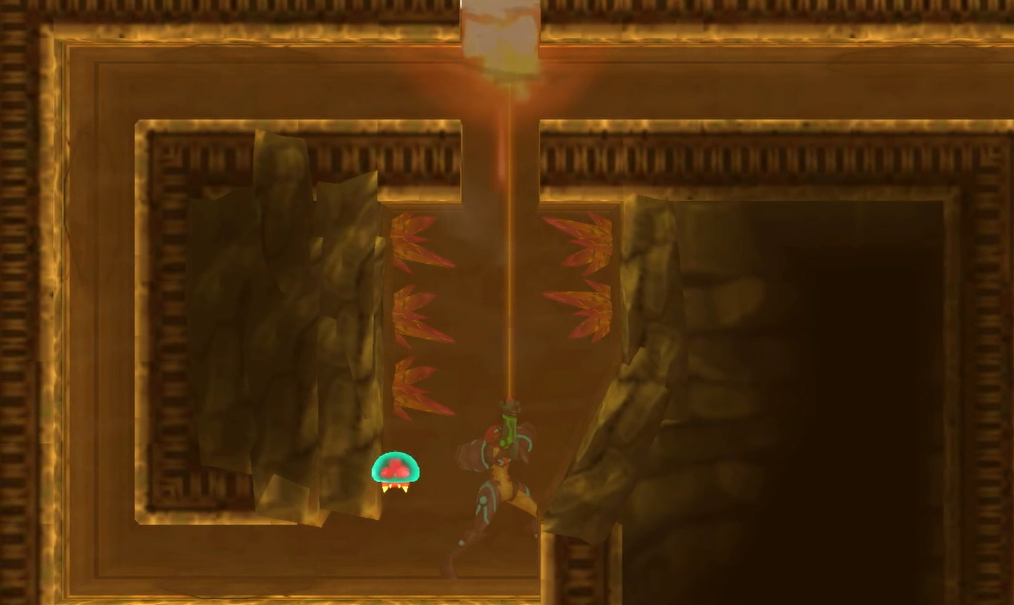
From here, drop down a bit and take the door on the left. In this new room – yet another long shaft – again drop to the very bottom and enter the Morph Ball tunnel in the water. Roll to the right and fall down, then use your Spider Ball to follow the path upwards; You’ll come to a clearing in the center with orange spikes on either side of you; fire two missiles directly above you to destroy some missile blocks and jump straight up to grab the ledge on the right. Now you’ll be able to roll in the tunnel and grab MISSILE EXPANSION #68.
Get out of the water and start climbing the long shaft again, and this time, jump to the very very top! Once you’re at the ceiling, you’ll see a little nook that you can slip into that will land you in a small clearing; lay a bomb in the bottom corner and then slide into the new room. Once you’re in, keep rolling until you can stand in a narrow opening in between yellow gunk covered walls. Fire a missile straight above you, jump up and use your Grapple Beam to pull yourself higher. Grab the ledge on the right, and you’ll be able to roll over and grab MISSILE EXPANSION #69! Nice!
From here, keep following the pathway forward until you come back out at pretty much the top of the long shaft room beside the one you just came from. Leave through the top right door and you’ll find yourself in a room you might remember from before! This room has the bridge of pitfall blocks and a bunch of orange spikes at the top. Now that we have our Phase Drift, this will be no problem-o. Activate the Drift, run across, and fire a missile at the wall directly next to the red Grapple block. You’ll destroy a hidden missile block, which will leave SUPER MISSILE EXPANSION #22 ripe for the taking! Once you’re done, take the upper door and ride the elevator up.
Once you step off the elevator, jump up and go through the door to your left, back to where you fought a Gamma Metroid earlier. Press forward and lay a Power Bomb to destroy the yellow blast shield on the far-left door. Enter the new room and run all the way to the left. There’s a puzzle to be done here, but the Baby Metroid will be your cheat code, so let it destroy the crystals on the left side and then drop down to grab POWER BOMB EXPANSION #8!
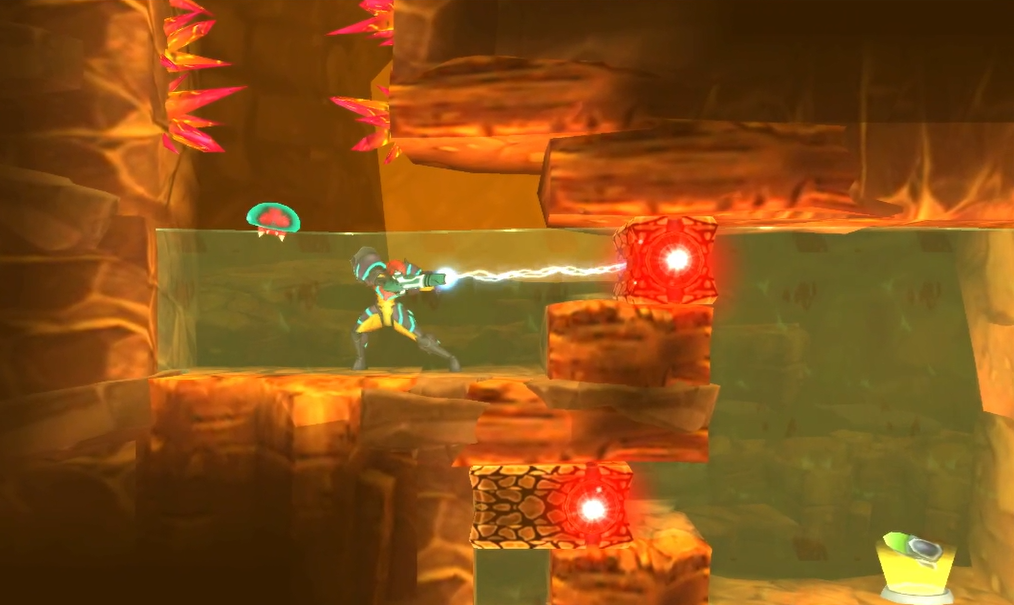
Exit back the elevator and make your way through the submerged door on the right and then into the hot zone. Your Gravity Suit will just allow you to quickly run through lava, so get back to where you fought the Alpha Metroid from earlier, and then press forward from there. Jump into the lava, yank the big Grapple block towards you, and then slip through that opening back into the lava. There’s a little platform up above you, so jump up and use your Scan Pulse to reveal a hidden block on the right wall behind you. Blast it with a Super Missile, and SUPER MISSILE EXPANSION #23 will be yours!

Make your way back towards the elevator that you came from and then navigate to the very top of the room, past where you fought the Gamma Metroid earlier, and go through the door at the top. You’ll be in yet another long shaft room (but this one at least has some cool lava-y stuff going on in the background!); jump up until you see a Morph Ball tunnel in the top right corner. Go through and then blast away the green shield covering the Blast Door; enter this new room and you’ll be greeted with a nice little puzzle to overcome.
There will be a row of regular blocks on the ground that are blocking a tunnel that you need to enter. Shoot them and roll through, jumping up to grab the ledge. Activate your Phase Drift, and then fire your beams straight ahead and then again at the four blocks on the ground; all the regular blocks will be destroyed. Now fire a missile straight ahead through the crack in the wall and you’ll destroy a missile block; now QUICKLY roll out and get through the tunnel before all of the blocks respawn and you’ll grab SUPER MISSILE EXPANSION #24! You don’t have to use the Phase Drift here, but it will help! Check out this video if you need a better visual for what to do.
From here, venture upwards and take the elevator back up to the highest part of Area 3, a room we earlier named the Mining Hall.
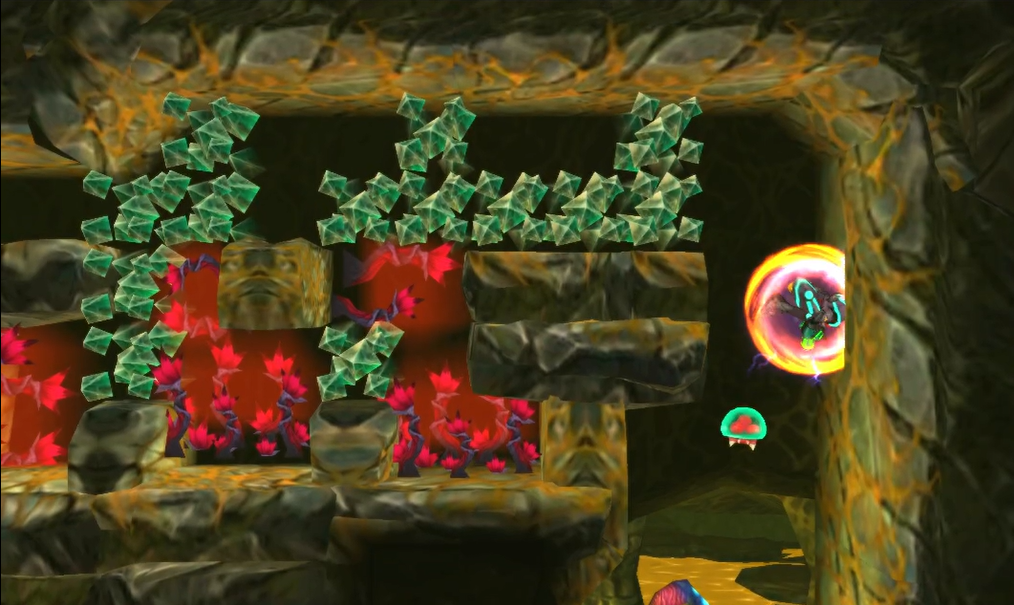
Once you arrive, head towards the right and then drop down all the way towards the Teleportal; about halfway down, you’ll notice a Morph Ball tunnel in the left wall, so slip through. This would have been a lot more intricate without the Baby Metroid, but now that you have the little guy, drop down into the center area of the tunnels and let it munch away at all of the crystals. Take out any enemies blocking your path and continue pressing forward. Let the Baby eat away at the rest of the crystals and then use your Spider Ball to crawl across the roof; you’ll drop down right beside POWER BOMB EXPANSION #9.
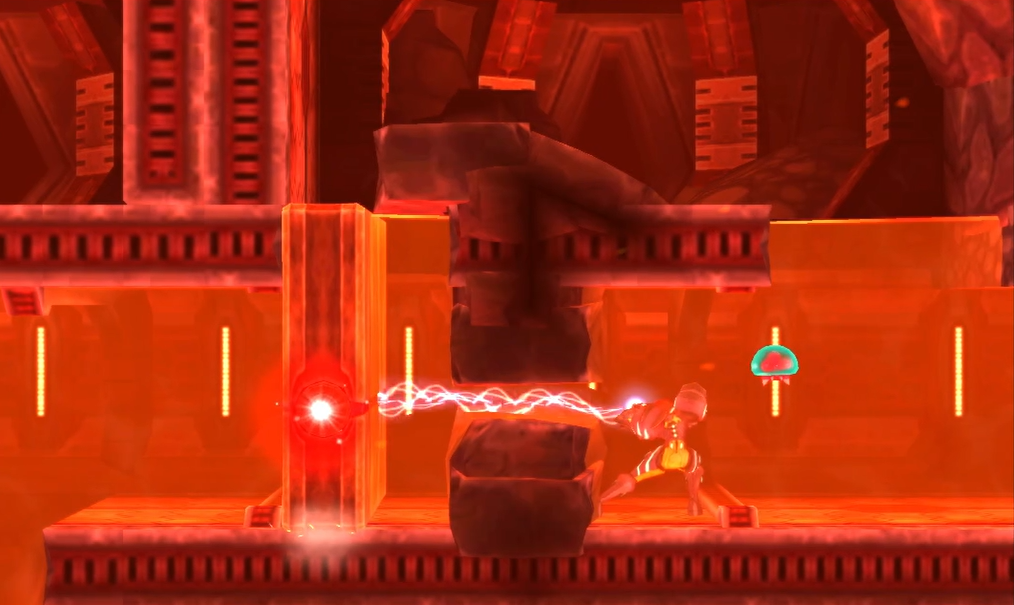
Once you’ve grabbed that, exit back out of the tunnel and continue your descent to the Teleportal. Once you’re there, go through the door on the right. Morph down, equip your Lightning Armor, and then roll into the tunnel that’s covered in red weeds. Drop a Power Bomb at the end to destroy the Power Bomb block, and then POWER BOMB EXPANSION #10 will be yours!

From there, jump up to the very top of the room (mind the orange spikes!) and you’ll see a little alcove in the ceiling being closed off by two blocks. Your Screw Attack will make short work of those blocks, so tear through and jump around until the blocks respawn at the bottom. Land on them without breaking them and then fire a missile at the upper right wall. You’ll see MISSILE EXPANSION #70 reveal itself!
Now, head aaaaaall the way back to the Mining Hall, by the original elevator entrance you took a moment ago. Once you’re there, Space Jump up, up, and up until you’re close to the ceiling. Direct your jumps towards the left and keep jumping for what feels like forever – this room is pretty dang massive. Eventually, on the furthest leftmost portion of the room, you’ll see a little nook in the top corner that MISSILE EXPANSION #71 is sitting in. No gimmicks, no tricks, just a long jump to get it.
We have one final expansion to grab in Area 3, and it’s the most inconvenient and out of the way one, so let’s get to it.
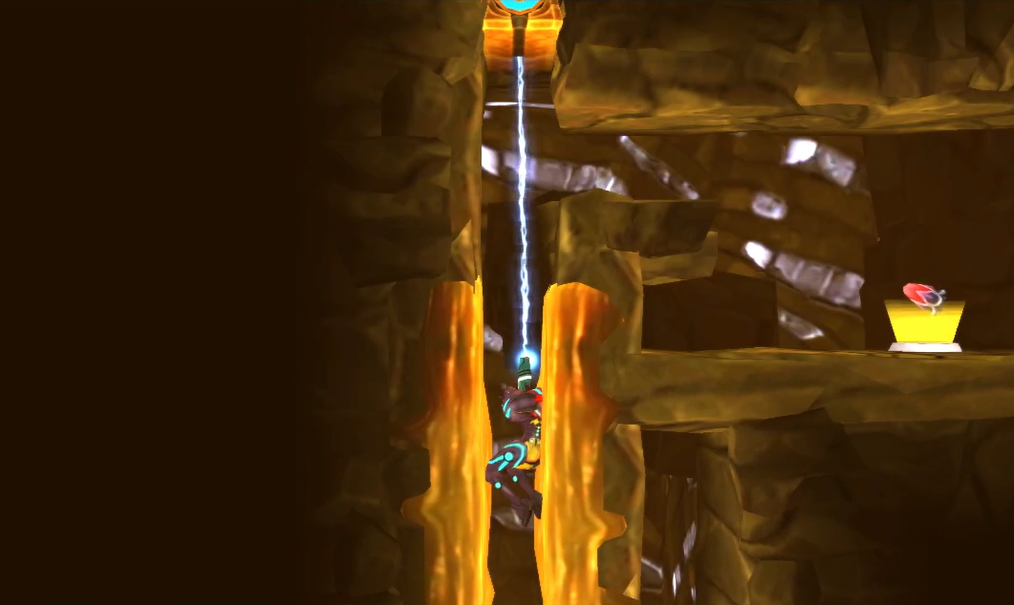
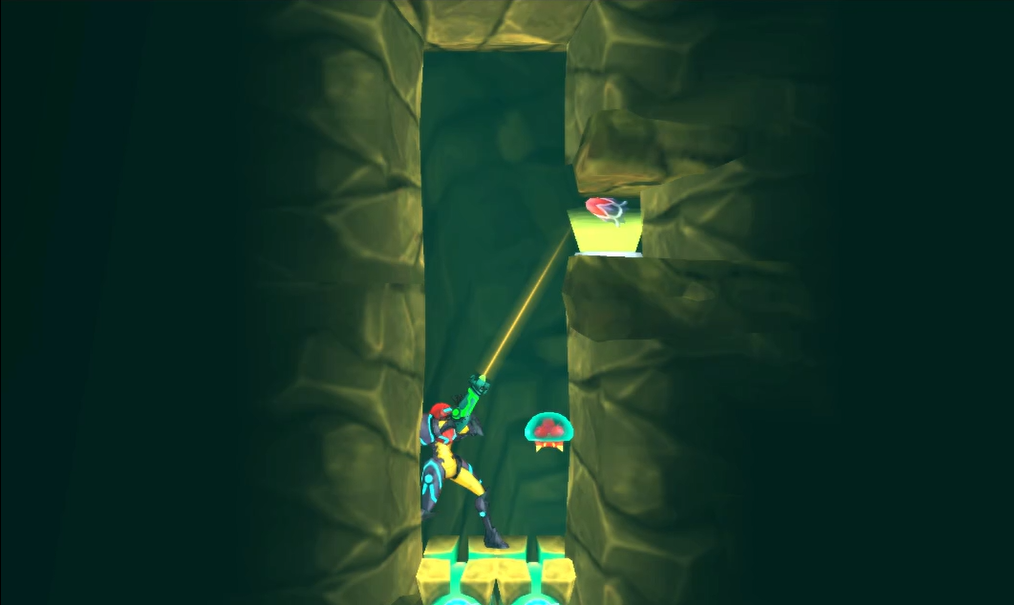
From the Mining Hall, get yourself through the lower left door and the Missile Recharge Station. Take the elevator in that room down into the lower part of Area 3. You’ll be in another large shaft, so drop down to the very bottom by the Save Station. Once you’re there, roll into the water underneath it and jump to the high right-side ledge. Drop a bomb in the tunnel and you’ll see a Super Missile block in the wall; destroy it and slip into the new room.
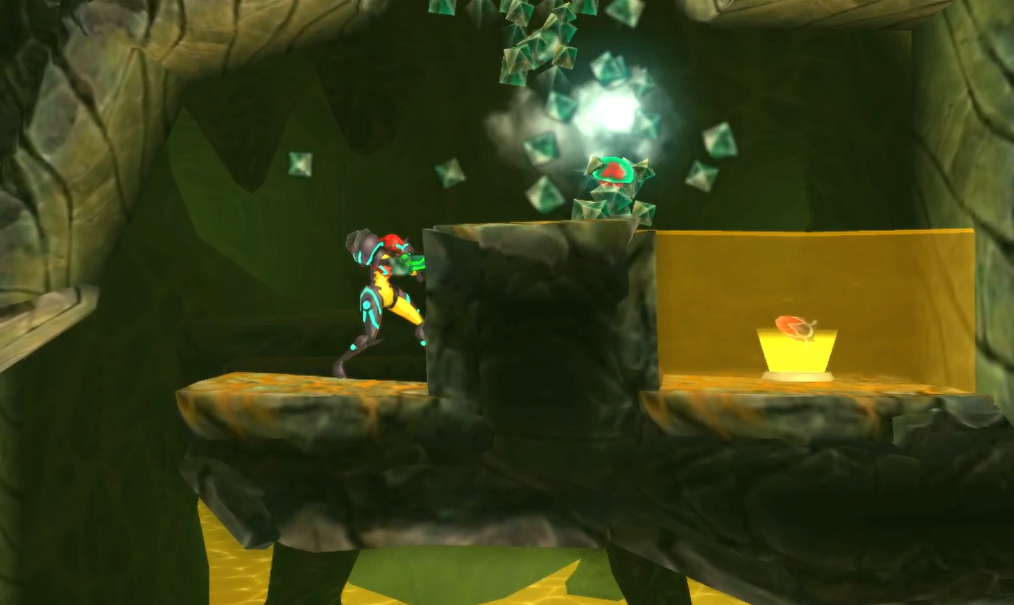
From here, jump up the ledge and then slip into the Morph Ball tunnels; again, there is a more intricate puzzle involved here, but since you’re coming back with the Baby Metroid, this will be nice and easy. Get to the topmost tunnel, the one not in water, and roll to the right. Drop down through the pitfall blocks and let the Baby eat away the crystals. Roll through the tunnel to grab SUPER MISSILE EXPANSION #25!
With this mammoth area finally done, make your way to your Teleportal of choice and warp to Area 4, choosing the Teleportal on the westside to start with.
Items In Area 4
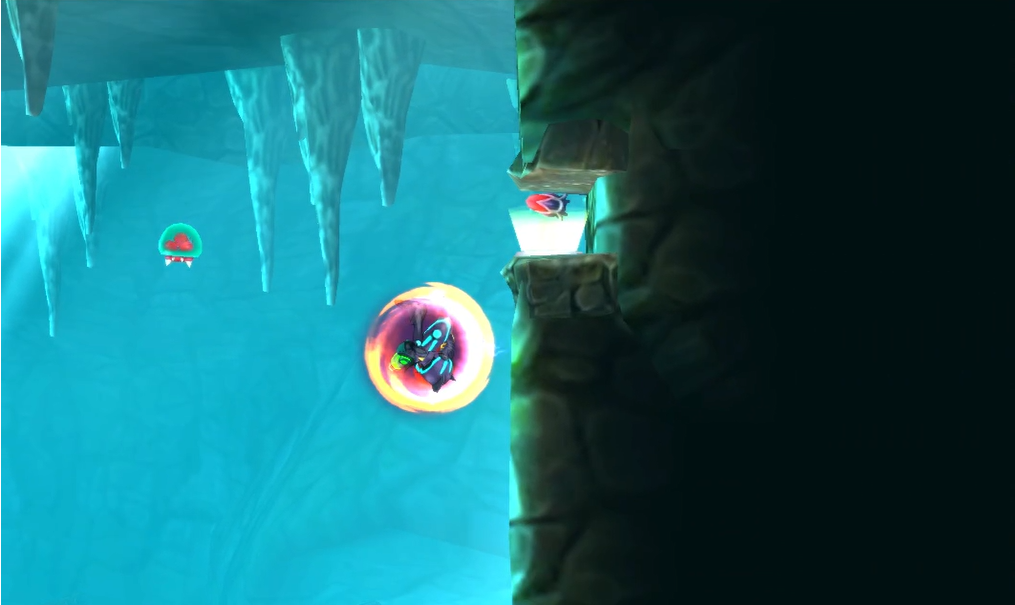
On to Area 4 we go! The crystal caverns won’t have quite as many pickups as the last area, but it will have enough to keep us busy. Make sure you start off at the Teleportal on the west side of Area 4 and let’s get to work.
To start, exit into the purple acid caverns that has the Chozo Seal in it. Right after you exit the door, you’ll see a gap in the roof where you can jump up. Space Jump to the top and blast away the Spazer Door on the left. Walk through and MISSILE EXPANSION #72 will be sitting there right for the taking!
From here, drop down into the same room you just came from and make your way all the way to the top of the room, taking the door on the top right. You’ll see a pitfall block bridge; jump across and there will be the smallest ledge you’ve ever seen that you can grab on, which is right underneath a bunch of orange spikes. Grab the ledge and then use your Grapple Beam to pull yourself up in between the spikes. Grab the upper ledge on your right and you can claim SUPER MISSILE EXPANSION #26!
Next, head to the room on your map that’s directly above the hot zone on the west side of Area 4 – you can’t actually access the room from the hot zone, keep in mind, but use it as a good point of reference. The actual room you can grab this missile in connects to where you chased the Gamma Metroid earlier, so make your way there and bomb the floor to drop down to a little alcove. Use your Scan Pulse and you’ll see a blocking glowing inside of a nook. Grab the opposite ledge, fire a missile into the nook to destroy the missile block, and you’ll see MISSILE EXPANSION #73 reveal itself.
Now make the long trip of the eastside of Area 4, specifically, to where the Diggernaut chased you earlier – you might remember there were a bunch of expansions we skipped over!
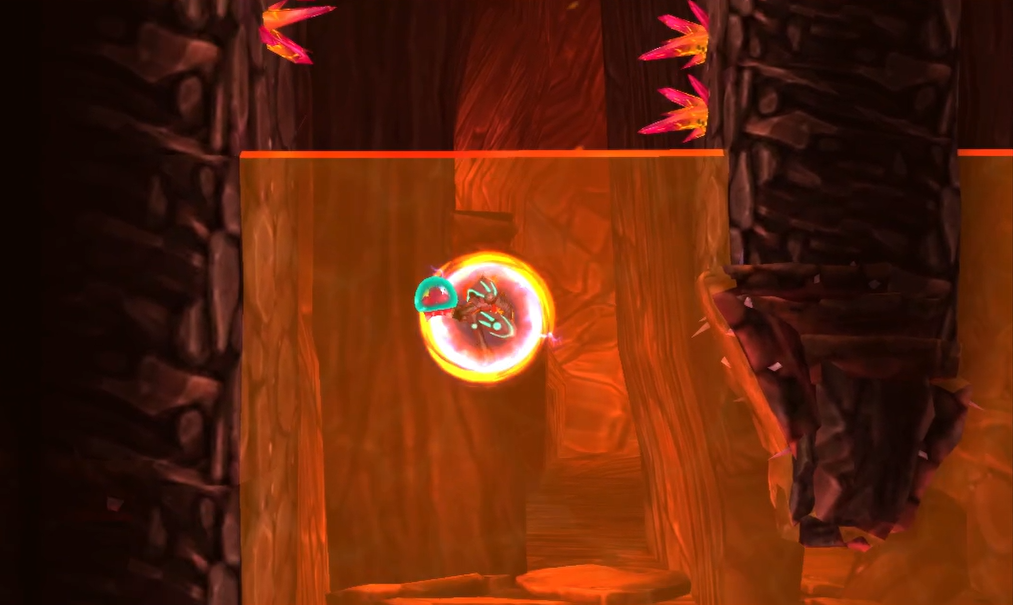
Starting off from the first level of the chase, press forwards about halfway in and you’ll see some crystals that the Baby Metroid can eat up. Once they are destroyed, MISSILE EXPANSION #74 will be yours! If you wanted to, this expansion is also available from the lower level too, you just need to follow a Morph Ball tunnel. Easy peasy!
Drop down to the second level of the chase scene and head towards the right. You’ll come across a small tunnel submerged in water covered in red weeds that’s under the main walkway. Use your Scan Pulse, activate your Lightning Armor and lay some bombs to gain entry into the tunnel – AEION TANK #14 will be waiting for you there!
From here, head left, towards the Missile Recharge Station. You’ll eventually see a self contained alcove with two fans blowing downwards and some small platforms and blocks inside. Enter the alcove and lay a Power Bomb, destroying all of the blocks, letting you jump up and grab MISSILE EXPANSION #75.
Go to the lowest level of the Diggernaut chase sequence now and get to about the halfway point – you should be able to see this expansion in plain sight. Lay a bomb on the floor and you’ll be able to slip into the small submerged tunnel to grab MISSILE EXPANSION #76. Once you’re done, make your way back up to the Teleportal.
From the Teleportal on the eastside of Area 4, drop down a bit and head to your right. You’ll see a door with a Morph Ball tunnel right above it. Activate your Phase Drift and shoot the door open; quickly, roll through the tunnel and into the other room, where the one sided door should still be open (using the Baby Metroid to munch away the crystals in the Morph Ball tunnel works too!). Fire a missile directly at the wall once you go through the door and you’ll see SUPER MISSILE EXPANSION #27!
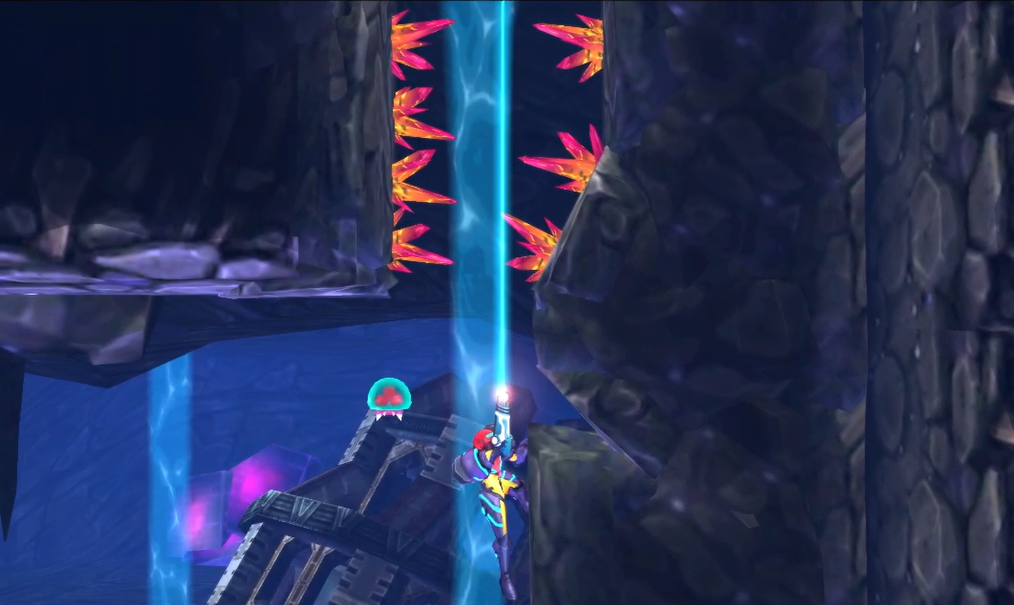
Now jump up to the Save Station and almost right above it, you’ll see a Morph Ball tunnel that has a Power Bomb block at the end. Destroy it and enter the new room. Press forward a bit and you’ll see that you’re submerged in water with platforms above you covered in those dastardly orange spikes. Simply jump up (mind the spikes!) and grab the right-side ledge and roll over. Get on the wall and perform a Spiderspark, which will shoot you right into the red Grapple block, and more importantly, POWER BOMB EXPANSION #11!
From here, exit back out to the Save Station and then jump up all the way to the hot zone and enter it. Drop down into the lava and the Space Jump up in between the spikes and you’ll see MISSILE EXPANSION #77 sitting on a ledge! Grab it and exit through the door.
Once you’re on the other side of the hot zone, slip through the Morph Ball tunnel and drop down a bit; you’ll see a couple of blocks on your left, right on the other side of some nice yellow gunk, that you’ll want to Screw Attack through. Grab the ledge and pull yourself up into the nook and wait for the Screw Attack blocks to respawn. Once they have, roll down and jump up to lay some bombs, which will break the blocks that are guarding ENERGY TANK #10! Congrats – that’s every Energy Tank in the game! A reminder that if you have the Samus Returns amiibo, you can scan it to get a few reserve Energy Tanks on top of this.
That’ll do it for Area 4, so make your way back to the Teleportal and then warp to Area 5 – you’ll want the one nearest to the elevator connecting Area 4 and 5. See you there!
Items In Area 5
Once you’ve gotten yourself to Area 5, head over to the Chozo Seal. On the platform right below it, you’ll see some crystals blocking entry to a tunnel with fans, Grapple blocks, and orange spikes. The idea was to Spiderspark your way up here, but let’s work smarter instead of harder! Let the Baby eat away the crystals and then slip into the tunnel. Lay a bomb and POWER BOMB EXPANSION #12 will reveal itself!
Warp or walk over to the Teleportal on the lower westside of Area 5; jump up and head right a bit and you’ll see some red weeds and crystals blocking a pathway. Slap your Lightning Armor on and let the Baby Metroid break the crystals, and then press through where you’ll see POWER BOMB EXPANSION #13 sitting in a tranquil little meadow. Grab it and go back to the Teleportal, this time, warping to the middle-centre point of Area 5.
Once you’ve arrived, there will conveniently be a bunch of crystals directly underneath the Teleportal that the Baby can deal with, letting you grab MISSILE EXPANSION #78.
From here, drop down and exit the Teleportal room to your left. Work your way to the very top of this next room and exit from the top right door. You’ll be in the small elevator room that you might remember had a tunnel tucked away in the top right that housed a pitfall bridge and a couple of expansions earlier. Work your way to where you grabbed Super Missile Expansion #6 earlier and a Power Bomb to destroy the yellow blast shield. Walk into the new room and you’ll see POWER BOMB EXPANSION #14 sitting there for the taking!
Now make your way into Area 5’s humongous Atrium room we explored earlier. Jump to the top and then drop down into the door in inside the middle structure – this will lead you to the room you grabbed Energy Tank #6 in earlier. Drop down to where the blue Grapple block is and use your Spider Ball to position yourself directly attached to it. Spiderspark and you’ll go flying between the orange spikes and crash land in front of POWER BOMB EXPANSION #15!
Exit back into the Atrium and then jump up and over, dropping down on the right side. About halfway down, pretty close to the Missile Recharge Station, you’ll see another door with a yellow shield on it. Blast it away with a Power Bomb and enter the new room. You can either charge up your Lightning Armor and roll through the weeds and navigate the blocks there, or you can slip into the lower tunnel and roll towards the right, letting the Baby Metroid eat the crystals blocking the tunnel’s exit. Either way, you’ll pop right out with AEION TANK #15 awaiting you! Excellent – your Aeion gauge is now maxed out!
That’s a wrap for Area 5! Find your nearest Teleportal and head to the lowermost warp point in Area 6.
Items In Area 6
Almost done! There are only a few expansions scattered in the last few areas, so let’s do this!
Once you’re ready, exit the Teleportal room and make your way to the Missile Recharge Station in the bottom corner of Area 6’s lower half. You should be able to see the expansion that you need, but it’s behind a wall, so jump upwards and eventually you’ll see a tunnel behind some bombable blocks. Destroy them and roll inside; there will be a fan blowing downwards, so drop a Power Bomb next to it and roll through the opening. Destroy the red Grapple block and then drop down the tunnel.
This next sequence is pretty tricky, so you might want to watch the video, but essentially, you’ll want to use the Spider Ball to lay a bomb on the left wall, grab the ledge and shoot the missile block behind it, and then roll through before both blocks respawn. Next, you’ll want to drop down and Screw Attack up to a higher tunnel. Either activate your Phase Drift or use your Spider Ball to carefully roll through the tunnel. Fall down the pitfall blocks TWICE, and then quickly roll over before the third pitfall block gives away. If you did all of that right, you should be beside SUPER MISSILE EXPANSION #28.
Make the long trek to the very top left corner of Area 6 – you’ll be in the orange room with the giant skeletons in the background. Jump to the very top of the room and then you’ll see a bunch of Screw Attack blocks to your left; destroy them and then drop into the water, bombing the left wall to open up a tunnel. Slip through, run to the far end of the room and lay a bomb on the floor (use your Scan Pulse if you need to!). Drop down and use your Spider Ball to position yourself on the end of the nook that’s sticking out. Spiderspark and you’ll go barreling straight into the far wall, where you can drop down, destroy a red Grapple block and grab SUPER MISSILE EXPANSION #29.
Exit back into the main part of this same room and take the top right door. As soon as you enter the new room, you’ll see a yellow shield covering a door, so drop a Power Bomb and go through. This new room has a puzzle with some Glow Flies and a red Grapple block; destroy the block without getting zapped by those accursed bugs, and then you’ll be able to follow the tunnel to POWER BOMB EXPANSION #16. Booyah – that’s every Power Bomb Expansion in the game!
Next up, you’ll want to head to the room that the rightmost Chozo Seal is in, in the very top right corner (you’ll get there by going through the room Energy Tank #7 was in). Once you’re there, drop down and follow the path until you see a bunch of crystals that the Baby Metroid can destroy. Let it eat away, and use your Scan Pulse to find some blocks that you can bomb to enter the tunnels. There will be Glow Flies here, so watch out.
Follow the tunnel up until you pop out on the right side; yank the Grapple block over and then reenter the tunnel. Work your way towards the left side now, slipping through the new opening and grading up. Destroy the red Grapple block using a crack in the wall and then exit the tunnels altogether on the left side. Pop up and yank that Grapple block back towards you. One last time, enter the tunnel and follow it all the way up, avoiding the Glow Flies as best as you can, until you reach the top, where SUPER MISSILE EXPANSION #30 awaits you!
That’ll do it for Area 6, so take the Teleportal and warp to either Teleportal in Area 7!
Items In Area 7
So close we can taste it! The next two areas have only a few expansions each, so let’s do this fast!
Get yourself to the Chozo Seal and then head towards the right. Drop down in the purple caves until you reach the Save Station; from there, head right some more and you’ll see some crystals. Destroy them and then slip into the tunnel. Chip away at a few more crystals, use your Scan Pulse to see a hidden bombable block in the lower corner of this hidden alcove, and then slip through that tunnel until you’re face to face with MISSILE EXPANSION #79!
That’s actually it for Area 7, so get back to the Teleportal and warp to the lower point in Area 8!
Items In Area 8
Once you land in the Teleportal in the lower half of Area 8, make your way upwards and go through the top right door. Run to the right side of this room and jump up until you see a ton of crystals and red weeds blocking a Morph Ball tunnel. Let the Baby Metroid eat away at all the crystals and after it’s done, roll over and grab SUPER MISSILE EXPANSION #31. Great work – that’s the final Super Missile expansion!
In this same room, keep pressing forward until you exit the door on the top left. Press forward in this room and keep climbing up; eventually in the very top of the pathway, just before the doorway that takes you to the Nest Chamber, you’ll see some crystals and an Autrack; destroy the annoying machine and then jump up, destroying the crystals. Here, submerged in liquid Aeion, you’ll see the final expansion of Metroid: Samus Returns – MISSILE EXPANSION #80!
Congratulations! You’ve acquired 100% items in the game, ensuring that you unlock the secret Chozo Memory (Spoilers!!!). Now all that’s left to do is leave the planet. Pick your preferred Teleportal and warp back to the dark green skies of the Surface Area and make your way towards your ship…
Proteus Ridley
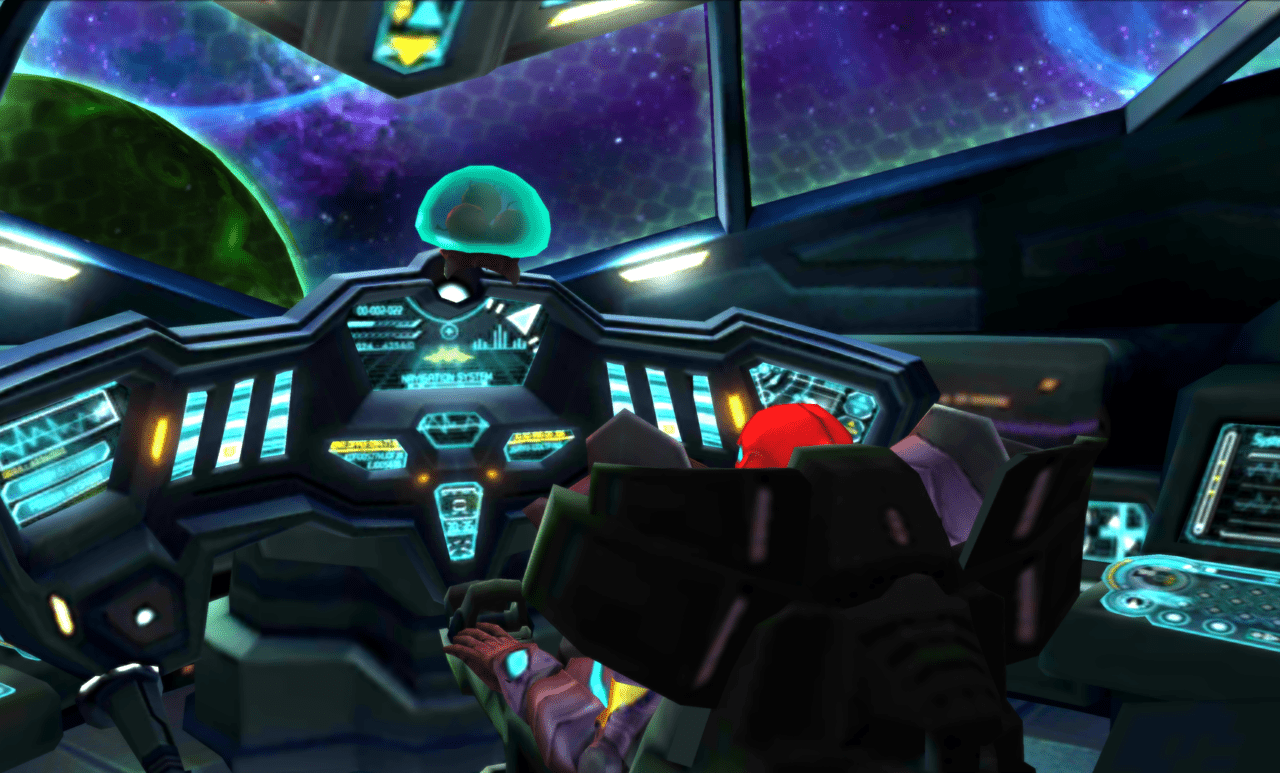
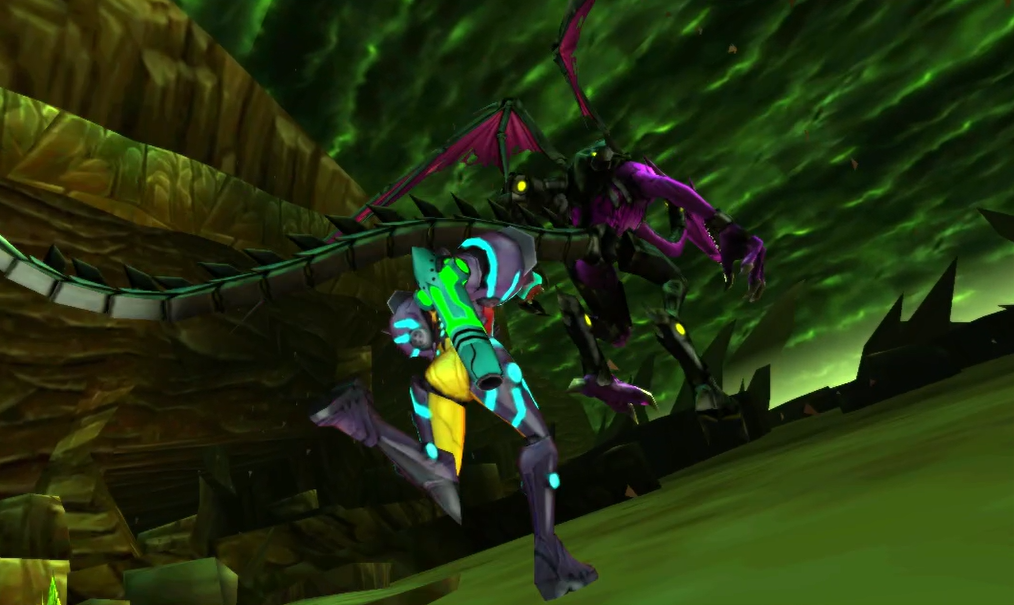
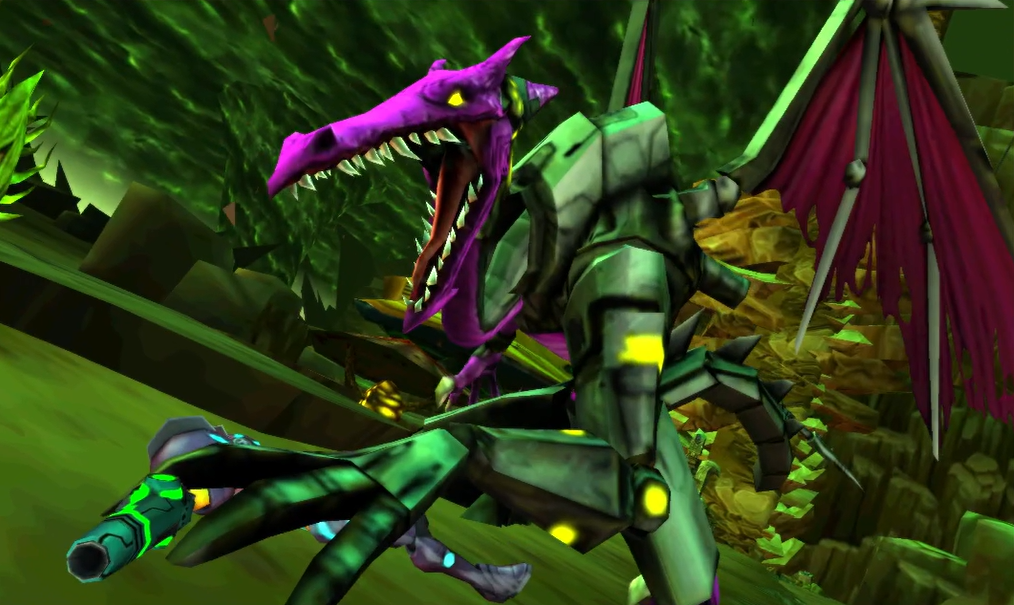
As if the dark, foreboding music and imagery wasn’t enough to tip you off that something foul might be afoot, as you get towards your Gunship, a cutscene will start to play. Samus will open her ship and the Baby Metroid will fly towards it, only to be intercepted by an old foe – Ridley!
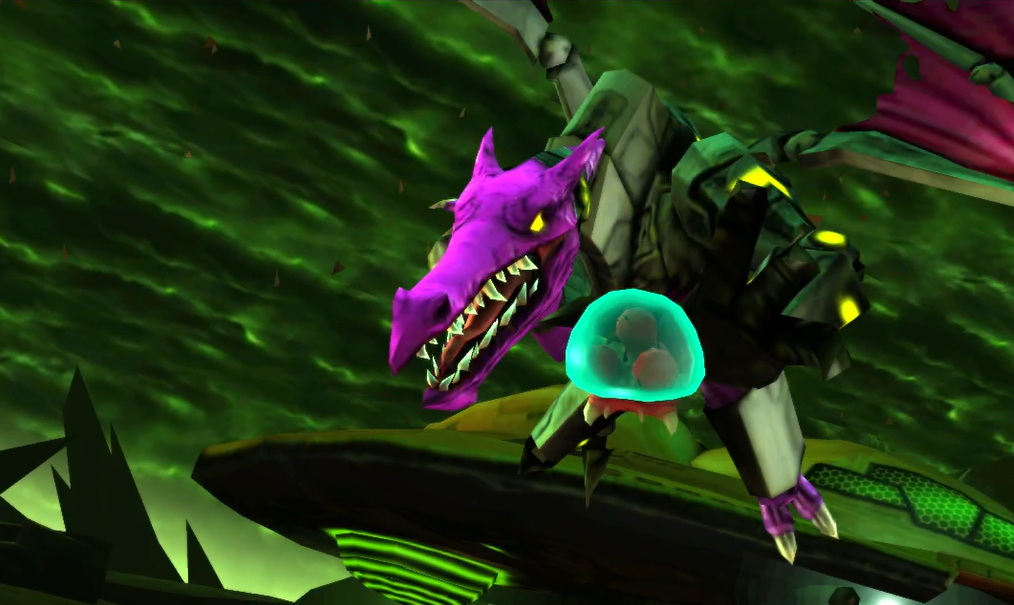
This isn’t just any version of Ridley, though – this is Proteus Ridley, an amalgamation of the classic version of the Space Dragon we know and the Meta version the Prime series introduced. Ridley will grab a hold of the Baby, meaning our final mission is clear: rescue the Baby and annihilate Ridley!
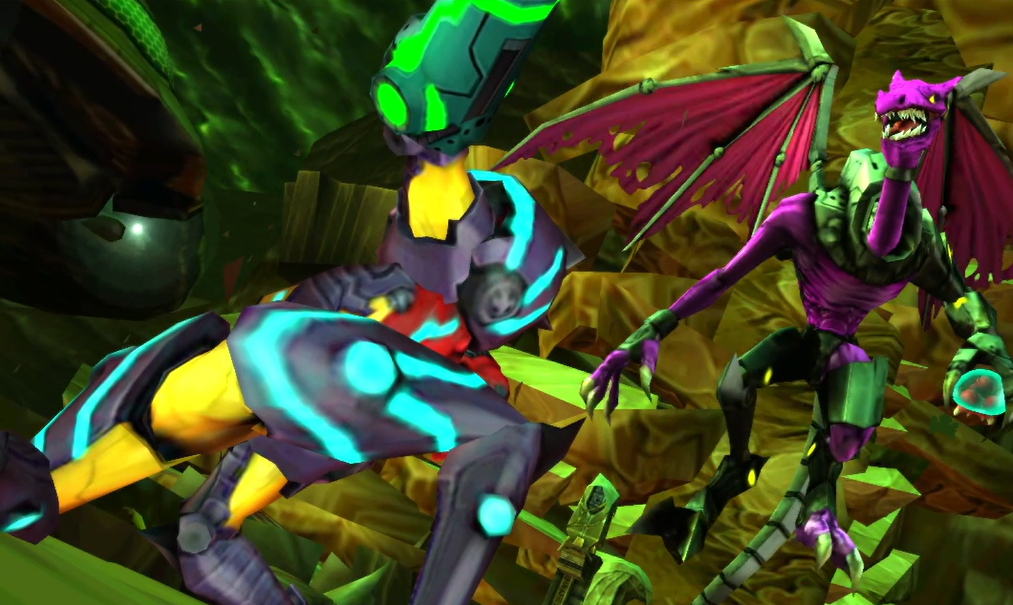
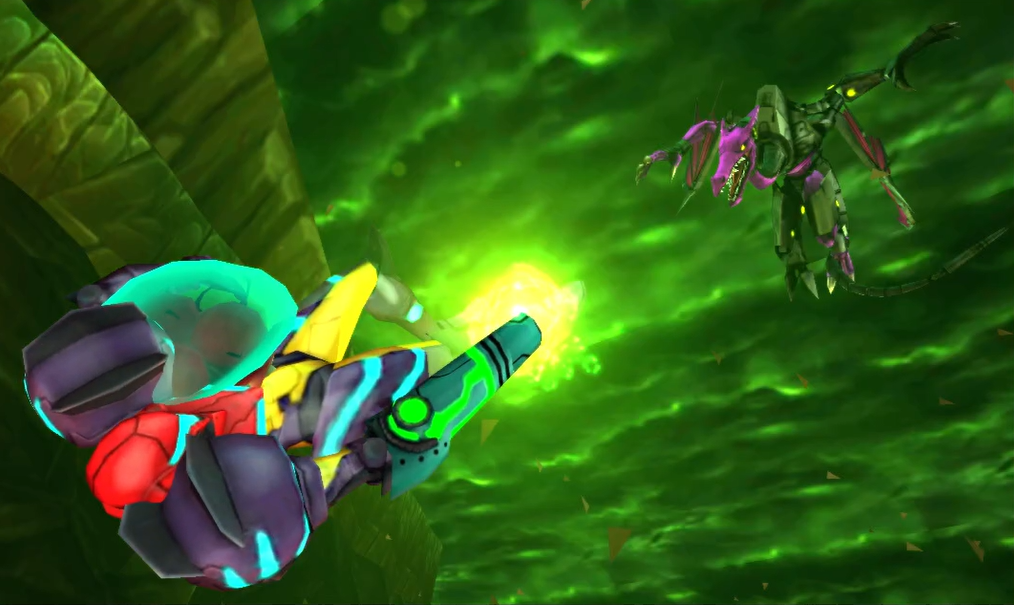
The first phase of the fight will begin right away, and the nice thing about Ridley is that in almost all of his various fights across the Metroid series, you don’t need to do anything special to damage him – just fire beams, missiles, whatever at his chest and head and he will take damage; thankfully, this encounter is no different. That being said, regular missiles will be ineffective and he can take a LOT of damage, but that’s what we went and got every item in the game for, right? The only place you’ll want to avoid shooting is Ridley’s tail, as it’s indestructible. Avoid the legs too, as that almost never hits right. Concentrate fire on the chest and head every chance you get.
Ridley will come in hot with his attacks, whipping his tail around like crazy. This hurts a ton, so do your best to avoid it. The Space Dragon will also shoot out a series of five fireballs that can’t be destroyed or Screw Attacked through, so make sure to avoid those as well. Don’t get too close to the wall, or Proteus will use melee attacks, which needless to say don’t feel too nice.
That’s pretty much it for phase one to be honest, so keep firing away at Ridley’s chest. As a general rule, use your Beam Burst before using missiles, since after every phase you’ll get a nice Aeion refill. As an added bonus, after each phase, you’ll get an absolutely killer cutscene of Samus and Ridley duking it out!
Once you’ve stunned Ridley, he will drop the Baby Metroid and square back up. The Baby will float over to your ship, so with its safety secured, let’s get started with phase two!
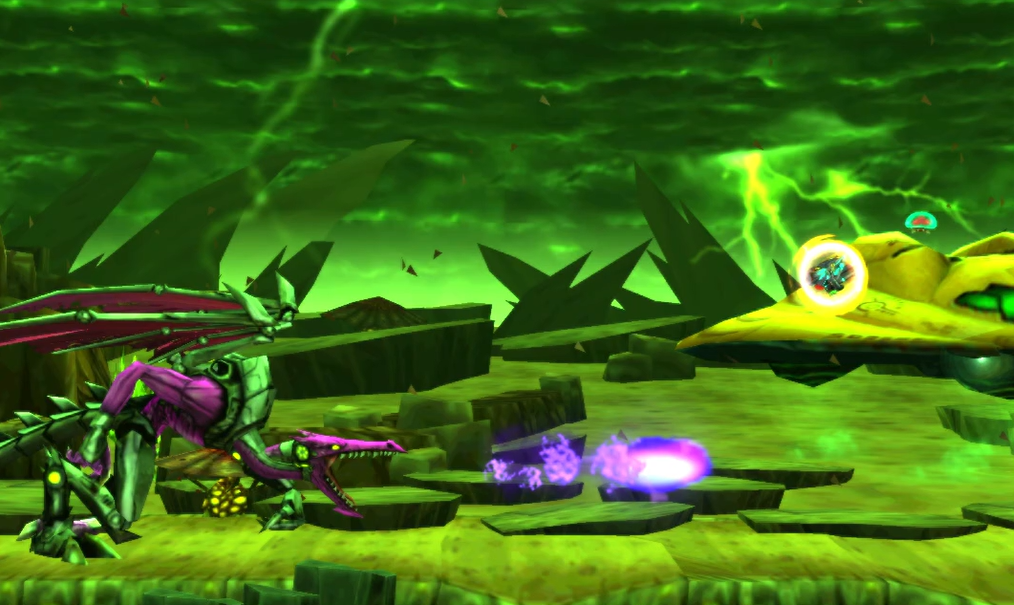
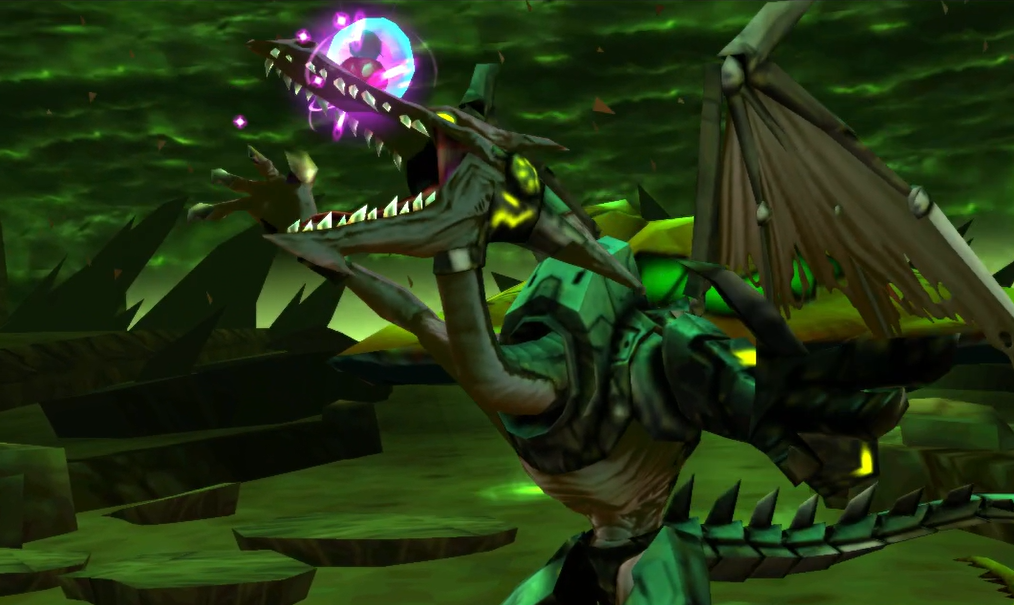
The Space Pirate enforcer will be more grounded this phase, so keep firing at the Space Dragon’s head to damage him and watch out for some new attacks. One in particular to avoid is Ridley’s fireball, this time, shooting straight at you one at a time bullet style. These are easy enough to avoid, but just watch out, as Ridley likes to fire a few in a row.
The far more devastating attack will be Ridley’s claw lunge. Anytime you see him raise his arm behind his back, get out of dodge as quick as you can, because a second later, Ridley will swipe that arm at you and lunge forward a bit; this is usually done a few times in a row, too. Avoid this at all costs, because one hit is going to knock off a full Energy Tank, and if he gets you with a striking combo, that could very well be game over.
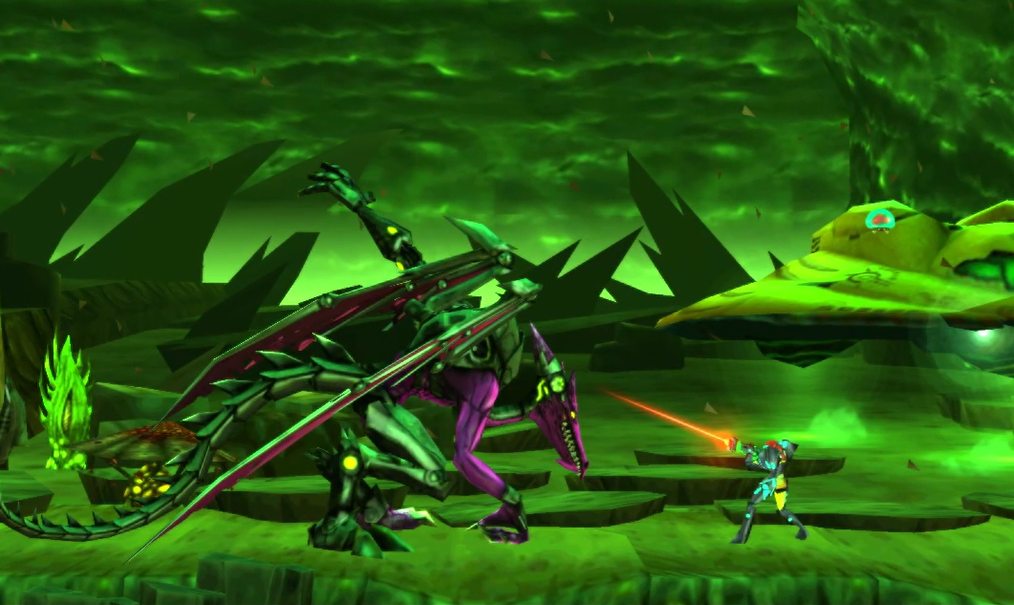
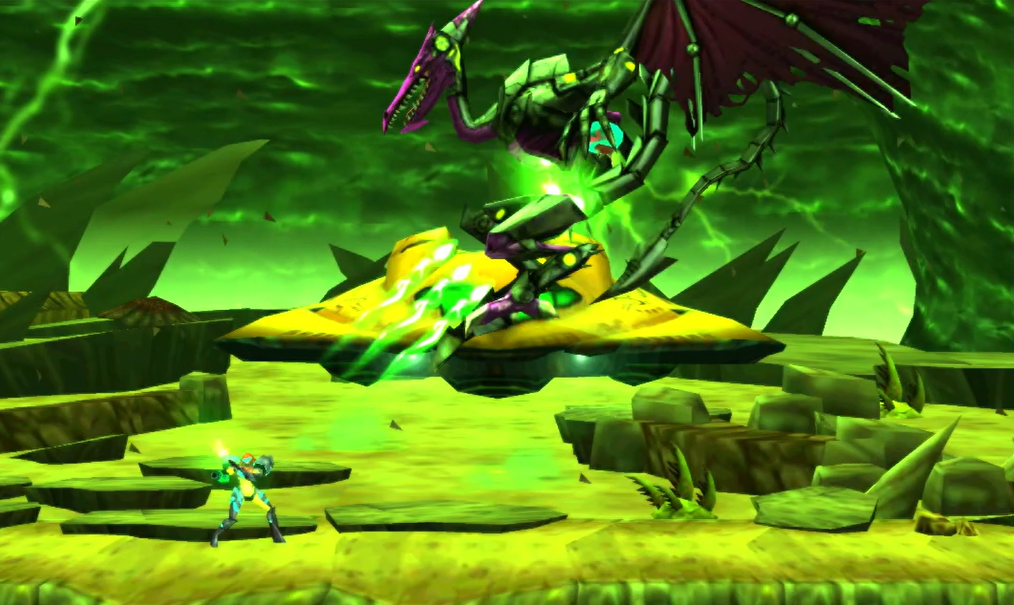
Ridley will eventually take to the air again, where your strategy to deal damage will remain unchanged. Watch out for the same attacks, and be mindful of some new ones too. When Ridley is flying and you see him stick his tail in the ground, JUMP! Space Jump as high as you can, because that means Ridley is coming full speed at you, tail and all, and the only way to avoid taking a huge hit is to jump over him.
One other thing to note about the tail – in this phase, when Ridley tries to impale you with his tail and misses, his tail will become stuck in the ground for a second, which is a prime time to lay some Super Missiles into him. Also worth noting just because it’s kinda cool, but there is a massive cyclone spinning around viciously in the background that definitely adds to the big fight feel!
Keep firing away, and another cutscene will play of Samus and Ridley brawling. Just when it looks like Ridley is about to finish his oldest rival off for good, just when all looks hopeless for Samus, IT’S THE BABY METROID TO THE RESCUE! Who else is cheering out loud!? The Baby will attack Ridley, letting Samus regroup. Together, Samus and the Baby Metroid will stand up to Ridley for one last phase.
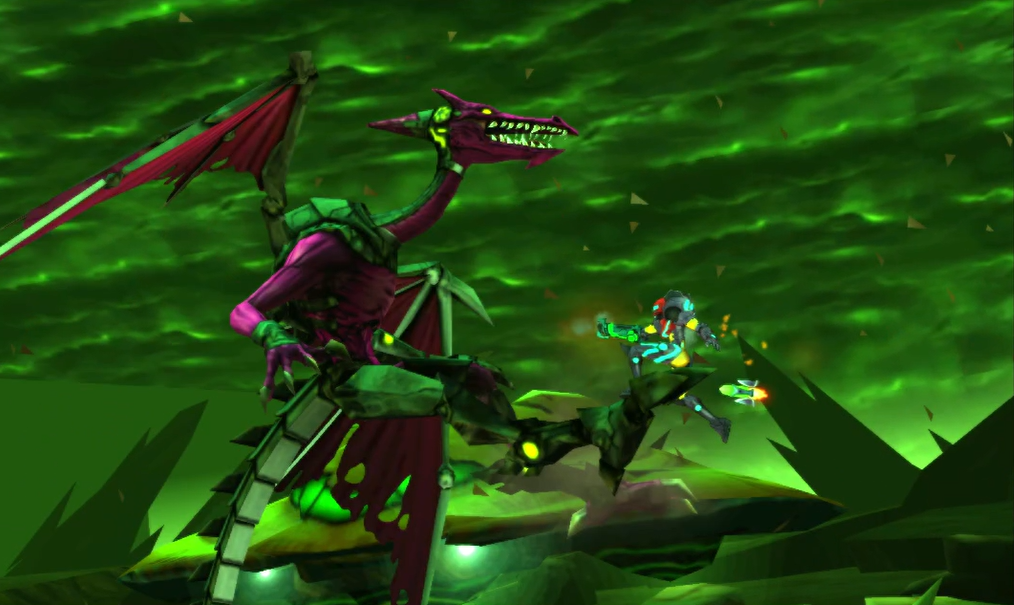
Ridley has augmented his claw swipe in this round. In addition to the regular claw swipe you already know about, he’ll have a super duper charged version of this attack which is absolutely lethal, so don’t get hit! Jump over, just up, just jump out of the way any way you can when you see him charge that claw swipe up!
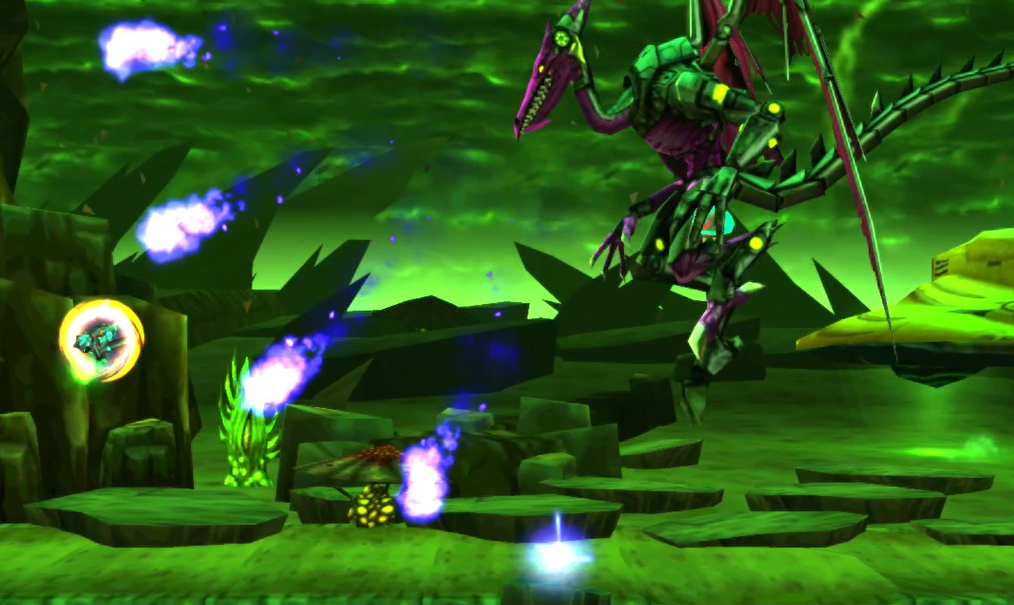
When Ridley gets in the air, he’ll take to shooting fireballs downwards that will cause shockwaves on the ground if they don’t hit you, so be mindful of those and jump before the fireballs hit. Ridley will now just frantically lunge straight at you in the air too, so be ready to move quickly!
If you damage the Space Pirate enforcer enough, he’ll be momentarily stunned, allowing the Baby to swoop up and leech on his face, damaging him. Ridley will ALWAYS try and bite you afterwards, giving you a chance to melee counter! Hit this and you’ll be able to pump him full of Super Missiles, doing massive damage!
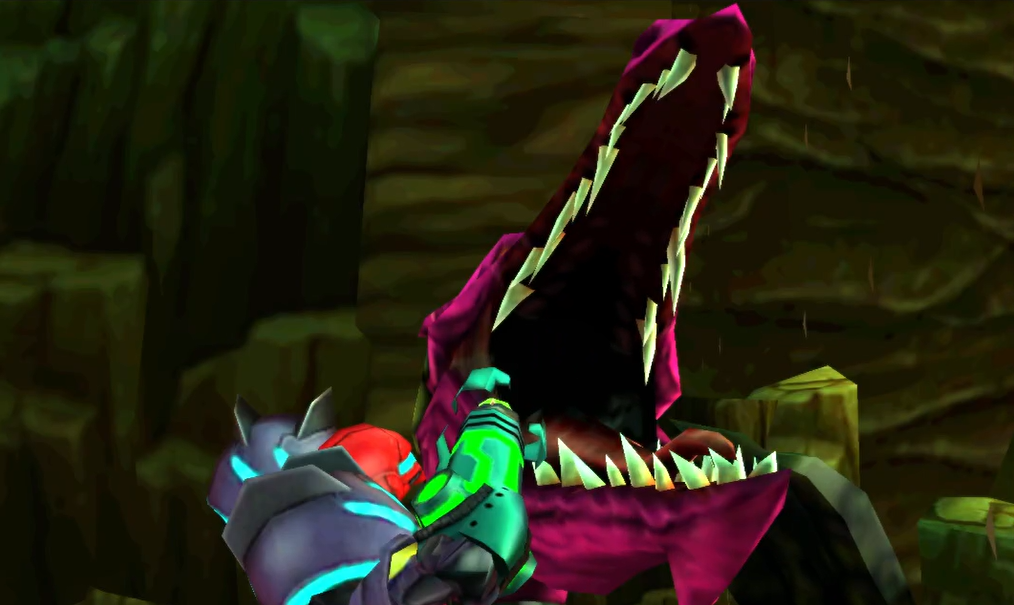
This is it, so fire at will and use every missile, every Aeion ability, everything at your disposal to take Proteus Ridley down. After enough damage to the face and chest, Ridley will finally fall.
With his defeat, Samus and the Baby Metroid will board the Gunship and fly away, leaving SR388 behind.
Ending
Congratulations – you’ve beaten Metroid: Samus Returns! With your mission completed, feel free to replay on higher difficulties, including the notoriously difficult Fusion mode, and challenge yourself to beat the game quicker!
With the last Metroid in captivity, the galaxy can finally be at peace…
Acknowledgements
As always, I’d like to start off by thanking my wife Samantha for her patience and willingness to let me indulge in my passion for Metroid! A big shout out to my colleagues at Omega Metroid for their help; GameWyrn for formatting, editing, and proofreading; Doominal Crossing for assistance getting the routing images uploaded. I also want to shout out Mercury Steam for bringing 2D Metroid kicking and screaming into the new millennium, but the biggest thank you has to go to you, the reader and player, for allowing me to be a small part of your journey through SR388. As always…
See you next mission!