


Super Metroid Walkthrough – Fires of Norfair

Walkthrough
- Ceres Research Station
- Welcome to Zebes
- Overgrown With Vegetation
- Fires of Norfair
- Heavy Artillery
- A Derelict Ship
- Dark Waters
- The Hunt for Ridley
- The Final Battle
The Speed Booster
Now that Kraid is defeated and we have the Varia Suit, we’ll be able to explore Norfair a little more without our Power Suit spontaneously combusting. Make your way back towards the Norfair elevator room, BUT be sure to make a quick pit stop in the locked room we passed earlier.
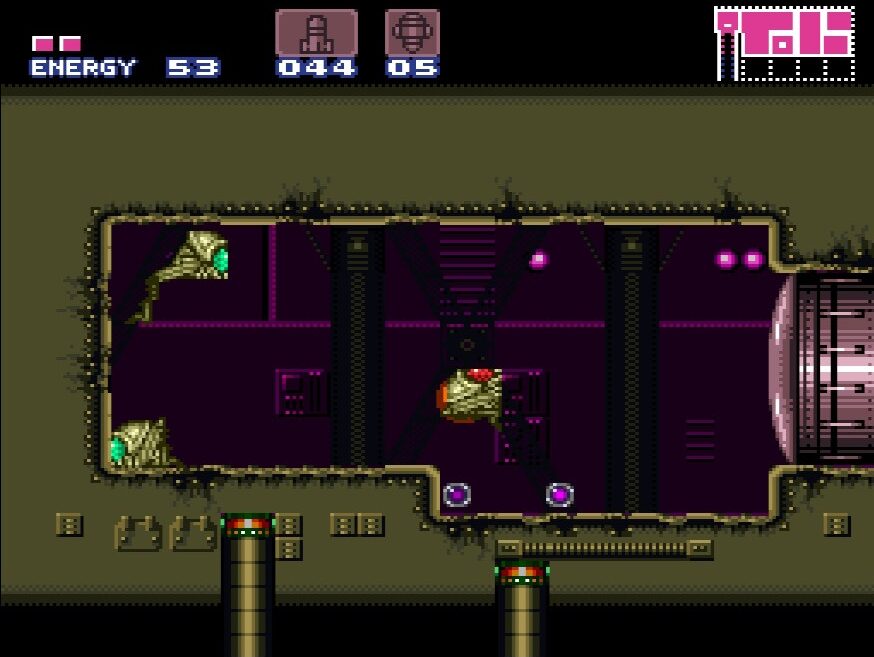
Now that Kraid is no more, the seal on the door will be flashing and very inviting. Go in, but get ready – as soon as you walk in the room, you’ll be attacked by some little suction monsters (they actually attack very similarly to Metroids). These guys will cling on to you and start sucking your life away. Get into Morph Ball form and roll back and forth, laying some bombs. You’ll want to stay moving while you do this, since a stationary bomb will just propel you upwards with our unwanted friends still attached. Once you’ve destroyed all the monsters, start shooting the ceiling with your beams. You’ll find ENERGY TANK #3 hiding up there. Grab it, finish making your way back to the elevator room, and then head down into Norfair.
Once you’ve entered Norfair, go through the first blue blast door on your right. This room was too hot for us on our first visit here, but now we’ll have no problem pressing further (maybe the Varia suit has some AC going on?). This room has a couple enemies and some platforms for you to scale, so deal with them and continue to the second room.
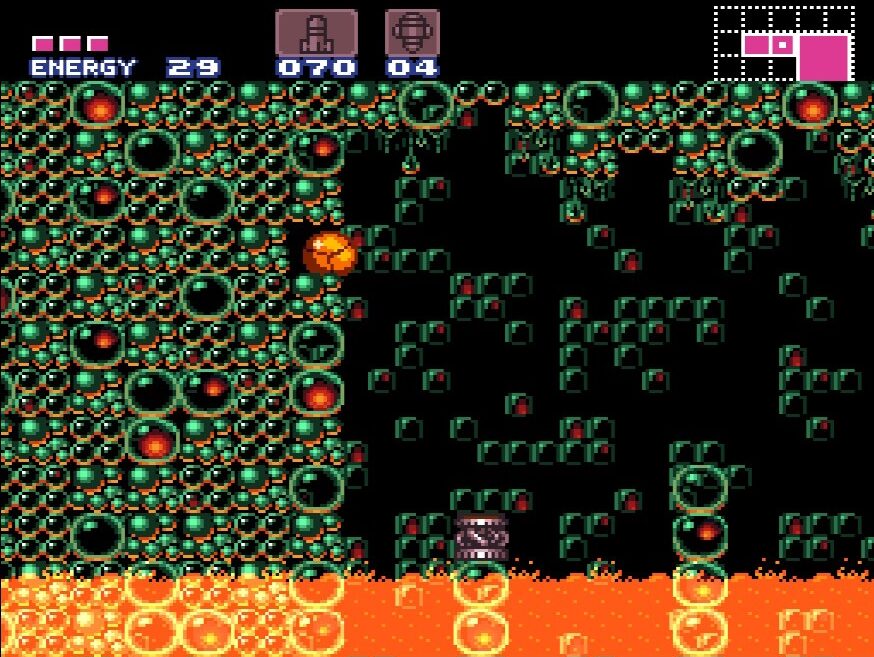
This room is another large, cavernous room, but filled with boiling hot lava. Needless to say, try your best not to fall in. Progress through until you’re about halfway through this room, and then drop downwards to the lowest platform that’s right above the lava. Remember when I said don’t fall into the lava? Weeeell… turns out there’s something we want there. If you’re running low on health, skip past this, but if you’re feeling feisty and want some extra Missiles, then shoot the bottom left side of the wall to reveal MISSILE EXPANSION #10. Quickly roll over and grab it, ideally before the wall respawns, and then get the heck out of that lava ASAP! Continue in and exit through the green blast door at the bottom right.
This next room can be kind of stressful and trick you into thinking you need to rush to get across it. Lava will start rising and the screen will start shaking, but the lava will never rise above the platforms in the room, so take your time and avoid all the fireballs being lobbed at you and make your way across and into the next room.
I affectionately call this room the Bubble room since it’s made largely out of what looks to be green bubbles. First things first, there’s a Save Station right above us, so hop up there and do your business if you need. Once that’s done, head over to the far lower right part of the room. The ground is false, so drop down, lay some bombs, drop down some more, avoid hitting the Ripper, jump across the spikes and pickup MISSILE EXPANSION #11.
Climb back up and head to the center of the Bubble room. Lay some bombs and drop down into the narrow tunnel and keep bombing and heading downwards. Pro tip: blast those annoying orange Geemers with your Spazer instead of trying to take them out with bombs. Once you’re at the bottom, you’ll see two blue blast doors. The one on the left isn’t going to be much use to us right now, so blast the one under your feet and fall down.
You’ll enter a vertical hall that has two doors. Stop in the middle door if you need to stock up on health or Missiles – there’s nothing in this room but bugs that keep on coming. If you’re good, then head straight to the door on the bottom.
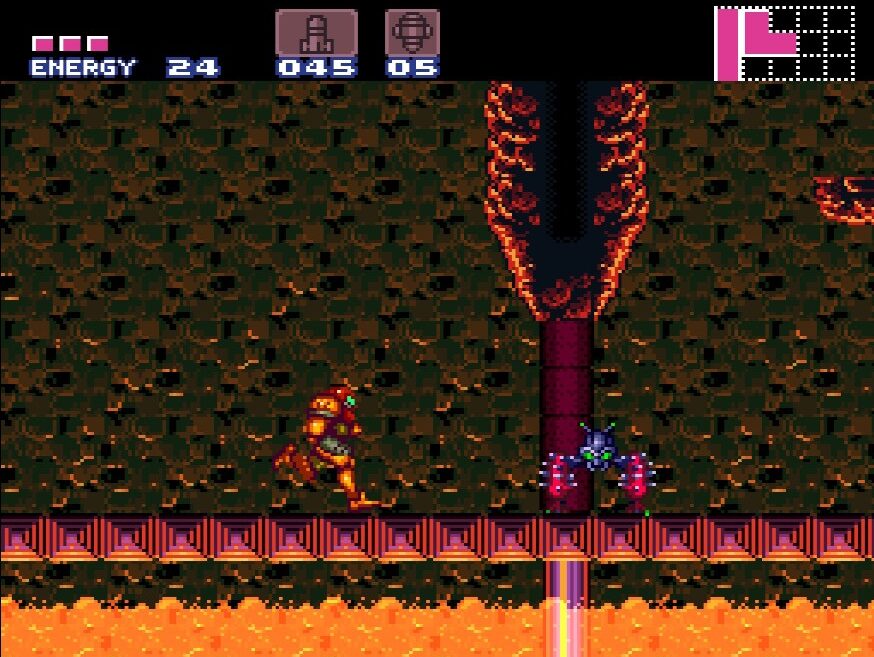
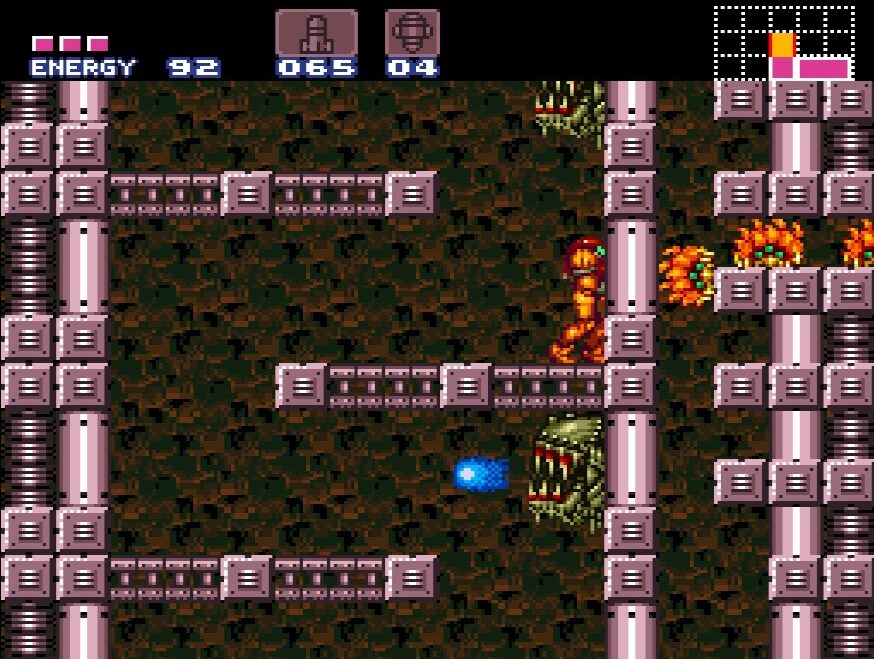
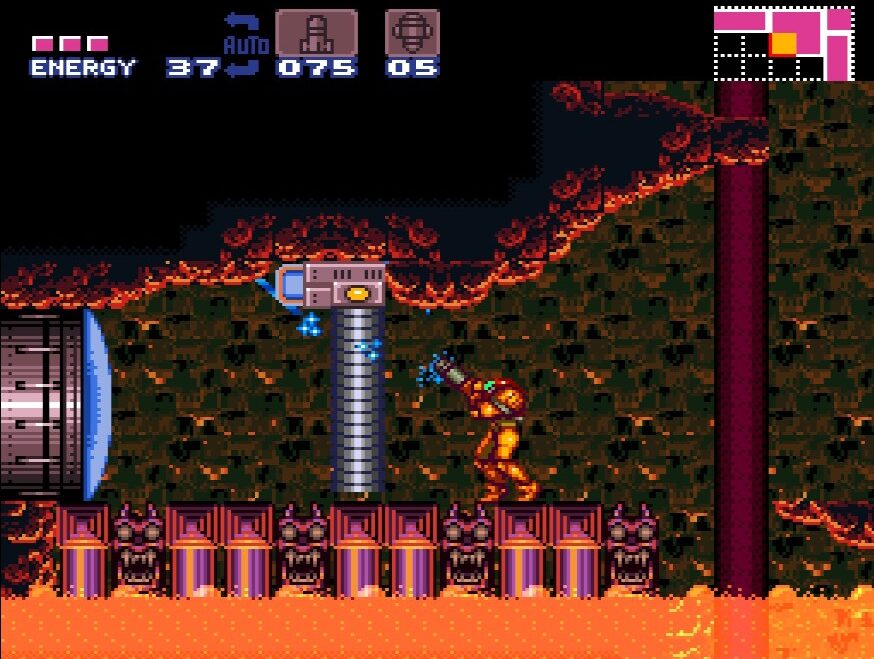
Keep pressing right for several screens now; take a slow and avoid the enemies. Eventually, you’ll hit another room when the lava will start to rise and the screen will start to shake. There will be a green, ugly, Xenomorph looking head sticking out the wall that fires blue fire at you. Turn into a ball and roll right under him. Shoot above you and carefully make your way up to the top. There are way more Xenomorphs in here, all spitting blue fire, so watch out.
Go into the next room and hop on the little platform-looking- things moving back and forth across the lava. Get into ball form so you fit nice and snug under the spikes and keep going left. Enter the next room and head up. There will be some enemies that pop out of the ground when you get close, so move slow. Head upwards, ignoring the first blue door you see. When you get to the pink blast door, open it up and enter.
There are four floating platforms that will move up and down when you jump on them. Carefully jump, being sure to avoid the Xenomorphs blue fire (these guys are everywhere, yeesh) and make your way across. If you fall, no big deal; you’ll just exit from that first blue blast door we walked past. If you make it across and shoot the gate open, then you’ll claim MISSILE EXPANSION #12.
Now, this next part s OPTIONAL, BUT HIGHLY RECOMMENDED. You can choose not to do this, but I’ll be writing the rest of this guide assuming you did. We’re going to acquire a beam a little earlier than the game intended. I’m no speed runner, but this trick is so easy to do, it seems like a waste not to do it now. See the below video for a visual aid on performing this trick.
From the high platform where we just got Missile Expansion #12, you’re going to want to hold dash and jump as far as you can right. You’ll land on some spikes and take some damage, but don’t worry. Perform a quick wall jump up (if you need to practice this technique, do so! I’ve outlined some tips in the Special Abilities section!) and enter the blue blast door. Shoot the Chozo Statue and grab the WAVE BEAM! If you don’t feel comfortable pulling this trick off and would rather wait until we’ve acquired the Grappling Beam to get this, that’s fine. You can come back at any point after getting it and do so. For now though, assuming you’ve picked up the Wave Beam, jump into the middle of the spikes and the floor will give out, letting you exit into the main hallway we started in.
Keep heading up and exit on your left. Wouldn’t you know, we’re back in the Bubble room! Please, for the love of God, don’t fall down or we’ll have to repeat that whole process. Make your way up and to the green blast door at the top. Enter it and you’ll see another, very bubbly room. One of the bubbles on the ceiling can be blasted however, giving you a path to jump upwards. Do so and then enter the blue door.
We’re in a big long room now that we can hold dash and quickly run through. Before you open the pink door at the end of this long hall though, STOP just right before the door. Start shooting the ceiling, and one of the bubbles will burst, revealing MISSILE EXPANSION #13! Jump up and snag it!
Once you’ve gotten Lucky Number Expansion 13, enter the pink door. Shoot the Chozo Statue and grab the SPEED BOOSTER!
Speed Booster Route:

The Ice Beam
Let’s put the Speed Booster to use and run all the way back until we arrive back in the Bubble room. Drop down to the very bottom, where you have the two doors. Instead of going down, head through the left door. Start boosting and ram on through all the bricks and enemies that were previously blocking your way (is there a more satisfying feeling than mowing down everything in your path with your Speed Booster? *Chef kiss*). You’ll enter the Save Station which is connected to the main elevator shaft. Go up to the top, and open the green blast door.

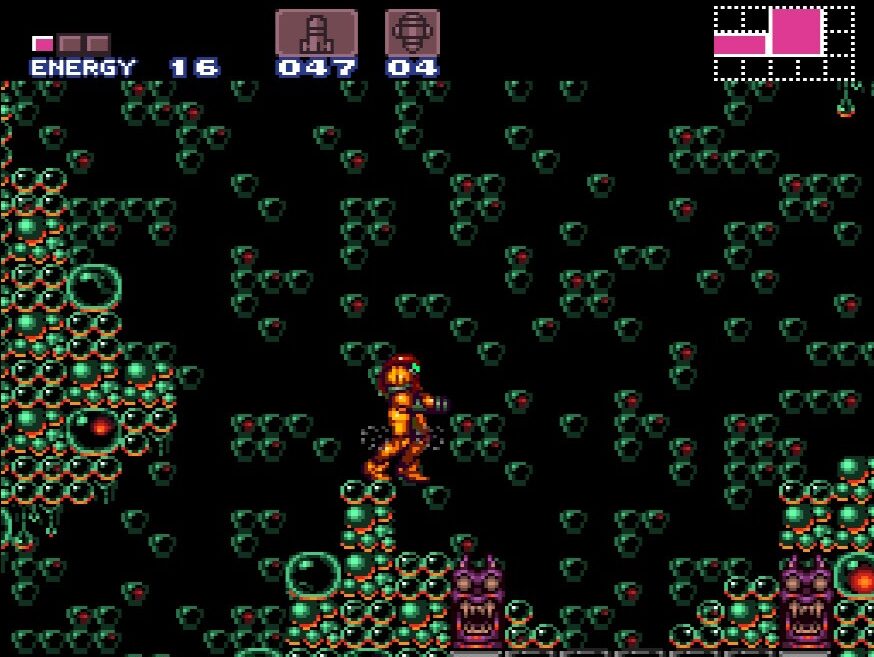
Now that we have our Booster, start running and you’ll be able to reach the other side before those pesky gates close and lock you out. Use the moving platforms to work your way to the other side of this lava filled room and proceed into the next room. There are a ton of Xenomorphs in this room (I think that’s just their new name now, Xenomorphs!) so work your way to the top of the room and try not to get hit. When you make it to the top, your first thought will undoubtedly be to open the blue blast door and walk through, but wait! Instead, bomb directly underneath and let yourself drop down.
You’ll see some slots in the wall where you can fit in Morph Ball form, and in one of those slots, you’ll notice some Geemers crawling out. Drop down while in ball form and quickly roll into the slot that the Geemers were crawling out of. Head into the next room over, and you’ll be rewarded with the ICE BEAM! Exit this room, drop down to the bottom of the Xenomorph room, and make your way back up to the top. This time, go through the door.
Using our new beam, shoot those jumpy little yellow things and use them to get across the room without touching the lava. Do the same for the red Reaper in this room and exit. Fall down to the gate room, turn into a ball, and make your way right, towards the main elevator shaft of Norfair.
Now, this part is all optional pickups, so if you want to skip this or come back later, then head up to Brinstar and start the next section of this guide. If not, keep reading and let’s get to work!
Ice Beam Route:

Optional Pickups
Make your way all the way back to the Bubble room. Go and stand on the platform beside the door leading to the Save Station room. This is gonna be tricky, but the powerups will be worth it. If you jump up, you’ll see two enemies flying about. Wait until one is in a perfect position and shoot it once to freeze it. We want this thing to be low enough that we can jump on it. It might take a few tries, but once you’ve frozen this erratic flying enemy, jump on him and jump up to the top left corner. Use a Super Missile and open the green door.
Quickly get rid of the enemy in this room and hop over to grab MISSILE EXPANSION #14. But hold up – there’s more to do in this seemingly small room. Shoot the left hand side wall and you’ll see one of the bubbles burst. You’ll want to jump and turn into a ball while you’re either ascending or falling – basically, tap down as soon as you launch yourself in the right direction. This can be tricky, and if you miss, you’re going to fall in some lava, but after a few tries, you should be able to fit through the small hole in the wall. Once you’re in, roll to the other side and go through the door.
This next room has all sorts of things going on – very small rock platform for us to jump across, fireballs being shot, and Geemers moving at mach speed (seriously, this is the fastest I think they move in the whole game!). Make your way over to the far right, freeing enemies and using them as platforms if you need to. Surprise – the last small rock/platform can be shot to reveal MISSILE EXPANSION #15! Once you’ve grabbed it, jump up and over to grab RESERVE TANK #1. Told you this room would be worth it!
Make your way back to the Bubble room, drop all the way down, and head through the left door. In the next room, you’ll be able to drop down to the lower part. There is a gate blocking our way into the next room… or at least it would be if we hadn’t got the Wave Beam earlier. Shoot it open and make your way through.
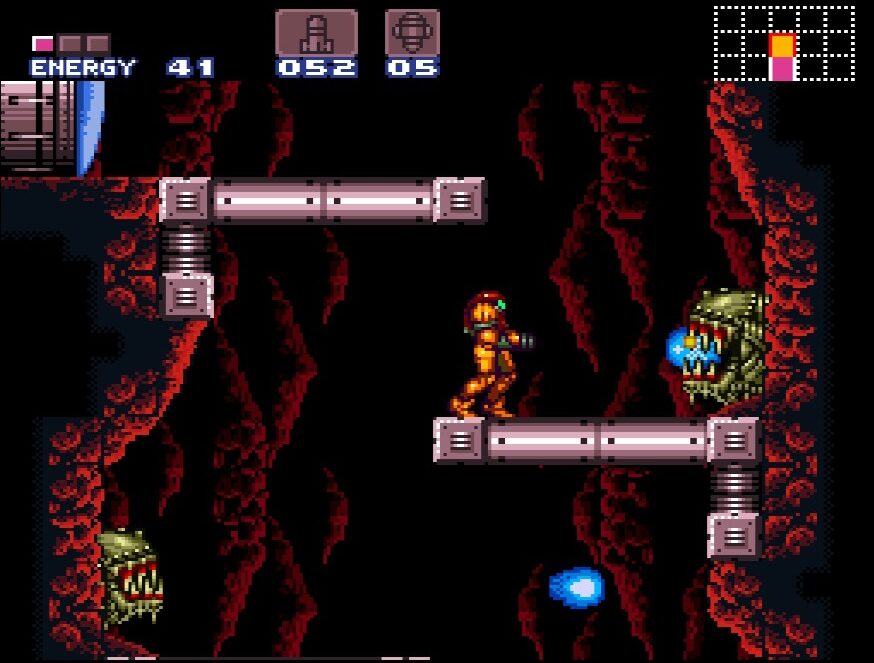
Make your way to the bottom of this room. Watch out for the silver Geemers – they are invulnerable, so just avoid them. Take out the red Pirates and drop down into the next room. There will be an Energy Recharge Station in the room to your right. Use it if you need it, and then exit back and head to the left side of this hall.
We’ll arrive in yet another vertical hall. Directly above the door you entered the room in, there’s a door leading you to a Save Station. Would probably be a good idea to use it since we’re going to have a boss battle on our hands in a second. Once you’re ready, open the green door on the bottom of the room and descend.
Norfair Route:
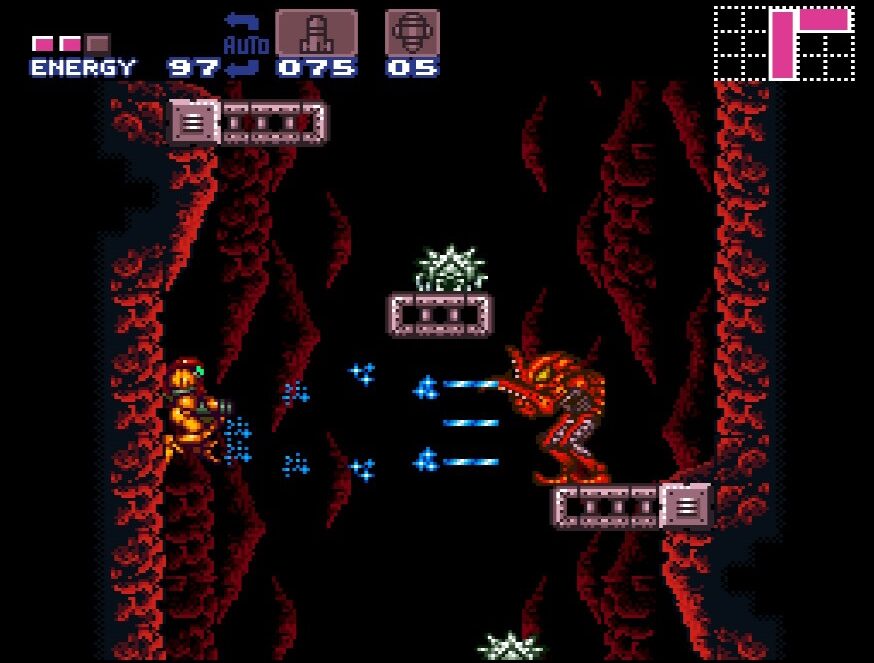
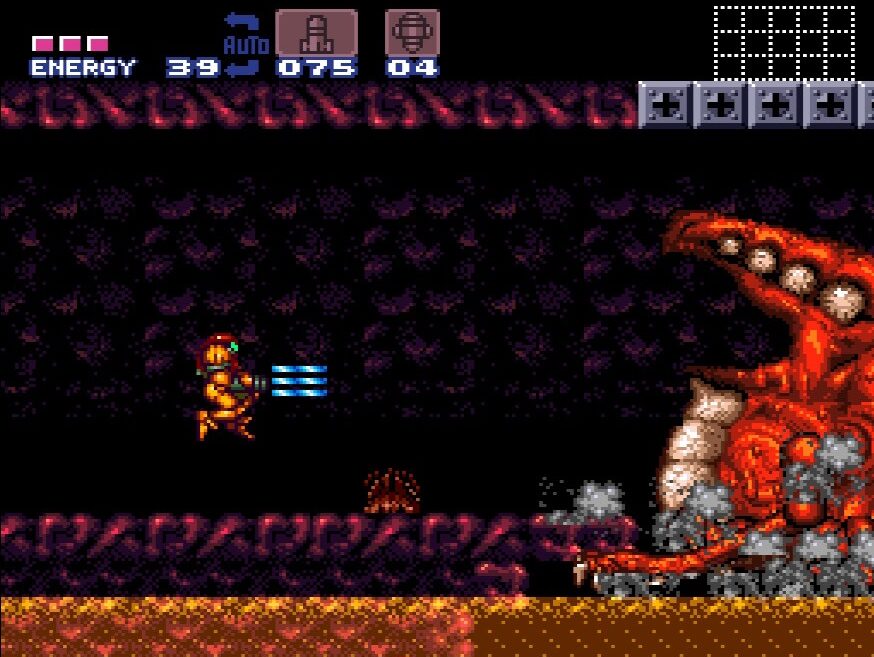
BOSS BATTLE: CROCOMIRE
So I think Crocomire must be Kraid’s little cousin or something… I can see the family resemblance. Fortunately, just like his older cousin, Crocomire isn’t going to give us much trouble either if you know what to do. In fact, the reason that we’re battling Crocomire now instead of later like the game intends is because of the relative ease of this battle and the reward we can get after. But on to the battle itself.
You’ll find yourself in a narrow corridor. Behind you is a wall of spikes. Croc’s whole deal is he is trying to slowly advance on you until you are pushed back into the wall. Our goal won’t be to defeat him in the traditional sense, but to instead force him backwards, to the point where he will fall and die.


Just like Kraid, Crocomire will spit out rocks at you from his mouth that will damage you, but can also be shot for some health and Missiles. He also will use his little T-Rex arm to try and damage you, which will actually hit you for a ton of damage if you get close enough to get hit.
Fortunately, just like Kraid, he’s a fairly one trick pony, and if you can keep your distance and stay out of his arms reach, you should be fine. Yet again in Super Metroid, when it comes to this boss, the best defense is a good offense. Just like Kraid, his mouth is his weak spot. Hit him there, and he will take a few steps backwards. The trick is to hit him as soon as he opens his mouth! Jump up, make sure you shoot over his arm, and blast away before he has a chance to spit out rocks or do any of his other moves. Charged Beams should do the job nicely here, but if you feel like you’re not getting the timing right, jump up and let a bevvy of Missiles fly as he’s about to open his mouth. You’ll use up more Missiles, but you’re pretty much guaranteed to hit him. Continue blasting him in the mouth until he retreats back far enough and falls into the lava.
(Side note – I know he was just trying to kill us, but did anyone else feel really bad for Crocomire as his skin was literally melting away from the bone?! Poor bastard…)
Head over to the other side of the room where the spikes were, and LOOK OUT! It looks like Killer Croc ain’t done with us yet! Get ready to fight his fearsome skeletal form!

… psyche. He’s definitely dead. Collect the health he drops, and then get ready to do something a little crazy. DO NOT ATTEMPT THIS IF YOU HAVE LOW HEALTH! What we want to do now is speed boost from the left side of the room to the right, and then jump as far as you right before the lava starts. If done correctly, you’ll land just below a ledge where you can see an Energy Tank. Wall jump up and grab ENERGY TANK #4. We’ll take some damage jumping through the lava to get back on solid ground, but I think that’s a worthwhile tradeoff.
Finally, everything that we can do in Norfair right now is done, so take whatever route you want and make your way back to the elevator room and head up into Brinstar.