Metroid Prime Hunters Walkthrough: Alimbic Artifacts
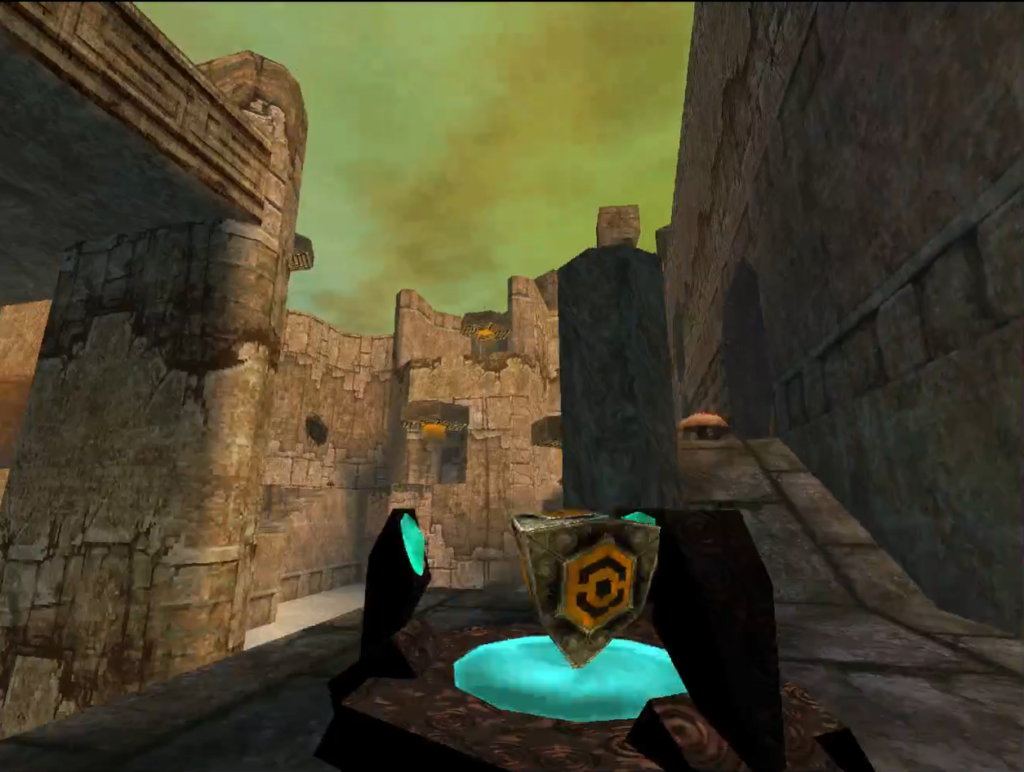
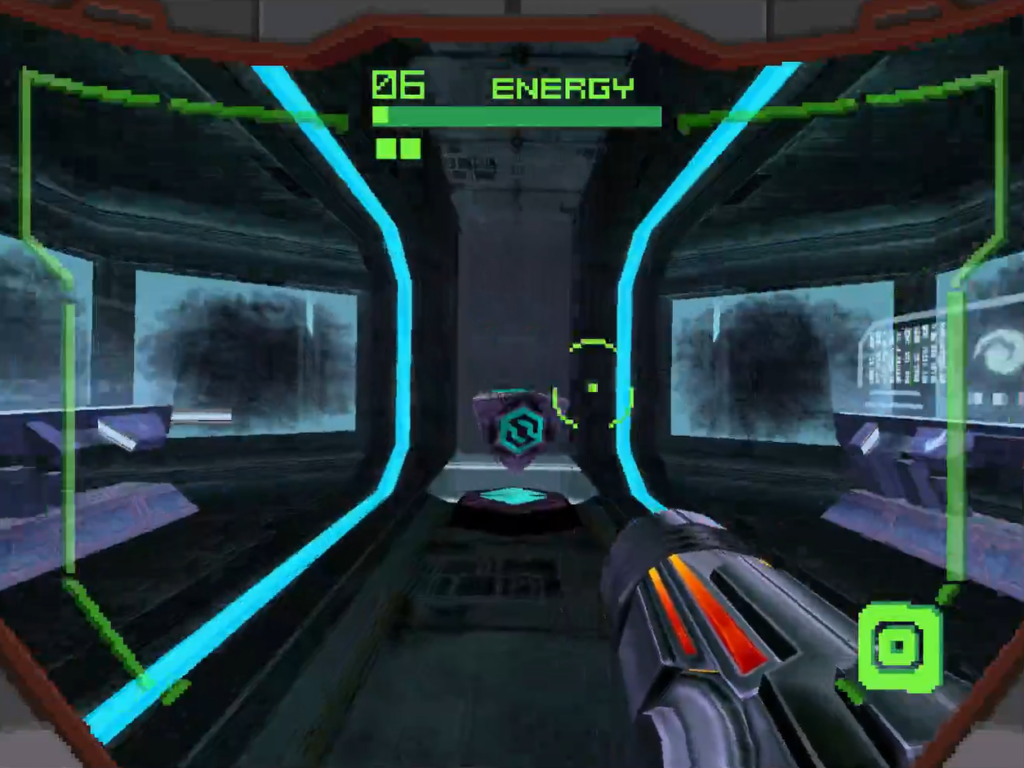
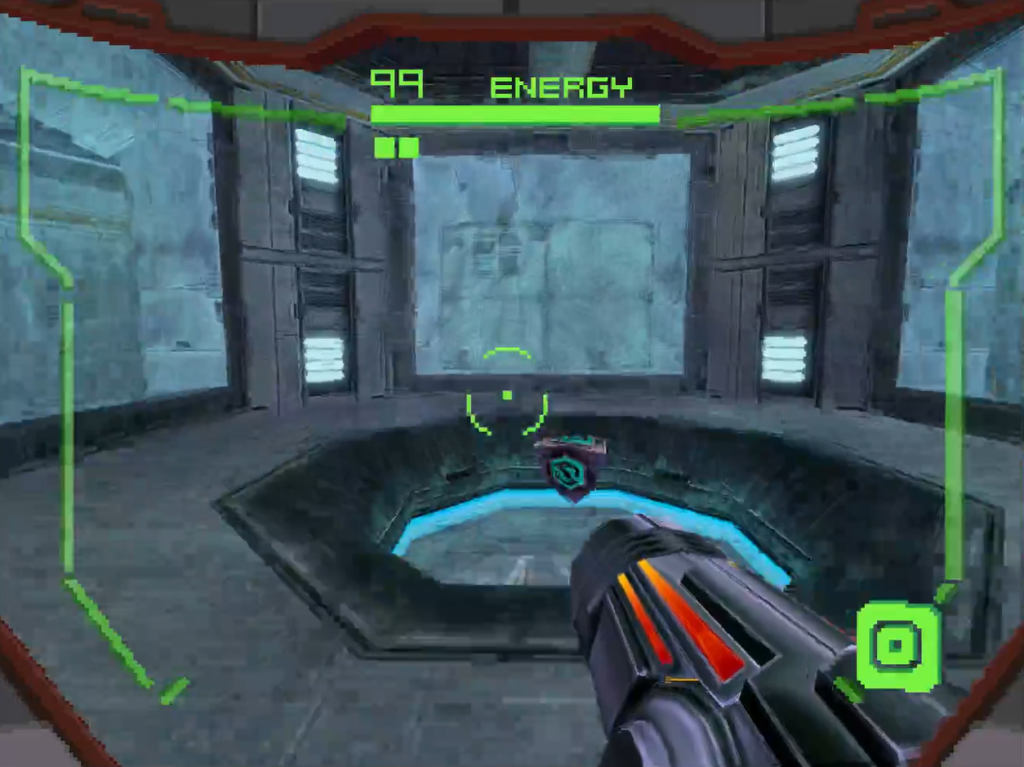
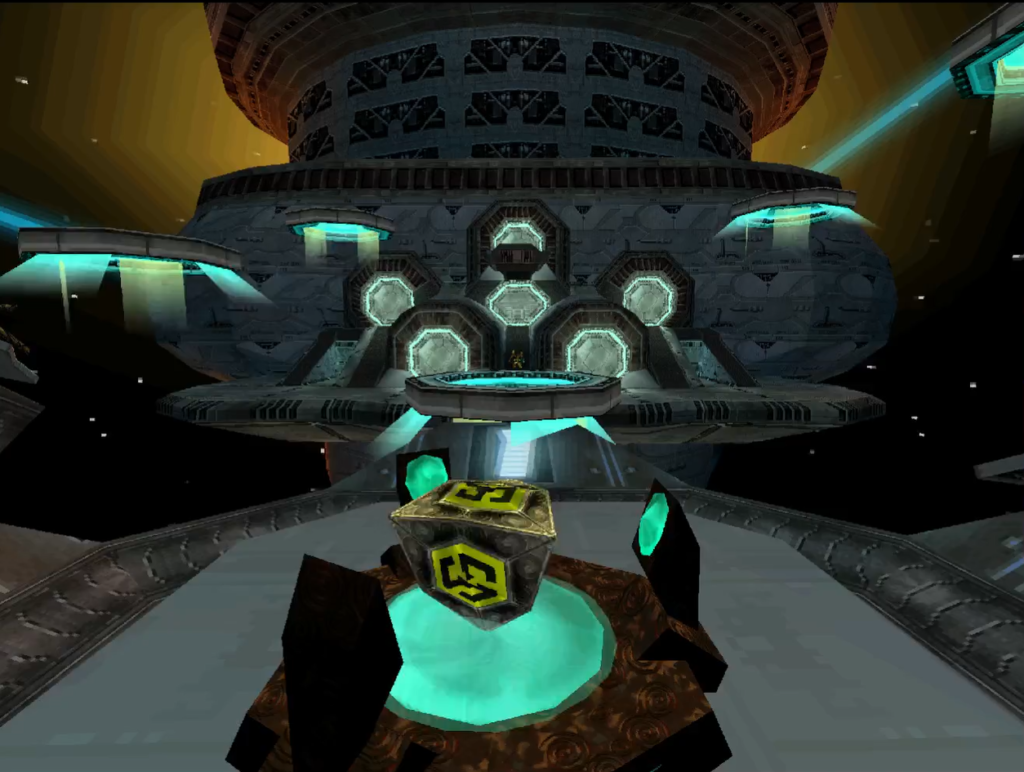
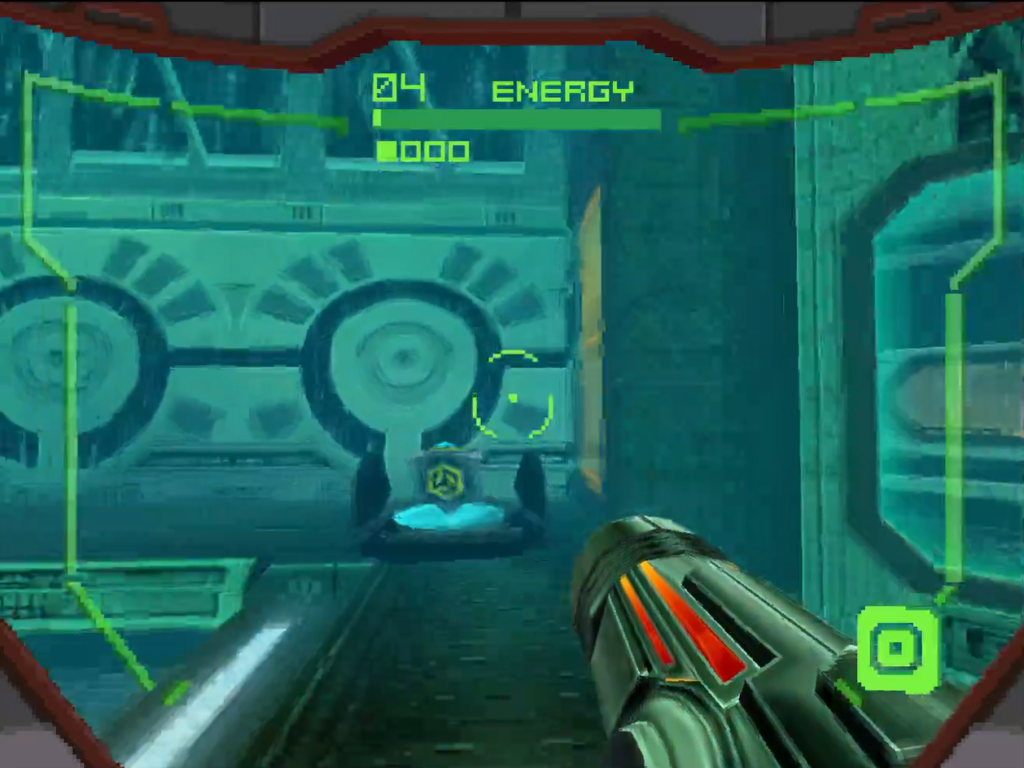
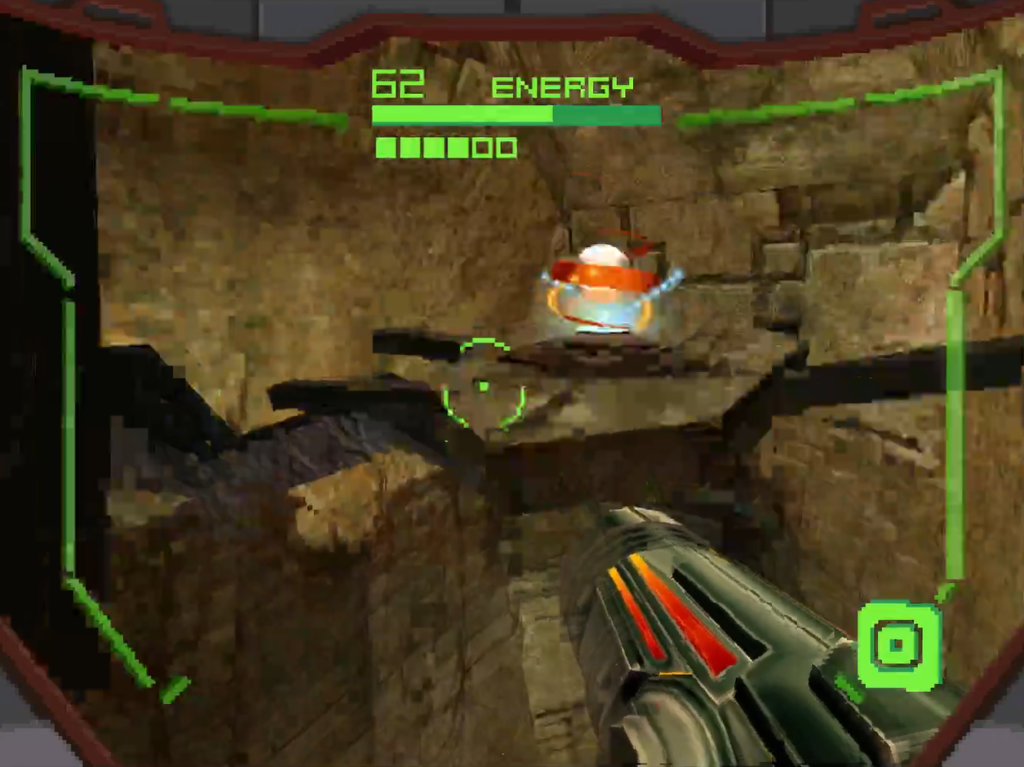
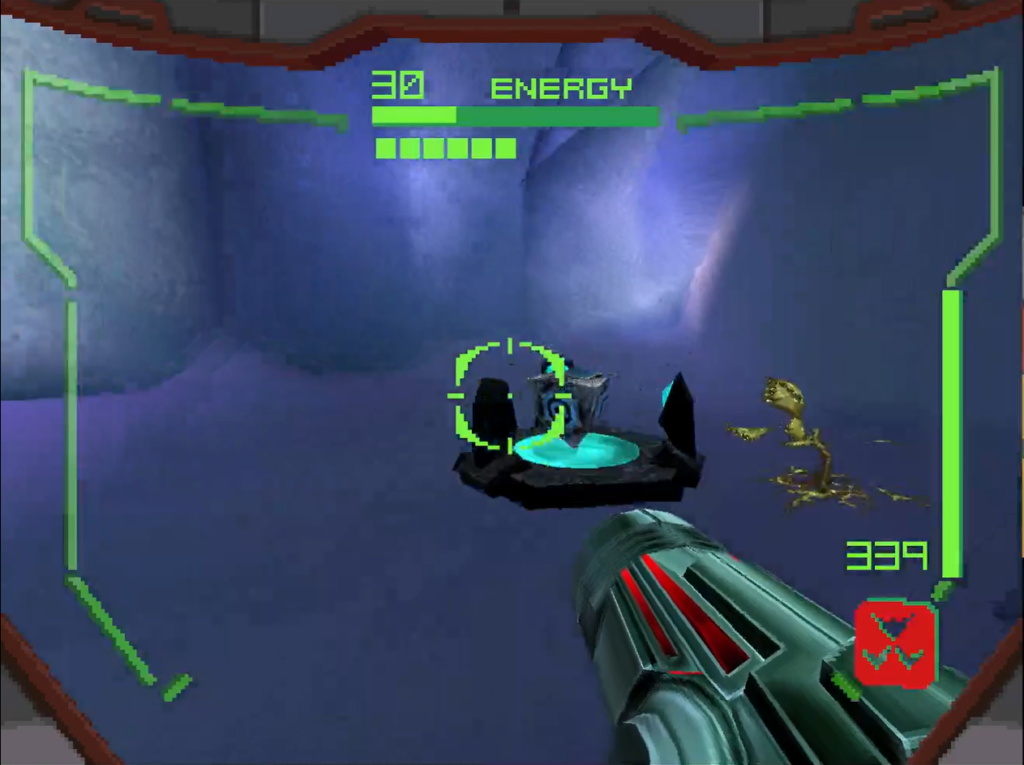
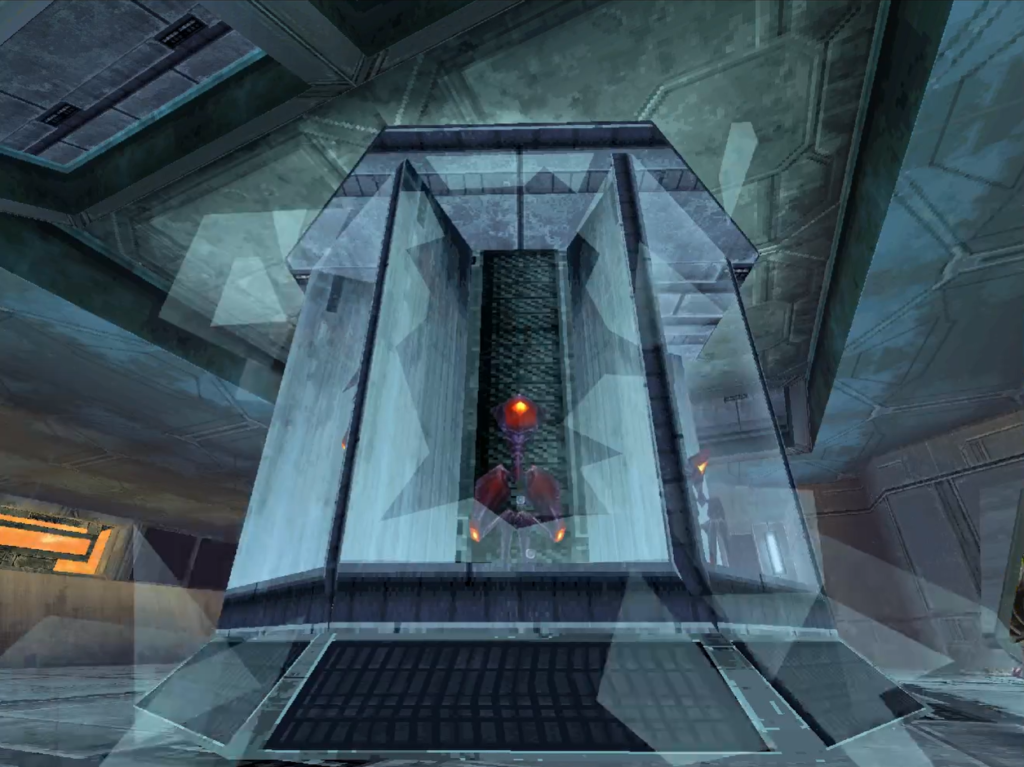
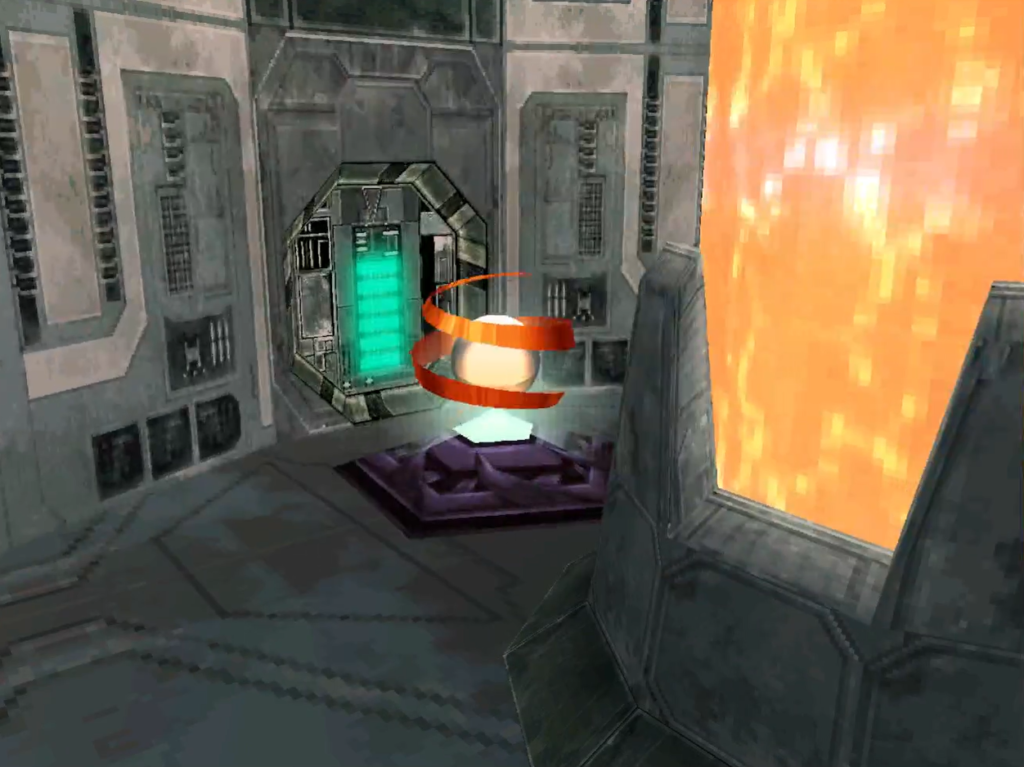
Here you’ll find a detailed list of strategies, information, and tips for acquiring the many Alimbic Artifacts of Metroid Prime Hunters. This game requires three Artifacts be collected each time you visit a planet to unlock a portal to what is known as a Stronghold Void – the arena in which Octoliths (and bosses!) are kept. There are two Stronghold Void’s per planet, meaning you’ll need to collect a total of 24 Alimbic Artifacts. Each Artifact will be locked, and you’ll need to find a Shield Key for each.
- Celestial Archives Stronghold Void 1
- Alinos Stronghold Void 1
- Vesper Defense Outpost Stronghold Void 1
- Arcterra Stronghold Void 1
- Celestial Archives Stronghold Void 2
- Alinos Stronghold Void 2
- Arcterra Stronghold Void 2
- Vesper Defense Outpost Stronghold Void 2
Celestial Archives Stronghold Void 1
Artifact 1 (Cartograph Subscripture 01)
Location: Data Shrine 01
Requirements: None
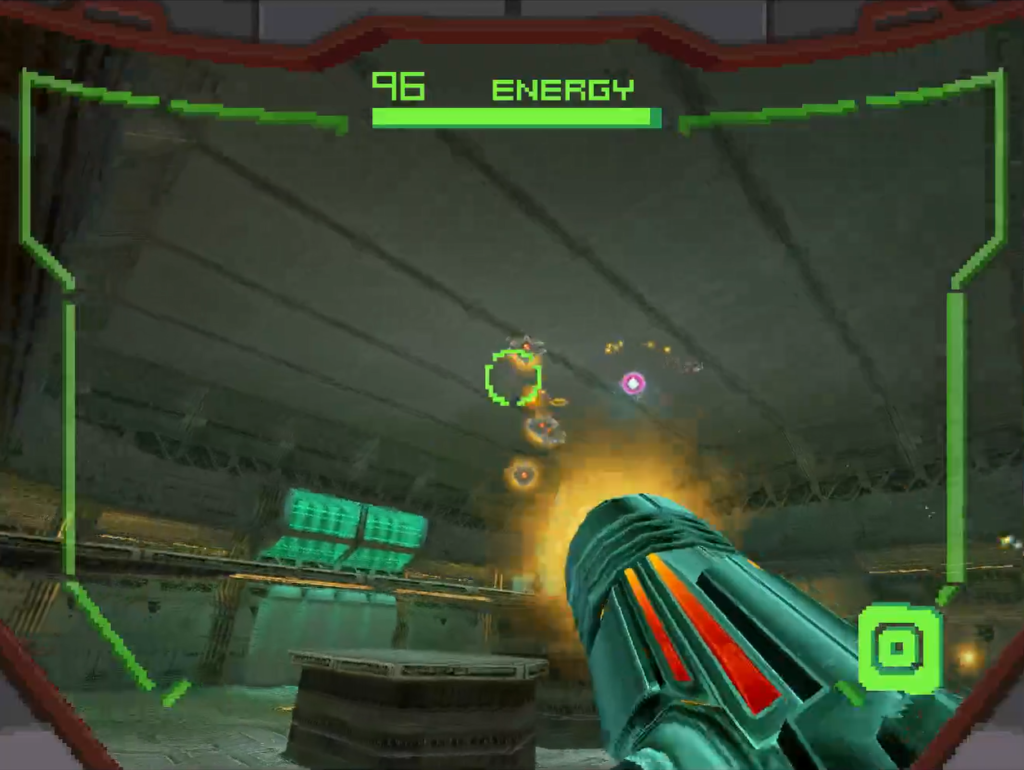
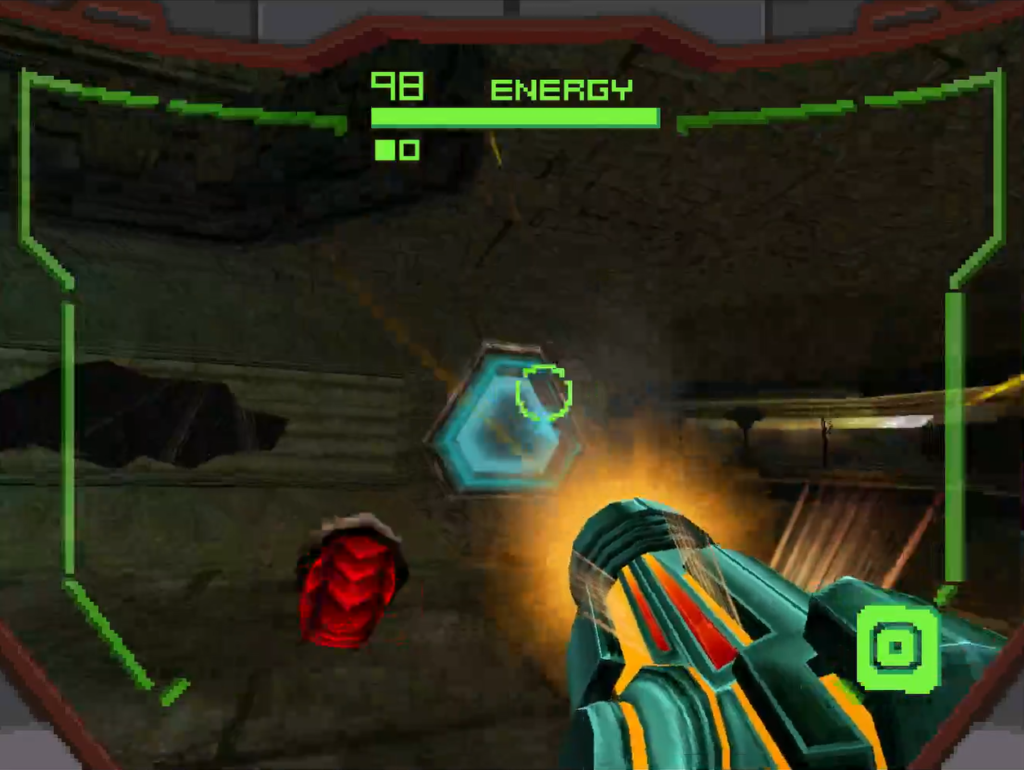
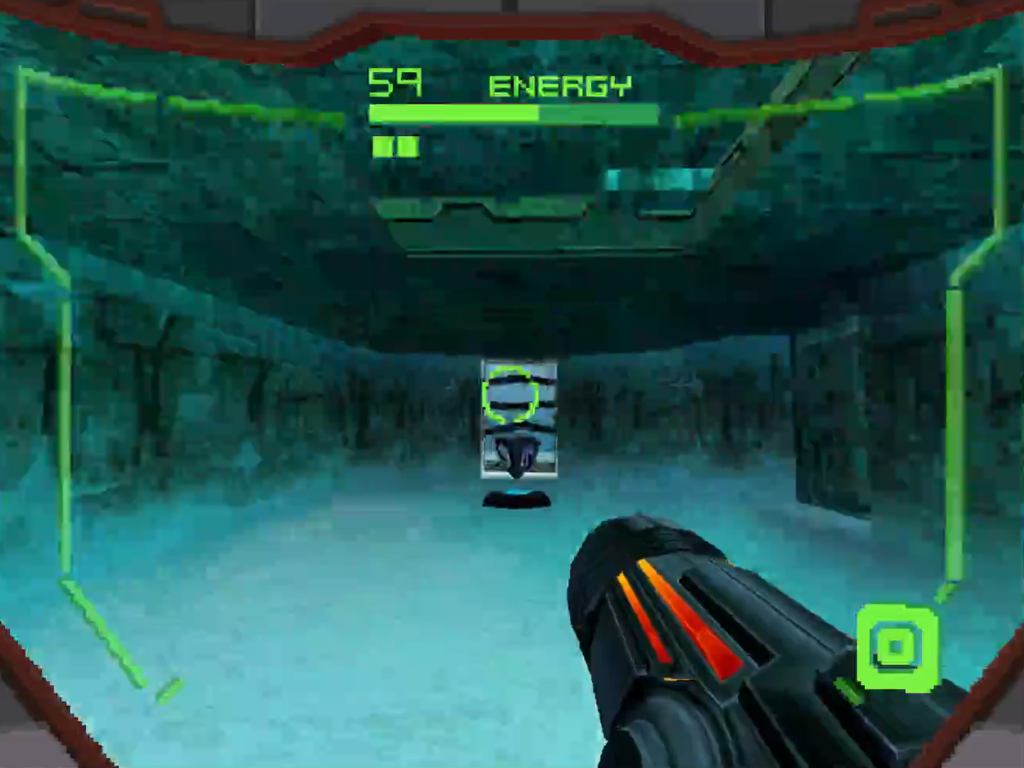
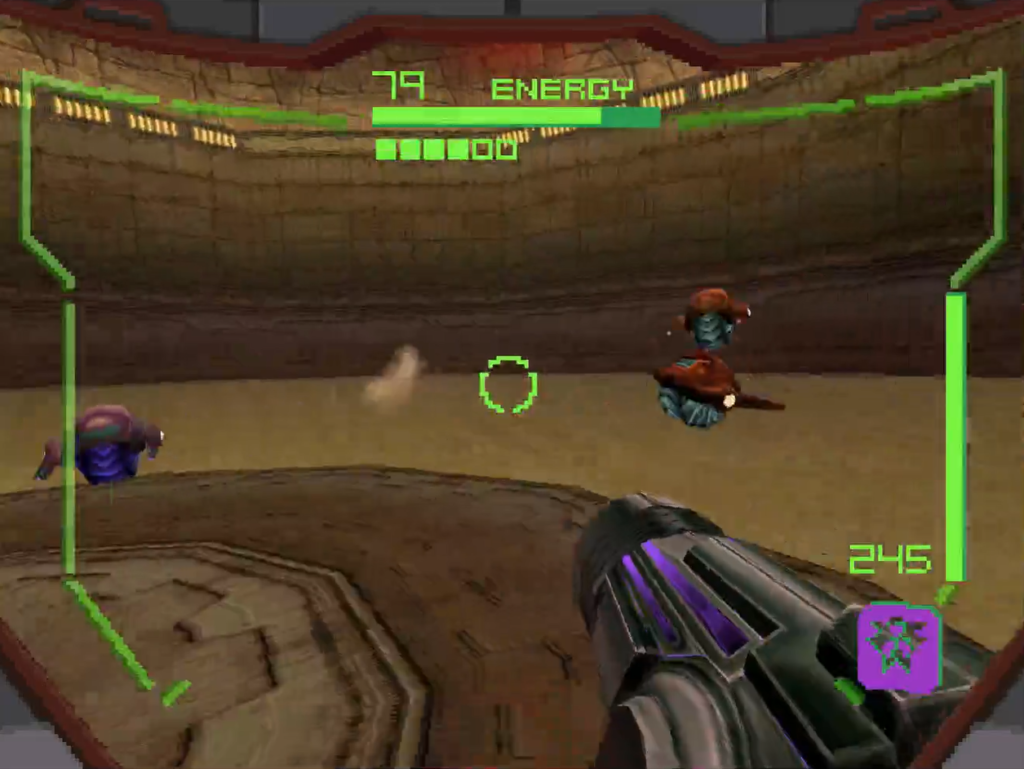
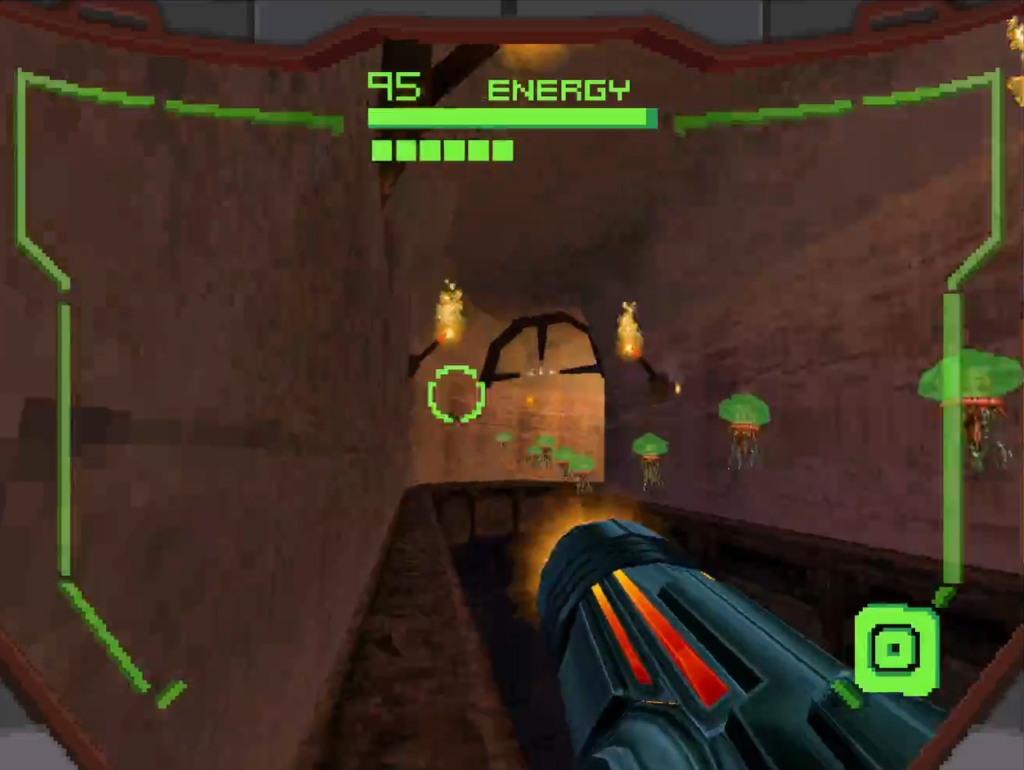
Several waves of Psycho Bits will swarm out of the center of the room. Shoot them all down and a Shield Key will spawn, allowing you to grab the first Artifact.
Artifact 2 (Attameter Subscripture 01)
Location: Data Shrine 03
Requirements: None
Defeat Kanden. He shouldn’t give you you too much trouble, but click here for battle strategies. Grab the Shield Key that Kanden drops and then enter Morph Ball form to go through the tunnel on the small catwalk in the center of the room to grab the Artifact.
Artifact 3 (Binary Subscripture 01)
Location: Synergy Core
Requirements: None
Shoot the four switches on the walls to grab the Shield Key, which will disarm the Artifact Shield, allowing you to grab the final Artifact.
Alinos Stronghold Void 1
Artifact 1 (Cartograph Subscripture 01)
Location: Echo Hall
Requirements: None
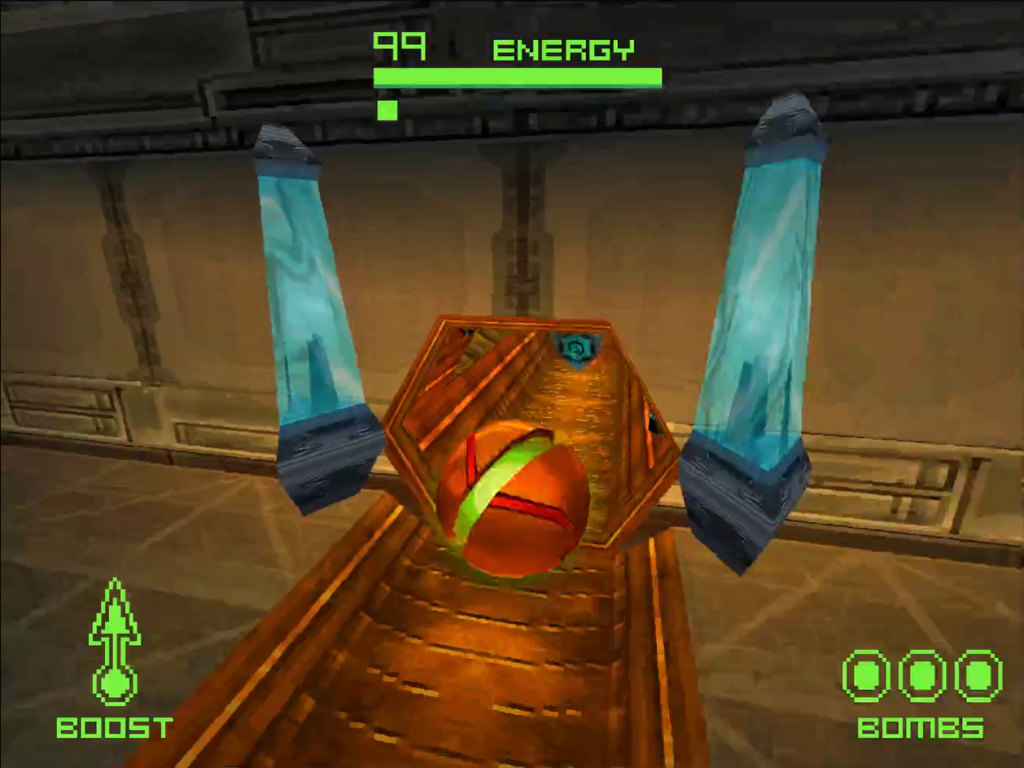
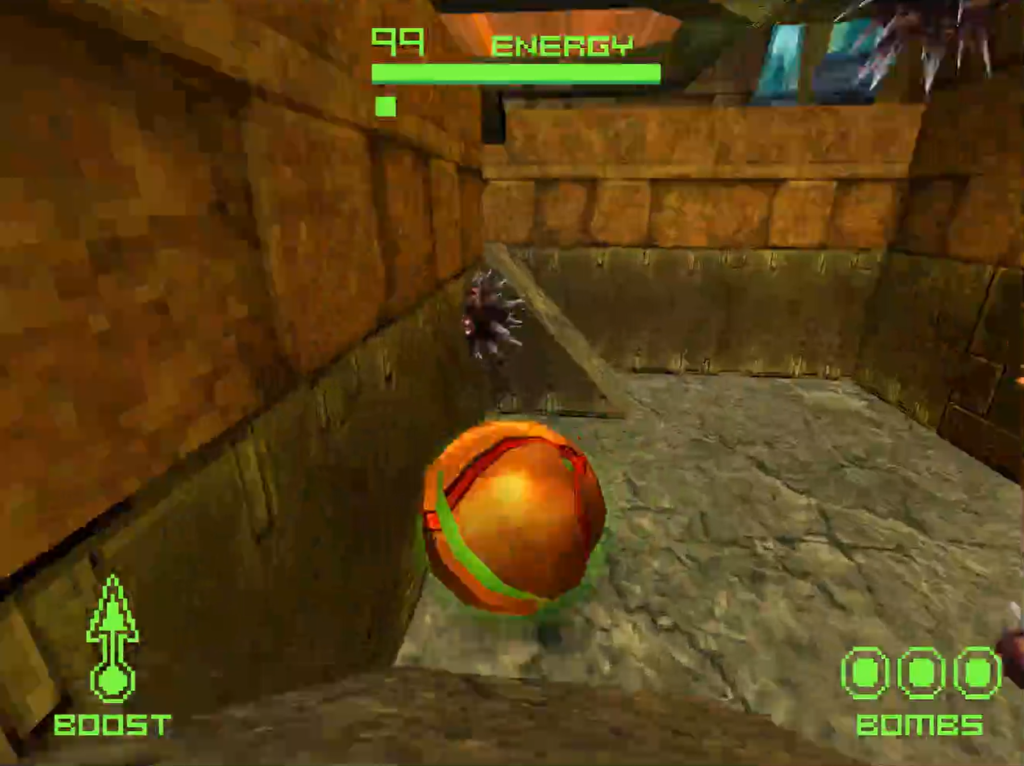
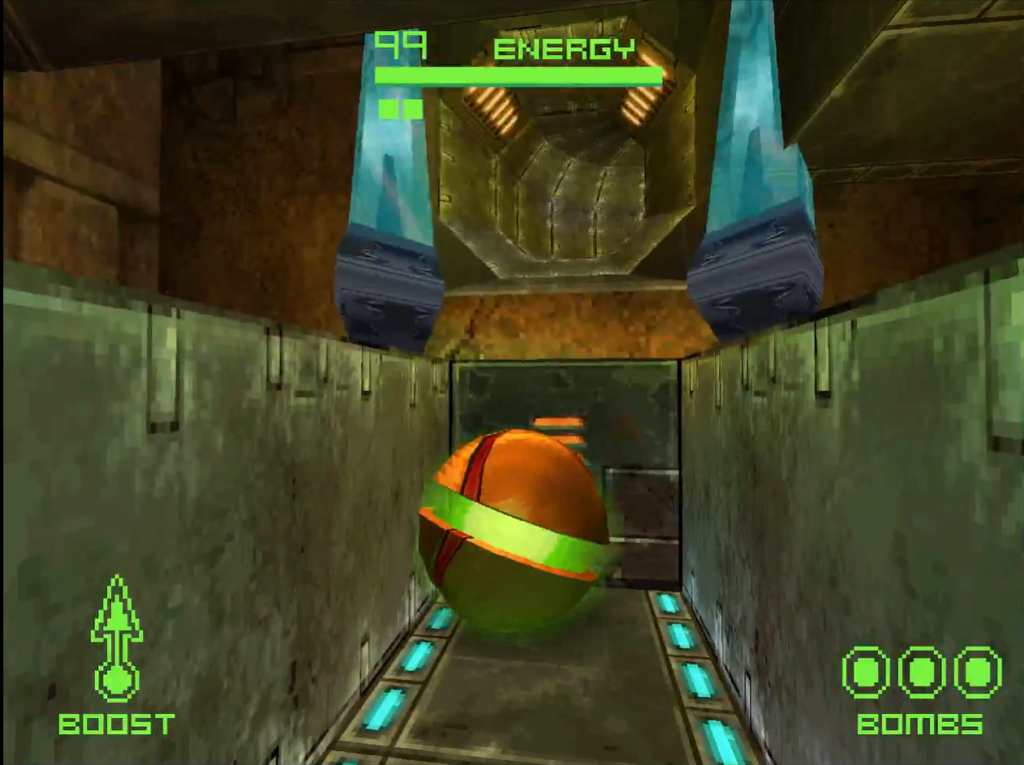
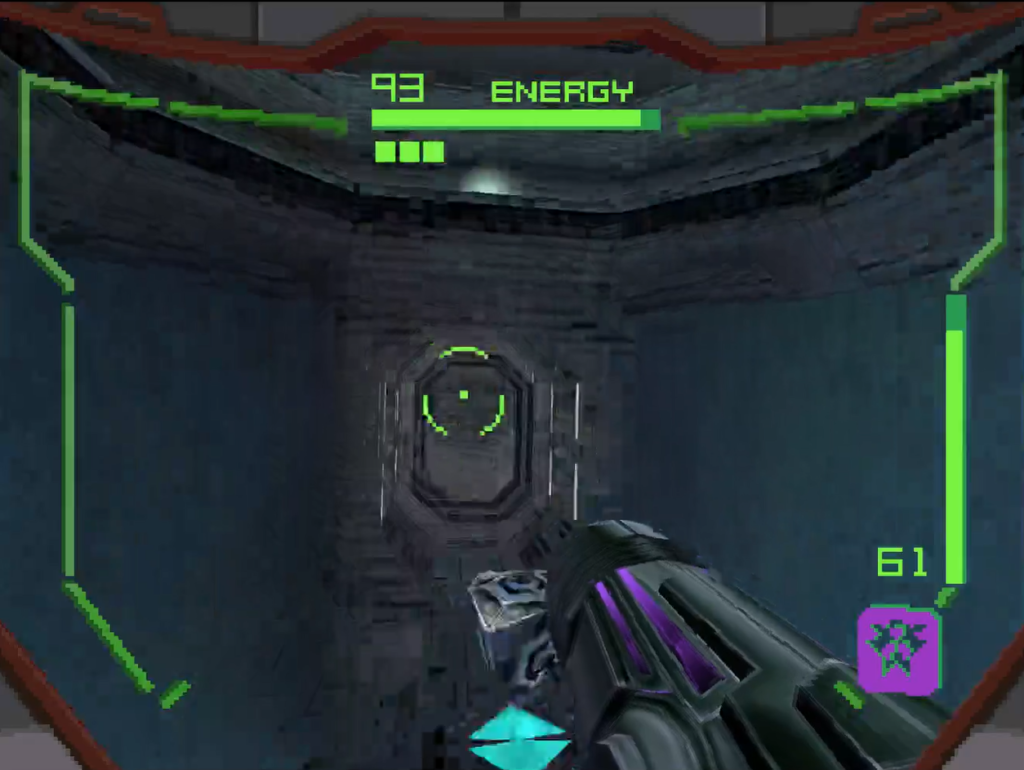
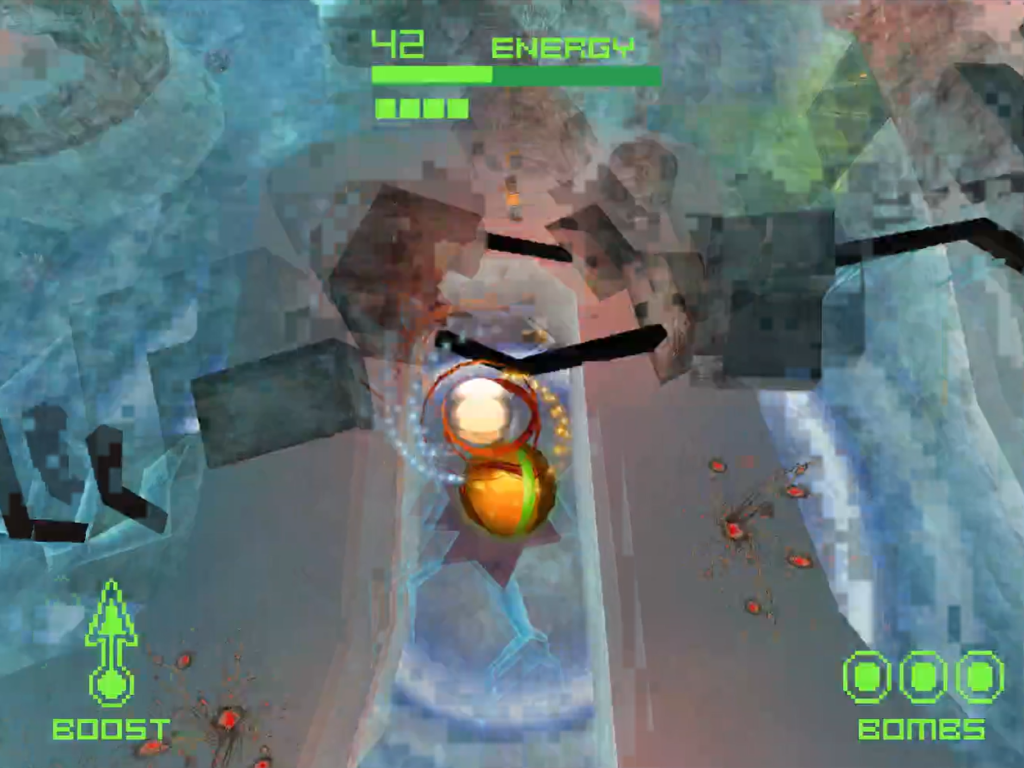
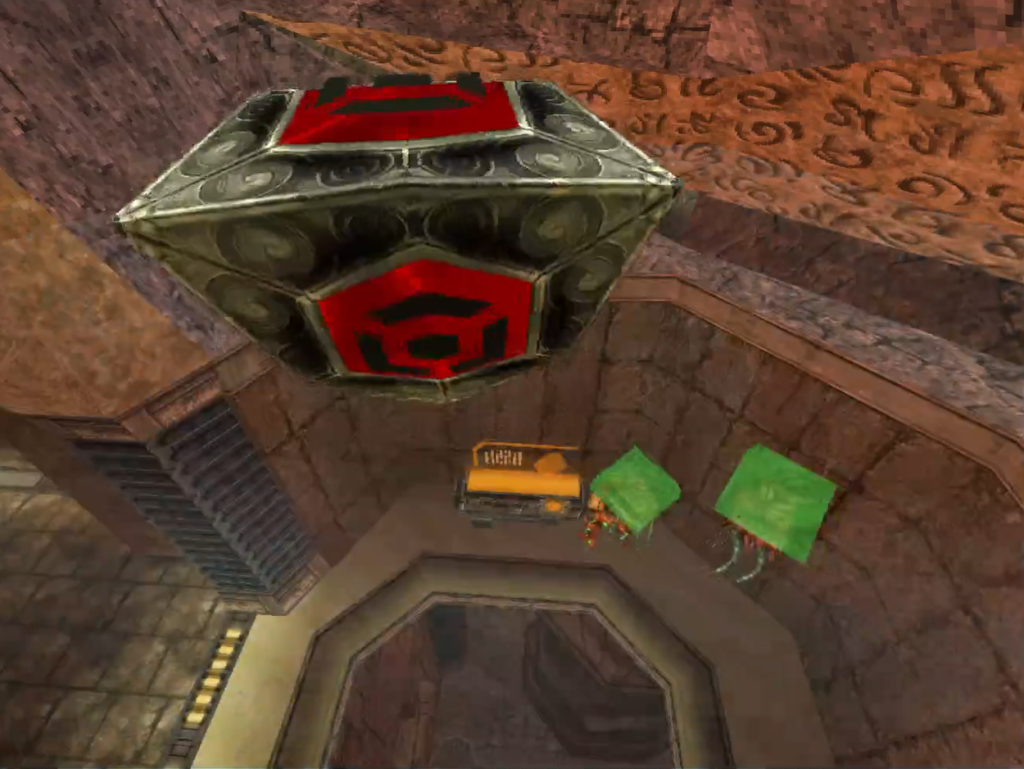
Navigate the Morph Ball tunnels until you come to a little alcove where you can morph up. You’ll see three Zoomers; destroy them, and the Shield Key will pop up. Snag it and morph down, rolling through the tunnel again past the walls with the blue light reflecting on them. Keep rolling and you’ll be right under a new tunnel, with two Octoloth symbols on either side (these are a great visual indicator that an Artifact is near!). Bomb yourself into the tunnel and you’ll roll into a new room, where the Artifact will be waiting for you.
Artifact 2 (Attameter Subscripture 01)
Location: Elder Passage
Requirements: None
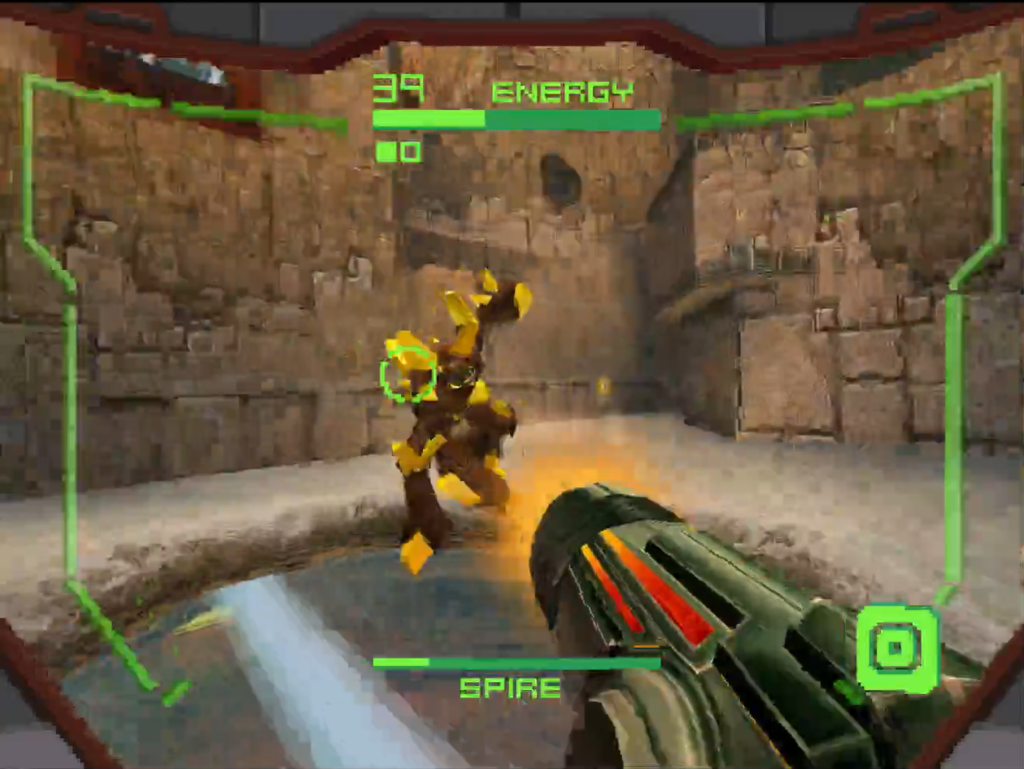
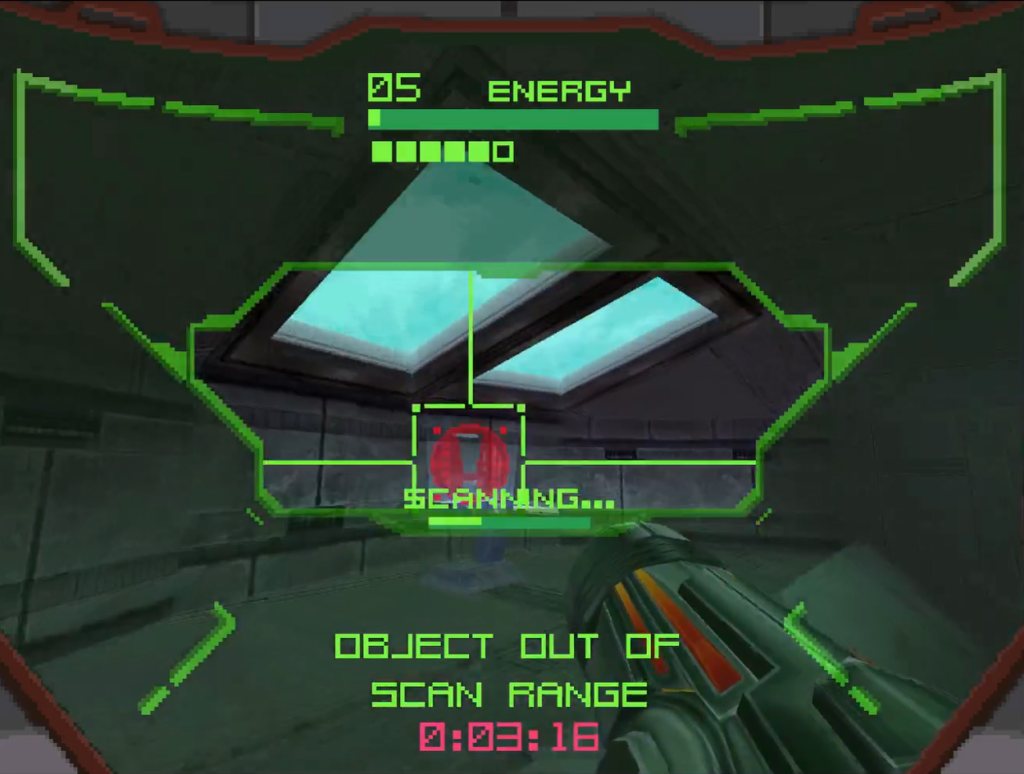
Once you’ve gotten yourself to lower part of the room – you’ll know you’re in the right spot since Spire will be looking down at you from a hole in the ceiling – defeat all the enemies and spawners around you. Doing so will draw Spire’s attention; this won’t be a full boss fight per say, but you’ll need to damage him enough to get the Shield Key, so shoot upwards at him and get ready for the Hunter to jump down and start brawling with you. You’ll only need to land a few hits, and Spire will retreat, allowing you to scan a switch in the wall, which will activate the Shield Key. Grab it and walk down the hall to grab the now-unlocked Artifact!
Artifact 3 (Binary Subscripture 01)
Location: High Ground
Requirements: None
Now you’ll need to finish what you started! Put Spire down for the count (and check out our boss strategies of you need any help!) and you’ll receive a Shield Key. Take it and grab your final Artifact on the upper ledge of the room.
Vesper Defense Outpost Stronghold Void 1
Artifact 1 (Attameter Subscripture 01)
Location: Weapons Complex
Requirements: None
Navigate towards a large circular room with a blue force field on the floor; there will be two spawners on the wall spitting out Psycho Bits, so destroy the spawners and enemies and you’ll see the force field will disappear. Drop down and take out the two Lesser Ithrak’s; once they’ve been dealt with, grab the Shield Key and hop on the center platform to ride back up to the upper level where the spawners were. The Shield covering the Artifact is now gone, so grab it the exposed Artifact!
Artifact 2 (Binary Subscripture 01)
Location: Compression Chamber
Requirements: Battlehammer
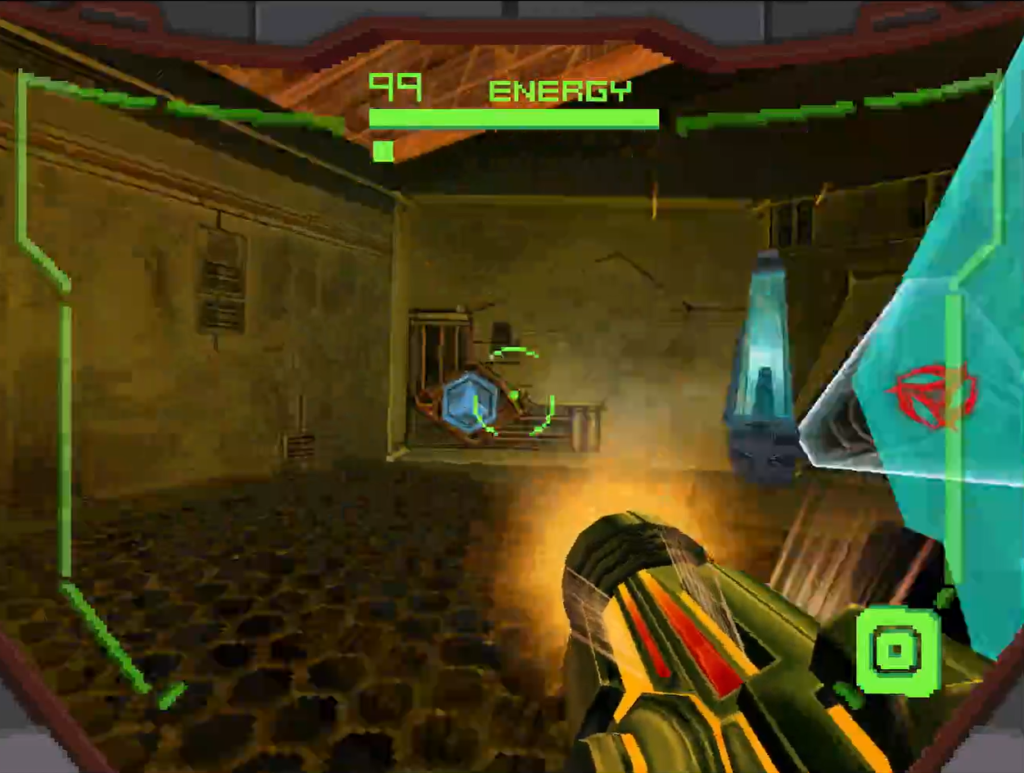
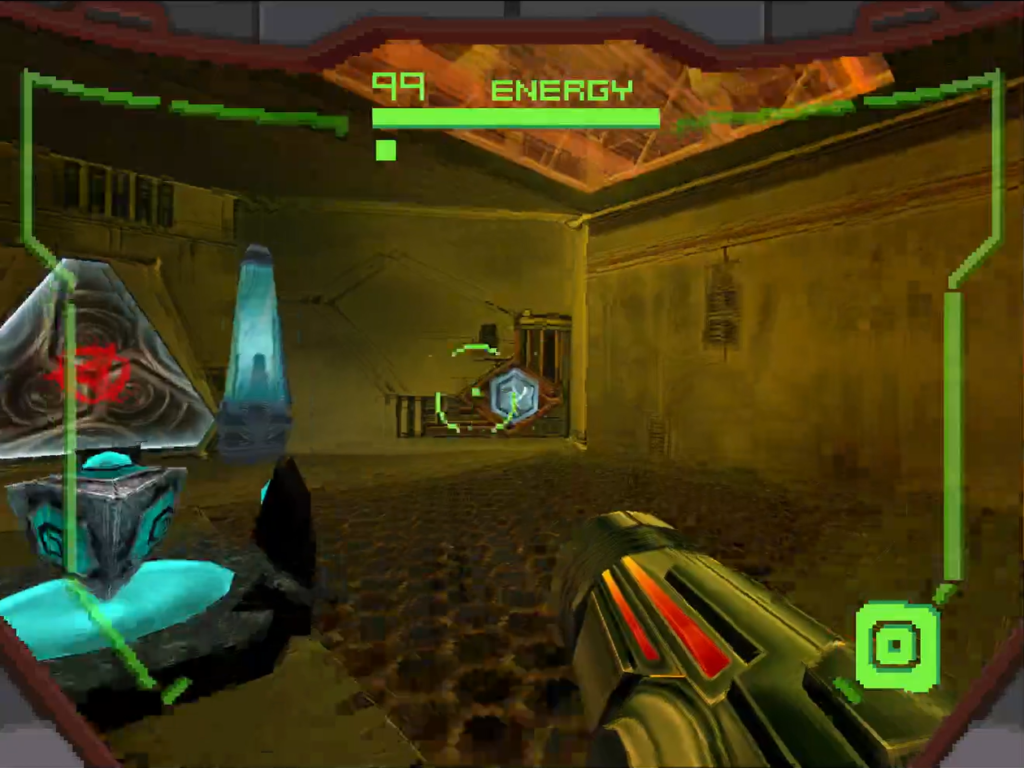
Once you’ve grabbed the Battlehammer, head back to the Cortex CPU, specifically, the Morph Ball section and take the center tunnel; this tunnel will take you “straight” ahead, so look for the two blue light pillars on either side of the tunnel and roll through. When you come out, blast away the green shield and defeat the spawners and Psycho Bits in the room. Scan the red force field switch in front of you and then scan the second switch on the higher level above.
Finally, roll back into the side of the room again which you entered from (you can also grab a UA Expansion!) and then roll through the new force field-less entrance to the other side of the room! Take out a Lesser Ithrak and the Shield Key will spawn; snag it and the force field towards the back of the room will drop, revealing a Morph Ball tunnel! Roll into it and you’ll get shot up to an upper part of the Compression Chamber, where finally, the Artifact will be yours!
Artifact 3 (Cartograph Subscripture 01)
Location: Weapons Complex
Requirements: Battlehammer
You’ll grab this Shield Key by defeating Sylux (check out our boss guide for some pro tips there!), who’s definitely a step up from the other Hunters we’ve faced so far, but hopefully not a fight that makes you pull your hair out. Once you’ve finished the battle, there’s a nook in the Weapons Complex down a hallway where the Artifact will be waiting for you.
Arcterra Stronghold Void 1
Artifact 1 (Attameter Subscripture 01)
Location: Sic Transit
Requirements: None
After your battle with Noxus, you’ll be required to scan six switches in the Sic Transit room. The switches are located:
- Lock 1: Above the locked door on the far side of the room – the yellow tinted portion -the switch is at the top of the second level landing
- Lock 2: The top of the pillar on the bridge
- Lock 3: The top of the second pillar on the opposite side of the bridge
- Lock 4: The third pillar on the bridge, directly beside the second switch
- Lock 5: In the small alcove with the Magmaul door, directly opposite the door on the wall
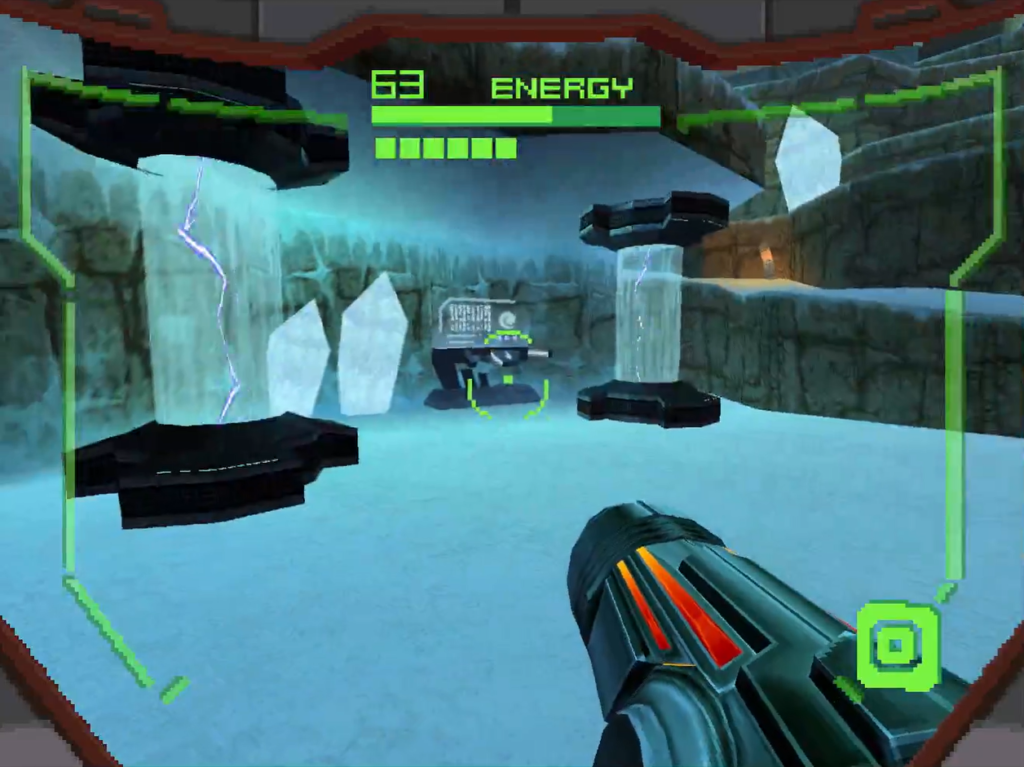
- Lock 6: Behind the Alimbic Turret in the yellow alcove
Scanning all six will cause the Shield Key to appear in an alcove just past the bridge. Grab it and the door directly under the bridge will finallY be unlocked, allowing you to grab this Artifact!
Artifact 2 (Cartograph Subscripture 01)
Location: Ice Hive
Requirements: Judicator
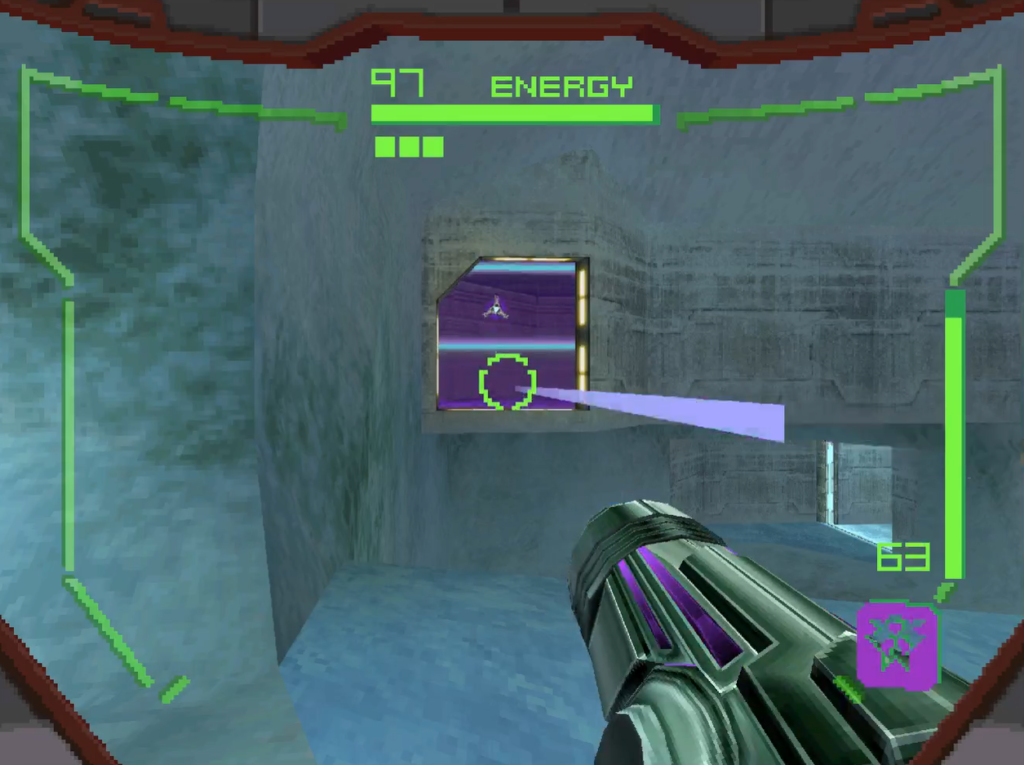
Immediately after grabbing the Judicator, open the purple lock on the lower door and go through, ending up on a ice bridge near the Stronghold Void entrance. There’s a smaller purple shield that you can see directly opposite the ice bridge; shoot it, and enter. You’ll run only into a UA Expansion, but also an Alimbic Turret guarding a Shield Key. Destroy the turret and then carefully drop directly down to grab the Artifact!
Artifact 3 (Binary Subscripture 01)
Location: Frost Labyrinth
Requirements: Judicator
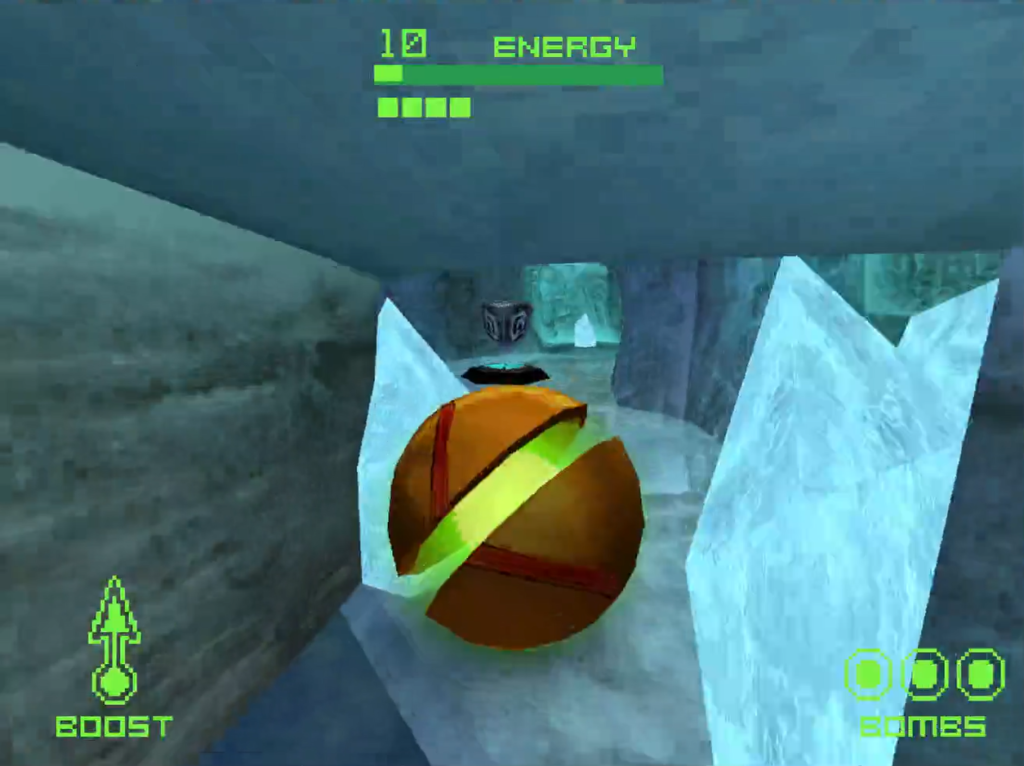
You’ll need the Judicator to open up this pathway for you. Enter from Sic Transit and you’ll find yourself in a giant Morph Ball area with a layer of ice above you. Eventually, you’ll come to a tunnel that has a break in the ice above you that you can fit through, and a Shield Key floating above. Double Bomb jump up, grab the Key, and a door blocking a tunnel will become unlocked. Roll through this new tunnel and you’ll enter a new room, where the Artifact will be waiting for you!
Celestial Archives Stronghold Void 2
Artifact 1 (Cartograph Subscripture 02)
Location: Docking Bay
Requirements: Volt Driver
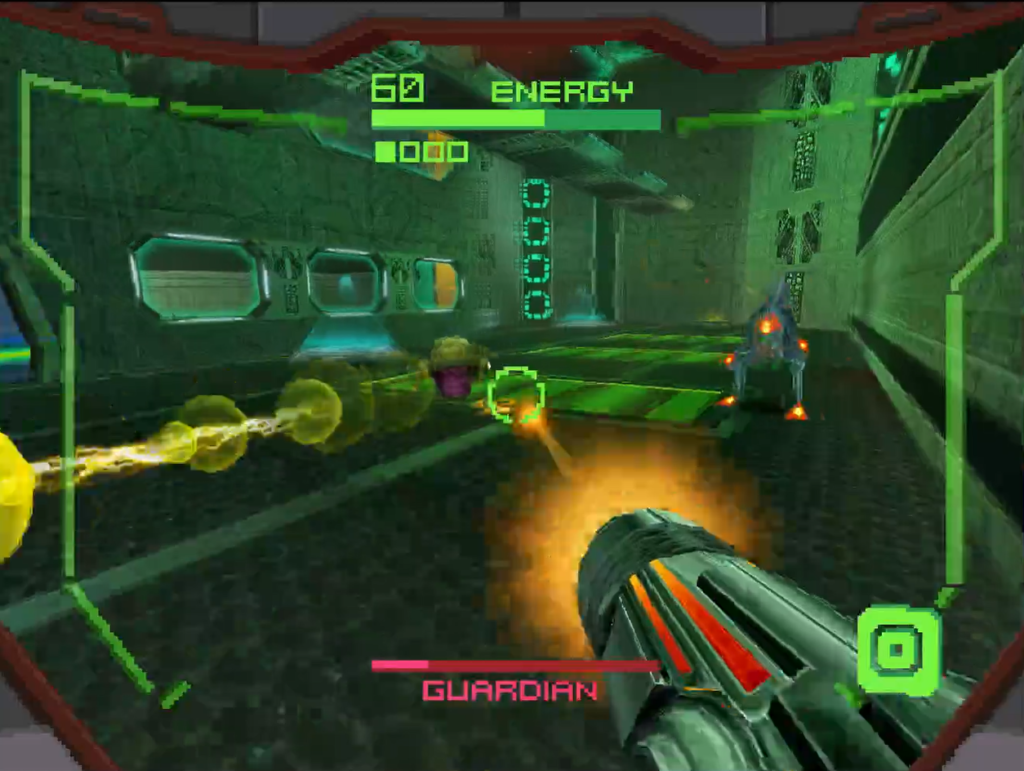
Use the warp point from your ship to get the Synergy Core, jump up a few platforms, and then use the Volt Driver to destroy the yellow shield guarding a new hallway. Enter the hallway and use the elevator to and jump pad to propel you towards yellow lock door. Teleport up to the Transfer Lock room, and then navigate outside onto the control room located in an open environment. Get ready, cause there will be several Guardians, spawners, and Psycho Bits all over you as soon as you set foot outside.
Handle business, and then there will be three switches that you’ll need to shoot in the lower level towards the back of the room – destroying the Psycho Bits will show you their exact location. Shoot all three, and with each one you shoot, a new switch will be revealed in the same room. Find and shoot these three new switches and the inner control room will be unlocked! Head inside, scan the terminal, and a new portal will be unlocked.
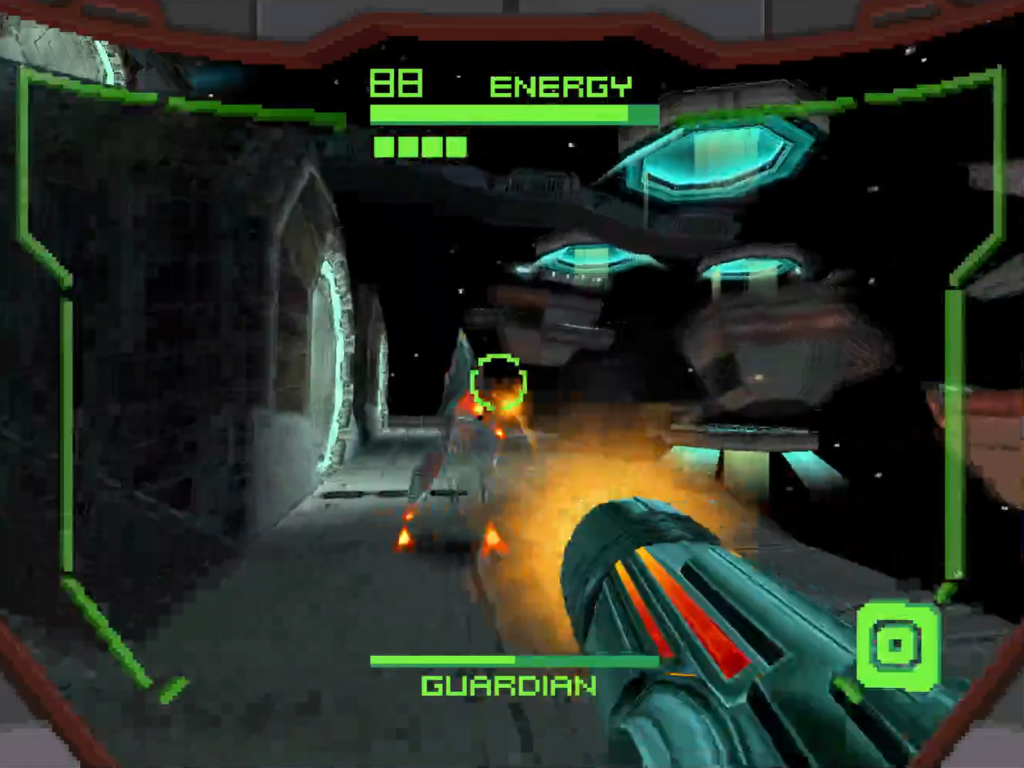
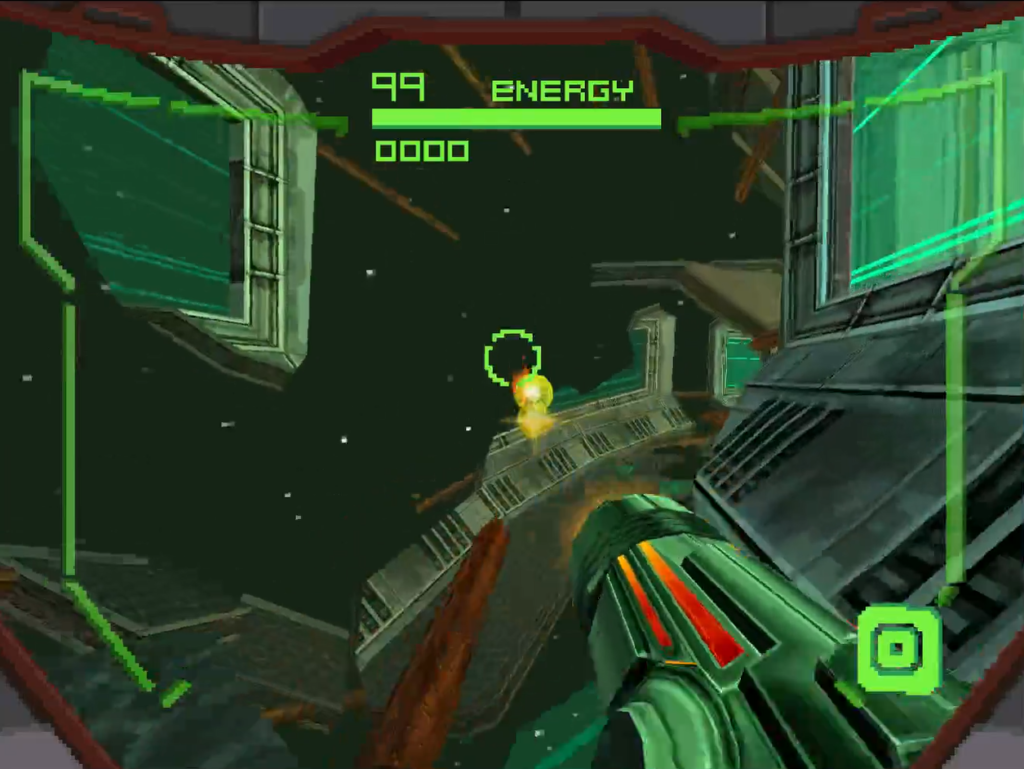
Take this new portal and you’ll be in one of the coolest “rooms” in the game – outside the station, gazing at the stars in outer space, on the deck! Deal with a Guardian, and a Shield Key will become available. All around you, you’ll see floating platforms; be careful not to fall, as that will obviously be a big game over, but take the lower, center platform and you’ll get a lift right to this Artifact!
Artifact 2 (Attameter Subscripture 02)
Location: Incubation Vault 01
Requirements: None
Take the left-most platform and step through the teleportal to get taken to Incubation Vault 01; you’ll see two Guardians right away, so take them out! You’ll get a Shield Key as a reward, but it’s not within reach. We’ll need to go exploring to get it.
From here, head back to the Docking Bay, and this time, take the second rightmost platform and hop in the teleportal. You’ll be in Incubation Vault 03, on a higher level, and will immediately have Psycho Bits in your face. Head to your immediate right and enter the second teleportal (there’s a Missile Expansion right beside it, just FYI!). It’ll take you to a new room, where you’ll need to take out a Crash Pillar, some Voldrum spawners, and three Guardians. Eliminating all these enemies will cause the teleportals to activate, so take the one closest to the blue Shock Coil shield and you’ll be transported back to the top of Incubation Vault 01, directly beside the Artifact.
Navigate on the catwalk to get the Shield Key – for the love of God, don’t fall down! – and once you’ve grabbed it, snag the Artifact!
Artifact 3 (Binary Subscripture 02)
Location: New Arrival Registration
Requirements: Shock Coil
From Incubation Vault 03, use the Shock Coil to break the blue shield and use the teleportal right behind the entrance. You’ll come into a new room called the Tetra Vista, which is a long derelict hallway that is sitting in open space. Carefully, carefully navigate your way across, taking slow and precise steps and jumps – be careful, this is a deceptively difficult room to platform around; I’ve fallen to my death more than once – and go through the door at the end.
You’ll be in New Arrival Registration and enter a large cylindrical room with moving platforms travelling up and down. Ascend to the top of this first cylindrical room and go through the door and, go figure, you’ll be in a second cylindrical room. This time, use the platforms to go down and when you reach the ground floor, you’ll see a little nook with the Artifact shield in front of you. Jump over and scan all of the Gorea lore, and the Shield Key will appear directly beside the Artifact Shield, allowing you to grab both Key and Artifact.
Alinos Stronghold Void 2
Artifact 1 (Attameter Subscripture 02)
Location: Council Chamber
Requirements: Magmaul
Immediately after grabbing the Magmaul, destroy the orange shield in the Fire Spawn room and enter the new room. Destroy a Guardian and then scan a terminal to unlock a security switch powering a force field. Use the jump pad to ascend upwards. Proceed down the hall and you’ll be in a new arena with spawners and Ice Voldrums; your Magmaul should make short work of them, so when they are defeated, go through the entrance that a force field was previously blocking and scan one more console. This will give you the Shield Key.
From here, simply drop down the opening to the level below (this will be in the same area you fought the Fire Spawn in again), shoot the projectile switch to activate the jump jump, and then launch yourself upwards to grab the Artifact.
Artifact 2 (Cartograph Subscripture 02)
Location: Crash Site
Requirements: Magmaul
Get to the Alinos Perch room, and before you do anything, do yourself a favor and clear this entire room of enemies. There will be turrets, spawners, Psycho Bits, and more; get rid of them. Once you’re finished, you’ll need to track down a couple of projectile switch’s to move some platforms into place.
- The first will be located towards the upper-back part of the room, where the Psycho Bits were; it’s under a ledge in a nook under the center platform. The first switch will activate a jump pad platform which you can use to lead across the Perch and scan a terminal, which will unlock the door to (the unreachable, for now) Crash Site room.
- The second projectile switch will be located on the side of the lone rocky platform in the middle of the Perch. You’ll see a jump pad on top of the rocky platform; shoot it and the jump pad platform will rise in the air.
- Lastly, on the far wall of Alinos Perch in a small walkway in between pillar and wall lies the last projectile switch. Shoot that and the final jump pad platform will be in place. Follow the walkway up and jump onto the platform, and you’ll land beside the door to the now-unlocked Crash Room!
Enter and carefully jump onto the middle platform (destroy that dang Blastcap!) and you’ll grab the Shield Key, which will unlock the Artifact just beneath it!
Artifact 3 (Binary Subscripture 02)
Location: Piston Cave
Requirements: Magmaul
This Artifact is nuts, and easily the most difficult one to get in the entire game. I’m not even going to try and sum up how to get it; instead, please watch the video below. A couple of protips for everyone trying to grab this Artifact; one, don’t overthink your movements. You’ll need to be fluid here; if you’re overly rigid or second guessing yourself, you will fall. Two, and this is kind of a contradiction of the first piece of advice I’m aware, but be careful! Line up your movements and go when it feels right! If you get the feeling the timing is off, just wait. Three, if you’re playing on the Wii U or any other method that allows you to make save states, utilize them! Good luck, and here’s the video:
Arcterra Stronghold Void 2
Artifact 1 (Attameter Subscripture 02)
Location: Fault Line
Requirements: Imperialist
Immediately after grabbing the Imperialist, use it to shoot the red switch and lower the platform into the area you just defeated Arctic Spawn in. Ride the platform back up top and hop off; walk ahead and use the jump pad to get to the other side of the Fault Line. Get rid of the Psycho Bits and the spawners and you’ll be rewarded with a Shield Key. Right below you should be a terminal in between two electrical current nodes. Scan the terminal and that will de-energize the nodes, not only here, but elsewhere!
Head back up and scan the big column in the area; you’ll see that it’s vulnerable to concussive blasts. You know what that means! Hit it with a missile and the column will collapse, giving you a makeshift bridge to cross and allowing you to get back to where you entered! Head across, navigate back down towards where you fought the Arctic Spawn, and then follow the pathway directly under the red switch. The electrical currents blocking access to this Artifact are now gone, so go ahead and grab it for yourself.
Artifact 2 (Cartograph Subscripture 02)
Location: Subterranean
Requirements: Imperialist
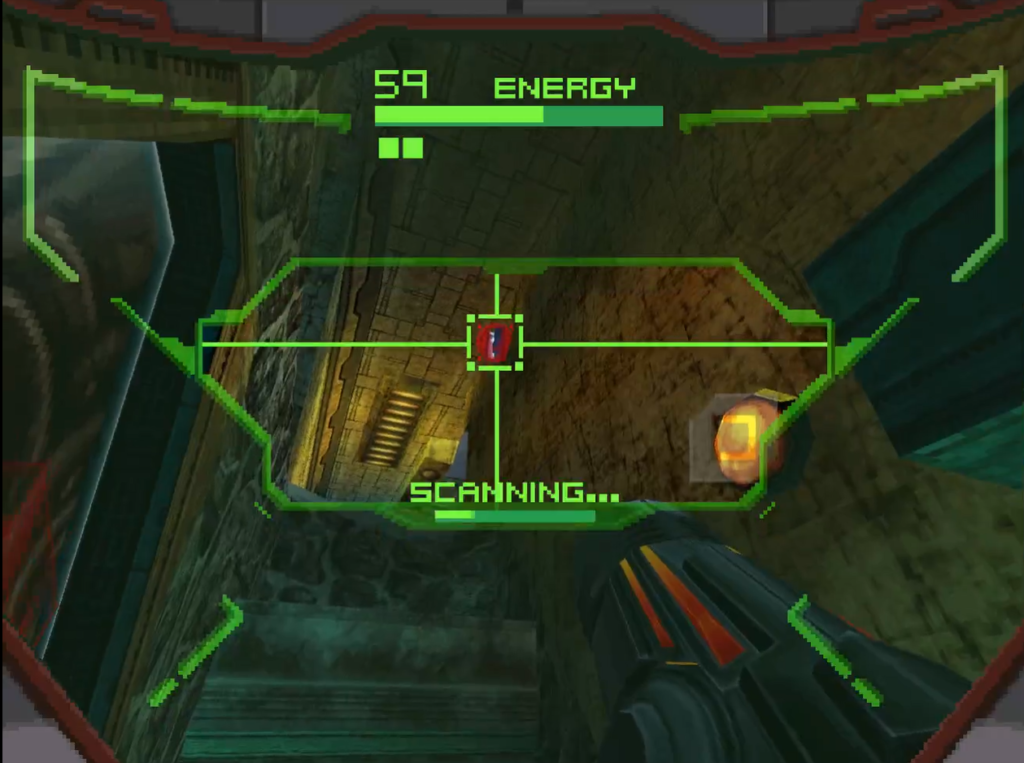
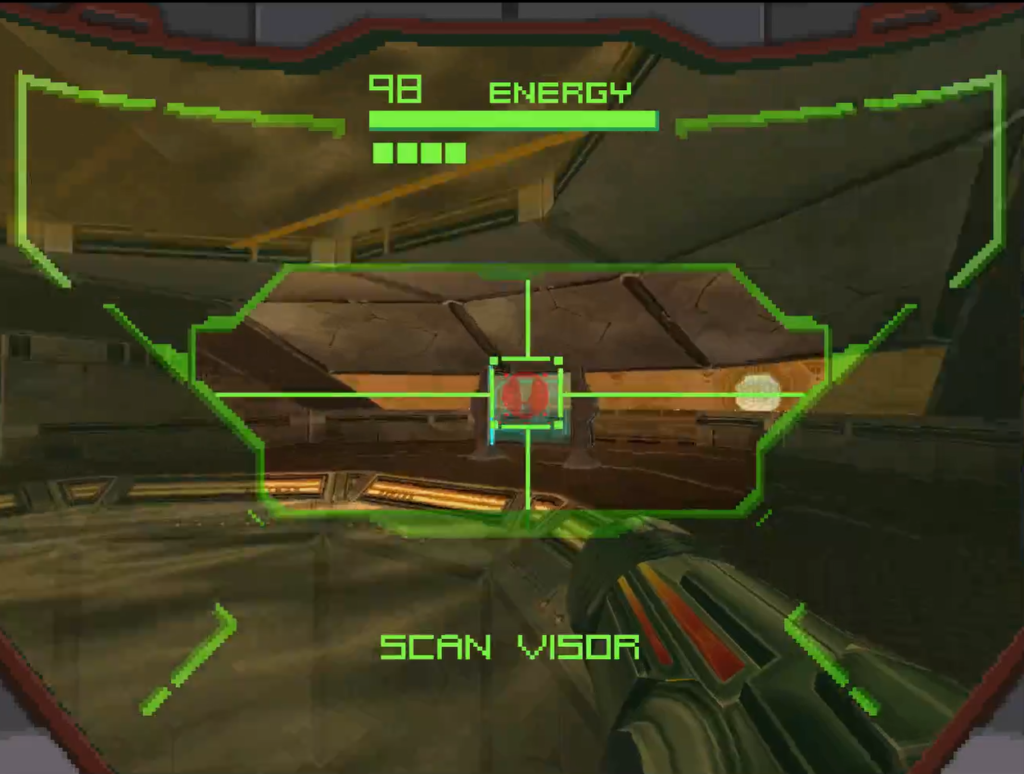
In the same spot you fought the Arctic Spawn, ride the rising platform upwards to the higher portion of the Fault Line. You’ll see half the room is inaccessible due to a force field, and wouldn’t you know, there’s actually not a way through it! Or at least, not a traditional way. We may not be able to cross the force field, but we can certainly scan things on the other side, so whip out your Scan Visor and you should see a teleportal that you’ll recognize takes you back to your ship on the other side of the force field. Scan the yellow switch and then make the long trek back towards your ship. You’ll now have a second active teleportal that will take you to the other side of the force field! Alright! Step inside and warp over.
First things first, shoot the two red switches high on either side of the walls to deactivate the force field. From here, use the jump pad to enter this new room, called the Drip Moat. You’ll need to ride this platform across a large hallway while shooting away creatures that will try and knock you down. It’s worth noting, there’s enough room on either side of the Moat to walk along the ledges, but you’ll need to be extra careful, especially when jumping across sections with a structural pillar in the way. Once you’ve made it through, you’ll enter Subterranean.
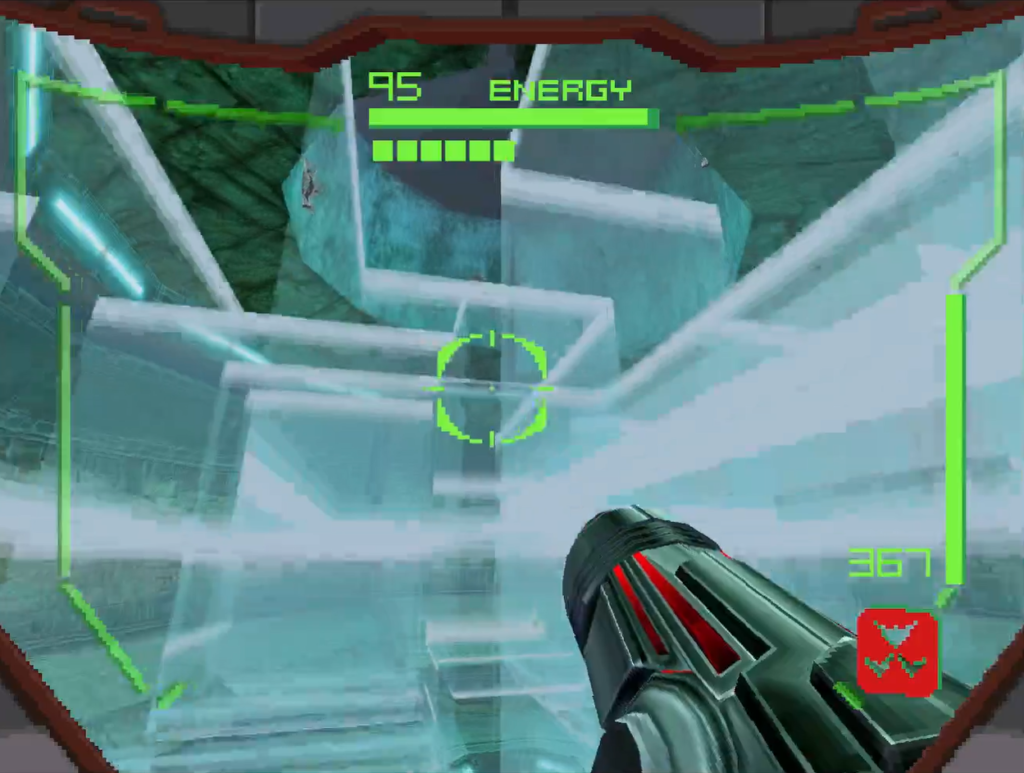
This is a pretty trippy room, with force field and force field platforms everywhere. It looks almost like a house of glass carnival room, complete with the same unsettling vibes. There are three red switches that you’ll need to hit with the Imperialist that are all lined up on the upper circular portion of the room, and unfortunately, due to the nature of the force field maze, telling you what the best angle to shoot them from will be impossible. Some of them, I lined up a shot and then jumped to get over the force field, while others just require a precise shot.
Once you’ve hit all three, head towards the middle of the maze and head to the lower portion of Subterranean (you could say, the subter…. never mind). There’s a passage towards the back left of the room; take it, and destroy the Alimbic Turret V2.7 shooting Imperialist beams at you. Doing so will yield you the Shield Key. Grab it and head back towards the entrance to the lower portion of the room, stopping to grab the Artifact on your right.
Artifact 3 (Binary Subscripture 02)
Location: Sanctorus
Requirements: Imperialist
Back in the Frost Labyrinth maze, navigate towards the north end you’ll come across a red blast door. Now that you finally have the Imperialist, you can enter it, so do so and press forward. Press ahead and then drop down (there’s a UA expansion to your left you’ll want to grab first, though!). There’s a lone Greater Ithrak here, so tell it what’s good and then start looking around the room for switches to scan. There are three ‘Spectral Locks’ you’ll want to hit; the first is pretty obvious, on the wall right in front of the terminal; the second, is towards the back of the room in a small walkway leading to the main room; and the third is in another small walkway on the opposite corner, also facing the room.
Scanning all three will lower a force field on the back wall that was covering a red switch. Shoot in from afar with the Imperialist, grab the Shield Key, and head back to the back of the room to grab the Artifact! Just as a warning – as soon as you grab it, you’ll have Guardians on you, so be ready!
Vesper Defense Outpost Stronghold Void 2
Artifact 1 (Cartograph Subscripture 02)
Location: Stasis Bunker
Requirements: Imperialist
Use the Imperialist to press forward in VDO and head to the Stasis Bunker. This Artifact will require some pretty quick movement, so you want to clear out any enemies in this room and familiarize yourself with where the terminals are, where the Shield Key spawn point is, and what the most efficient routes to get around are. When you’re ready, head to the Stronghold Void 2 entrance. You should have taken out an Alimbic Turret nearby; directly under it a terminal. Scan it and start running!
You’ll have 20 seconds to make your way back to the entrance of the Stasis Bunker. This will be tight, so move fast and get your Scan Visor out so you can start scanning from a distance! Near the entrance is a second terminal you’ll need to scan. If you scan it in time, a second timer will start counting down, giving you another 20 seconds to grab the Shield Key. Book it back up and head through the door with the two Octolith statues on either side. If you’re quick enough, you’ll have grabbed the Shield Key.
Now, you can finally head back down and grab the Artifact!
Artifact 2 (Attameter Subscripture 02)
Location: Stasis Bunker
Requirements: None
This is a simple yet annoying Artfact to grab. As soon as you snag the Cartograph Artifact, what you’ve been fearing would happen, happens. You’ve no doubt noticed all of the Guardians in stasis pods and, if you’re anything like me, been thinking “I hope I don’t have to fight all of these”. Well, unfortunately you do, and the time to fight them is now. Take care of three Guardians and the Shield Key will appear, allowing you to grab the Artifact
Artifact 3 (Binary Subscripture 02)
Location: Fuel Stack
Requirements: None
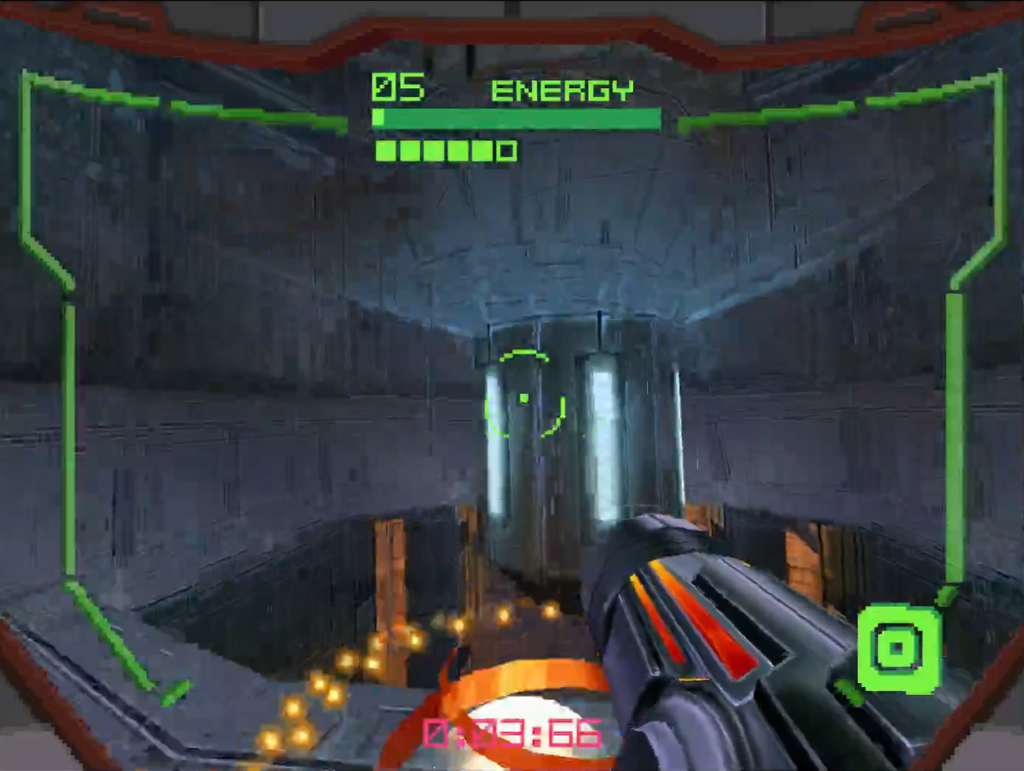
This is another tricky timed segment, and one that is deceptively hard! Don’t feel bad if this takes you a few tries. As soon as you enter the Fuel Stack, you’ll see debris falling from above that will collide with the main silo, causing an Emergency Overflow which will destroy the entire station is 59 seconds unless you can scan a terminal to deactivate it! You’ll need to navigate your way upwards, so check out this video for best practice:
Once you’ve shut off the Emergency Overflow, navigate towards the Shield Key and grab the final Artifact!
