


Metroid Fusion Walkthrough – Sector 5: First Encounter
Walkthrough
- Biological Space Labs
- Sector 1 – Atmospheric Interference
- Sector 2 – Unknown Saboteur
- Sector 4 – Ultra-High Speed
- Sector 3 – Rogue Security
- Sector 6 – Frozen Parasites
- Sector 5 – Cold Arsenal
- Sector 3 – Meltdown
- Habitation Deck – Signs of Life
- Sector 5 – First Encounter
- Main Deck – Power Failure
- Sector 2 – Overgrown With Vegetation
- Sector 5 – The Nightmare Awakens
- Sector 4 – Diffusion
- Sector 6 – Revelations
- Sector 1 – Neo Ridley’s Cry
- Sweeping the B.S.L.
- The Final Confrontation
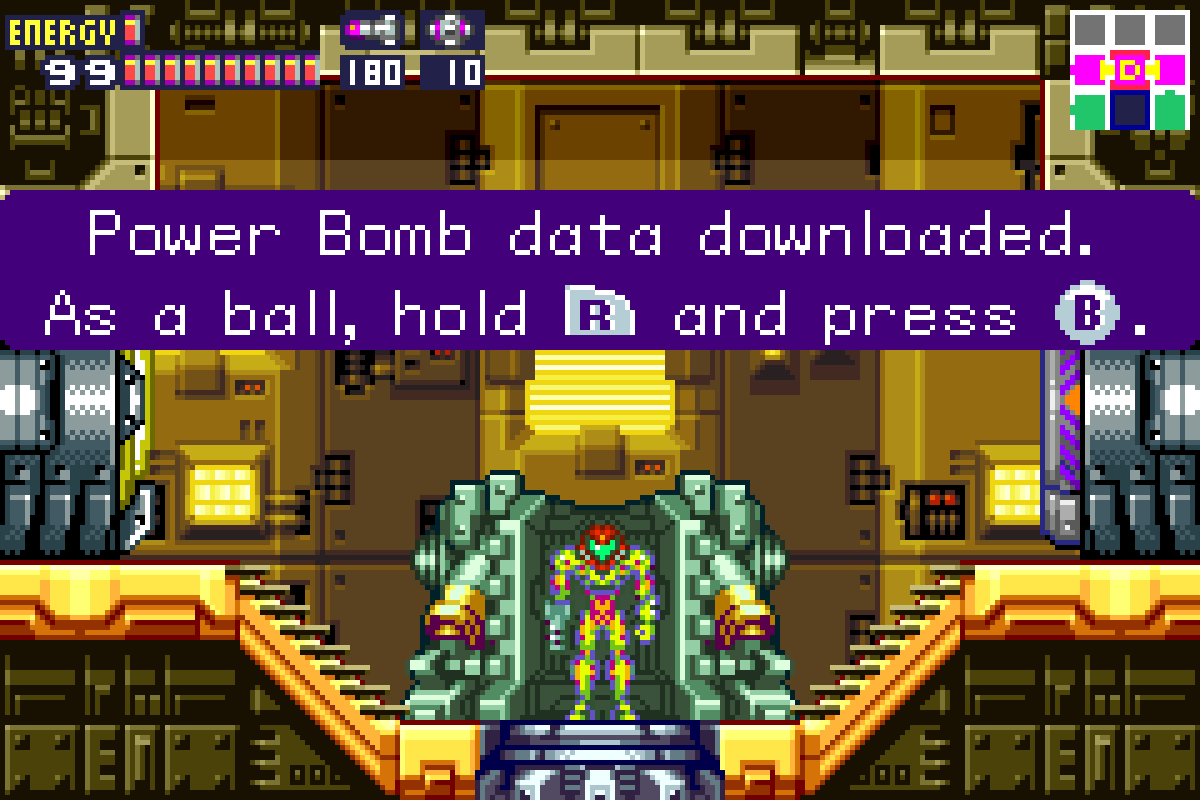
Power Bombs
Adam will inform you that Power Bomb data is available from HQ. One of the only Data Rooms left standing is the one we just came from in Sector 5, so let’s head back.
Even though you might be expecting some new obstacles or a boss enemy to make our lives difficult and prevent us from grabbing the Power Bombs, surprisingly, the path forward is simple and worry free. You’ve been to this Data Room before and there are no new obstacles preventing you from getting there quickly and quietly again. Go to the Data Room and download POWER BOMBS.
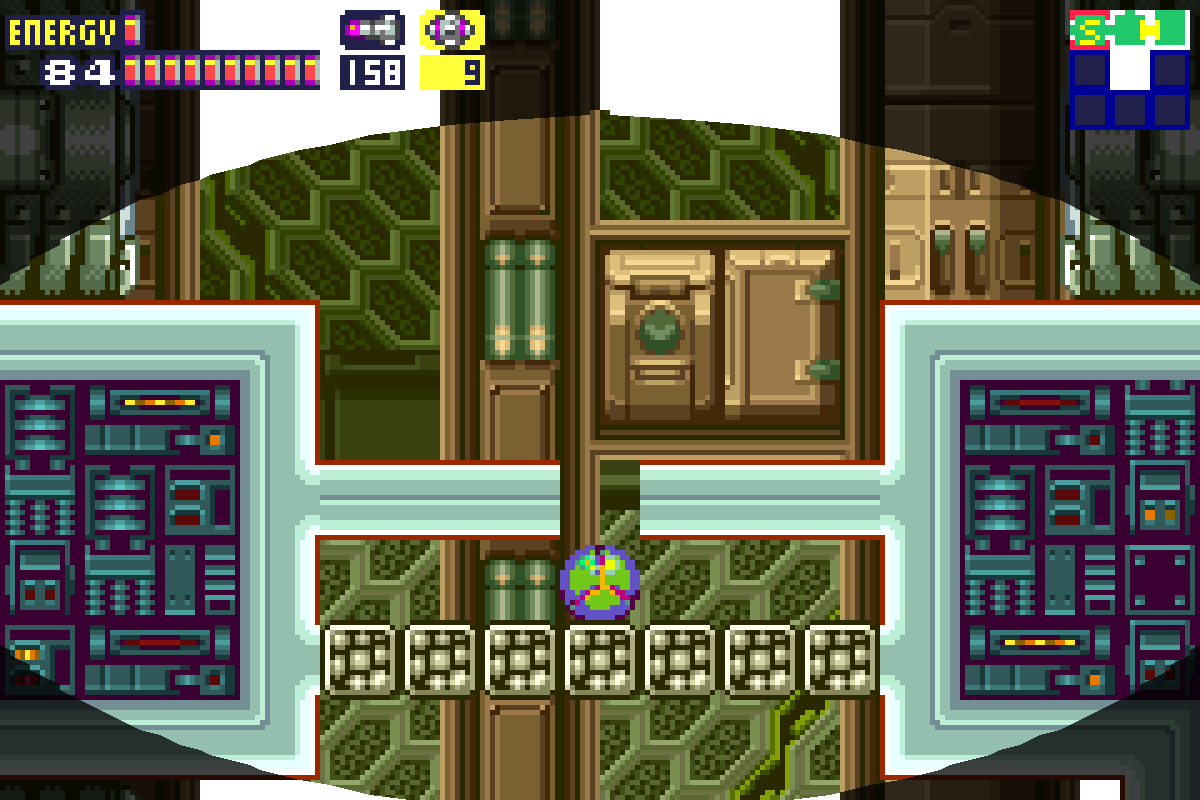
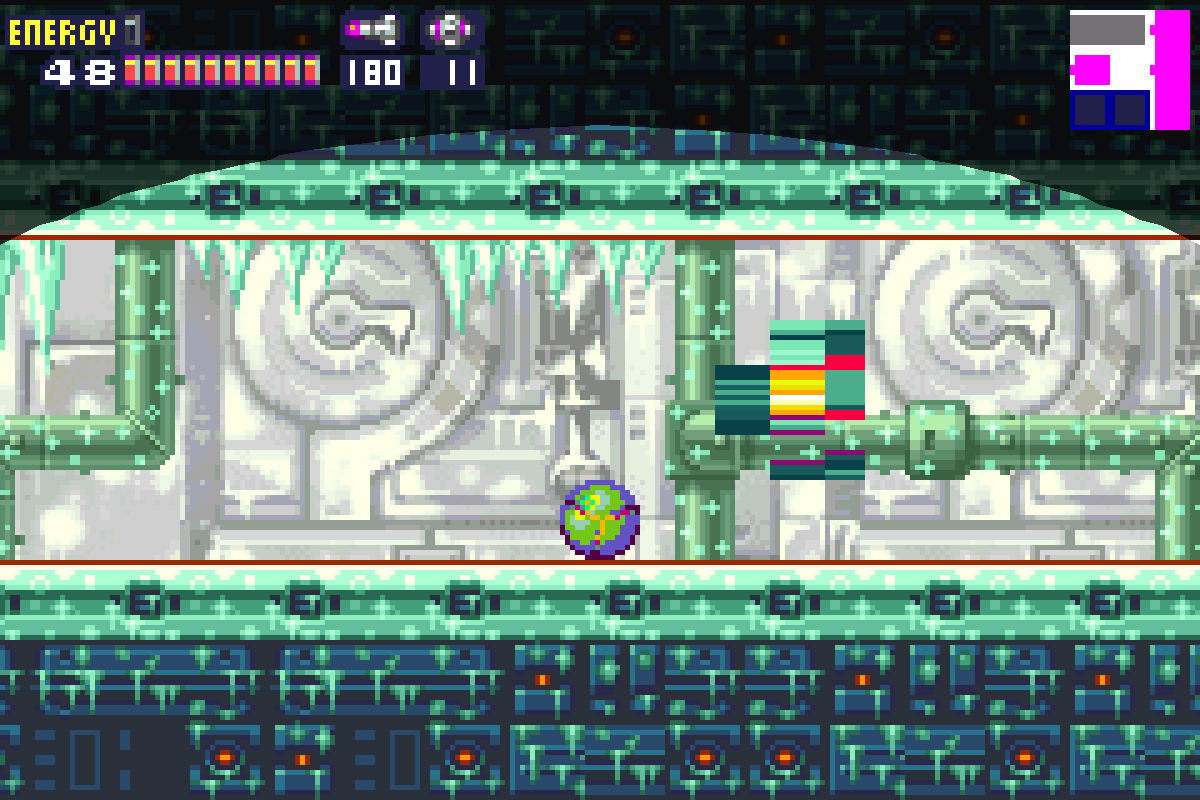
Exit the Data Room and fall all the way to the bottom of this familiar vertical hallway. I’d recommend using the Save Room, and then head back a room to where we froze the Kago earlier to jump through the roof. This time, we’re going through the floor. Lay a Power Bomb and you’ll see an opening for you to slip through.
Move into the next room and muster your courage.
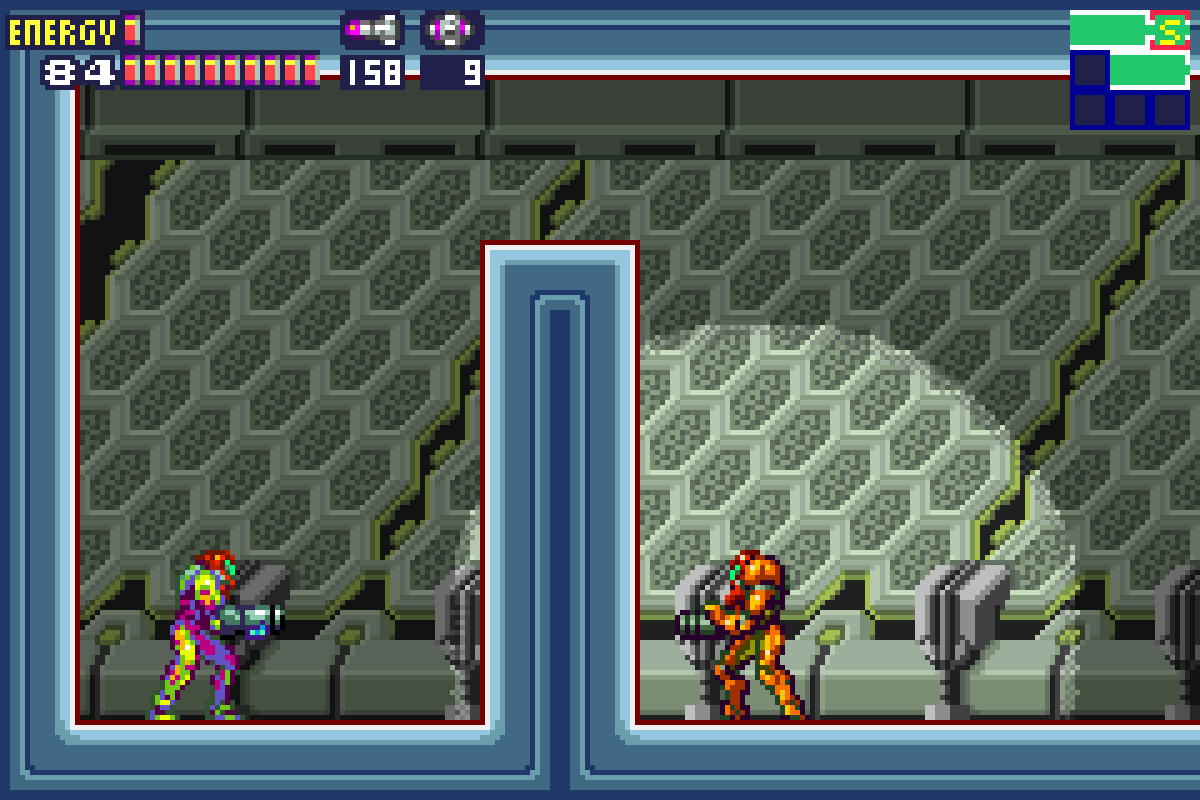
SA-X Encounter!
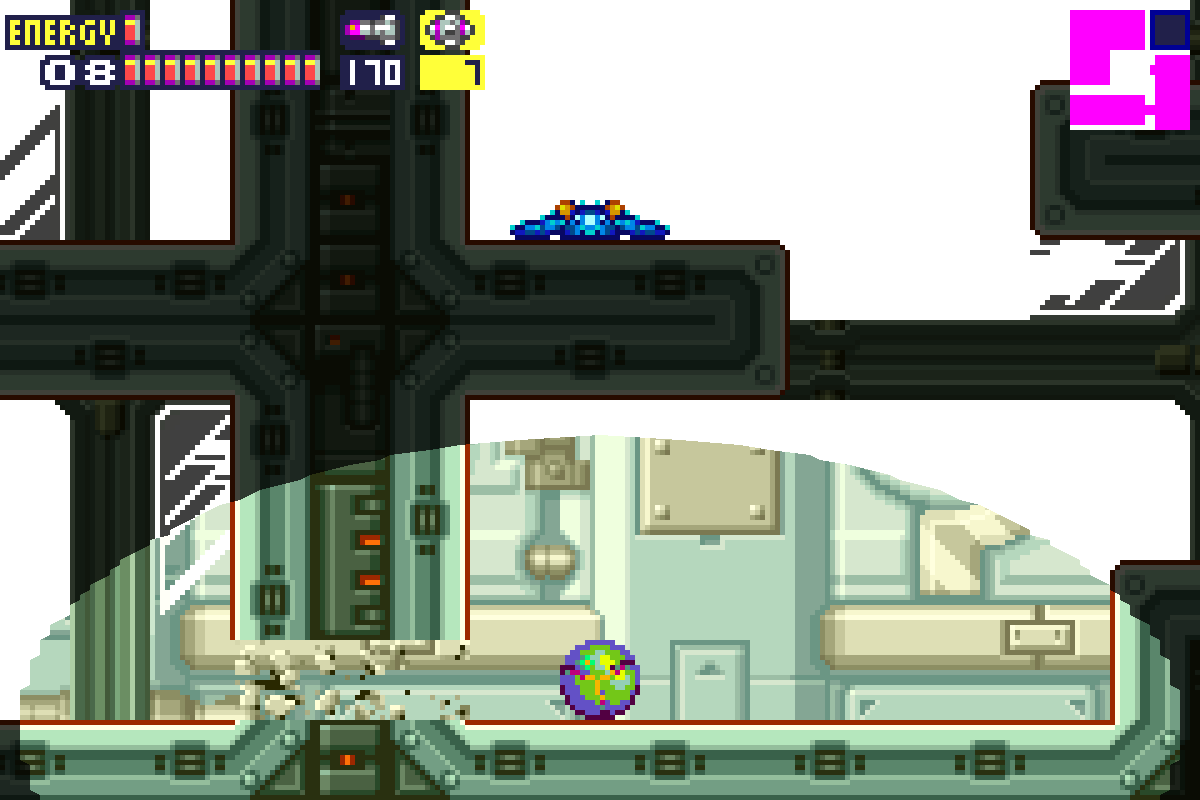
Jump behind the pillar in this room and you’ll hear what no doubt is a sound keeping you up at night by this point: the quiet footsteps of the SA-X. The SA-X will stalk this room back and forth without leaving, and we’ll need to lay a Power Bomb to break away the wall and proceed.
Steel yourself and lay a Power Bomb. Before it explodes, get your Ice Missiles ready and point them right at the SA-X. Hit it with a Missile and move! You’ll have about two seconds before the SA-X unfreezes and starts firing at you. The Power Bomb you laid will reveal two tunnels in the wall. TAKE THE HIGHER ONE!! The lower one is a dead end, and puts you right in the line of the SA-X’s fire, so you’ll be a turkey on Thanksgiving if you take that route. Roll into the second tunnel and move.
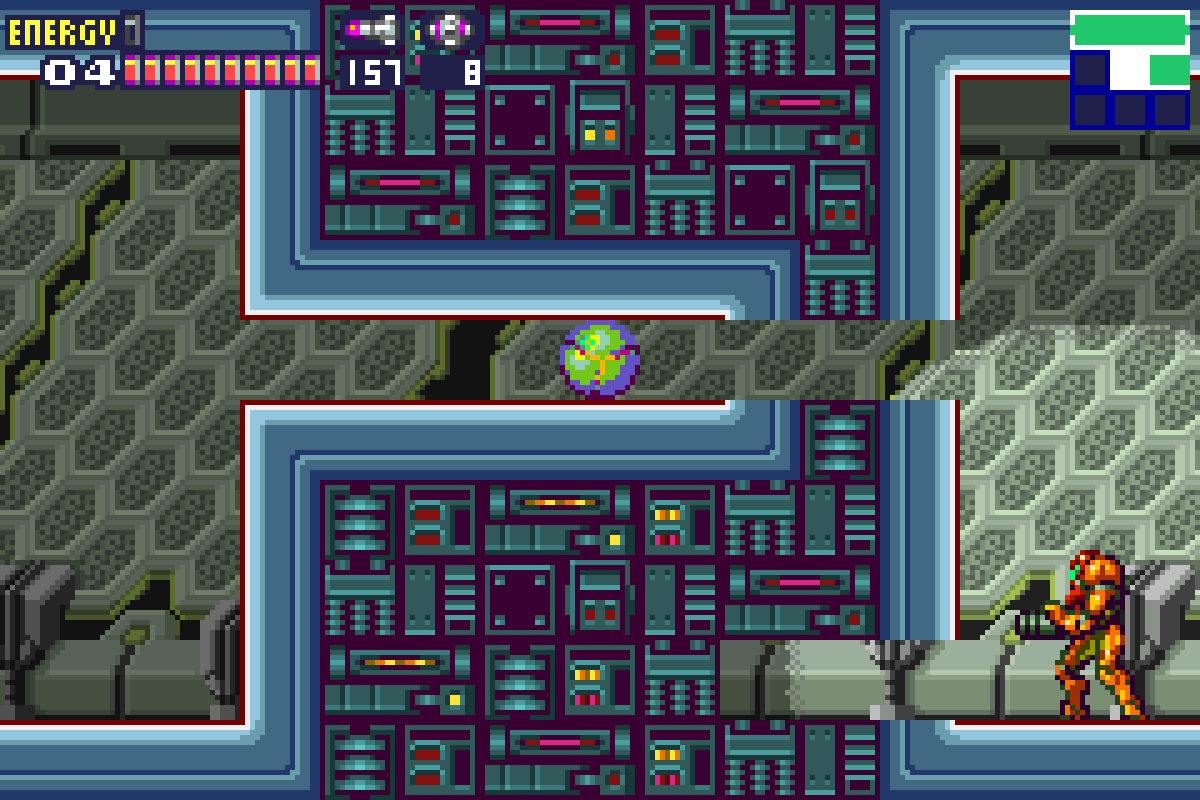
The SA-X will not follow you in the tunnel as it can’t use the Morph Ball, but we’re not out of the woods yet. The SA-X will be firing beams at you, and its beams have both Ice and Wave beam features, meaning that the SA-X will be shooting beams at you from the other side of the wall and the beams will travel through, and if they hit you they will inflict massive damage. A couple well timed jumps should get you to the door safely, but just be on guard!
Leaving Sector 5
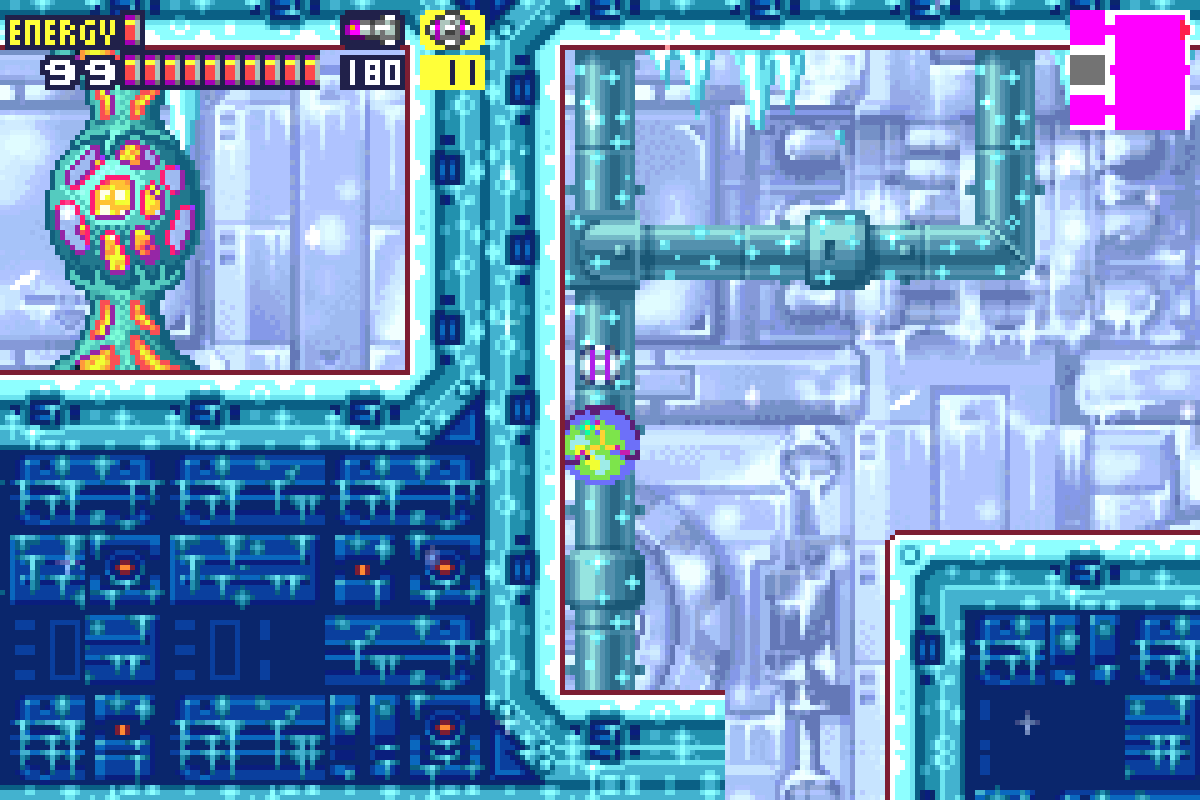
Once you clear the room with the SA-X, lay a Power Bomb at the base of the next room. There’s a red X if you need a health recharge, as well as POWER BOMB EXPANSION #1.
Head upwards; the door to your right is destroyed, so enter the Lock Security Room to your left. Proceed up to the Thin Freezer. You’ll notice the biggest gross eye blob yet blocking your path, but one Power Bomb and this sucker will be blown to smithereens.
Once you’re in the Thin Freezer, take the middle left door, again blowing away the eye blob blocking your path. Enter the next room and get ready for a hard Expansion.
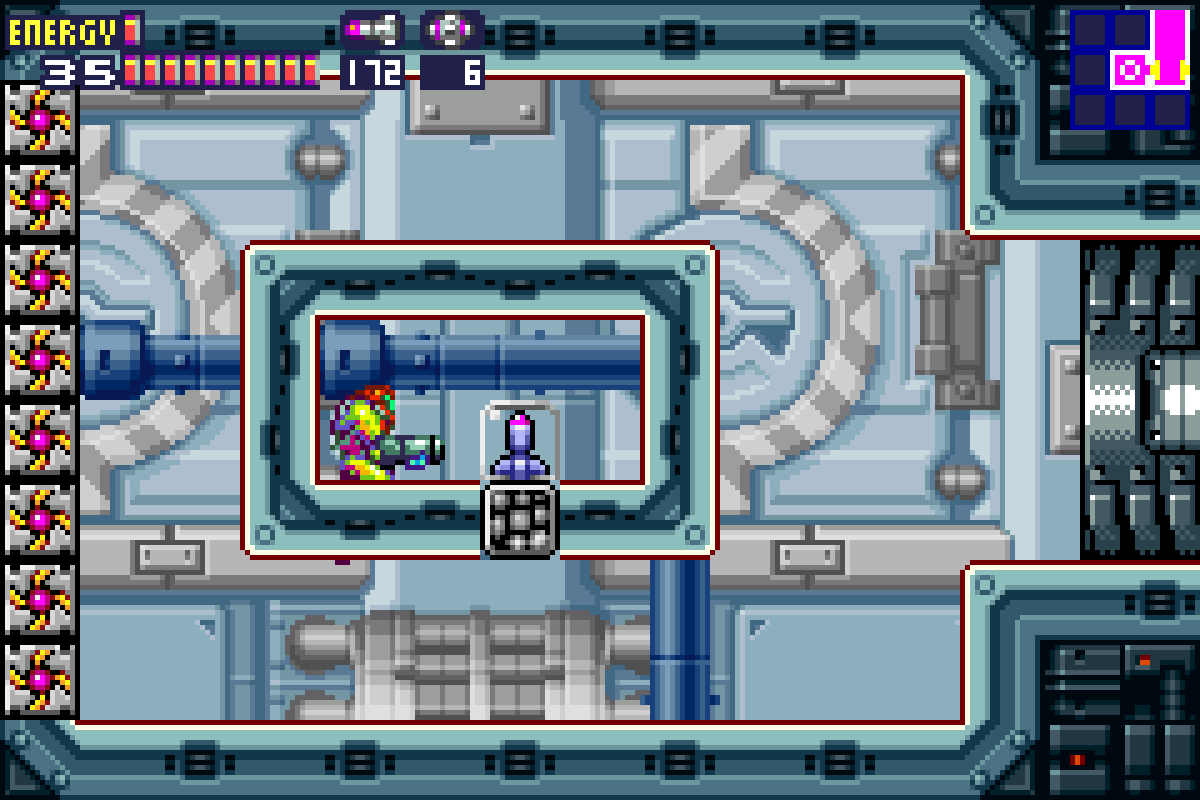
To grab the expansion in this room, you’ll need to make extensive use of your springball and Ice Missile abilities. You’ll see a couple Rippers flying back and forth above what looks to be solid ground. Don’t be fooled though; if you touch anywhere on this surface, it will give away and you’ll fall right into the bottom. The only solid surface is the litter alcoves in between the Rippers. What you need to do is freeze the Rippers as they’re in somewhat of the middle of the upper parts of this platform. You’ll have a little bit of leeway on the first Ripper, but the second Ripper, you need to hit him almost literally in the middle of the second and third tile. Turn into a ball and jump over once the Rippers are frozen. Be pressing left as you jump to give you a little bit of momentum. Once you make it past both Rippers, be sure to jump on the expansion! The ground directly before the expansion will give out if you touch it, and having to do the whole thing over would suck. Once you’ve finally done all this, you can grab POWER BOMB EXPANSION #2 as your much-deserved reward.
Head back towards the Big Freezer room and enter the lower left hand door. Keep heading left until you get to the last room, two map squares directly under the Recharge Room. You’ll see a Missile Expansion and tons of enemies here. Clear out the room and then stand under the middle floating platform. Position yourself to the left, four tiles in starting for the right. Jump up and you’ll go right through the wall. Grab MISSILE EXPANSION #35.
There’s nothing else for us in Sector 5, so back to the Navigation Room.
Next Chapter: Main Deck – Power Failure