


Metroid Fusion Walkthrough – Biological Space Labs
Walkthrough
- Biological Space Labs
- Sector 1 – Atmospheric Interference
- Sector 2 – Unknown Saboteur
- Sector 4 – Ultra-High Speed
- Sector 3 – Rogue Security
- Sector 6 – Frozen Parasites
- Sector 5 – Cold Arsenal
- Sector 3 – Meltdown
- Habitation Deck – Signs of Life
- Sector 5 – First Encounter
- Main Deck – Power Failure
- Sector 2 – Overgrown With Vegetation
- Sector 5 – The Nightmare Awakens
- Sector 4 – Diffusion
- Sector 6 – Revelations
- Sector 1 – Neo Ridley’s Cry
- Sweeping the B.S.L.
- The Final Confrontation
Infection
“As for me… one life ended. Yet, I survived, reborn as something different.”

Picking up shortly after the events of Super Metroid, this game is going to place our heroine Samus Aran in mortal danger immediately. While exploring the Planet SR388 – the planet where the Metroid’s were first created – Samus is infected by a parasite known only as the X. Nearly dying, Samus is only saved by a vaccine-derived from the Baby Metroid’s DNA.

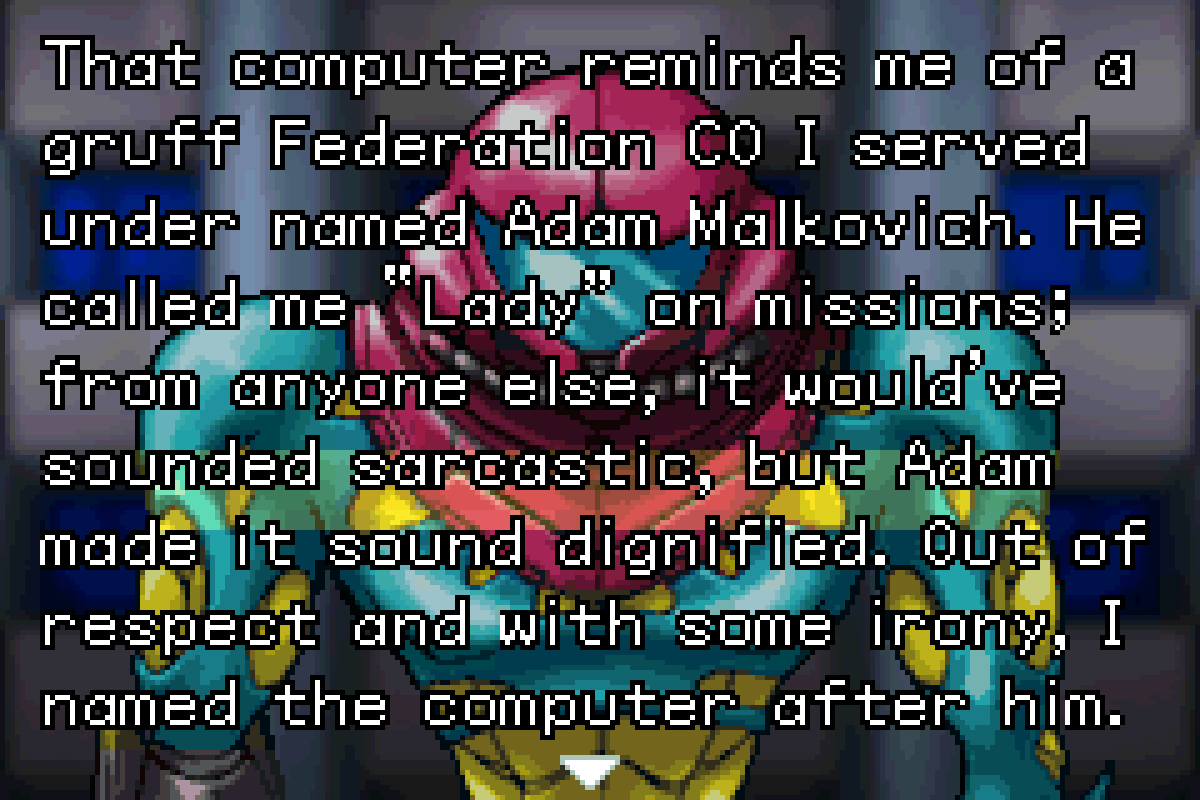
Metroids, as luck would have it, were the main predators of the X parasite on SR388, so their DNA proves quite effective in counteracting the X parasite inside Samus’s body. Unfortunately, with no Metroid’s left, the X are running out of control. Powered with a new, fancy suit and accompanied by an artificial intelligence commanding officer nicknamed “Adam”, Samus prepares to board the Biological Space Labs, or B.S.L., to investigate an explosion and get to the bottom of the X parasite mystery…
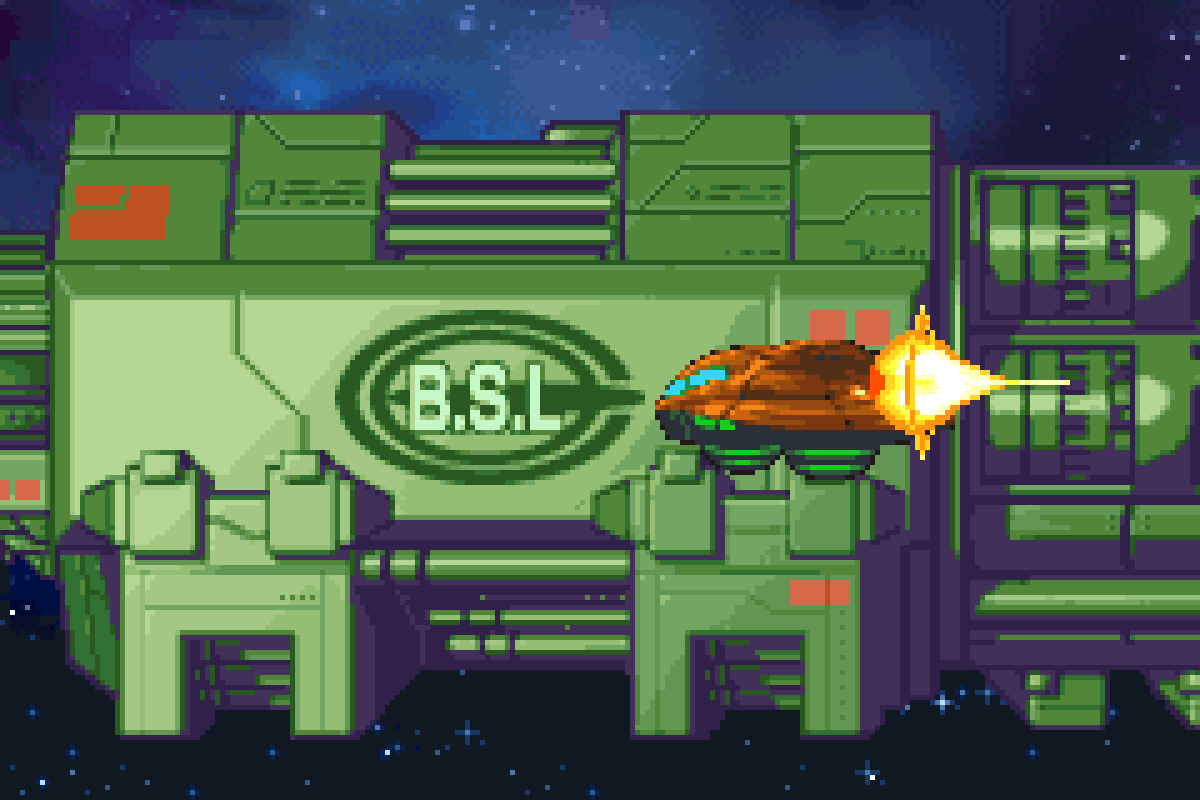
Aboard the B.S.L.
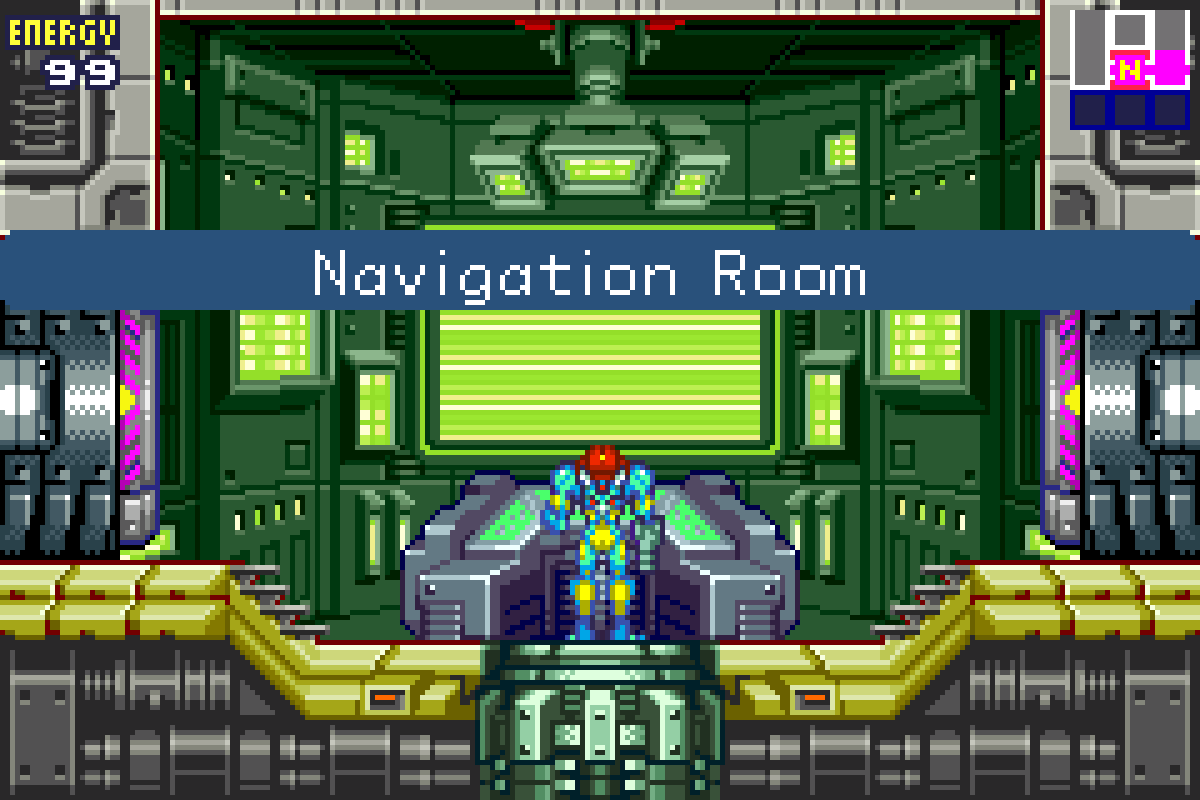
After landing in our fancy new ship, we find out our first objective is to investigate the Quarantine Bay. Unfortunately, the X really messed us up, so Samus is starting with almost none of her trademark powers. When you finally gain control of Samus, make your way left and then up the corridor until you reach the Main Deck. Keep left until you hit the Navigation Room (these rooms will appear on the map as a “N” room). Metroid Fusion will unfortunately constantly be asking us to stop moving so we can stop and listen to Adam give orders, so get ready for a lot of stop and start over the course of our adventure.
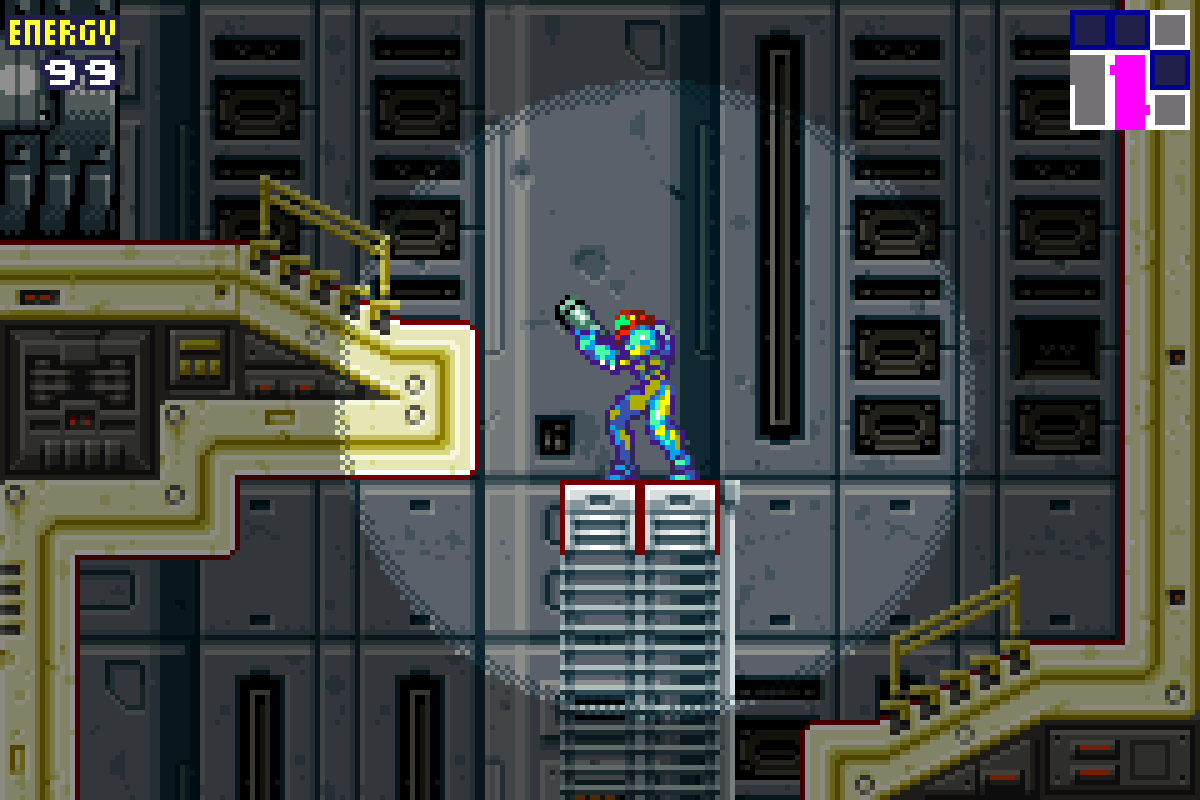
Make your way left and then head straight up to the top of this corridor. Take the top left door and then drop all the way down, entering the Quarantine Bay door on your left again. This place is pretty messed up, so tread carefully. Press on, and you’ll encounter an ugly creature known as a Hornoad. He shouldn’t give you too much trouble, so blast him away and collect the floating X parasite that spawns from it. Return to the Navigation Room and talk to Adam.
Bad news – it looks like the X parasites can mimic whatever they infect, so the creature we just killed wasn’t actually a Hornoad, but an X parasite mimicking one. You can probably see the real bad news in this scenario already… Worse yet: the X have completely infested the B.S.L., and Samus is still recovering from her initial attack, so this is going to be an upward battle, to say the least. Adam will unlock the doors for us though, so at least we can explore a bit more.
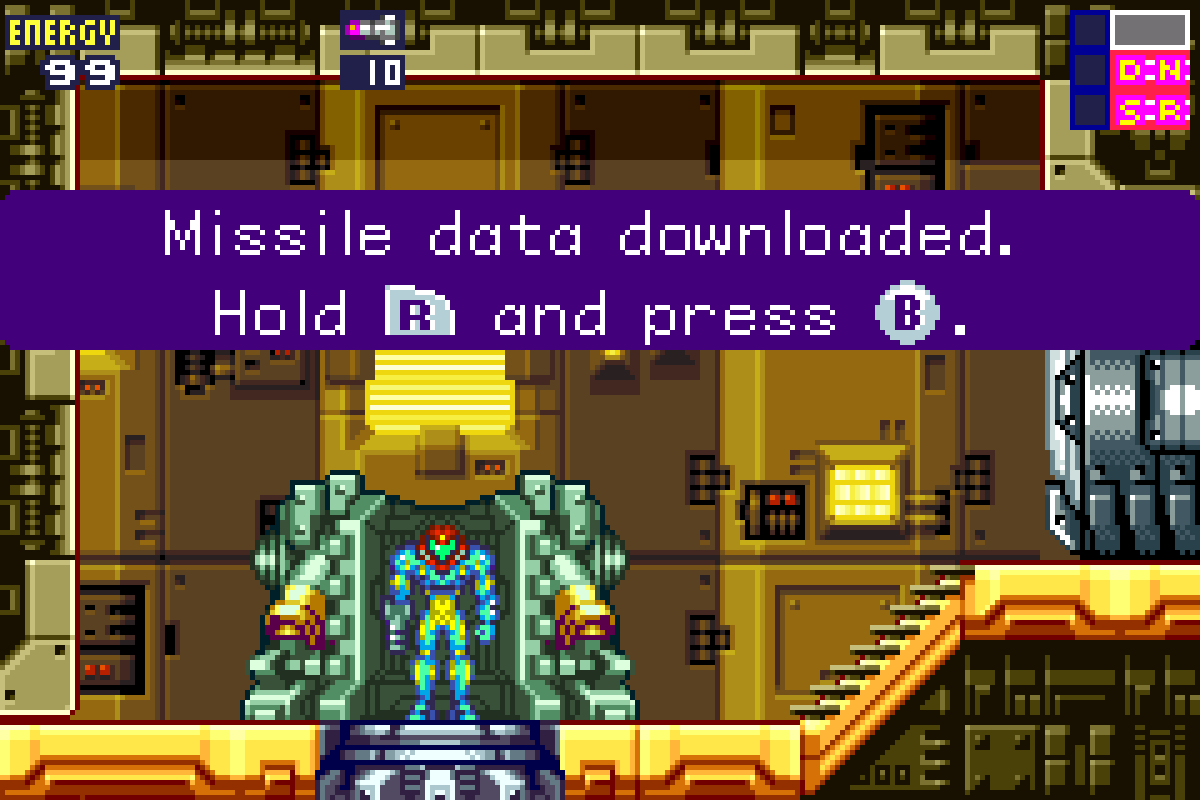
Take the right exit out of the Navigation Room and head up, stopping at the middle-right door and pressing right. There’s a Save Room here, so just to get this piece of advice out of the way, save often and early, every chance you get. On the other side of the Save Room, head upwards. You’ll see this gross red ball in a green slimy sac blocking a door, which, unfortunately, we can’t do anything about right now. Keep heading up and make your way into the Navigation Room. Adam lets us know that we can download Missile Data into our site by heading to a handy-dandy Data Room. Kinda weird that these Galactic Federation guys are dictating what we can and can’t do, but I guess the alternative was Samus staying in the hospital, so we’ll just need to put up with it and trudge along.
Make your way right and then take the upper-right door. Take the elevator up to the Operations Deck, make your way left to the Data Room, and download MISSILES!
Exit to the Navigation Room and listen to Adam. Once he’s finished, head back into the large, open room, jump across the two platforms, and then blast that metal, shiny door on the wall with your new Missiles to reveal a secret passage! Oooooh! We’ll run into another one of those gross slimy sac things; blast it in the center with three Missiles and it will disintegrate. Drop down in the tunnel, shooting the cracked walls in front of you and climbing on the ladders on the wall. Keep dropping down past some giant wires until you fall right beside MISSILE EXPANSION #1! Run to the room to the left and shoot the top ledge to reveal MISSILE EXPANSION #2.
Make your way back right, blast the zombie, and then exit the pipe rooms back onto the Main Deck. Right in front of you will be what we Metroid veterans know as a Gadora, aka boss door… a giant eyeball-looking form that will shoot projectiles at us if we stand around long enough. Since we don’t want that, shoot the door before it can shoot us! Three missile shots right to the eye will cause the door to revert back to its X form. Worth noting – any time you see a Red X floating around, go out of your way to grab it since they’ll fill our health back up.
Enter the room and use the ledges to propel yourself up. Keep heading left and you’ll run straight into ENERGY TANK #1. You’ll see a pit you can drop down, BUT WAIT!! At the very end of the ledge before you drop, stop and shoot a Missile at the ceiling. This will open up a passage in the ceiling that you can jump up to. Jump up and roll over to grab ENERGY TANK #2. Now that you’ve got that, drop down and get ready for your first boss fight of the game.
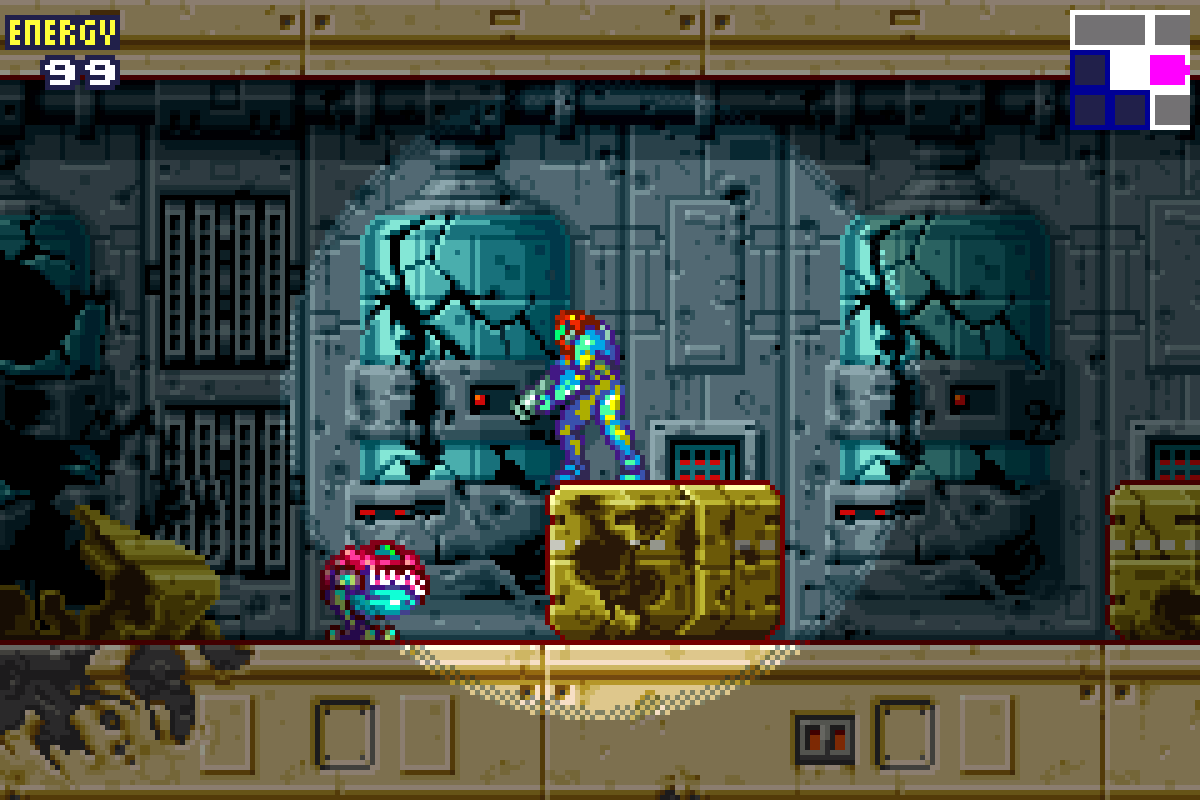
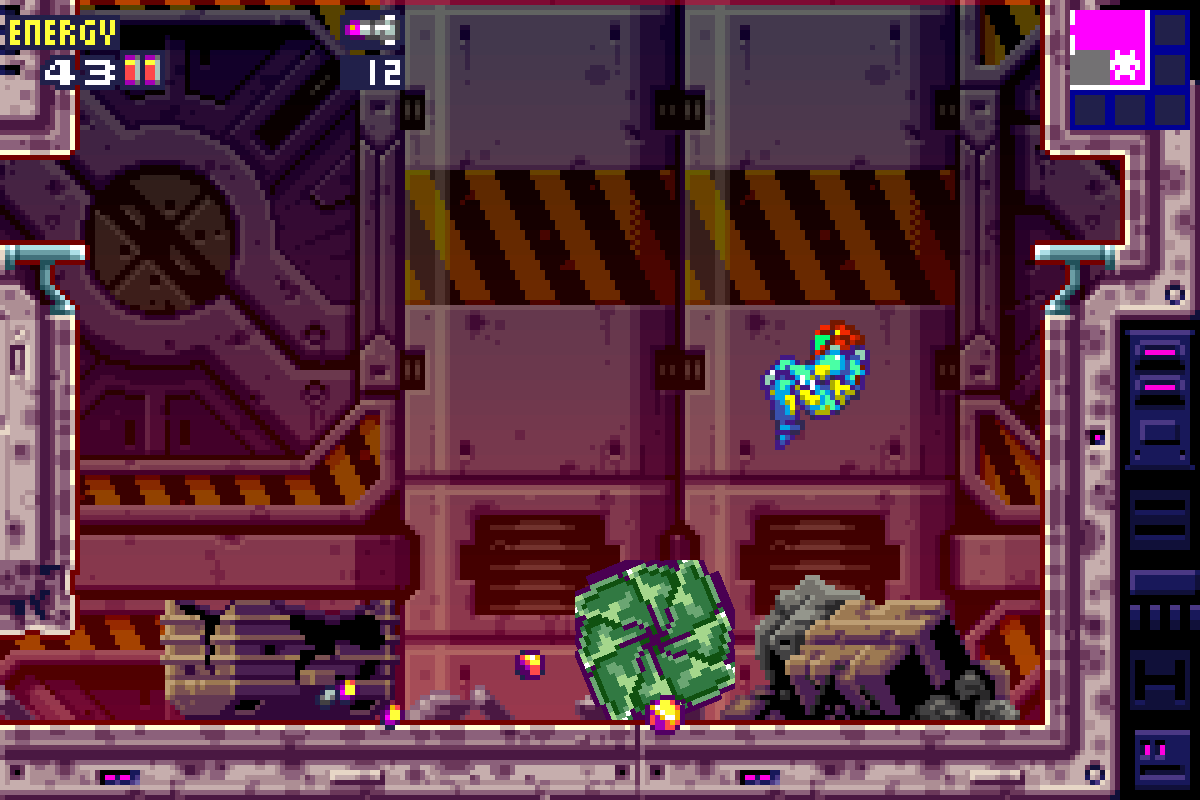
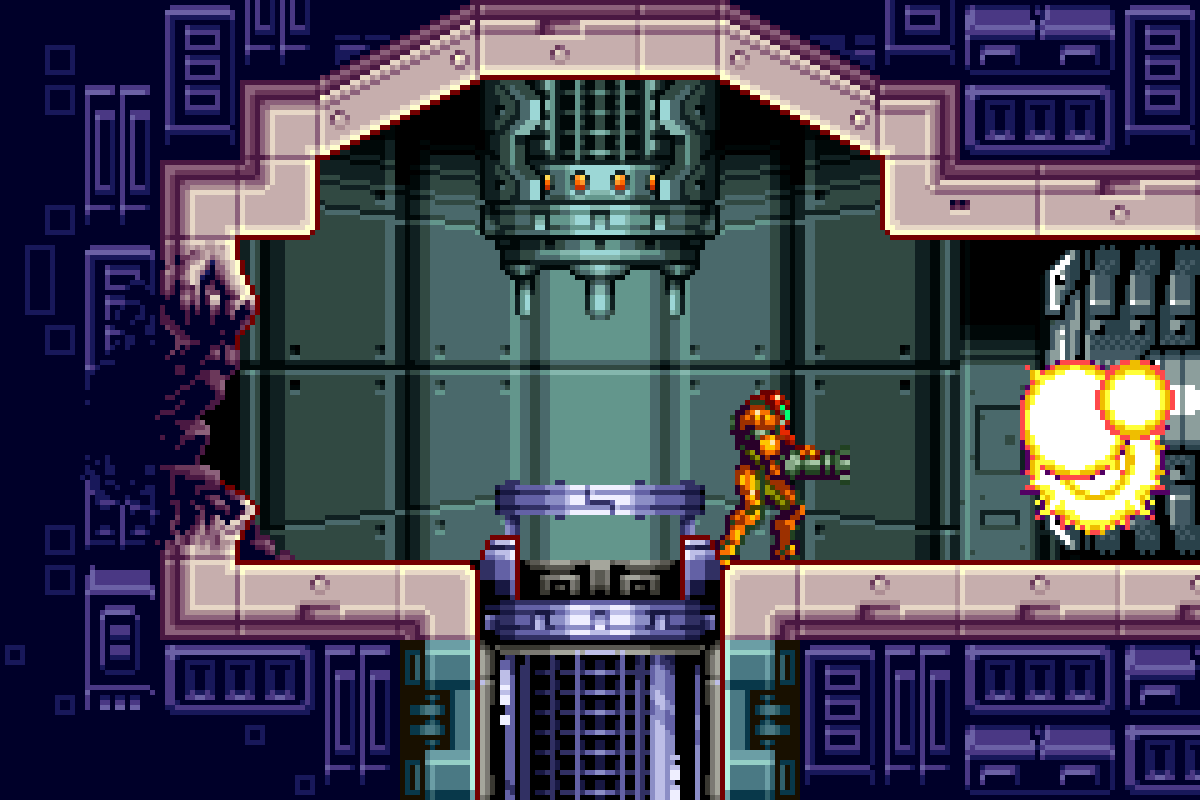
Arachnus-X
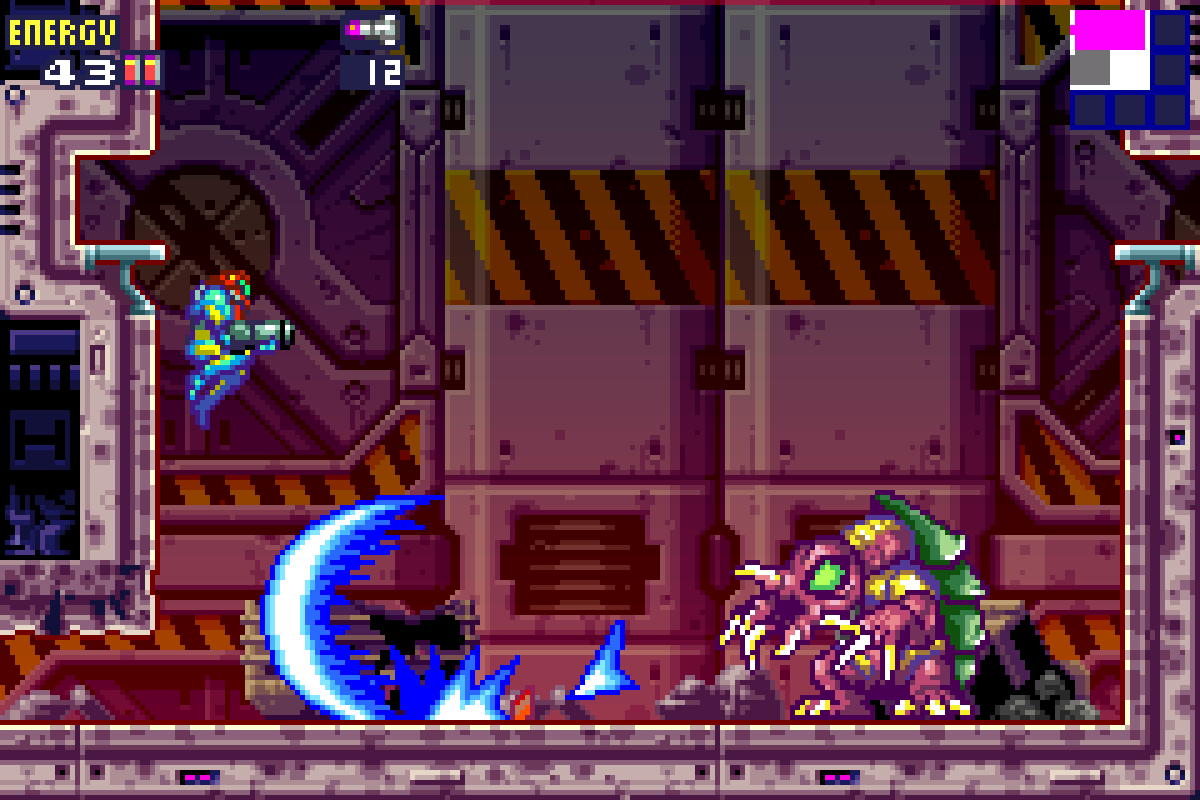
You’ll see what we’ll later learn to be an X-Core floating around. Watch the core and eventually it will mutate into Arachnus-X, an armadillo-esq looking monster that we must put down. Right off the hop, try and get a few Missile shots right in Arachnus’s face after he finishes forming; he’ll be nice and vulnerable for a second, so let’s capitalize. Take note that only the front of Arachnus is susceptible to Missiles and Beams – his back shell is impervious, so avoid shooting at him when his back is turned to you or when he is balled up and getting ready to charge.
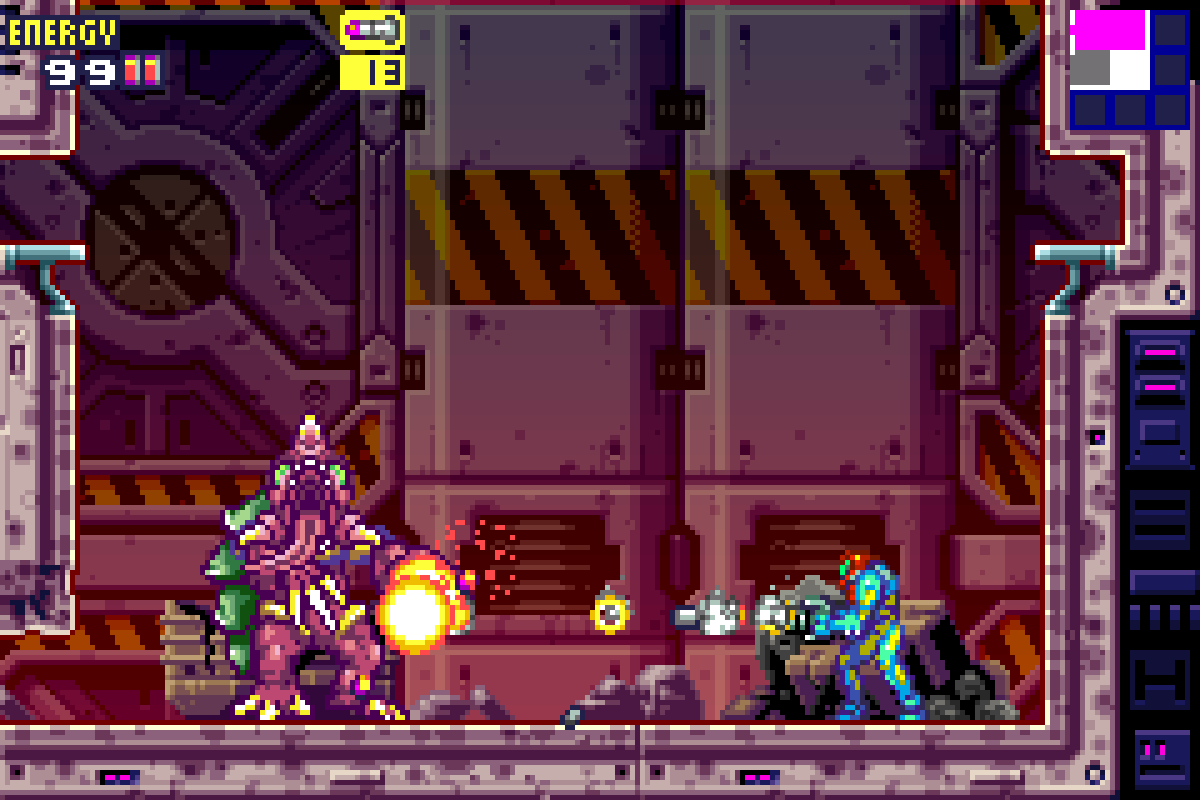
Arachnus has a few attacks, and luckily for us, most are pretty easy to deal with. His go-to is spitting fire from his mouth. This not only hurts Samus, but leaves a trail of flames in its wake. The best method for avoiding this is to grab onto the ledges on either side of the room. Arachnus will also wave his arms and send a blue shockwave towards you. This has a pretty large hitbox, but a well-timed jump will be able to clear it. Get too close, and Arachus will straight up punch you as well, so keep your distance. His last attack involves turning into a ball and charging up, rolling towards you with bad intentions. This is again pretty easy to jump over; just make sure you’re not wasting precious Missiles on him when he’s balled up, since they won’t do you much good.
As long as you can avoid his attacks and keep peppering him with Missiles to the face, Arachnus shouldn’t give you much trouble. Pump him with around 15-ish Missiles, and he will fall. The battle isn’t over yet though – remember, the real Arachnus is long dead. This is an X parasite mimicking him. Now we have to put down the X.
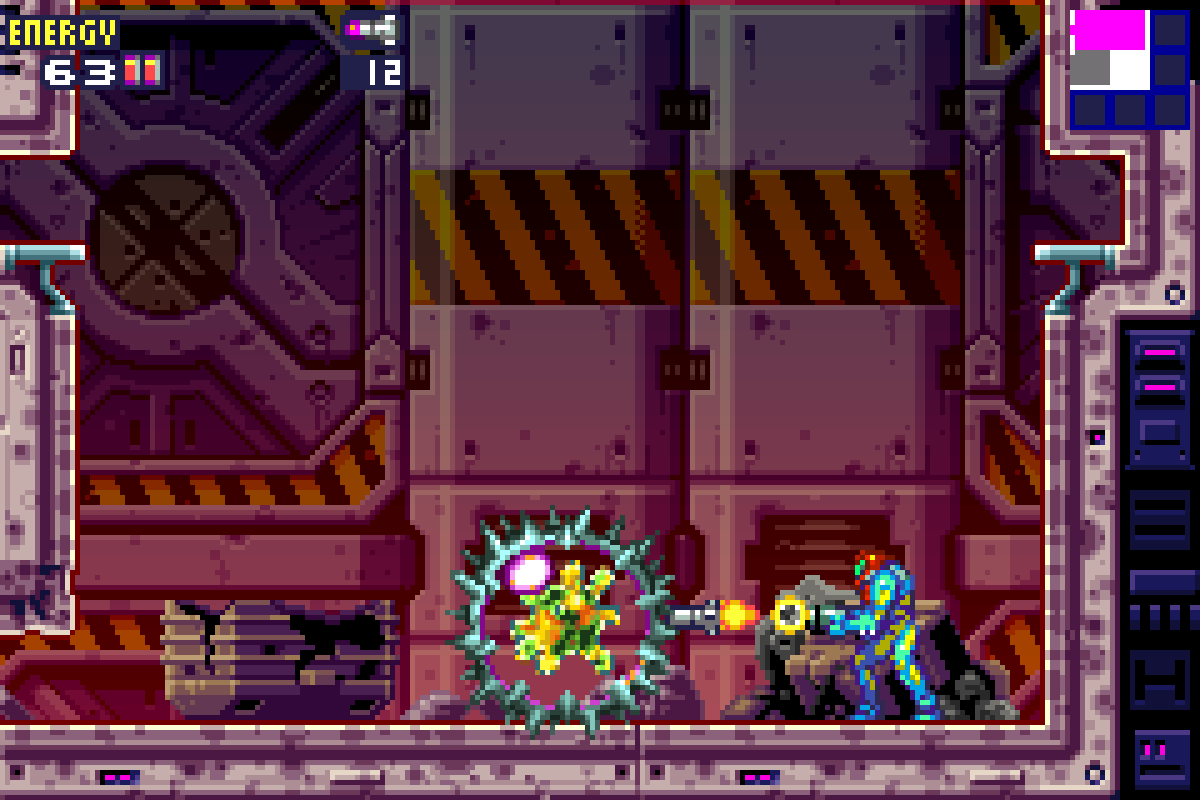
The X will reform a barrier around the core that broke off from Arachnus, and this barrier has spikes and is going to try and ram you. Jump over and dodge the Core-X, blasting it with Missiles to send it flying away from you. There should be some loose X flying around the Core if you’re in need of some Missiles. A couple of shots and this thing will break apart, giving you the MORPH BALL.
Accessing the Main Elevators
Use the Morph Ball to press onwards to the left, going through tunnels until you’re back in the Main Deck. Go straight left past the Save Room and continue on until you arrive at the Navigation Room. Adam has some more bad news: all six breeding environments have been contaminated by X parasites. Seems if we didn’t have bad luck, we’d have no luck at all, but alas.
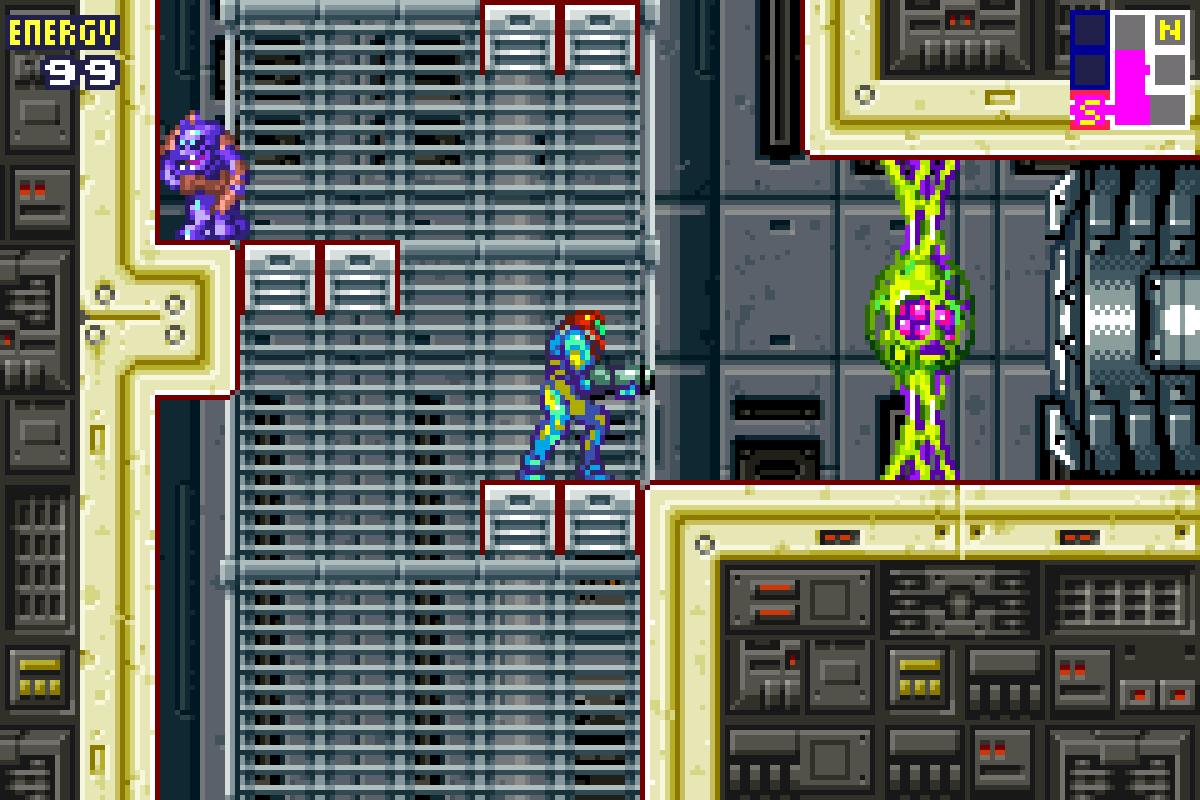
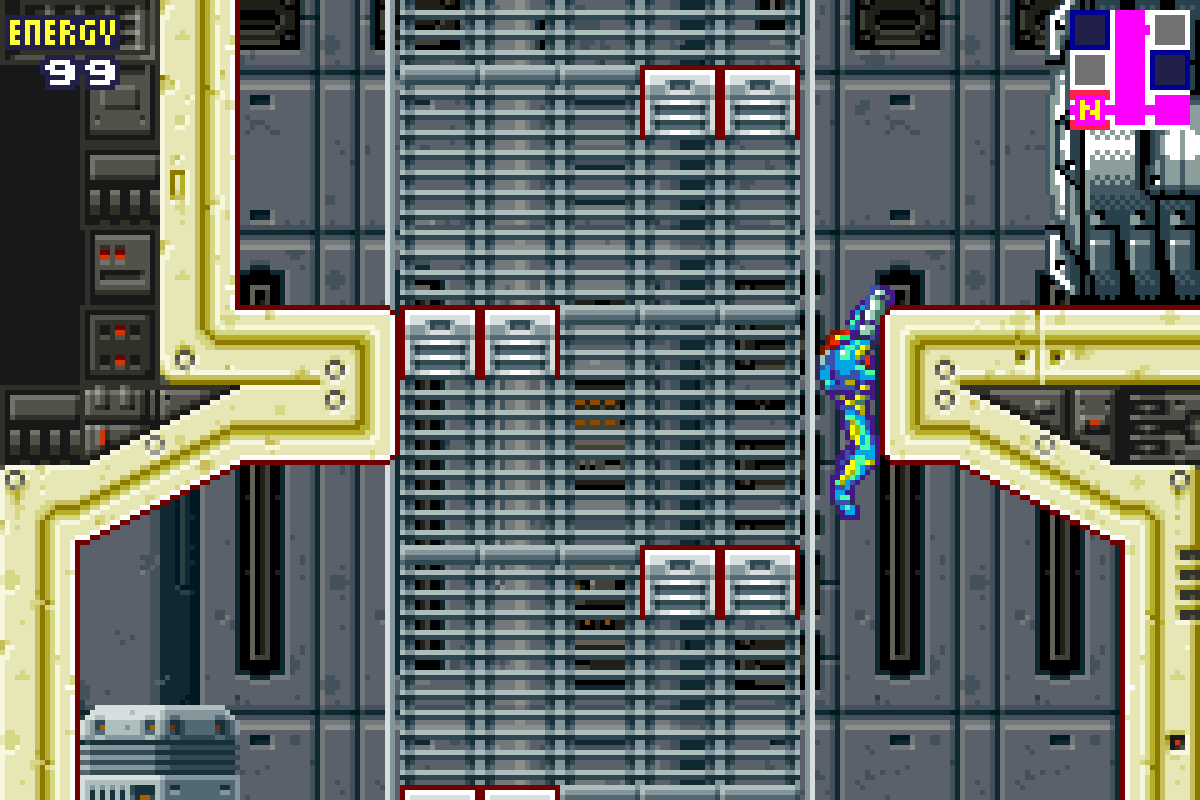
Exit to the left of the Navigation Room and head up. Stop when you see a small tunnel about halfway up this corridor, get into Morph Ball form and slide under to pick up MISSILE EXPANSION #3. Roll back out and continue up towards the top of this corridor. Head left, jump over, and roll through the bottom cracked doorway, continuing left. Keep left until you get to the elevator and take it down. Get ready, because now we are going to see a terrifying cutscene of our main threat, a creature that will be hunting us relentlessly: the SA-X, an X-infested mimic of Samus at her most powerful…

Once you’re at the bottom of the elevator shaft, head left and take the elevator into Sector 1.
Next Chapter: Sector 1 – Atmospheric Interference