


Metroid: Zero Mission Walkthrough – Zero Mission
Walkthrough
Sneaking Through The Ship Part 1
Oh boy. So before we even take a step, let’s go over our new situation here. You’re now playing as Samus in her Zero Suit, which essentially means you have no powers, no abilities, take a ton of damage, and can’t deal out any damage yourself. The best you have is a stun gun, which after firing once, will take a couple seconds to recharge. This stun gun, which Super Smash Bros. later dubbed “the Paralyzer”, is basically only good for opening doors and freezing enemies for a quick second or two. All this is to say that stealth is the name of the game here.
Another hurdle here will be, logistically, it will be hard for me to direct you where to go. You’re bound to trigger the alarm at some point, and from there, you’ll basically want to run for your life and hide from the army of Space Pirates that will be chasing you, so your location on the map can change quickly and drastically. Nevertheless, I’ll be trying my best to use landmarks and Save Stations to help guide you. It’s not all bad news at least – the aforementioned Save Stations will heal you fully and replenish all your ammo in this area, and there won’t be any detours to grab items or anything. Knowing all this, let’s get to work! I personally love this section of Zero Mission; it’s different, challenging, and forces you to react quickly.


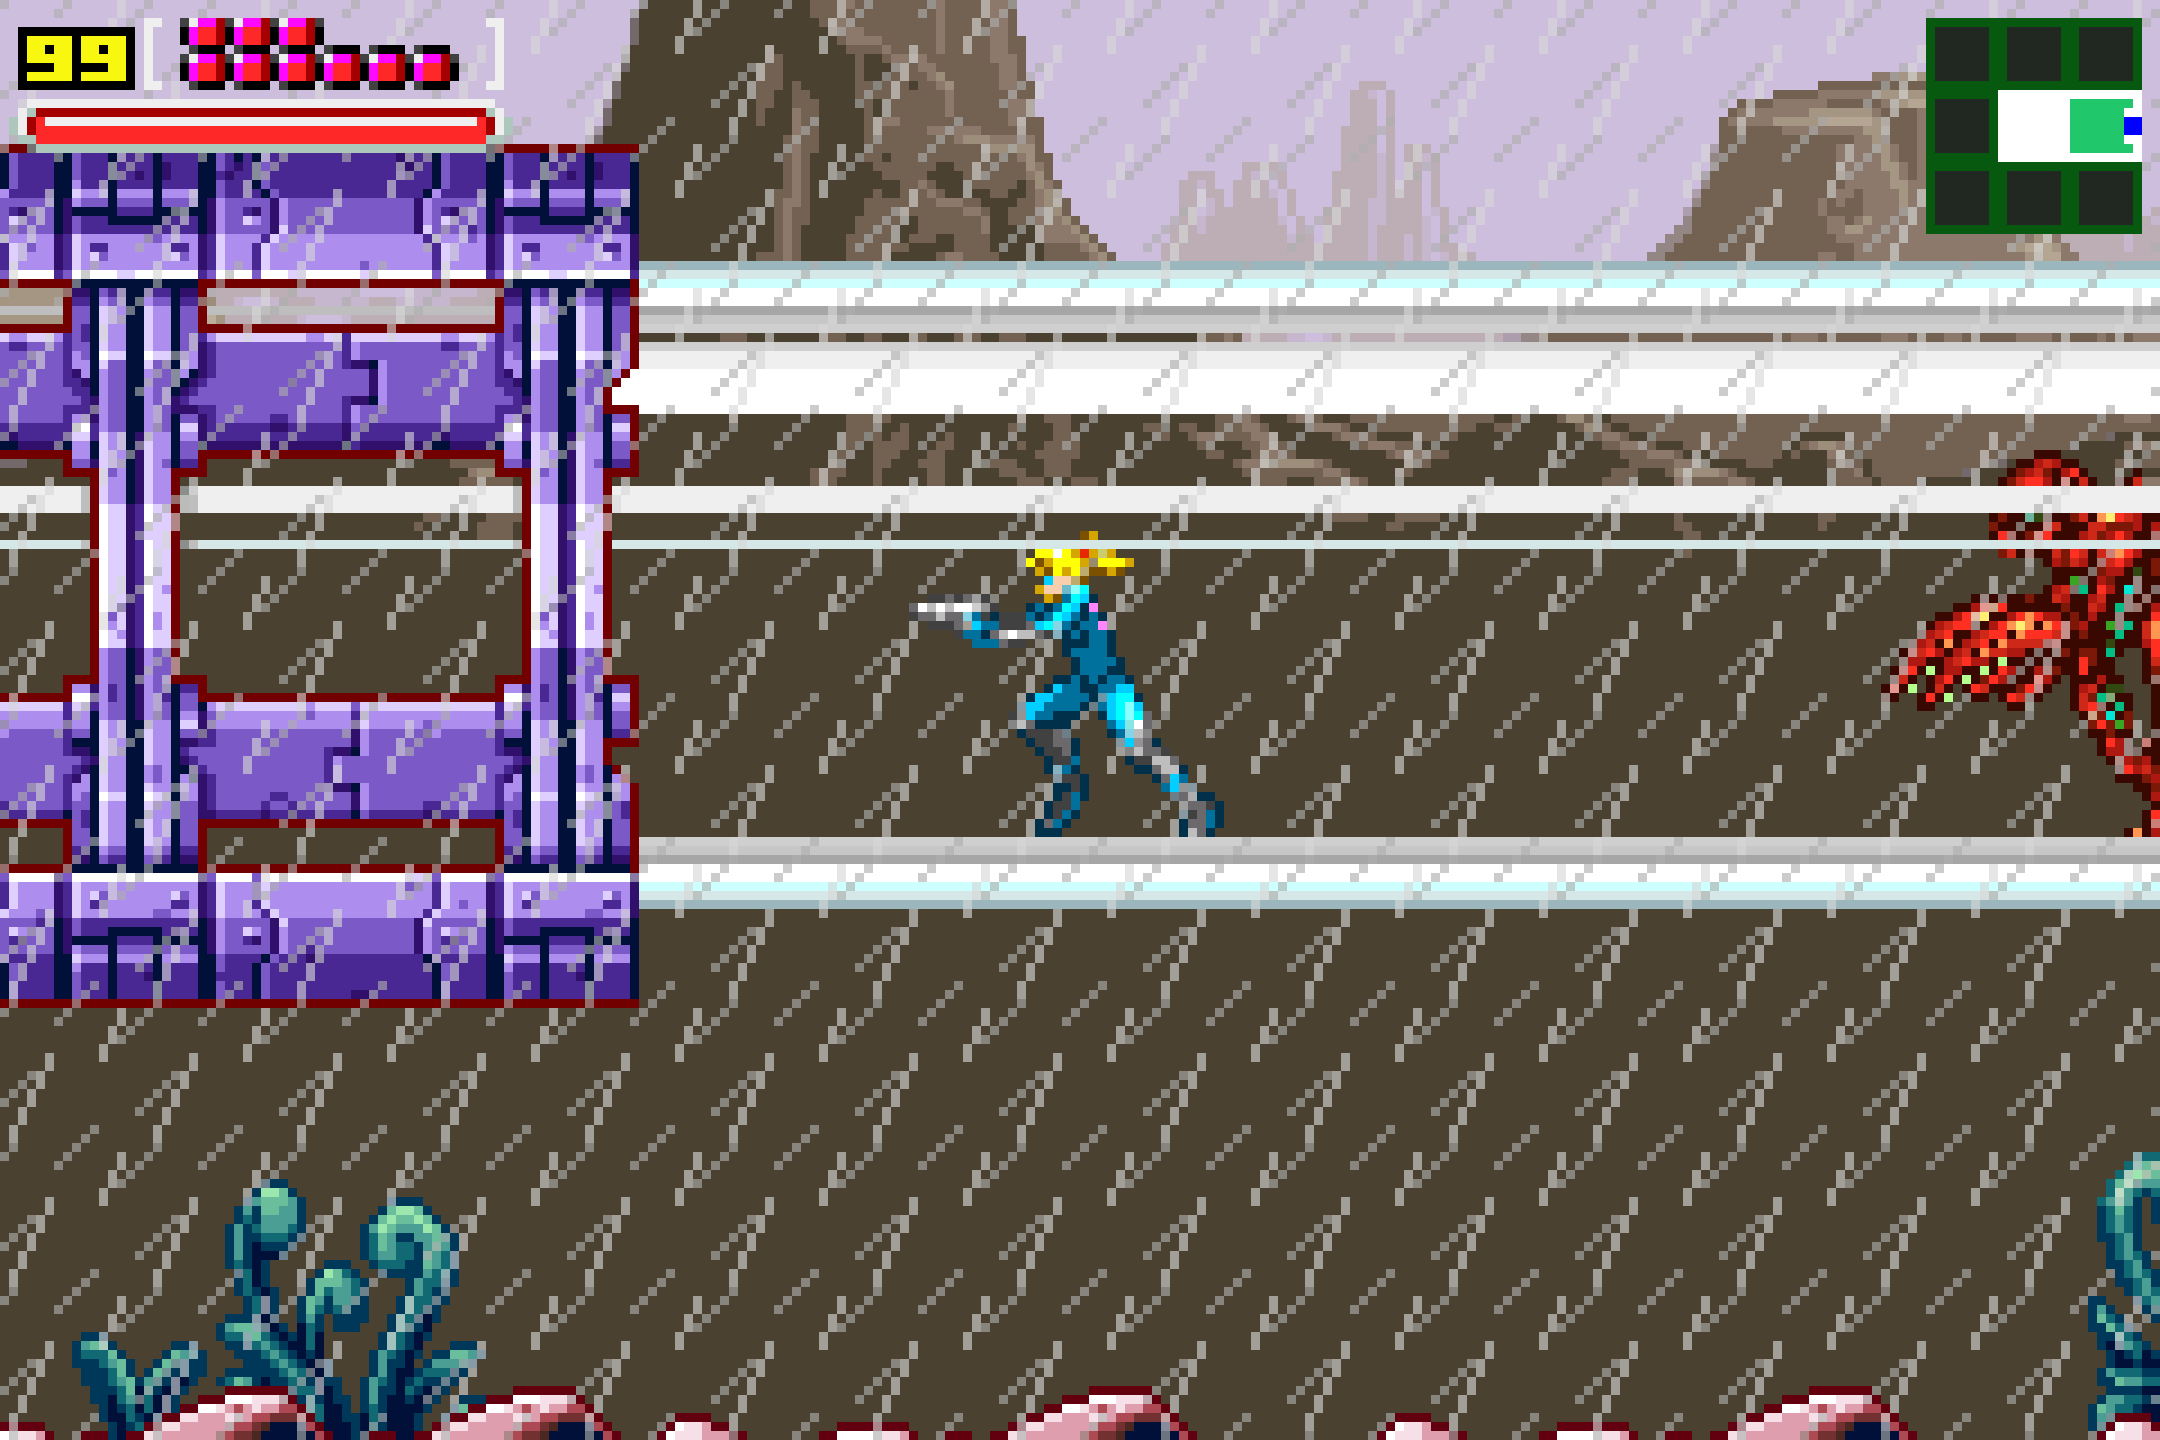
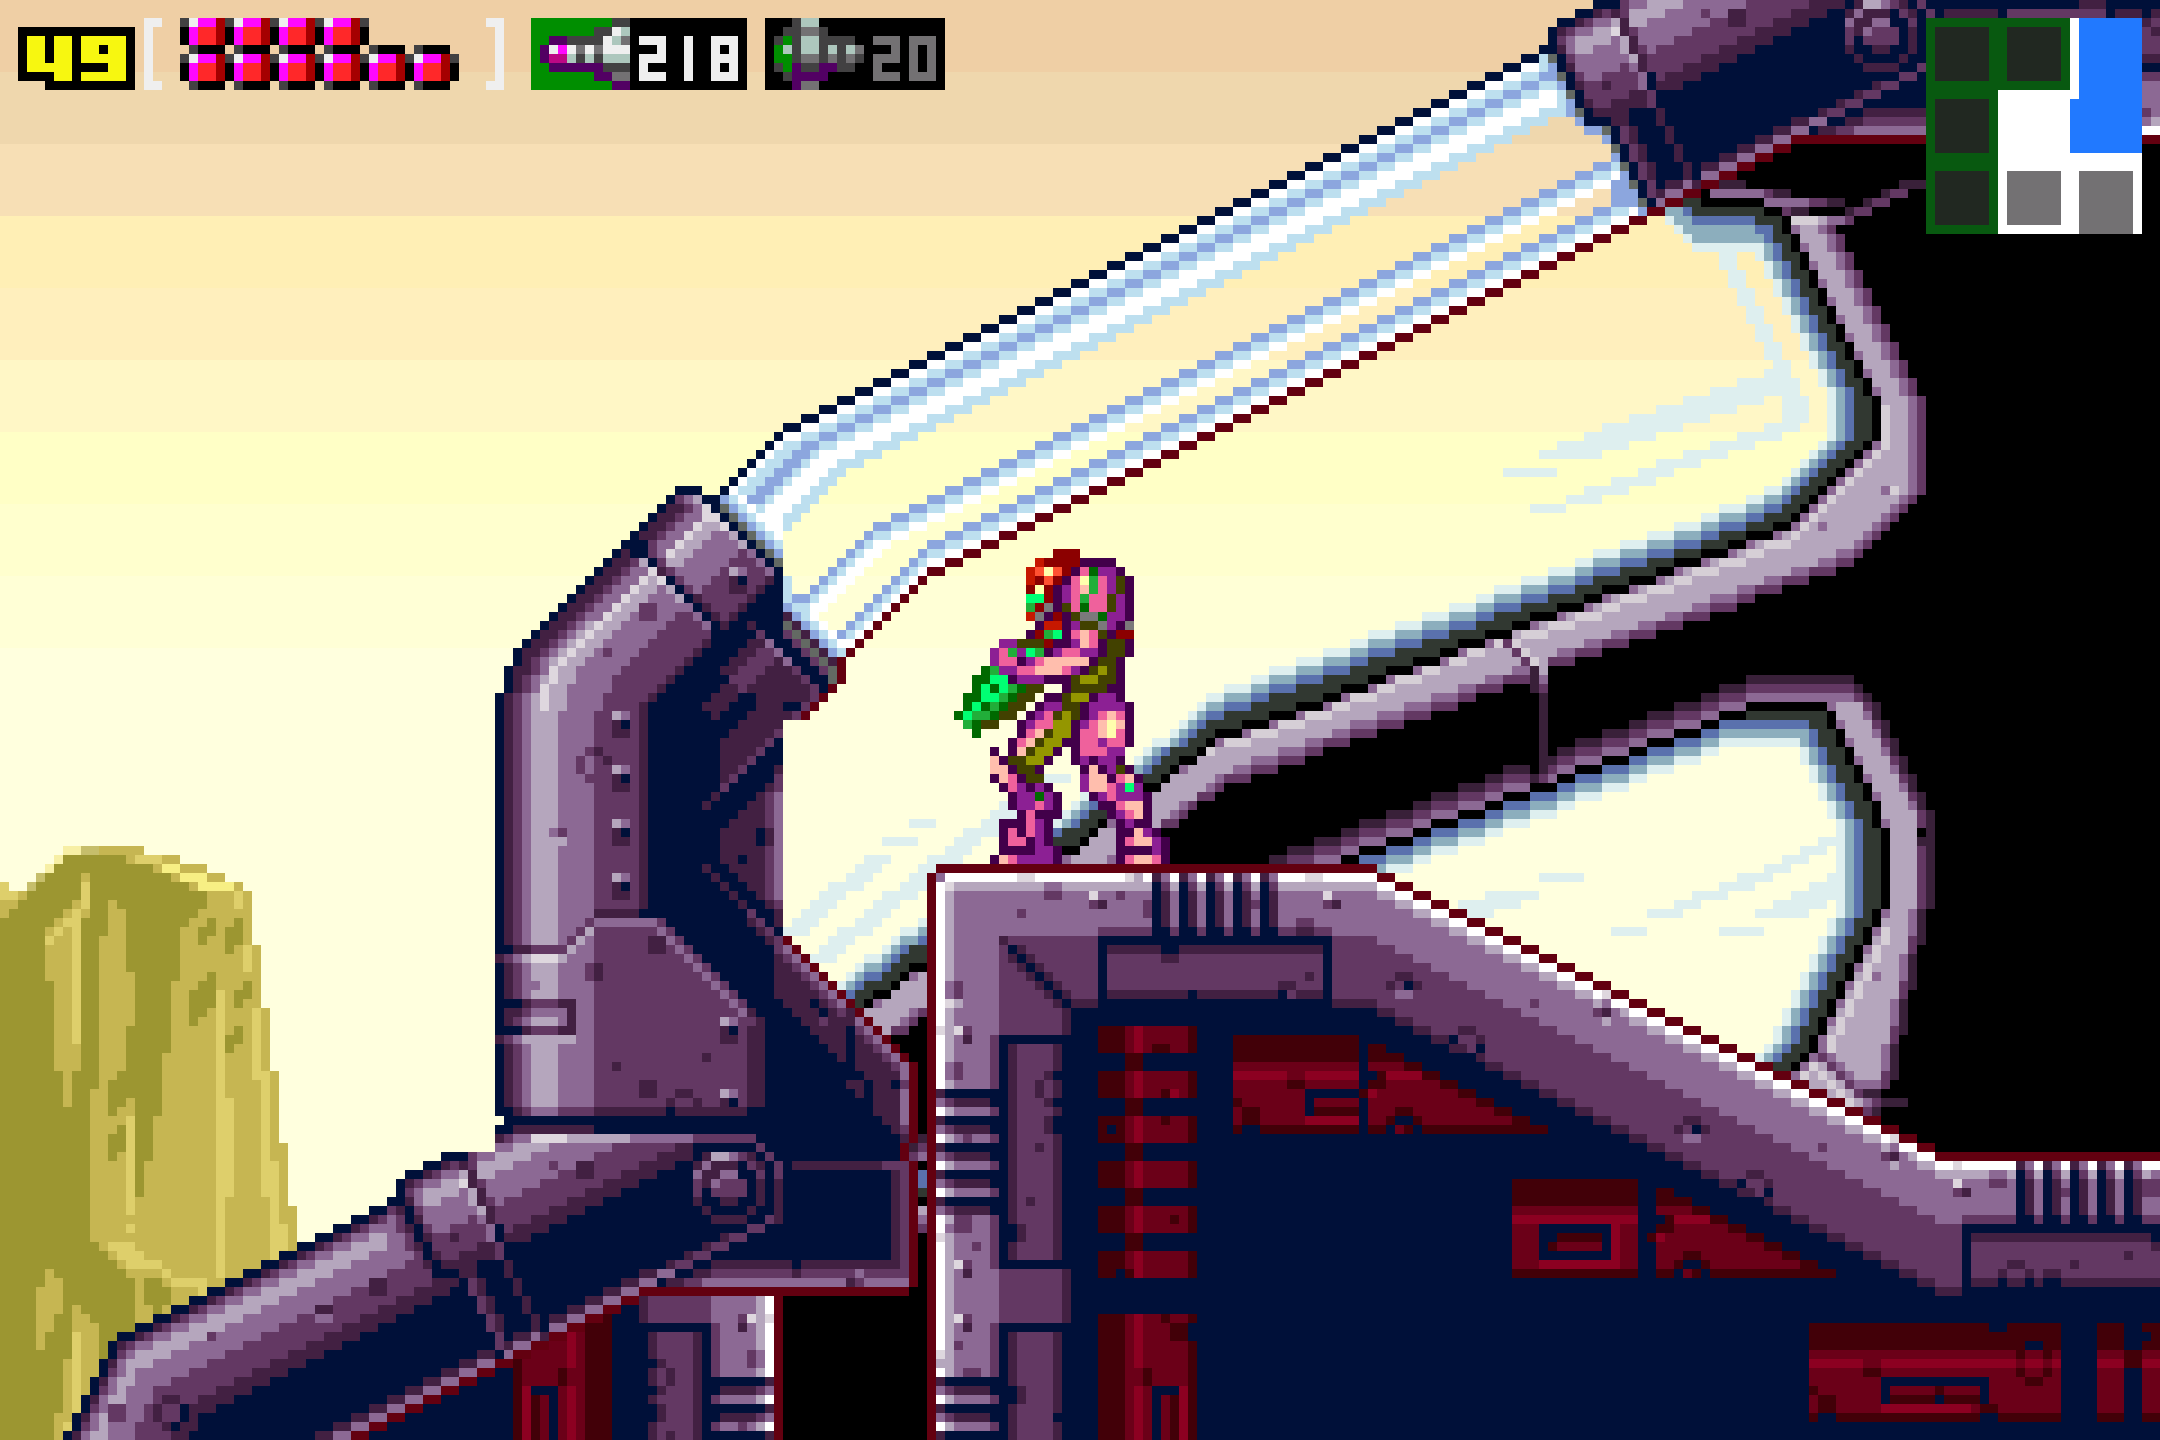
After the cutscene finishes playing out, you’ll find yourself in a brand new part of Zebes: Chozodia.
Start off by pressing forward a couple screens until you get to the main door of the Mother Ship. Obviously, walking through the main door isn’t a good plan for anyone trying to be stealthy (plus, we literally can’t open it anyways), so go underneath the platform the door is on, crouch, and shoot the lower part of the wall with your blaster. A small tunnel will open up, so crawl through. Once you’re in the ship, crawl along until you reach the Map Station. As you can see, Chozodia is massive, so we have our work cut out for us.
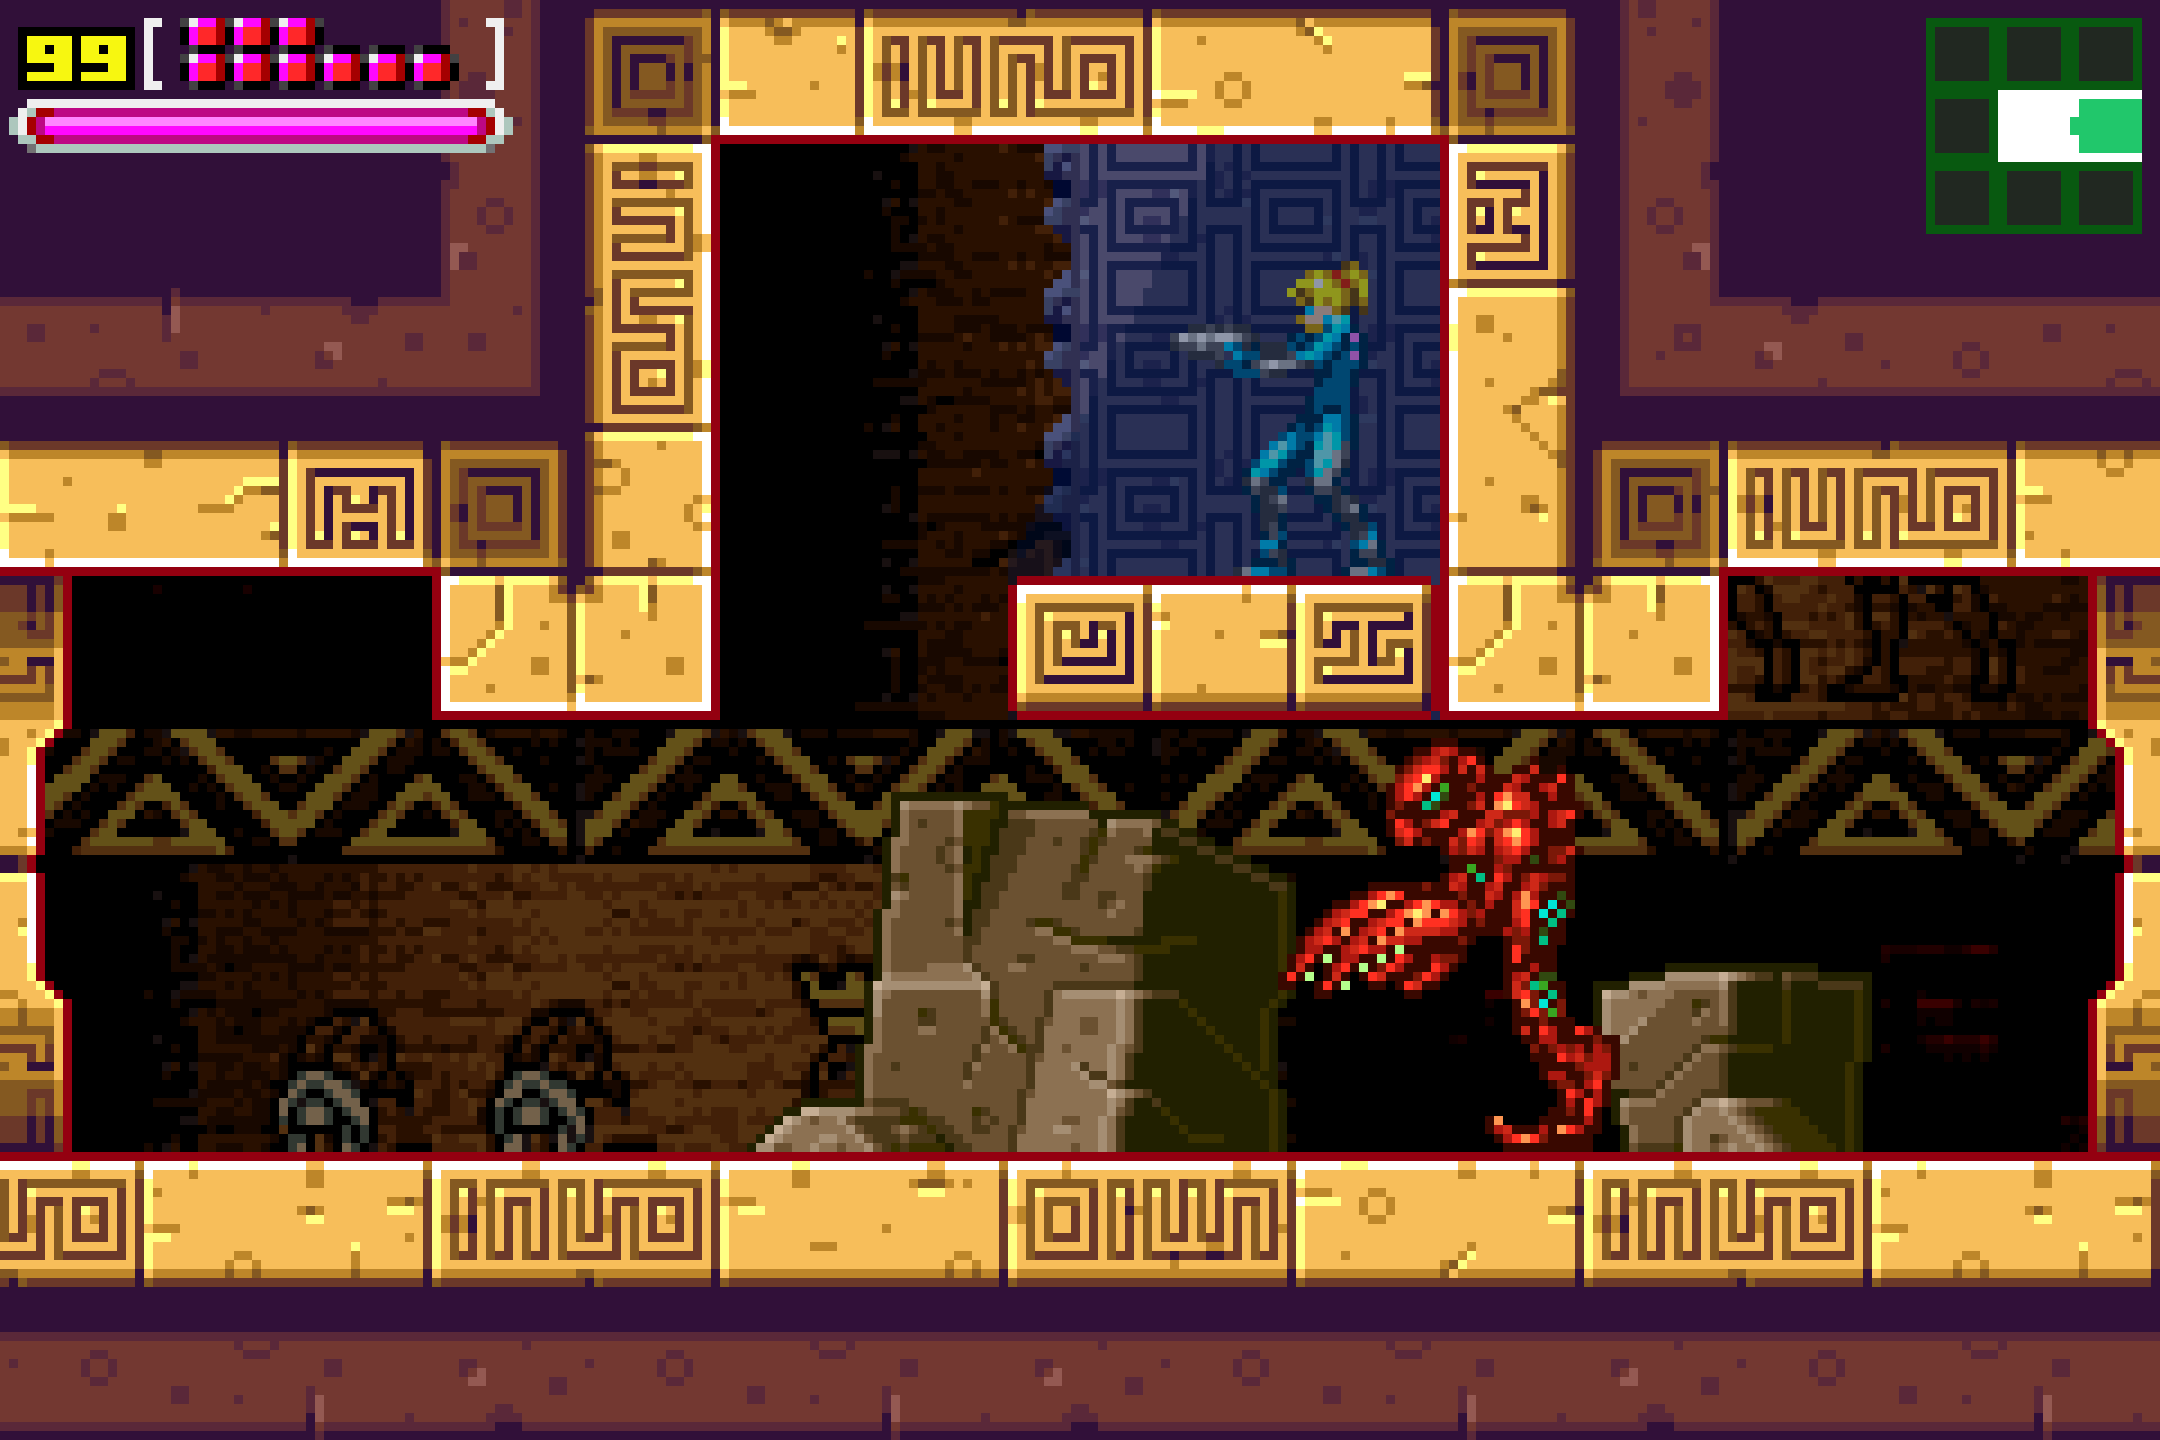
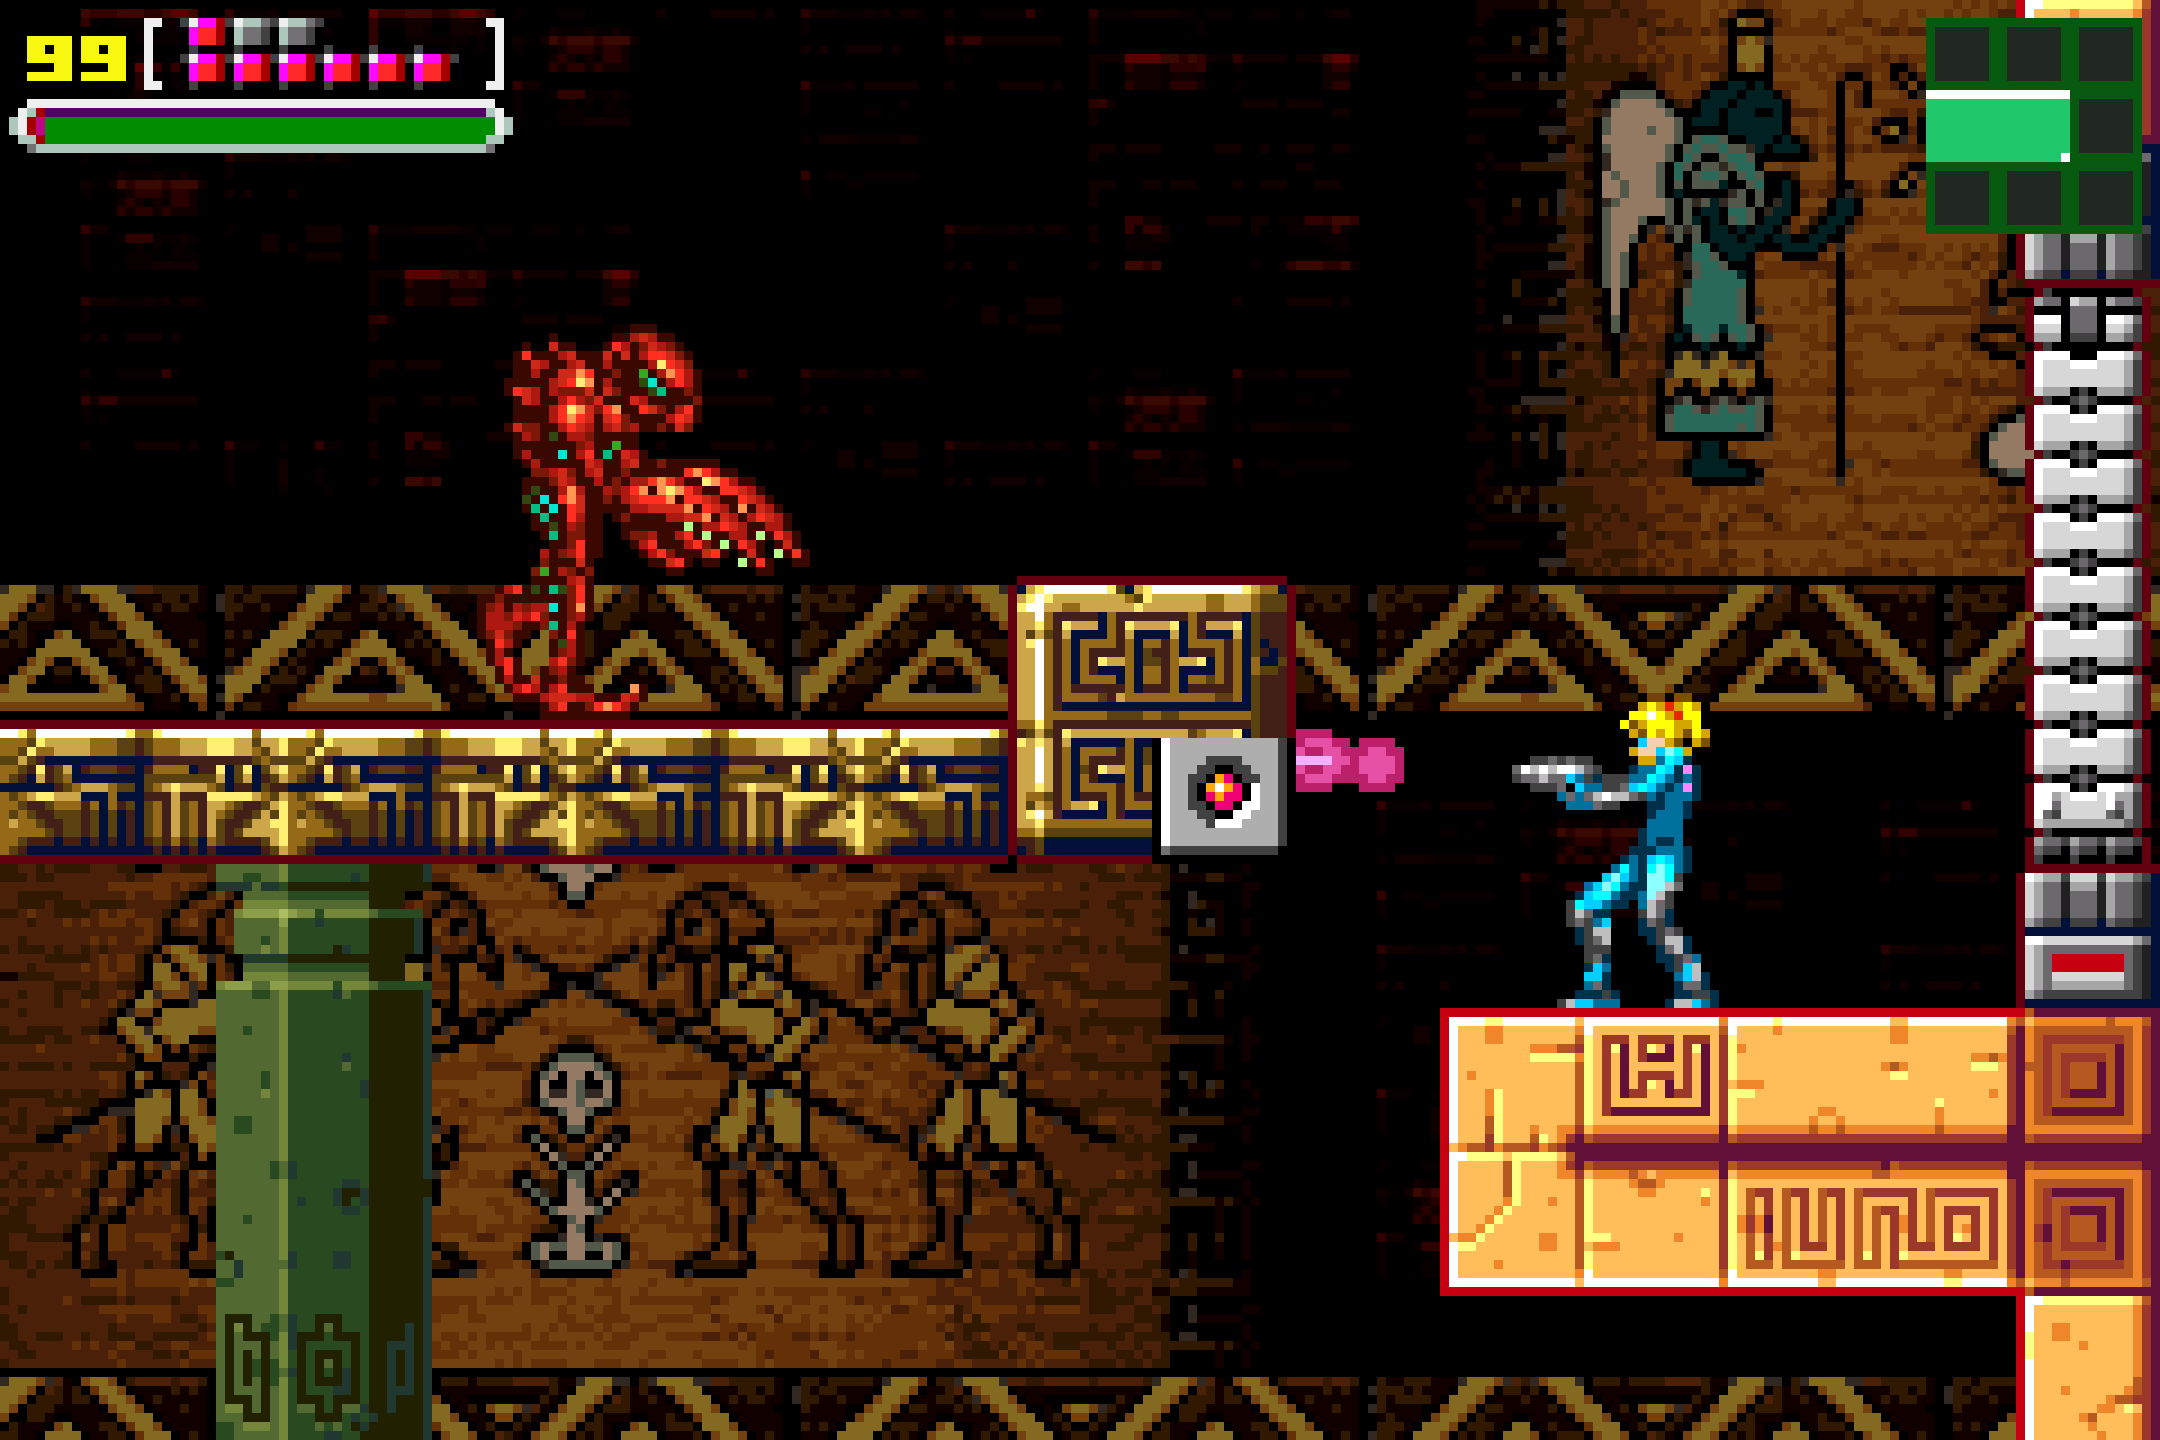
Move onto the Save Station in the next room. Do your business and then jump on the ledge above the red blast door and crawl through. This is the point where you really need to be stealthy. If a Pirate sees you, the alarm will trigger, all doors will seal, and you will be a sitting duck against their plasma beams. Tread carefully. From the ledge, wait until the Pirate is looking away and then drop down. As far as I can tell, there is no way to avoid the Pirate turning around when you land, so the alarm will be triggered. Stun the pirate and quickly move to the left. Another Pirate will drop down from above, so either stun or avoid it and hightail it up and through the blue door on the right. In the next room, quickly crawl under the pillar and hop up onto the ledge, The Pirates should lose sight of you fairly quickly and the alarm will stop.
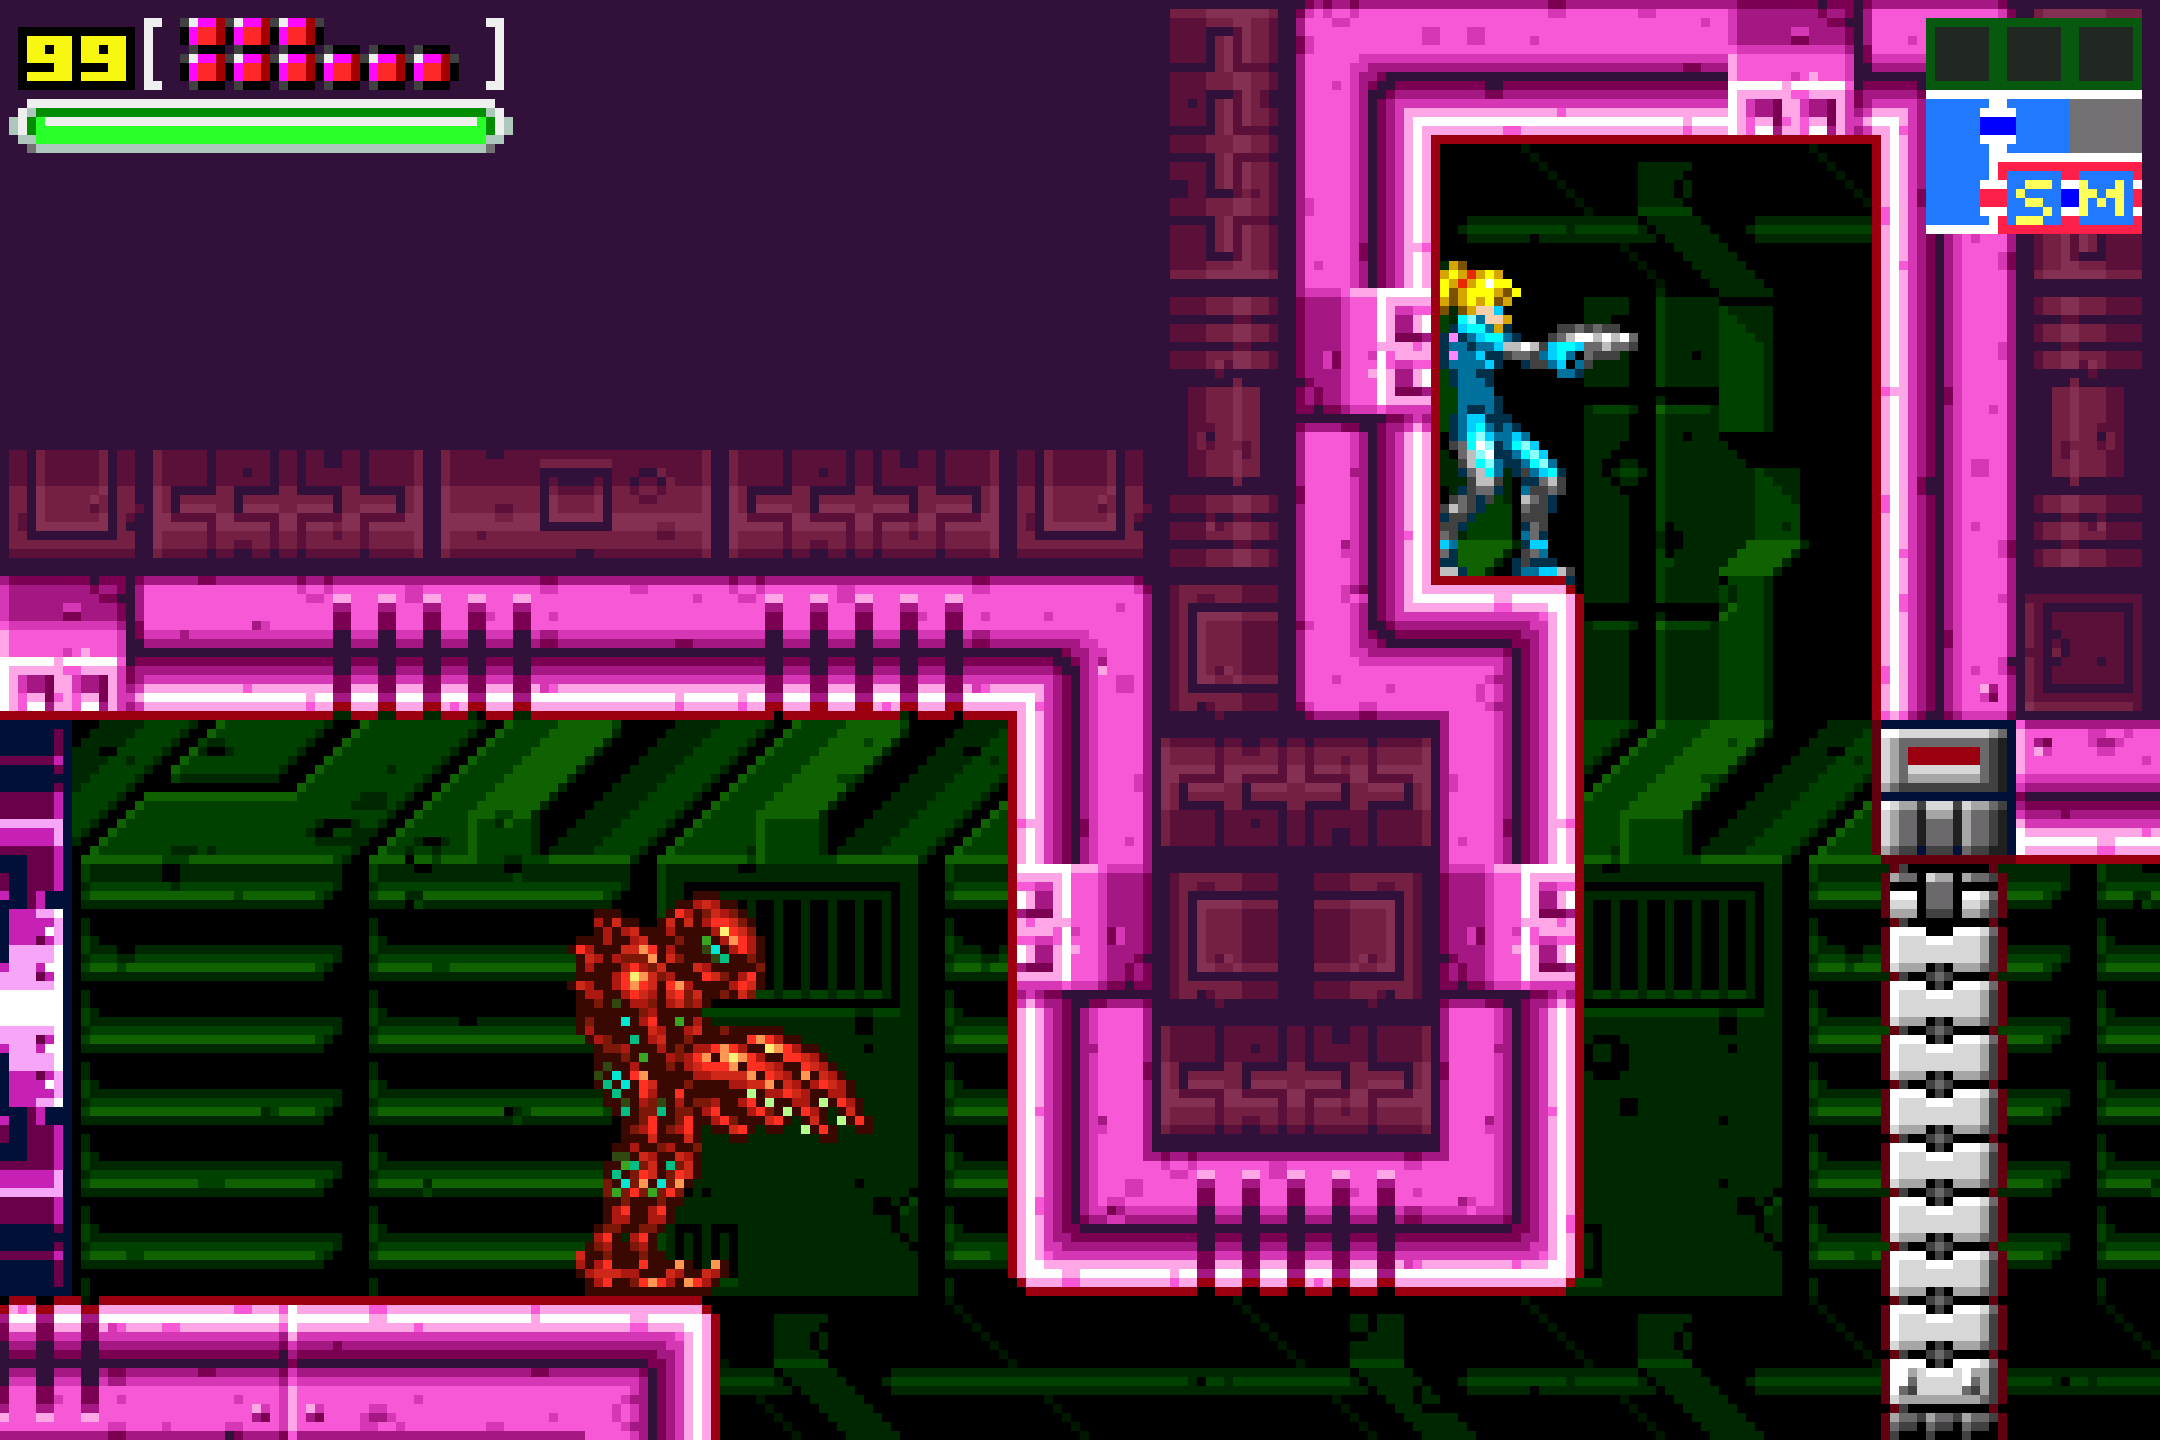
Move ahead and you’ll find yourself in a room with green lasers. As you might have guessed, tripping these lasers will set off the alarm, so let’s try and avoid that. Jump over the first laser (you can stand on the end of the laser for what it’s worth) and then crawl in the tunnel to your right. You’ll need to shoot the wall of the tunnel, which will cause it to collapse, which is necessary, but will also cause you to fall on a laser at the bottom. The alarm will go off, so quickly get to the UPPER RIGHT door. If you go to the door on the bottom, you’ll be a turkey on Thanksgiving. Quickly run and climb up, avoiding the Pirates and their devastating beams, and get yourself into the next room. There will be a gate in front of you, and it looks like a dead end, but push forward and you’ll fall down some pitfall blocks. You’re not safe yet, though. There’s a Pirate right beside where you land, so stun it and quickly ascend upwards. Go through the blue door and the top and jump over the pillar sticking out of the floor. The Pirate will come in and think you magically disappeared, and the alarm will go off. Whew.
Once the alarm is off and the coast is clear, proceed through this room to and follow the path. You’ll crawl under a fine-looking escape pod, and eventually fall out beside a blue door. Open it and use the Save Station inside.
Sneaking Through The Ship Part 2
Once you’ve saved, step back out into the main hall. Proceed up and over through the blue door on the left. Shoot the floor under you to proceed, but wouldn’t you know it, there’s another Pirate lurking around that’s gonna see you no matter what you do. Stun the Pirate (he’ll be hiding to your left) and quickly crawl through the tunnel. The floor will have some crumbly looking blocks, so blast them away to drop down. Do this a couple more times and you’ll be at the bottom of the room, which has several more Pirates. Move quickly to the left side and crawl under the pillar and head through the blue door. In this new room, you’ll fall down some pitfall blocks again. Wait a second, and the alarm will finally stop.

Head through the blue door. This next room has spotlights slowly floating around, which, I don’t need to tell you is in our best interest not to let them see us. Avoid the lights and get yourself up to the top right door. Blast away the crumbled blocks and climb up, getting yourself through the next blue door. Keep blasting away, and you’ll find yourself at another Save Station.
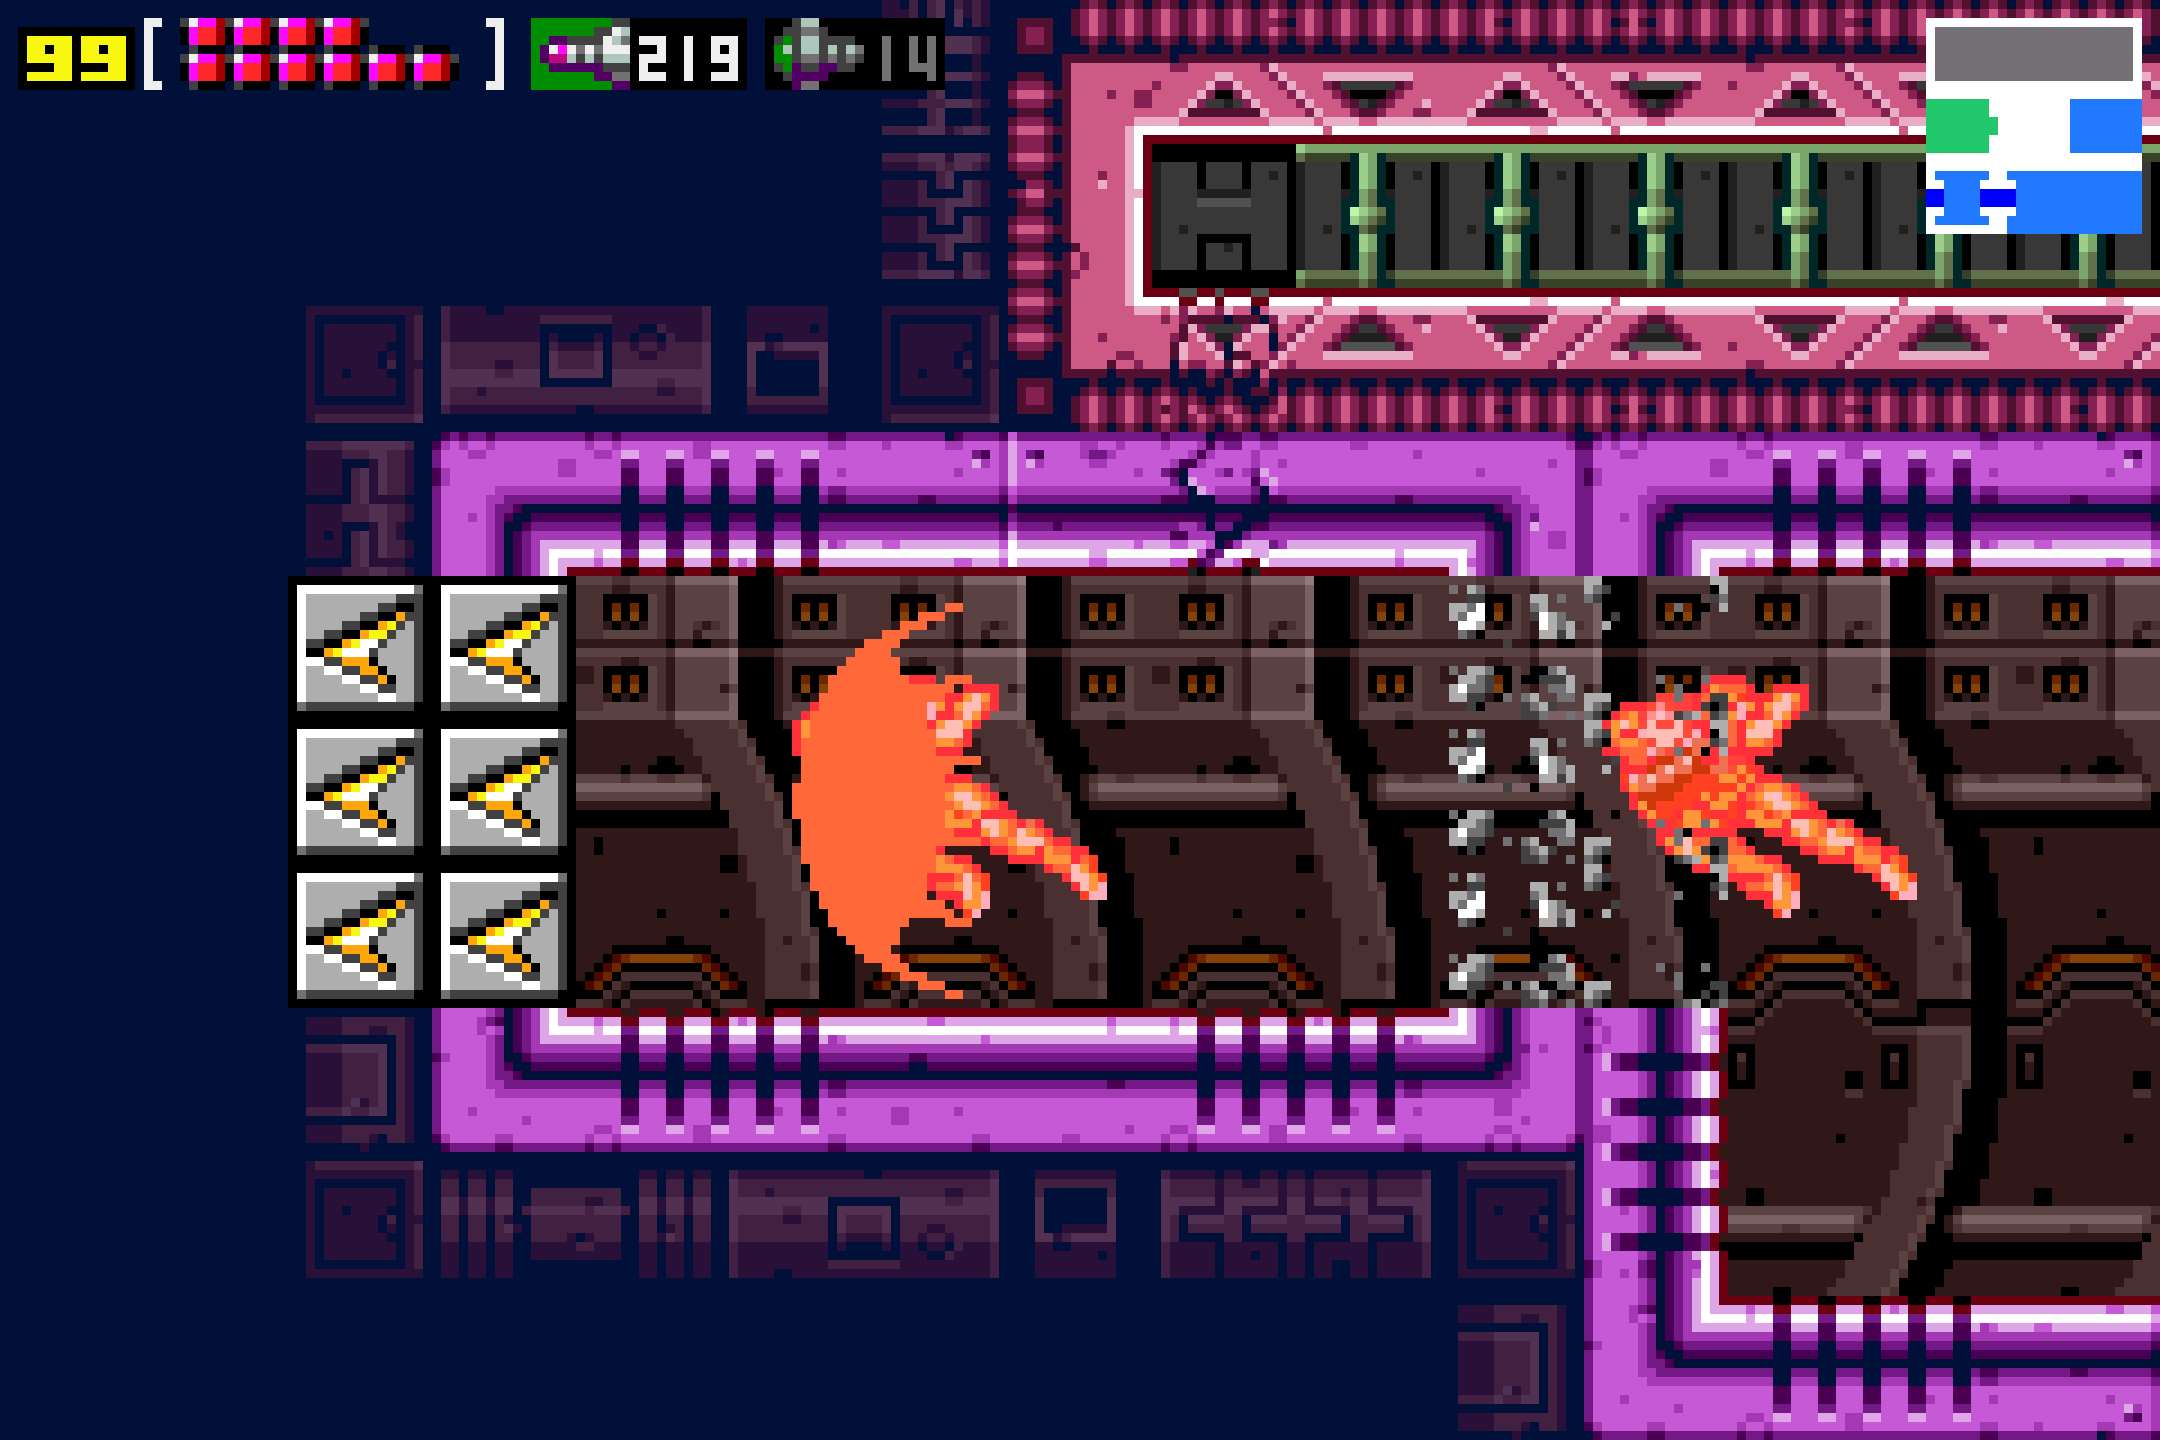
This next room is tricky. We’ll call this room the Laser Room, since it’s a ginormous room full of, you guessed it, lasers that will trip the alarm. Drop down all the way to the bottom and jump on the platforms without tripping the lasers. If you fall, you’re toast, so be quick but cautious; some of the platforms are made of slow pitfall blocks, so don’t linger on any one platform too long. To be honest, getting through this room without tripping the alarm is extremely hard, and slow, so it might be worth your while to just grit your teeth, trip the alarm, and make it to the top left door as fast as you can. Once you’re through that door, jump up on the ledge and immediately turn around and jump to a hidden ledge above the door. Wait there, and you’ll lose the Pirates.
When you’re ready, head through the blue door. You’ll need to drop down, and once again, getting spotted by a Pirate is inevitable. What you can do to make life a little easier is, as you’re falling down to the lower part of this hall, stun the Pirate hiding on your right and start crawling as soon as you hit the floor. Stunning it will give you a bit of lead time, so make it count!

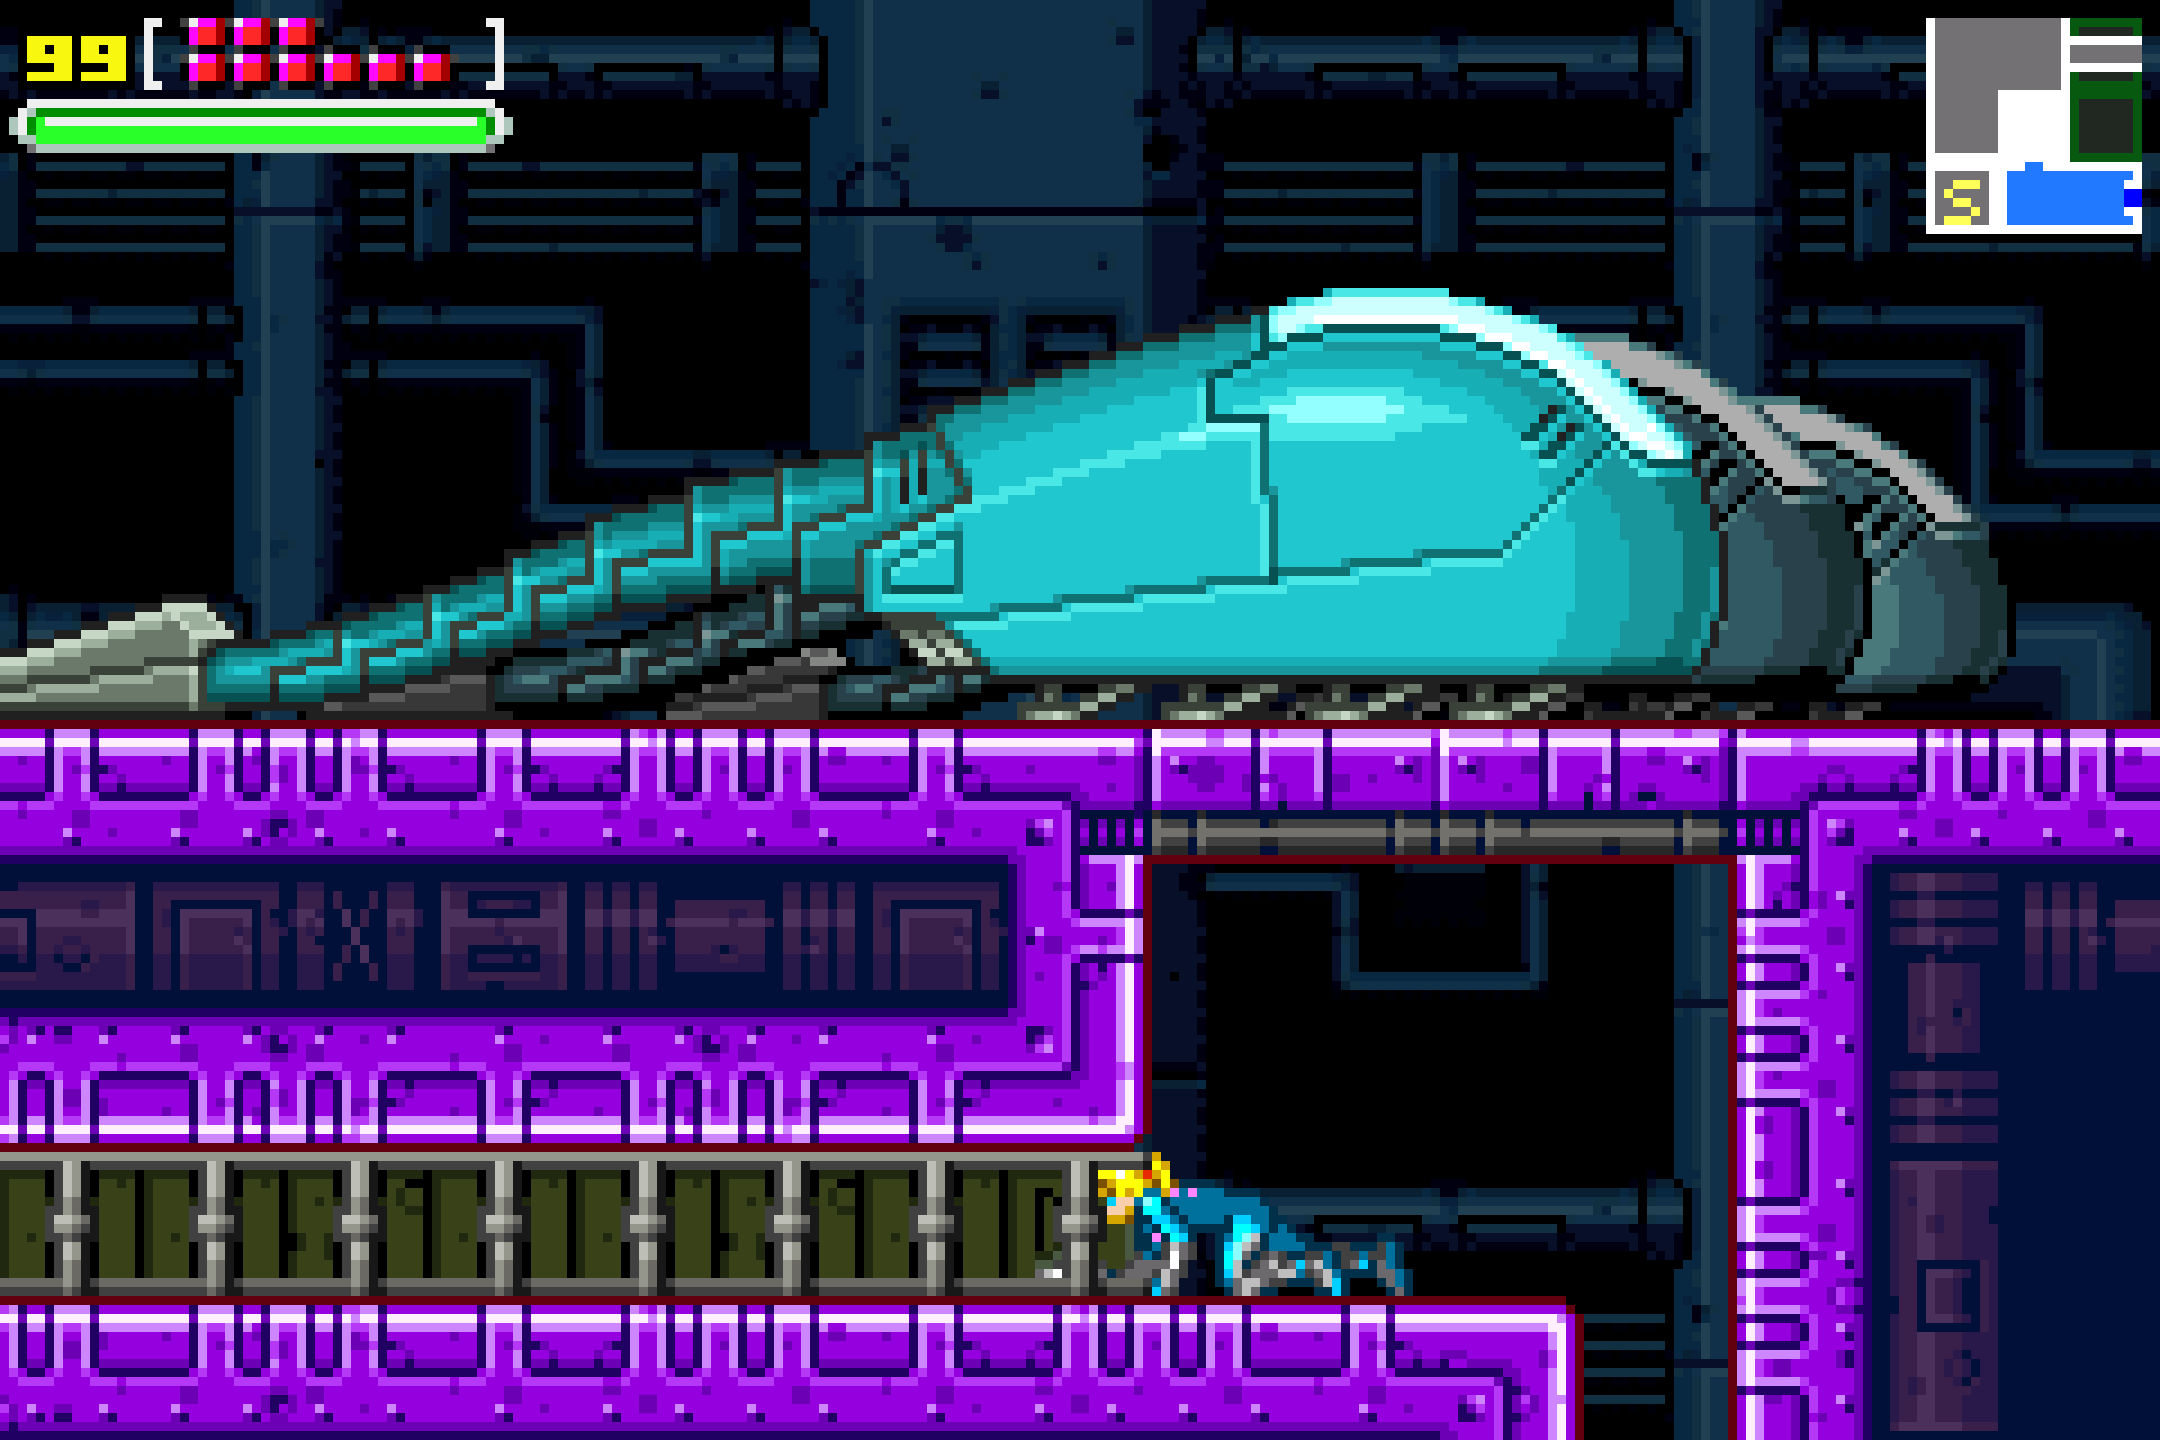
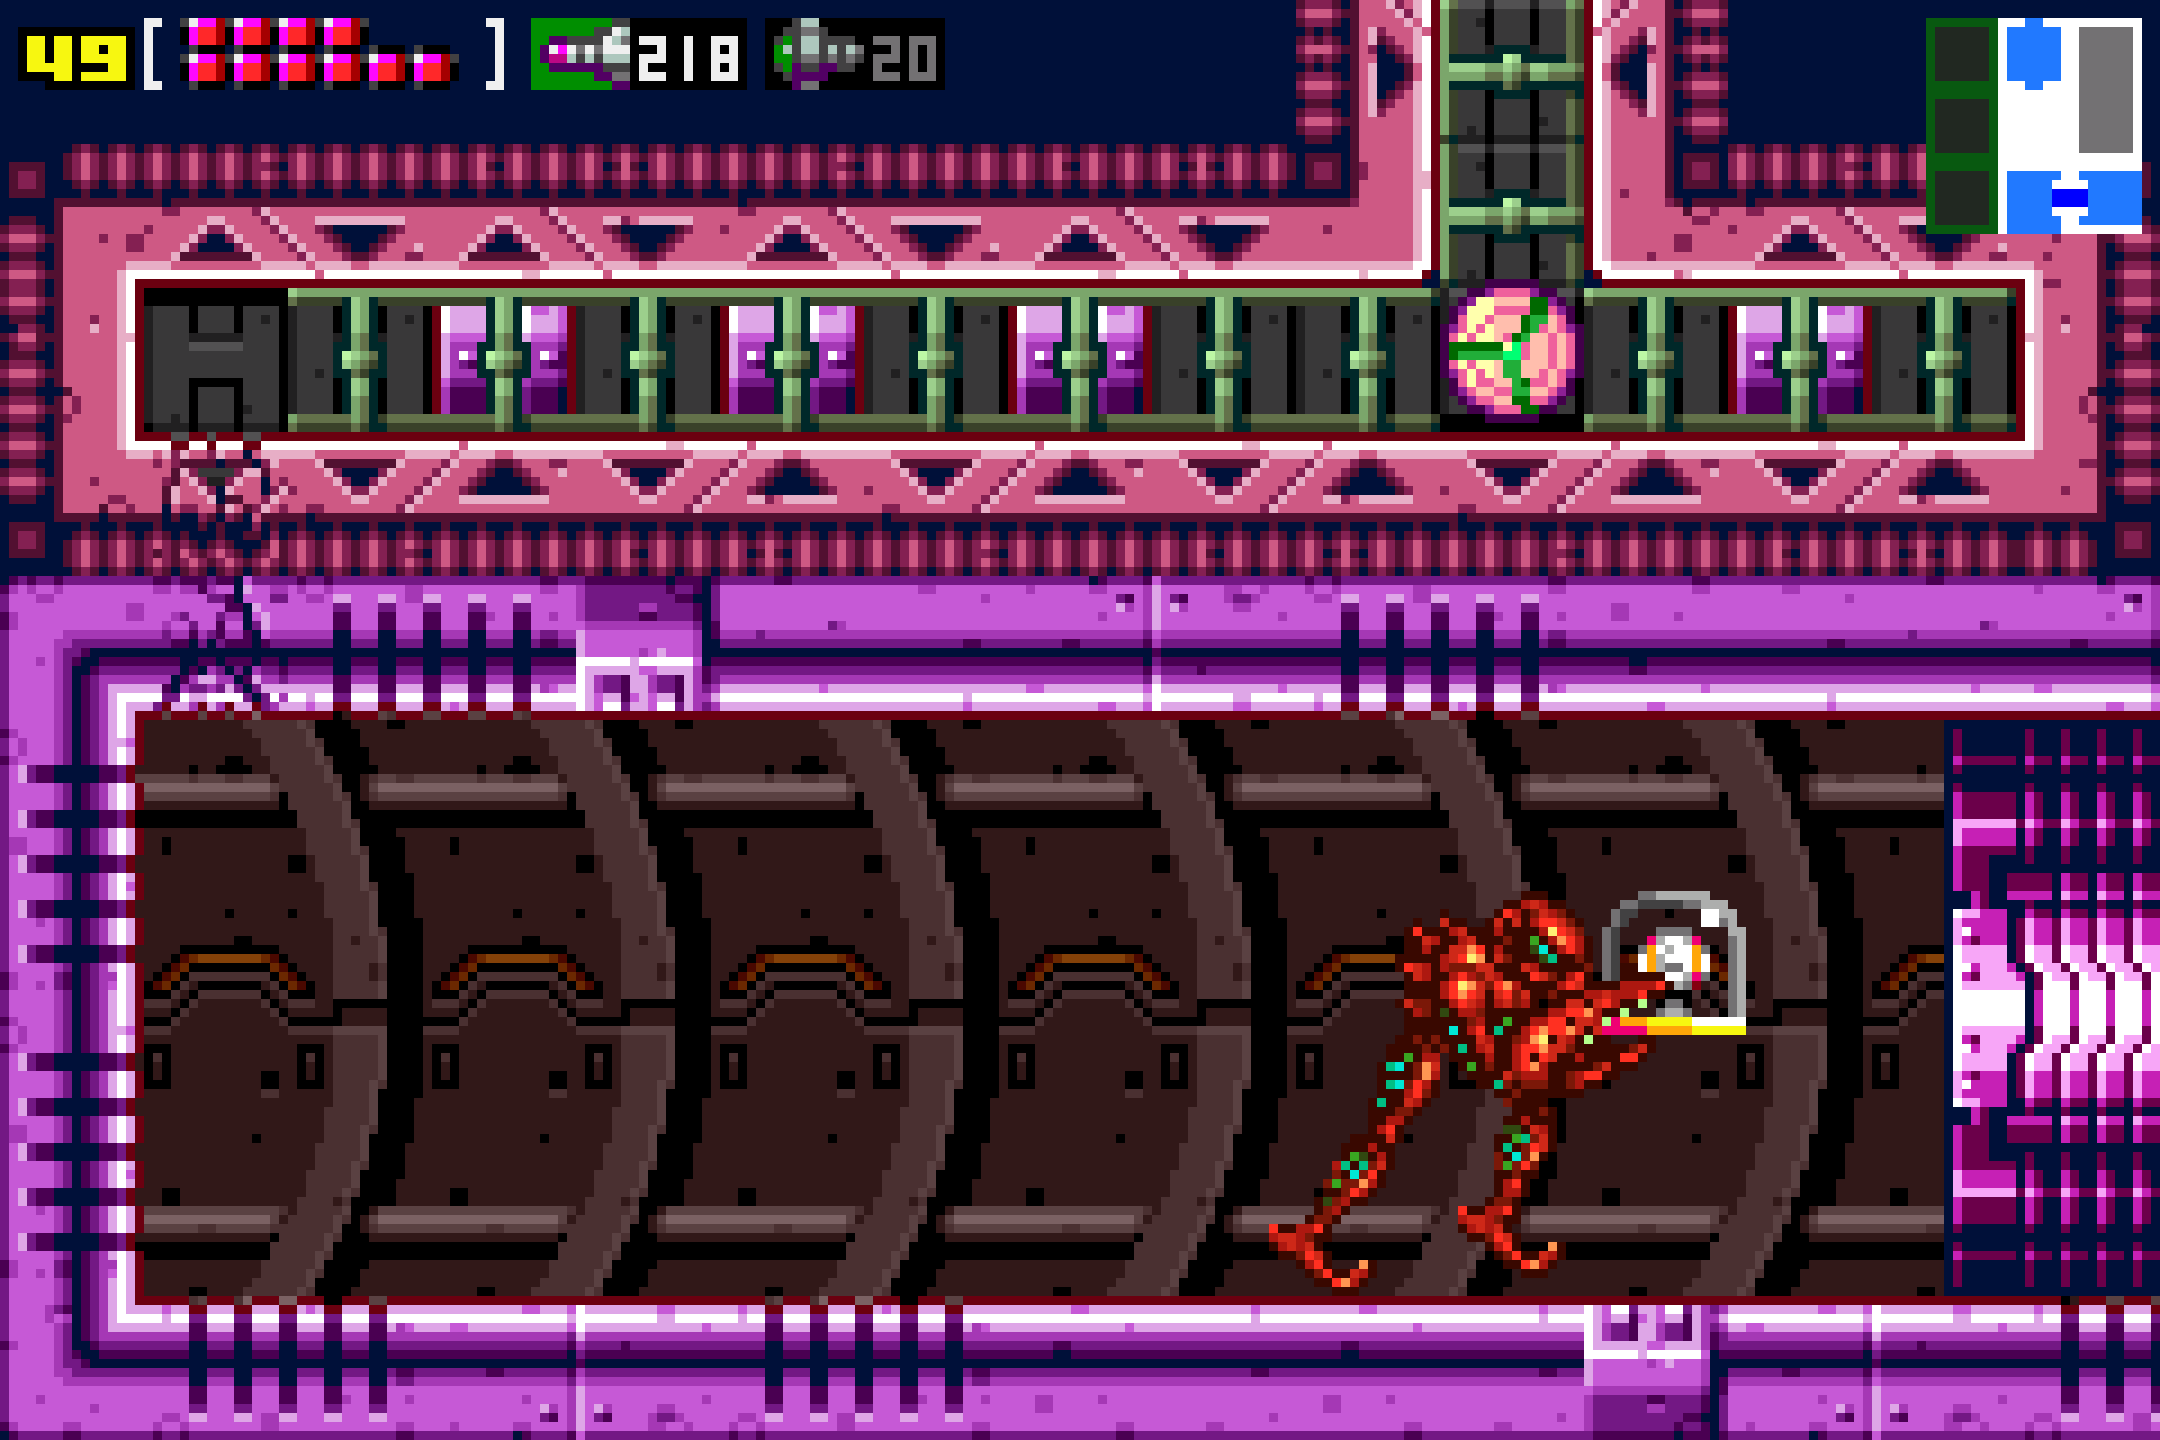
With the alarm blaring, you’ll pop out of the end of the tunnel and immediately start free falling down a long vertical hallway. Bad news: Pirates will also be falling with you and avoiding them is tough. Once you land, get yourself through the door on your left. Pirates will be hot on your tail, but keep running to your left through a giant glass tube. Stop to quickly turn around and stun the Pirates if you need to! Keep moving and get through the door on your left.
You’ll end up in a big room, but with Pirates still chasing you, there’s no time to explore. Drop all the way to the bottom and get to the tunnel on the bottom-left corner. Quickly crawl through. Shoot the blocks in front of you, stun the Pirate behind you as needed, and quickly press forward. You’ll finally be in a small room with a ledge above you with a small alcove you can hide in. Get your butt up there and wait for the Pirate to pass you by. After a minute, the alarm will mercifully go off and you can move through to the next room, which thankfully, is a Save Station.
Sneaking Through The Ship Part 3
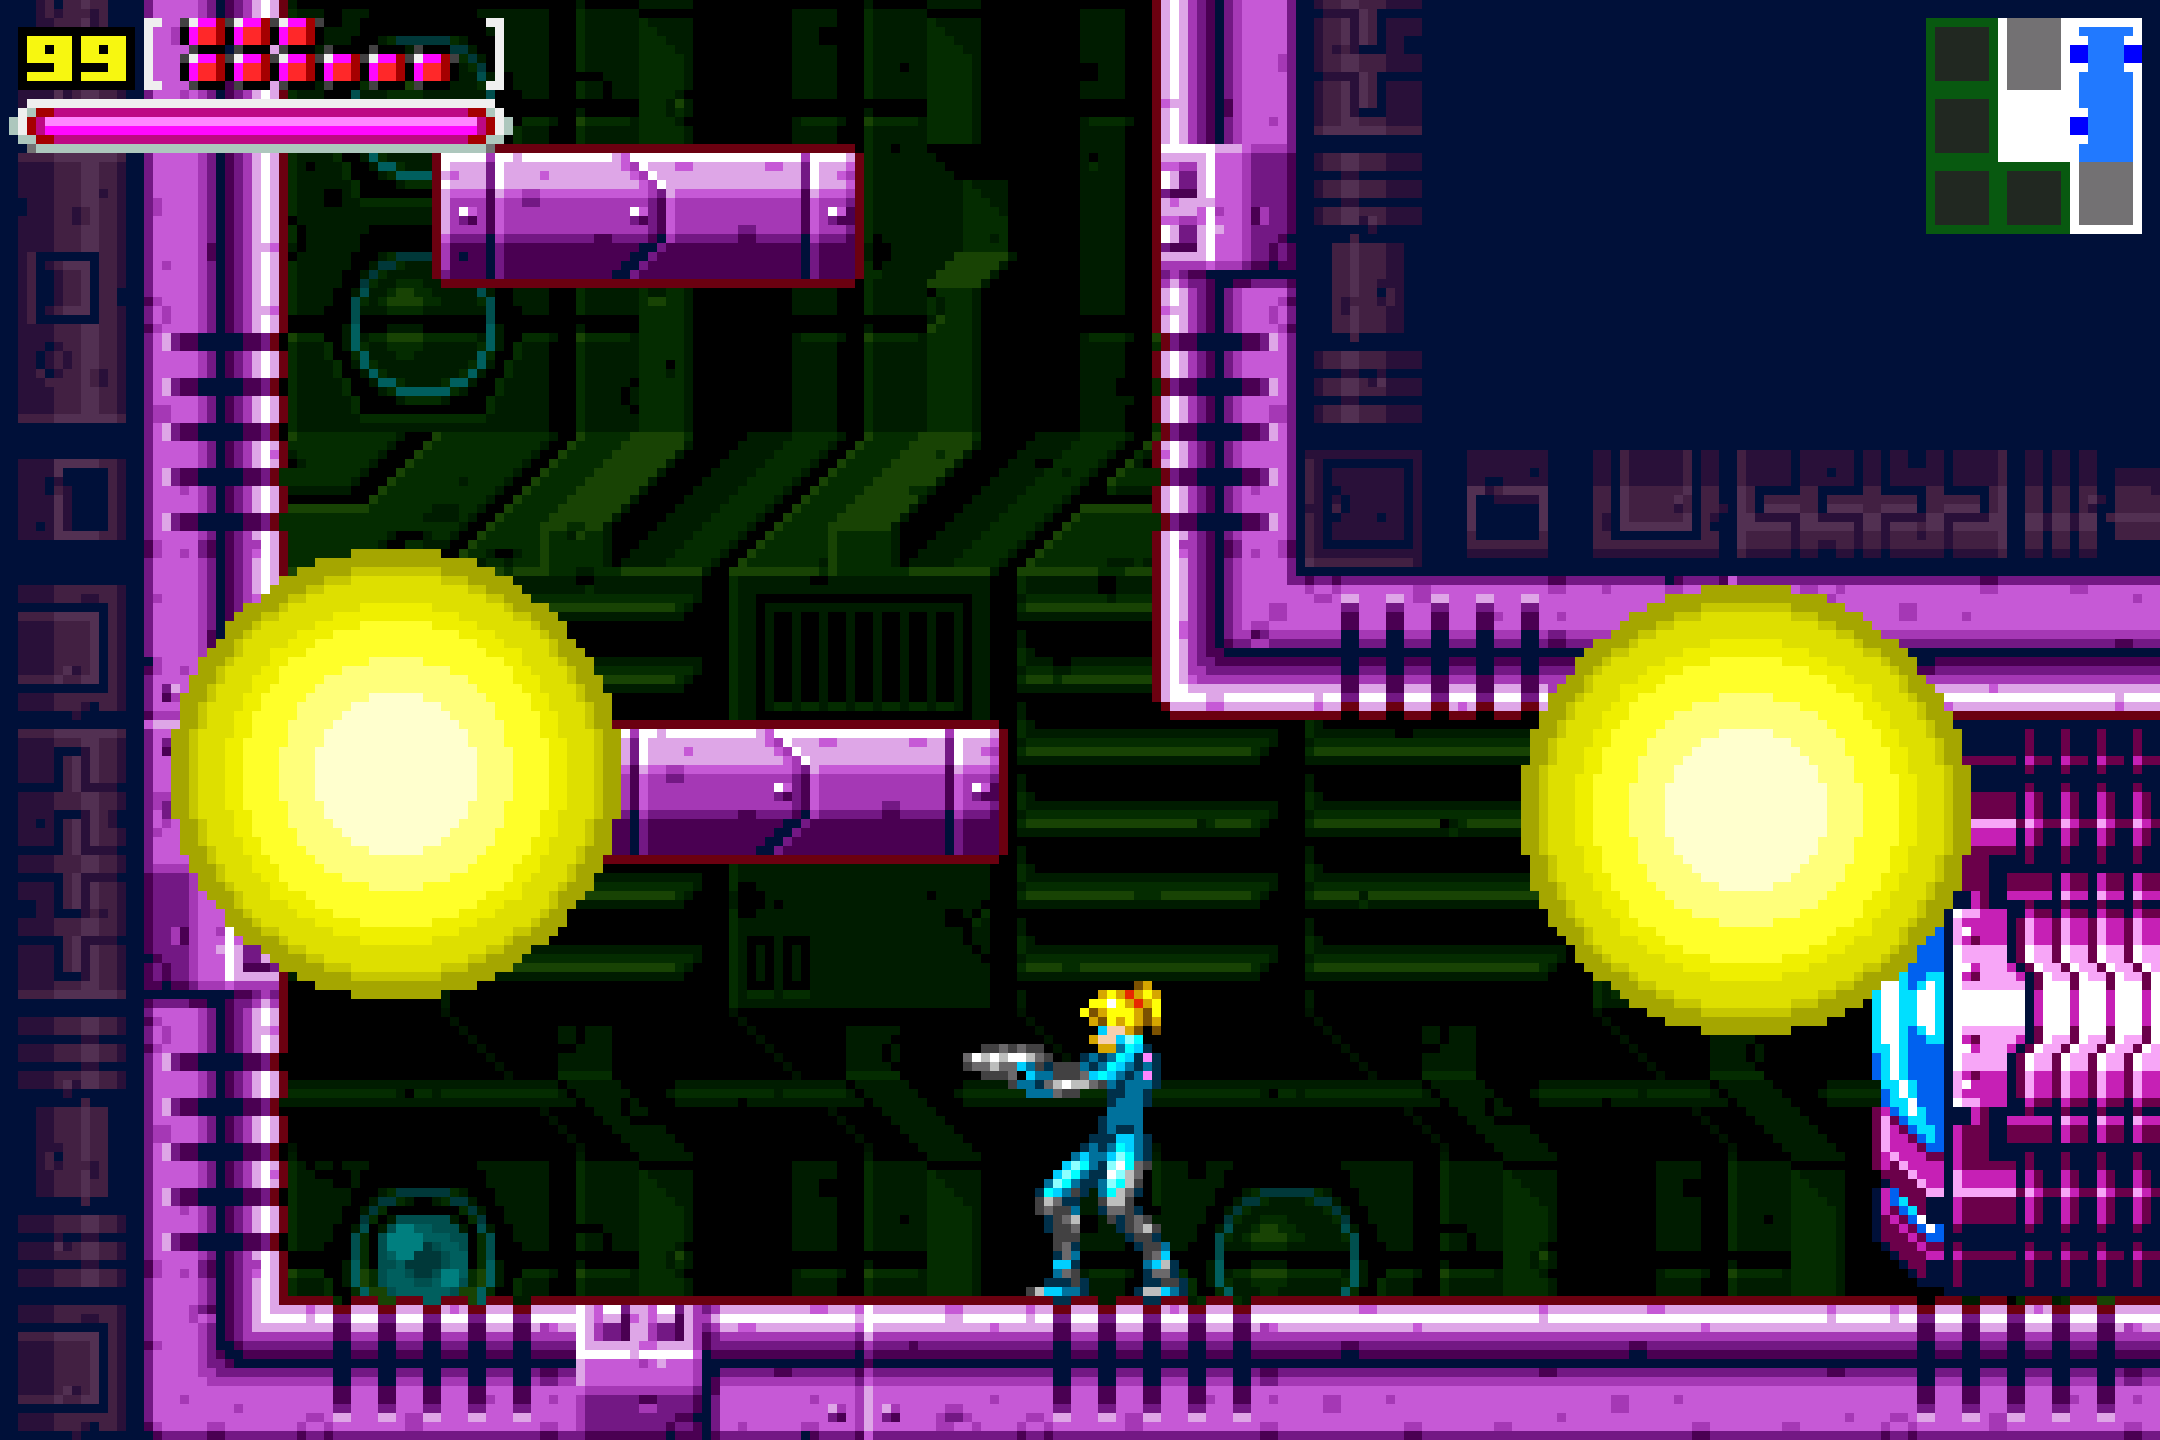
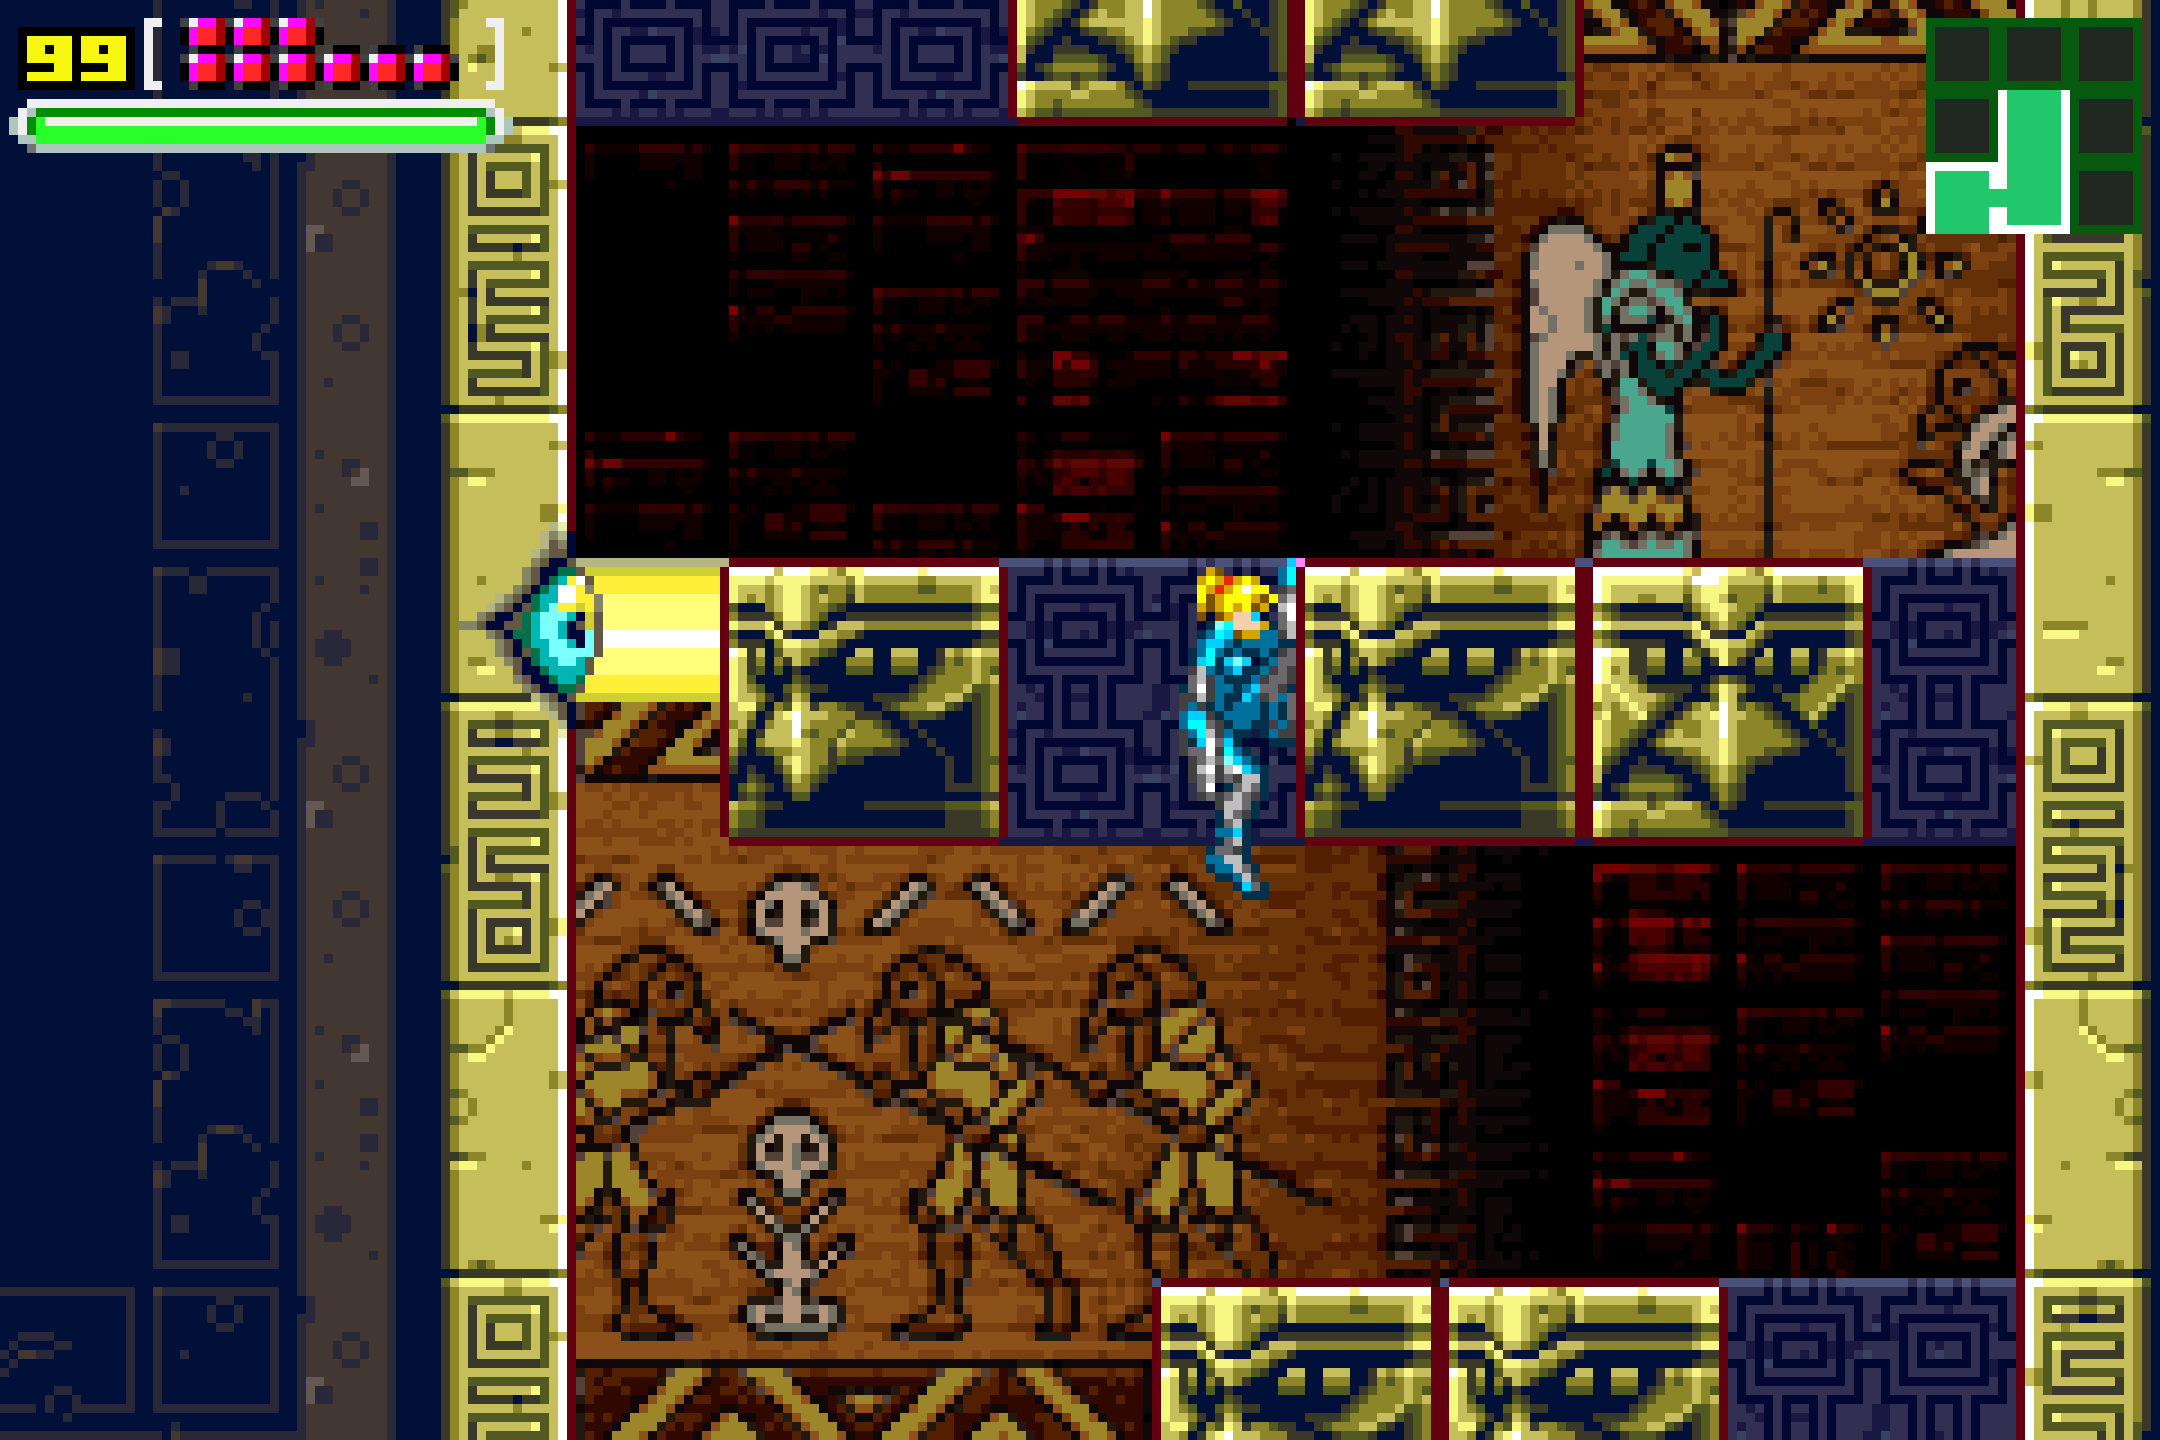
Make your way into the next room, and there will be more spotlights for you to avoid. Do your best to do so and head for the door on the top-right. I really recommend doing this without tripping the alarm; I know that sounds obvious, but the next room will be so much easier without a Pirate on your hide. Go through the door and make your way to the right, crawling under the pillars and then jumping up, exiting through the door on the right. Keep following the path of the rooms until you get to a vertical hallway that has an eyeball shooting out a laser spotlight sliding up and down the wall. Obviously laser eyeball spotlight = bad, so proceed carefully. Use the shadows behind the platforms as your visual cue as to what’s a safe zone. Slowly, carefully, methodically pull yourself up. If you trip the alarm, it’s not the end of the world, but the next room will be easier without it. It’s worth noting, Samus’s body is longer than the safe zone, so you can’t just hang out and wait for the eye to pass; you need to pull yourself up before the eyeball scans the tip of your feet.
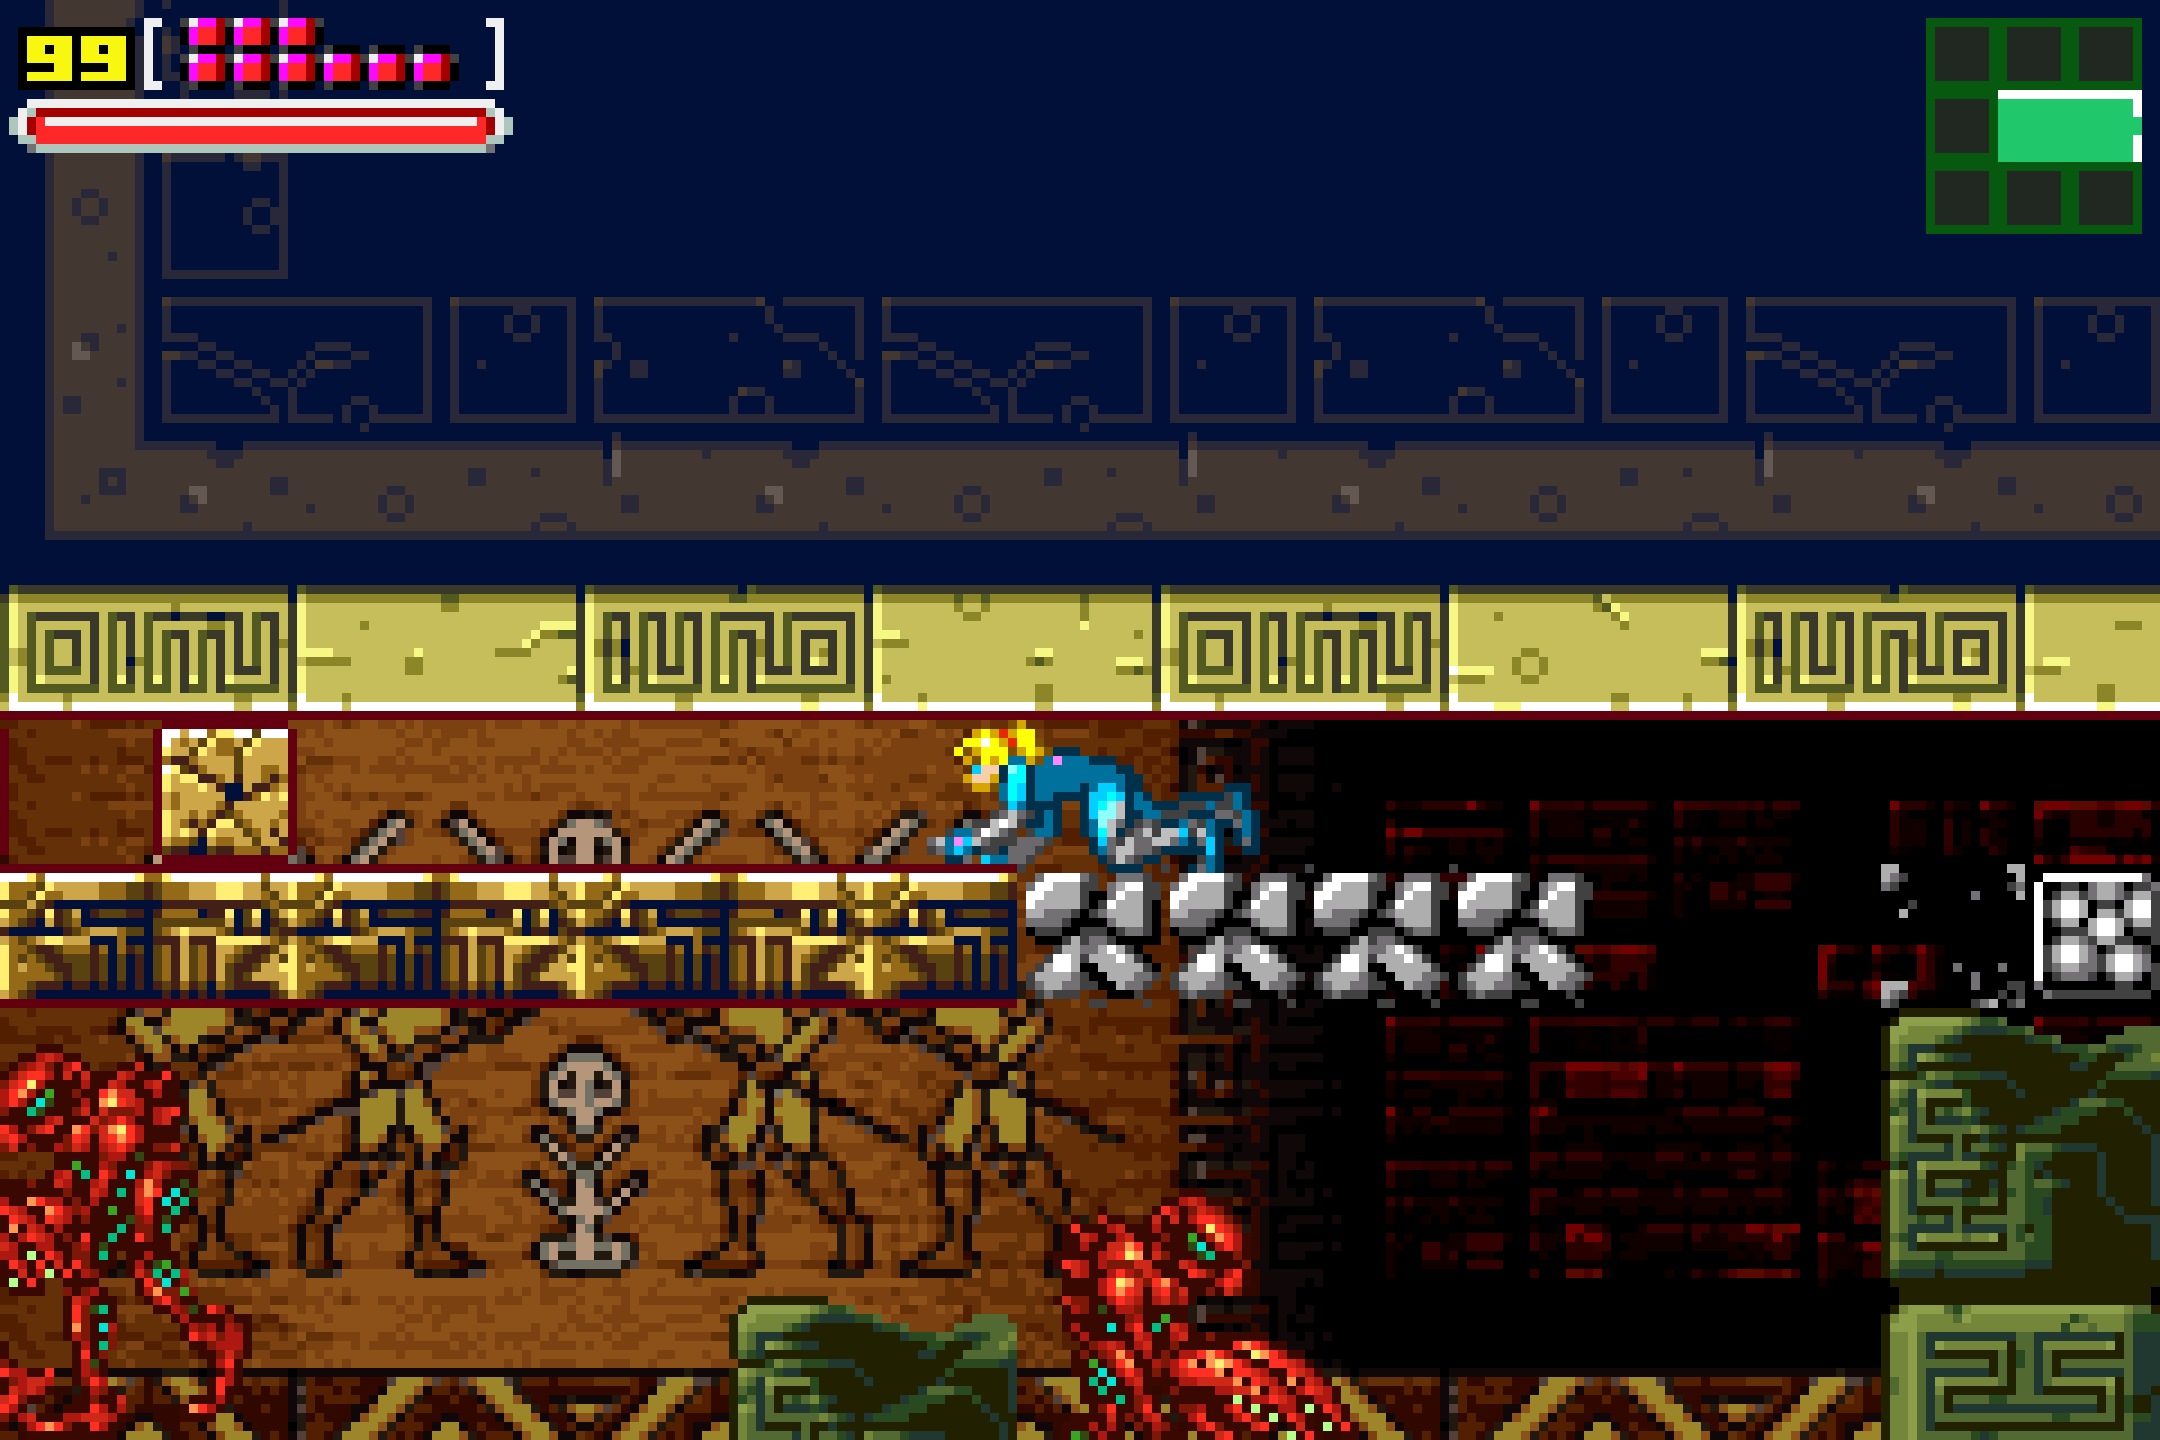
In the next room, there will be a small tunnel for you to crawl through, but move fast, because the floor is made up of slow pitfall blocks, and if they give out on you, you’ll fall below where there’s like five Pirates wandering around. You’ll have time to quickly blast the three blocks in your way, but keep moving, because if you fall, you’re toast. This is why we didn’t want to trip the alarm earlier too, because the added pressure of a Pirate crawling behind you makes this even more tense.
Once you get to the end of the tunnel, drop down. You’ll fall past a Pirate, and the alarm will be tripped if it hasn’t been already. Get through the door on the left and quickly jump up into the safe zone and wait for things to cool down. Once it’s safe to do so, head to the next room and shoot the wall on the left. A new passageway will open up, so head through and use your blaster to destroy any blocks in your way. Climb up to the top and take the door on your right. Keep walking up and you’ll eventually be able to see a Power Bomb expansion. You can’t get it now, but we’re close! Crawl through the tunnel and let the pitfall blocks drop you down. Climb to the top of this next room and use the Save Station on the top left.
Sneaking Through The Ship Part 4
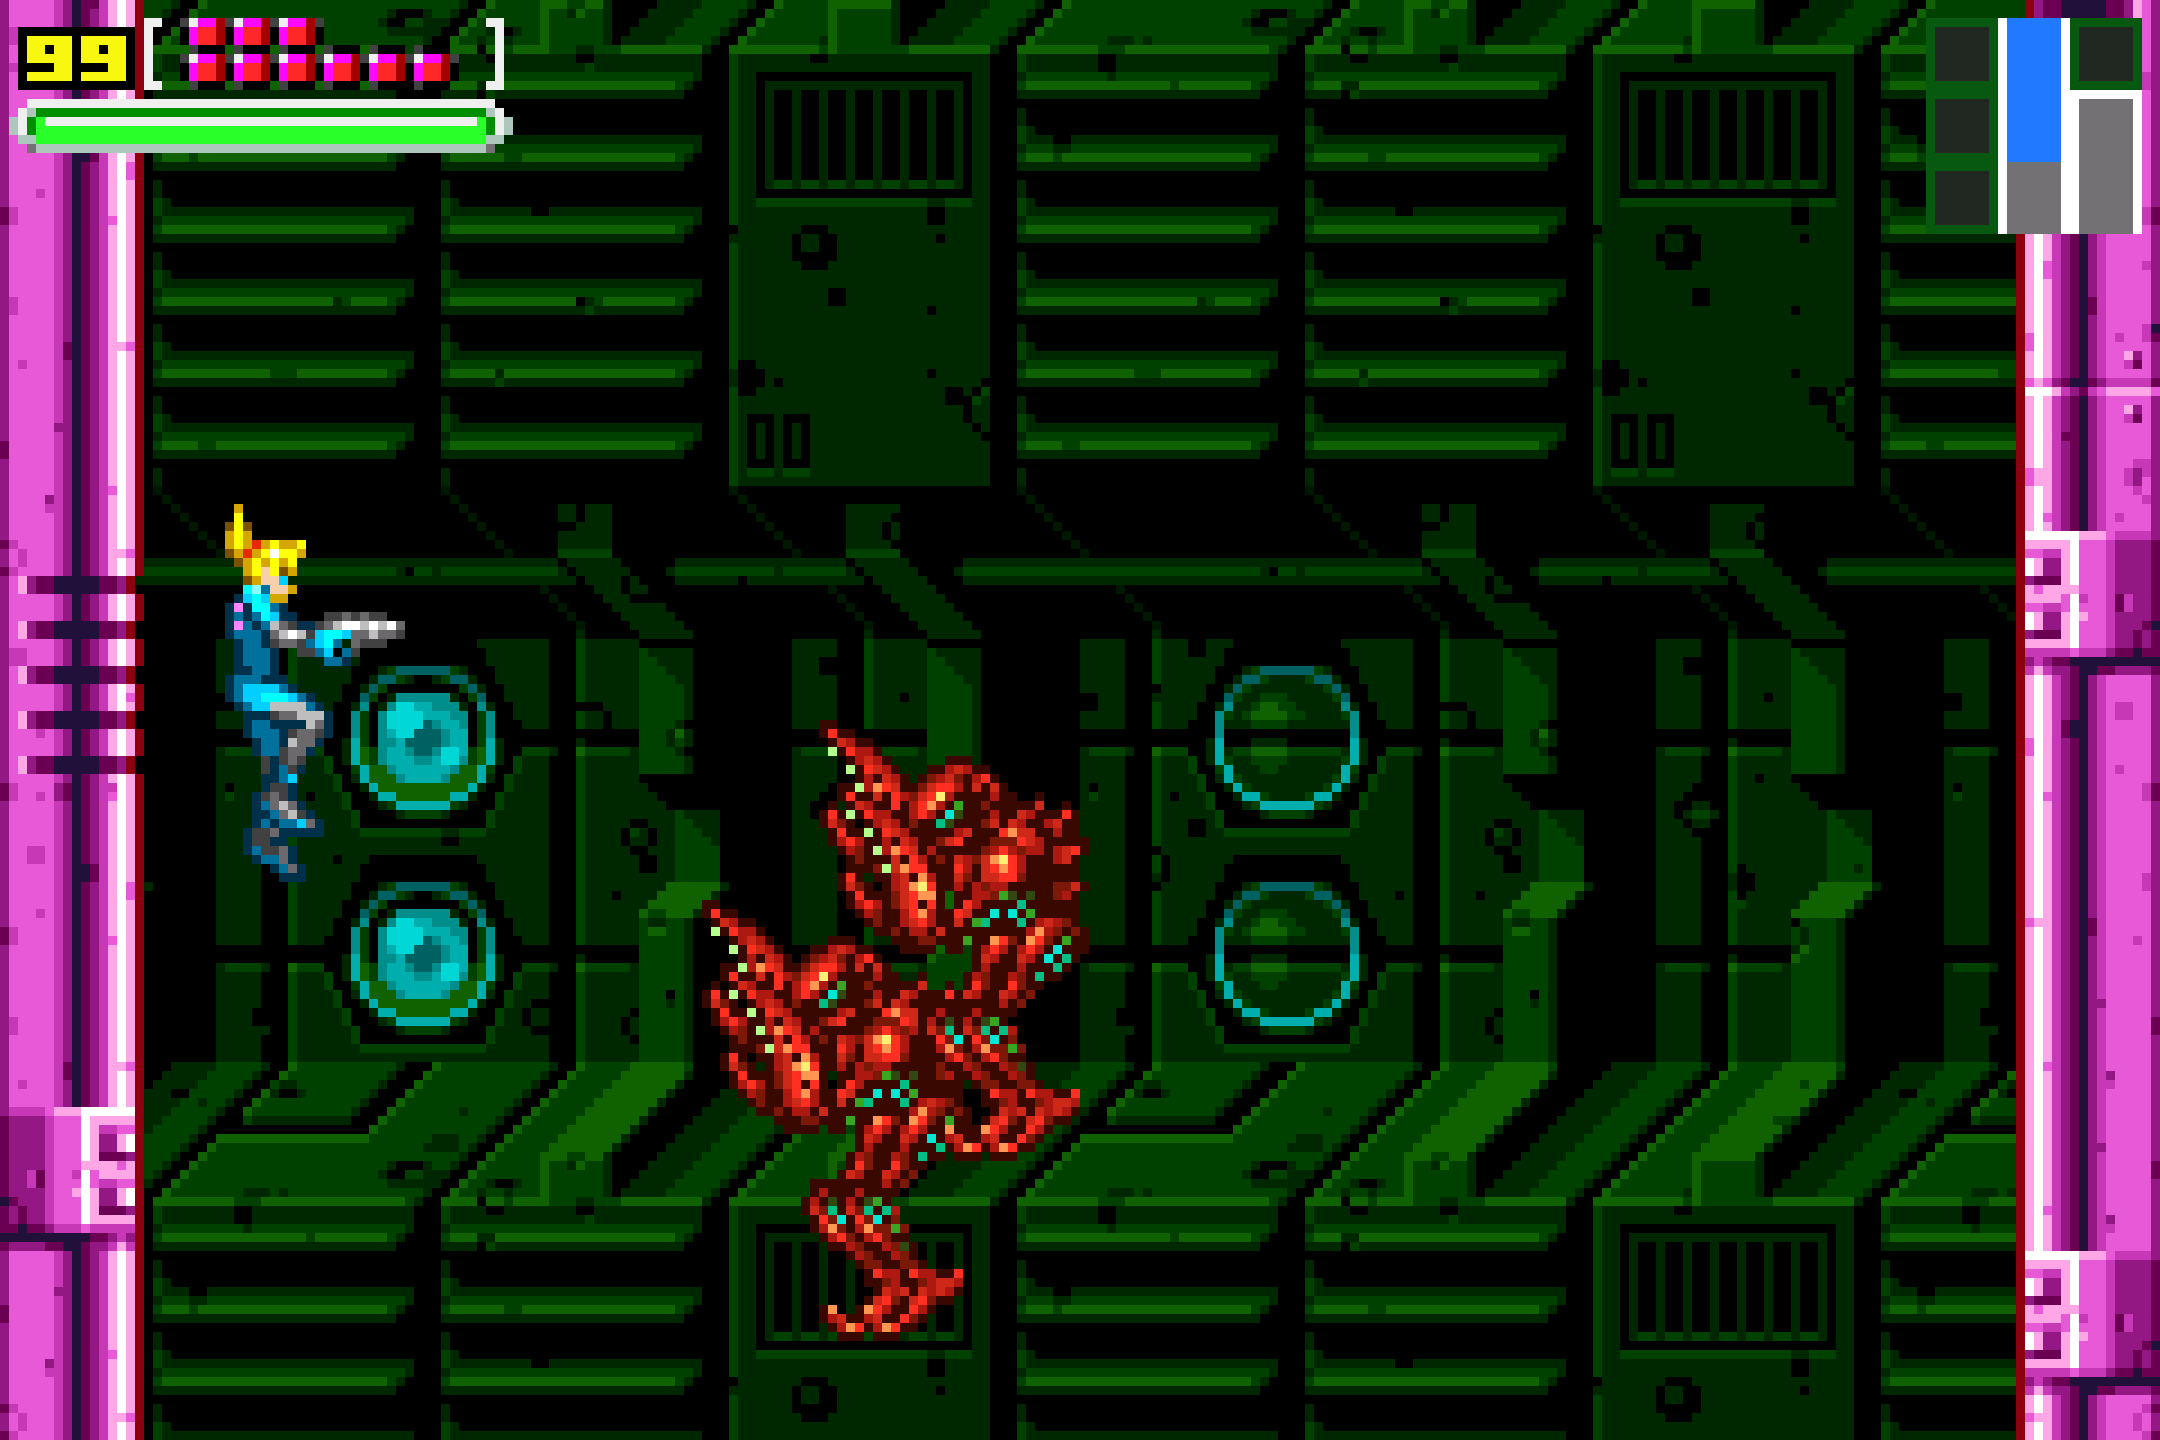
Walk through the door opposite the Save Station and you’ll see that Power Bomb expansion is gone, carried away by a Pirate just out of our reach. Keep heading straight and you’ll be in another room with more wall eye lasers. Greeeat. Avoid them and drop down, and then crawl over to the other side of the room and climb up, also avoiding the eye lasers.
The next room can be a bit dicey. There will be raised platforms above the ground with Pirates walking back and forth. You’ll be going from left to right in this room, so the trick is waiting until the Pirates are walking towards the right on their platforms and then running underneath, stopping in the middle of the platform. When they turn around and start pacing towards the left again, move towards the right and they won’t see you. Where it gets tricky is there’s about 4 Pirates moving in sync, so you don’t want to charge too quickly ahead or else the next Pirate, who’s looking to the left, will see you. Go slowly, and by the time you see the third raised platform, you’ll see the Pirate is underneath instead of on top. Same idea; wait for the Pirate to turn to the right, jump up, continue on. Avoiding the alarm will be very tough here.

Regardless of if the alarm is going off or not, you’ll want to make it through the door on the right and then jump up and crawl through the tunnel in the next room. Keep crawling away (it’s a long tunnel!) and if you have a Pirate following you, stop, turn, and stun it to give you some breathing room.
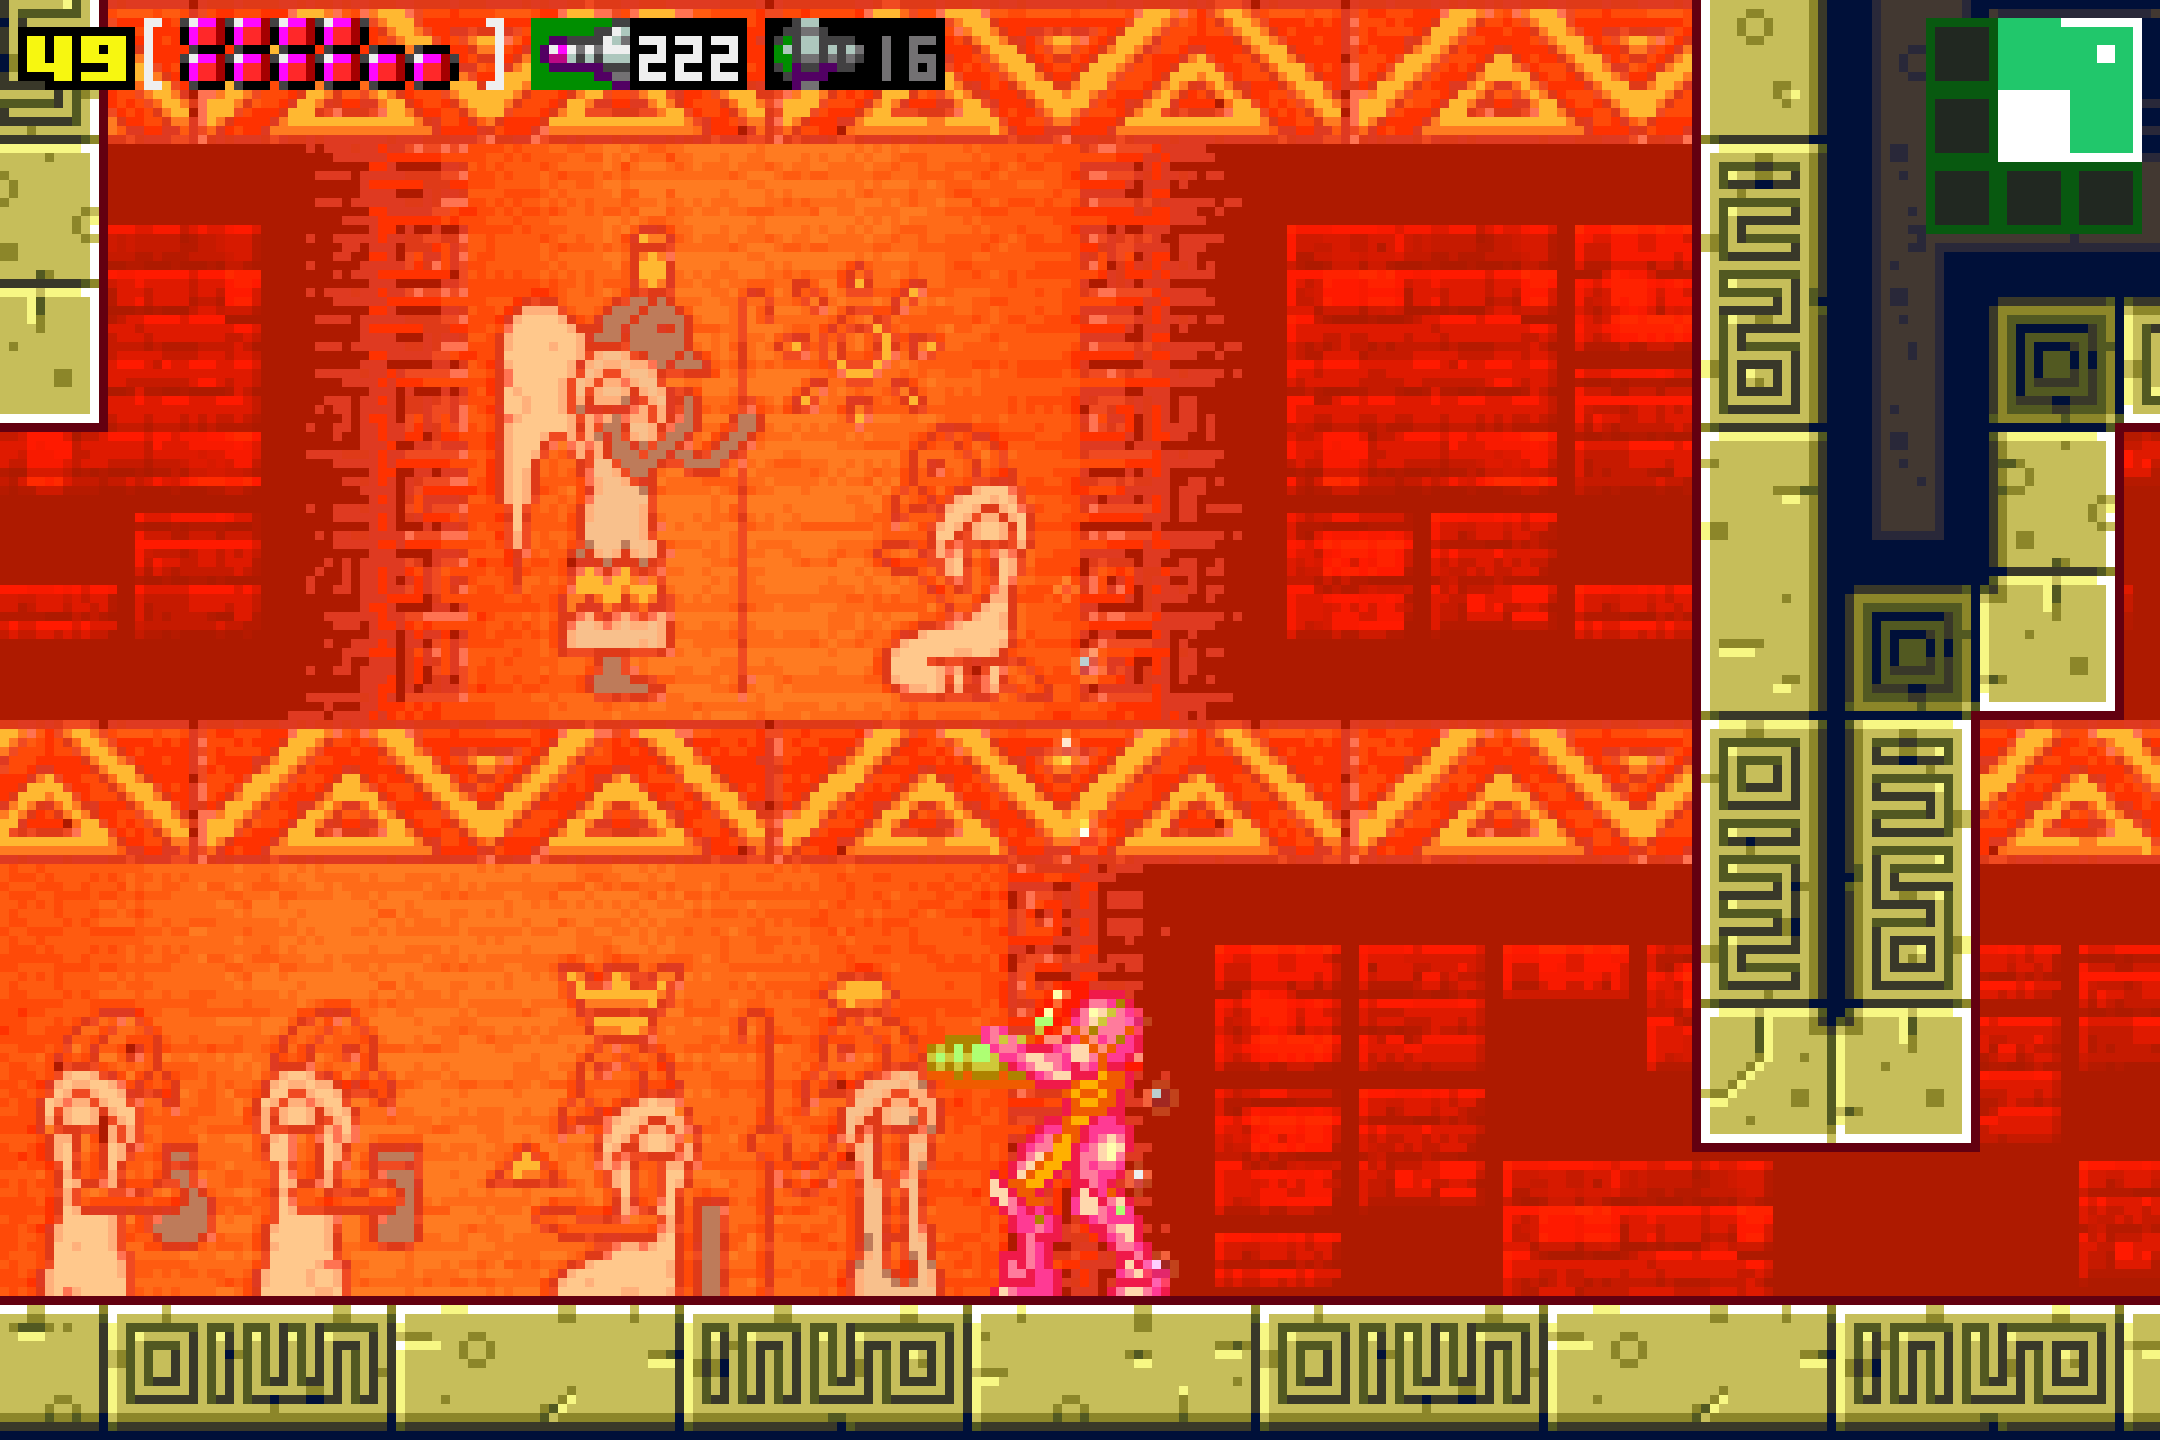
You’ll find yourself in a new room, full of some incredible Chozo hieroglyphics in the background. Drop to the bottom and there will be a bunch of platforms with Pirates on them. Same idea as before, wait for the Pirates to be facing away from you and then dash across. Of course, if the alarm is already going, just run like hell to the lower left side of the room. Climb up to the very top of this room and crawl along the floor, taking the door on the upper right corner. If the alarm is going off, this entrance will be sealed, and unfortunately, there’s not a great spot to shake the Pirates here. You’ll just need to shake the Pirates as best you can (the long crawl space in the previous room might be a decent place to do this). Once the coast is clear, head through that top right door.
You’ll drop down into a Save Station. Do your thing and then get ready.
Chozo Test
Follow the hallway up and you’ll come into a new room where a cool cutscene will start playing. There will be lots of Chozo imagery, and maybe most intriguingly, some shots of Samus as a child, being raised by Chozo. Samus clearly remembers this room from her childhood, and for good reason: this is a boss battle unlike anything seen before or since in Metroid.
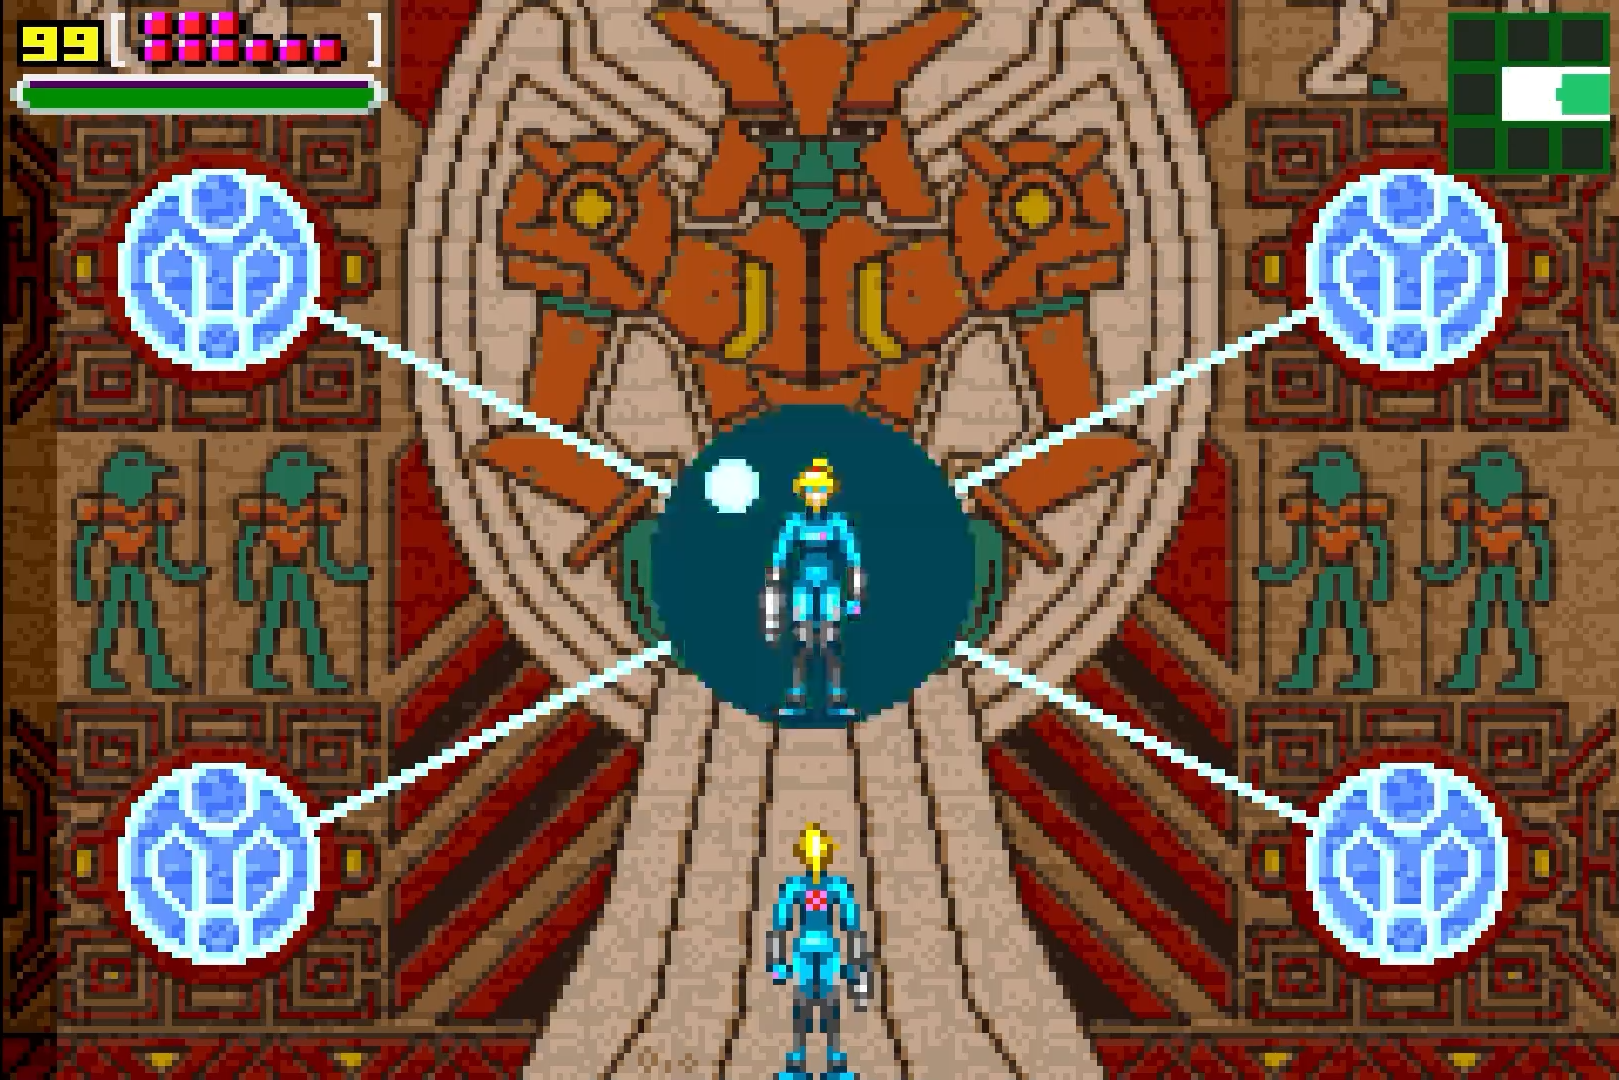
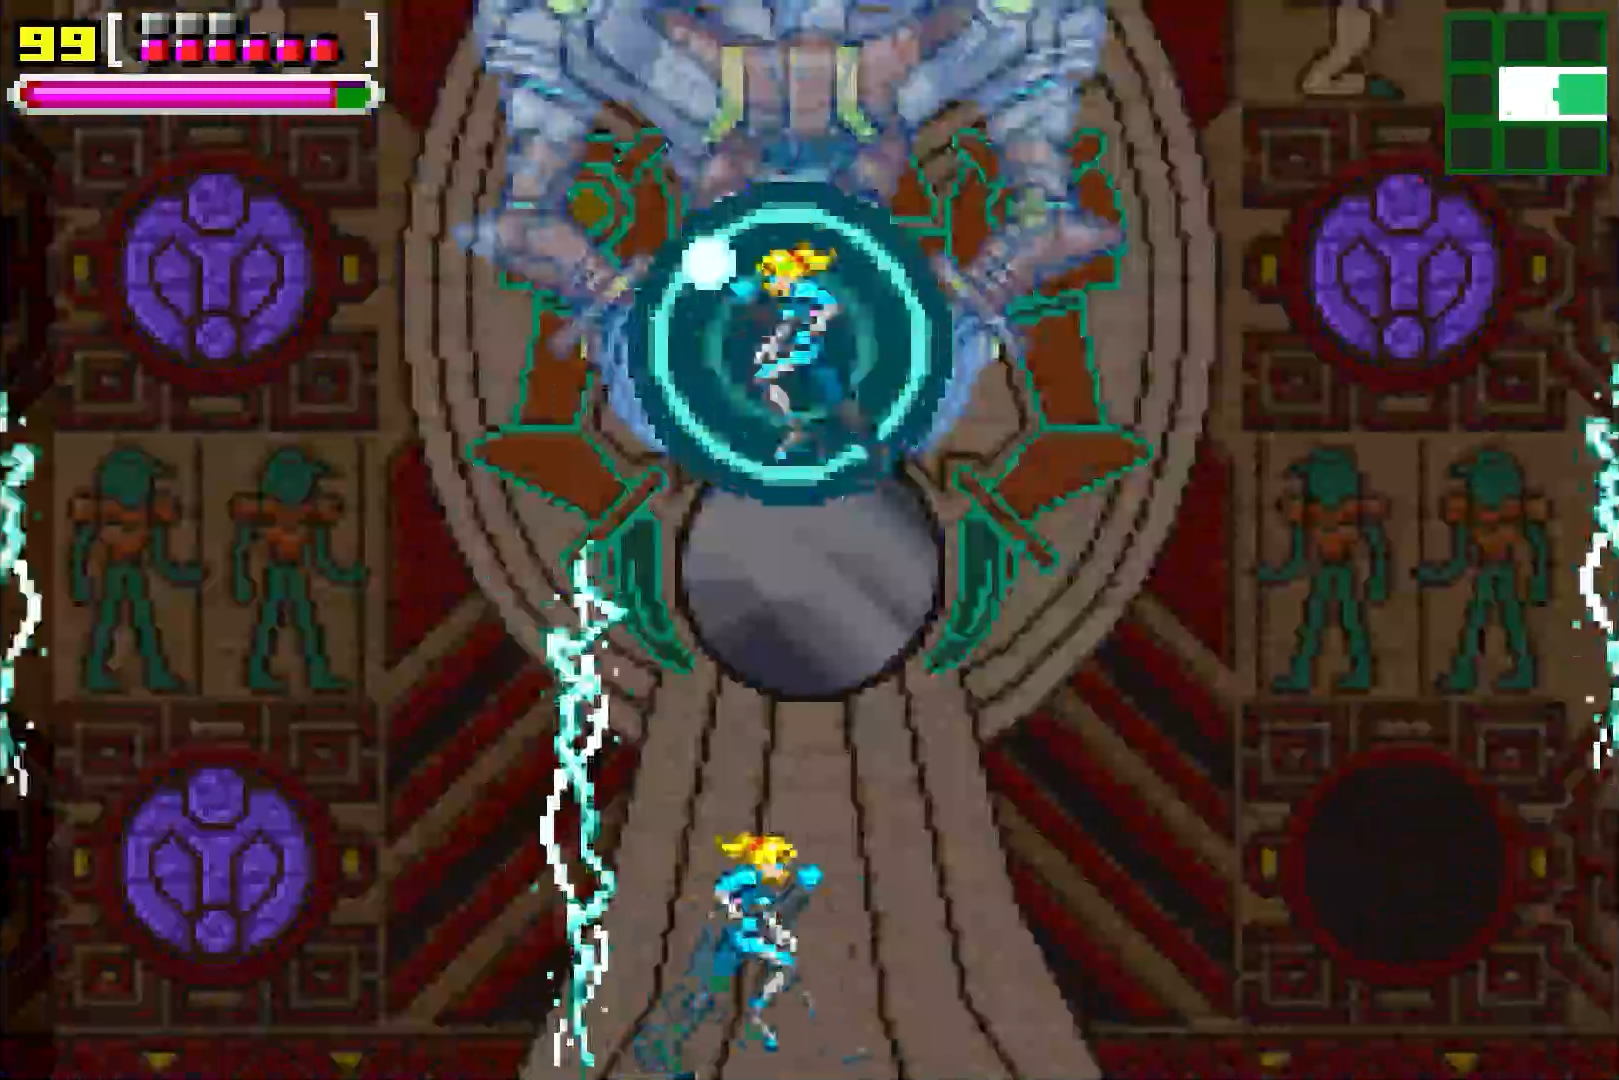
You’ll be in a room with a painting (hallucination is maybe the better descriptor?) that seems to be holding an orb. Inside the orb is a mirror image of Samus, and in each of the four corners of the room is a separate blank orb. What we’ll need to do is shoot the orb in the centre when it starts flashing and changes into a symbol. Shoot it when you see it change, and the first orb on the corner will be filled.
This seems easy enough at first, but once you hit that first orb, a hologram of this Chozo Warrior and the Samus orb will start floating around the room in different patterns. If you see the Chozo Test stop, then that means a bolt of lightning is about a second away from hitting you, so move! Furthermore, if you shoot the orb while Samus is still visible instead of the signal, you’ll take 50 units of damage to yourself, so don;t just go shooting willy-nilly. Lastly, hitting the Chozo Test itself will also damage you.
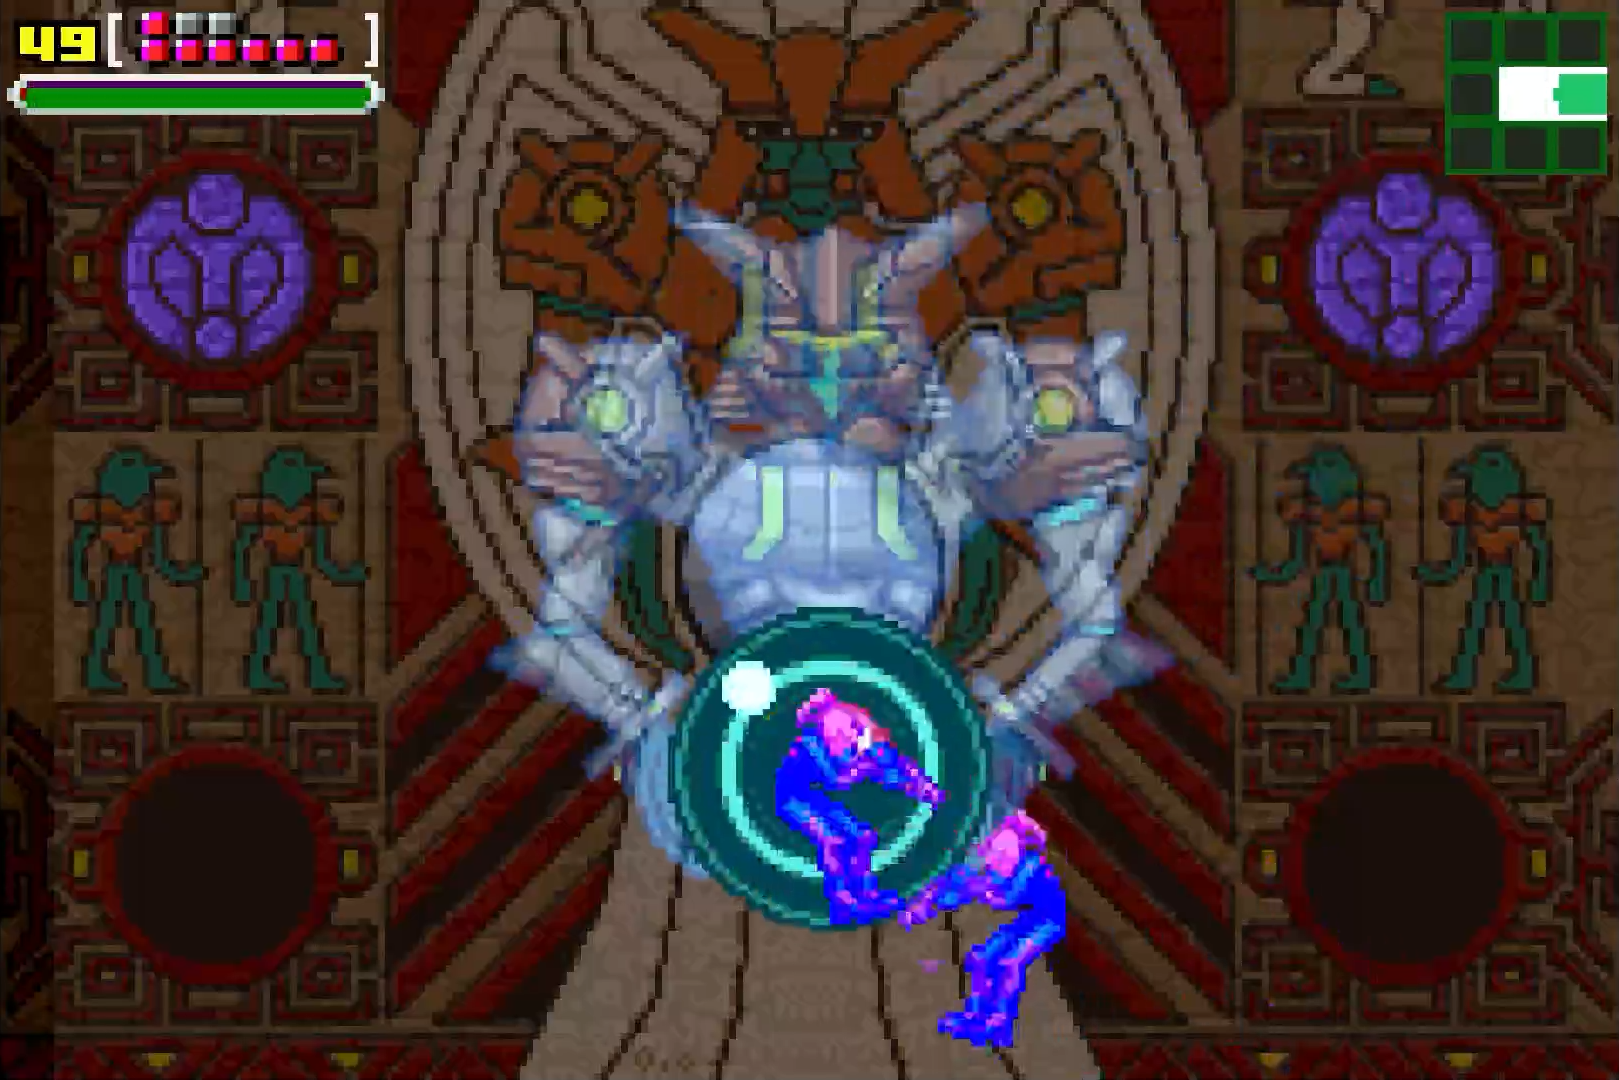
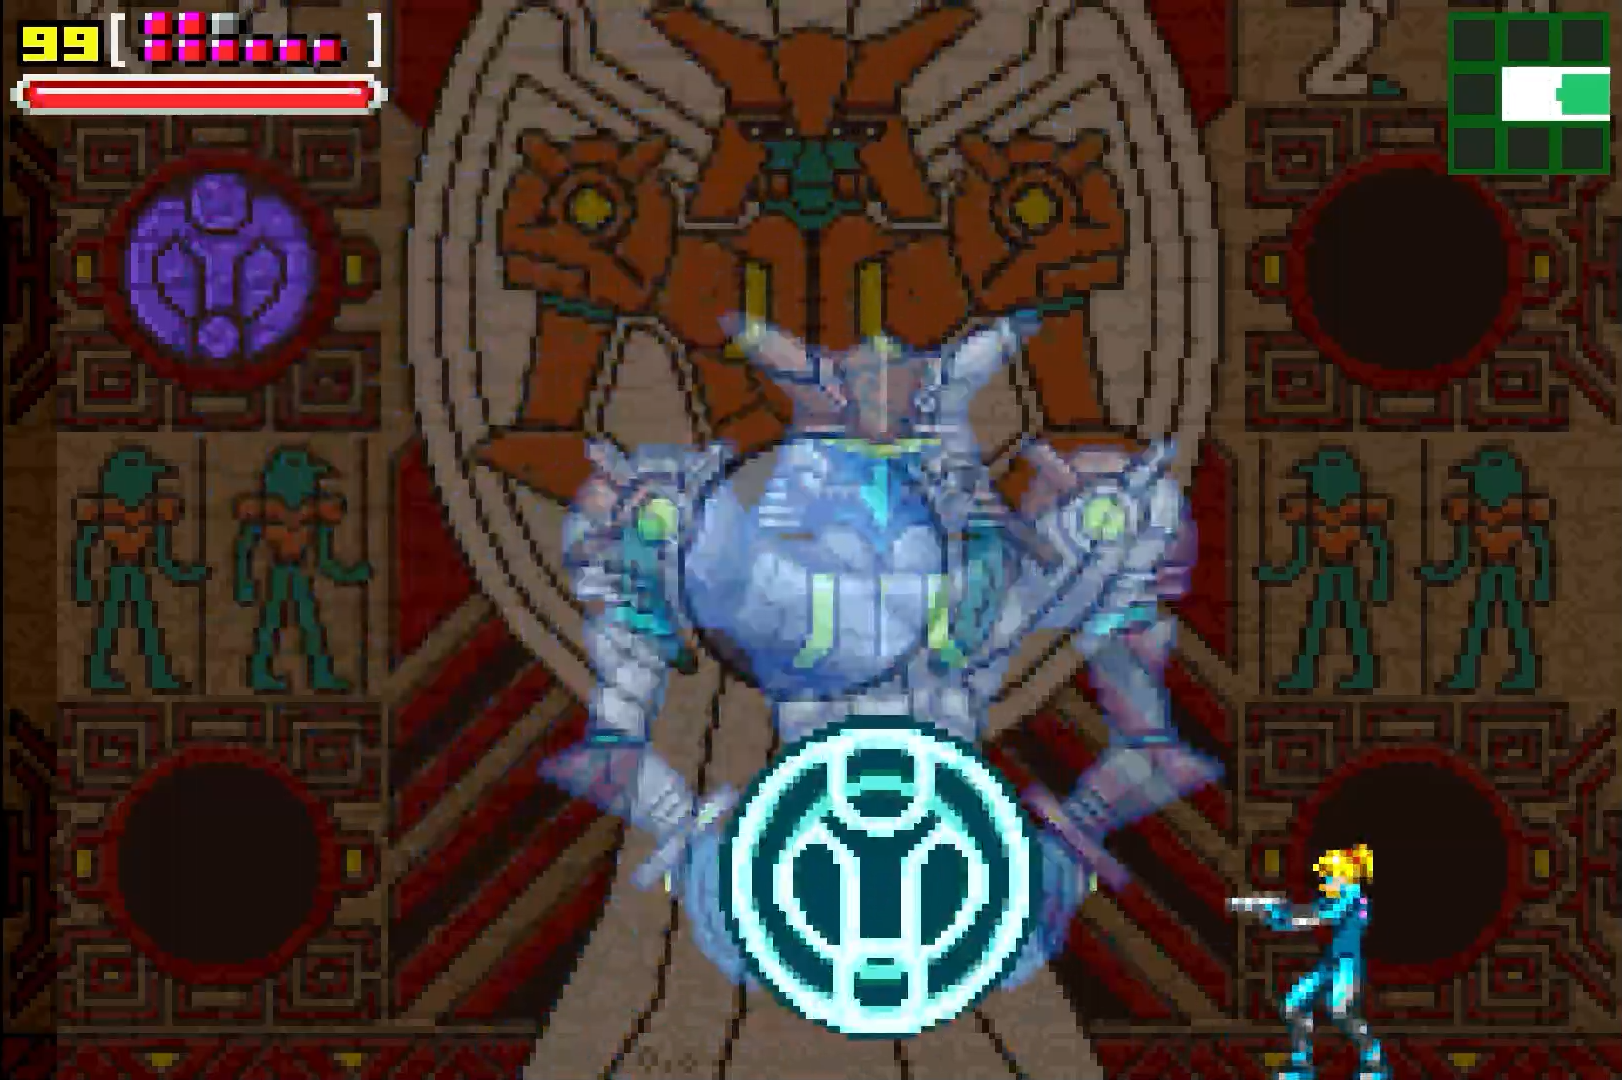
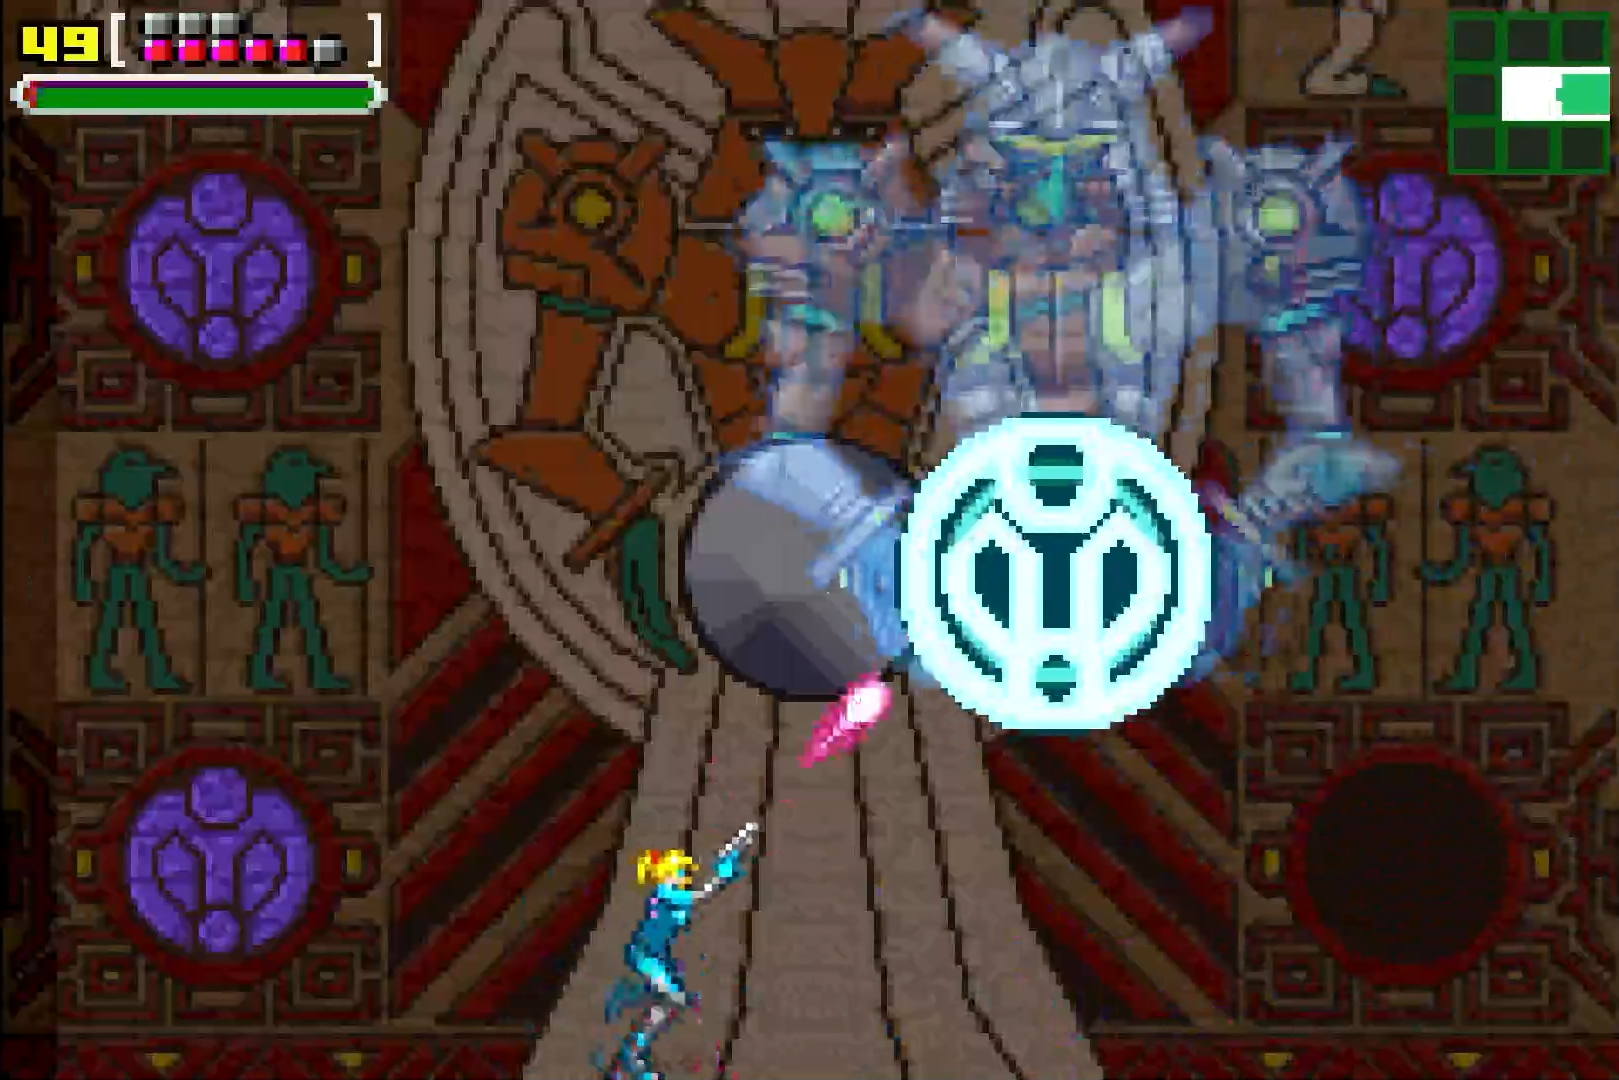
Hit the centre orb again to get the second corner orb to fill up, and repeat this again to fill the third corner orb up. Now things get a bit more tough. The Chozo Test should be moving very quickly now, so hitting and avoiding it will be tougher. Pay attention to how the Test moves, and you can kind of trace its pattern: it will swirl around the top right, swirl and move over to the top left, and then drop down and touch the bottom left corner, bottom centre, and bottom right corner of the room. It’s actually not that dissimilar to Ridley’s pogo attack. Just try and avoid it as best you can. Worth noting is that lightning will still fall down in this round, but there’s two different lightning attacks: one that will fall down straight over your head, and one that will strike the centre of the room, but send shockwaves across the floor when it hits.
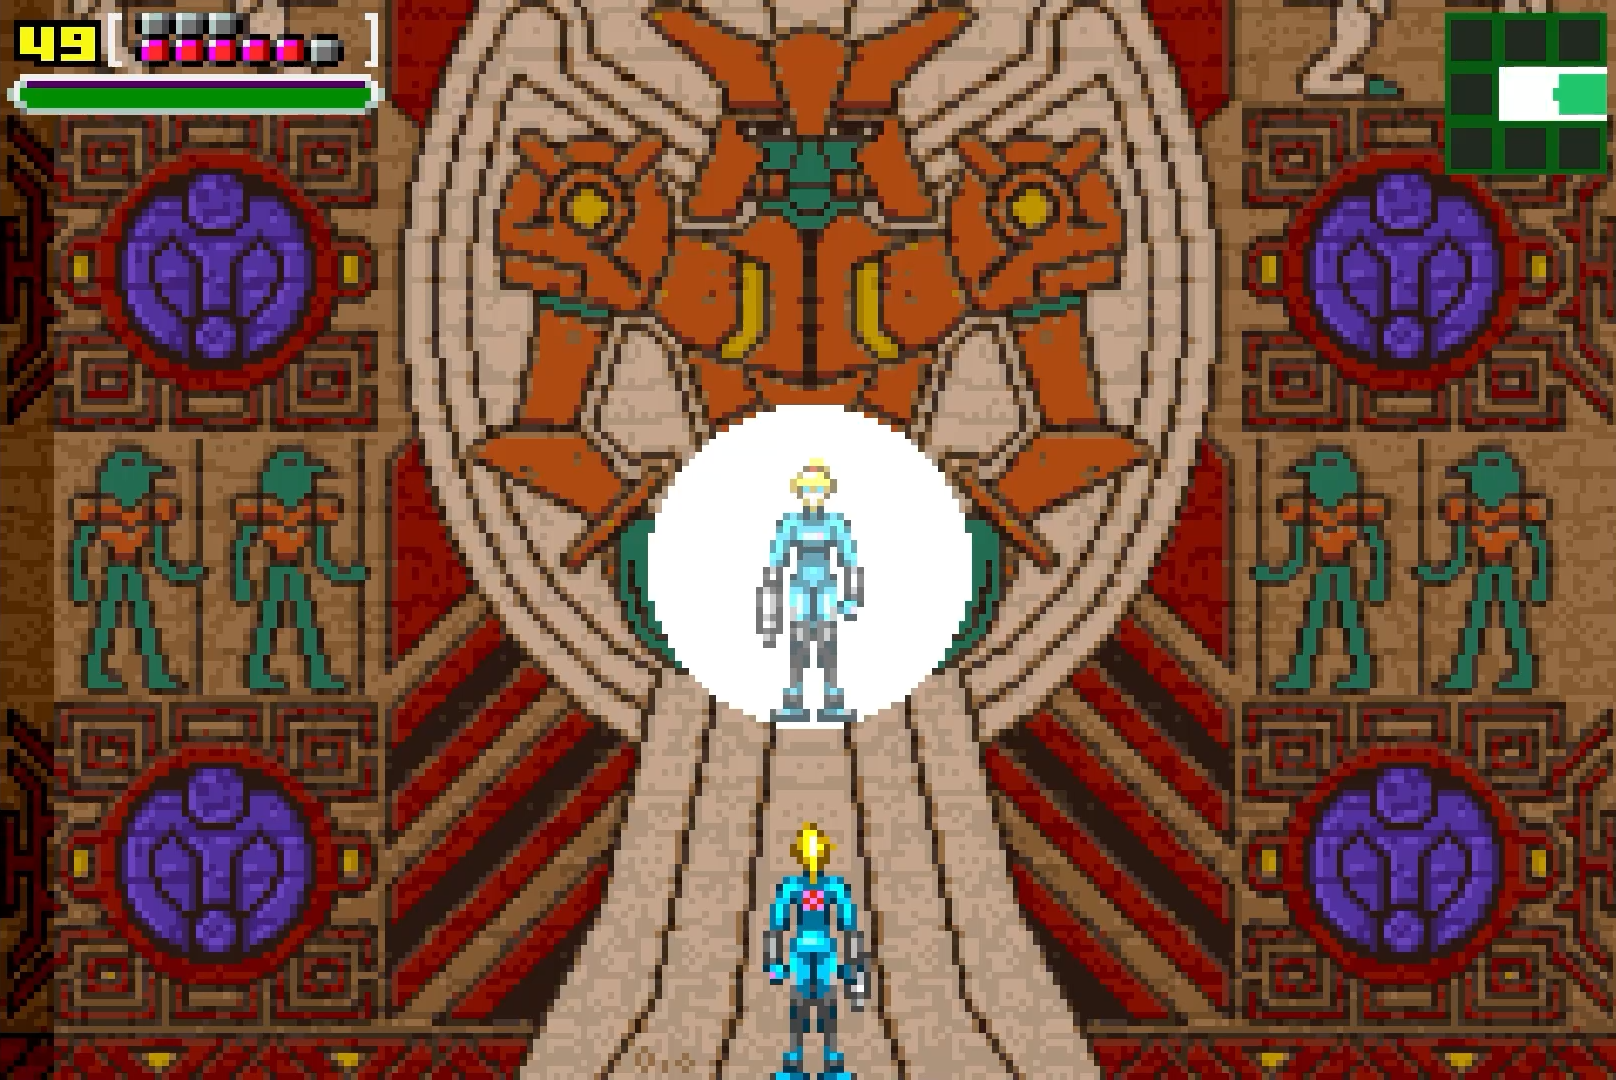
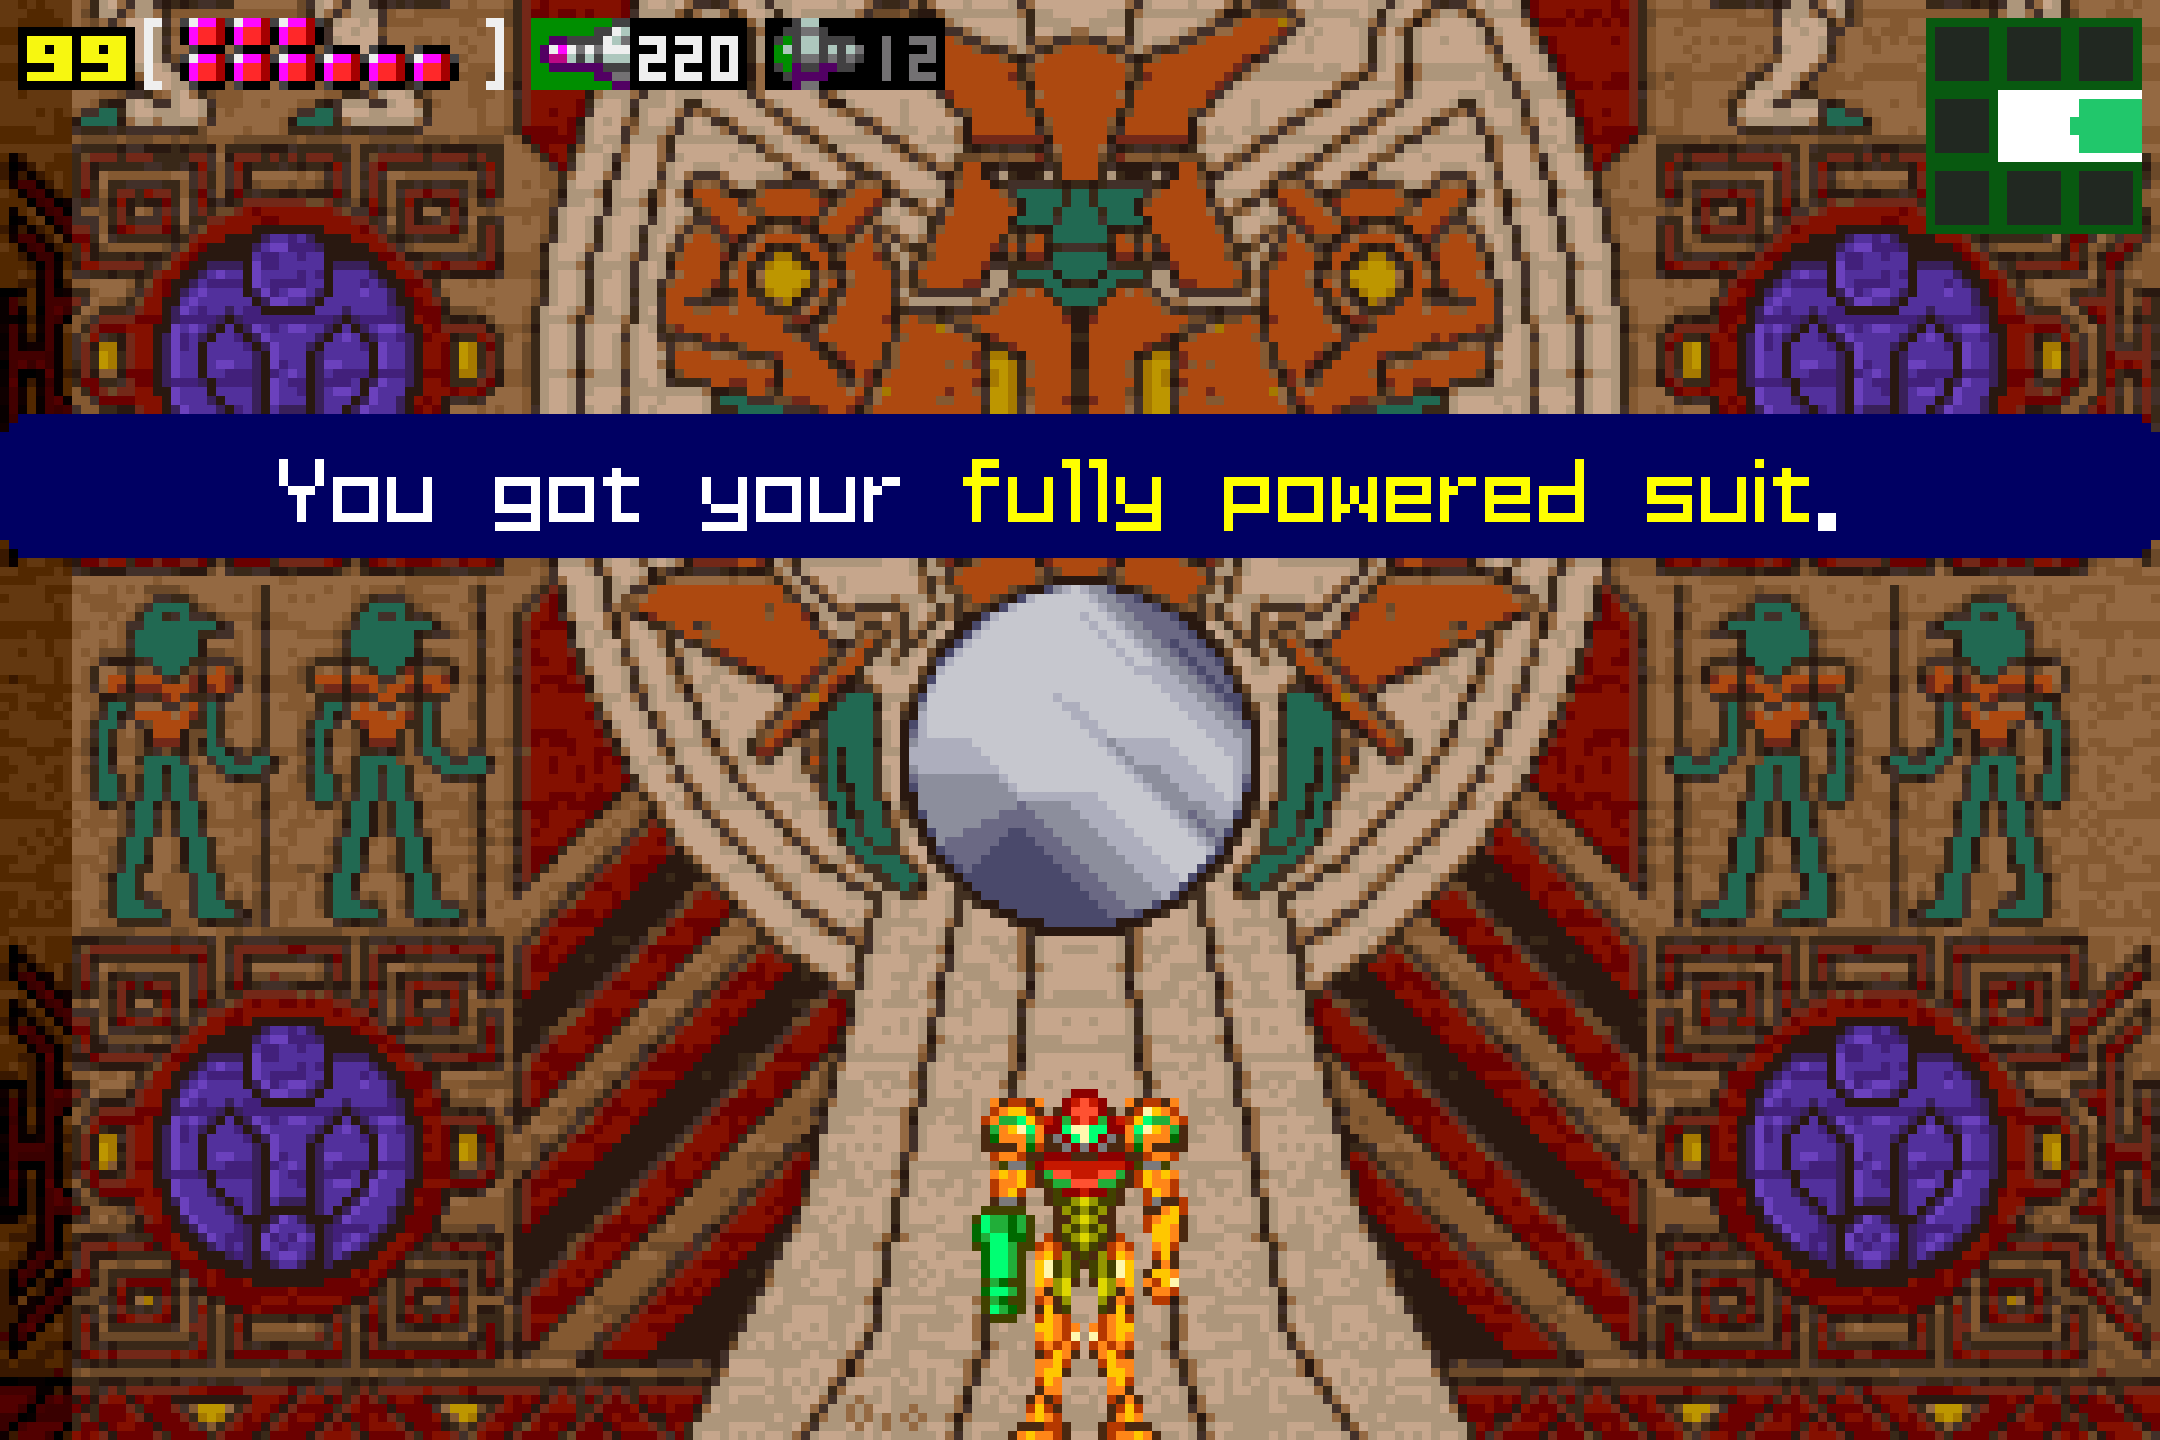
Hit the Chozo Test a fourth time and it will stop. With all four corner orbs now filled, Samus in the centre orb changes from wearing her Zero Suit to wearing her Power Suit. Your suit is back, and so are all of your abilities! Even better, all those items that you picked up that said they were Unknown Items? Not anymore! You are now at full power and equipped with the PLASMA BEAM, the SPACE JUMP, and the GRAVITY SUIT! Let’s go!!

Power Bombs
Now that you’re fully powered and fully badass again, head jump up and out of the Chozo Test room and head back to the Save Station. The alarm will be blaring, but who cares? With your Power Suit and Plasma Beam, you can cut through those weasley Pirates like they were Swiss Cheese! Buckle in and get ready for an Expansions bonanza! This will be fun – let’s get started!
Exit the Save Station to the right and drop down a bit. You’ll see some water underneath a row of blocks; shoot a missile at the floor and drop down. Get over to the left and start running towards the right. Your Speed Boost will activate and you’ll go crashing into SUPER MISSILE EXPANSION #7! But wait, that’s not all! Go back to the left and run towards the right again. When your Speed Boost activates, hold it down to charge your Shinespark. Quickly jump up to the ledge above you and release your Shinespark in the direction of the slope to the left. When you hit the slope, you’ll start running again; Again, crouch and hold your Shinespark. Jump up the next ledge and repeat the steps, release towards the slope and charge your Shinespark when you start running again. Do this a third time and then a fourth at the top, and you’ll start running towards the door on the top right. Run through it, and as soon as you go through, charge your Shinespark! Quickly Screw Attack the blocks in front of you and you’ll start to fall down; on your way down, you’ll see a little alcove on your left with a slope. Land there and release your Shinespark and then quickly charge it again! Drop down to a small platform hugging the wall on the right and release your Shinespark towards the wall. You’ll to flying across multiple screens, eventually landing beside ENERGY TANK #10! This is tricky, so see Shinespark Puzzles for video on how to do this. Once you’re done, Shinespark back the way you came.
Once you’re back, go back to the little alcove where you charged your Shinespark for the final time in the last expansion. Fire a missile in the top left corner of the alcove and a small tunnel will appear. Roll through to grab MISSILE EXPANSION #42. Sticking in this same vertical hallway, drop all the way to the bottom and Screw Attack through the blocks, going through the door. In this next room, again, Screw Attack through the floor and drop into the lava. Hey guess what – this is actually real lava, but with the Gravity Suit, it doesn’t matter! Drop to the bottom and roll under the pillar to your right. Follow the tunnel to grab SUPER MISSILE EXPANSION #8!
Now, pull up your map and you’ll see a room with a yellow spacecraft marker on the upper-right side of Chozodia. We’re going to call this room the Shuttle Room. You want to get to the Save Station directly under that. There are no expansions that we absolutely need right now along the way, so I’m going to leave the navigation up to you and we can back up in the next paragraph when you arrive there.
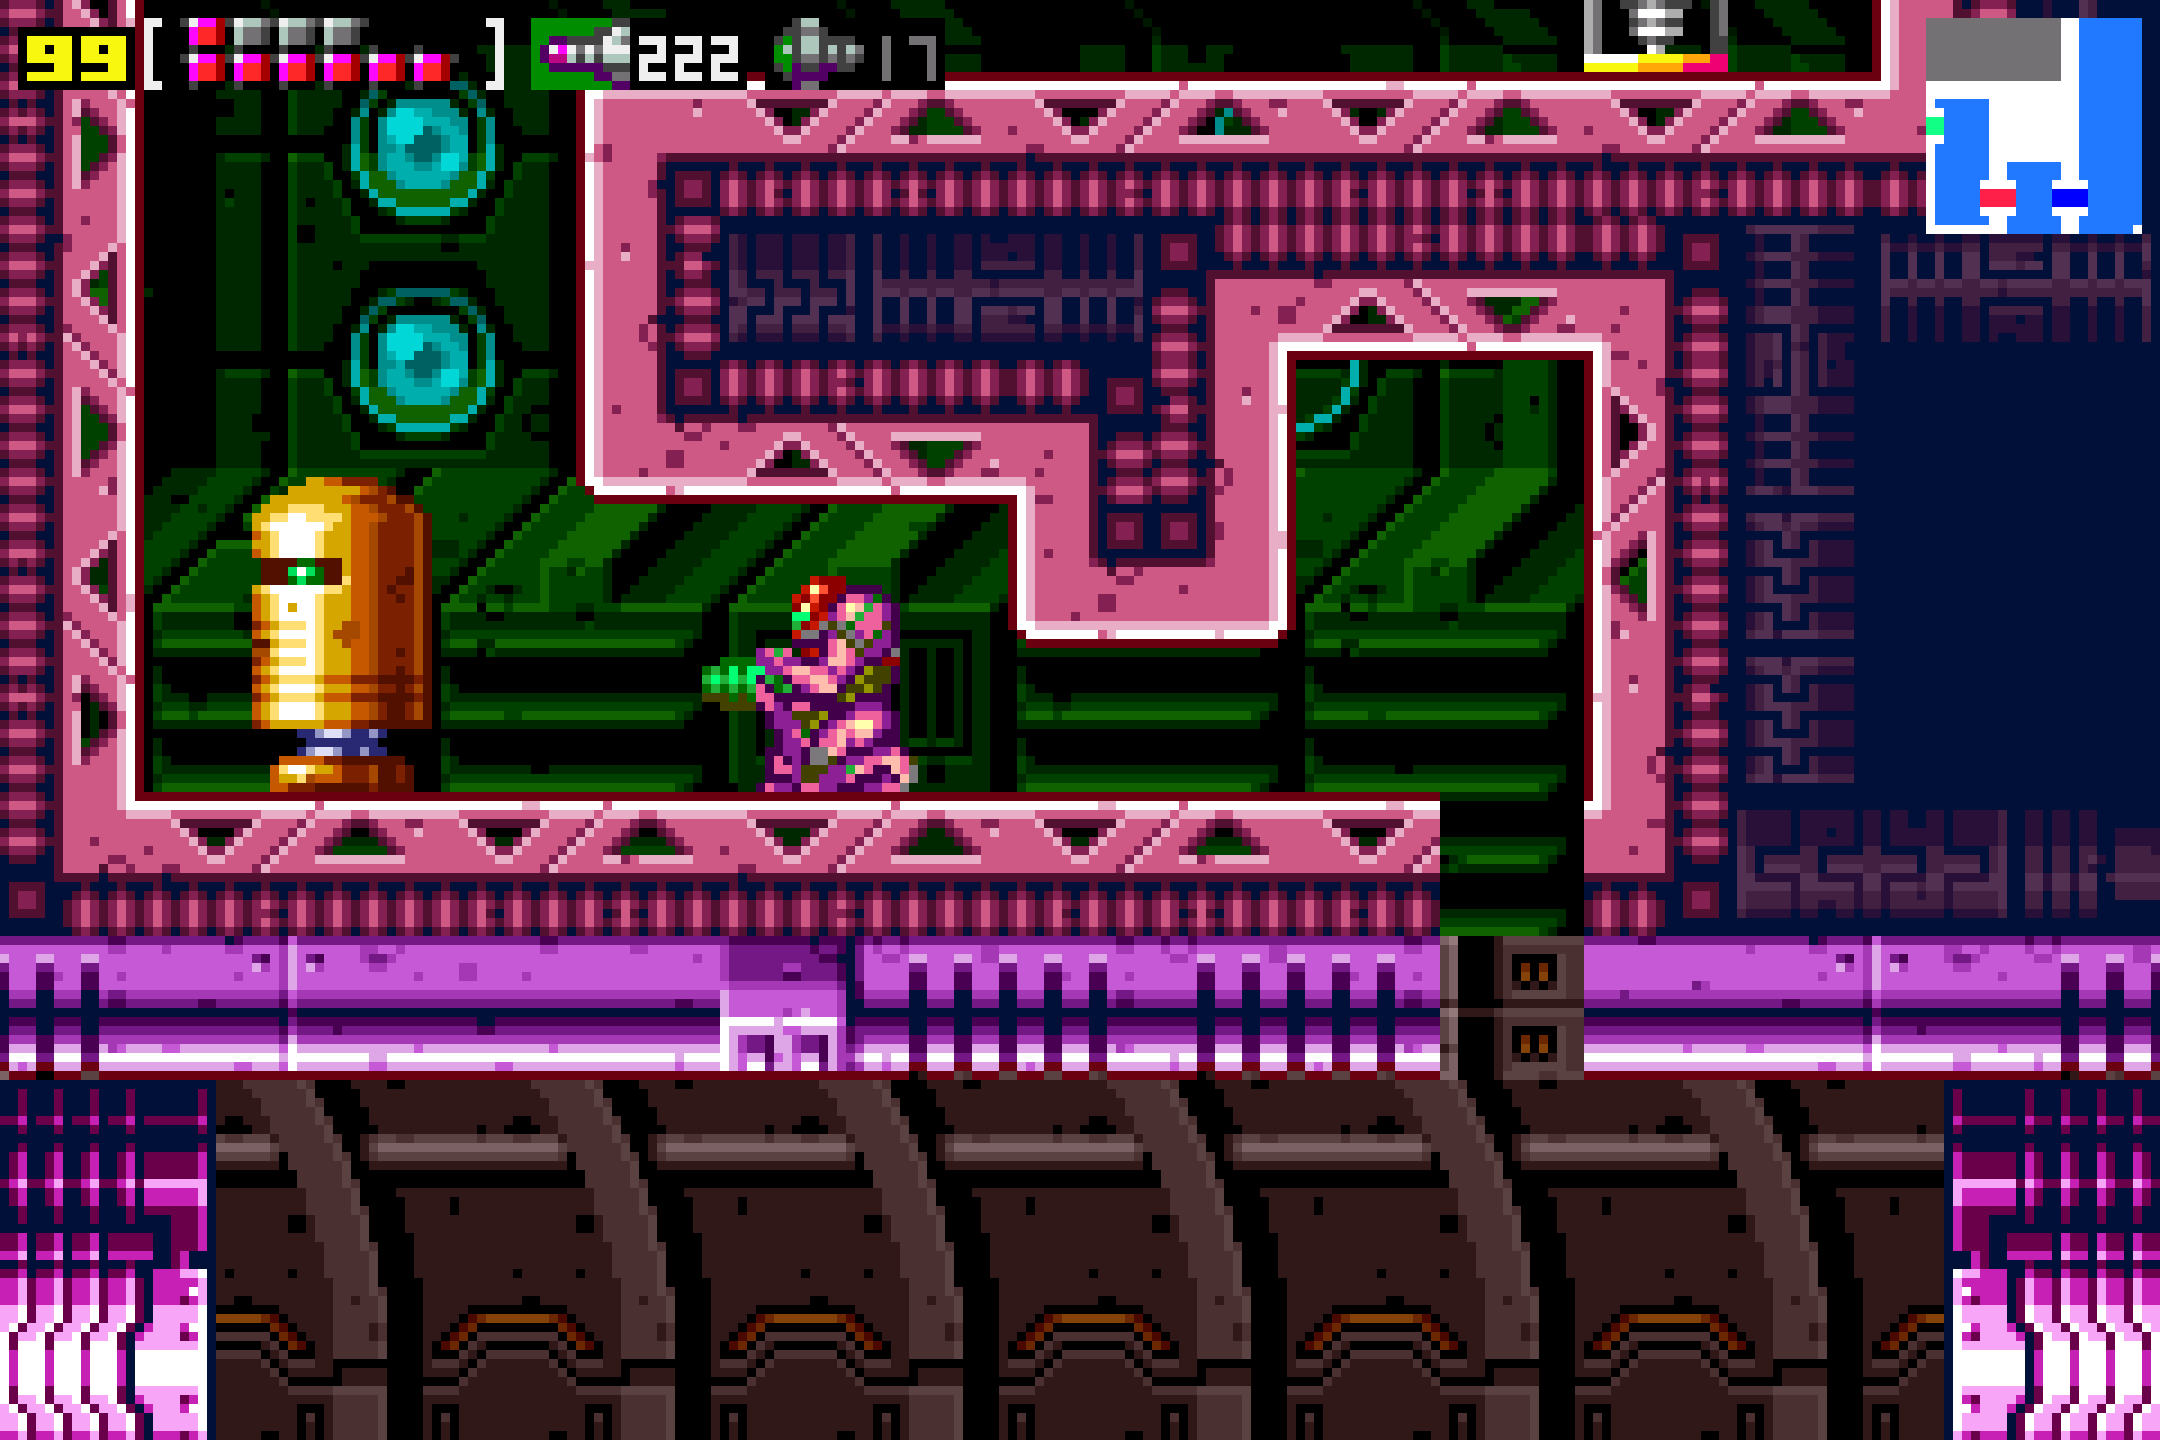
Made it? Good. Backtrack just a wee bit and head through the door directly to the left, across the Save Station. Go through and then blast the red door with a missile to open it. Jump up and open the green blast door, and you’ll see a Super Missile Expansion. Bomb the block beside it, and you’ll go falling down a bit to a pit with three Space Pirates. No big deal, right? Smash them and jump up to grab SUPER MISSILE EXPANSION #9! Once you’re done, go into the next room to your right, take care of any Space Pirates, and then destroy the blocks above you to jump up through a small tunnel. Blast the R2D2-looking droid in your way and, once it moves, jump up to grab SUPER MISSILE EXPANSION #10. Now, head towards the Shuttle Room.
Once there, scale towards the top of the room, slip through the Morph Ball tunnel, and keep left (don’t even try to fight the grey Space Pirates now, not worth it) until you reach a big room. This room doesn’t really have anything special to it, with the exception of another R2D2 that is right in your way (trust me, we’re coming back to this guy in a bit…), so just follow the path and exit left. Keep following the path, going through the world’s longest and most obstacle-ridden Morph Ball tunnel, until you reach a room that looks like the Bridge of the ship. There’s a Save Station here you can use if you’d like; when you’re ready, drop down into the lower part of the bridge.
Drop down and you’ll see the Pirate carrying your last powerup just ahead of you, out of reach. This Pirate must be the world’s worst boobytrapper, because in the next room, POWER BOMB EXPANSION #1 is just sitting there for the taking, so go ahead and take it! You’ll trigger the alarm, but who cares? Blast away any Space Pirates into another dimension with your new bombs and head right. Head right one room, and then lay another Power Bomb in this room and the ceiling will give away, revealing POWER BOMB EXPANSION #2! Make your way back to the bridge of the ship.
From here, you can go to the final boss of the game if you choose. Conversely, you can continue your adventure with me and sweep the entire planet to get every last power up available and finish the game in style!