


Metroid: Samus Returns Walkthrough – Area 3: Aeion Mines
Walkthrough
- Return to SR388
- Area 1 – Ancient Chozo Ruins
- Area 2 – Hydroelectric Station
- Area 3 – Aeion Mines
- Area 4 – Crystal Caverns
- Area 5 – Flooded Greenhouse
- Area 6 – Diggernaut’s Domain
- Area 7 – Chozo Laboratory
- Area 8 – The Nest
- The Last Metroid
Powerups in the Mines
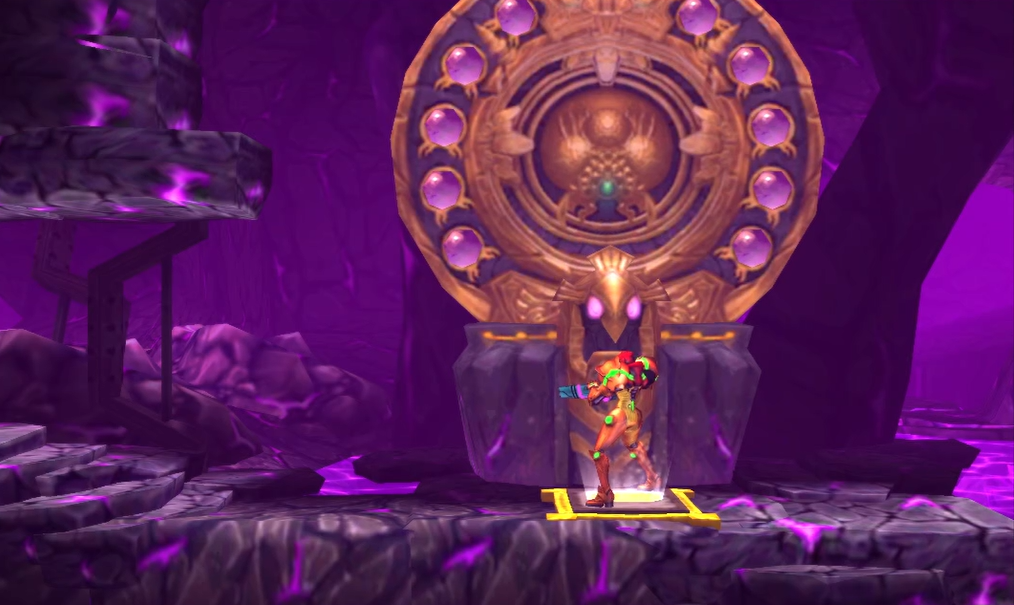
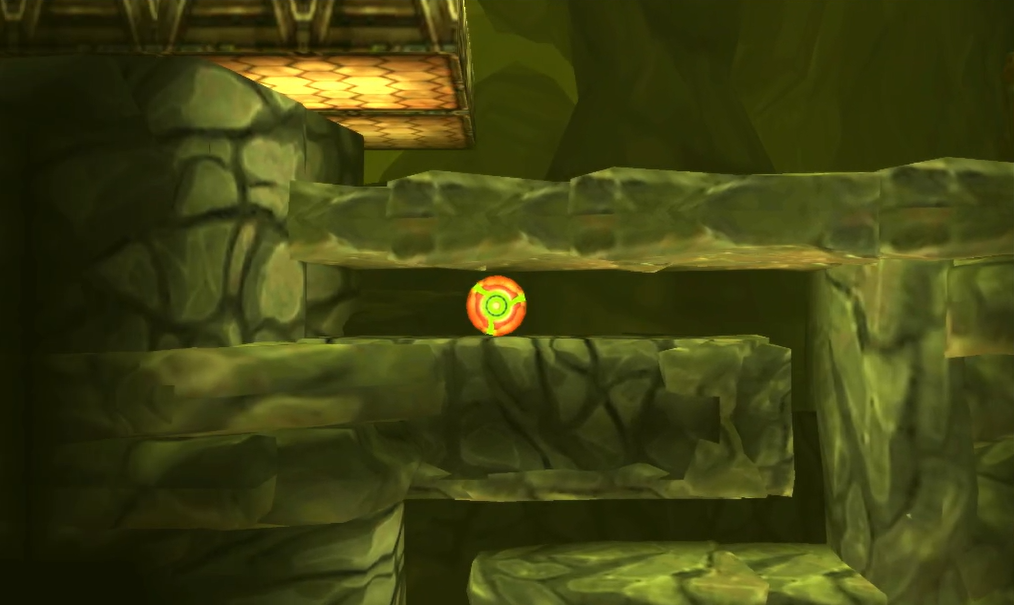
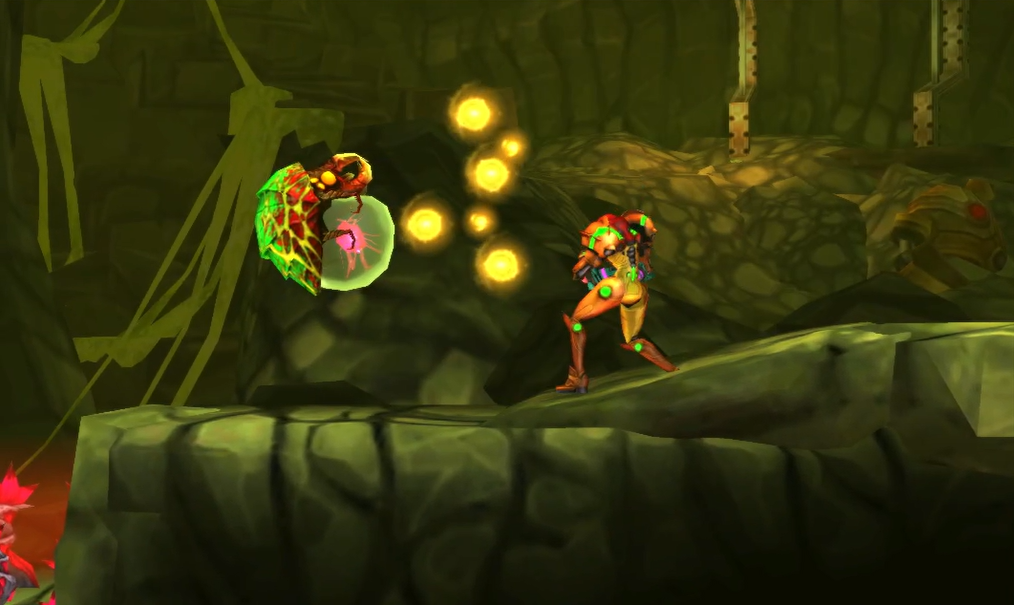
Deeper and deeper we go… Step off of the elevator and navigate through the familiar purple caverns until you reach the Chozo Seal. A whopping TEN Metroids inhabit Area 3, so let’s get to work! Roll across the ceiling above the Chozo Seal to get to the other side and go through the Blast Door. You have now officially entered the Aeion Mines.
Area 3 is a massive, sprawling maze, filled with robotics and mining equipment, not to mention a certain Chozo creation that will become a much bigger issue down the road. This is one of the largest areas in the game, so don’t be afraid to use the Area Routes if you get lost! Ready? Let’s go!
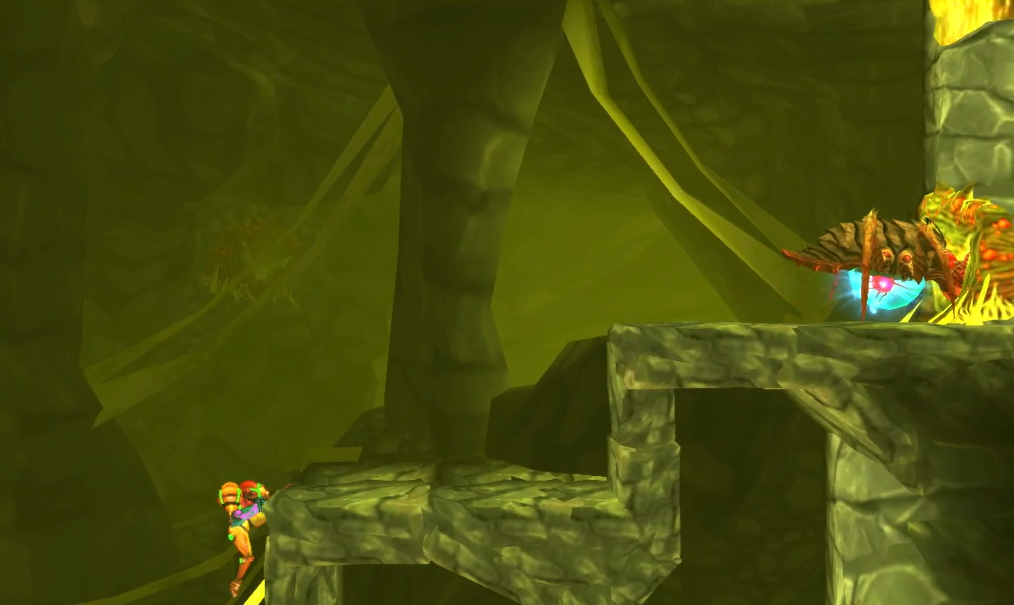
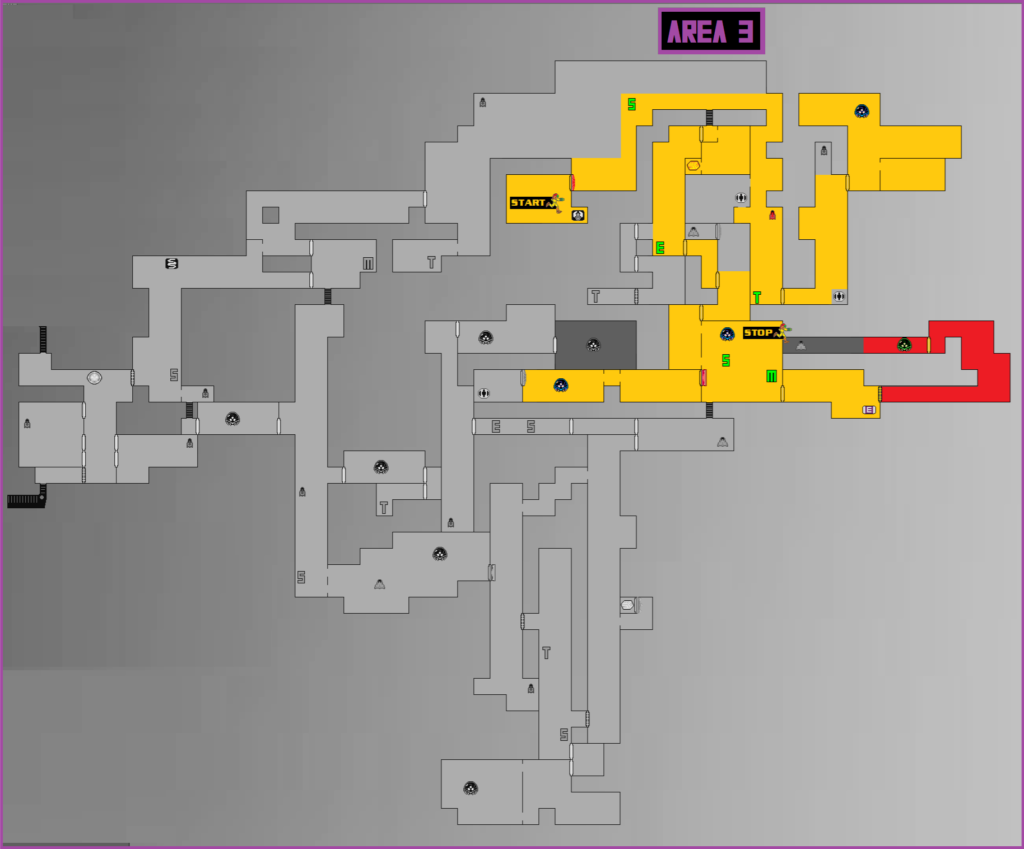
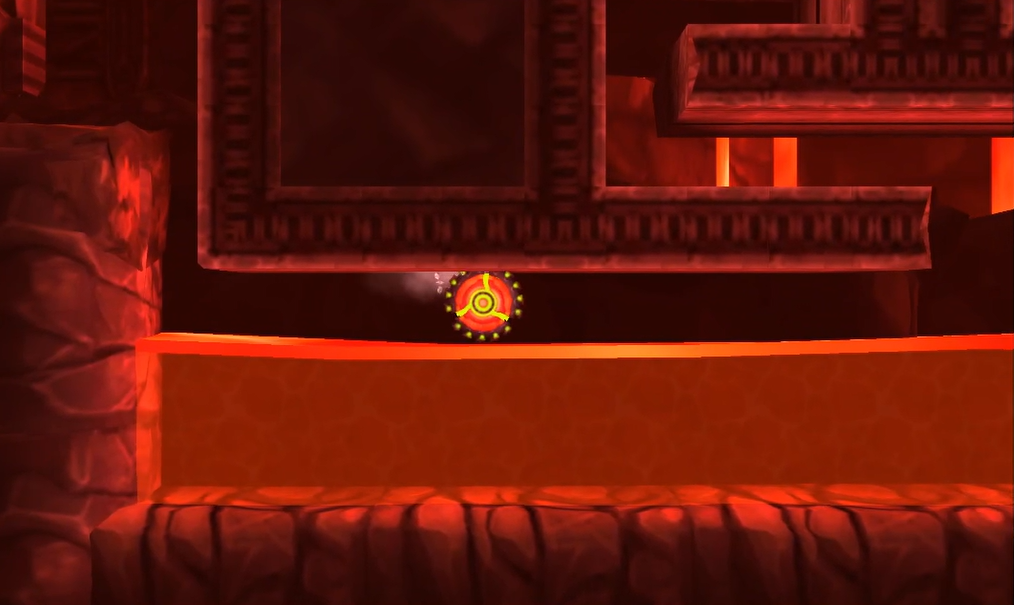
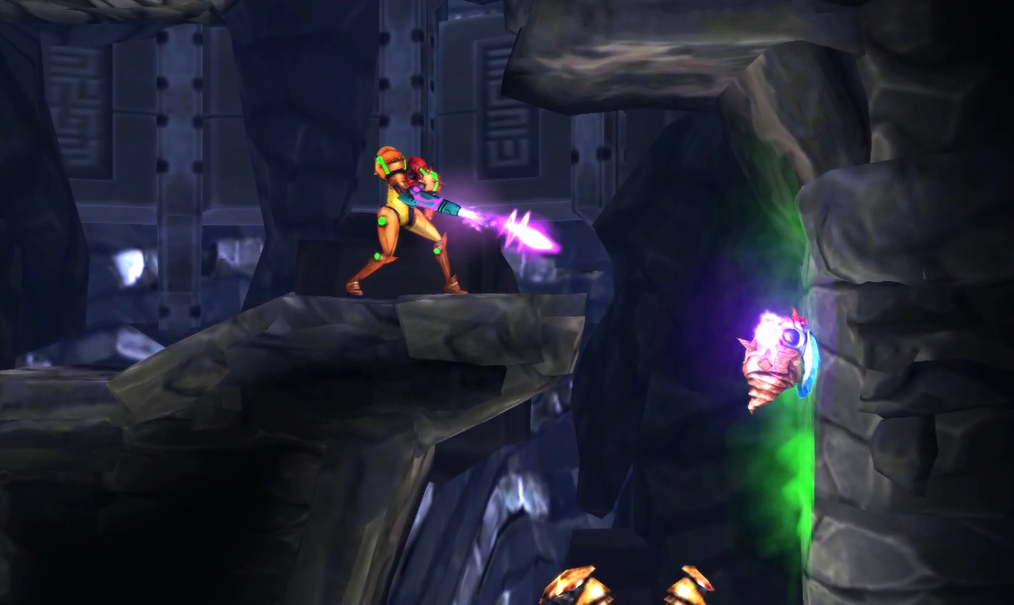
Get over to the Save Station on the right and save your game. When you’re ready, use your Spider Ball to climb upwards; you’ll notice these turret-style enemies that sort of look like the robots from Horizon: Zero Dawn. These are called Autracks, and don’t let the fact that they can’t move fool you – these suckers are a nightmare. If they hit you with a charged shot, it’s going to do massive damage, so do everything in your power to avoid them. Continue to scale upwards and take the righthand path. You’ll run straight into this ginormous plant creature that is not only blocking your way, but impervious to damage. Getting past it is not possible at this moment, so turn around and shoot the ceiling instead. Use your Scan Pulse if you’re having trouble finding the breakable blocks above you.
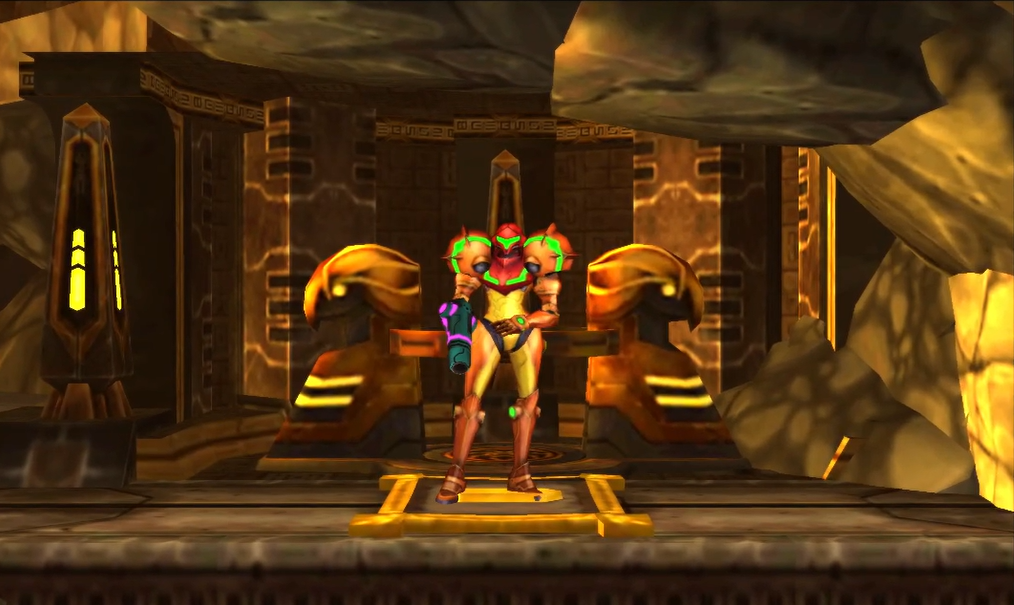
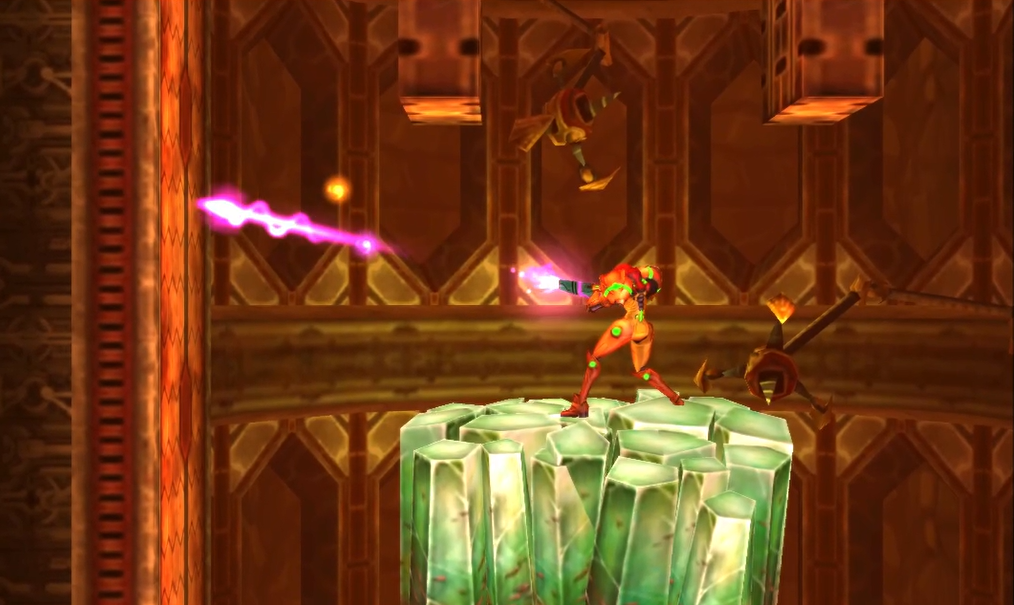
Keep scaling upwards, activate your Lightning Armor to get through the red weeds, and – oh, what’s this? Another cool Chozo Statue? That can only mean one thing: your newest Aeion ability awaits! Get in the Statues mouth and you’ll acquire the BEAM BURST, one of the best offensive powerups the series has seen! Remember that ginormous plant creature from a minute ago? Let’s go test out our new weapon on that.
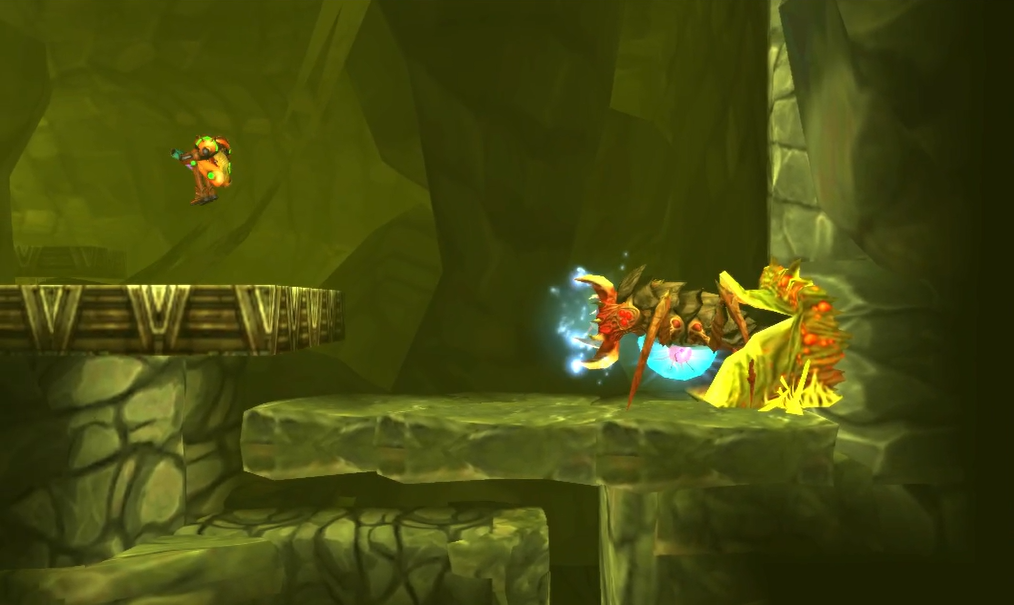
The Beam Burst will make short work of the plant, and for that matter, every enemy that you’ve found indestructible in the game so far. Use this often, particularly in Metroid and boss fights, as the Beam Burst is a huge source of damage. Go through the door on the right and you’ll come to an elevator. You could take it now if you wanted, but I’d prefer to go upwards instead. Navigate through all the tunnels and Autracks and take the door in the top left corner.
Continue forward and start climbing up; as a friendly reminder, you can use your Beam Burst to shoot through walls since it’s also paired with the Wave Beam, so take out any Autracks or other enemies from the safety of a sheltered spot if you can. Keep on following the path up and over, destroying another plant until you go through the door on the righthand wall.
This next room is absolutely massive, so let’s give it a name and call it the Mining Hall, since I’ll be referencing this room a few times. The first thing you want to do is press forward and drop to the lower left portion of the Hall. Shoot the wall out in the corner and a hidden alcove will open up; this alcove has a Teleportal in it, which we’ll use later, but for now, just make sure it’s activated for now.
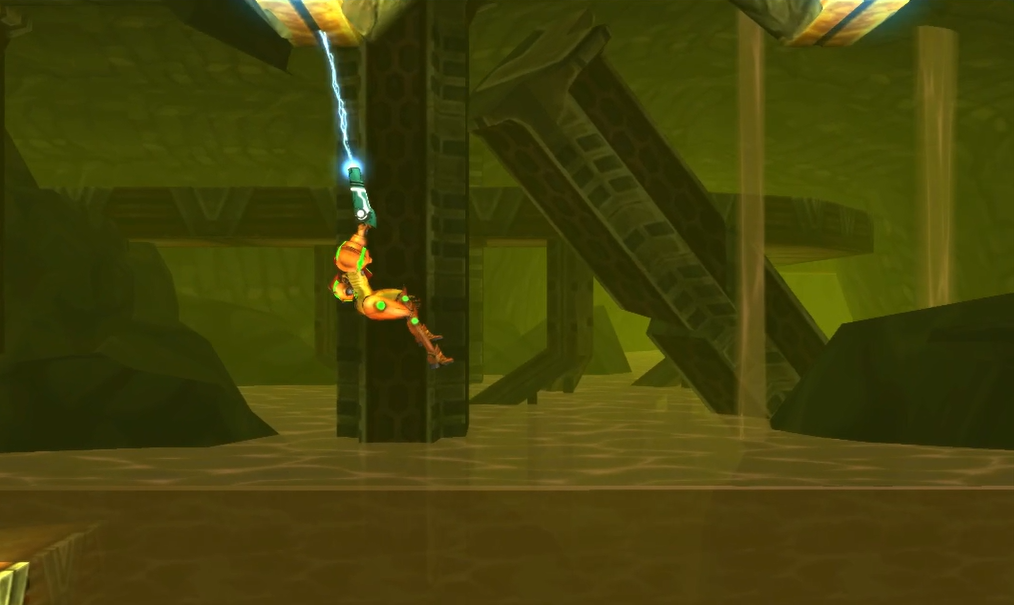
Exit the room and start climbing the side of the Mining Hall. Once you’re at the top platform, work your way through all of the enemies and drop down when you see an opening in the ground. You’ll hear that wonderful humming of a red missile door, so that means a powerup can’t be far! Enter the door and send any creatures obstructing your way packing; eventually, you’ll reach a Chozo Statue in the bottom corner. Shoot the orb open, and you’ll receive the GRAPPLE BEAM!
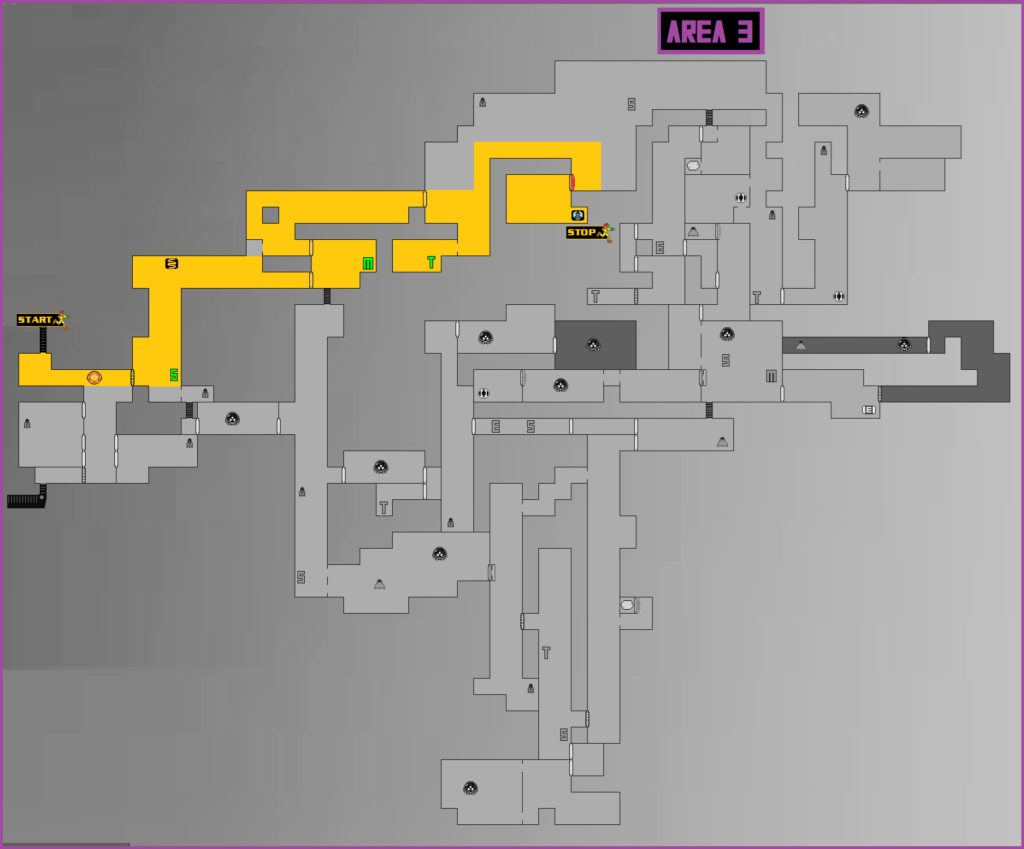
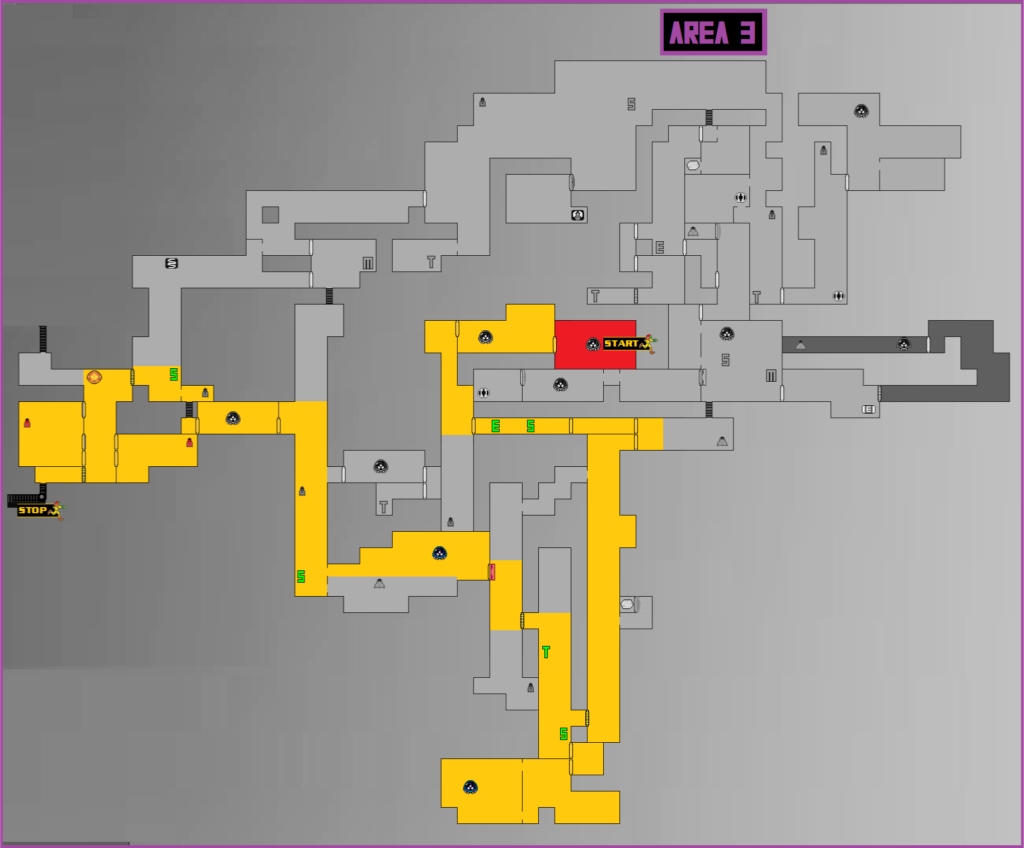
Chapter 4.1 Route:
Metroids in Area 3 Part 1
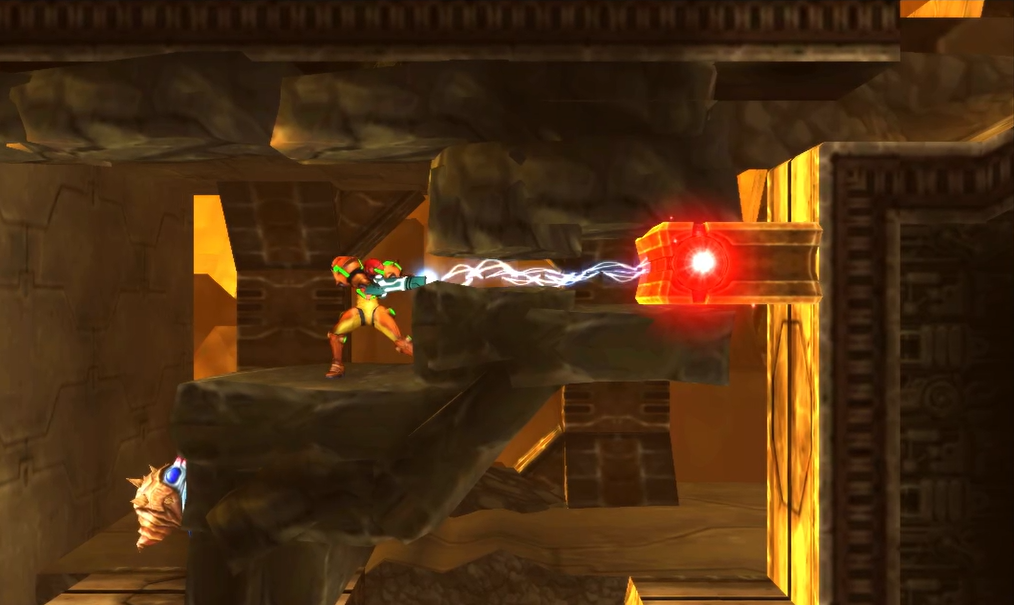
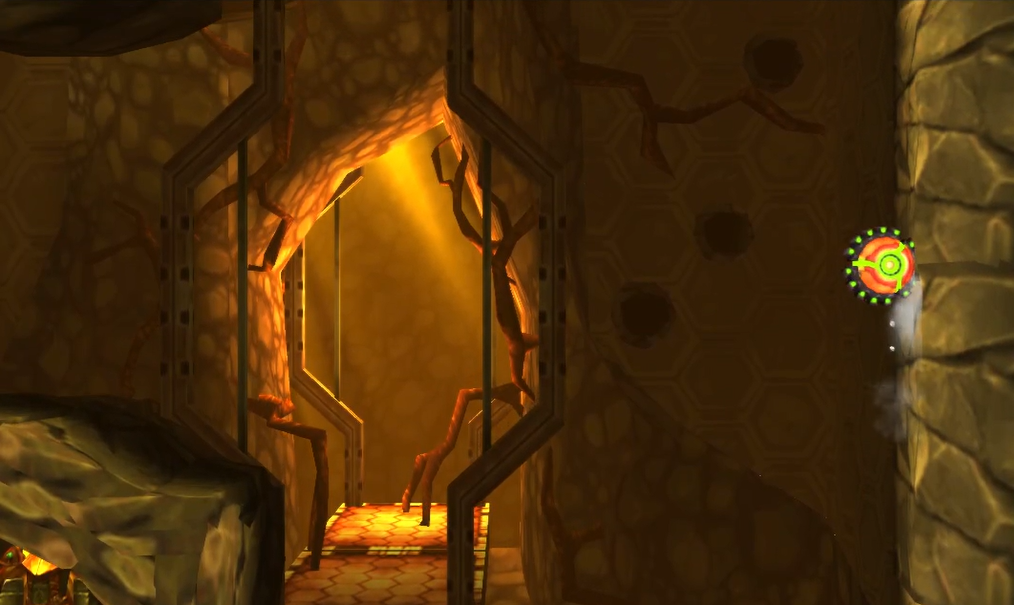
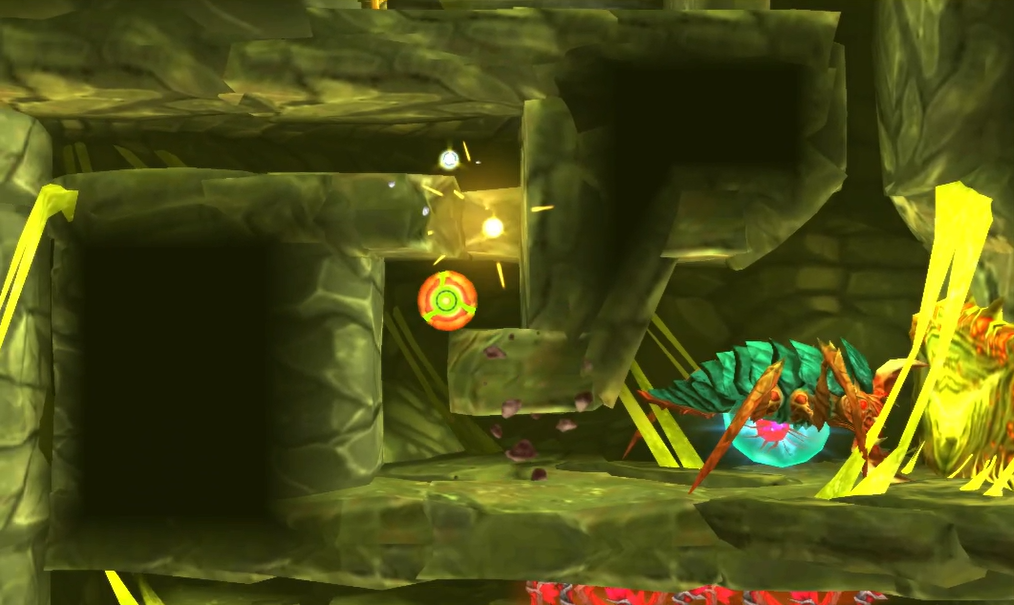
Alright! The Grapple Beam will be especially useful in this game, so as always, let’s put it to use right away! You may have noticed some blocks with a glowing red or glowing blue core in them; the red blocks can be destroyed using your Grapple Beam, and typically have to be destroyed from a specific side, making them “shortcut blockers” for lack of a better term. The glowing blue blocks will serve as good ol’ fashioned grapple points! Use your grapple beam to destroy the red block in front of you and scale upwards. Shoot your grapple beam straight ahead and you’ll be pulled over to the left; fire it wards, and you’ll scale right through the yellow muck on the wall. Use your grapple beam one last time to leave the room.
Back in the Mining Hall, use your grapple beam in conjunction with your Spider Ball to roll upwards and out of the little pit you find yourself in. Once you’re on higher ground, there will be a fun little puzzle to complete: jump up in the middle and use your grapple beam to yank the red sliding block to the right, jump up and yank another block to the left, and then roll back down and scale upwards. There’s a few of these grapple puzzles scattered throughout SR388, and they’re simple, but I enjoy them!
Once you’re at the top of the Mining Hall, use the Save Station and press towards the right. You’ll see another elevator coming up quickly, but don’t use it just yet. Keep pressing towards the right and then drop down the opening when you see it. Keep on dropping down until about the halfway point. You’ll see MISSILE EXPANSION #19 just kind of sitting around in a little alcove. Seems suspiciously easy, but let’s not look a gift horse in the mouth! Drop down, down, down until you reach the bottom, activating another Teleportal.
Go through the door on your right and contend with all the creatures trying to kill you; scale upwards and use your grapple beam to swing across the distance, break the red block blocking the Morph Ball tunnel, and then use your Spider Ball to ascend. You’ll roll right past a Metroid husk, so be ready. Use your grapple beam to keep rising throughout the room and don’t stop climbing until you’ve reached the Blast Door in the top-right corner. As an aside, you’ve probably noticed a few item circles on your map by now; unfortunately, we don’t have the necessary equipment to nab any of those right now, but don’t worry: to paraphrase the famous words of the Terminator, “we’ll be back”.
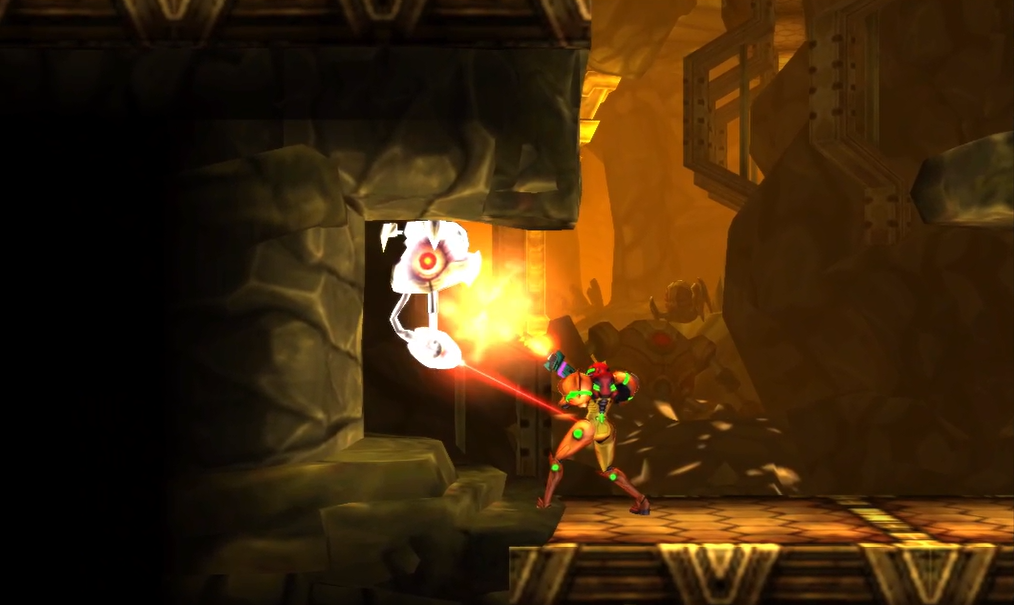
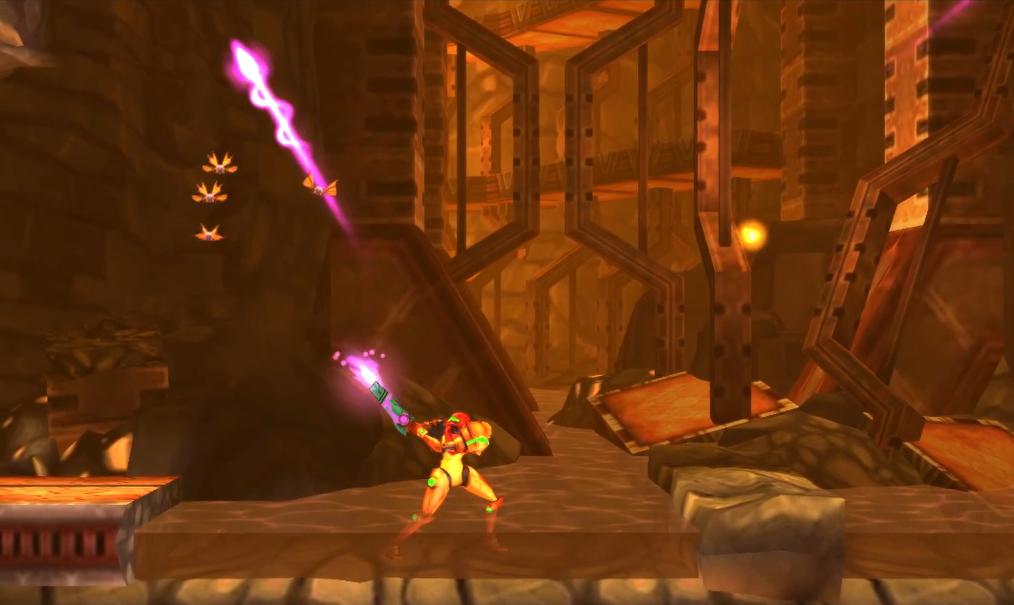
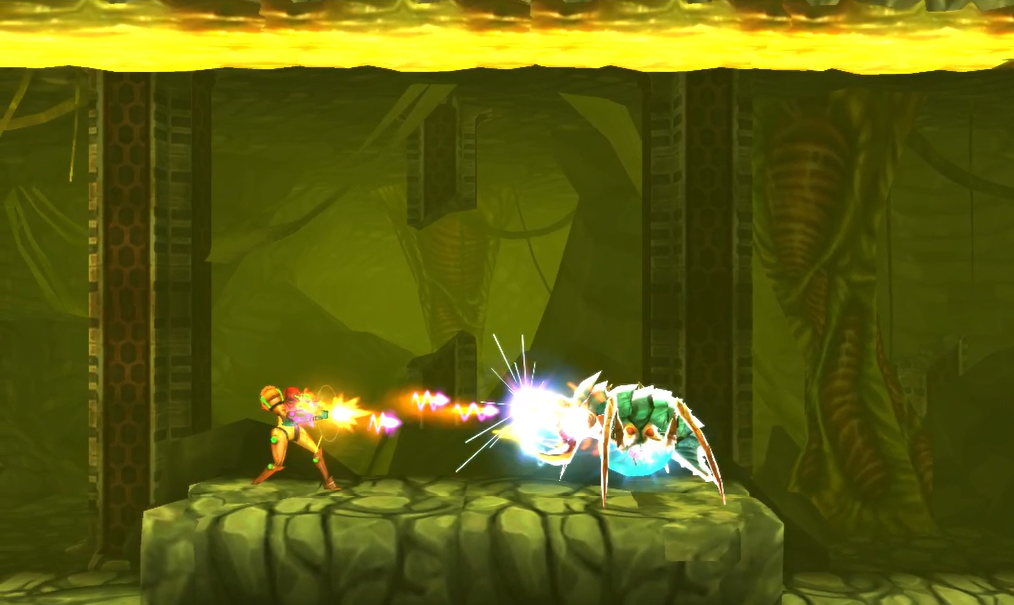
Continue upwards in this new room and you’ll notice two things: One, your Metroid radar is going crazy, and two… there’s no Metroid! Backtrack a bit and lay a bomb at the base of the wall on the right; as always, use your Scan Pulse if you need a hand seeing where the block is. Roll through the tunnel and there we go, we have ourselves a GAMMA METROID encounter!
This fight is exactly the same as your previous Gamma fight, with one annoying exception: after enough time and damage, the Gamma will crawl into the Metroid sac in the wall and disappear, meaning you have to go track it down. There are two other open areas right beside this one, so leave this room and go back into the main room before this. The plus side to this is in between mini-fights, you can replenish your health, Aieon, missiles, etc all by shooting the little bugs that fall out of the ceiling.
There’s a small tunnel in the top left corner. Follow it up to resume the fight with the Gamma. Pro tip: if you see the Gamma walking towards you with its mouth open, blast it with the Burst Beam for some big time damage! If it runs away again, follow it to the last room and finish it off once and for all. Don’t quote me on this, but I believe it’s random what room the Gamma decides to crawl into. Either way, make it pay for dragging the fight out.
Once it’s gone, retreat aaaaaaall the way back into the Mining Hall and take the first elevator that we skipped over before.
Once you’ve stepped off the elevator, ignore the door on your left and take the Morph Ball tunnel to your right instead. Work your way to the left side of the room and destroy the Grapple block. Now, head back up and go through the Blast Door to the left of the elevator. Drop down a bit, destroying the Wallfires, and slip through the tunnel on the right wall. Slip inside and destroy the Grapple block, and then, one last time, make your way back into the previous room. Take the Morph Ball tunnel to the right of the elevator and drop all the way down now that nothing is blocking your path. Lay some bombs in the lower-left corner, slip through the tunnel, and grab AEION TANK #2! Get outta here and head back through the Blast Door in the elevator room.
Drop down and you’ll land on some Aeion crystal; looks pretty cool, no? Cool looking crystals aside, watch out, as they don’t make the most stable platforms. Drop down and use the Energy Recharge Station at the bottom of this shaft if you need it. Head through the Blast Door, drop off the way down to the bottom of this new room, and continue through the door. Your Metroid radar will start going off, and there are hostile lifeforms all over you in this room, so navigate slowly to the bottom of the room. Take the door to your left, and run right through the Metroid husk.
Drop down and slip through the Morph Ball tunnel into a large cavern filled with yellow goop. Use your grapple beam to slip into the tunnel in the upper left wall and drop down. Use the Save Station and continue forward, blasting open the Wave Beam door. Keep going, using your Grapple Beam to sneak into the small opening in the top right wall (man, would it ever be awesome if Samus had dual grapple beams!) and on the other side of the opening, you’ll be accosted by a GAMMA METROID! Again, same strategy as always, so try and finish it off quickly before it runs away, or you’ll need to chase it down in some other rooms, just like before. This Gamma will run off into the previous room with all the grapple points, so chase it down there if you need to. Keep your eyes peeled for a melee counter opportunity, use your Beam Burst, and you shouldn’t have too much trouble with this Metroid. Collect its DNA when you’re done.
Head back to the Save Station and take the lower left path. You’ll need to grapple over a pool of water to reach a Missile Recharge Station and a Blast Door submerged in the water. Go through it and press forward, going as far to the left as you can and dropping down a small tunnel. When you land, use your Scan Pulse and you’ll see some blocks on the floor that can be destroyed. Bomb them and roll over to grab ENERGY TANK #4! Once you’ve nabbed the much-needed boost in health, head through the charge beam door into the hot zone.

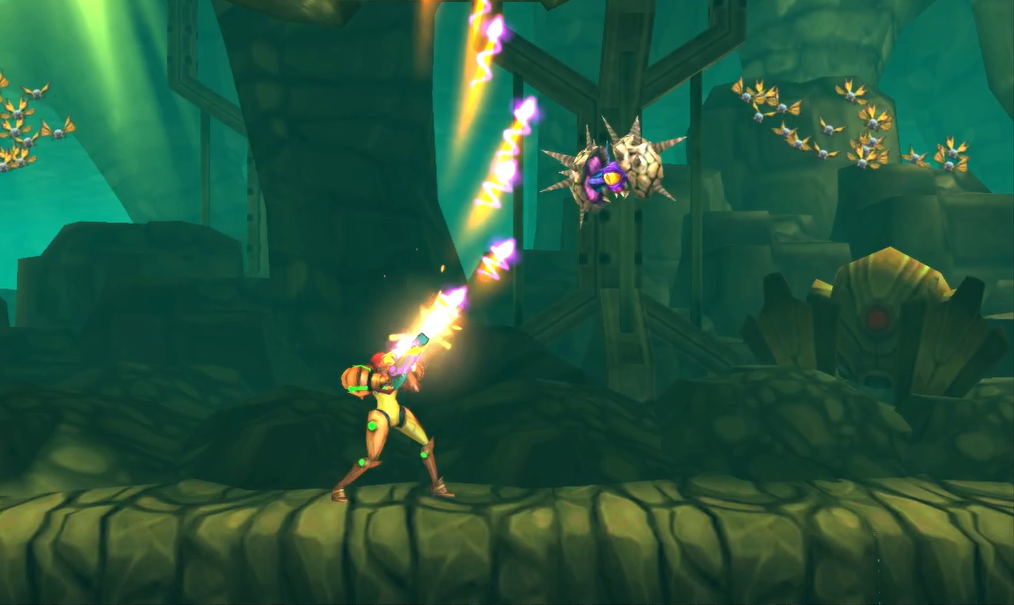
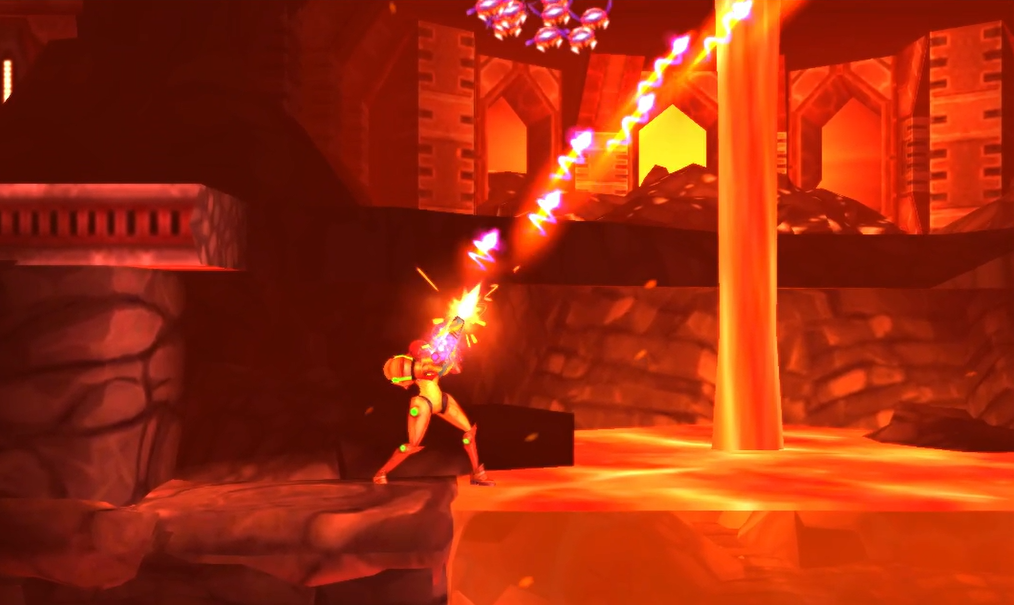
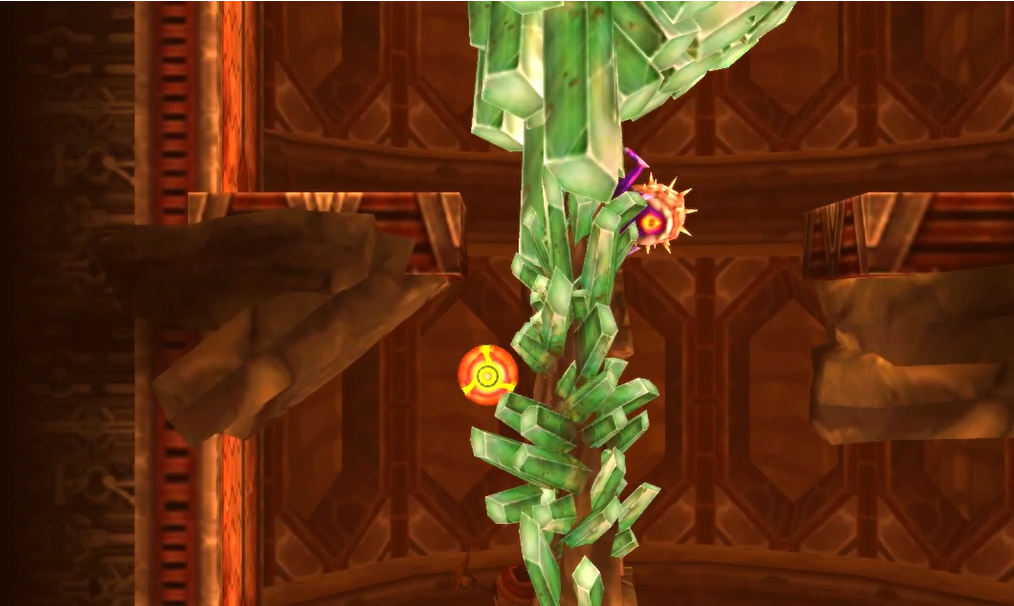
This is going to be an absolutely treacherous journey, unfortunately. There’s lava, grapple points, and bugs a plenty here, not to mention everything else that wants to kill you. Proceed slowly and cautiously. I’d recommend using your Beam Burst to destroy the swarms of bugs flying around; hopefully, the Aeion they drop will make up for the Aeion you use in order to shoot them. Getting rid of them is a priority though, since you’re going to be swinging over lava, and needless to say, one small bump from them is going to send you falling into the red stuff, so let’s avoid that.
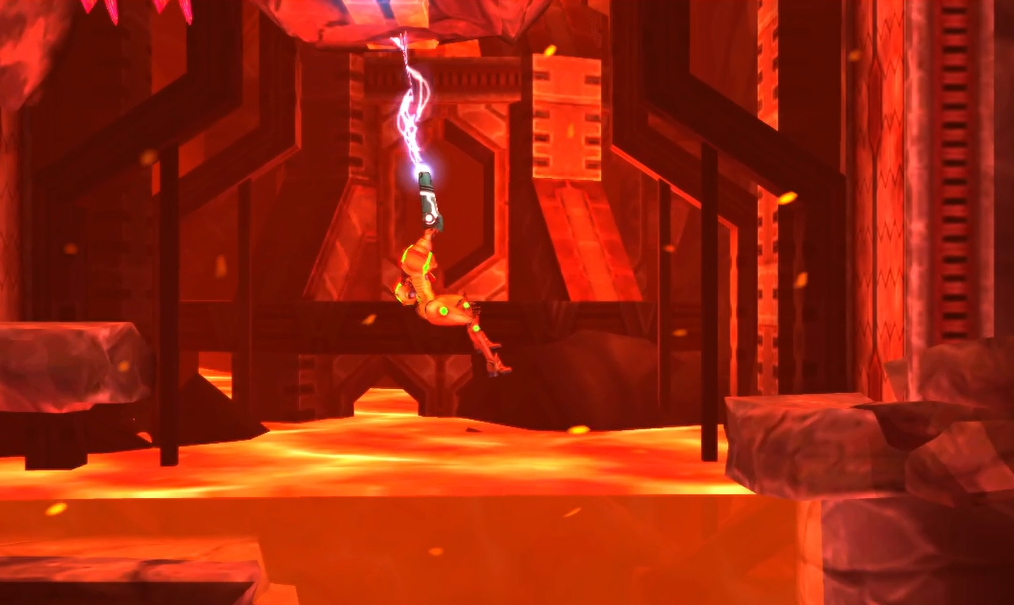
Swing across two lava pools until you reach a ledge; use your Spider Ball to roll to the other side and blast away the bug swarm. Swing again and land on the far righthand ledge. Make your way upwards, swing across another gap, and continue your climb. You’ll see a small tunnel in the top of the room – go through it, drop down and enter this new room. Thankfully, there’s only an ALPHA METROID to contend with here, which should feel like a walk in the park after your last couple of Gamma fights. Eliminate it and retreat all the way out of the hot zone and back to the Save Station.
From the Save Station, head left and through the tunnels with the red weeds. Follow the tunnel up and when you get directly below the fan, you’ll fall through a pitfall block and roll right into the top part of the Save Station room, where you’ll do battle with a GAMMA METROID! You know what to do; Beam Burst, melee counters, missiles on missiles. Thankfully, this Metroid isn’t going to run away, so finishing it off should be more straightforward.
Four down, six to go!
Chapter 4.2 Route:
Metroids in Area 3 Part 2
With almost half of the needed Metroid DNA, you’ll now want to make the long trek back to the shaft with the green crystalline platforms, the one with the Energy Recharge Station at the bottom. You’ll want to scale upwards and then roll through the little groove in the crystals, which will take you to a Blast Door on the left wall. Proceed through and follow the path until eventually you reach a Teleportal. Use it to travel back to the Mining Hall towards the beginning of Area 3. There’s still a bit of backtracking to do yet, so gear up and make your way all the way back to the elevator at the beginning of the Mines (the one we skipped past earlier beside the Missile Recharge Station, not the one that takes you to Area 2, if that wasn’t clear). When you arrive, descend downwards.
You’ll be in a large vertical shaft, so drop downwards and take the first door on your right. You’ll be in a familiar looking room with red weeds, and before you can say lickidly split, an ALPHA METROID will come down to initiate a fight. Destroy it and then take the door to your left; quickly ride up the elevator and shoot the door to your left. There’s also a hidden missile block in the righthand wall, so shoot it to grab MISSILE EXPANSION #20. Head back down the elevator and back into the shaft.
Continue your descent until you see a Metroid husk and a door on your right. Before you enter, though, drop down a bit to the crystal ledge; use your Scan Pulse and you’ll see a bombable block under the ledge of the center platform. Destroy it and grab MISSILE EXPANSION #21. Now that you grabbed that, head through the Blast Door and you’ll immediately showdown with a GAMMA METROID. You should be a stone cold Gamma killer by now, and again, this Metroid isn’t going to be annoying and run away, so blast away and eliminate this nuisance. Once the gamma is gone, use your Beam Burst to eliminate the grey mushroom looking enemies blocking the Morph Ball tunnels in this room and roll through, taking the door in the lower left.
In this new room, quickly go through the lower Blast Door to activate a Teleportal then head back and destroy the red Grapple block in the righthand wall. Roll through and you’ll be in another long, vertical shaft. You’re coming in at about the midway point of the shaft, so to begin, descend to the very bottom, until you’re in a shallow pool of water. Get over the left ledge and fire a missile at the wall to reveal MISSILE EXPANSION #22! Once you’ve gotten that, start climbing upwards. There are about a million enemies in your path, so slowly eliminate them and/or quickly evade them as you continue your climb. Go all the way to the very top, and once you get there, take the Blast Door on your left.
You’ll come face-to-face with an ALPHA METROID right away, but that shouldn’t be too tough for you. Do your thing and send this Metroid to the abyss, sucking up its DNA like some sort of twisted vampire, and then head use your bombs to reveal a pathway for you to roll into. Sneak in and then follow the tunnel to a Blast Door, which will lead you inside of a hot zone.
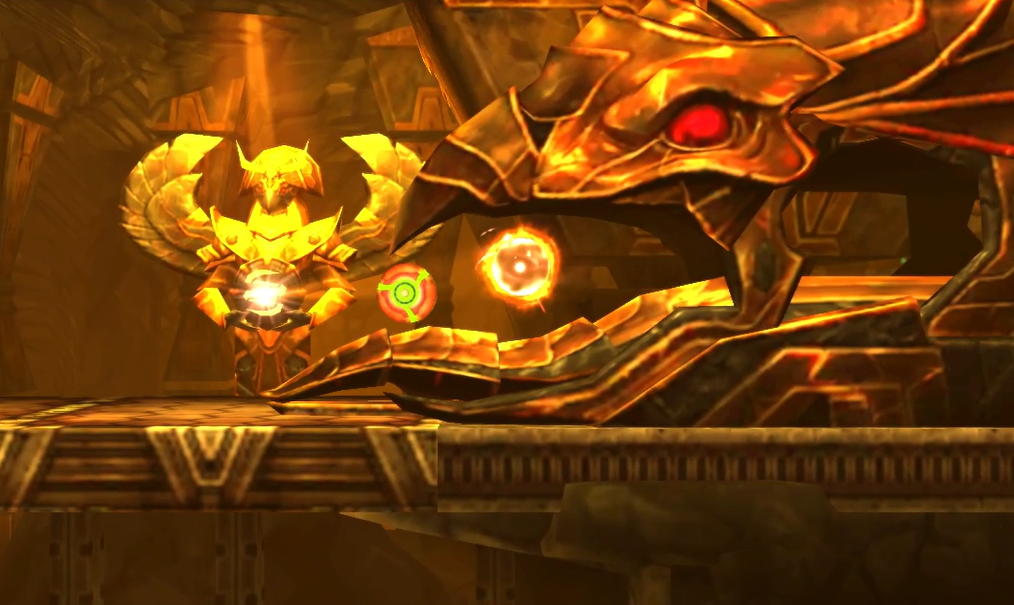
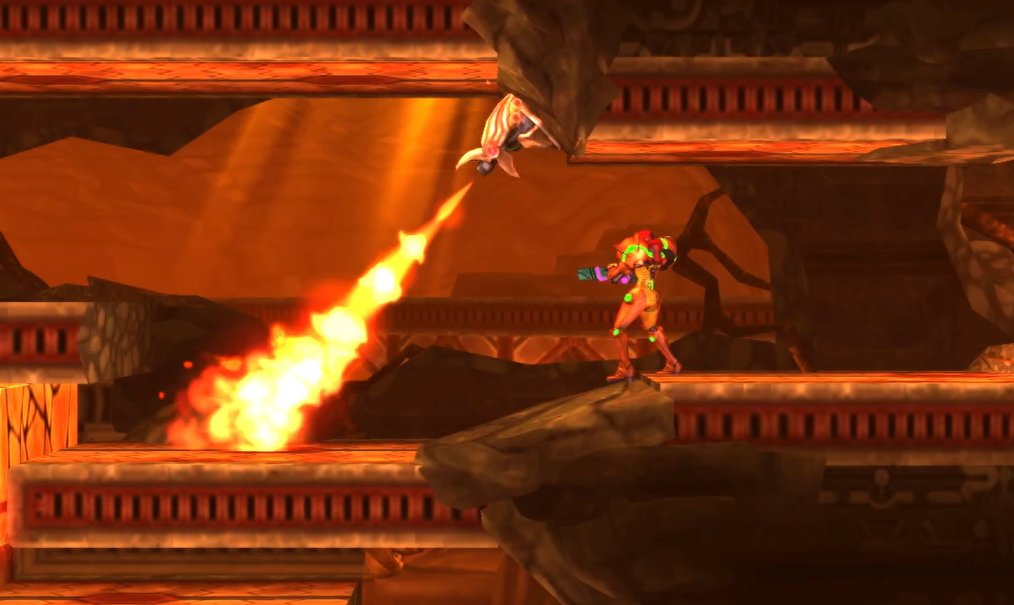
Use your Spider Ball to scale across the Morph Ball tunnel and up into what looks like a spot where you’d fight a Metroid. Doesn’t look like anybody’s home right now, use your Scan Pulse and you’ll see a block on the floor that can be bombed, leading you into another tunnel. Use your Spider Ball to follow it (don’t mind the quick dip in the lava), and you’ll eventually hit the far right wall. Bomb the wall and a GAMMA METROID will reveal itself. This particular Gamma is a flame version, meaning all of its attacks have fire properties. This shouldn’t matter much, as all the same techniques you’ve used before will do the trick here. Finish off the Gamma, collect its DNA, and make your way back into the long shaft we entered the original Alpha Metroid room from.
Chapter 4.3 Route:
Area 3 Depths
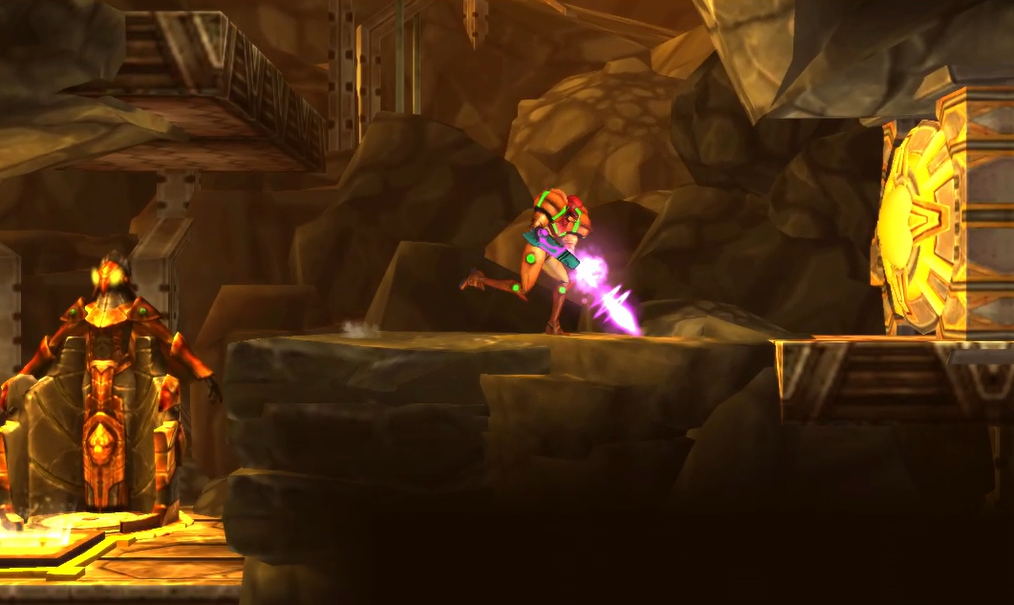
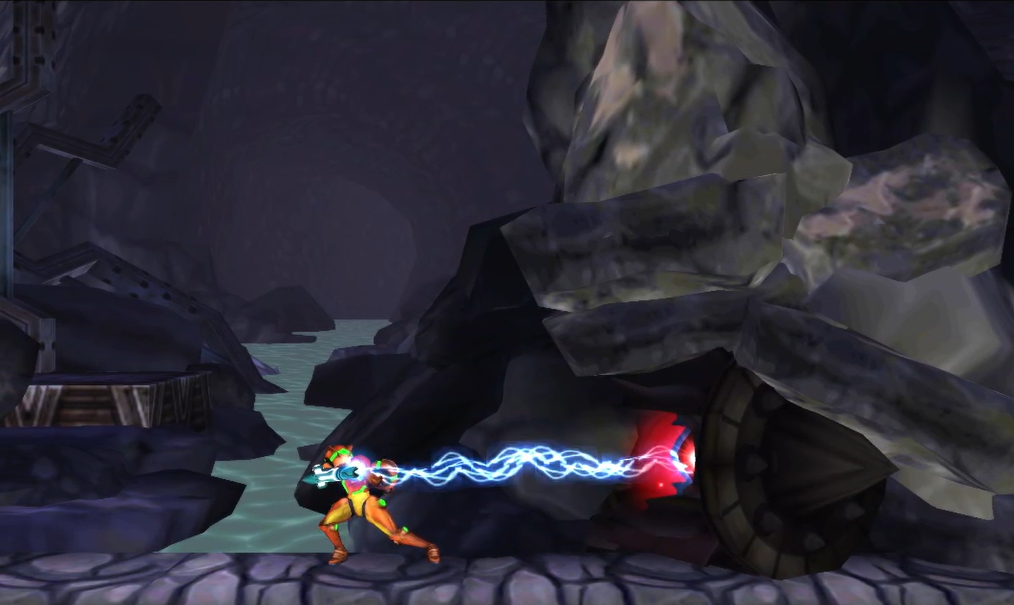
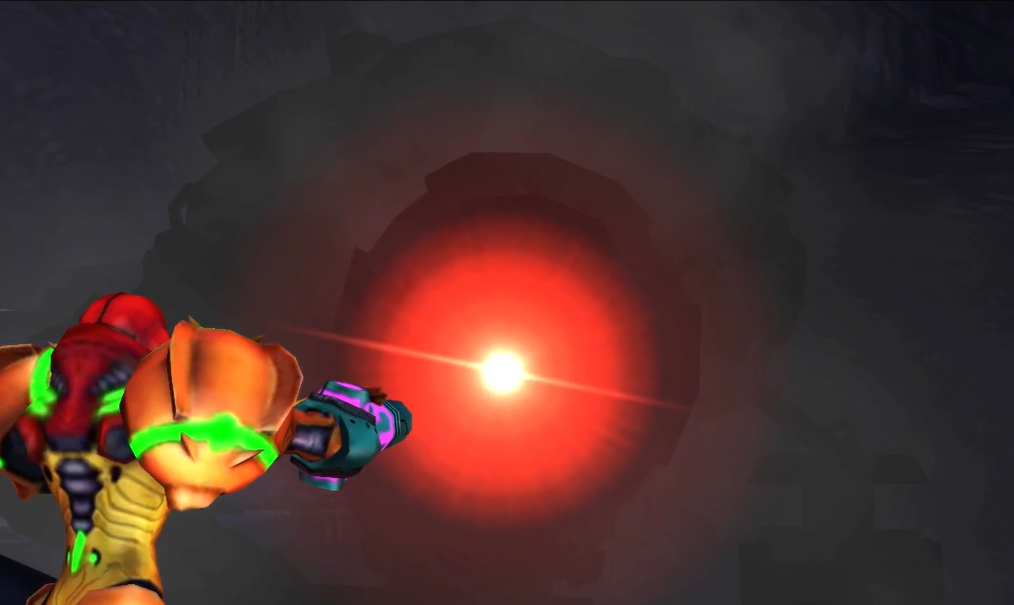
Two Metroids left! You can do this! Once you’re back into the shaft, drop down to about the halfway point again and take the Blast Door on the right, Use the Energy Recharge and Save Stations in this room and press forward. You’ll next enter a very ominous looking cavern with a pile of rocks covering a giant robot in the middle. Use your grapple beam to shake the robot free, and this hulking beast will come to life, retreating for now…
Press forward and you’ll enter a new room with a modern take on the infamous “n00b bridge” from Super Metroid. Unfortunately for us, there’s no dash in this game, meaning we’ll need to come back at a later time, but no sweat. Take the Blast Door on the bottom left for now. Drop downward in this new room, another vertical shaft, and keep on descending. Area 3 is a particularly frustrating area in terms of it has a ton of item circles that you can see on your map, and almost none of them are actually available yet, so I promise you I’m not skipping over any essential upgrades.
Keep dropping until you reach a charge beam door on your left. Go through it and drop down some more, stopping to save your game at the Save Station. Go through the lower righthand Blast Door and immediately drop down and go through another door. It might surprise you to know that you need to keep on dropping down (/sarcasm) until you get to the bottom left corner. Drop a bomb, roll through, and a GAMMA METROID will pop up! This is another fiery Metroid, so fire away at it as hard as you can. This particular Gamma is a punk and will run away no less than two times, so use your Scan Pulse to help you track down any hidden tunnels or bombable walls so you can send this Gamma to Metroid heaven.
Head to the Save Station and start climbing upwards. You’ll pass a Teleportal and then eventually come to a hallway with a charge beam door to the left. Go through it and start heading upwards. You’ll be tempted to drop down below and try to get the missile expansion, but trust me, it’s just a time sink right now that will leave you empty handed, so up is the way to go. You’ll eventually come to a Wave Beam door on your left, so go through it and get ready.
Once you’re through, you can quickly work towards the left side of the room and blast open the one-way Blast Door, and then turn around and go back into the Morph Ball tunnel. Lay some bombs under where the fan is blowing and the final GAMMA METROID in Area 3 will reveal itself! This Metroid isn’t going anywhere, so use the same strategies as always and destroy the last Metroid you need to progress deeper in the planet.
Now that the ten Metroid’s DNA have all been harvested, take your path of choice and make the long trek back to the Chozo Seal. Once you’ve inserted the DNA, the purple acid will drop. Don’t get too hasty getting to the next area, since there’s a couple expansions we can nab first!
Drop down a bit and take the Blast Door on your left. Eliminate all of the enemies you see, particularly the grey Gravitt’s with your Beam Burst, and work your way through the Morph Ball tunnel, destroying a red Grapple block along the way. Use your Spider Ball to roll into the now exposed tunnel and grab MISSILE EXPANSION #23. Get yourself out of this room and back underneath the Chozo Seal.
Drop down a bit and then take the Blast Door on your right. STOP before going too far – you’ll notice three blocks making a bridge of sorts to the Morph Ball tunnel; don’t be fooled, as these are pitfall blocks that will send you tumbling down to the bottom of the cavern. Instead, use your Spider Ball to crawl across the ceiling into the Morph Ball tunnel. You’ll want to move quickly, as this tunnel is crawling with Glow Flies, the absolutely awful kamikaze bugs that explode at the first sniff of you. There’s small portions of the tunnel where the Glow Flies don’t venture, which is where you’ll want to hide out to avoid getting blasted. Navigate the tunnel quickly and you’ll roll right into MISSILE EXPANSION #24.
That’s it for Area 3, so head back into the Chozo Seal room, drop to the very bottom, and take the elevator down into the next level of SR388.
Chapter 4.4 Route:
Next Chapter: Area 4 – Crystal Caverns