


Metroid Prime Walkthrough – Artifacts in the Wild
WALKTHROUGH
- Frigate Orpheon
- Planet Tallon IV
- The Ruins Come Alive
- Fire & Ice
- Phazon Laboratory
- Ghosts & Gravity
- Space Pirate Assault
- The Entrusted One
- Artifacts in the Wild
- The Great Poison
Note – while we do indeed need to collect all twelve Artifacts to gain access to the Impact Crater, the rest of the expansions listed are optional. I’d of course encourage you, if you made it this far, to go for the 100%, but that’s up to you. Ready? Let’s do this!
Phazon Mines Artifacts
Scans in This Section
Creatures: Fission Metroid
Artifacts: Newborn
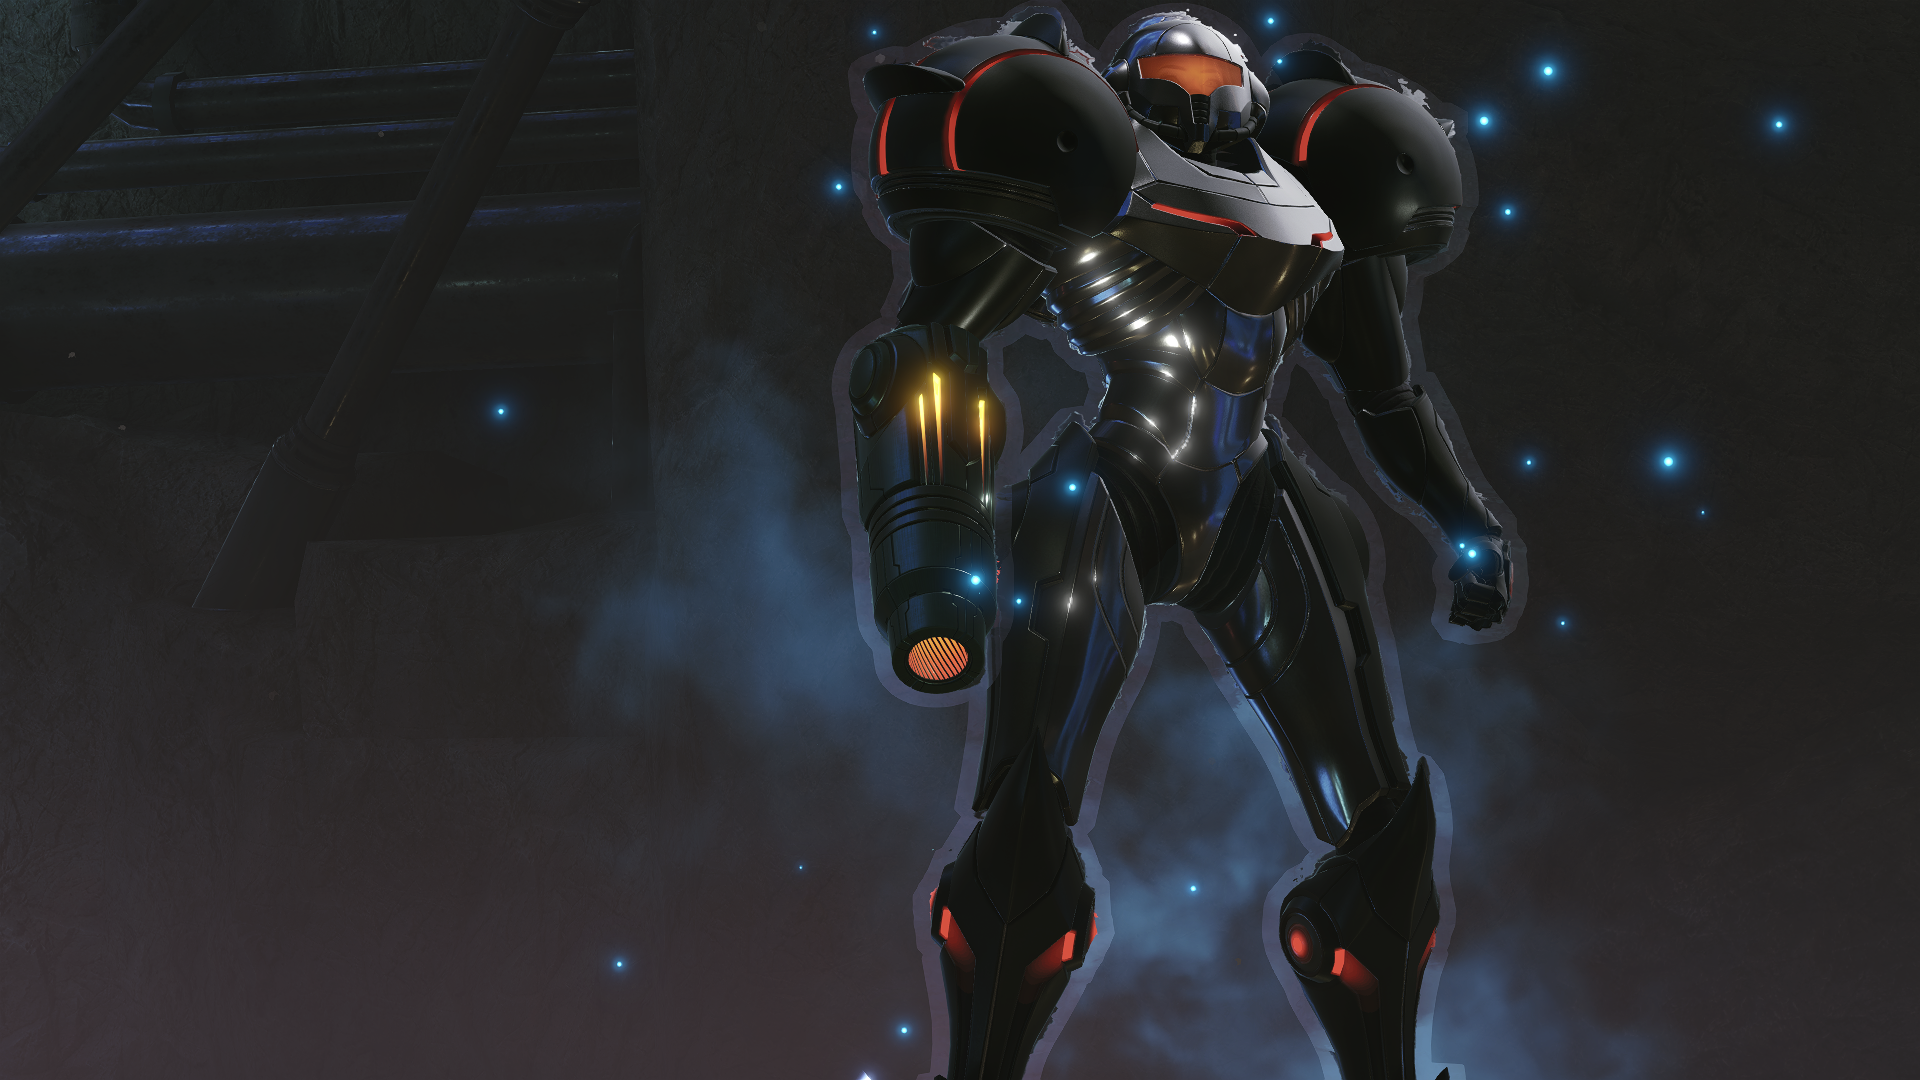
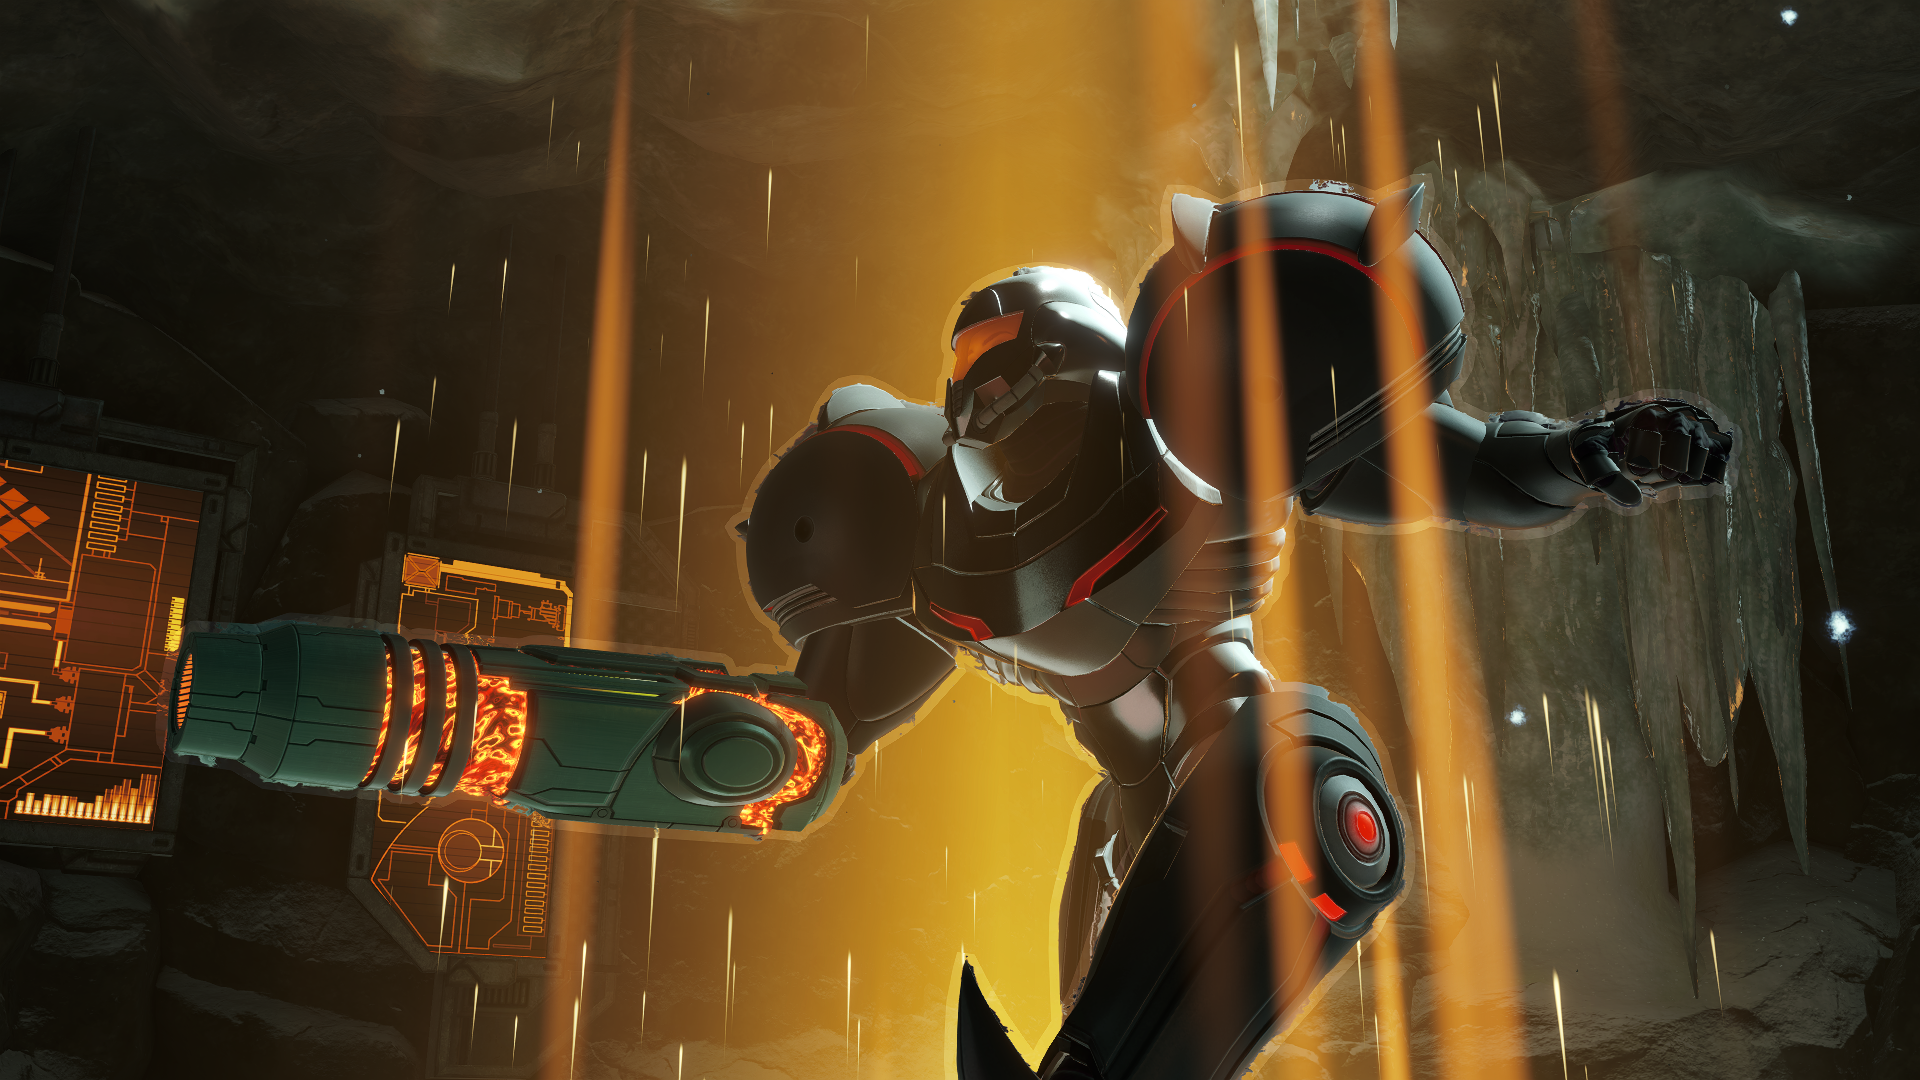
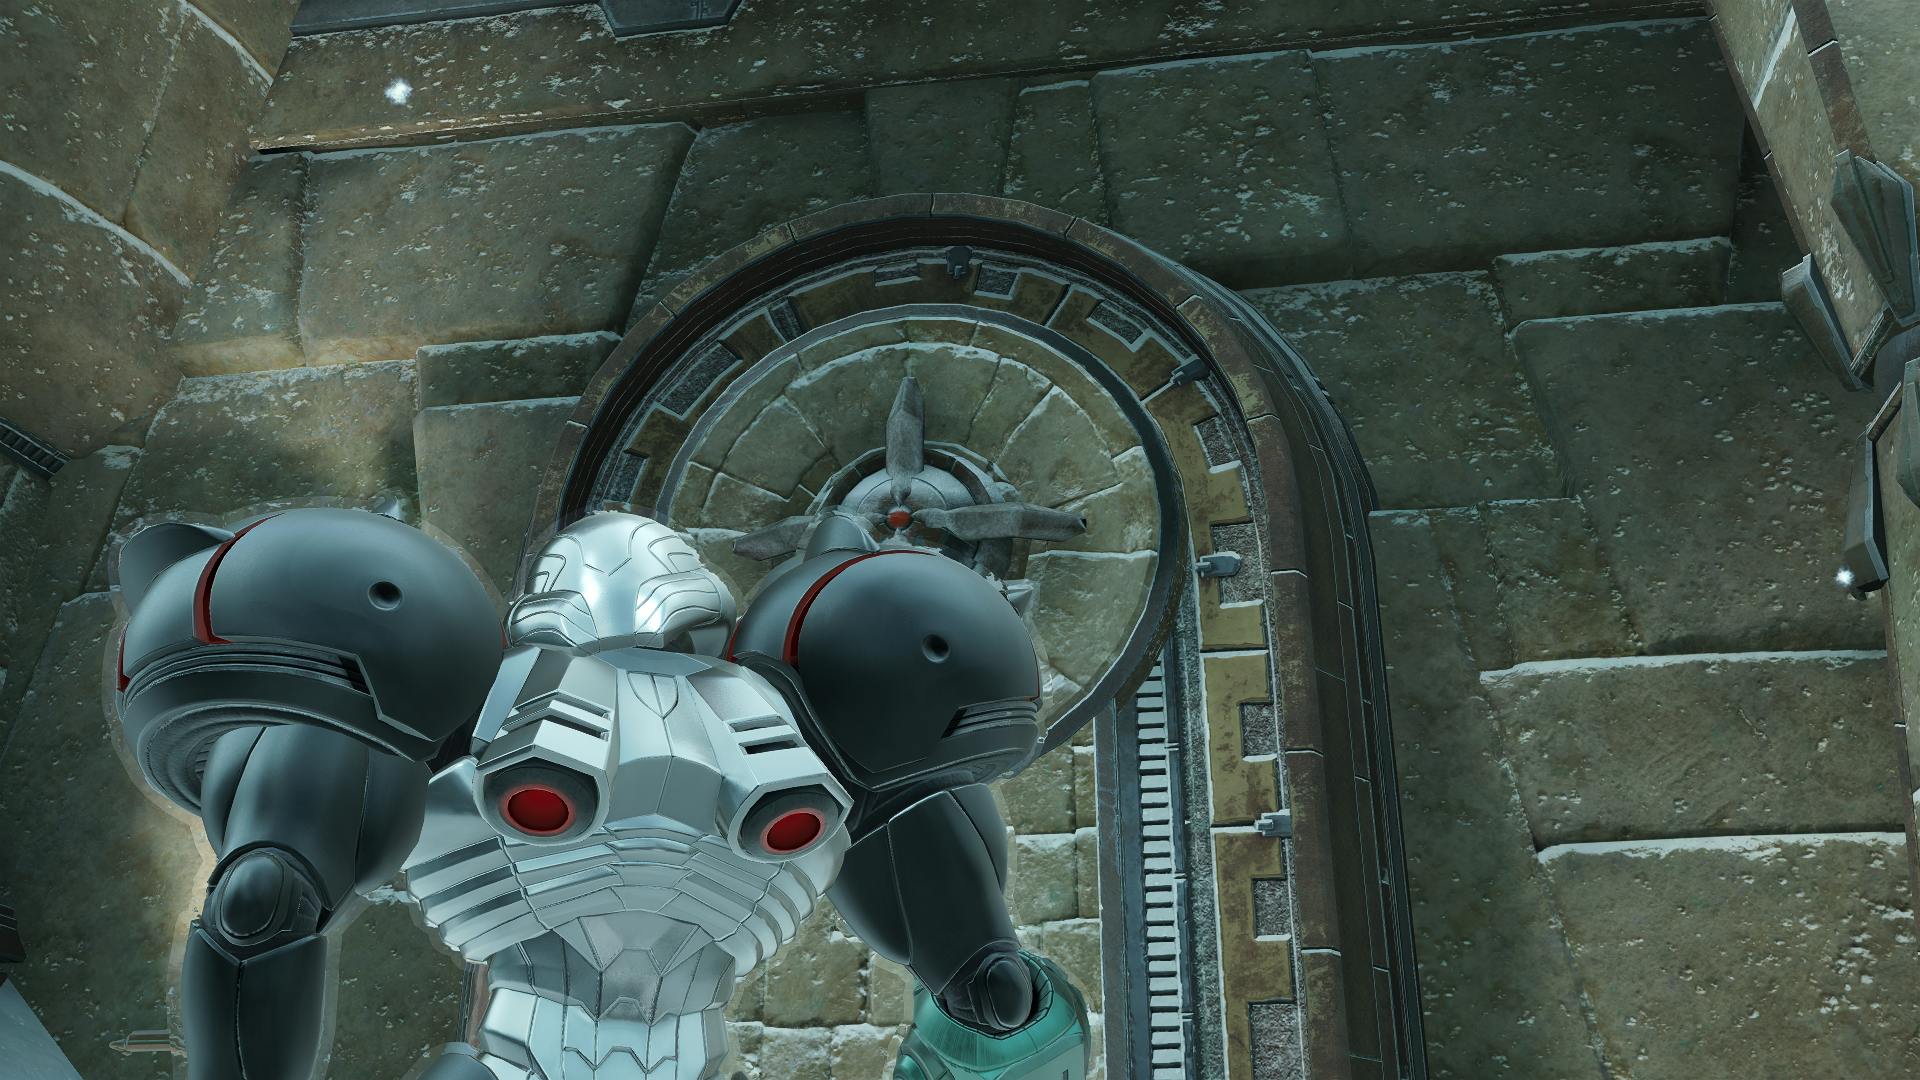
The good news: our new Phazon Suit allows us to safely walk through the material without taking damage and it looks absolutely badass (dare I say the best looking suit in the whole series?). The bad news: Before we move up, we have to backtrack a bit through some very annoying enemies. Remember earlier when I said to keep the Phazon Mining Tunnel in the back of your mind? Well the payoff is here, since now with our Phazon Suit, we can finally access an important collectible that we couldn’t reach before. It’s kind of a buzzkill after such an epic fight, so let’s get this over with quick. Save your progress just outside Metroid Quarantine B, then continue to Quarantine Access B.
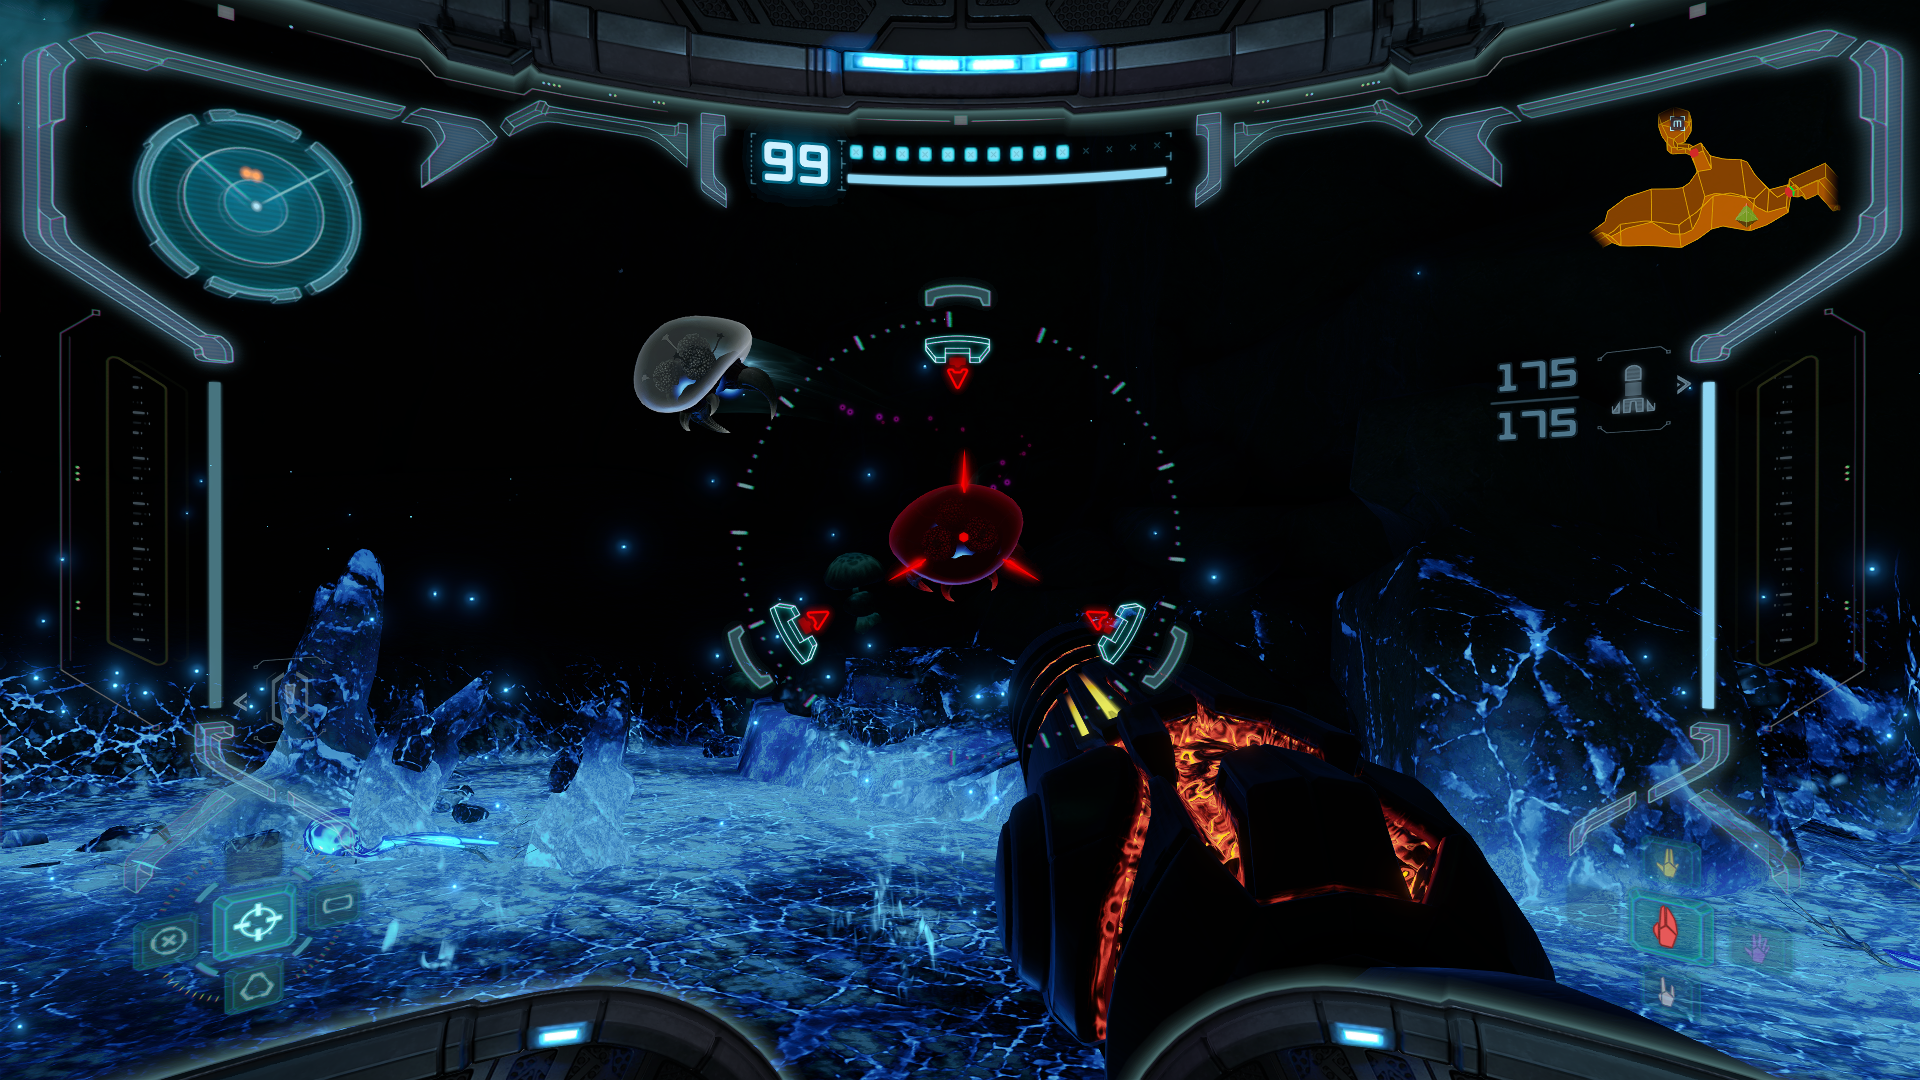
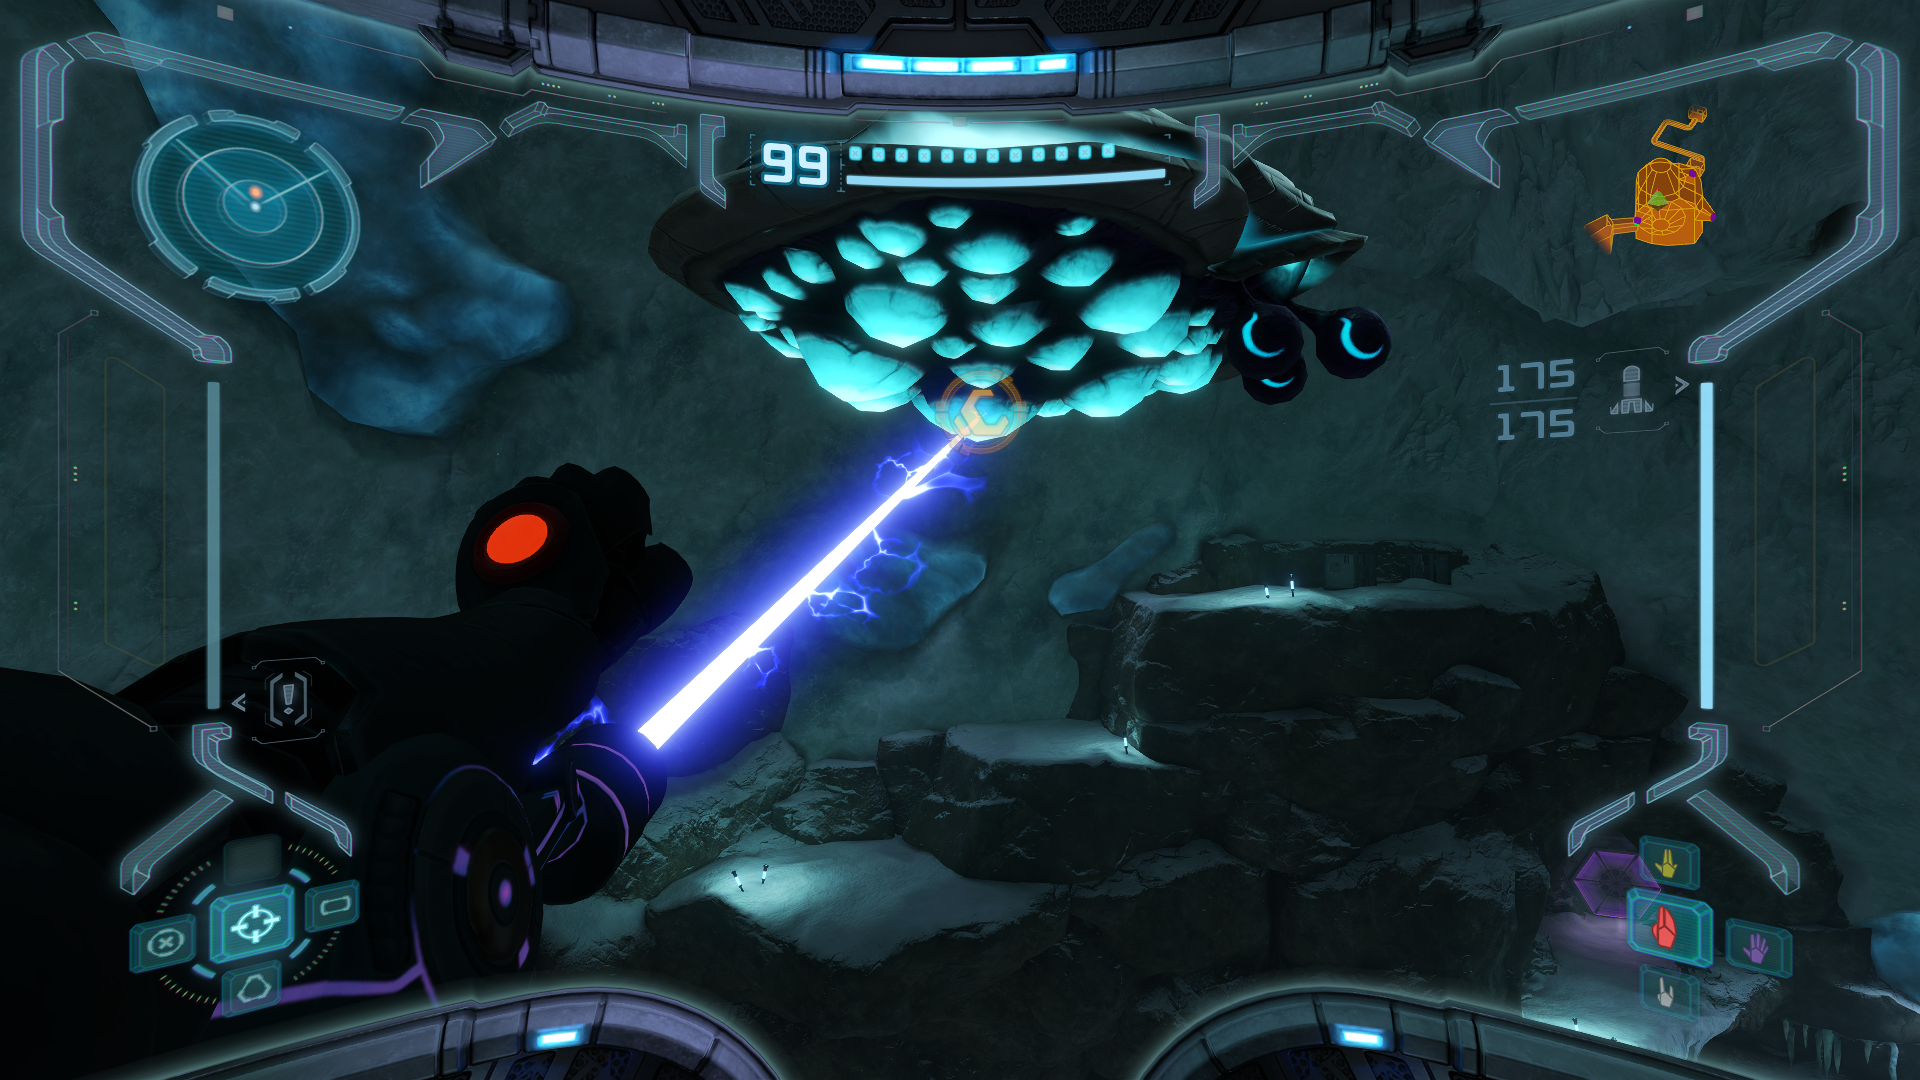
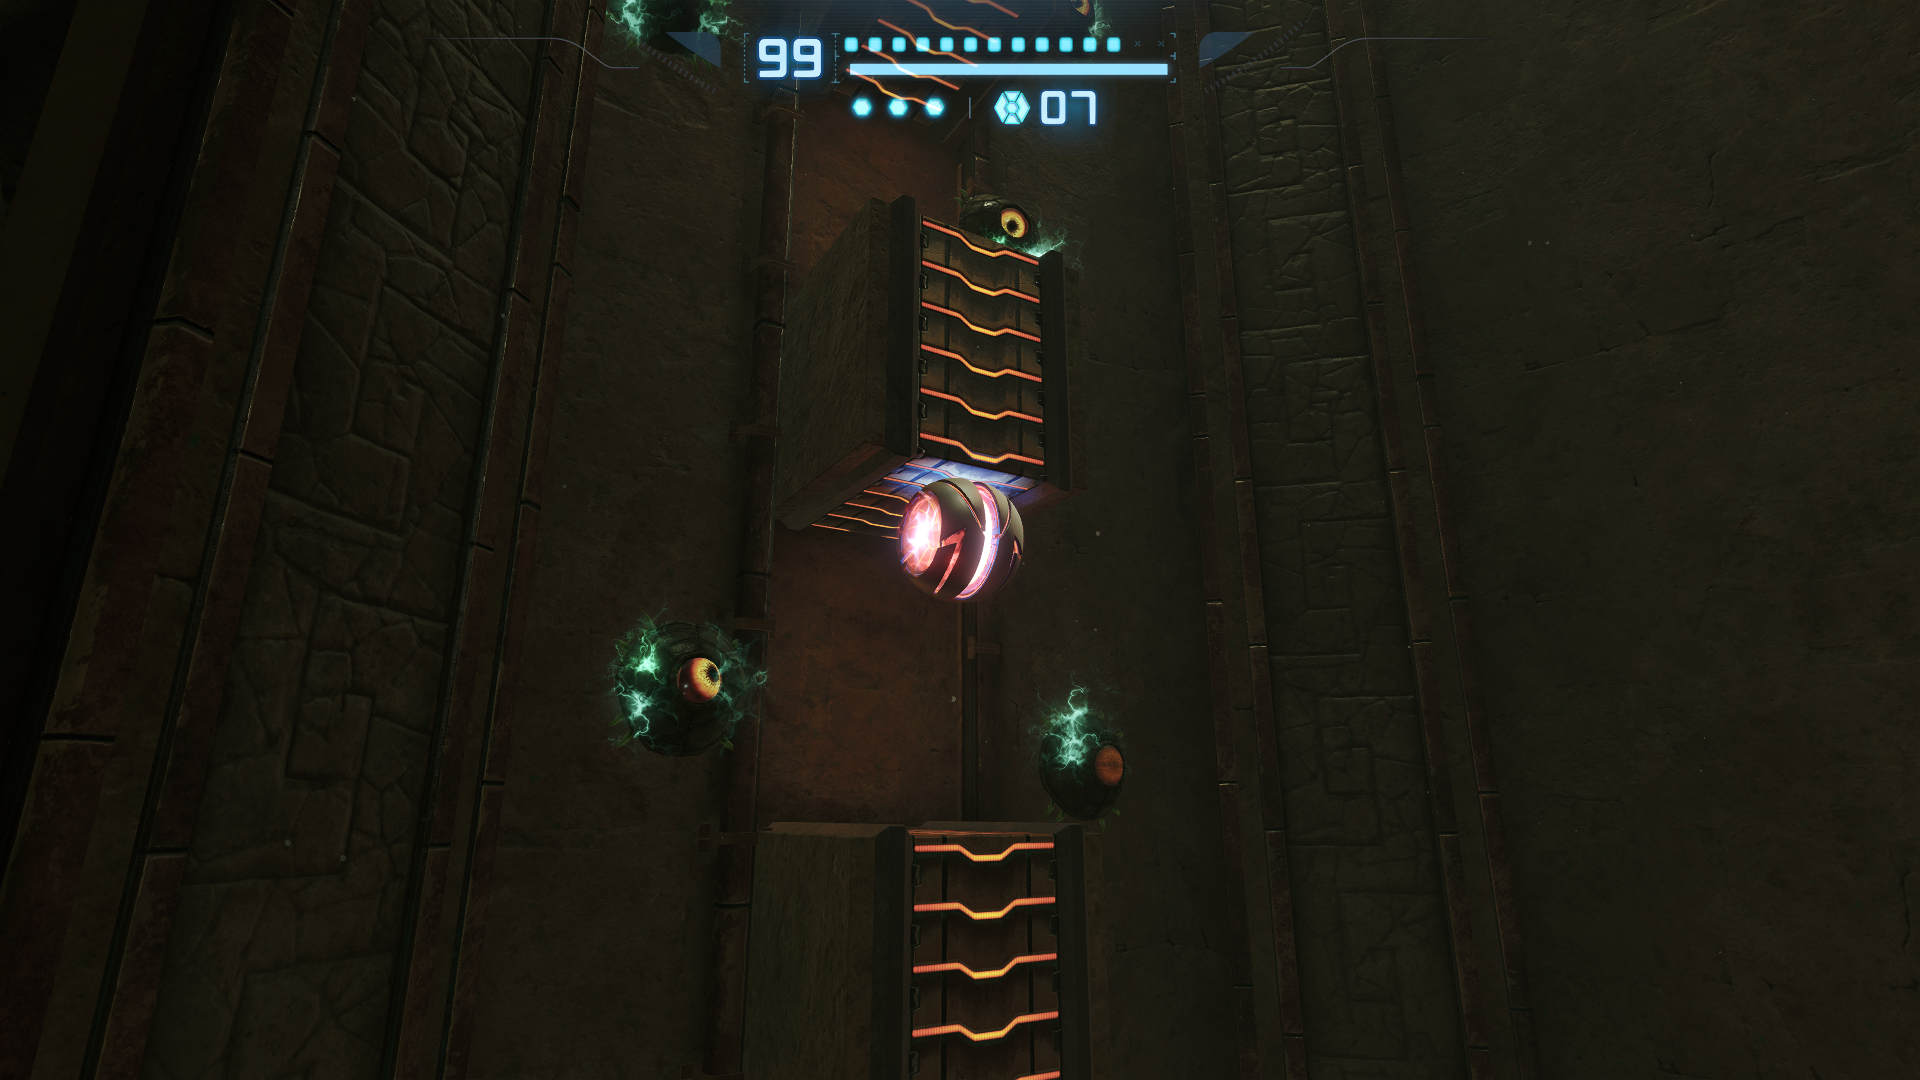
Inside you will meet what is in my humble opinion the WORST ENEMY IN THE GAME, the FISSION METROID. These absolute demons are tanks, absorbing an insane amount of damage from our conventional weapons until they eventually split into two color coded versions that can only be damaged by the matching beam. Luckily Power Bombs are still an insta-kill, but we only have so many of those to go around. Scan it and then deal with it however you want. If you’re playing on any North American GameCube copy of Metroid Prime, you won’t encounter Fission Metroids until the last area of the game, so breathe a sigh of relief for now.
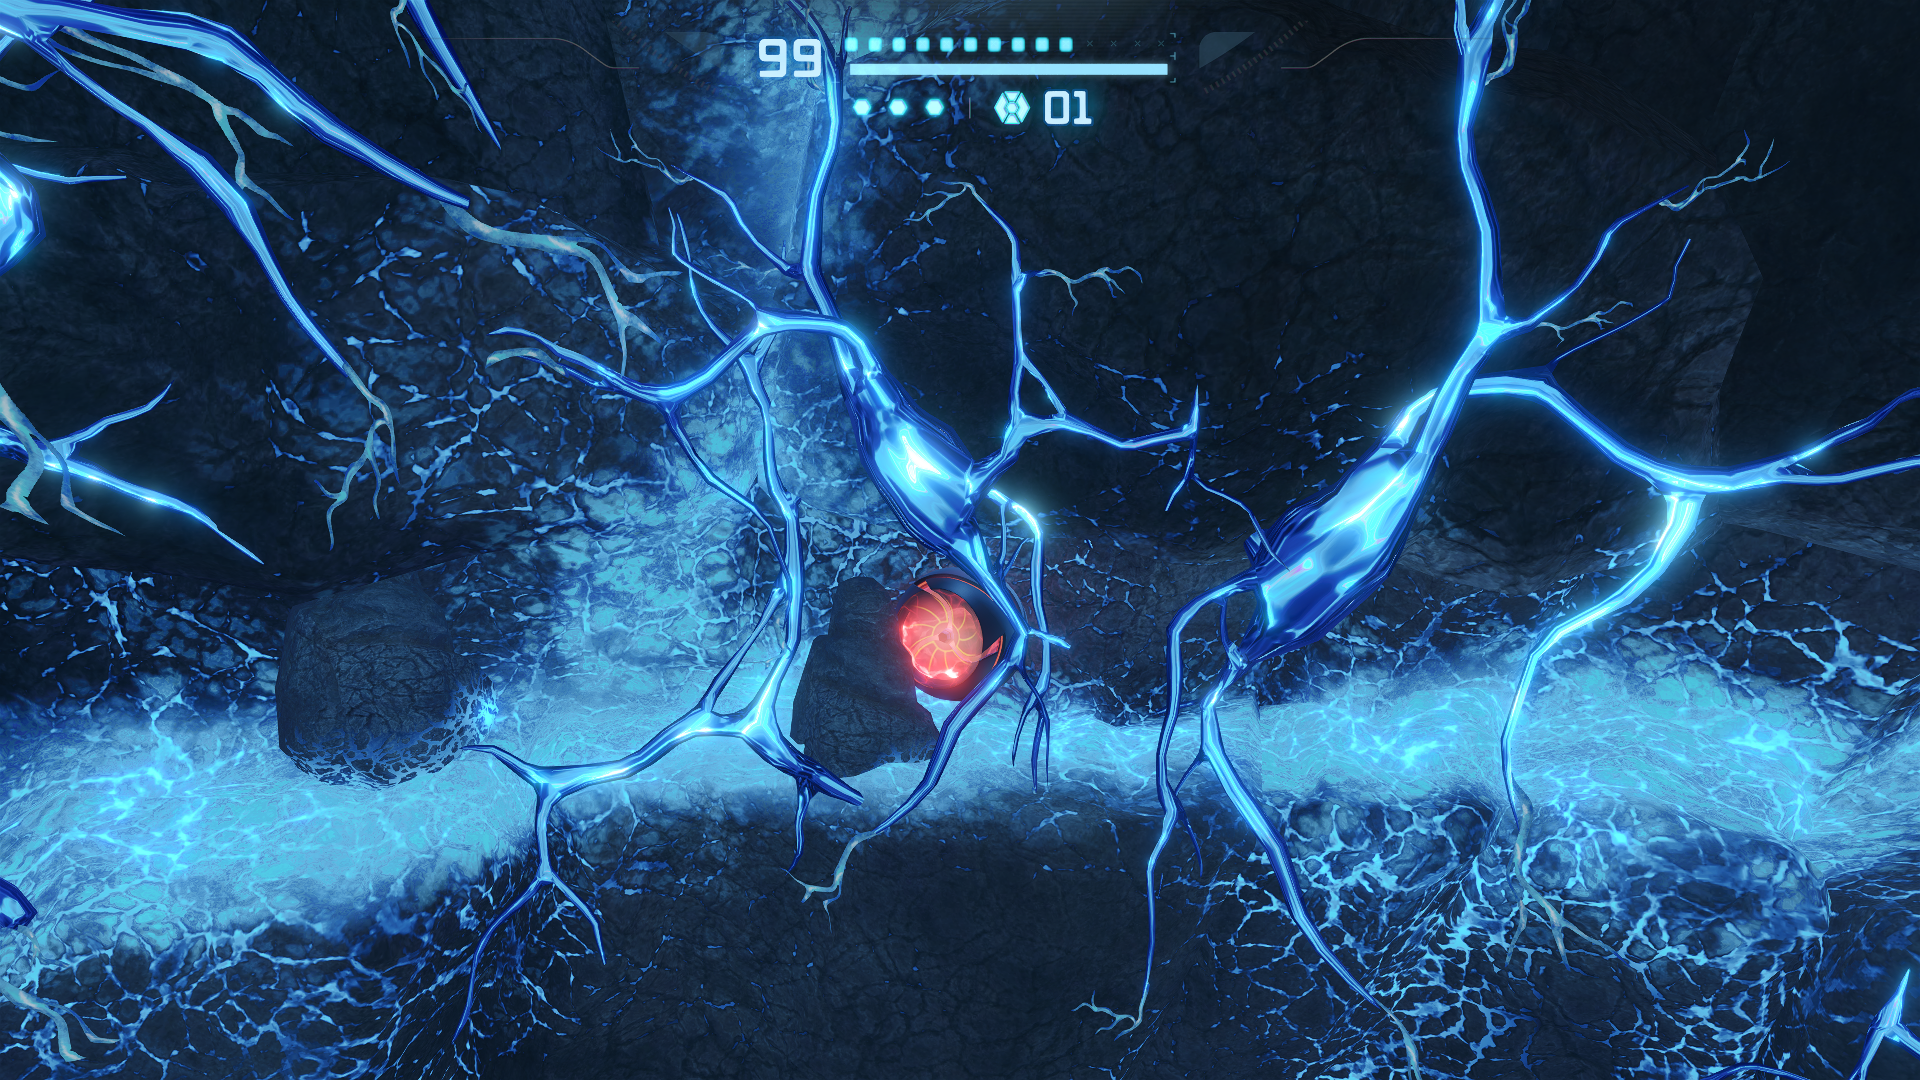
Fungal Hall B has two more Fission Metroids, but the area is a lot more spacious so they’re a little easier to deal with. In the Phazon Mining Tunnel, start bombing the blocks to the right and eventually you’ll carve a path to another Chozo Artifact, the ARTIFACT OF NEWBORN. That’s the end of the backtracking, now head back to Elite Quarters.
Upon arriving at Elite Quarters you’ll find three Fission Metroids (I feel personally attacked). If you have more than one Power Bomb at this point, I give you full permission to group them all together and take them out in the blast. Scan the blue symbol to the right to activate a lift that leads to catwalks above. Take the catwalks to the exit and right behind the door is ENERGY TANK #11. This is the final item we needed to grab in the Phazon Mines, so it’s time to leave! Scan the blue symbol to disengage the security gate and make your way to the Phazon Processing Center. Here, you’ll have Fission Metroids, unlike in your previous trips, however for some reason they always get way too close to the Phazon deposits and end up killing themselves. As a result, they’re more humorous than a legitimate threat (which is fine by me). Make your way up the processing center until you reach the Transport to Magmoor Caverns South, then take the elevator up.
Phendrana Drifts Artifacts
Scans in This Section
Artifacts: Elder, Spirit, Sun
Now you might be wondering, “Wait, if this section is for Phendrana Drifts then why did we just take an elevator to Magmoor Caverns?” Well because this is the fastest way to get there. In fact this short trek through the caverns only spans a total of five rooms including both elevators! Make your way to the Transport to Phendrana Drifts South, save your progress if you so desire and take the elevator up.
As soon as you arrive, turn around and take the Ice Beam door to Transport Access. Blast the ice sheets directly to your right with the Plasma Beam to get ENERGY TANK #12. From the Frozen Pike, go to the Pike Access which leads back to the Space Pirate base. Keep moving until you reach the Control Tower. Once there go to the top of the East Tower and blast the ice sheet hidden behind some crates with your Plasma Beam. Then fire a missile at the fuel cells by the outer tower. Go through the passage created by the fallen tower and collect a Chozo Artifact for your troubles, the ARTIFACT OF ELDER. That’s all we needed from the Space Pirate base, so let’s backtrack to the Frozen Pike.
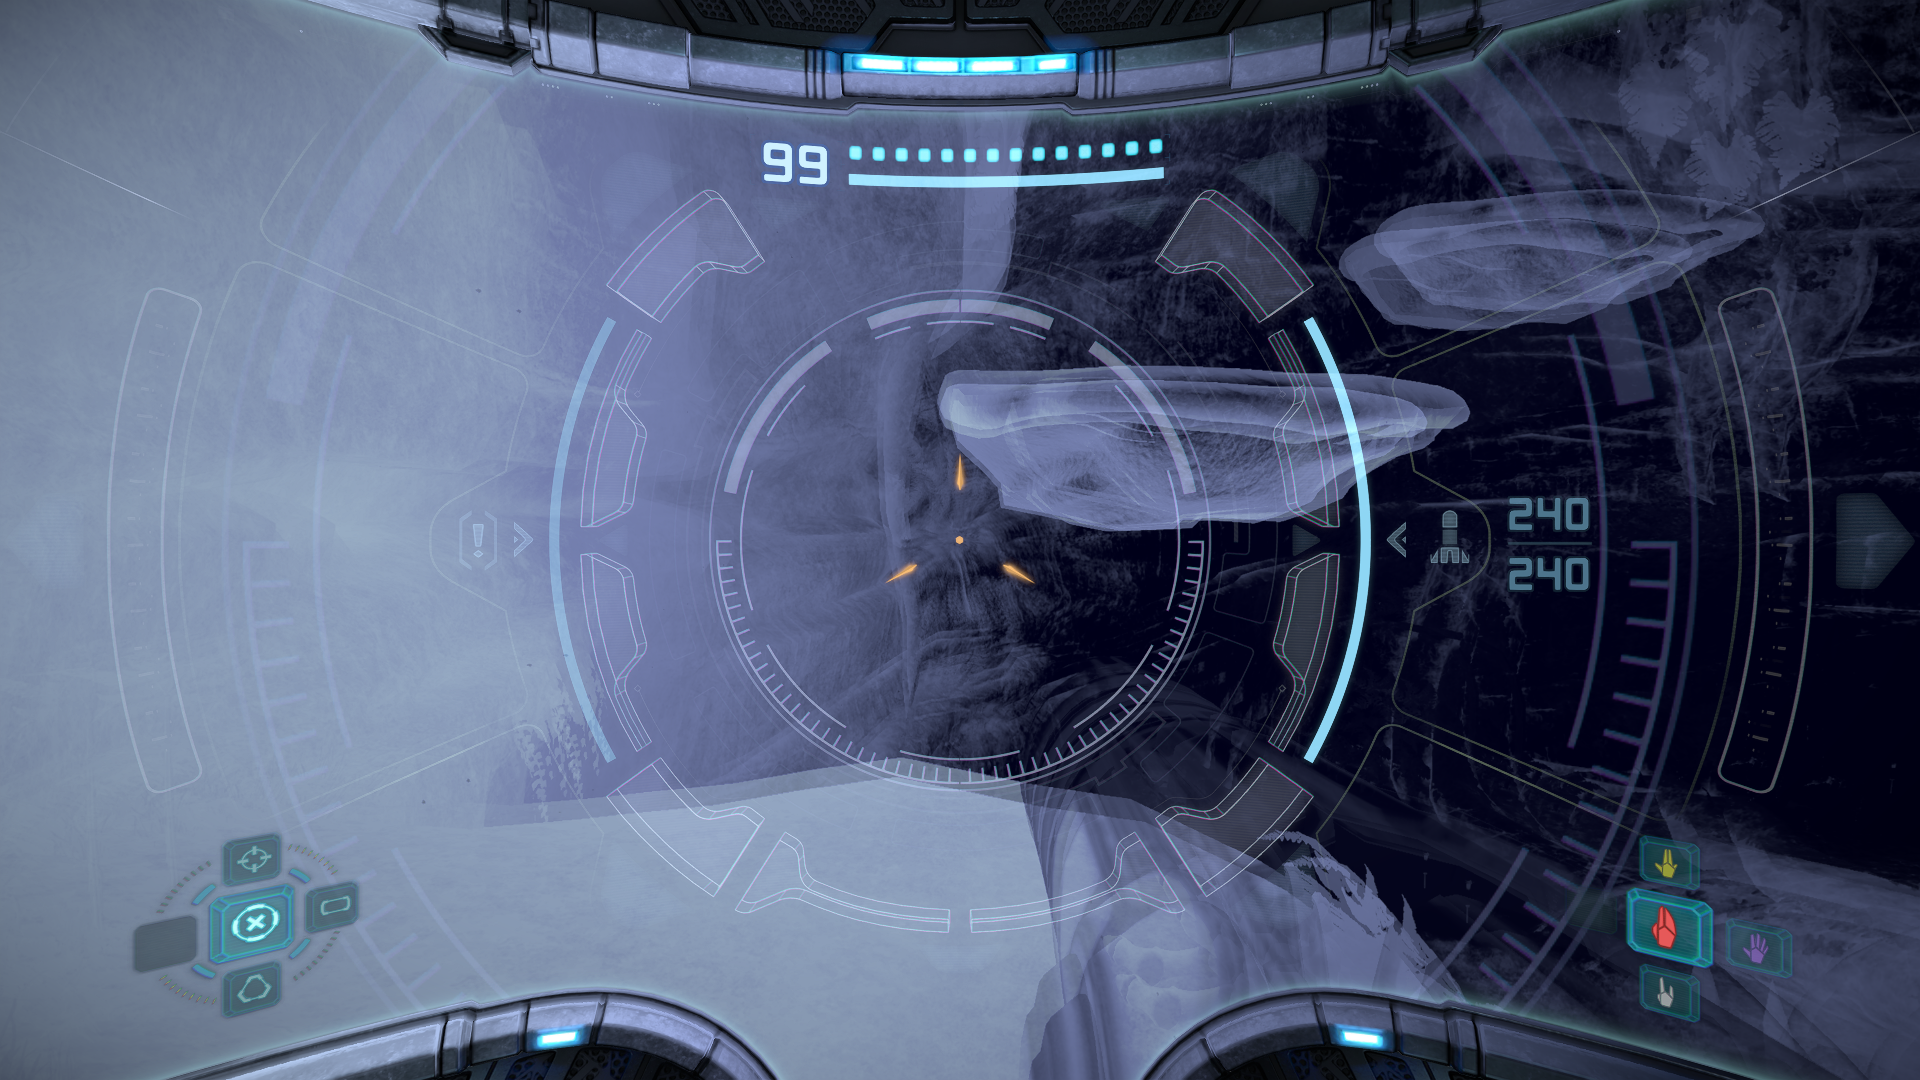
From there go to Frost Cave and use the Glider to swing to the rocks on the other side. Climb to the top and look up to find a Stalactite. Fire a missile at it to drop it through the iced over lake, creating a path to MISSILE EXPANSION #36. Next, head to Phendrana’s Edge. Once you get there, start climbing to the top. After the Grapple Points, jump through two floating platforms. When you land on the following platform, activate your X-Ray Visor and look at the wall. You should see a door through the rocks. If so, drop a Power Bomb. If not, check out the other walls. Inside you’ll find a Chozo Artifact, the ARTIFACT OF SPIRIT.
Leave the room and keep platforming up Phendrana’s Edge. Swing across the Glider and enter the Morph Ball tunnel to reach POWER BOMB EXPANSION #2. Next, head to Hunter Cave and take the Grapple Point to Chamber Access. Go through to the Gravity Chamber and shoot the ice encased around the Grapple Point with your Plasma Beam as soon as you enter. Use the Grapple Point to swing yourself into MISSILE EXPANSION #37. That’s all we need from this section of Phendrana! From here, move onto Quarantine Cave.
In Quarantine Cave, take the Grapple Points to the Quarantine Monitor where you can find MISSILE EXPANSION #38. Next, head for Ice Ruins West. After entering, jump to the platform at the very back directly in front of you. On the floor is an ice sheet you can shoot with the Plasma Beam to reveal POWER BOMB EXPANSION #3. From there go coast to coast to Ice Ruins East. Upon entering, jump down to find an ice sheet on your left. Shoot it with the Plasma Beam to reveal MISSILE EXPANSION #39. That’s not all though, jump across the broken wood bridge and look for a Spider Ball Track tucked away behind the structure. Ride the track up to find MISSILE EXPANSION #40.
Next, go to Phendrana Shorelines and shoot the ice sheet just under the Plaza Walkway entrance with the Plasma Beam to access MISSILE EXPANSION #41. From there go to the ledge near the Temple Entryway and shoot the Cordite statue with a Super Missile. Scan the panel behind it and a new passage with a Spider Ball Track will open up, leading to MISSILE EXPANSION #42. Lastly, head to the Chozo Ice Temple. Go to the Chozo Statue with outstretched hands and shoot the ice buildup with your Plasma Beam. After melting the ice away, the statue’s hands will start to glow. Jump into the hands and go into Morph Ball form to reveal a hidden passage below. Inside you’ll find another Chozo Artifact, the ARTIFACT OF SUN.
That wraps up everything in Phendrana Drifts! Head to the Transport to Magmoor Caverns West and take the elevator down.
Magmoor Caverns Artifacts
Scans in This Section
Artifacts: Strength, Nature
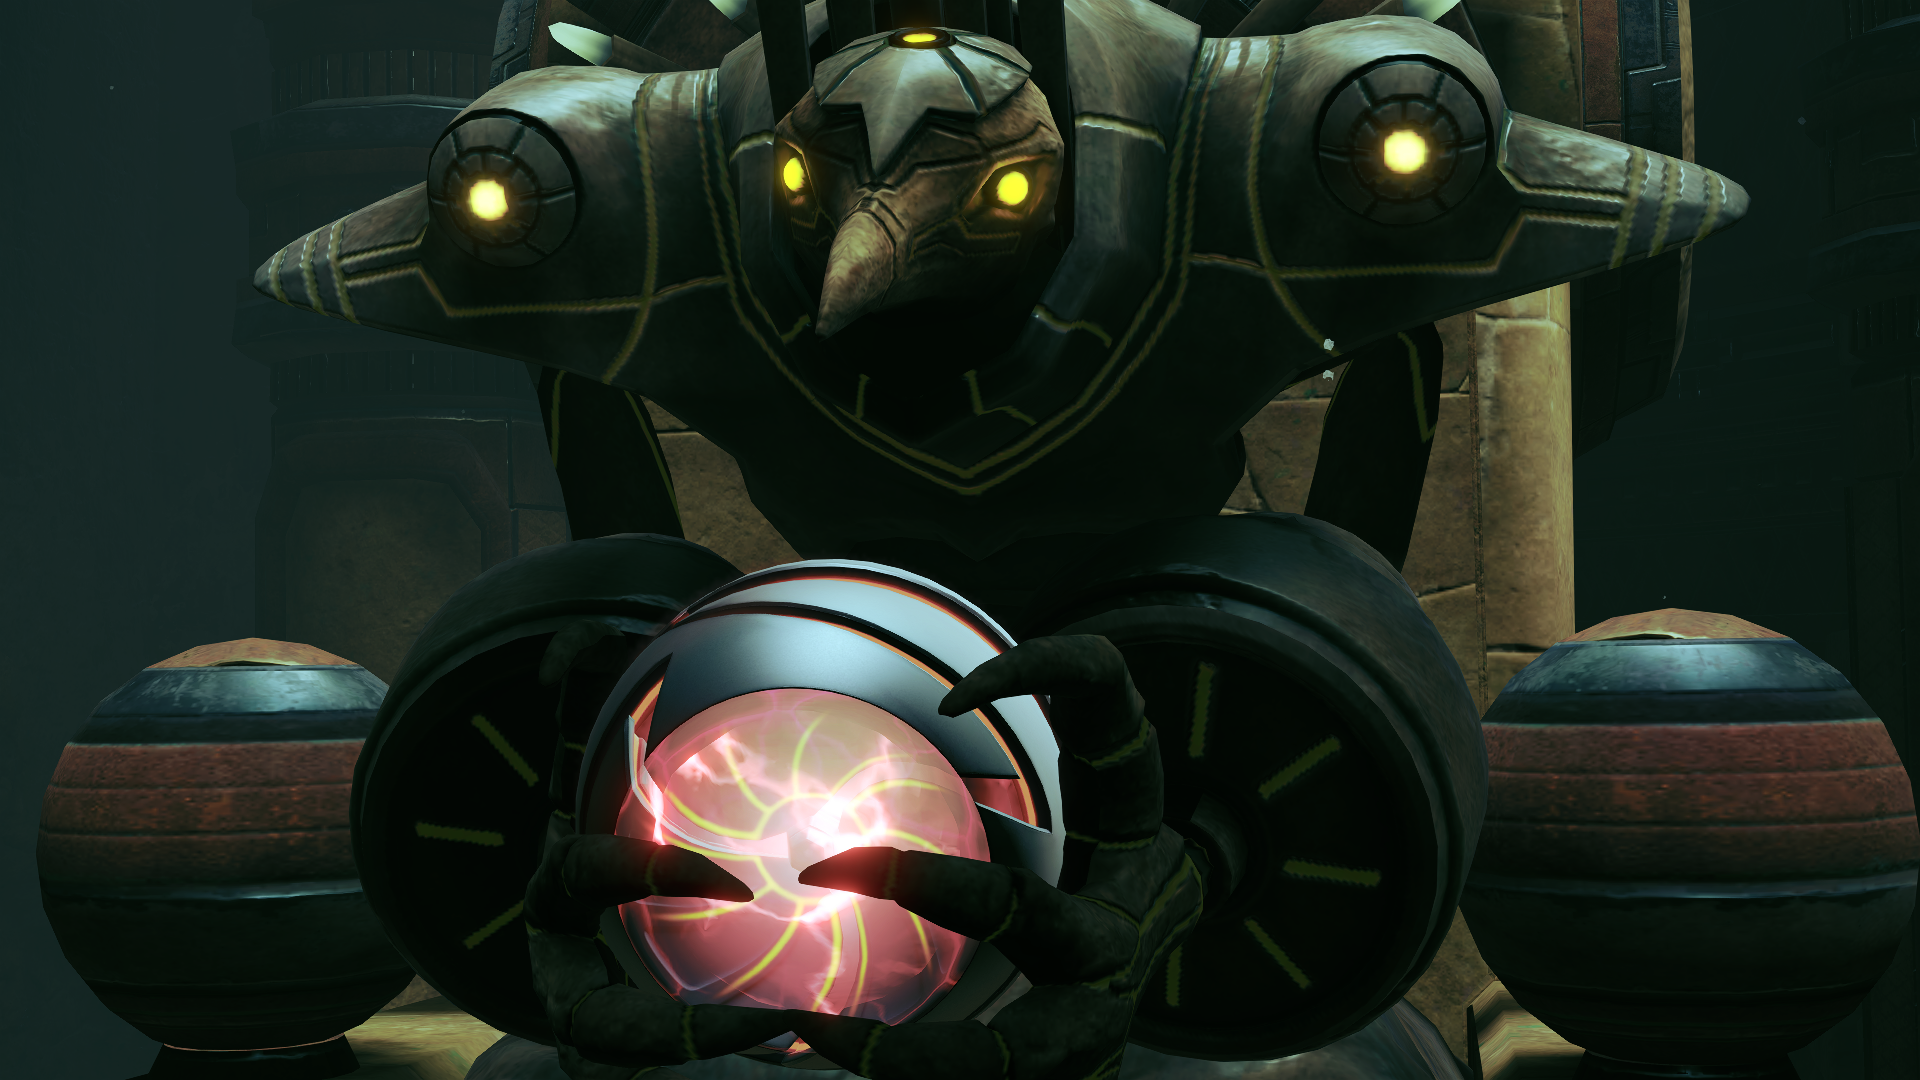
As soon as you enter the Monitor Station, you should see a raised platform to your right. Jump onto it and you’ll have enough height from there to reach the walkway above. Use the Spinner to raise the bridge and cross over to the rocks on the other side. Follow the pathway to the Warrior Shrine where you’ll find a Chozo Artifact sitting in the hands of an elder statue, the ARTIFACT OF STRENGTH. Just behind where you pick up the artifact is a Bendezium cover that you can Power Bomb. Doing so will reveal a passage to a hidden room containing POWER BOMB EXPANSION #4. Take the exit out and go to the Shore Tunnel. We hinted at it much earlier during the begining of the game, but now it’s finally time to engage in one of the most important Metroid traditions. Go to the center of the walkway and drop a Power Bomb to shatter the walls of the tunnel. Underneath you’ll find the final beam combo upgrade, the ICE SPREADER.

From here, get yourself over to the Triclops Pit. Head towards the pile of crates just after the floating platforms and activate your X-Ray Visor. You’ll see a series of invisible platforms calling out to you. Hop across the platforms until you come across a Missile Expansion behind some rock. Fire a Super Missile at the rock to access MISSILE EXPANSION #43. Finally, head to Lava Lake and bomb the cracked glowing rocks to access the other side. Once there, fire two to four missiles depending on your difficulty at the column in the center to reveal another Chozo Artifact, the ARTIFACT OF NATURE. That’s all for Magmoor Caverns! Keep moving forward until you hit the Transport to Chozo Ruins North and ride the elevator up.
Chozo Ruins Artifacts
Scans in This Section
Chozo Lore: Shining One
Artifacts: Wild, World, Lifegiver
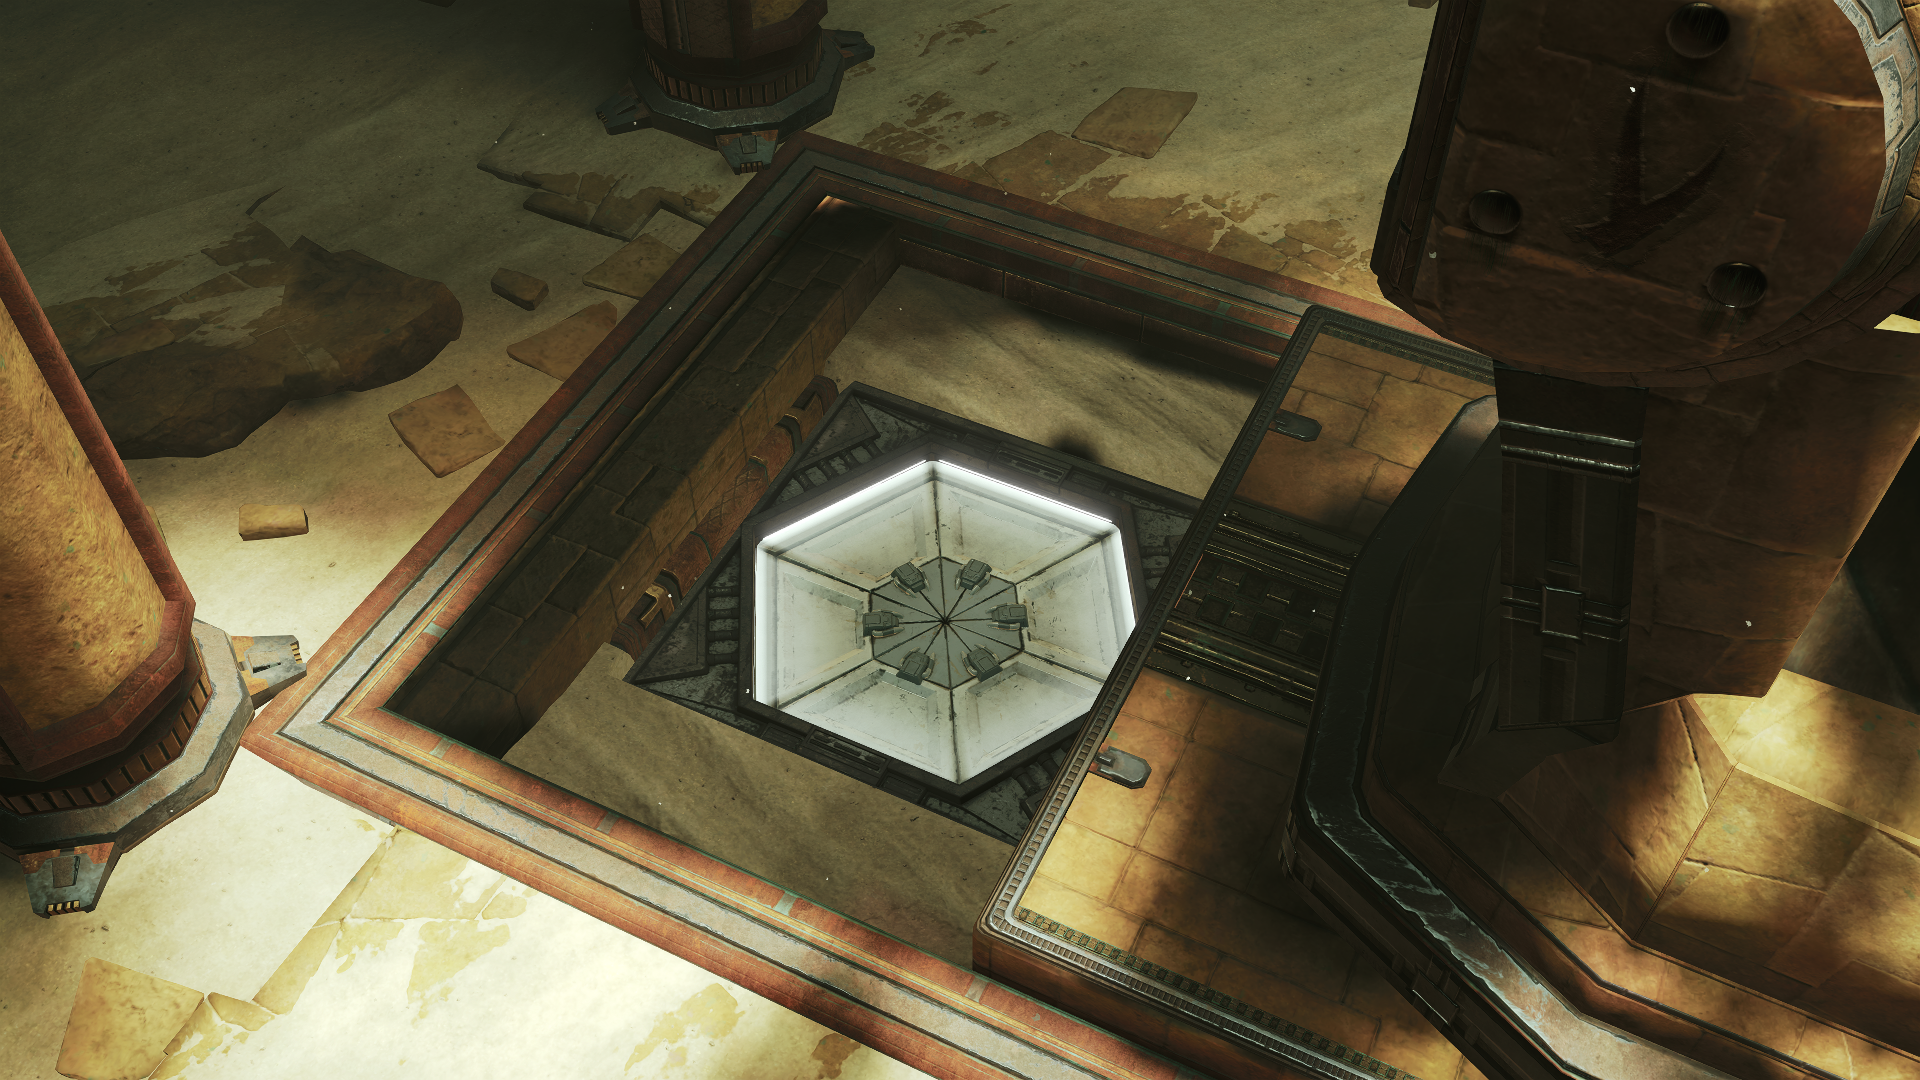
As soon as you arrive at the Chozo Ruins, enter the Sun Tower and take out the War Wasp Hives. Then look around the room for four runic symbols (it’s been awhile!) to open the gate blocking the Spider Ball Track. The first is on the pillar directly to the right as you enter the room, the second is behind the far left pillar and the final two are behind Cordite statues at each side that need to be hit with Super Missiles. Once the gate is open, ride the Spider Ball Track to the top. For the bomb jump sections, stay at the edge of the blocks so that the Oculus’ can’t knock you off.
Once you reach Sun Tower Access, a Chozo Ghost will fly away as soon as you enter (it must have heard that you got the X-Ray Visor). Continue to the Sunchamber and three Chozo Ghosts will attempt to defend their territory. Take them out and you’ll receive a Chozo Artifact in return, the ARTIFACT OF WILD. The plant growth back from the Flaahgra fight blocking the Sunchamber Access will also disintegrate, and that just happens to be the way we’re headed next! Take the newly opened passage to Watery Hall, and on the way note you can finally take out Reaper Vines via a charged Plasma Beam shot!

At the Watery Hall, drop into the water and look for a tunnel that resurfaces into MISSILE EXPANSION #44. From there, go to the Dynamo and ride the Spider Ball Track up into MISSILE EXPANSION #45. Next, go to the Furnace and after taking out the Chozo Ghosts, Power Bomb the Bendezium floor to the right. Use the half-pipe to reach the Spider Ball Track above, but be careful of the Plated Parasites that can knock you off. Navigate the tracks and narrow bridges until you roll into MISSILE EXPANSION #46.
After that, head to the Hall of the Elders and fend off some more Chozo Ghosts. Once they’re dealt with, head up to the row of energy shields and blast the white one with your Ice Beam. Use the Morph Ball Slot to create a new passage for the Chozo statue to bowl you through. Inside the new passage you’ll find ENERGY TANK #13 below. Next, go back to the shields and blast the red one with your Plasma Beam. After using the Morph Ball Slot, the statue will pull back to reveal a hidden door in the floor. Enter the room to find another Chozo Artifact, the ARTIFACT OF WORLD. That’s all we need to do at this side of the ruins. Next stop is the Ruined Fountain.
At the Ruined Fountain, turn left and go through the Meditation Fountain. At the Magma Pool, swing to the other side and drop a Power Bomb at the wall to reveal both POWER BOMB EXPANSION #5 and a new piece of Chozo Lore, “SHINING ONE”. These mark both the final Power Bomb Expansions and Chozo Lore entries in your journey, hooray for milestones! In Training Chamber Access, stop by the red tree right before the door and roll through it with the Morph Ball. You’ll go into a secret tunnel hiding MISSILE EXPANSION #47.
In the Training Chamber, take out the Chozo Ghosts and then use the half-pipe to reach both of the Morph Ball Slots. The one on the left will open the exit, and the one on the right will activate a timer puzzle where you need to hurry to the piston towards the right. Get to the piston in time and it will carry you to a Spider Ball Track which leads to ENERGY TANK #14, the final Energy Tank we need to collect! Follow the Piston Tunnel back to the Main Plaza and we’ll reappear right behind a Grapple Point we can use to swing over to MISSILE EXPANSION #48.
We’re almost done here, just one last thing that needs to be taken care of. Head to the Tower of Light and enter the water to find a vertical door going up. Enter the room to find the final Chozo Artifact, the ARTIFACT OF LIFEGIVER. That’s all she wrote for the Chozo Ruins! Head to the Transport to Tallon Overworld North to grab our last couple of goodies before heading to the endgame!
Tallon Overworld Artifacts
Scans in This Section
None
We’ve already collected all the artifacts in Tallon Overworld, so if you’re not going for 100%, you can skip this section completely. After arriving in Tallon Overworld, head to Root Cave and traverse upwards. Once you’ve gone as far as you can, activate the X-Ray Visor and you’ll see even more invisible platforms to jump through. When you get to the final invisible platform before the door, turn to your left to see MISSILE EXPANSION #49 sitting behind some plant life. Go through the next door to find MISSILE EXPANSION #50 at the center of the room. We have just gotten 100% of the items, assuming you followed every step of the guide. If you don’t get a pop up notification to confirm this, it means you missed something and will have to retrace your steps. If you did – congratulations!
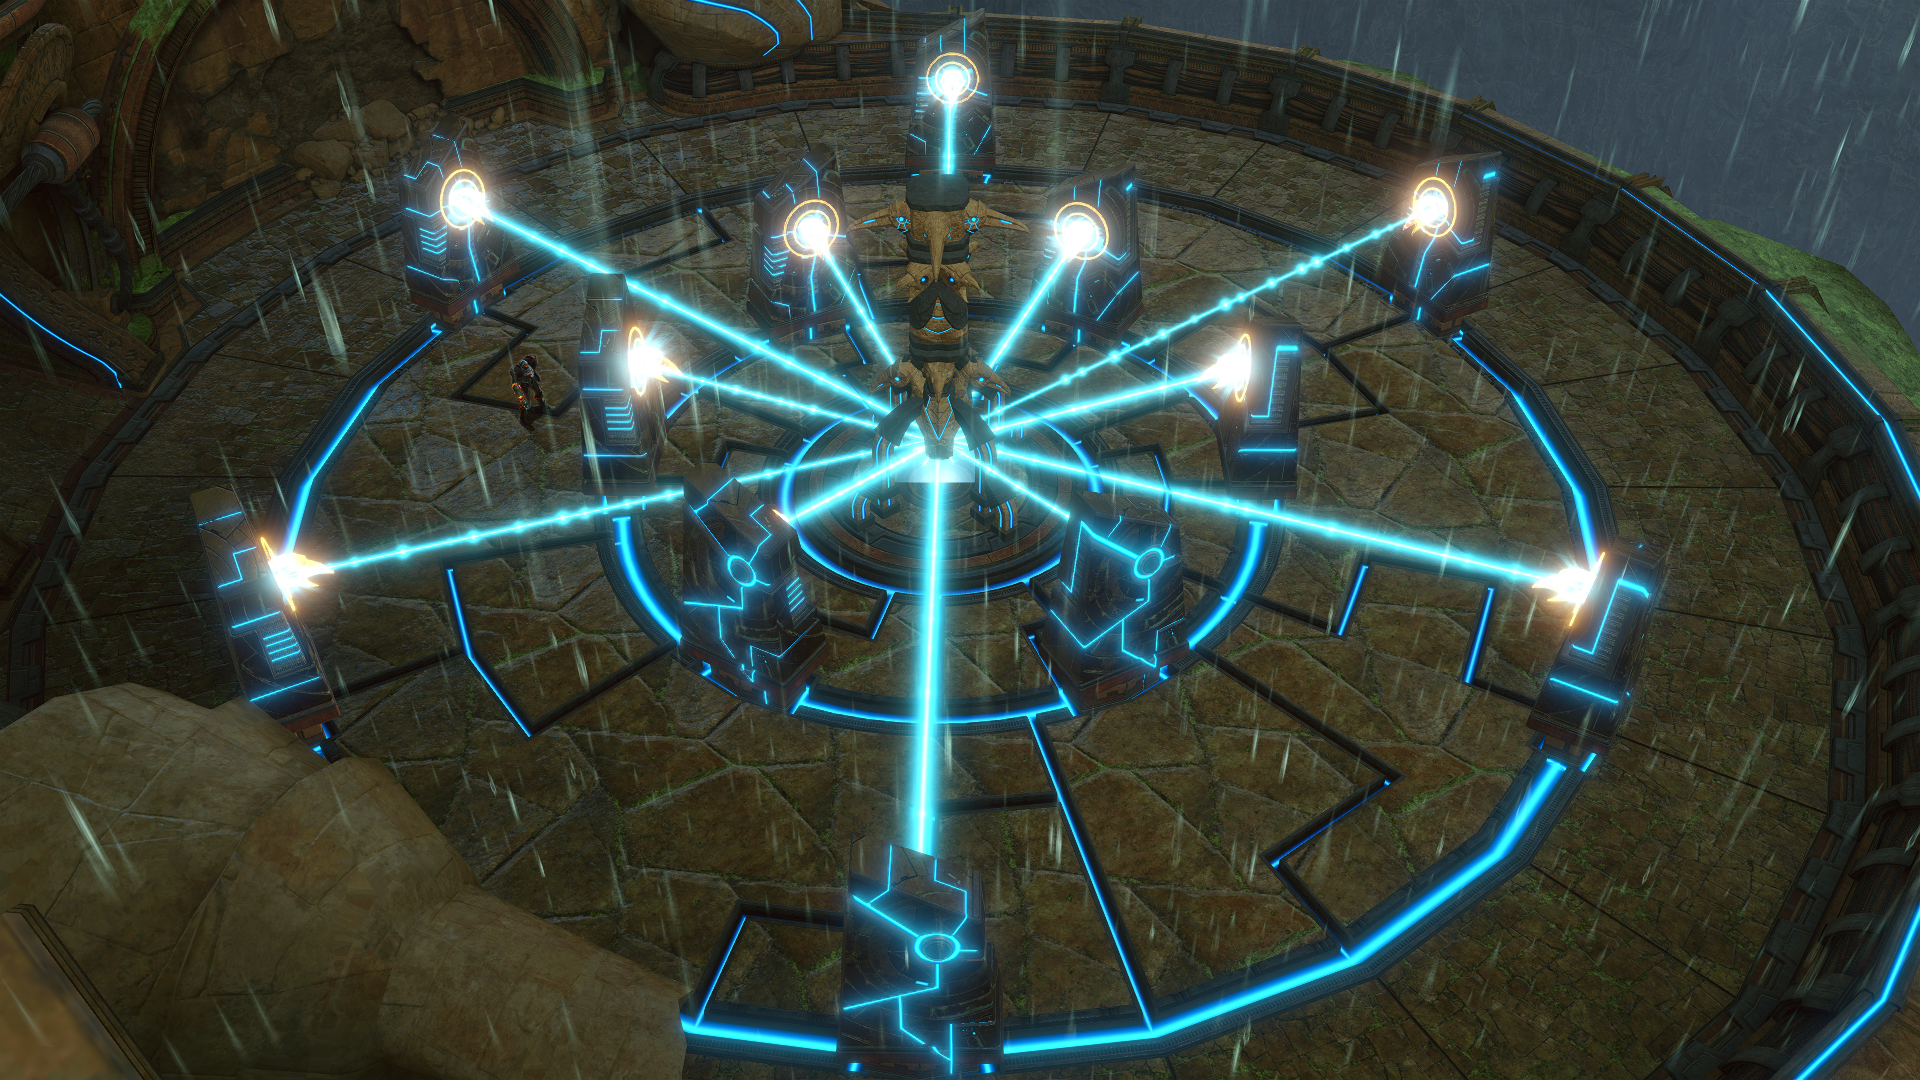
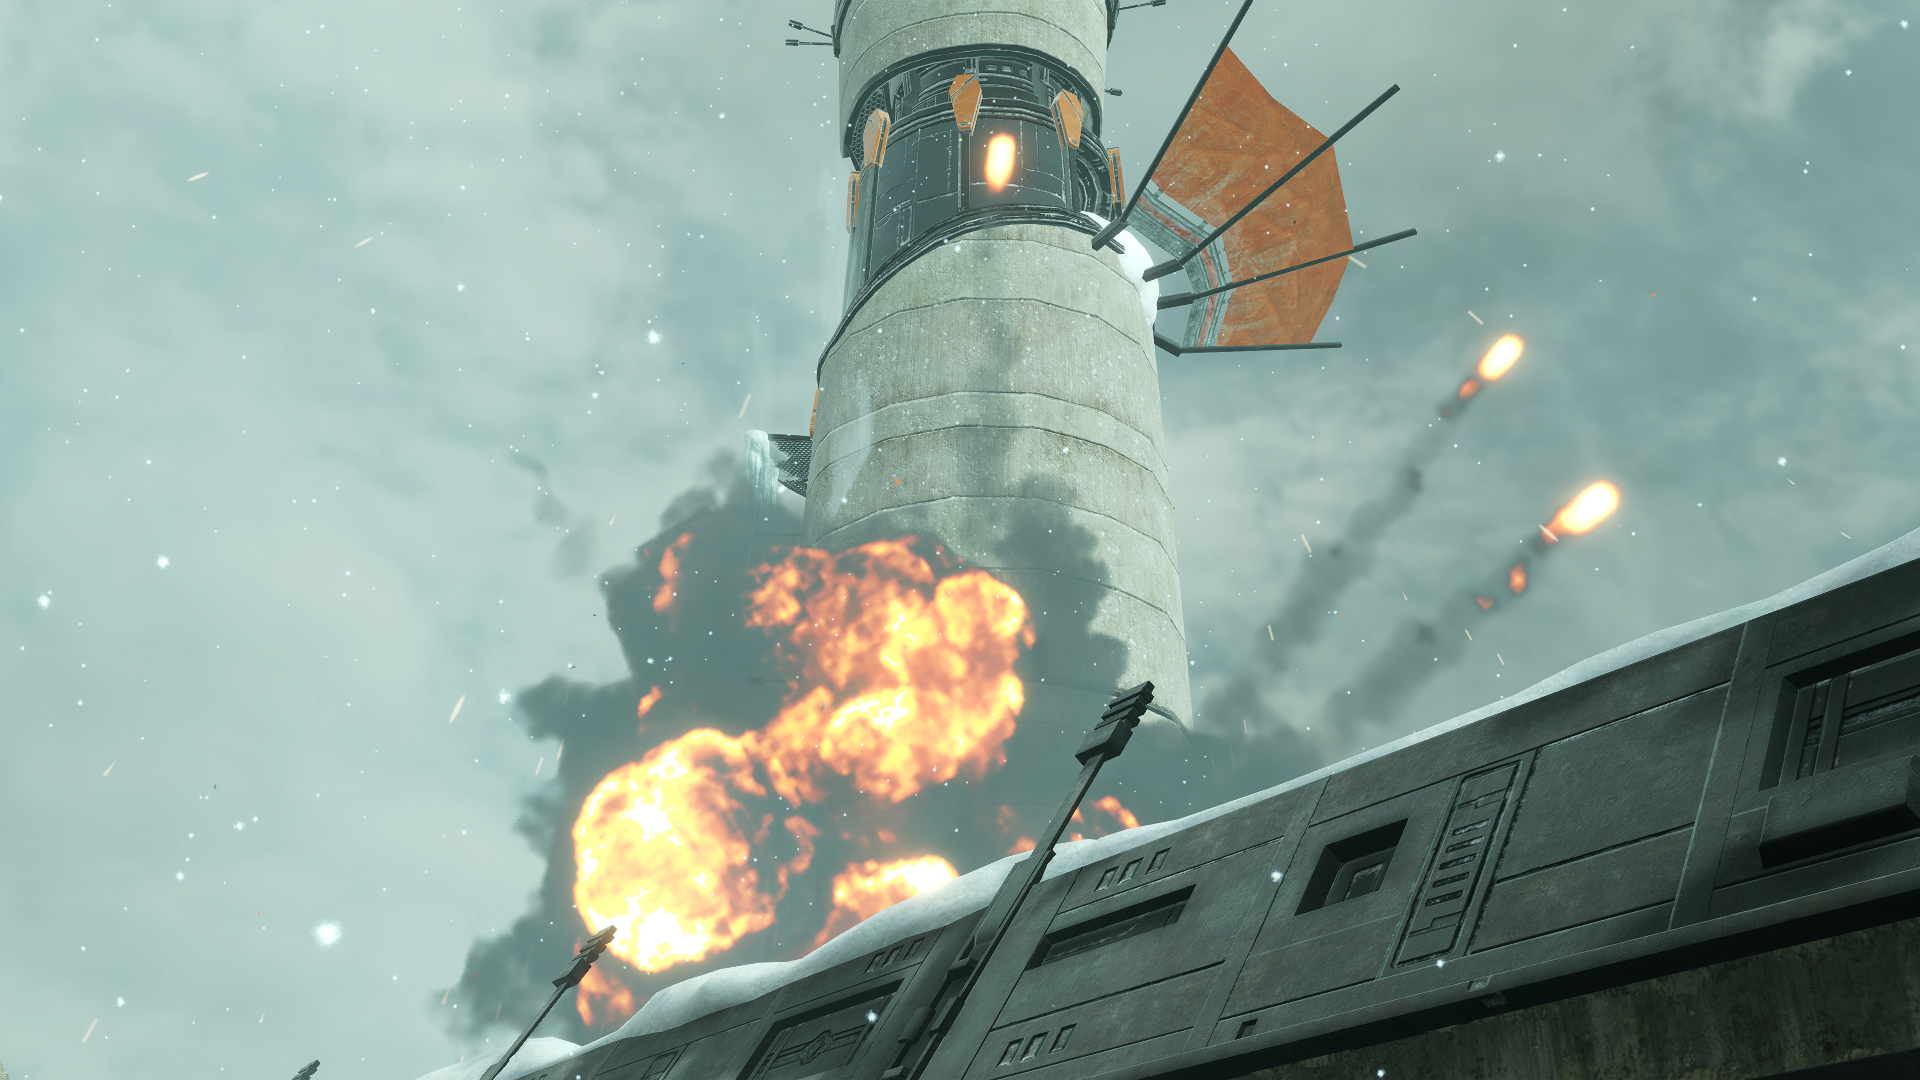
Now it’s time to head to the Artifact Temple and access the Impact Crater to stop the spread of Phazon once and for all! Save at your ship then head towards the temple. Everything has been leading to this moment. We’ve been fighting enemies, collecting items and learning the planet’s history. Now we have the tools to defeat this greater evil and restore peace to the planet, but before we can, there’s one last loose end to tie up – and one last score to settle.
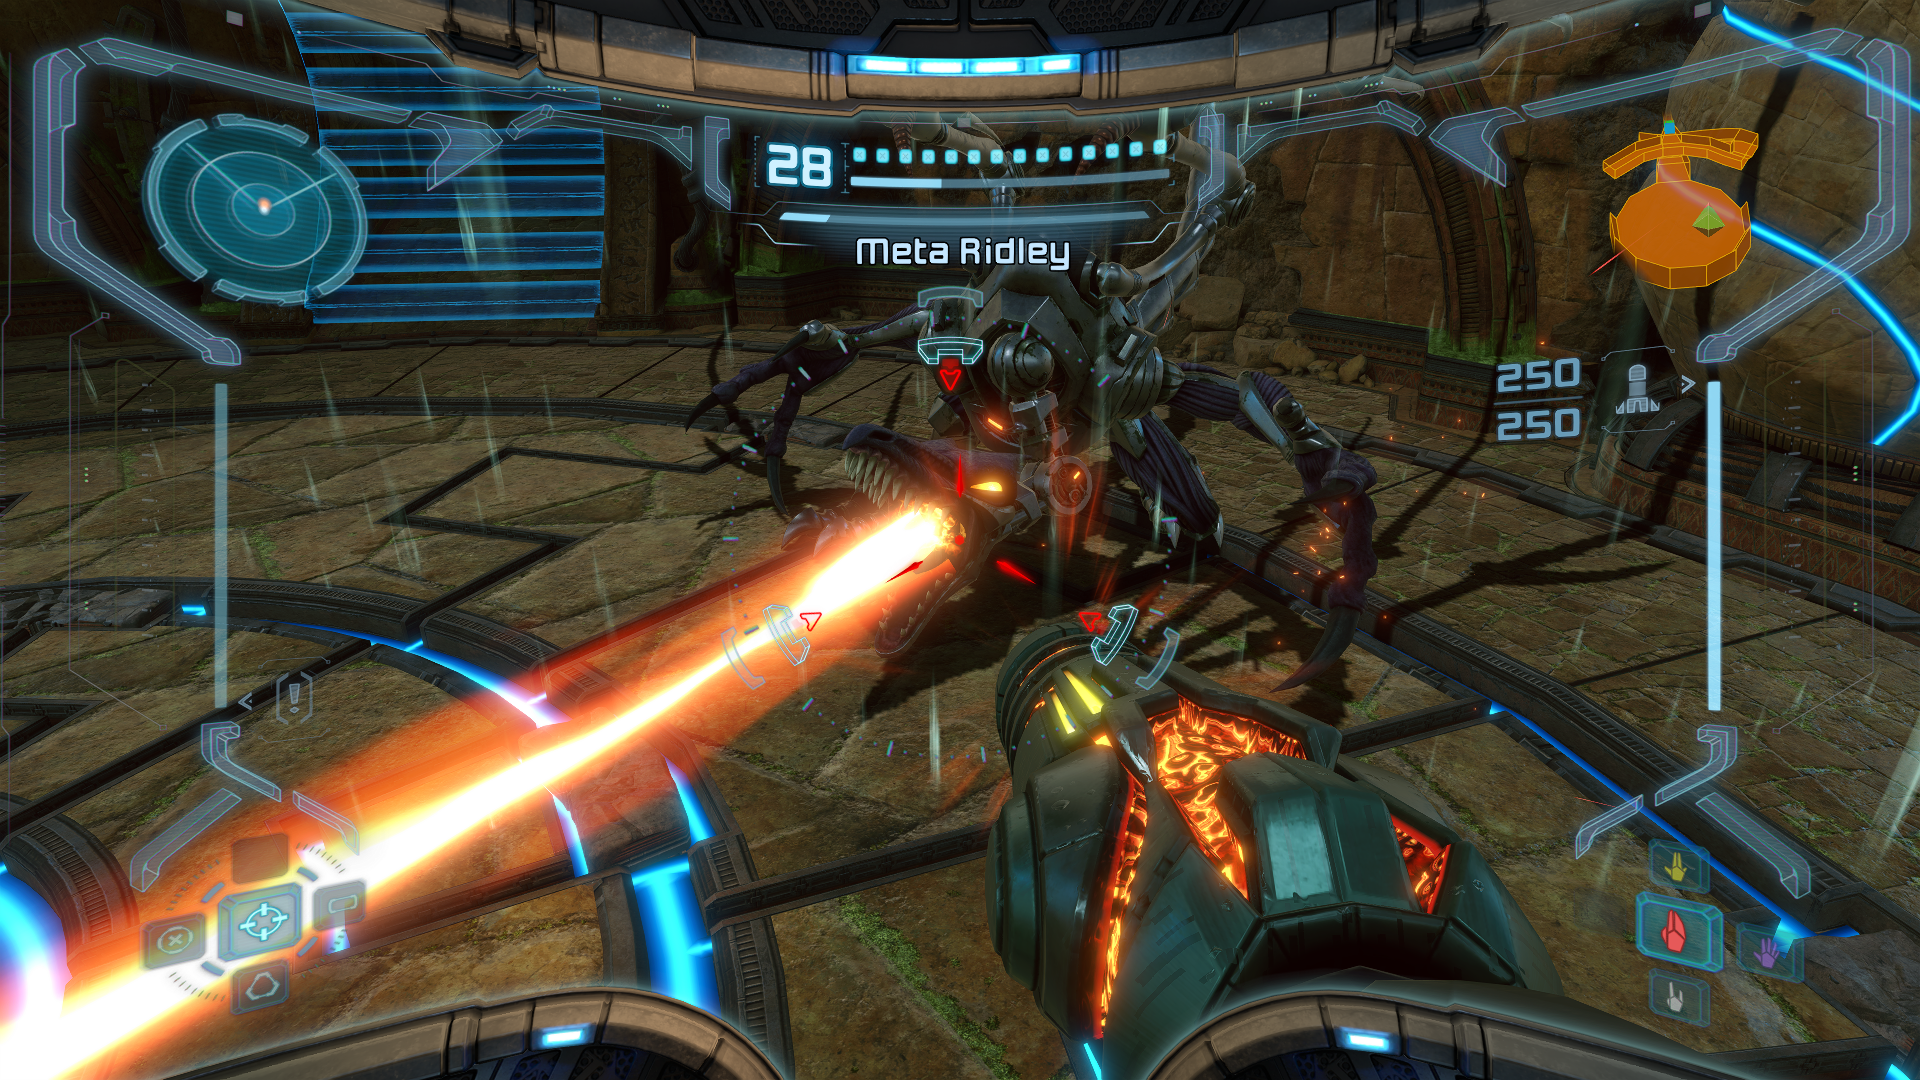
Meta Ridley
Scans in This Section
Creatures: Meta Ridley *missable*
It’s the battle you’ve been waiting all game for. Samus squares off against her oldest foe in a cinematic clash at the Artifact Temple, but this Ridley is unlike any Ridley you’ve fought before. Meta Ridley is equipped with all sorts of upgrades and weapons that make him the most dangerous version of Ridley that you’ll have faced yet.
As with every battle, the first thing you’ll want to do is scan META RIDLEY. Once that’s taken care of, switch to your Combat Visor and get ready to fight.
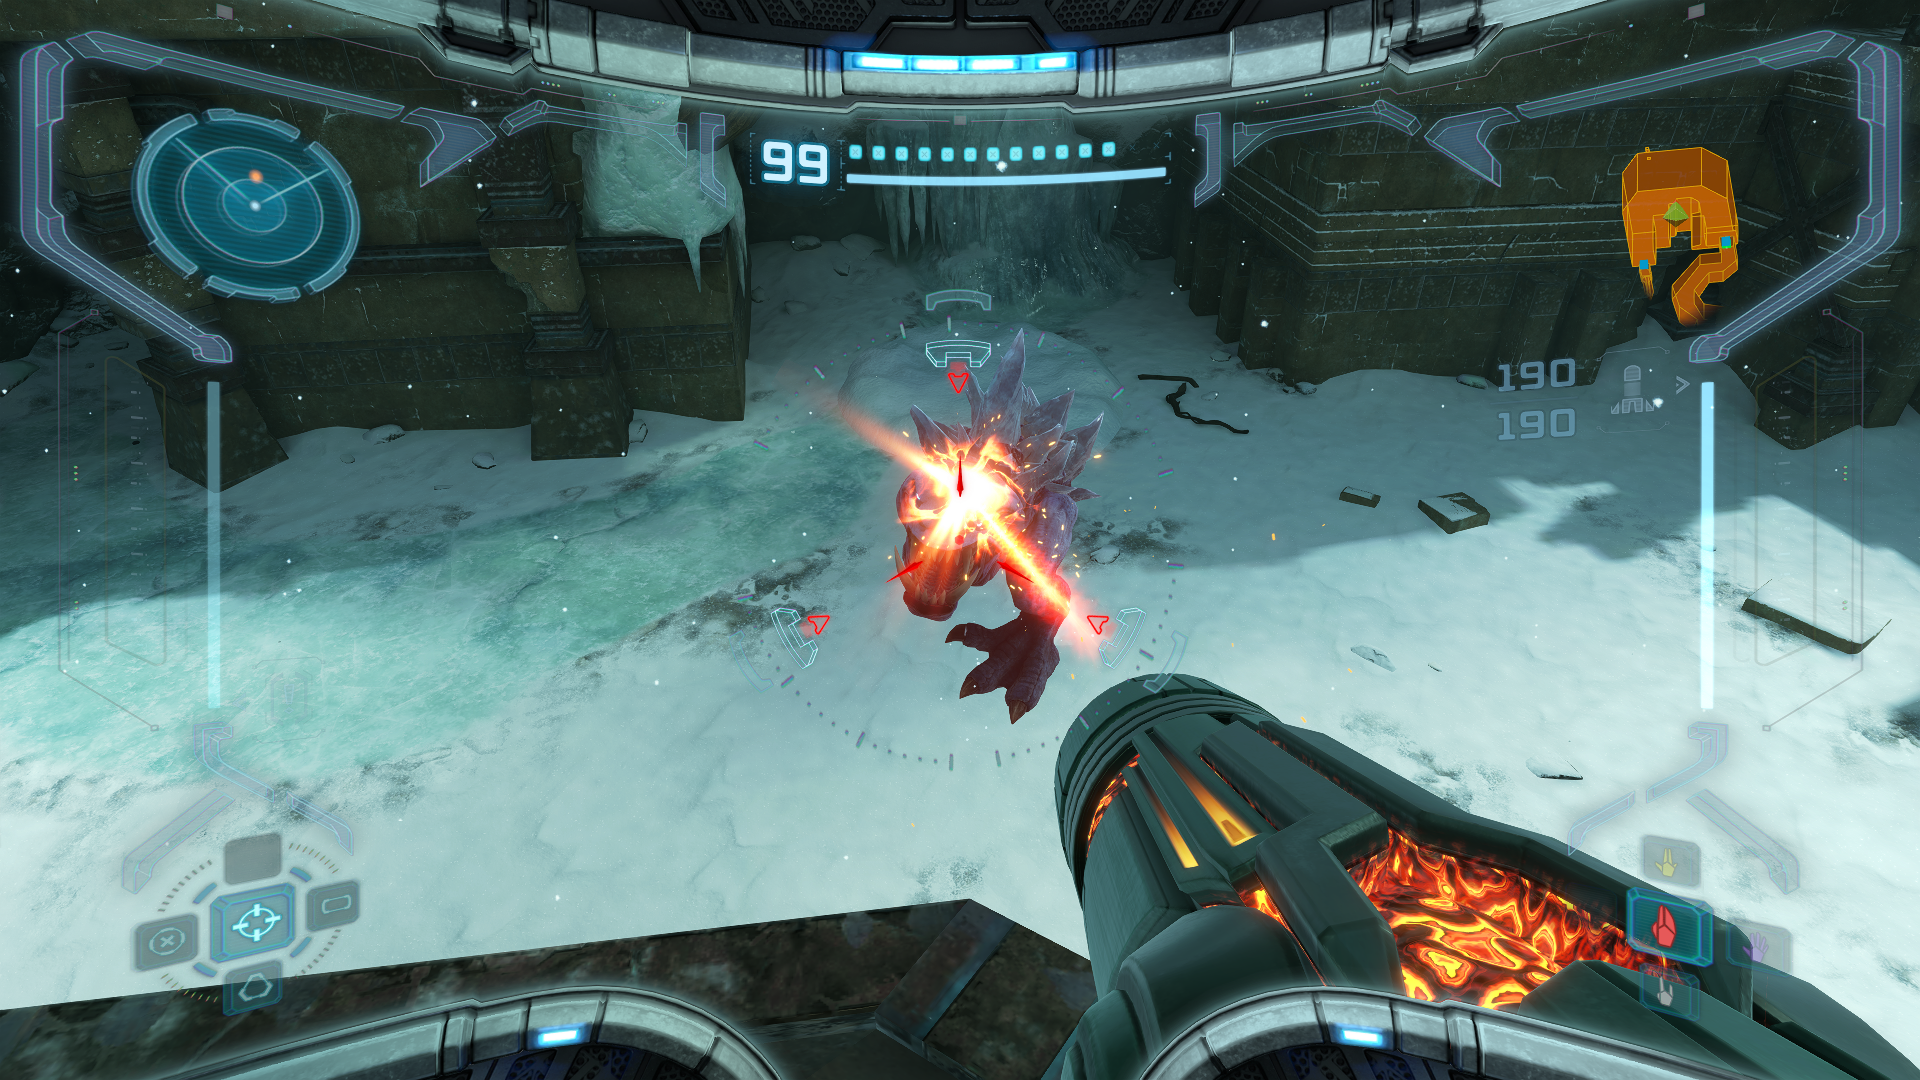
Meta Ridley has a single weak spot: his chest. Your job will be to continuously fire either charged Plasma Shots or Super Missiles at it; by now, you should have 100% items, so put all those missile expansions to good use. Knowing where Ridley’s weak spot is and actually staying alive long to exploit it, however, are two different things. You’ll have to pick your spots carefully.

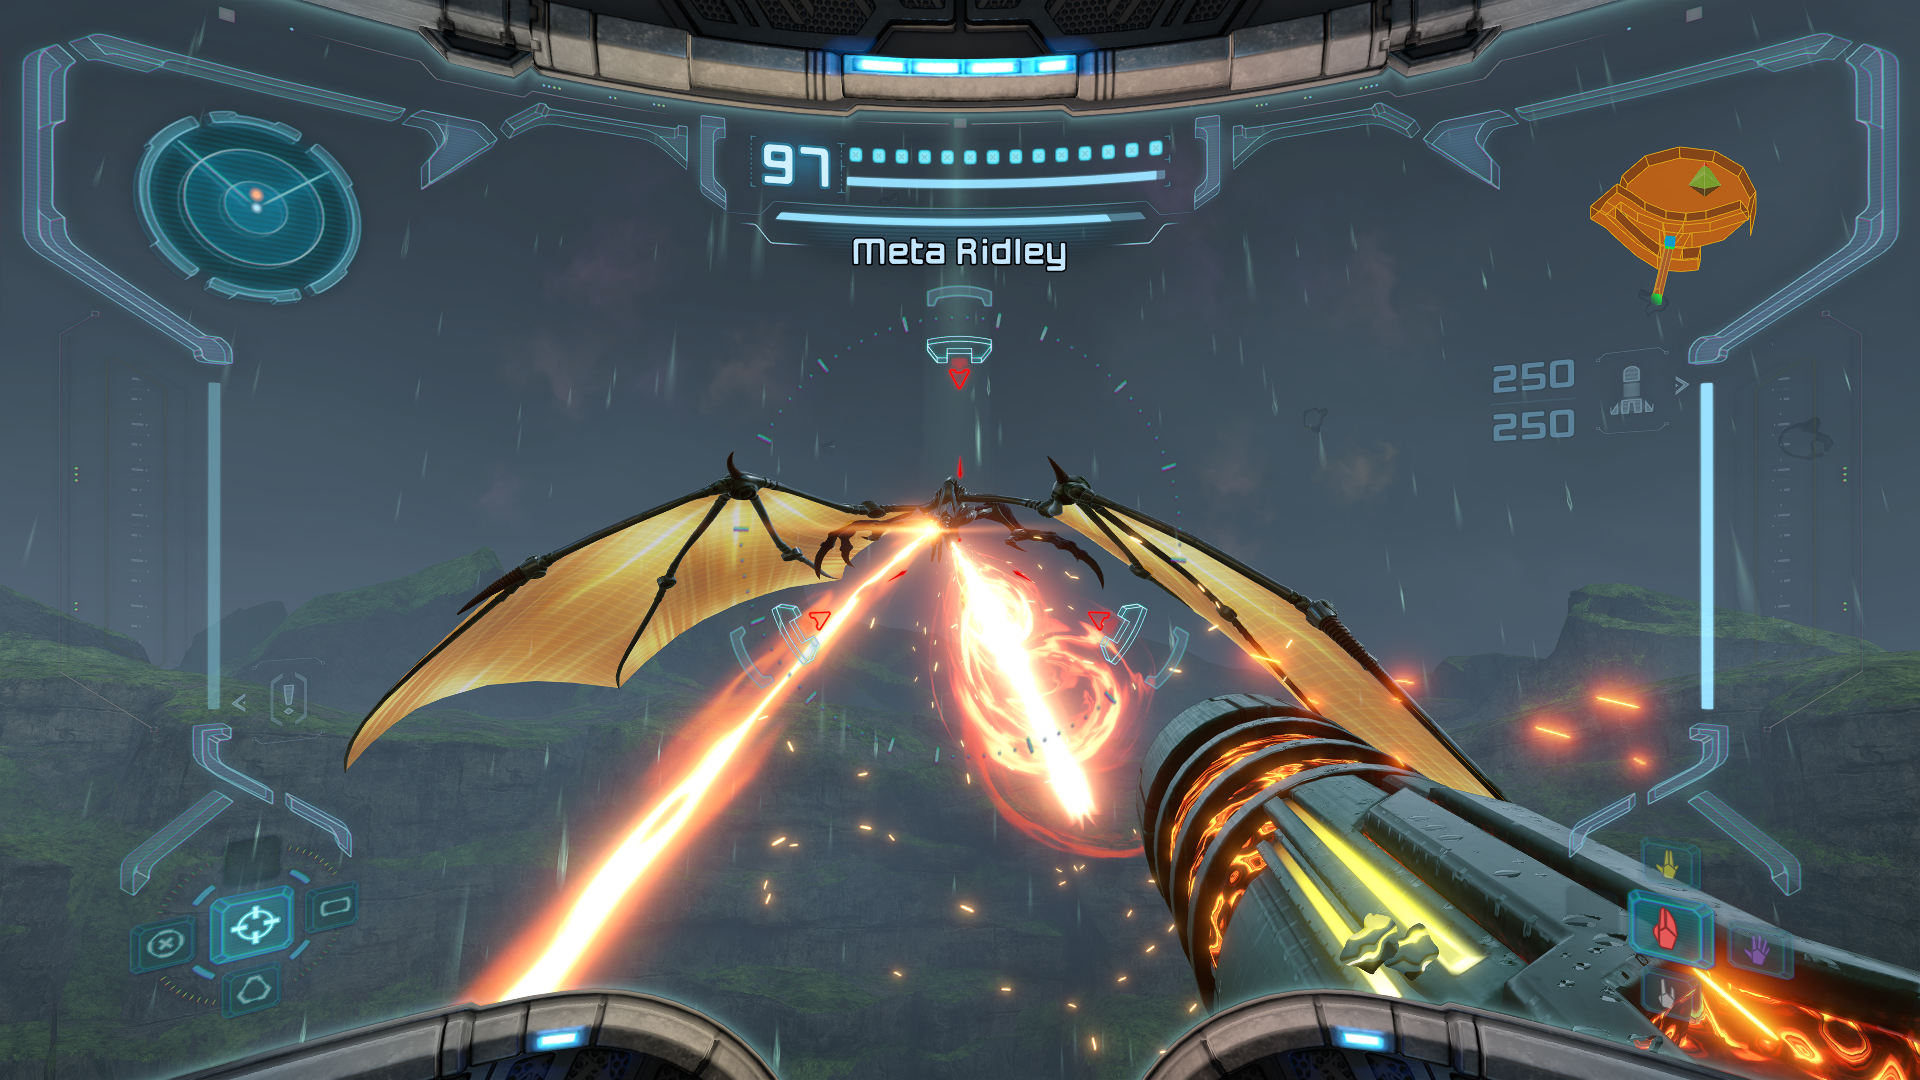
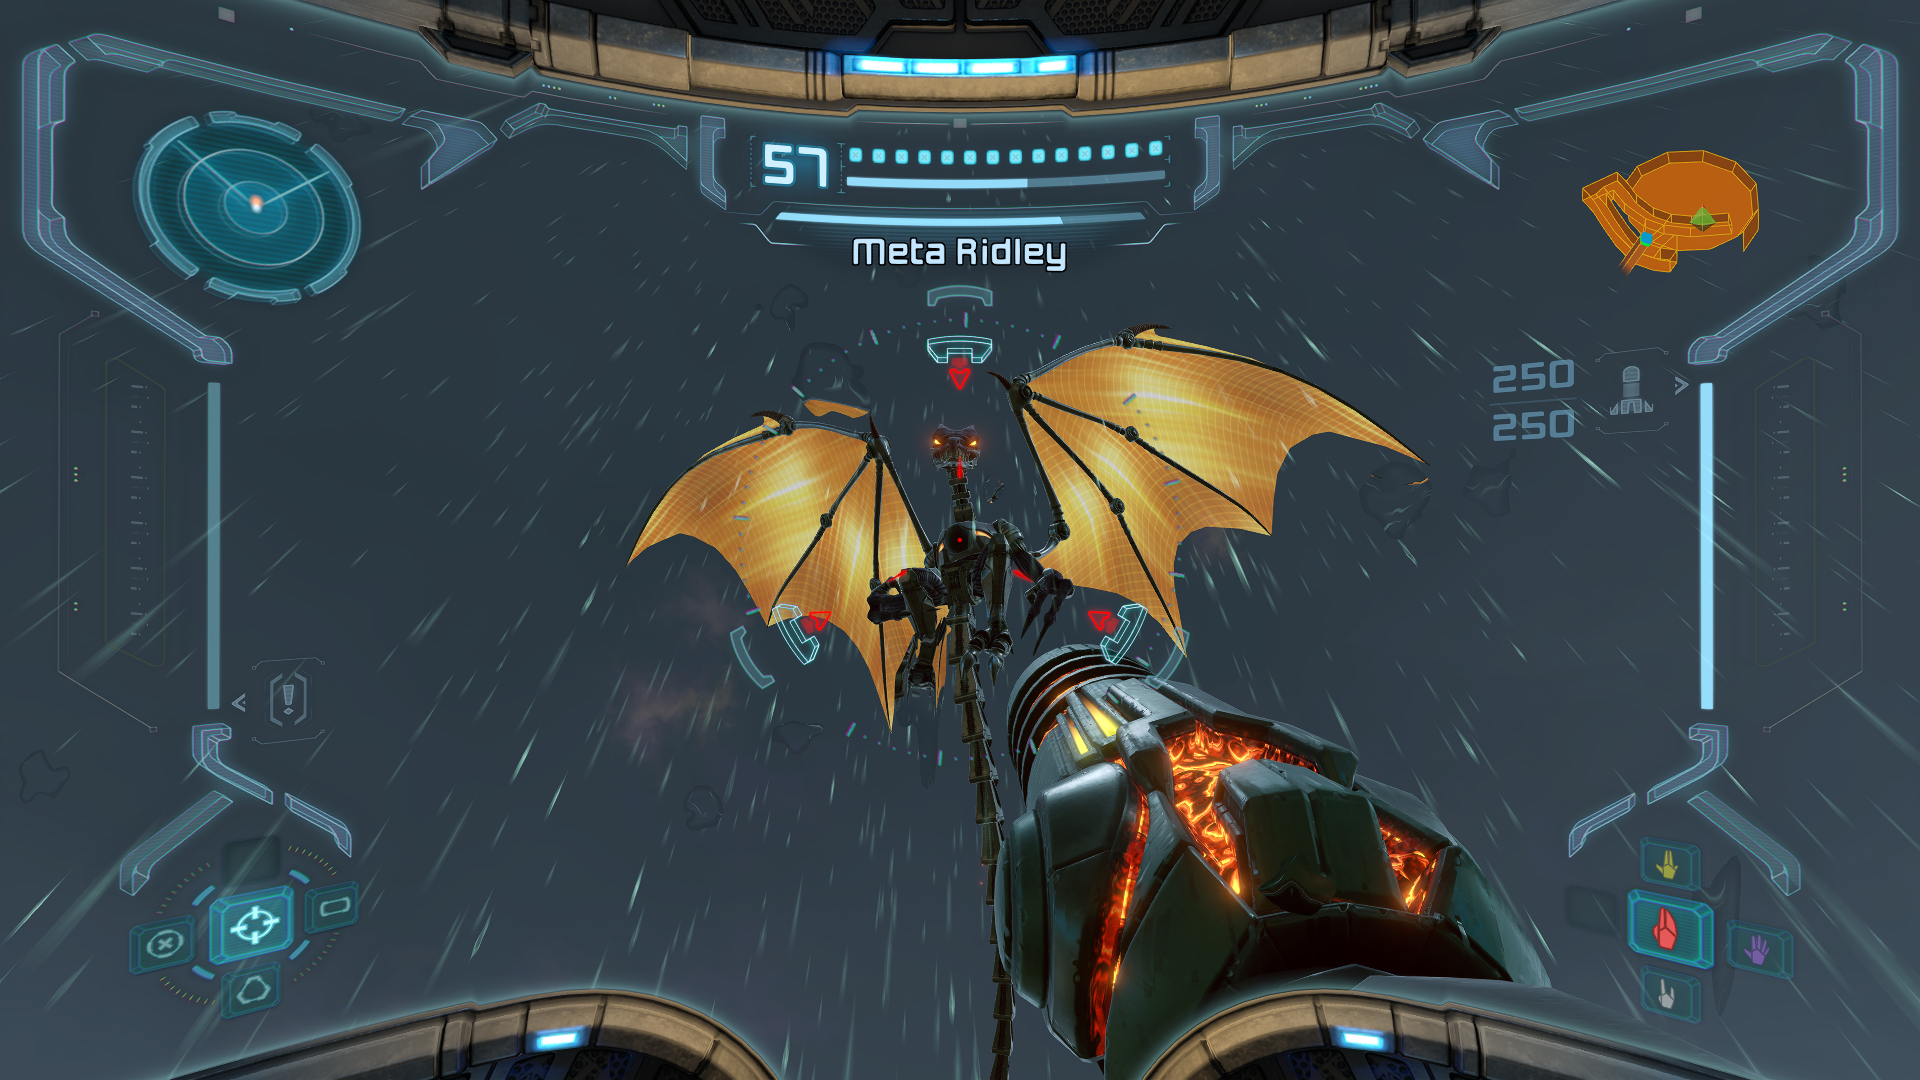
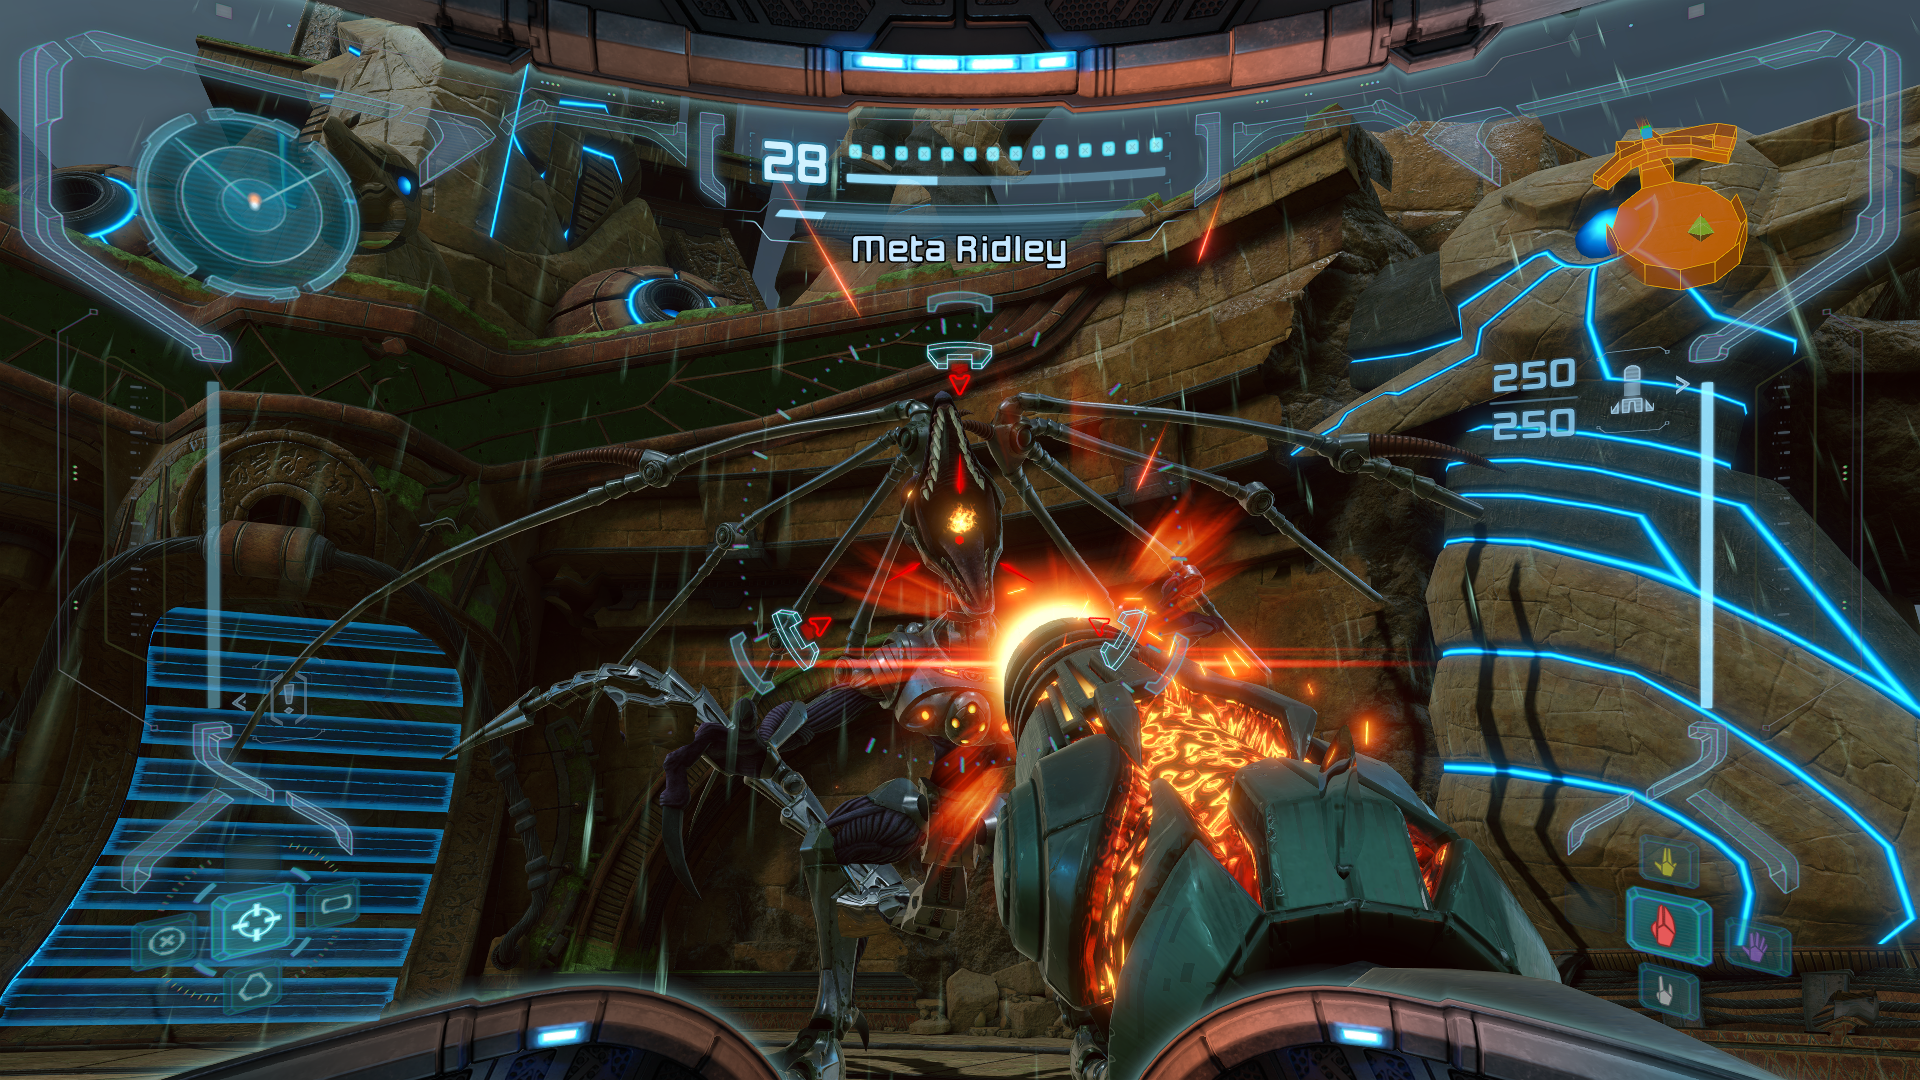
Ridley will start the battle by engaging you from the air; he has a plethora of incredibly dangerous attacks, including a laser beam he will shoot out of his mouth at you. This is simple enough to either avoid or jump over, but Ridley will bust it out frequently, so just watch out. He also has an attack where he will wrap himself in his wings, expose his chest, and fire multiple Missiles at you; this is a great opportunity to pelt the Space Dragon with some offense, provided you can sidestep Ridley’s missiles.
Meta Ridley’s next attack is by far the most annoying, not because it hits all that hard, but because he does it all the time and it takes foreeeever. Ridley will just… fly away and do a couple circles around the temple, and then after what seems like forever, fly over you and drop some bombs. The actual bombs are pretty easy to avoid, so as long as you didn’t fall asleep waiting for Ridley to come back, you should be fine. When he starts to get a bit lower on health, Ridley will fire his laser breath at you in addition to the bombs, so just watch out.
That’s not all though! Ridley will also do what can only be described as a ground pound (his feet will literally start glowing) and slam straight down onto you. Needless to say, this hurts and is a bit trickier to avoid. Not only that but there will be a shockwave when Ridley hits the ground that you want to look out for. Basically, as soon as you see him get close, start putting some distance between yourself and Ridley.
Just keep on avoiding Ridley’s attacks and firing at his chest, and with enough damage, phase two of this battle will begin.
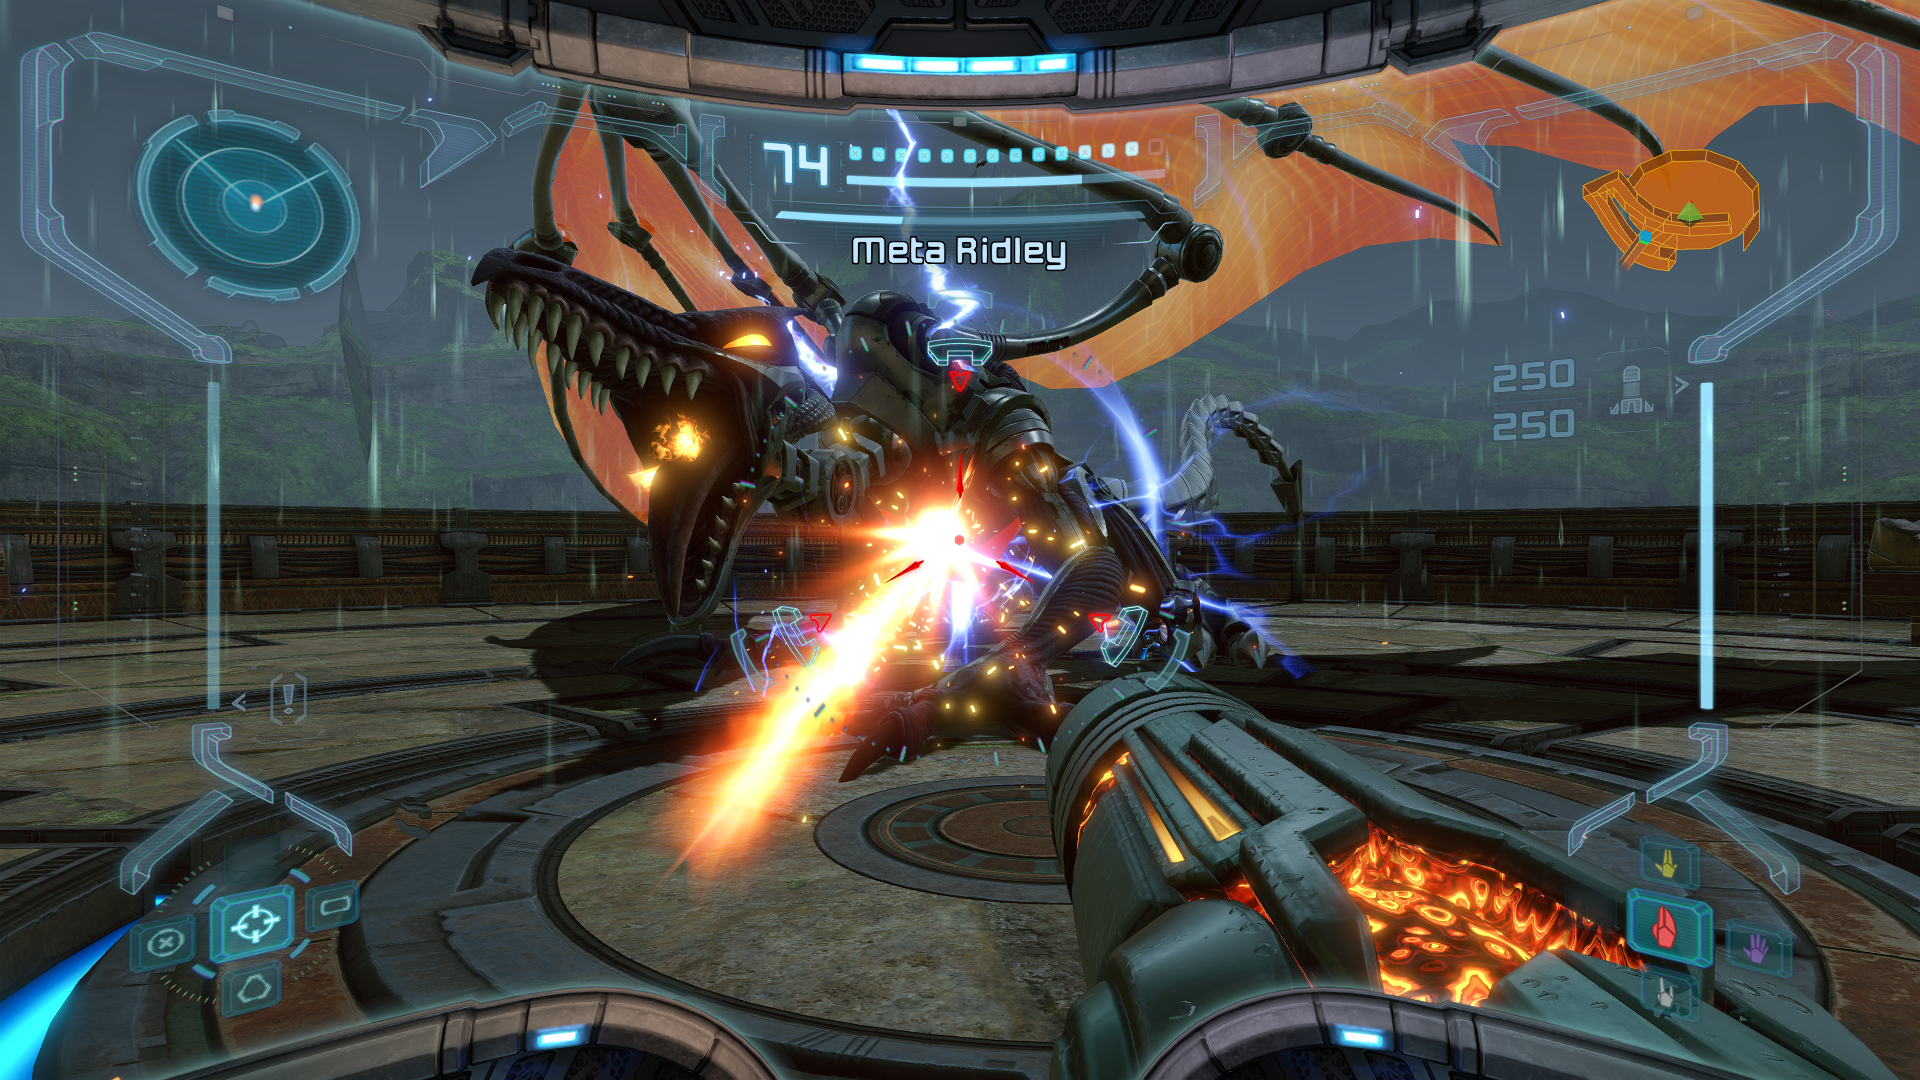
You’ll be able to see when this second phase starts when Ridley loses his wings. This is both good and bad – good, because this portion of the battle will be much quicker; bad, because this portion will also be much more dangerous since you’ll need to fight the Space Pirate enforcer at close quarters. Luckily, once Ridley is grounded, his mouth will become an additional weak spot that you can target. Much like before, however, you’ll need to pick your spots carefully.
Ridley’s attacks will be more melee focused, although he will still launch his laser breath at you; same as before, just jump over it or avoid the laser all together. Ridley’s ground pound will also return, same as before. This may seem like obvious advice, but remember to check where you are. It’s easy to target Ridley and then jump backwards, only to realize you just jumped right off the Artifact Temple. There’s pretty much no more humiliating death than that, do just be aware.
You’ll see Ridley slowly start to cock his arm backwards; this is your queue that he’s about to lunge at you, which, as you probably suspect, does major damage. Now, there’s a risky play you can try here. Right before Ridley lunges, he’ll open his mouth to yell for a second. If you’re fast, you can fire a charged shot/Super Missile at his mouth that will both damage Meta Ridley and stop him in his tracks. If you miss, you’ll find yourself on the receiving end of Ridley’s claws, so judge carefully. Note: if you happen to avoid the lunge, put some distance between you and Ridley, since Ridley will sweep his giant tail around after the attack, doing pretty big damage to any who touch it.
There will be moments where Ridley will just stick his head out and scream, and this is your biggest opportunity to do damage. Blast his mouth and Ridley’s whole head will go flying back, exposing his weak chest. Fire fire fire as many times as you can!
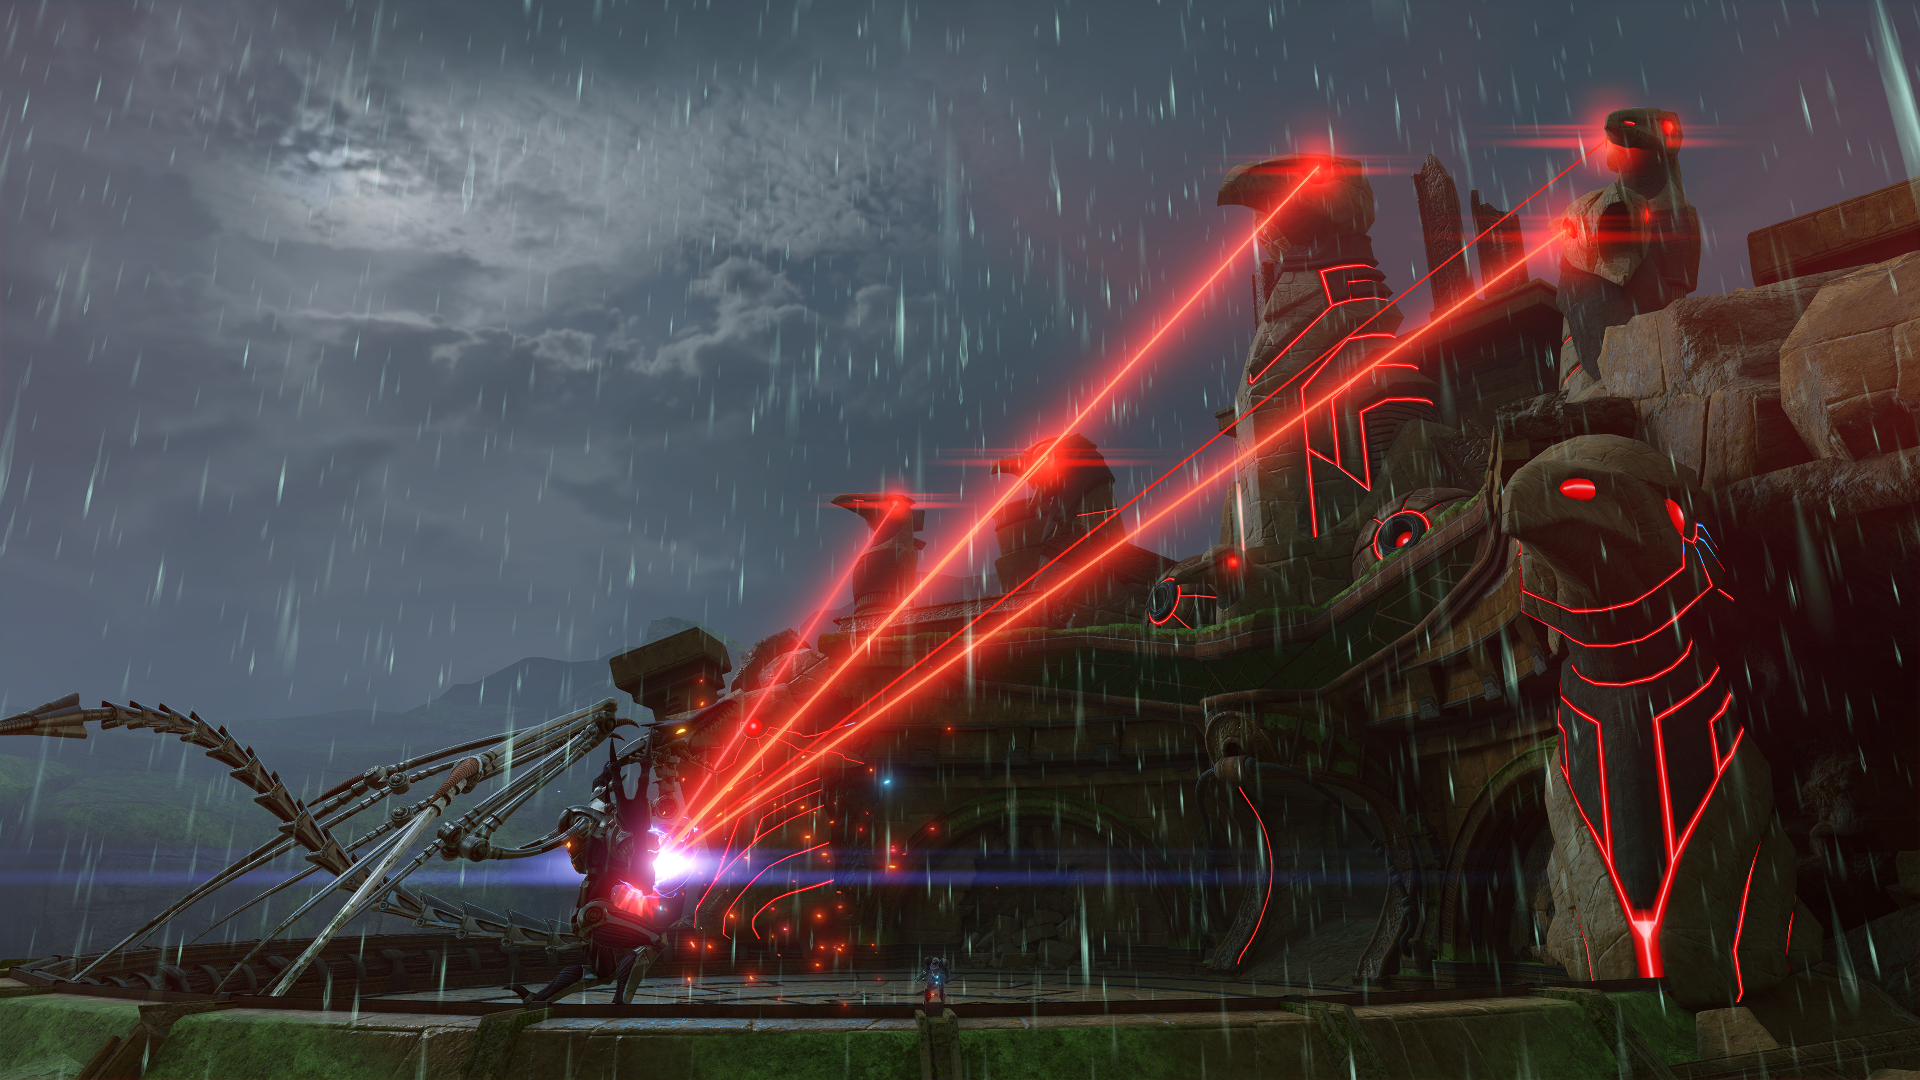
Keep up your offense, be patient, pick your spots, and eventually, Meta Ridley will fall. With a little help from the Artifact Temple’s security systems, Tallon IV will finally have a measure of revenge against the Space Pirates who desecrated their planet.
Next Chapter: The Great Poison