


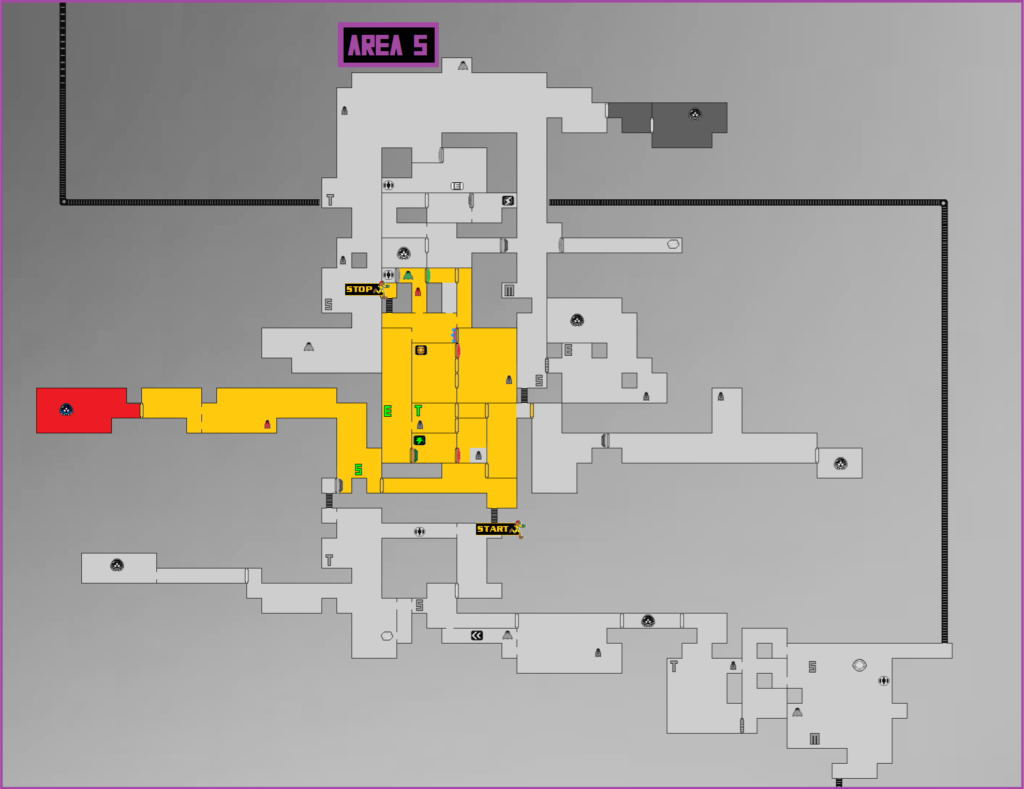
Metroid: Samus Returns Walkthrough – Area 5: Flooded Greenhouse
Walkthrough
- Return to SR388
- Area 1 – Ancient Chozo Ruins
- Area 2 – Hydroelectric Station
- Area 3 – Aeion Mines
- Area 4 – Crystal Caverns
- Area 5 – Flooded Greenhouse
- Area 6 – Diggernaut’s Domain
- Area 7 – Chozo Laboratory
- Area 8 – The Nest
- The Last Metroid
Phase Drift
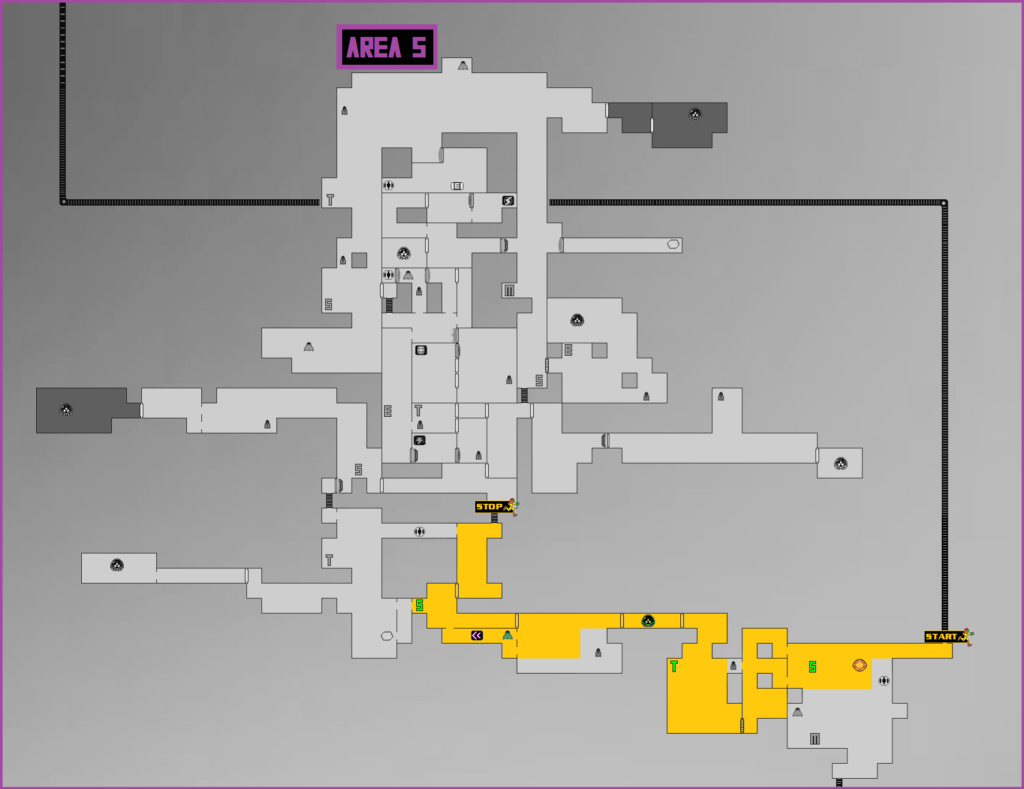
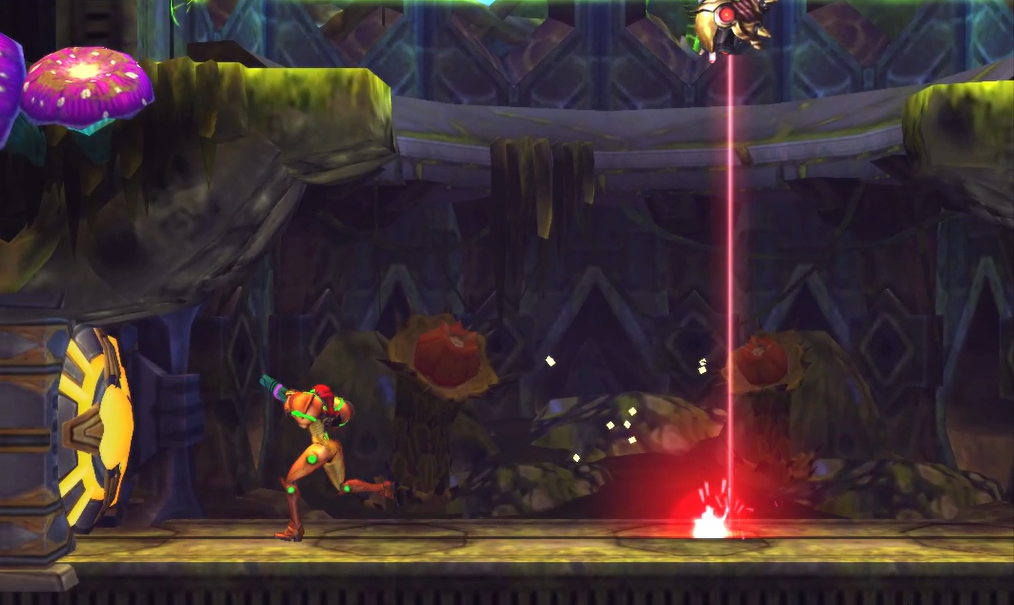
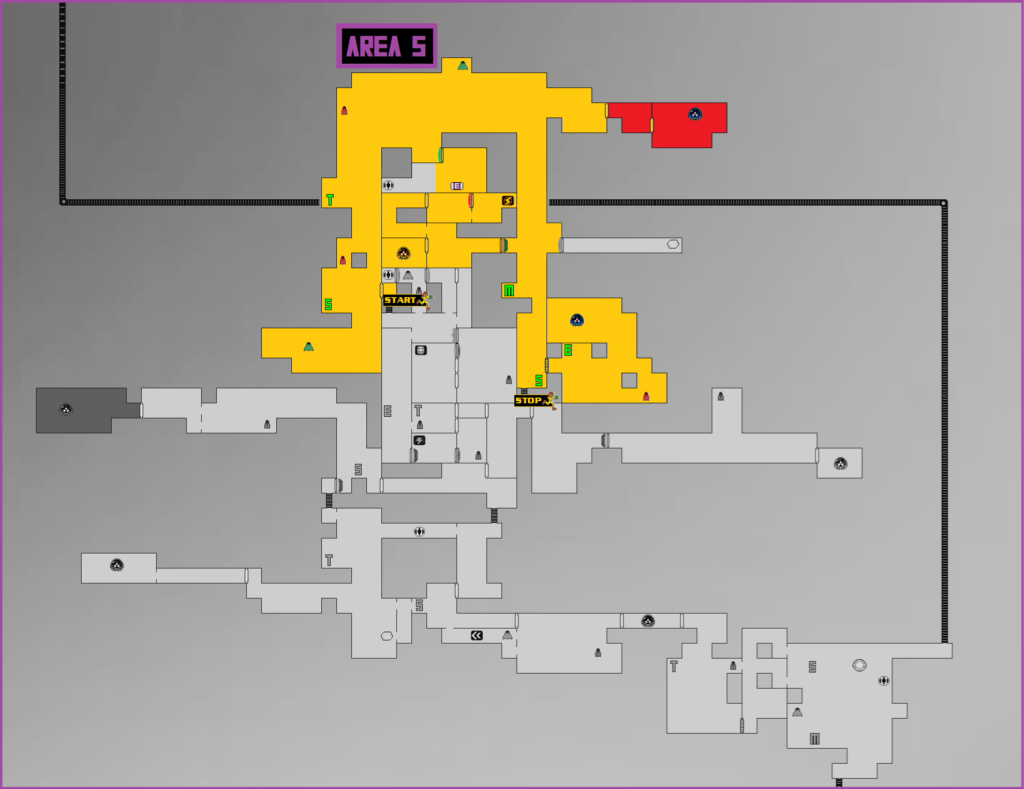
Welcome to Area 5! As always, you’ll start off in the purple acid caverns, so make your way to the Chozo Seal. Get there and you’ll see that we have seven Metroids to contend with, so let’s get to work. press towards the left, shooting out the wall and dropping down a big opening. Take a door in the lower left and you’ll finally be in Area 5 proper.
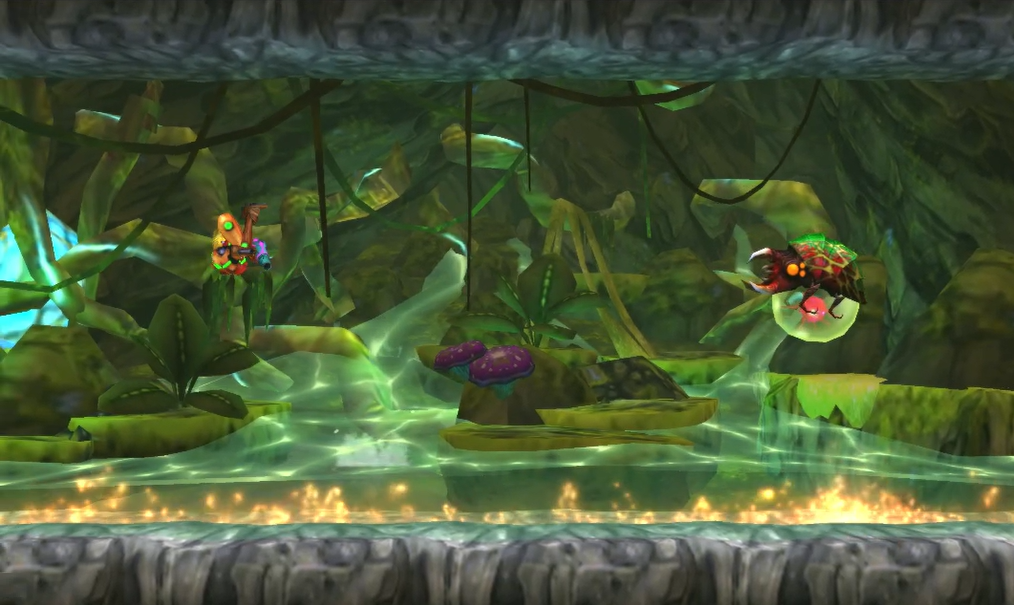
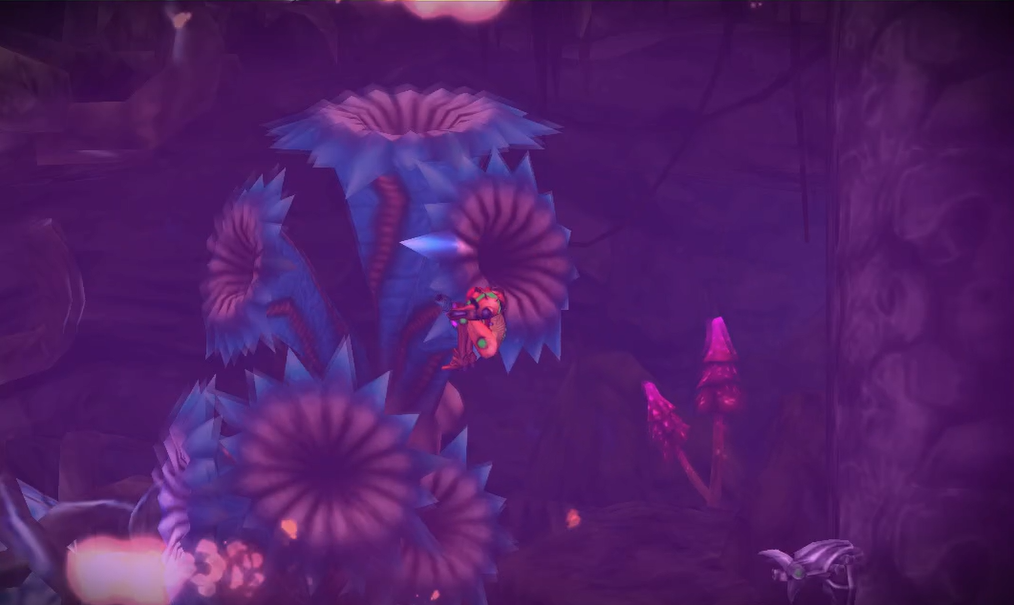
Area 5 is one of the biggest areas in the game, and is composed of a lot of water and sections where you’ll be fully submerged, as well as a lush jungle in the background. To get started, head to the left of this room, ducking into the pool of water, and jump up. you’ll see a purple beehive up there, so get ready.
Activate your Lightning Armor and run past it. Follow the path and you’ll see a pool of water not too far after, so jump in there to shake the bugs off. Follow the path up, passing by a Metroid husk, a Teleportal, and tons of various enemies, and take the door in the top right corner.
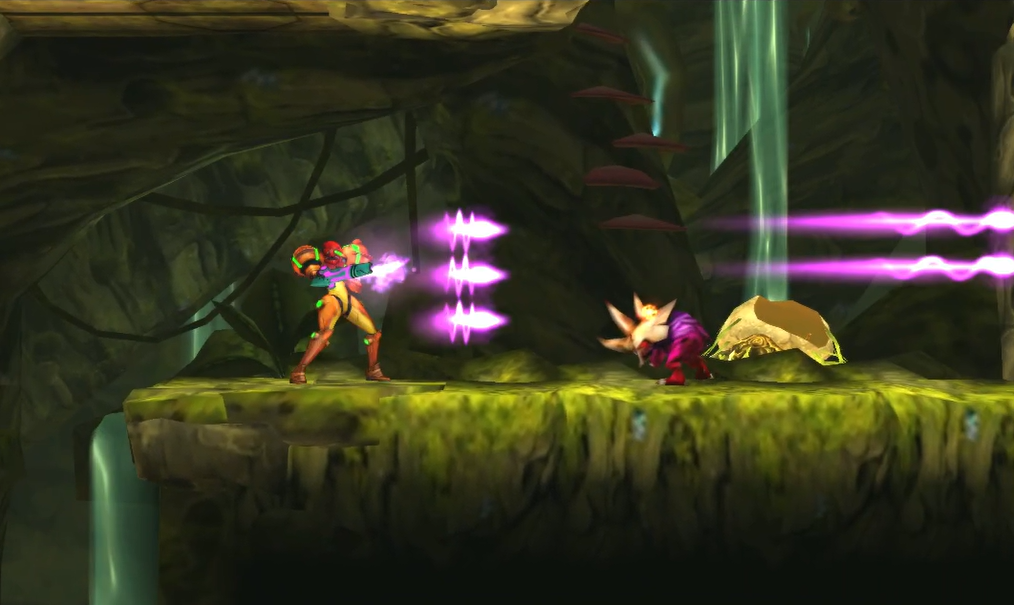
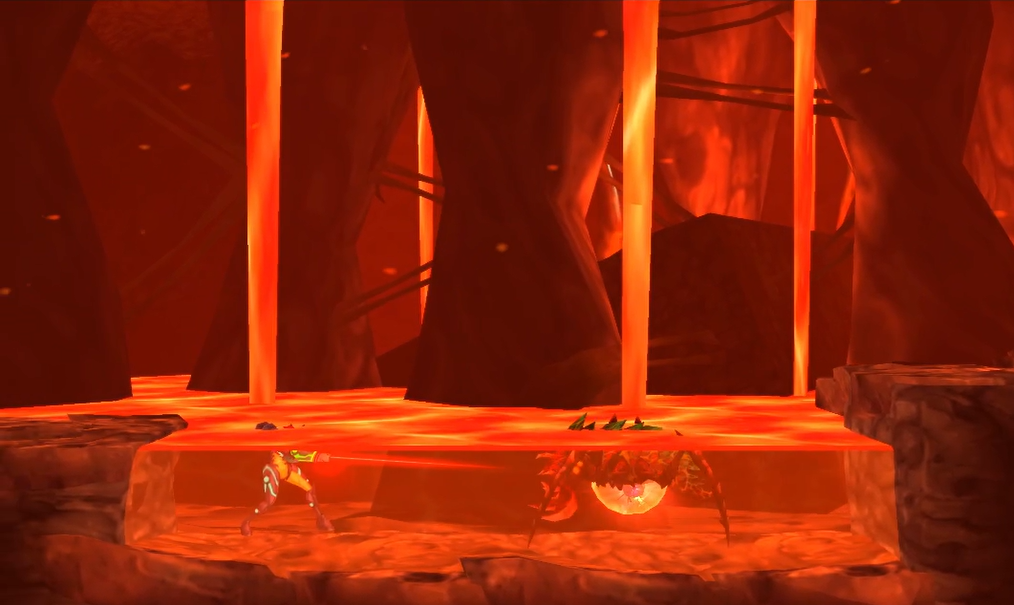
In this next room, we have our last ALPHA METROID of the game! Fittingly, this is one of the more difficult Alpha’s in the game, as there’s a couple feet of water in the room, which will slow your movements and make jumping over the swooping attacks harder. Nevertheless, this is still an Alpha fight, and this Metroid should be no match for you. Defeat it and move on.
The next room will be primarily submerged in water, which isn’t worth exploring at this point, so head straight through the Blast Door. Morph down and roll under the orange spikes in this new room, and you’ll go over some pitfall blocks, which will give out and drop you conveniently in front of a Chozo Aeion statue. Claim your last Aeion ability – the PHASE DRIFT!
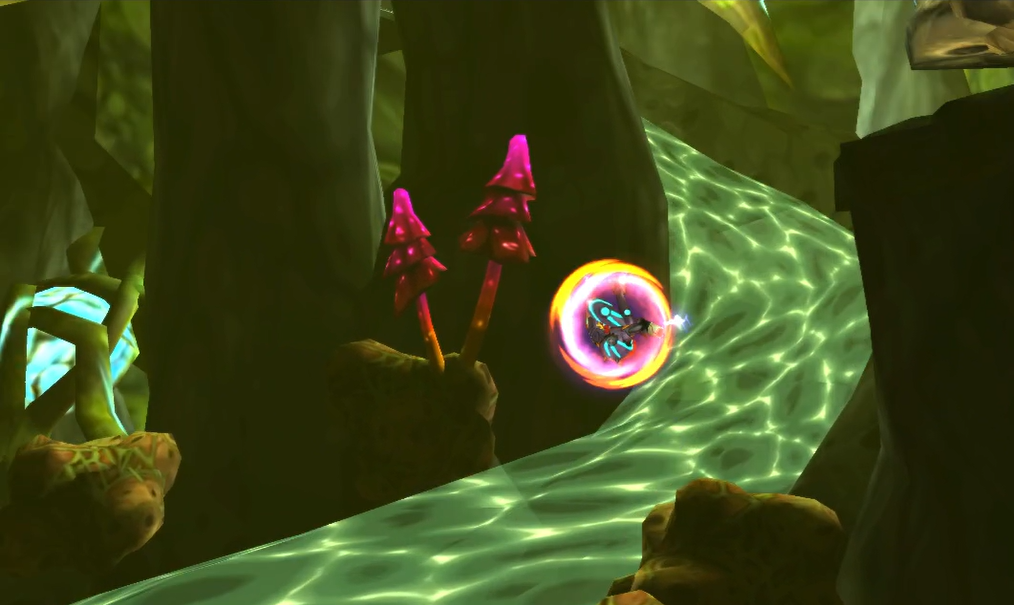
The Phase Drift is sort of like an inverted Speed Booster, in that, rather than you going faster than everything around you, everything instead slows down (think Quicksilver in Days of Future Past). It’s a pretty neat ability, although it doesn’t have any kind of Shinespark or anything like that, which is too bad. Nevertheless, use it to safely walk over pitfall blocks without them crumbling immediately.
As we always do, let’s put our new ability to the test right away! Active the Phase Drift and use it to quickly roll across the bridge above the water before the pitfall blocks collapse. When you’re safely on the other side, lay a bomb to reveal SUPER MISSILE EXPANSION #5!
Exit down into the water and roll into the previous submerged room and then get back to where you came from. Activate your Phase Drift and roll under the red spikes; yank the Grapple block for easy access and then head towards, stopping to save your game. Keep that Phase Drift trigger handy, cause you’ll need it again to Space Jump past the Wallfires spitting out fire at a rapid rate. Get to the top of the room and take the elevator up!
Chapter 6.1 Route:
Plasma and Gravity
Once you get off the elevator, be ready to move swiftly, because this corridor is filled with every annoying enemy in the game, namely, a ton of Glow Flies and Autoads. These things are going to be all over you in the next couple of rooms, and really throughout the whole area, so don’t take them lightly or else you could find yourself with no Aeion and no life quickly.
That being said, work your way over to the door on the far left wall and enter it. This new room is also crawling with bugs, so quickly jump up and over the ledge, landing at the Save Station. Once you’ve saved, Space Jump upwards. You’ll land on a spot where you’ll need to Space Jump over some orange spikes; do so, and be careful: it’s a tight squeeze! Once you land, destroy the Grapple block for ease of future use.
Press forward and you’ll see some red weeds. Activate your Lightning Armor, drop down into the weeds and you’ll see MISSILE EXPANSION #29 tucked away in the bottom corner. Grab it and press towards the left, using the Grapple block to propel you forwards. Space Jump over the spikes and enter the hot zone.
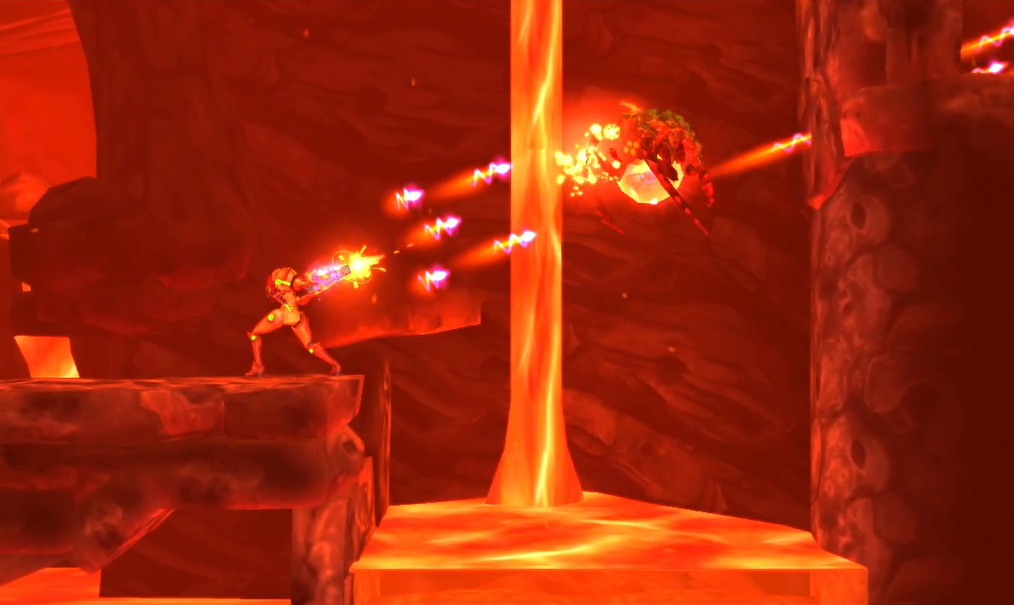
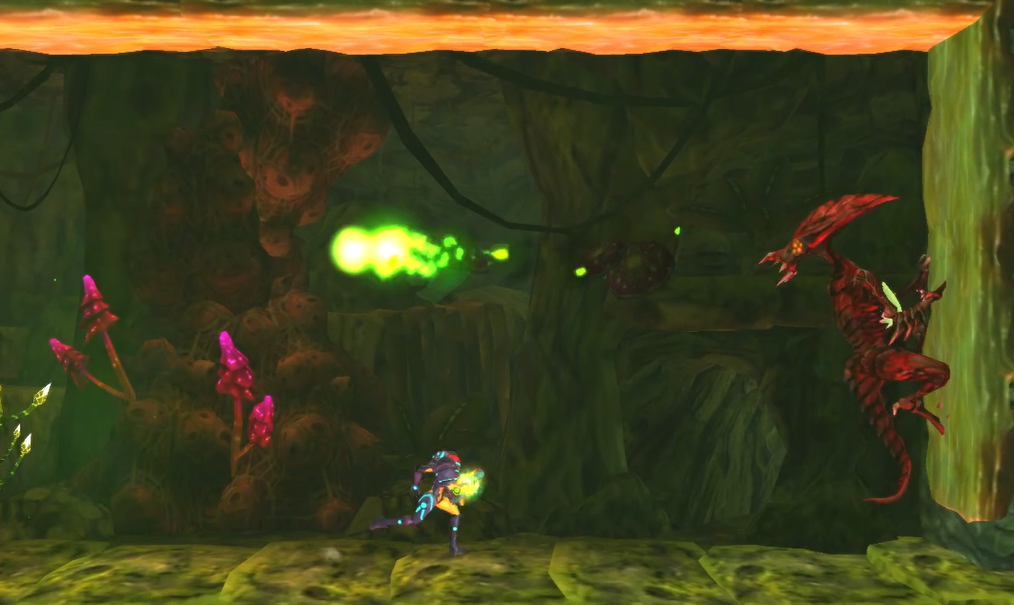
You’ll be confronted by a GAMMA METROID! If the Glow Flies got you and you have no health, this could be a tricky fight, but otherwise, stick to the same tried and truer methods and you’ll eliminate this Gamma in no time. Collect its DNA and retreat all the way back to the elevator room.
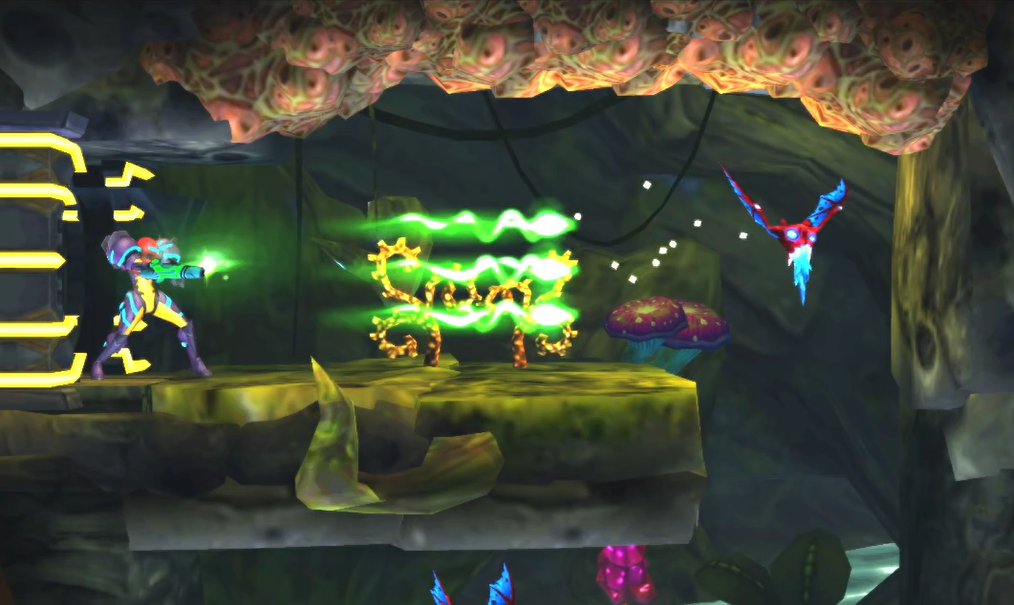
Once you’re there, head towards through the Morph Ball tunnels and take the top righthand door. You’ll now be in a long vertical room with some pretty cool enemies called Gunzoo’s. You’ll see a green laser going horizontally – this is their track, while they’ll shoot red lasers straight downwards, so try to avoid getting zapped as best as you can. This room connects to a few rooms that we’ll need to go to, so remember this place!
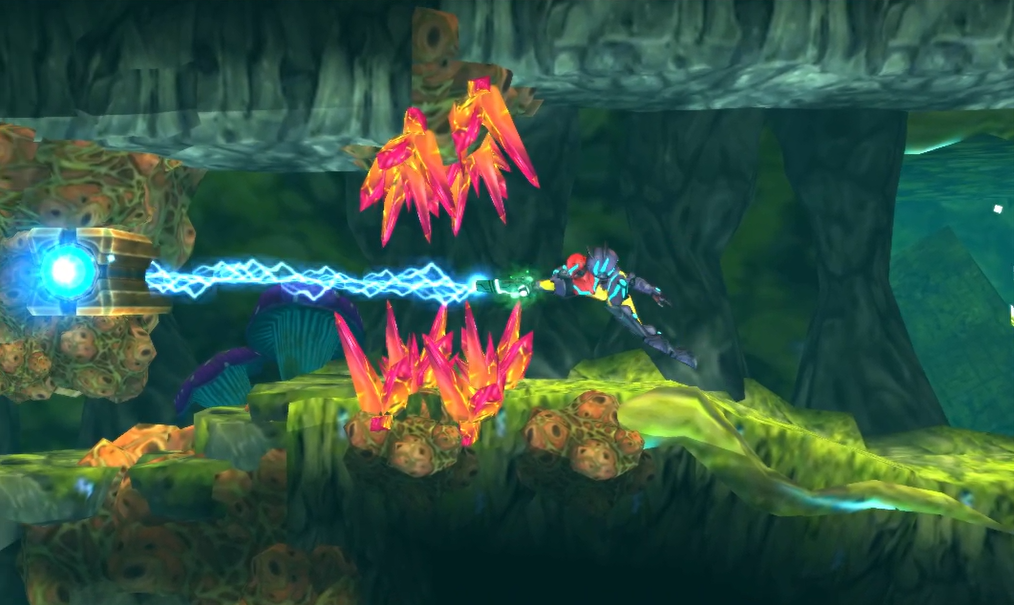
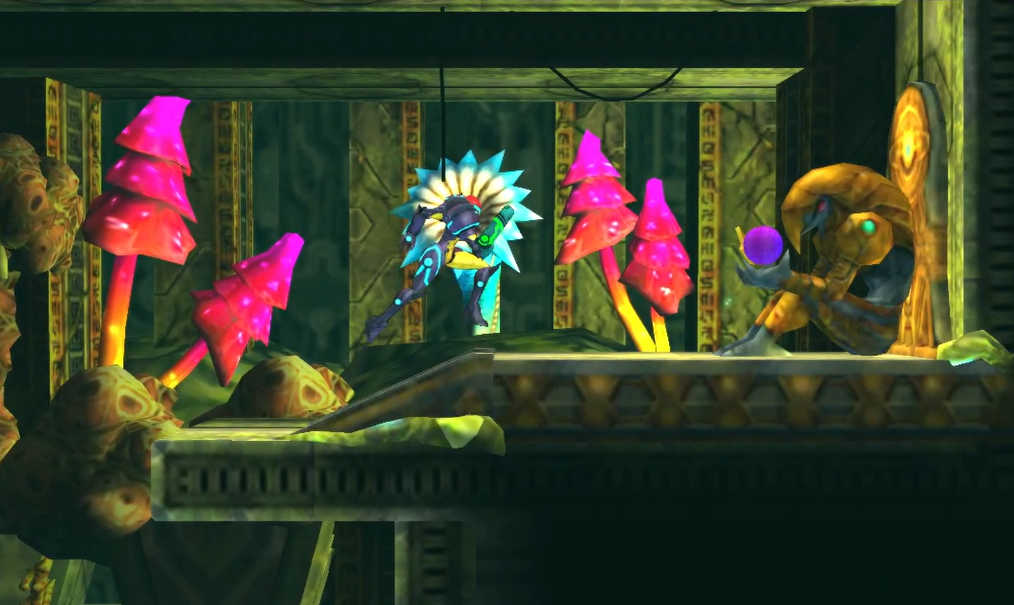
There are a few different paths you can now take, but let’s start by taking the door on the far left. Continue on and stop when you reach the Teleportal; head down and take the lower right door; work your way through the Grapple block puzzle until you get to the bottom of the room. Blast away the red shield and go into the new room. The Chozo Statue will bequeath you the most powerful standard beam in the game: the PLASMA BEAM! If you’ve seen Blast Doors with a big green mossy-looking bug on them, named Gryncore’s, guess what? They won’t give you any more trouble!
In addition to making short work of the Grycore’s, the Plasma Beam can also combat some of the Chozo machines that have previously needed the Beam Burst for. Start by exiting the Plasma door in the bottom corner and make your way upwards in this new room.
Press upwards, stopping to open the one sided Blast Door on your right. Use your Phase Drift to get through the Morph Ball tunnels’ pitfall blocks and continue your ascent. There’s an Energy Recharge Station along the way, so use it if you need and exit through the Morph Ball tunnel in the top right. You’ll need to lay some bombs to get out, but when you pop out of the tunnel, you’ll be right in front of a Spazer door. Blast it open and enter.

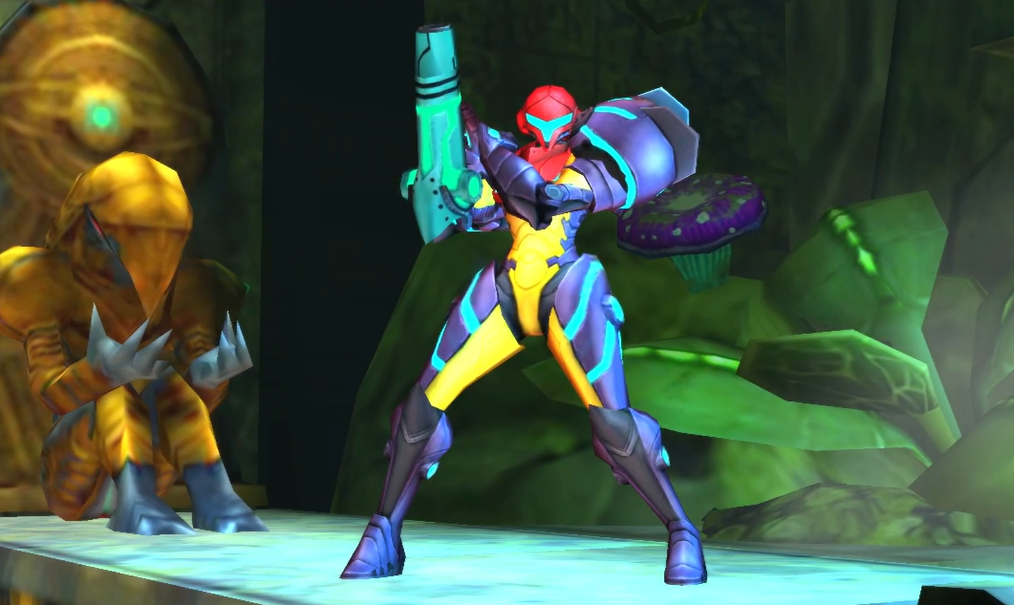
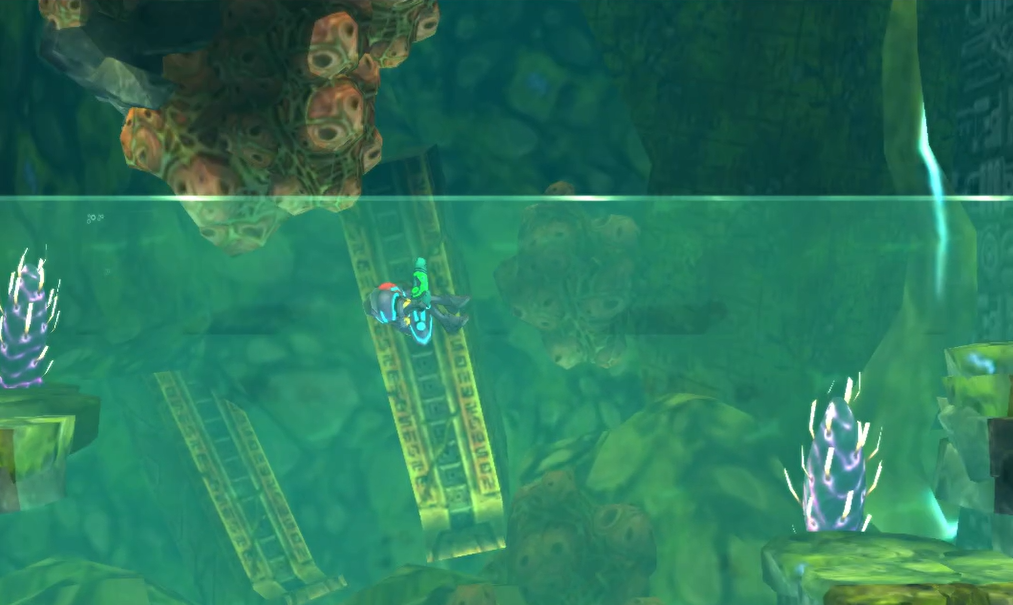
Drop in the water in this new room and sink to the bottom. Press towards the left and take the Blast Door on the upper ledge. You’ll be fully submerged, so trudge along and keep pressing forward on the path until you go through another door. Jump up and out of the water, destroy the red shield, and enter the Chozo Statue room to finally obtain the GRAVITY SUIT!
Oh my my Samus Aran, that is one FINE looking Gravity Suit if you don’t mind me saying so – the best looking iteration of the Gravity Suit in the entire series by a wide mile, in this writer’s humble opinion. As you’re probably aware, now we can move in water freely and without restriction, meaning a whole bunch of new pathways, expansions, and options are available for us. Your suit is almost fully powered up!
Make your way to the bottom of the Gravity Suit room and exit through the lower door. Press ahead and morph down and tuck into the small alcove; drop a bomb and roll through until you’re standing in a small shaft with orange spikes on either side. Jump up and use your Grapple Beam to pull you to the upper right ledge; shoot a missile directly in front of you and then Spider Ball it over the tunnel and around the rock to grab MISSILE EXPANSION #30! From here, make your way back through where the Spazer Door was.
This room, if you didn’t see it before, has a giant red bug in the background just kind of doing its own thing, not harming anyone. I really like the small details like that in Samus Returns, it makes the world of SR388 really feel alive! Anyhow, Space Jump up to the top right corner and you’ll see a small tunnel that you can tuck into; roll through and jump up, going through the Blast Door on the left.
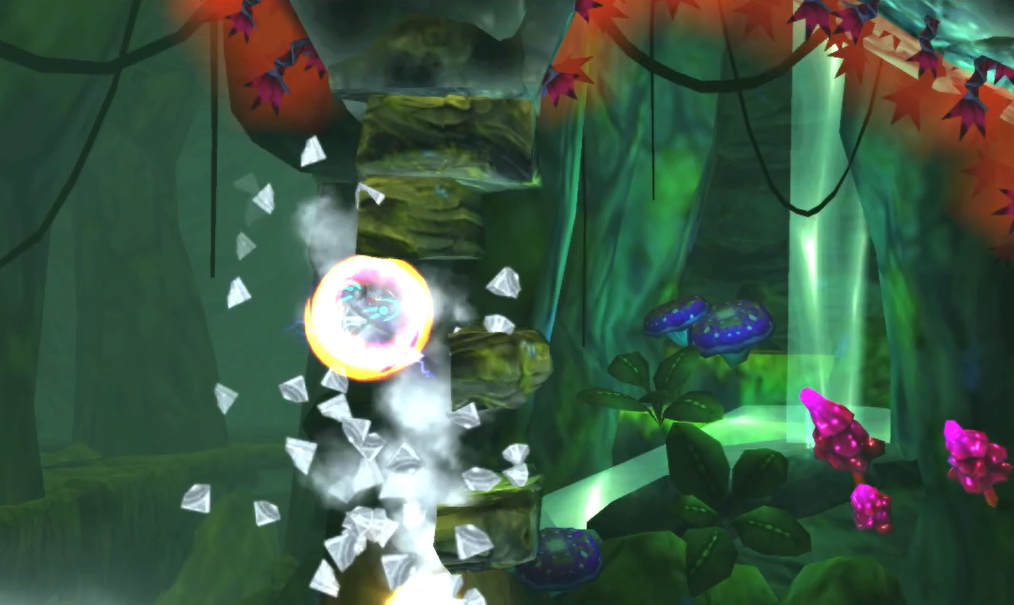
Be careful here! The bridge blocks are all pitfall clocks, and you’ll fall if you try to run on them! Activate your Phase Drift and run across, breaking the Super Missile shield on the Blast Door. Keep your Phase Drift on, run over another pitfall bridge, and you’ll run right into SUPER MISSILE EXPANSION #6! But hold on – there’s more! Deactivate the Phase Drift and fall down the pitfall blocks, and try to hug the left hand side so you land on a platform. Use your Scan Pulse and you’ll see a block on the opposite wall start to glow. Use your Spider Ball to roll over, lay a bomb, and viola – there’s MISSILE EXPANSION #31!
Once you’ve acquired all that, head over to the elevator on the opposite side of this room and ride it up to the upper section of Area 5.
Chapter 6.2 Route:
The Screw Attack
This next room is a ginormous atrium full of water, plants, and danger; this may be one of the single biggest rooms in the entire game, so we’ll refer to it as the Atrium for now. The easiest way to tackle this will be doing a clockwise sweep, starting from the southwest, going up and over, and finishing in the northwest, but feel free to explore at your own pace!
Start off by plunging into the lower corner. You’ll be in some water, and then see a couple ledges; jump up and use your Beam Burst to blast the big ugly plant in your way (I guess the Plasma Beam lost its flammable properties somewhere between Tallon IV and here) and then use your Grapple Beam to pull you over in between the orange spikes. Drop a bomb, grapple over again, and then proceed with caution! The blocks in the water are all pitfall blocks, so the smart play here is to slap that Phase Drift on, run across, and then snag SUPER MISSILE EXPANSION #7! Destroy the Grapple block and head back into the Atrium.
Jump up a bit and you’ll see a Save Station on your left; use it and continue jumping up (not directly above you, though, as you might be tempted to do; we’ll need the Screw Attack to press further there!). Jump up, up, up and you’ll see a Teleportal on your left; activate it and keep jumping. In the top left corner of the Atrium, you’ll come across a series of small platforms sticking out of the wall. Use your Scan Pulse, and you’ll see a block glowing on the platform second down from the top. Bomb it to grab MISSILE EXPANSION #32!
Jump up and over until you’re at about the center of this giant room. Drop down and land on the upper “ceiling” of the Atrium, and eventually you’ll see a spot where you can drop down. Do so, and destroy the green Blast Door shield to enter a new room. There’s more to do in this room later in the game, but for now. Roll through the small tunnel on your upper left and then fall through the pitfall blocks. Grapple over to the right and grab ENERGY TANK #6! Grapple to the left once more and then get back to the open Atrium room.

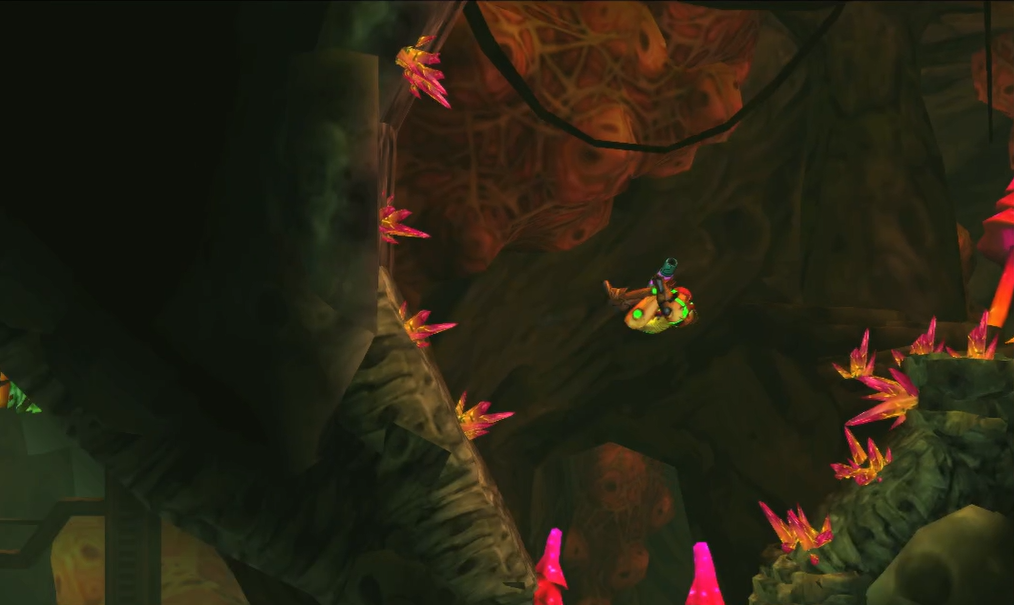
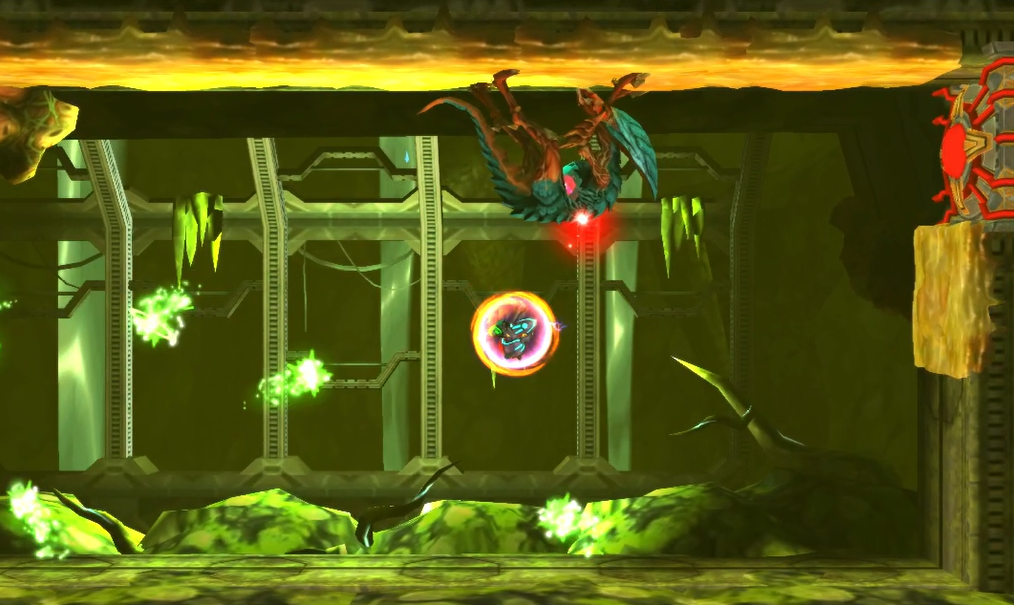
Space Jump over to the upper right side of the room and you’ll see an opening full of hostile lifeforms and red weeds. Work your way through and enter a hot zone; press forward and you’ll run into a GAMMA METROID! Same tactics as always, except, hey! You can enter the lava now and there’s no damage taken! This particular Gamma isn’t a punk and won’t run away, so put some respect on its name before you annihilate it. Once you’re done, leave the hot zone and retreat back into the Atrium.
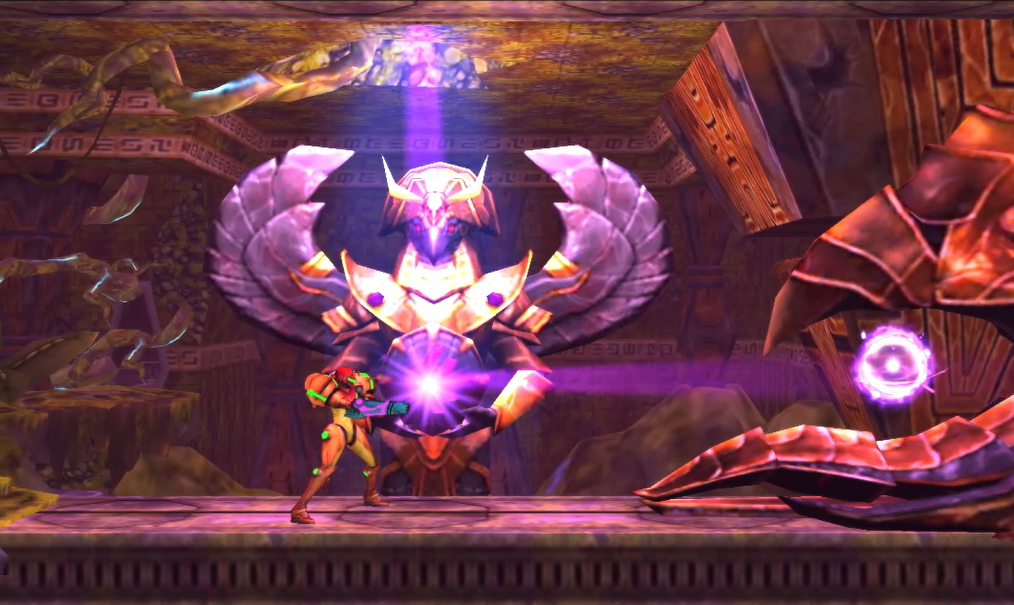
Fall aaaaaall the way down for what seems like forever on the right side and stop when you see a Plasma Beam door. Press forward and head into the water, following the path upwards until you go through a door on the upper right. Continue on, through the water and back out, until you pop up towards a red Blast Door. You know what that means! Enter this new room and you’ll see your last Chozo Statue of the game; shoot the orb and you’ll receive Samus’s ultimate weapon: the SCREW ATTACK! You’ll now be able to damage previously unbreakable walls and eliminate weaker enemies just by touching them! Alright!
Use your Screw Attack to bust through the bottom wall and then up, back into the water of the previous room. As a side note – the enemies of SR388 are tough, as you undoubtedly know, so a single hit from your Screw Attack might not be enough to kill them; two hits should usually do the trick. Backtrack to the previous room and smash the thin wall blocking the Blast Door on your left. Brace yourself – there’s a ZETA METROID inside! This is the same fight as last time, but Zeta’s always put up a good fight, so refer back the strategies we used last time to defeat this vile creature. Once the Zeta has been eliminated, collect its DNA and retreat back into the Atrium.
Take a quick detour and Space Jump way back up to the highest center portion of the room on the ceiling; you may have seen earlier there was an expansion out of reach, but no more! Screw Attack through the blocks and grab SUPER MISSILE EXPANSION #8. After that, head over to the Save Station on the lower left; jump straight up through the Screw Attack blocks and claim MISSILE EXPANSION #33. Once you have that, work all the way back down to the very northwest corner of the Atrium, dropping to the very bottom. You’ll see a charge beam door, a Save Station, and an elevator; start off by going through the door.
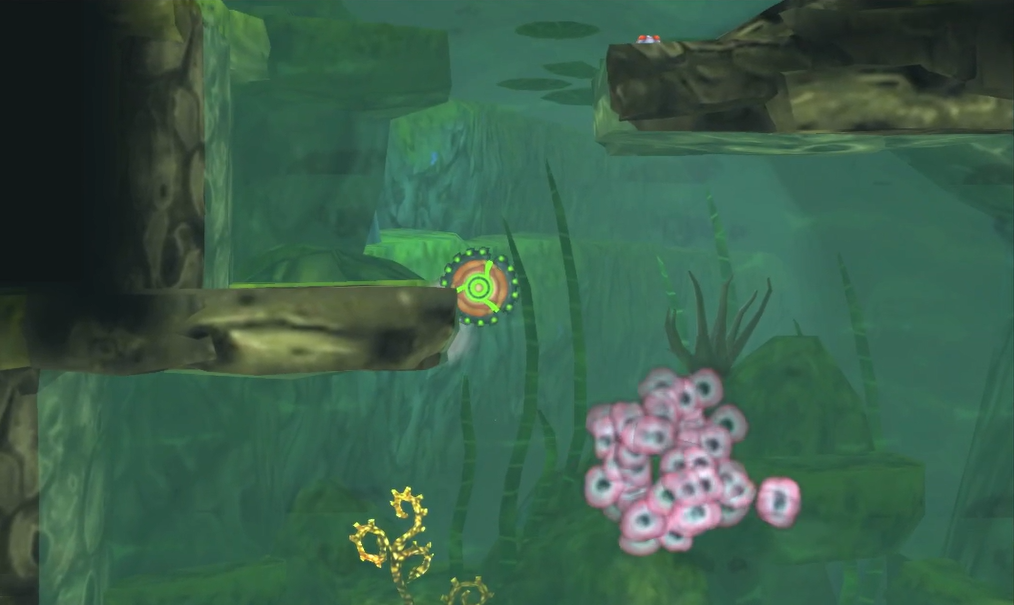
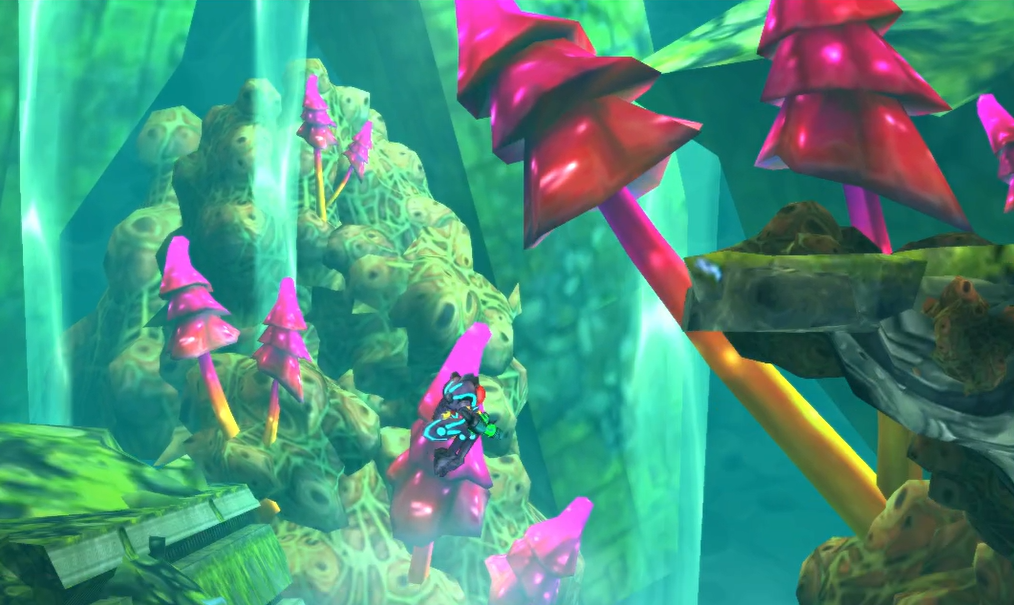
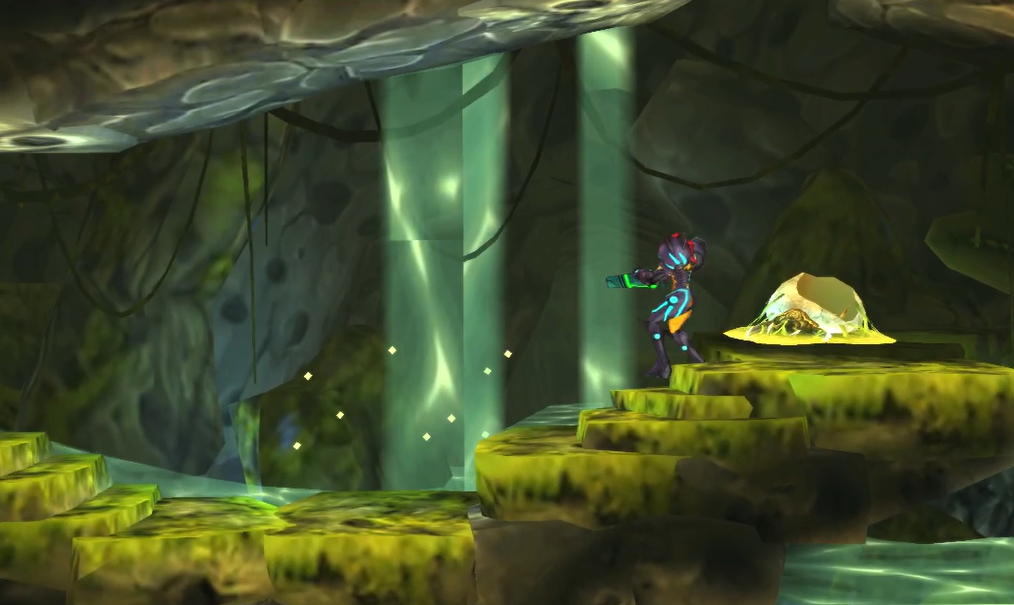
You’ll be in another huge room, with a water stream flooding the bottom half, and an Energy Recharge Station in the top left corner. Jump up a bit and you’ll be on a clearing; use your Scan Pulse and you’ll see there are some blocks on the lower right wall that can be destroyed. Bomb them and then slip into the tunnel; there are a bunch of those indestructible mushroom things everywhere, so switch on your Beam Burst and put that sweet 360° aiming to work and destroy them all! Carefully drop down, sticking to the center, to the pool of water to grab MISSILE EXPANSION #34. There are pitfall blocks on the left and right, so watch your step (roll?).
Get out and then jump up to the top corner of this room; you’ll see a thin wall of blocks that’s mostly impenetrable, except for the topmost block (use your Scan Pulse if you need to!); bomb it and then get ready to face off with a GAMMA METROID. You should be able to make short work of it, so do so. Once you’re done, exit the room and head back into the Atrium.
Save your game and take the elevator down.
Chapter 6.3 Route:
Metroids in Area 5
You’ll be back in the room with the Autracks now; work your way to the room just before the Plasma Beam room, the one with the tunnels, Grapple blocks, and Glow Flies (ugh!). Drop down on the right side and when you land on the upper platform, Screw Attack through the blocks on the floor; when you hit the floor, activate the Phase Drift and quickly roll over across the bridge and bomb the far wall to reveal MISSILE EXPANSION #35! You may need to roll once to bomb, and then roll again to actually grab the missile – just keep the Drift on and you’ll be fine! Recharge your Aeion if you need from the Chozo Statue that previously held the Plasma Beam if you need to.
Make your way back to the elevator and then take the door to the right of it. You’ll be in a new flooded chamber that’s full of water on the bottom half and cliffs and platforms on the top half; this is a big room, but there’s not actually a ton of stuff here, so just make your way to the Plasma Beam door and blast away the Gryncore to enter the new room. This room has a ton of red weeds and short spaces you’ll need to jump through; get about halfway in, crashing through a wall made up of Screw Attack blocks, and you should see an opening in the ceiling that you can jump upwards in. You’ll see an expansion and a diagonal slanted platform with orange spikes on it. Carefully aim diagonally and fire a missile to break the missile block just above the expansion and then quickly jump up on the ledge, roll through and drop down to get MISSILE EXPANSION #36!
Once you’ve grabbed that, head back down and keep pressing right. Go through the door and steady yourself – a ZETA METROID awaits! Same strategies as always, but don’t get cocky – Zeta’s are no joke and should never be taken lightly! Do what you need to do to put this nasty creature down, and once its DNA has been harvested, retreat back towards the elevator. Only one more Metroid left to hunt before we can finally move on!
From here, work your way to the Save Station on the lower left side of the map – we would have passed by it earlier! You might remember there was a door with a Gryncore on it just below this Save Station that we couldn’t go through earlier, but the Plasma Beam will make short work of that, so blast it open once you get there and enter the next room. Take the elevator down.
The next room you enter is another big one, and one of the first things you’ll notice is a tunnel with some red weeds and crystal blocks; ignore that for now and press downwards. Activate the Teleportal and keep making your way down. If you fall all the way to the bottom and submerge yourself in the water, press a little towards the right and jump back up; you’ll go crashing through some Screw Attack blocks that are sealing a cozy little alcove that houses AEION TANK #5! Snag it, and rip away the Grapple Block while you’re there!
Before you head through, however, backtrack into the water and then jump up a bit. You should see a pathway on the left that will lead you into some water. Follow the path and go through the door on the left. Continue following the path ahead and you’ll get to a room housing the final Metroid you need to destroy in Area 5 – a GAMMA METROID! Destroy it and then head back to the Grapple block you destroyed earlier. Go through it and you should be dropped off by a Save Station towards the beginning of Area 5. Save your game and head to the right!
When you get to the big room filled with water (this is the room that connects to the first Alpha Metroid fight in the area!) sink down towards the bottom and press left. Enter the Morph Ball tunnel and simply jump upwards at the end; your Gravity Suit will allow you to make the tall jump and grab the ledge on the left; roll over to grab MISSILE EXPANSION #37!
Keep heading right, through the Alpha Metroid room and towards the Teleportal. Use your Scan Pulse and you’ll see some blocks glowing on the wall opposite of it, just under a ledge. Bomb the blocks and roll through the tunnel to grab MISSILE EXPANSION #38! Destroy the Grapple block and make your way towards the Chozo Seal. Release the DNA and the acid will drop; before you make your way into the next area, drop down towards the lefthand side until you reach a Missile Recharge Station. From here, jump upwards and you’ll see a small pocket that you can fit into. Climb the ledge up into the pocket, but beware! The floor is all pitfall blocks, so throw the Phase Drift on and Screw Attack upwards to grab SUPER MISSILE EXPANSION #9!
That’s it for Area 5! When you’re ready, head to the elevator and get ready to descend. Trust me – things only get more dangerous from here.
Chapter 6.4 Route:
Next Chapter: Area 6 – Diggernaut’s Domain