
Walkthrough
Imago
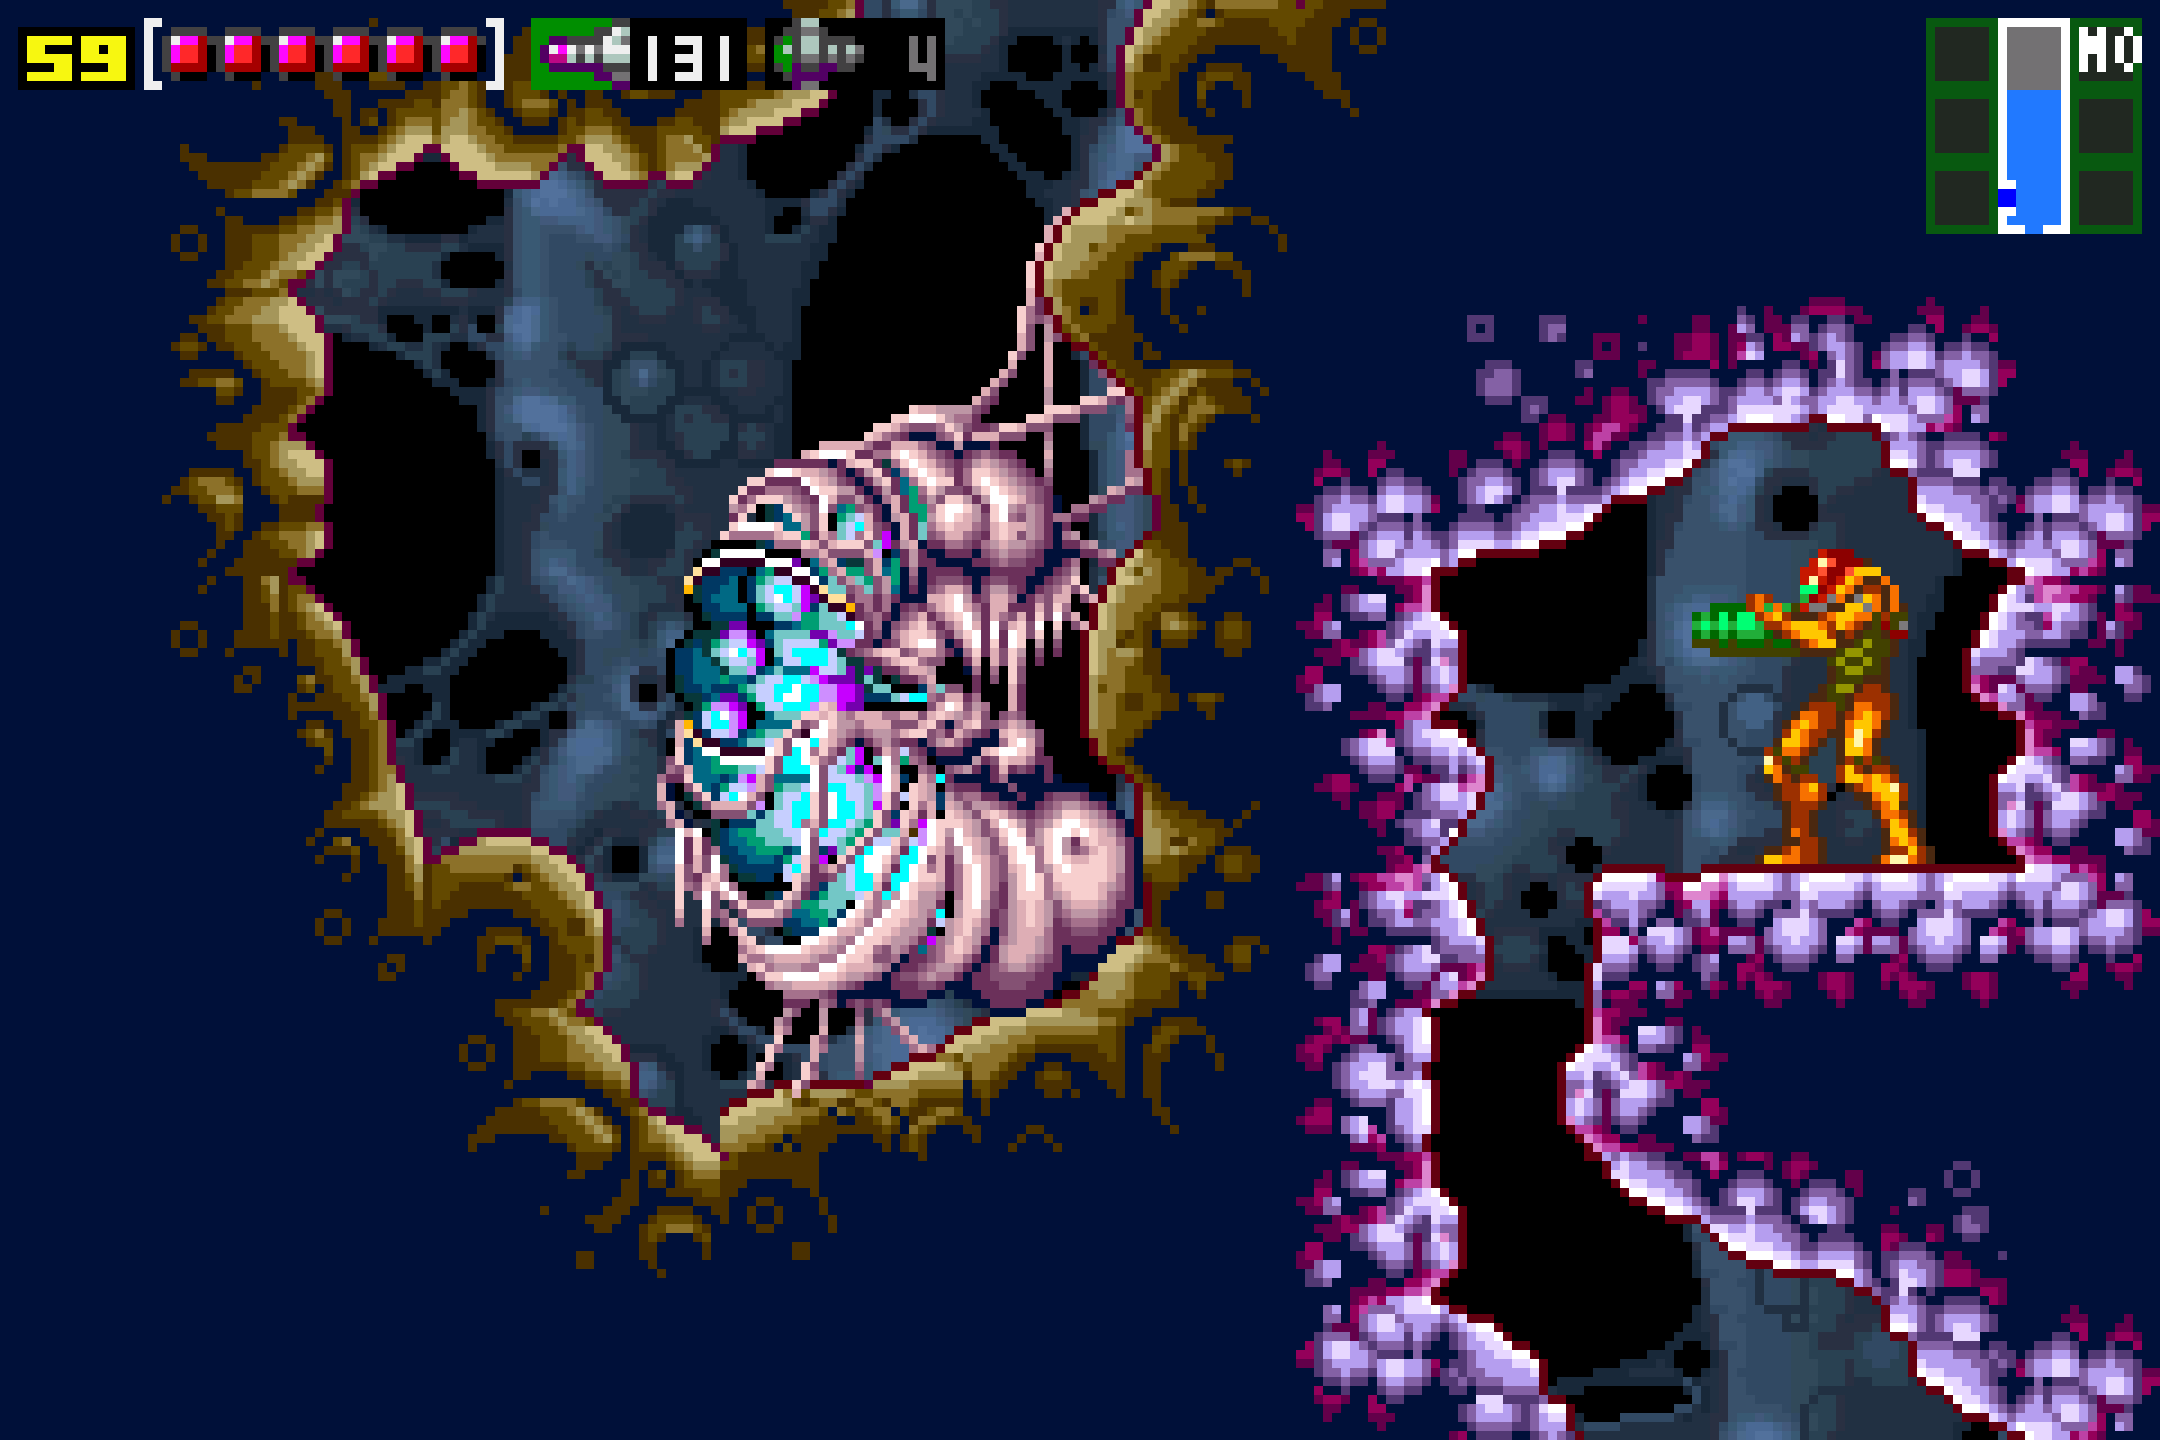
We’re starting off hot in the incredibly hostile Ridley’s Lair by taking on a boss almost right away. The routing here is a little convoluted, so stay with me. Once you get off the elevator, head left and enter the Save Station. Save your game, and then head left again. Again – I know we have Super Missiles, but I want to guide you in the way that the game intended, so ignore that green blast door in front of you for now and instead, head up. You’ll see that you’ve reached a dead end. What you need to do now is actually hop back on the elevator and take it back up to Norfair. Head back to the Ensnared Kiru Giru boss room and you’ll see that sucker has just kept sinking through the floor, creating a tunnel for you to fit through. Drop down, follow the path and once you’re in the big room, ready your missiles, because guess what – Kiru Giru didn’t die… it evolved!
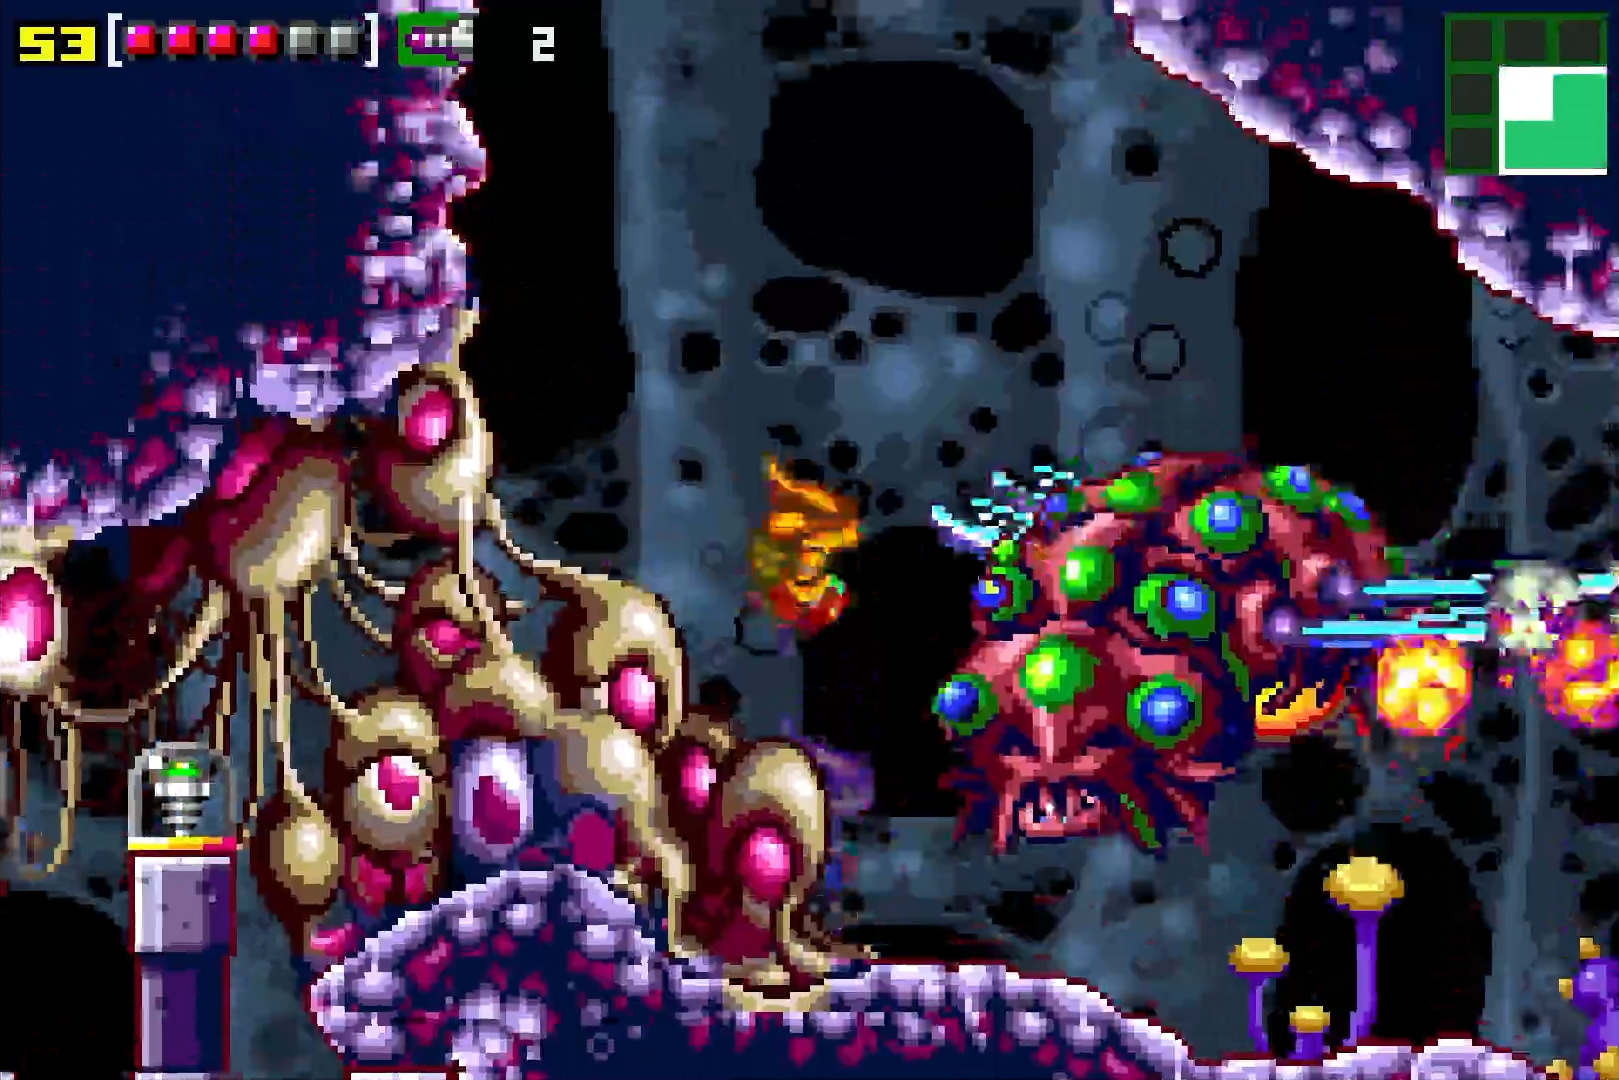
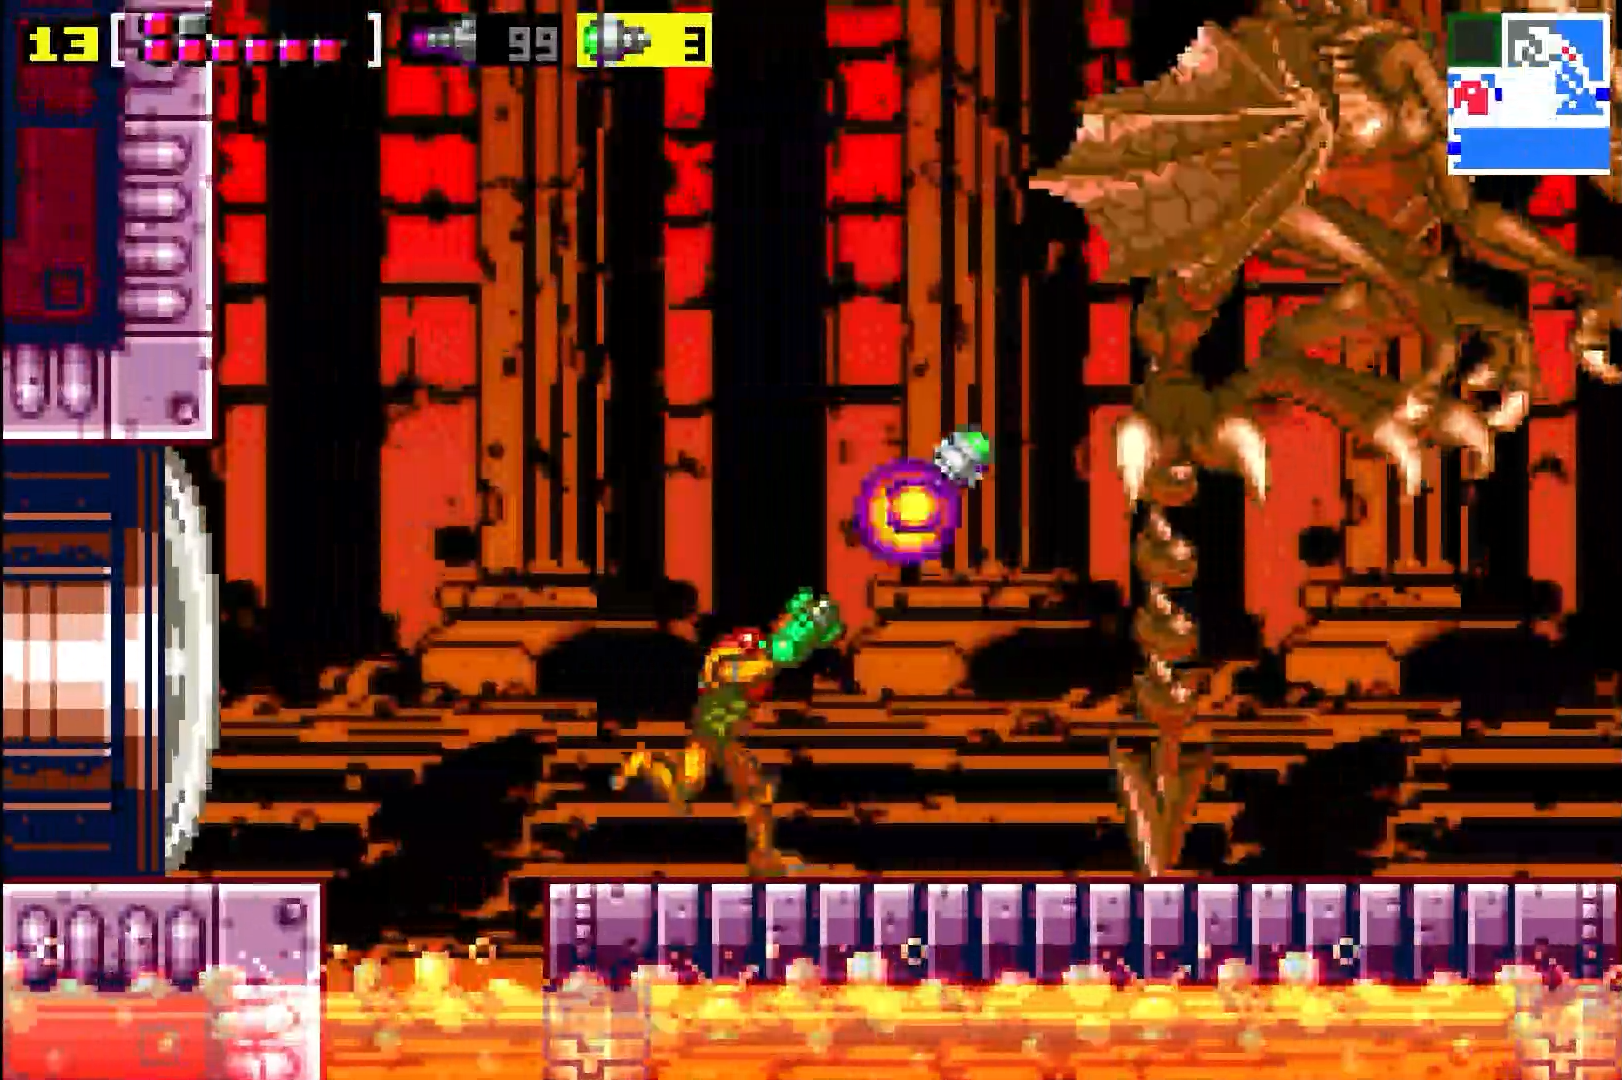
Meet the giant fly-esque creature known as Imago. Imago looks kind of like a cross between a housefly and a bee, and much like a bee, it has a giant stinger by its butt. The good news is that Imago’s stinger isn’t as devastating as it looks. Infact, Imago doesn’t really use it at all, but rather, it just kind of flies into you with its whole body. The bad news is that it still hurts when Imago bumps into you, but considering how nasty that stinger looks, I’d take that as a positive net gain. Even better, crashing into you is literally the only attack Imago knows how to do, so as long as you’re not standing still, you shouldn’t absorb a ton of damage here.
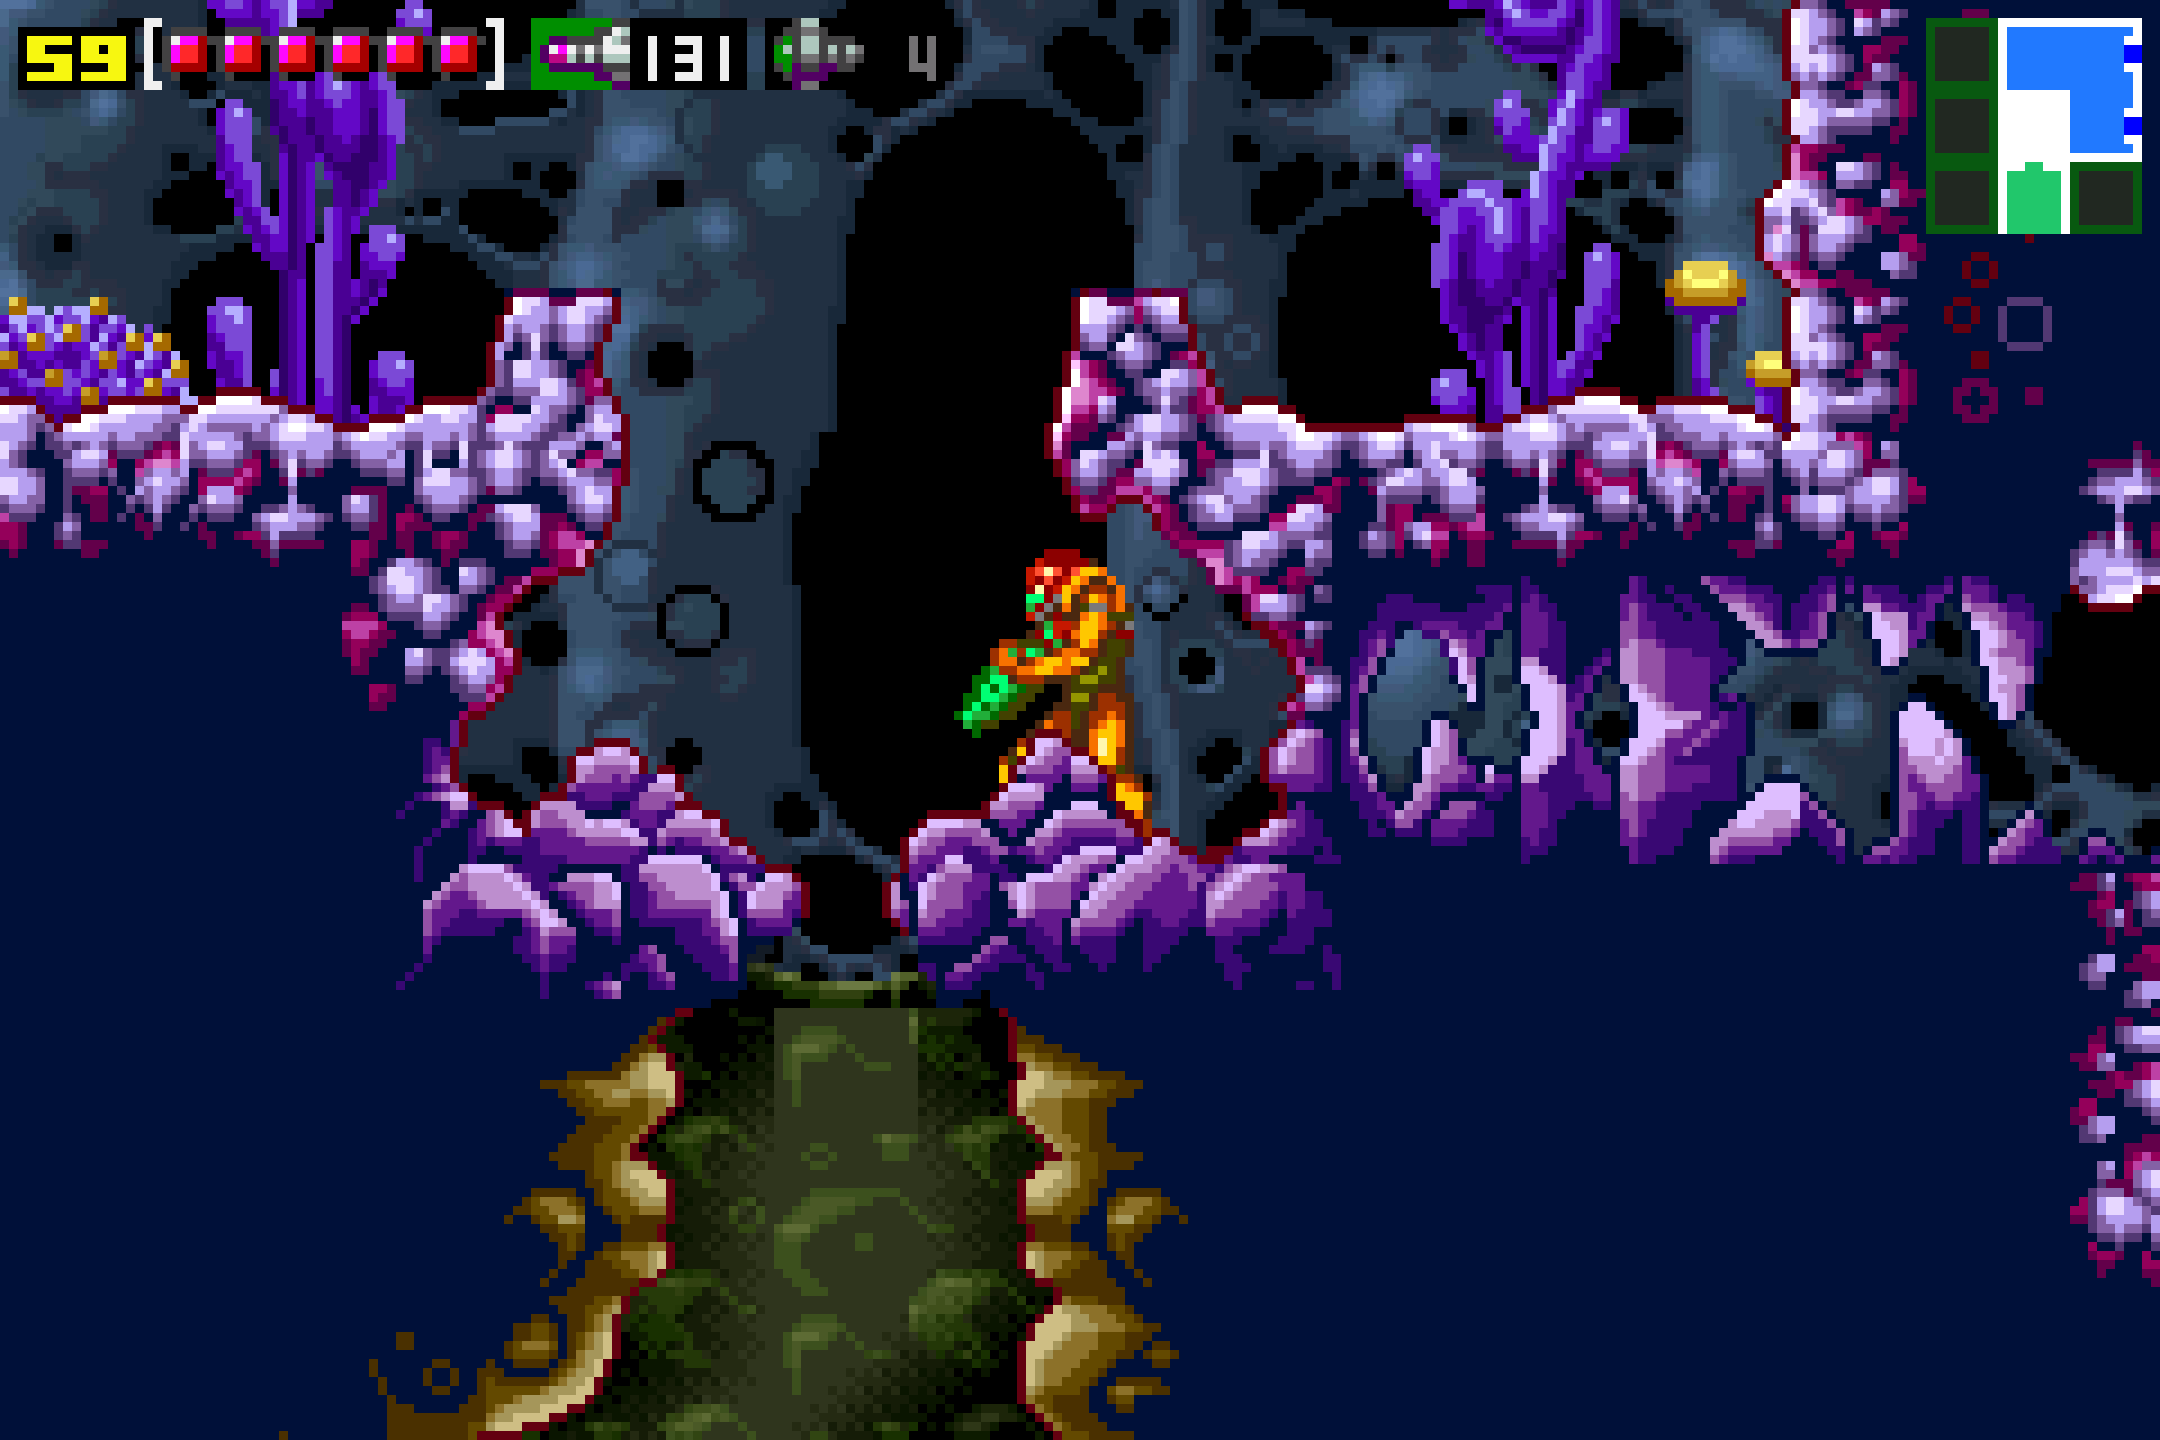
Now, on to how to damage the big bug. What should have been Imago’s biggest strength is actually its biggest weakness. The stinger is where you want to focus your fire, and you’ll want to do this in a very specific way. You’ll notice that the room is a big slope, starting off pretty high on the left side and sloping downwards the further to the right you go. We want to lure Imago into a trap that will leave it completely defenseless to our weaponry.
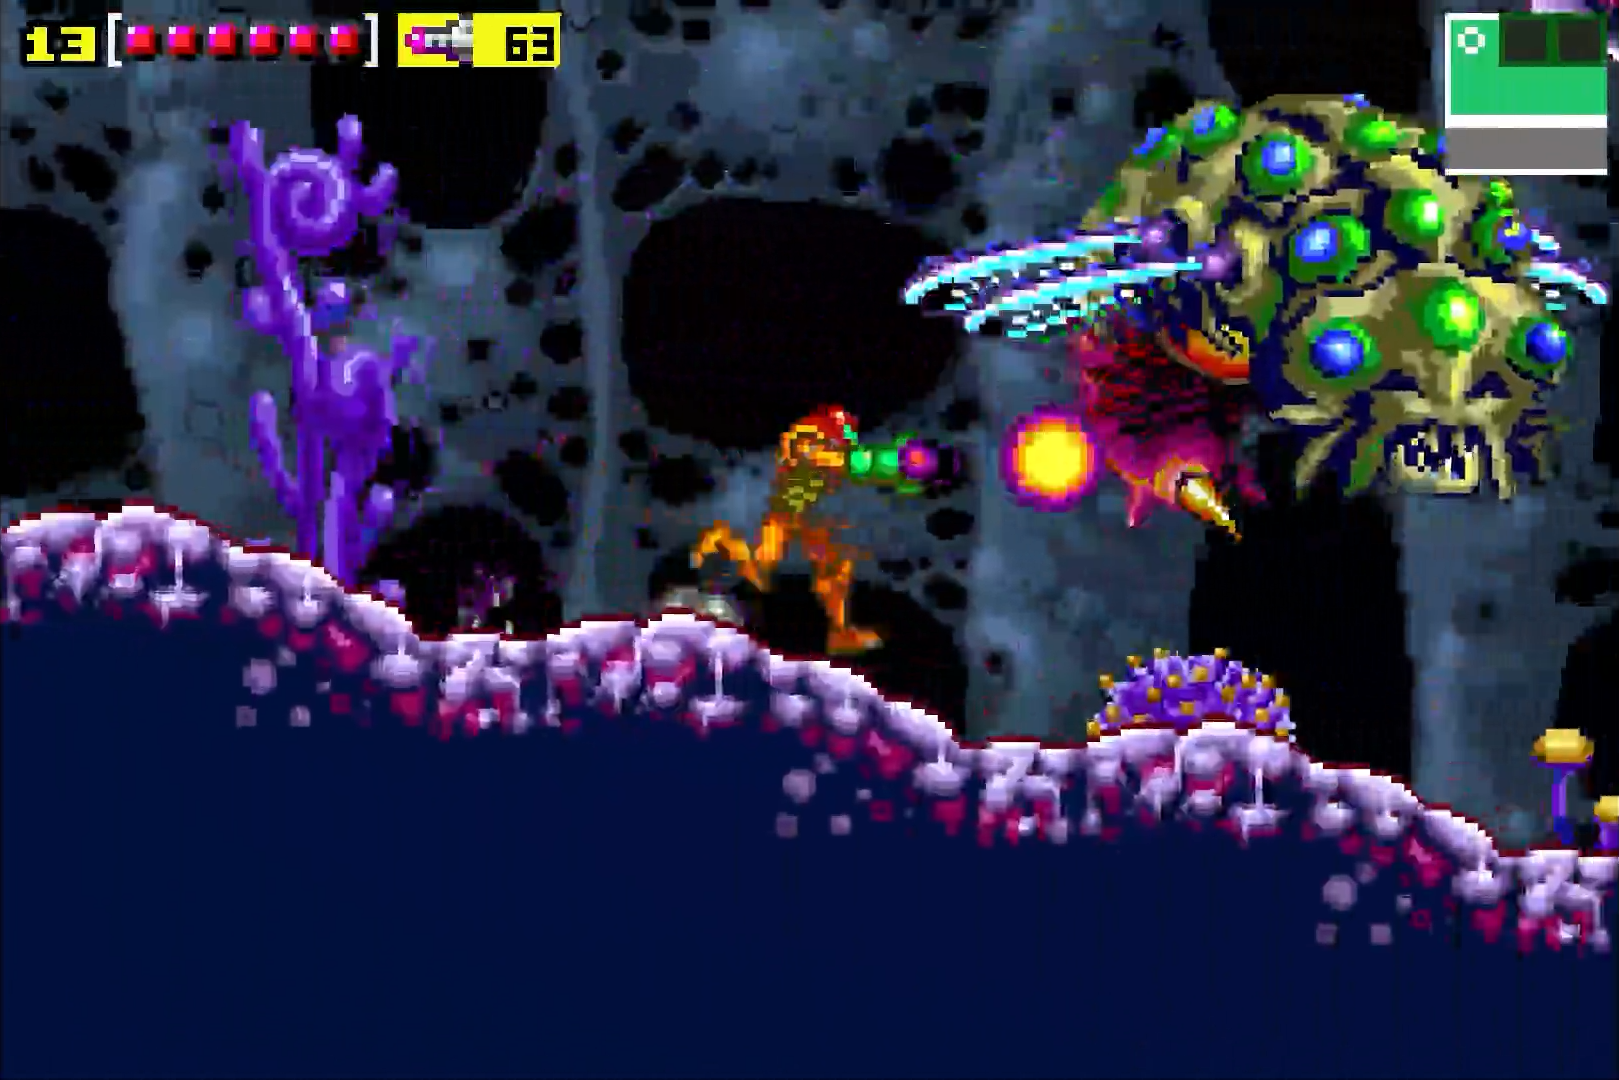
Roll towards the left side of the room and wait for Imago to follow you (Imago will be heading right-to-left here). Imago should fly up a bit, probably off screen. That’s fine, just wait patiently for a second. Imago will then swoop down and start flying left-to-right, or down the slope (you may have to lure it to get it to start flying downwards. A quick Morph Ball roll to the side and back should be enough).. As soon as Imago flies over you, QUICKLY pop up and start running to the right. You’ll be running directly behind Imago, and your arm cannon will be perfectly lined up with Imago’s stinger, so fire at will! Don’t get too close to it, because even Imago’s backside can damage you, but you should be in a prime position to pop off 5-10 direct hit missiles.
As soon as Imago gets out of reach from you, run back to the higher left side and wait for the big fly to come back to you. Worth noting – as Imago takes more damage, it will start to shoot little thorn bullets out of its stinger, but with our strategy, that shouldn’t be a problem. Rinse and repeat this strategy of luring Imago to the top left, running behind it, and blasting it with missiles, and Imago will bite the dust in no time flat. After the battle, go and claim SUPER MISSILE EXPANSION #2.
The Dragon’s Domain
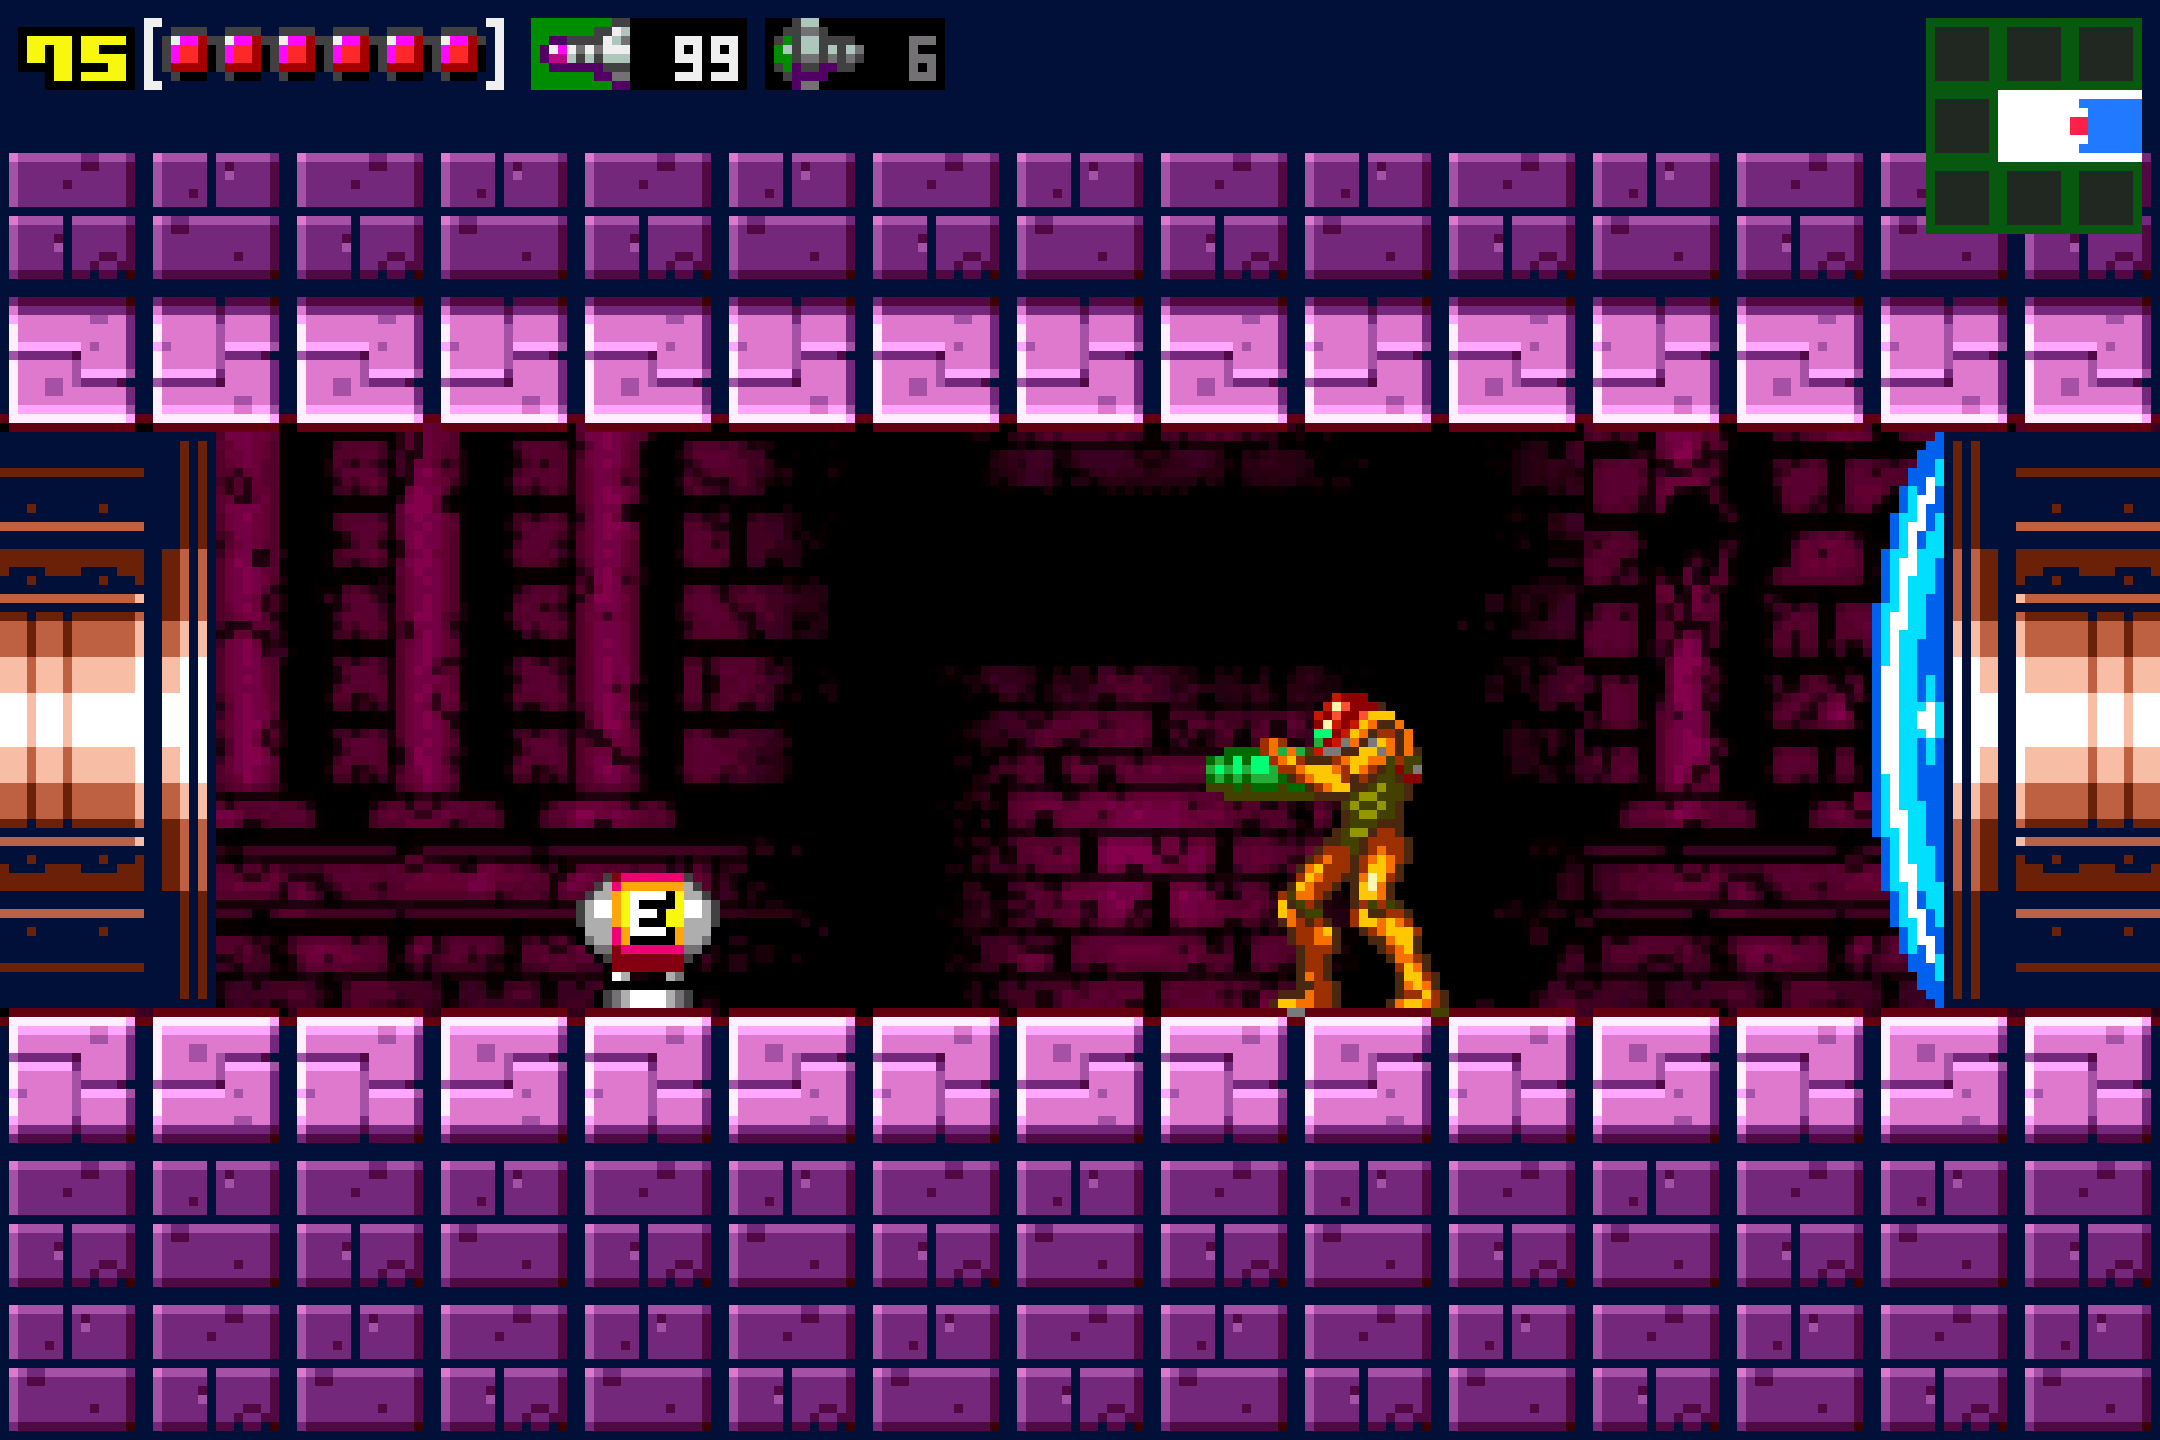
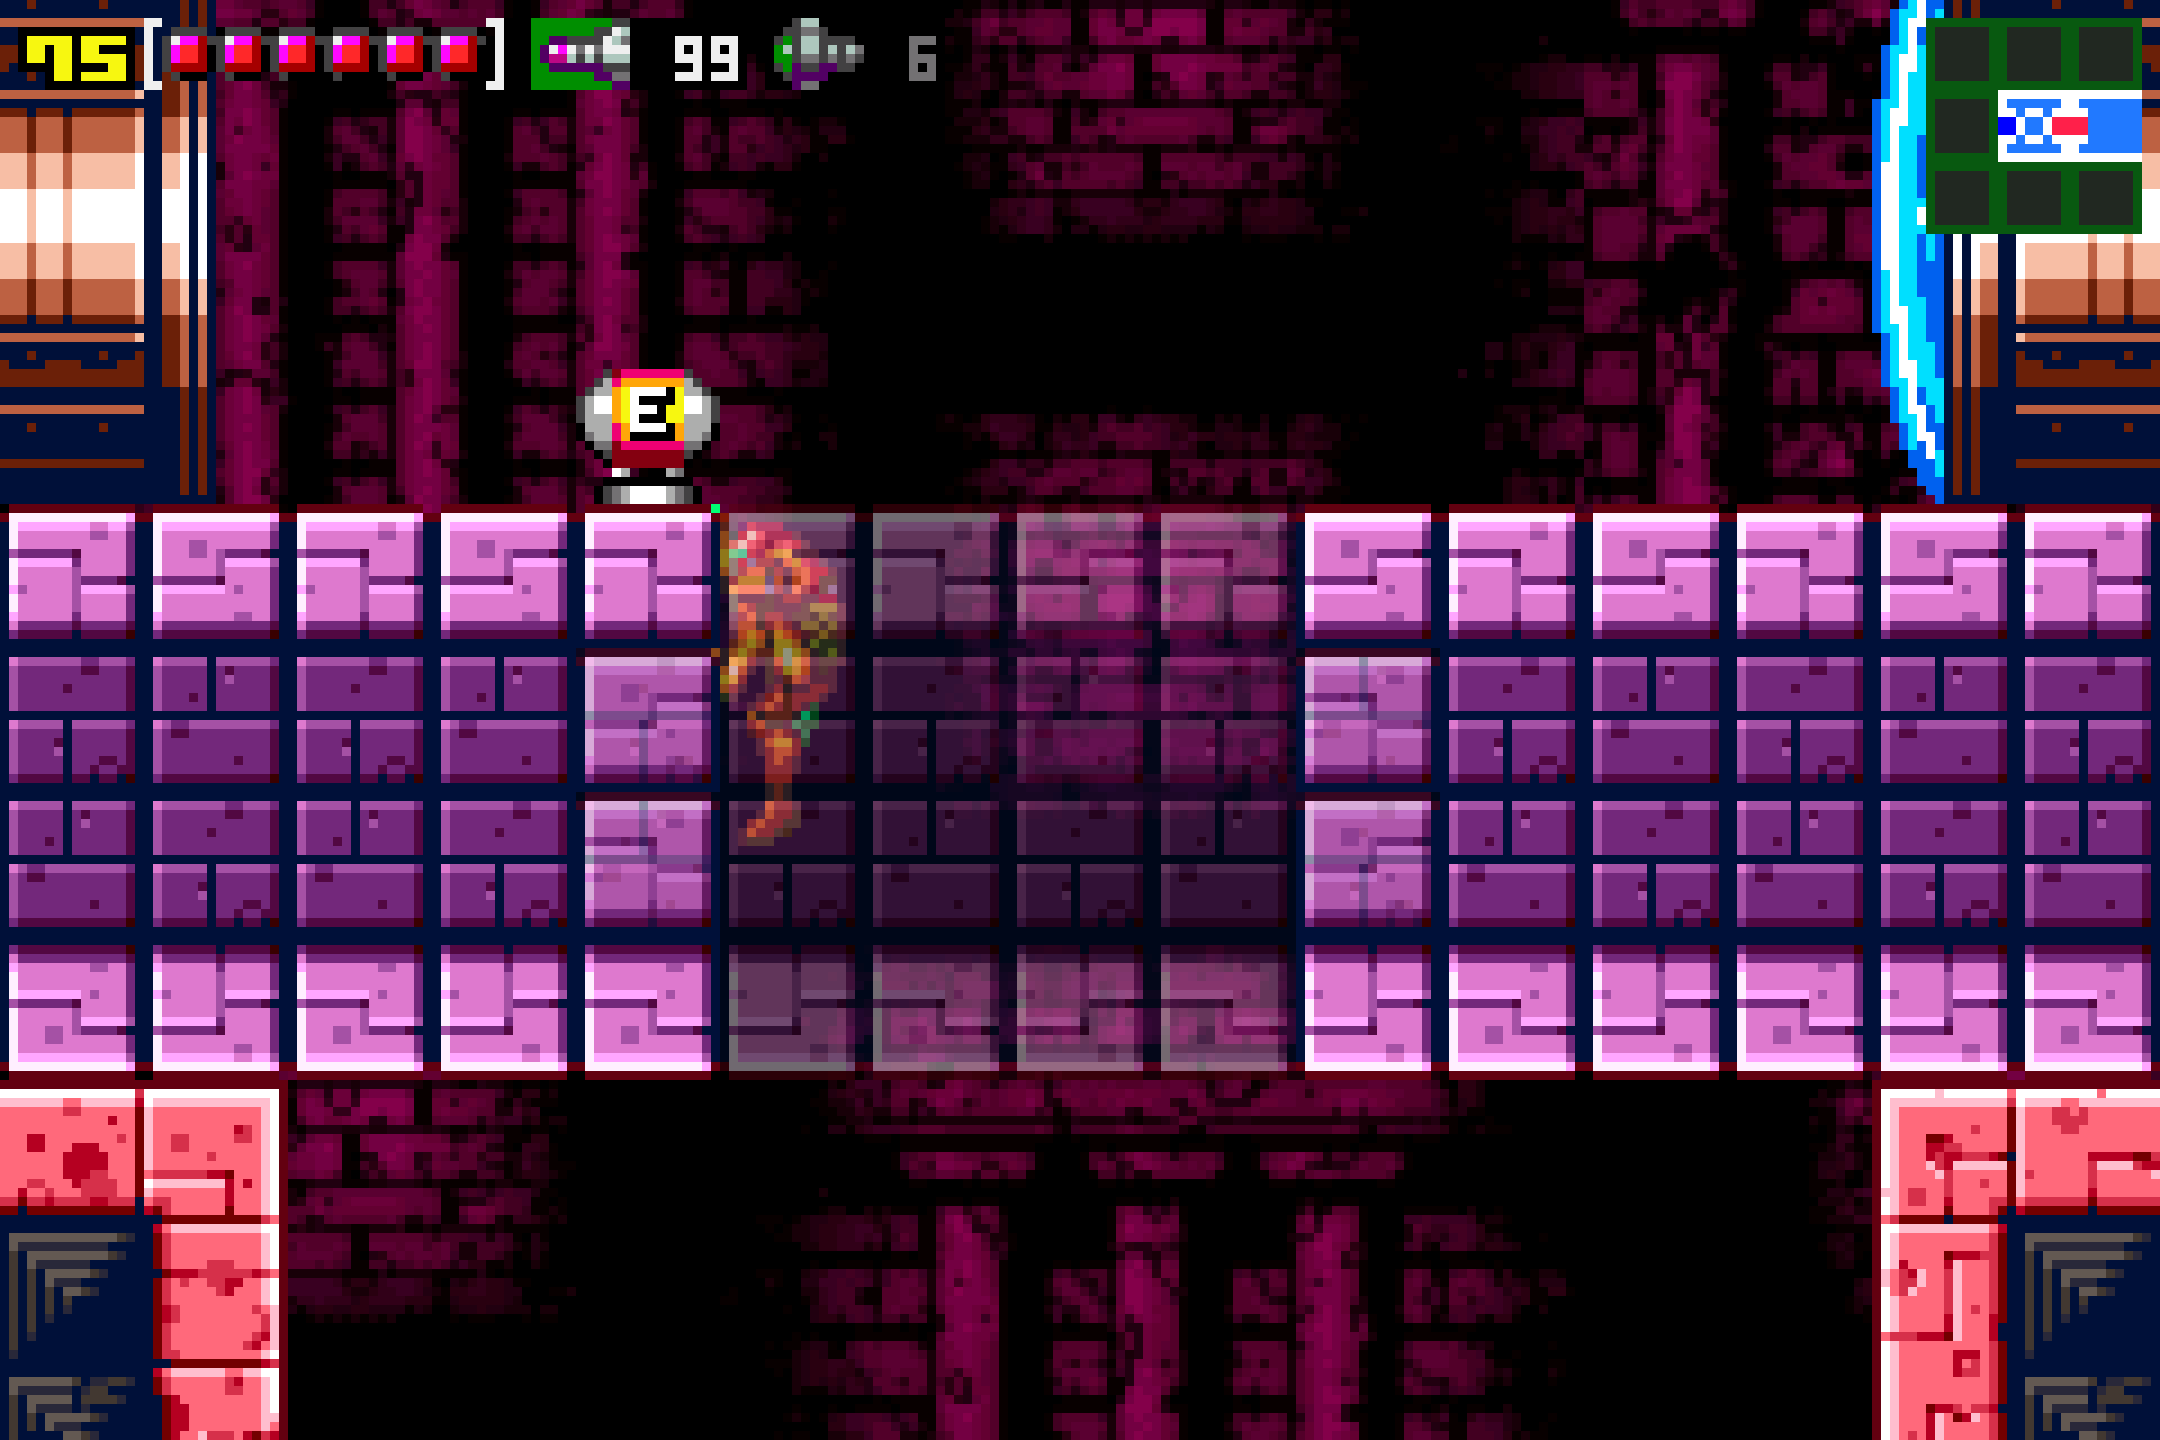
Time to explore the dragon’s den. Start off by exiting the Save Station and pressing towards the left. Some of the most powerful enemies in the game are lurking here in Ridley’s Lair, so take your time and proceed with caution, eliminating all the beasts in your way. You’ll exit into a narrow hall and be staring straight at an Energy Tank, but WAAAAAITTT!! Count the squares on the floor; from the blast door entrance to the Energy Tank, there are eight squares (or tiles) on the floor. THE FOUR TILES DIRECTLY IN FRONT OF THE TANK ARE AN ILLUSION. If you try to walk on those tiles, you will fall. Instead, line up a careful jump from the fourth square and you should land on the other side, or at least be able to grab the ledge. Nab ENERGY TANK #7 as your prize!
Continue on to the room on the left, rolling and laying bombs to make it across to the next room. You’ll enter a vertical hallway now; fall down and take your first door on the left, a Save Station. Do your thing, and then exit. There’s a door across from you, but that only leads to where you would have fallen if you’d have missed your jump getting the Energy Tank, so ignore that. Instead, continue to drop down, and sitting directly in your way is MISSILE EXPANSION #28, an expansion so suspiciously easy to acquire that I always feel like there’s something about to pop out and grab me every time I get it. Fall all the way down and enter the red blast door, downloading Map data for Ridley’s Lair.
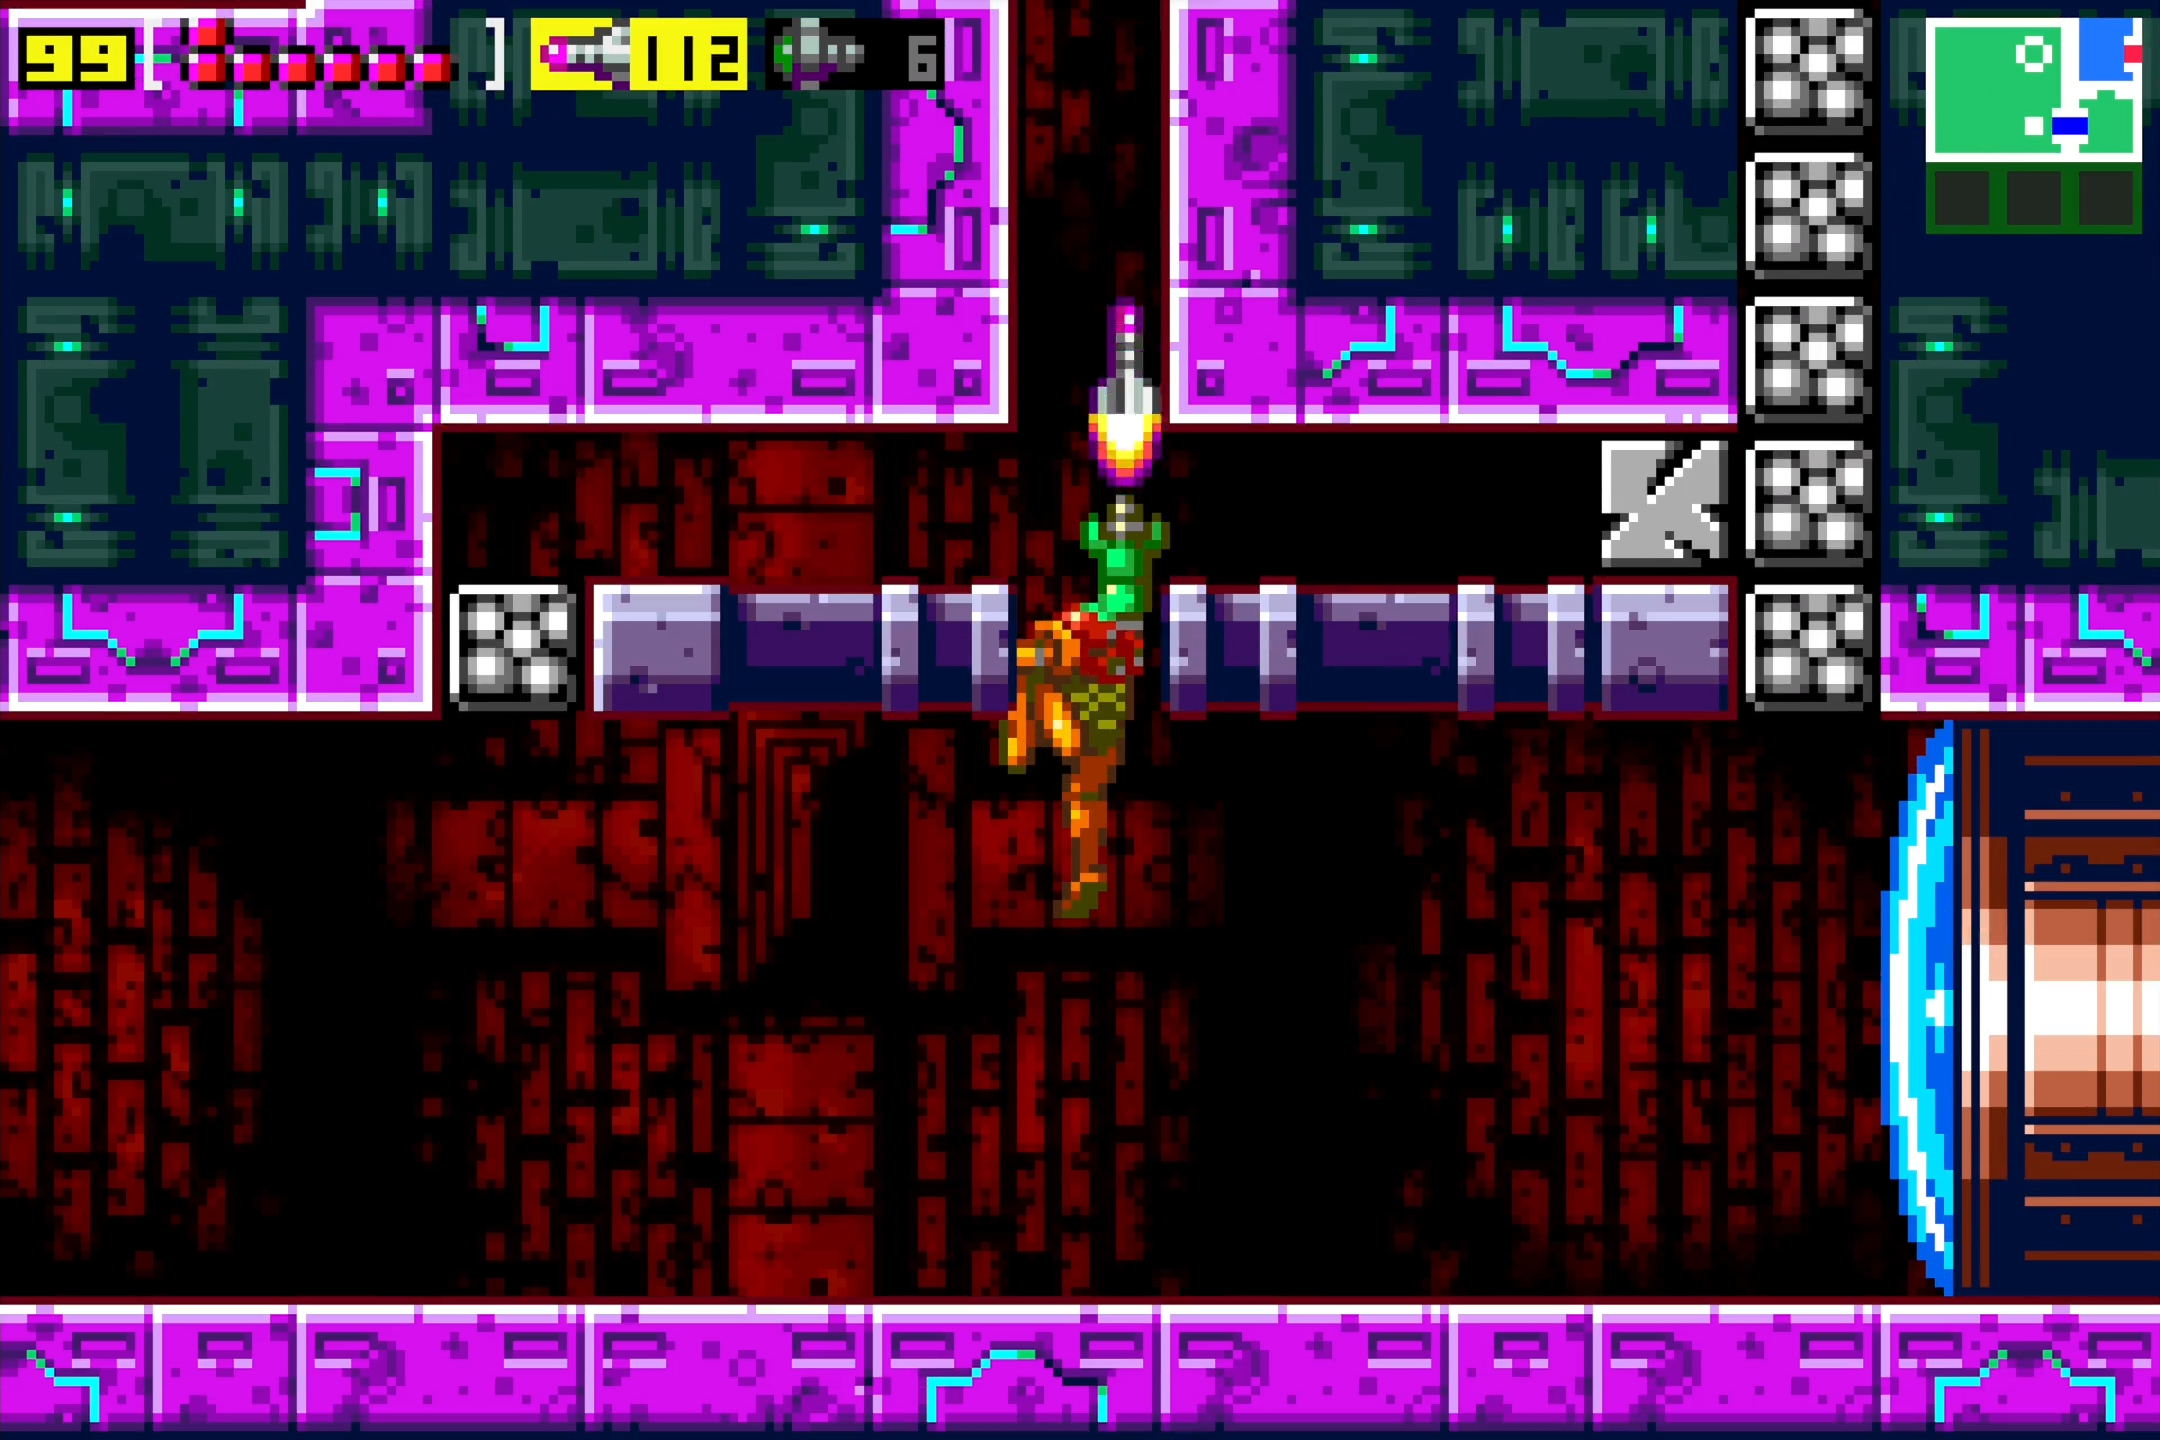
We’re going to be grabbing two insane missile expansions right now, so if you’d rather skip the written explanation and head straight to video, feel free to do so by checking out the Missile Expansions page for video. If not, buckle in and let’s do this. From the Map Station, go right into the super long hallway. You’ll see that the ceiling is quite low, making this a fairly tight fit, but you’ll also notice that above the tight corridor is an opening behind some mesh or something. Shoot out the walls and you’ll see that there’s a space big enough for you to fit in. Get into that upper section, press forward a bit, and then start running back towards the Map Station. Charge your Shinespark and then quickly drop down. Get to the slope right in front of the blast door leading to the Map Station, open the door, and release your Shinespark so you start running towards the left. Blast open the door in the Map Station and keep running left, and the ground will give out as soon as you get into the new room. There’s some more fake lava, so drop down and enter the door. This was the easy part.
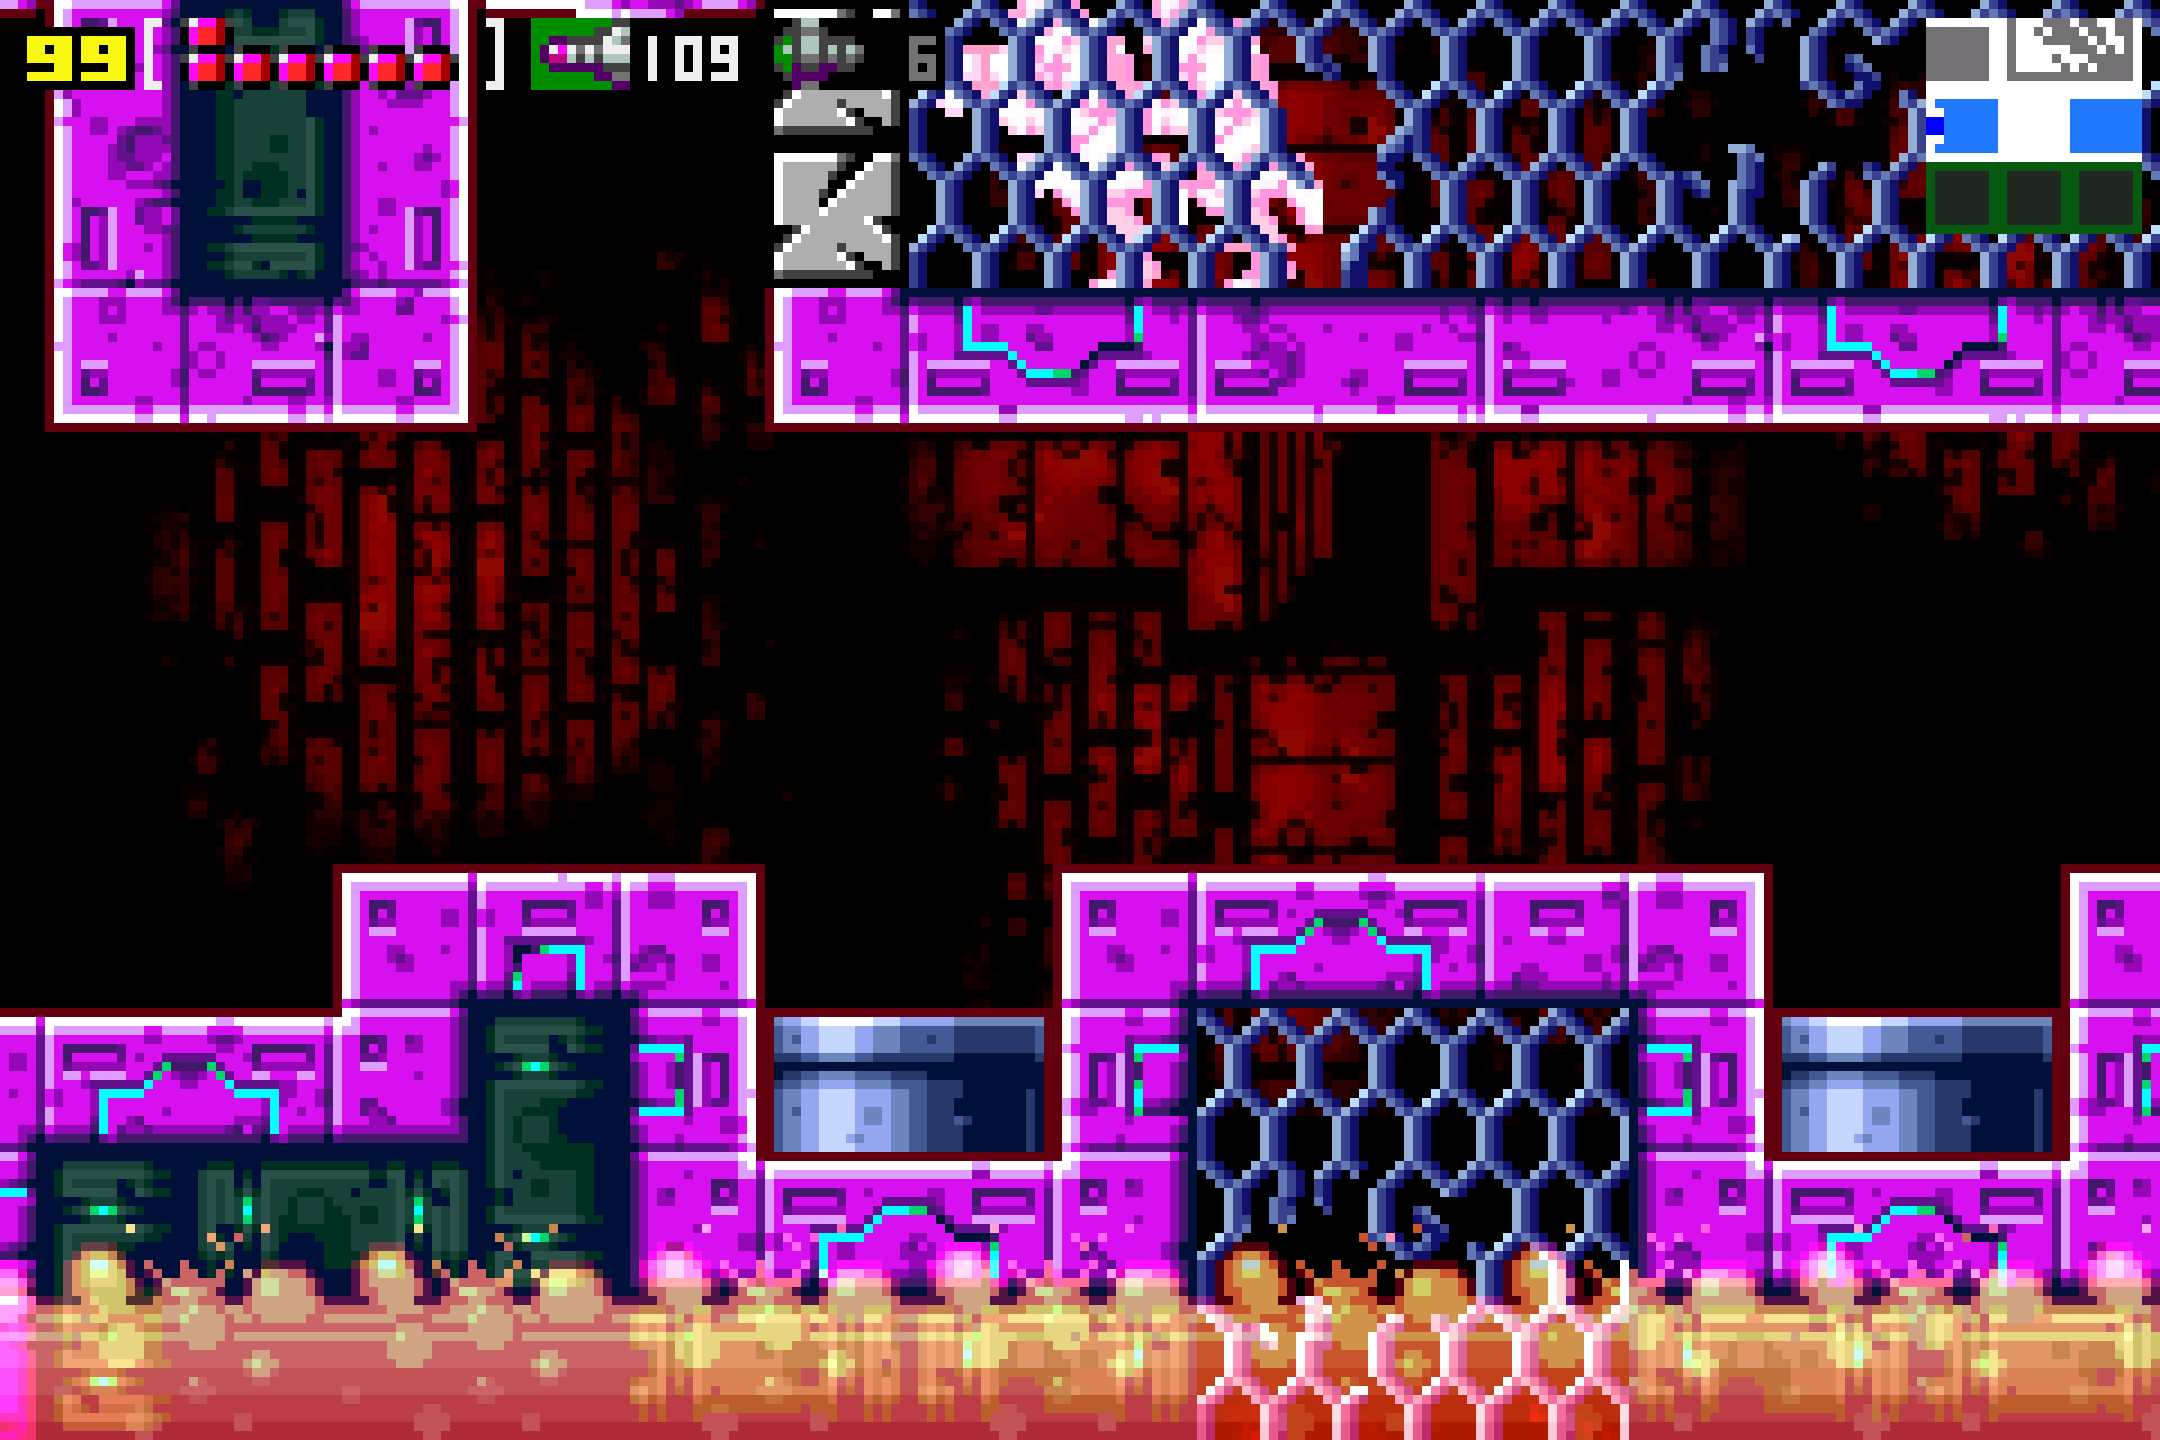
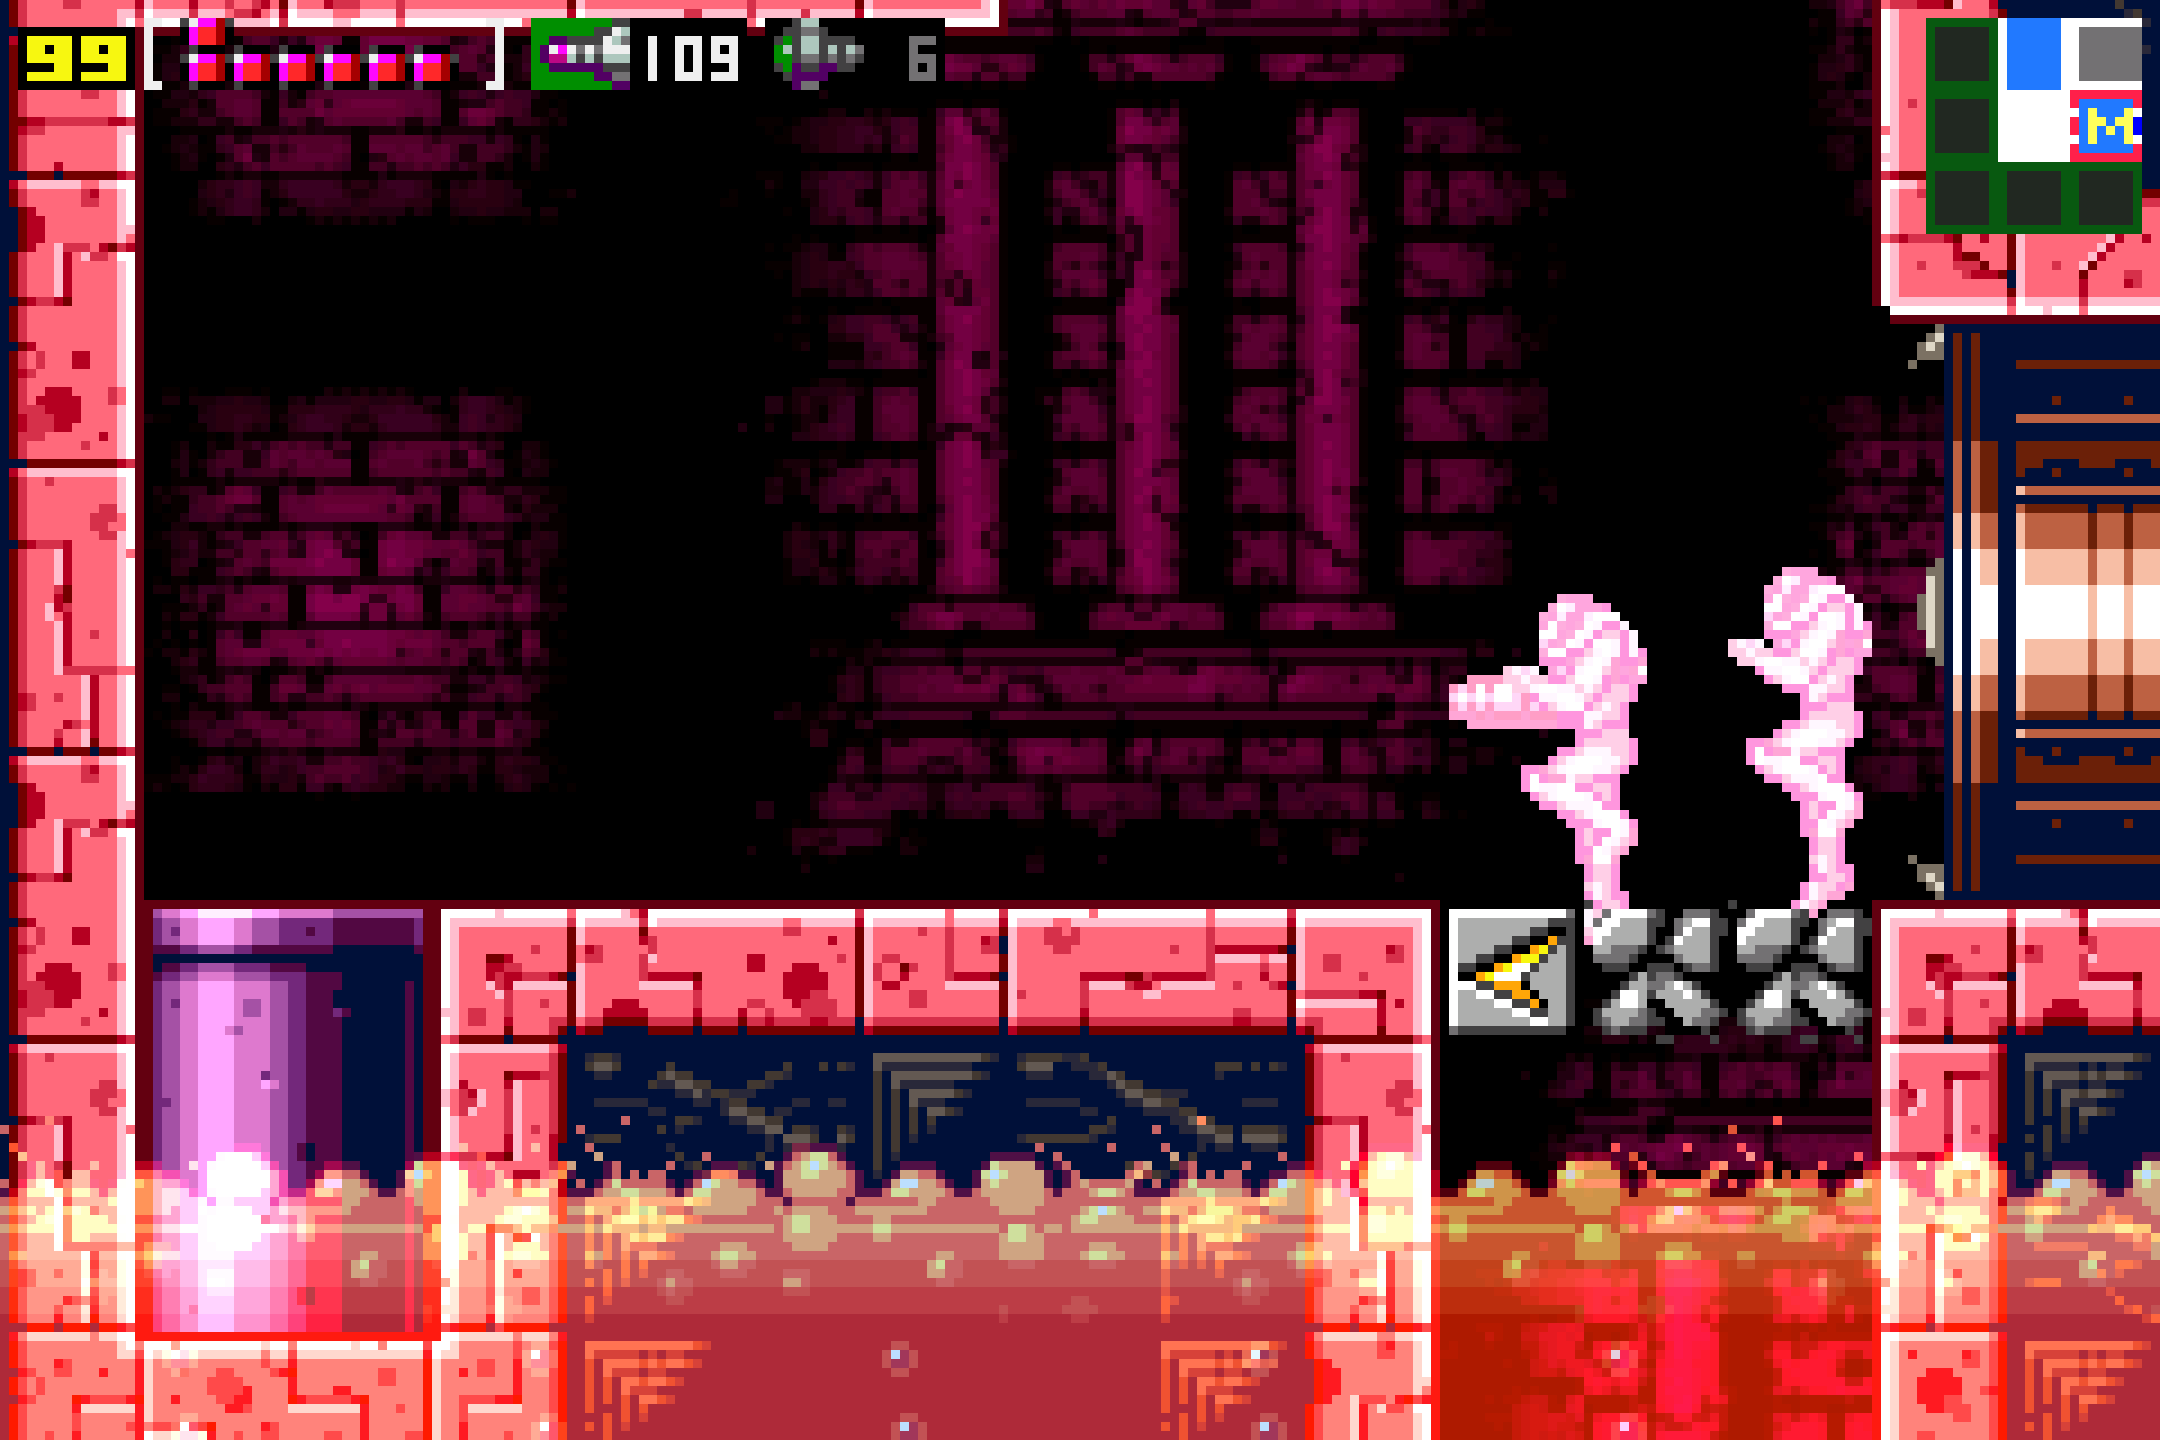
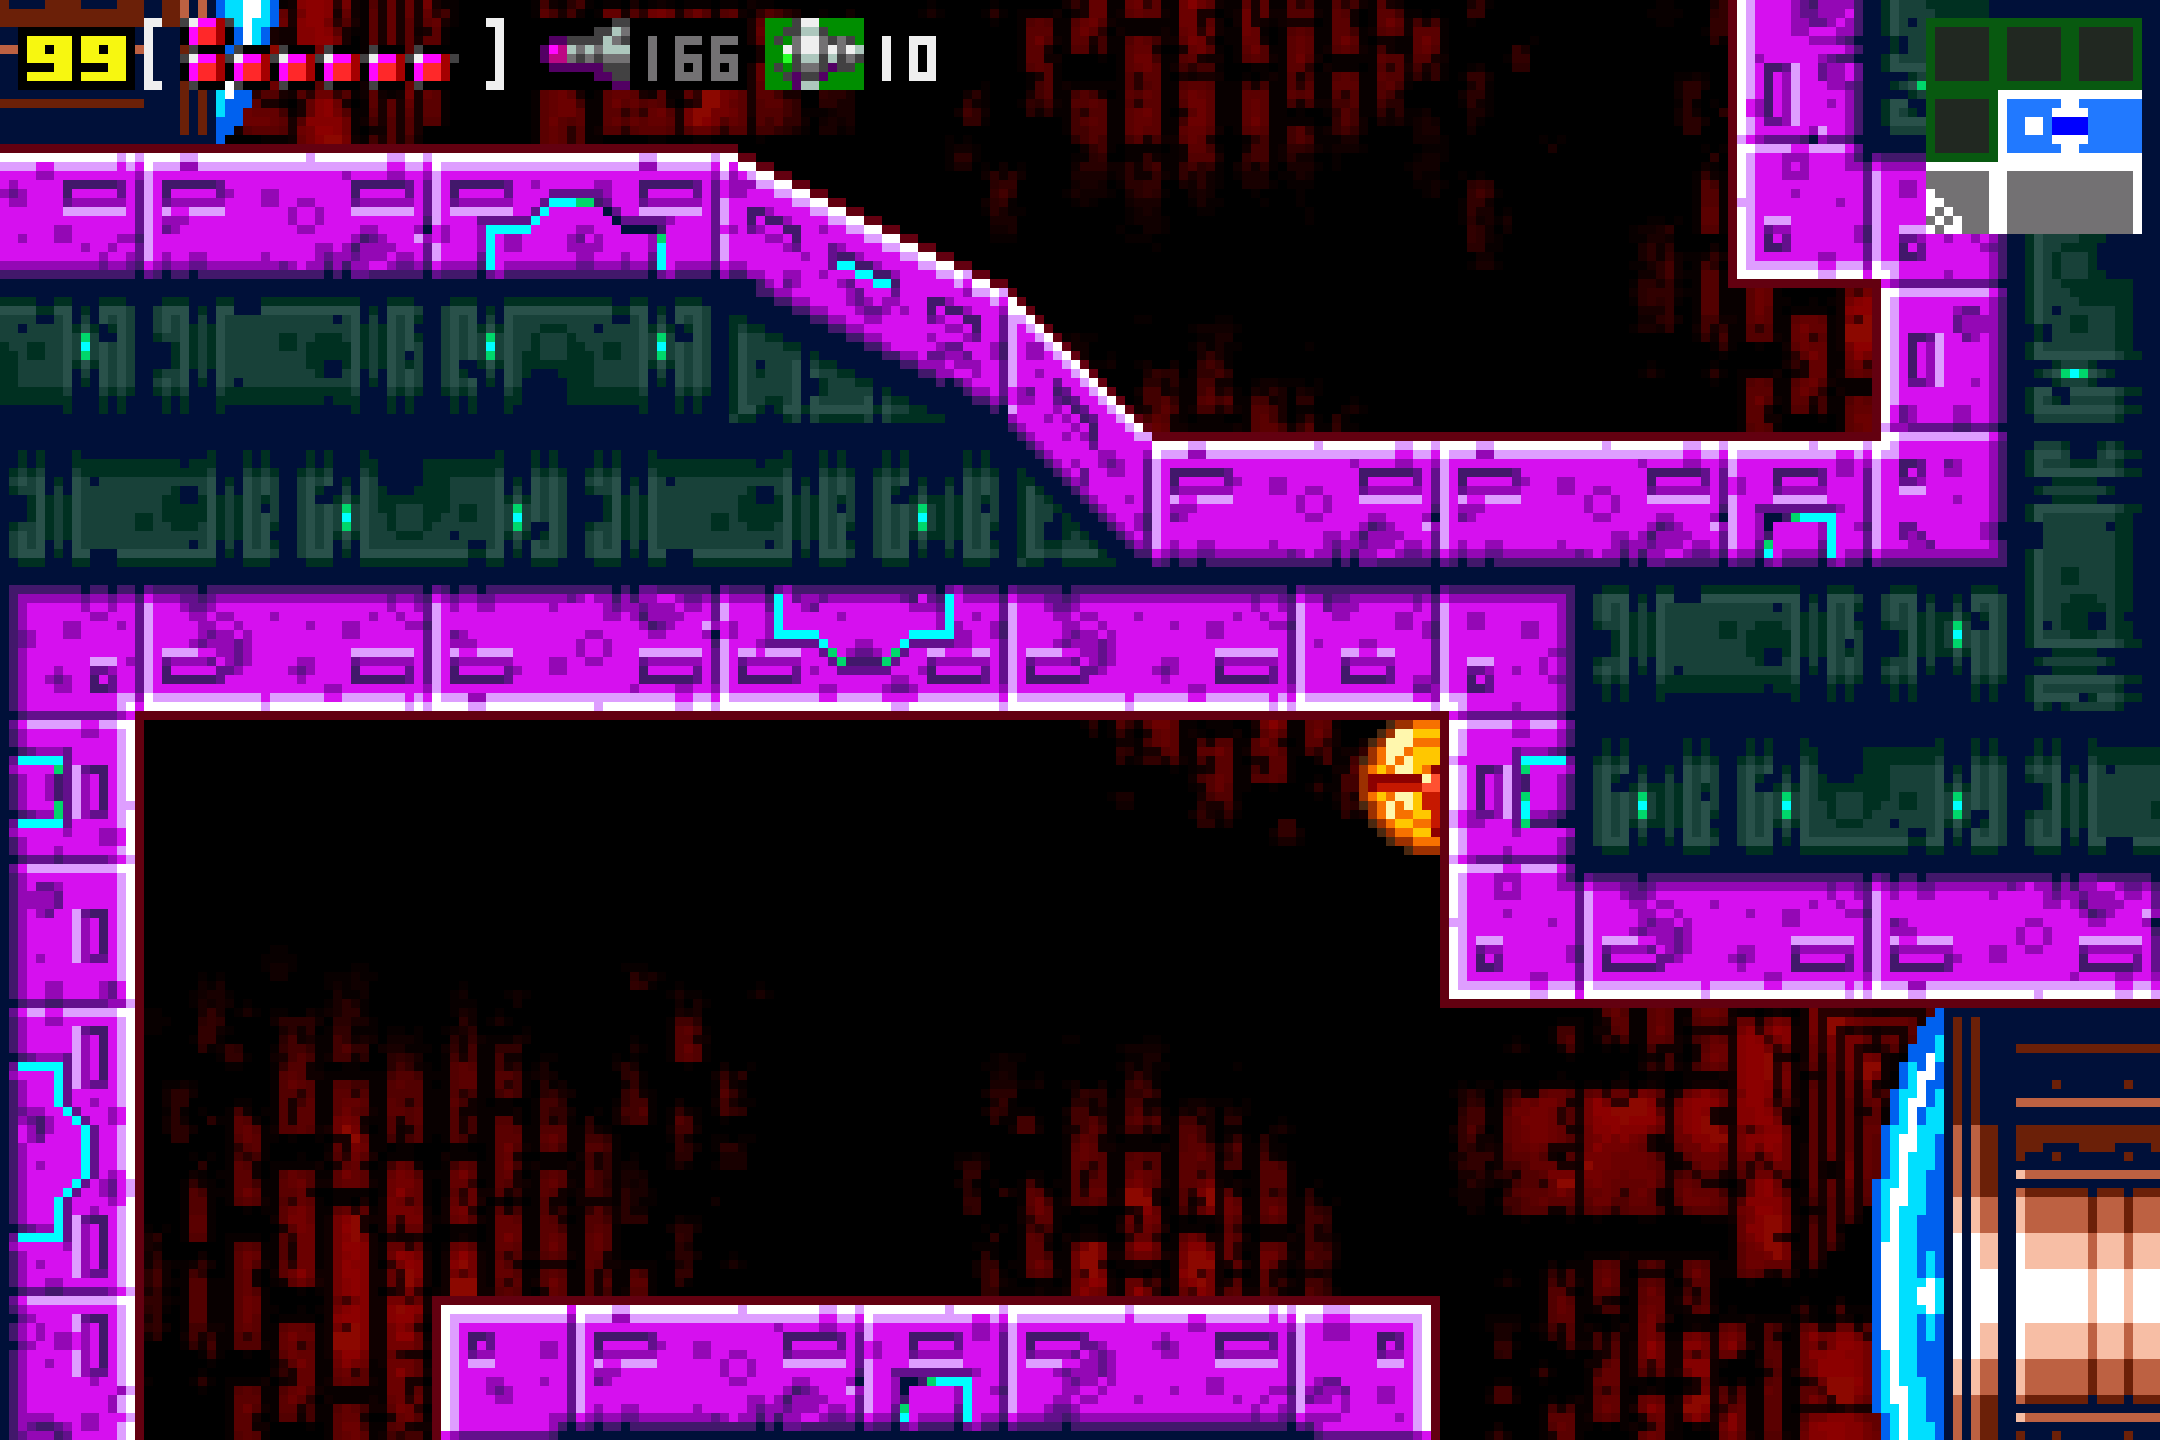
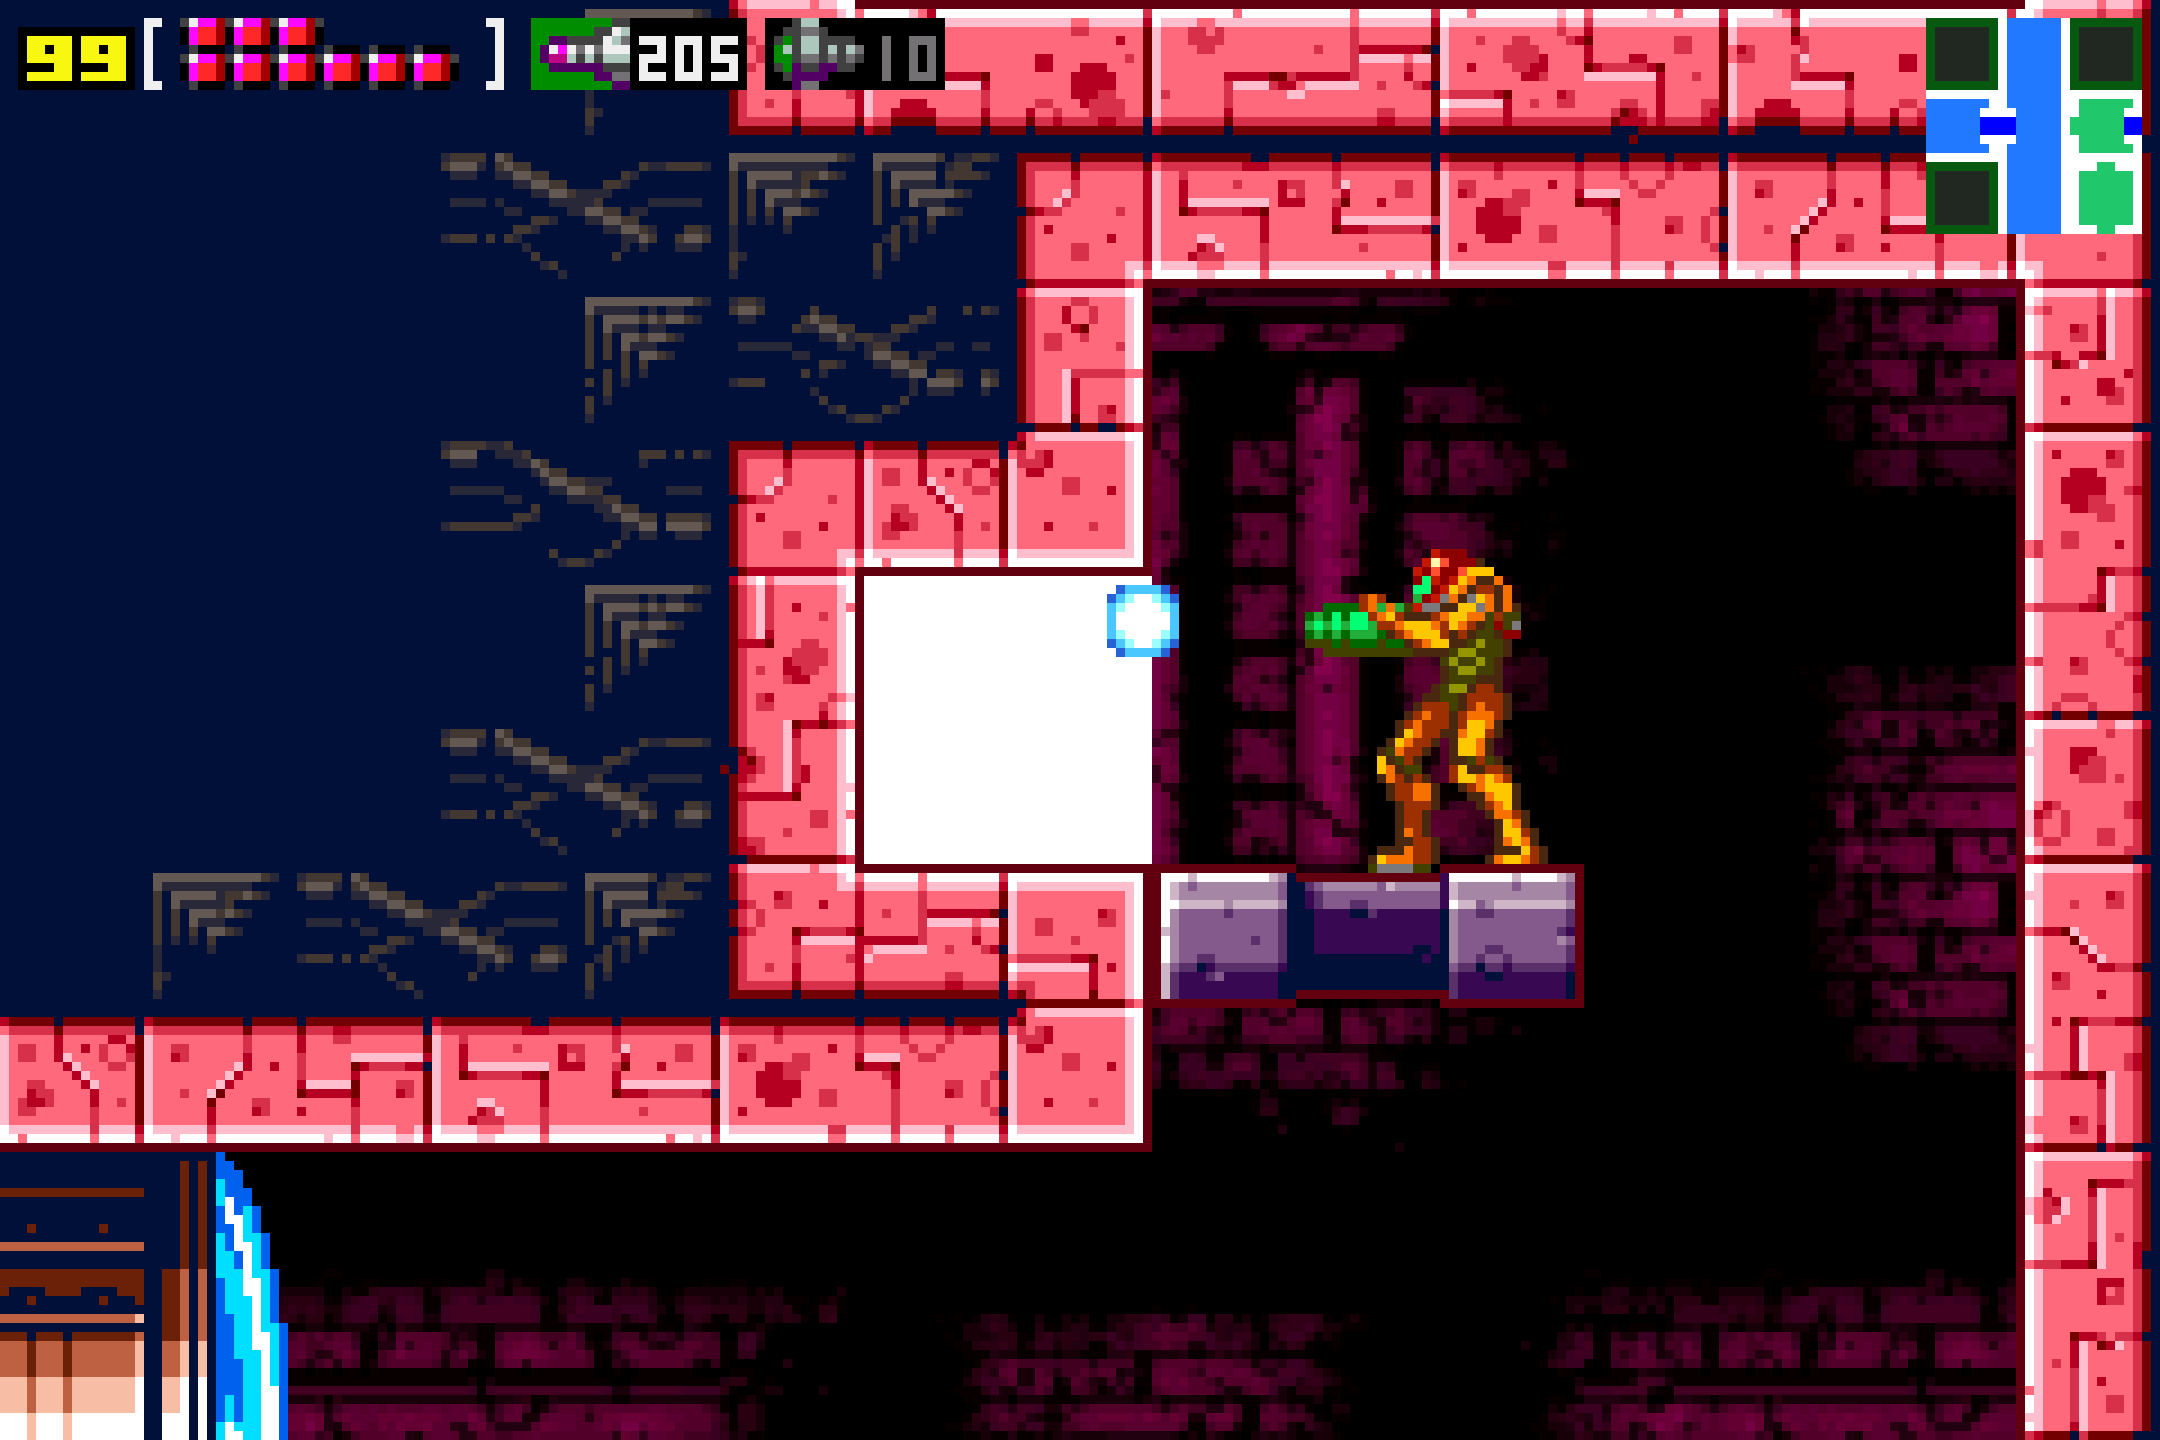
The hard part will be getting both expansions in this room. Get beside the door and start running to the left. Shinespark straight upwards and grab the ledge at the top. Get into Morph Ball form, drop down, and tuck in the opening. Now, be quick – quickly drop down and then immediately get out of Morph Ball form and jump up and grab the ledge! This pitfall block will give you about a second to make your move before it dissolves, so act quickly. Worth noting – most pitfall blocks dissolve immediately, but some (like this one) take a second; we’ll call these ones Slow Pitfall Blocks. From the top platform, fall down, and as you’re falling, get out of Morph Ball form! Do this and press towards the left ledge, and if done right, you should grab it. Blast a missile in front of you and then jump over into this new slot. There will be a rectangular path that you can follow; ignore the expansions for now, since you can’t grab them as of yet. Instead, roll over to the right bottom side and you’ll hit a pitfall block. As you fall, get ready to grab the ledge on the left. This is tricky and might require a few tries, but when you grab it, you should be able to roll over and grab MISSILE EXPANSION #29. We’re not done yet.
After grabbing the expansion, immediately roll back towards the right so you stay in this tunnel. In the middle of this tunnel is a slow pitfall block. This will be tricky; roll over to the centre, quickly pop up and quickly fire a beam shot to dissolve the blocks, and then make sure you grab the ledge when the slow pitfall block dissolves so you can pull yourself back up. Once the blocks are gone and the pitfall block has regenerated, quickly fire a missile above you and jump up. Getting rid of the first missile block is key, since what you can now do is stand on the regular blocks. Even if you fall and have to retrace your steps, the missile block won’t respawn, so get rid of that. Either way, stand on the regular blocks, keep firing missiles above you to destroy the blocks, and eventually you’ll grab MISSILE EXPANSION #30! Whew… once you’re done, head back to the Map Station.

Once you’ve made your way back to the Map Station, head through the right door and press forwards through this loooong hallway. Around the middle of the hallway, you’ll see MISSILE EXPANSION #31 just sitting there (kinda nice there’s no gimmicks needed to grab this guy, let me tell ya). Make your way through the long hall, taking out any enemies in your way, and exit into the Save Station. Exit into the vertical hallway to your right and make your way up, taking the second door you see on your left.
You’ll be in a room with a ton of Dessgeegas and other annoying enemies. There will also be some blocks that serve as bridges between platforms which will dissolve as soon as they’re shot, so proceed carefully. When you get to the third “bridge”, shoot it out and drop down, avoiding the lava if you can, and grab the ledge. Roll through the tunnel and lay some bombs on the blocks above the pool of lava. They’ll blow up, and wouldn’t you know it, we have more fake lava (what’s up with this stuff!?). Drop down into this shallow little pit and lay a bomb in the lower right corner to reveal MISSILE EXPANSION #32! Jump back up into the tunnel and roll towards the right. Lay a bomb, jump back up, and press left until you go through the blast door.
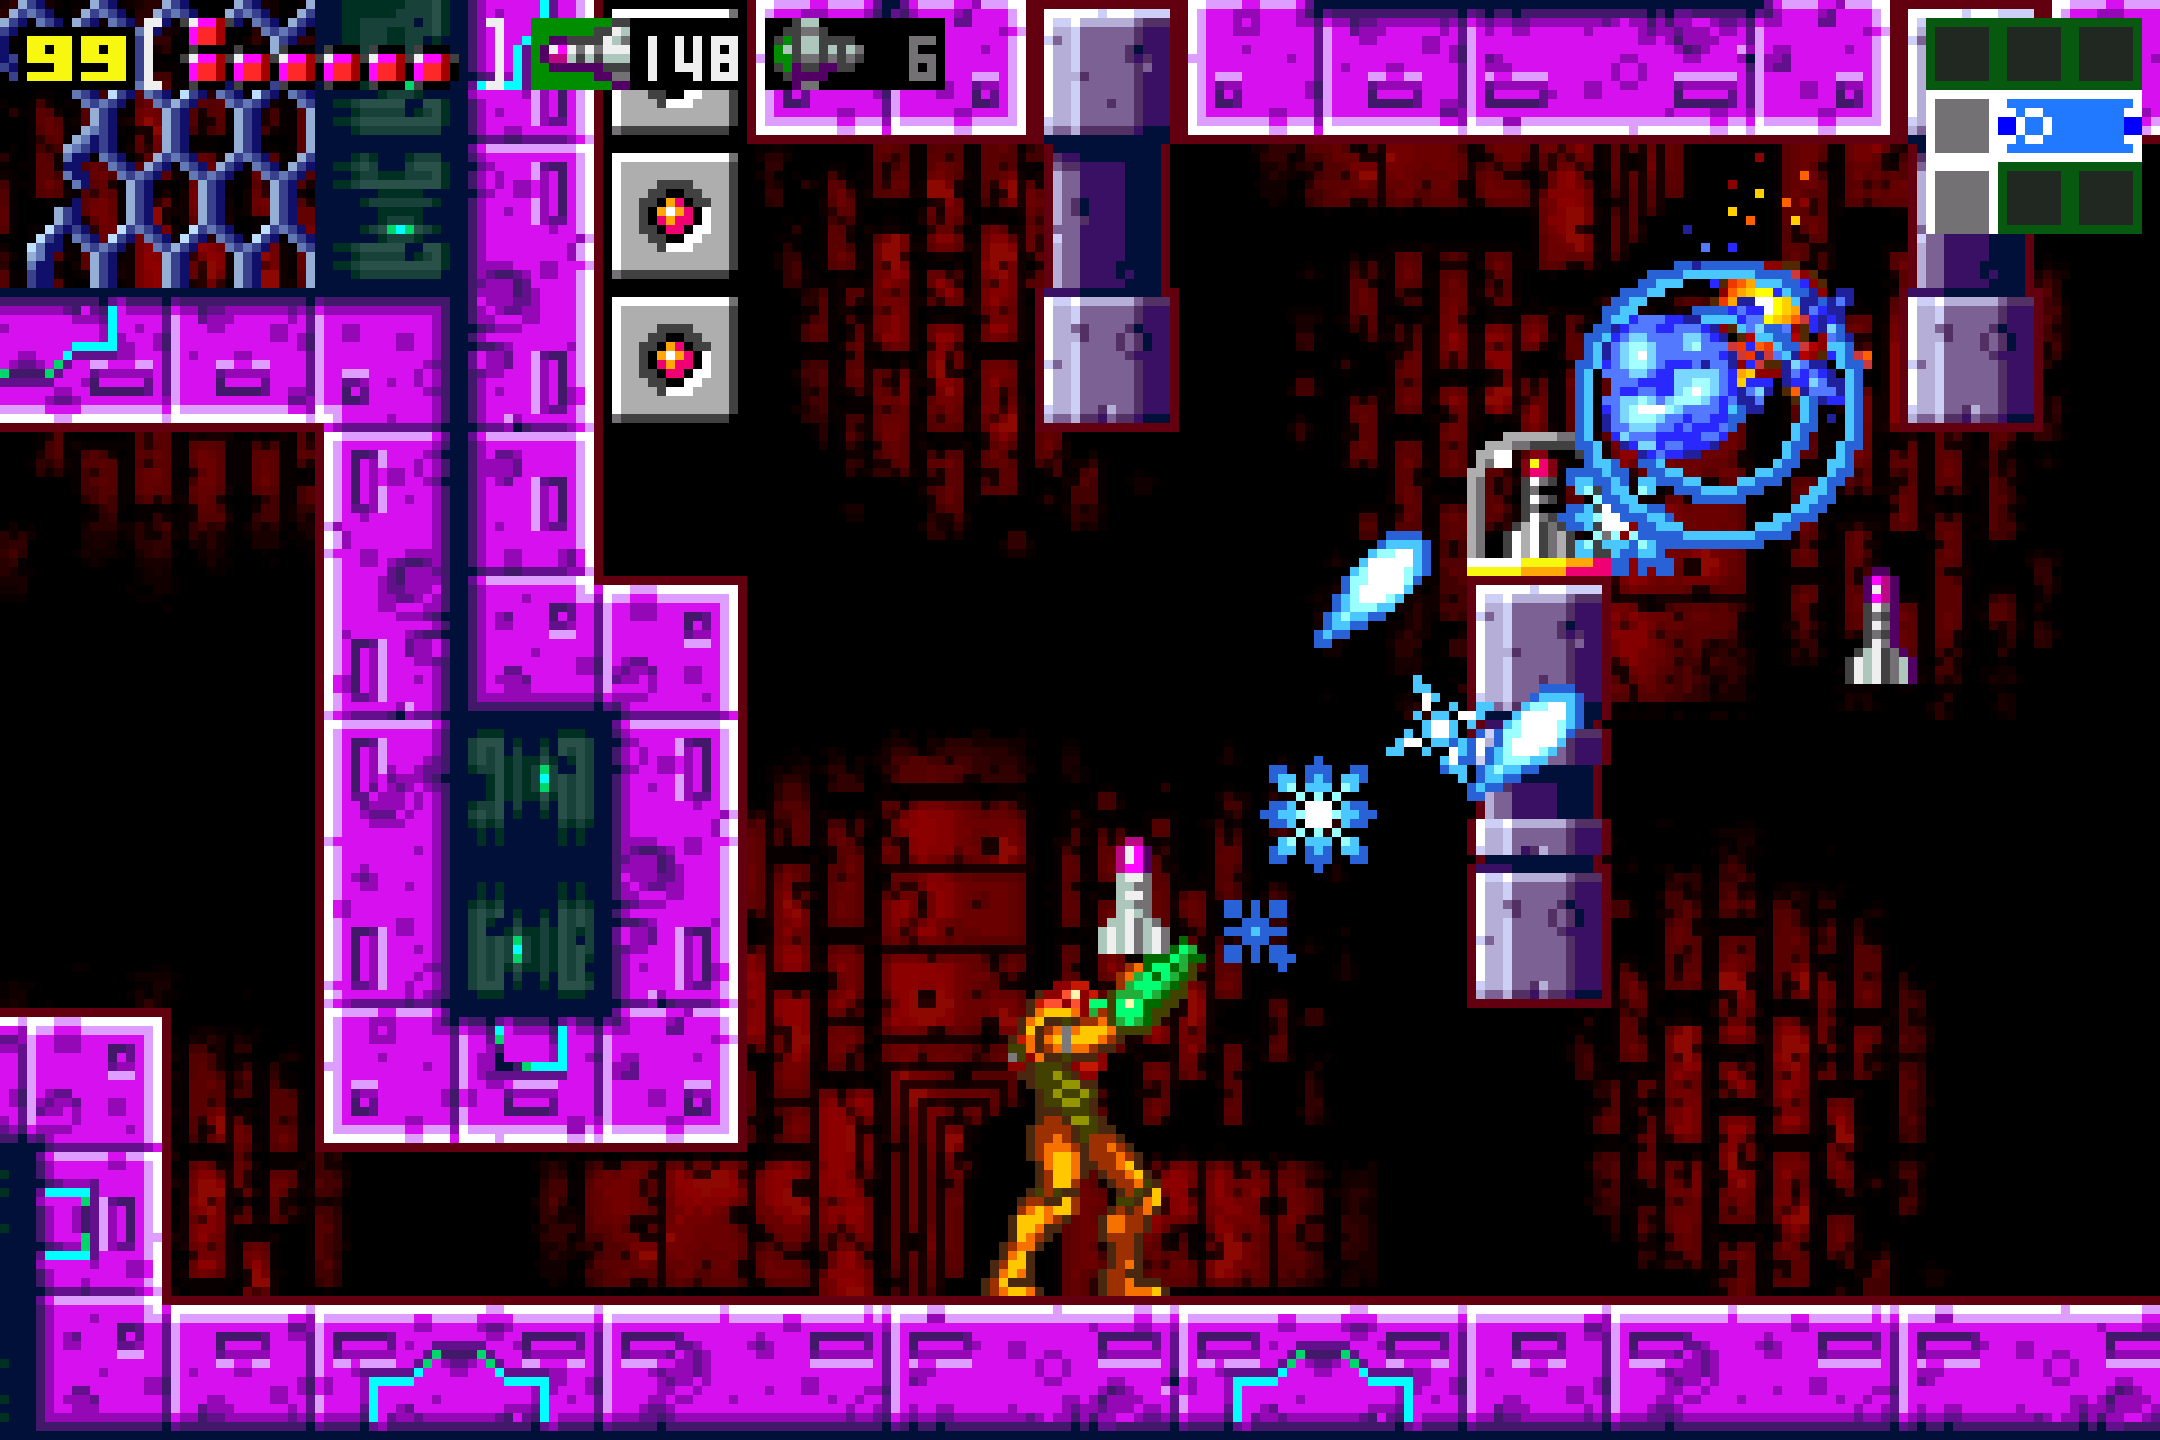
In this next room, roll in the tunnel on the bottom of the floor and lay a bomb. Deal with all the enemies and jump up and grab MISSILE EXPANSION #33. WAIT! Before you leave however, lay a bomb in the gap near the top left of the room. Go up the newly revealed path and fire a Super Missile at the loan block obstructing the Morph Ball passage to the right of the exit. Go through the tunnel, lay a bomb at the end and watch the blocks crumble until there’s only one singular floating block left. Shoot it to reveal SUPER MISSILE EXPANSION #3. Continue on to the next room; wait until one of the enemies is in a lower position along the middle platform, shoot it to freeze it, jump on it, and then jump up to grab MISSILE EXPANSION #34. Drop down to the left, grab the ledge, and proceed through the door. There will be FIVE Dessgeegas for you to deal with in this next room, but that shouldn’t be a challenge for a badass bounty hunter like you. Press forward a room and you’ll see SUPER MISSILE EXPANSION #4 sitting there for the taking! Sweet! Hold on though, because there’s more to this room! Get into Morph Ball form and jump to the top-right corner of the room. You’ll be in a little invisible tunnel now; roll up and out and you’ll see a single block suspended in the air. Bomb it and grab MISSILE EXPANSION #35. Head through the blue door once you’re done.
There are two expansions in this room, and the room has a big floating platform at the top, a platform at the bottom that’s connected by some blocks, and a Morph Ball Launcher at the bottom in case you fall. To start, roll into the tunnel underneath the higher platform. At the end is a slow pitfall block (the ones where you can stand on them for a second before they dissolve). Take advantage of this and roll over to quickly lay a bomb. A block above it will dissolve. When the slow pitfall block comes back, quickly roll over to it, unmorph, shoot upwards to destroy the rest of the blocks, and grab MISSILE EXPANSION #36. Once you’ve grabbed that, fall down the right-side tunnel; shoot downwards with your beams as you fall! You’ll destroy a block if you do so, which will allow you to press towards the right and grab the right-side ledge, which in turn will let you roll over and grab MISSILE EXPANSION #37. Once this is done, head back a few rooms to where you grabbed Missile Expansion #34 and just drop down, making use of the Save Station on your left.
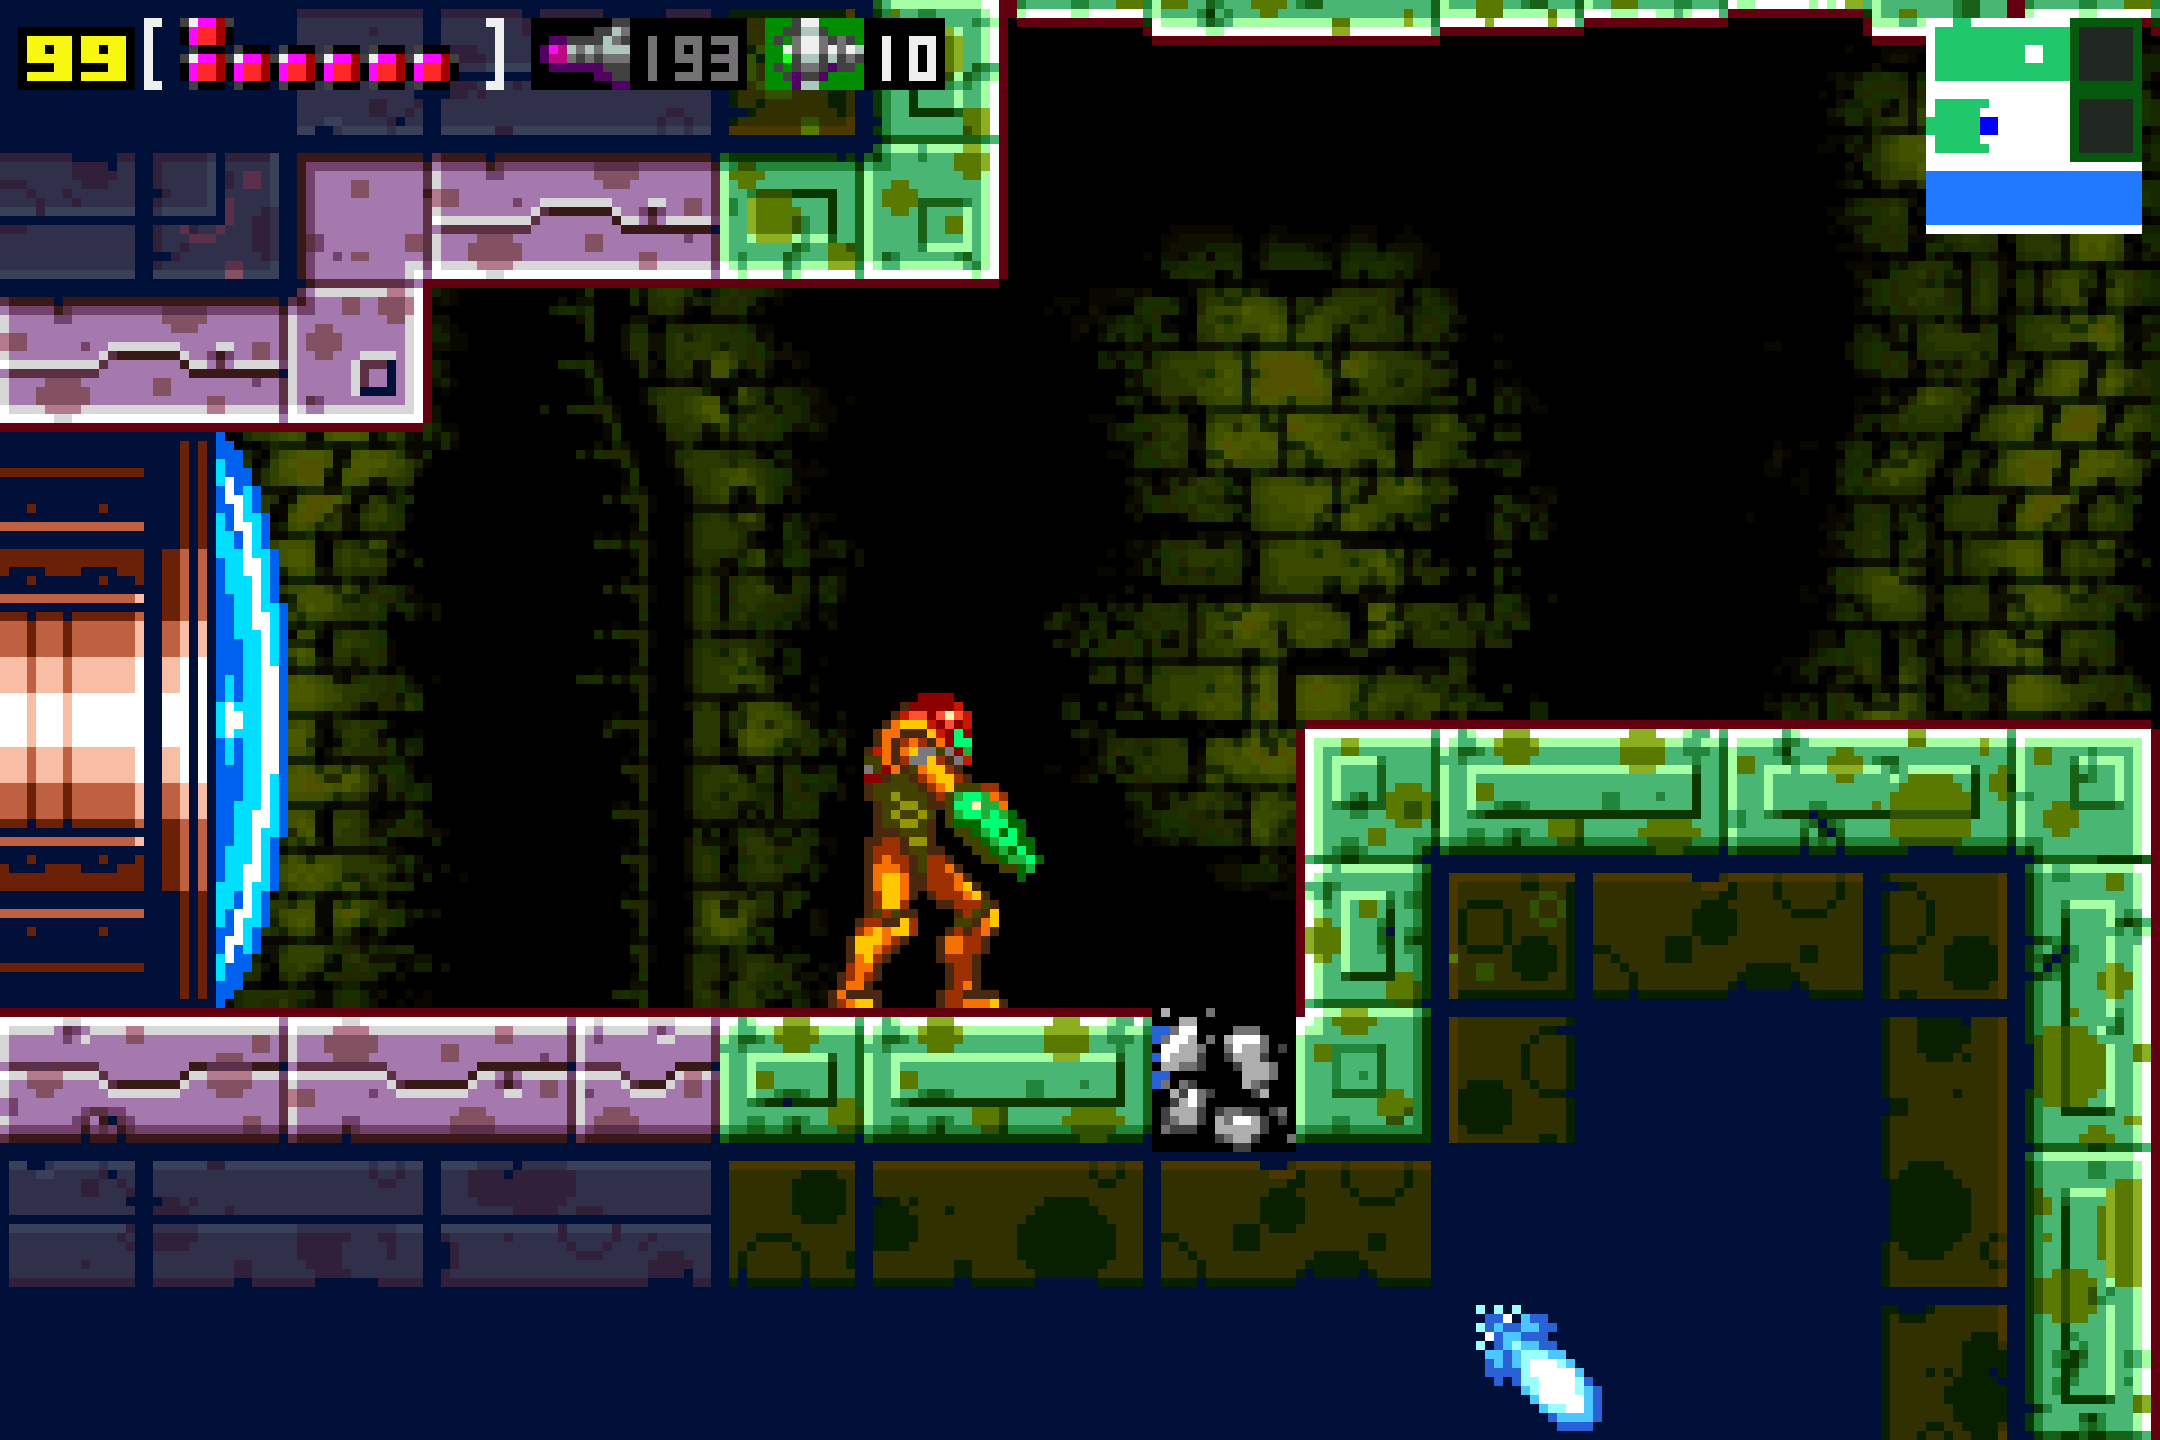
We’re getting very close to the boss, but one last powerup before we get there. From the Save Station, head right a few rooms until you get to a green-tinted room with pipes and a small tunnel at the far end. Instead of going into the small tunnel, lay a bomb on the left side of the little alcove you’re standing in, and a new SECRET tunnel will reveal itself. Drop down and follow it to acquire ENERGY TANK #8. Head left, back to the Save Station. Once you’re there, go through the door on the left and press forward. Eliminate the Gadora and get ready for a showdown with an old friend…
Ridley
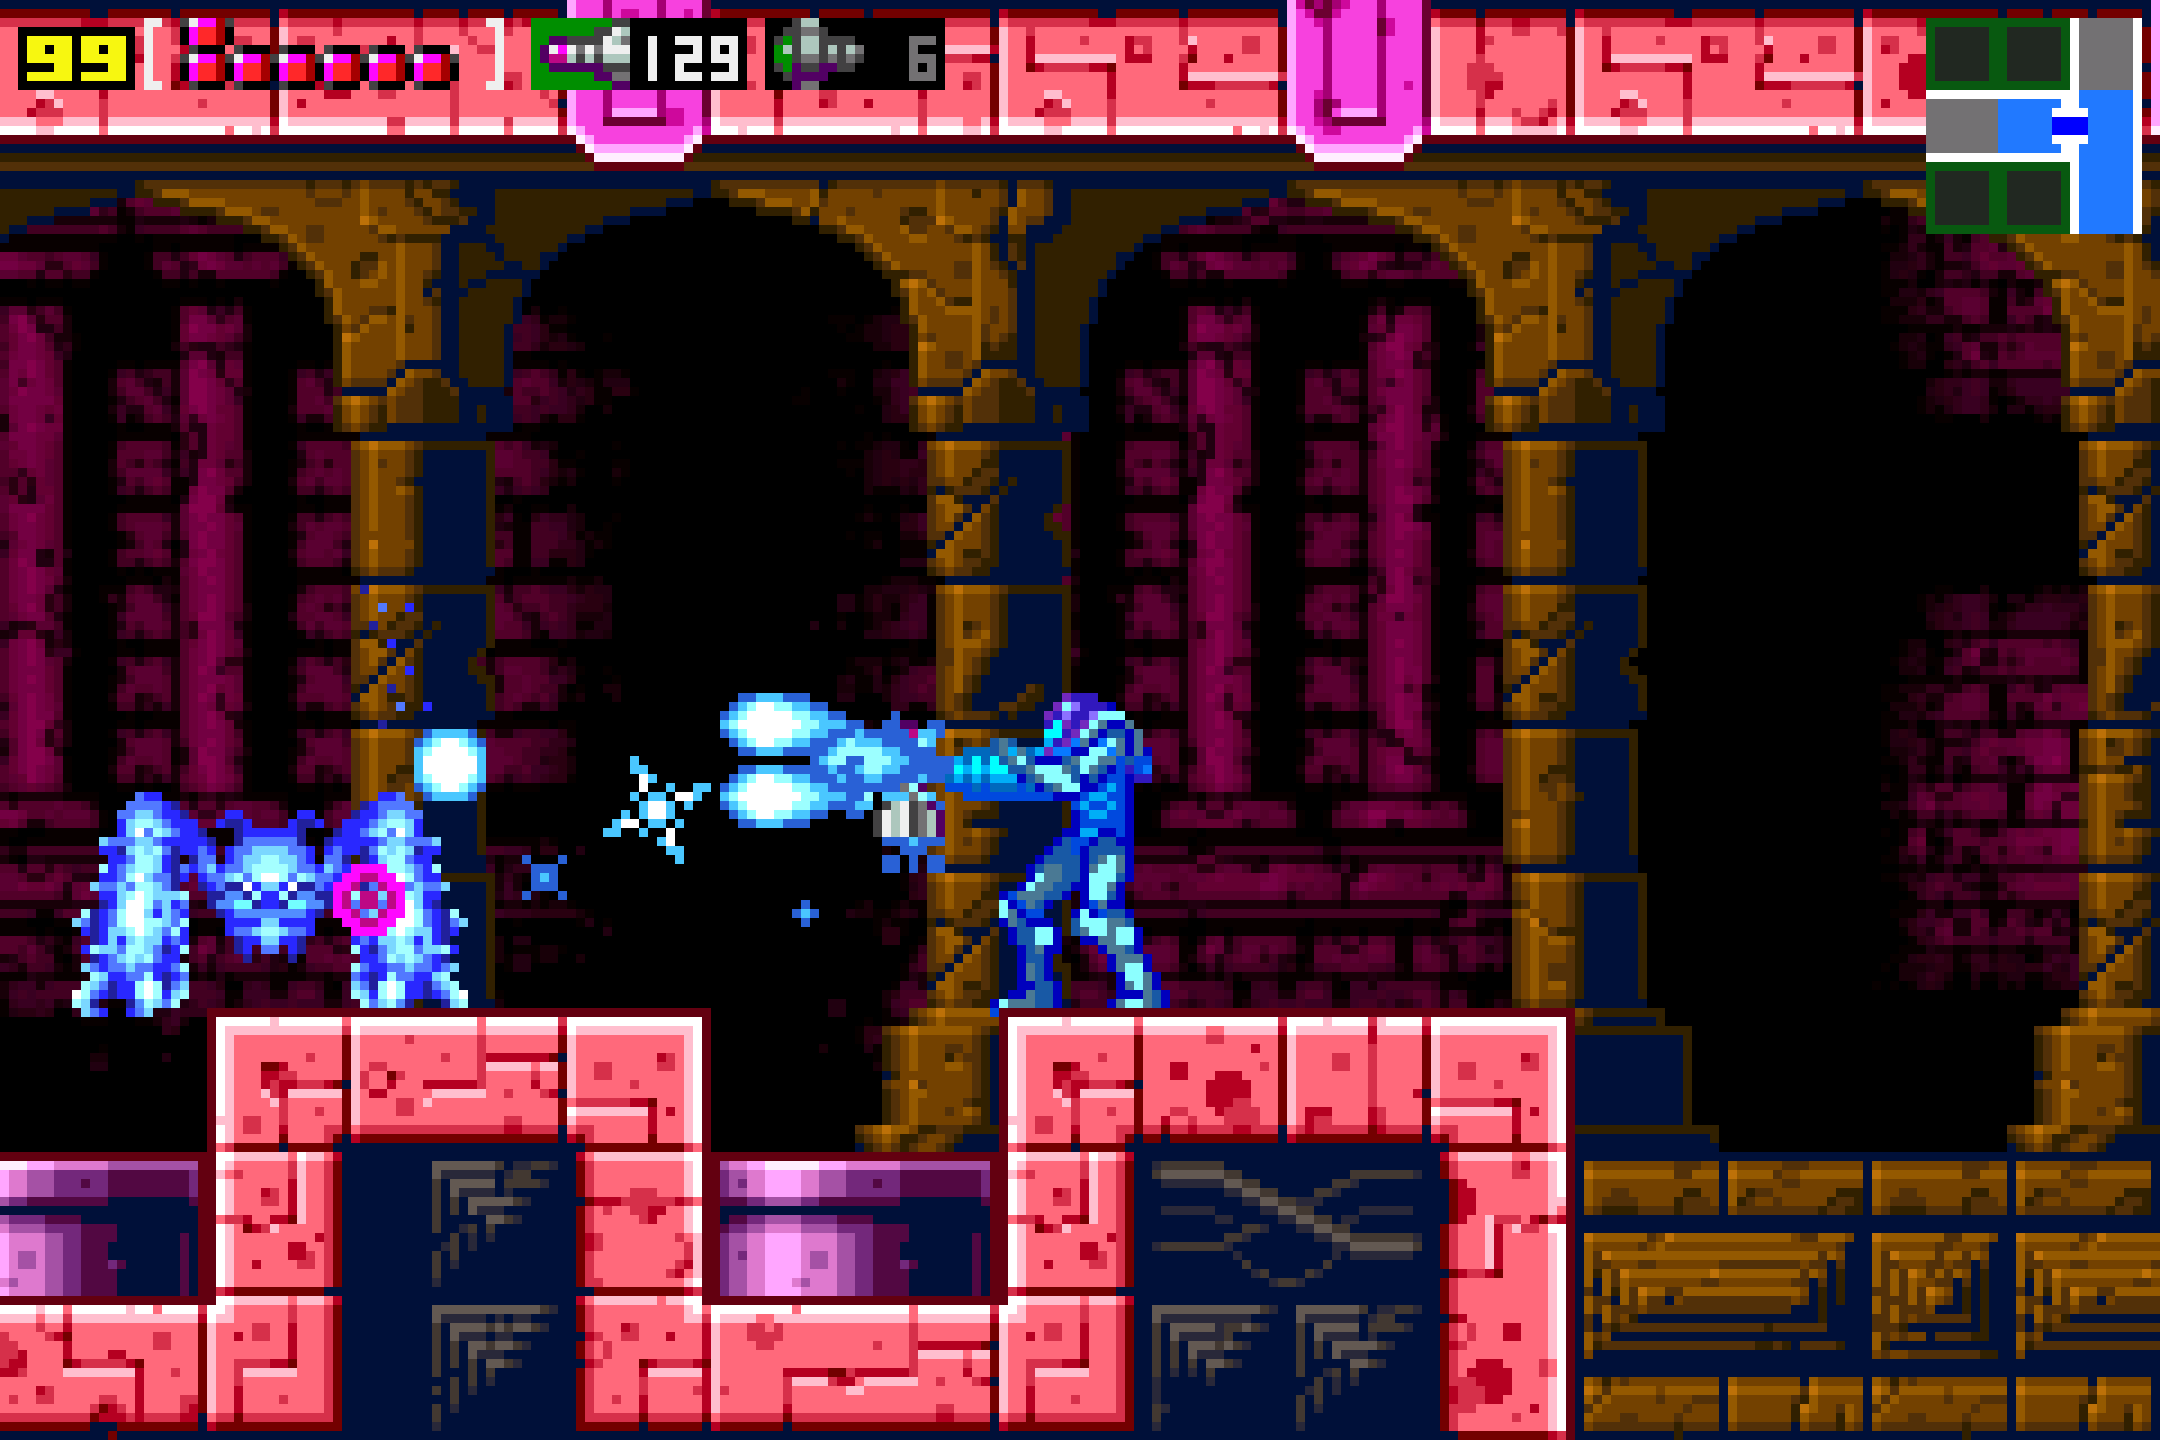
Walk into the large arena, and you’ll find that it’s… empty. Strange. Make your way to the door on the left and walk through. In this room is another Chozo Statue, which houses an UNKNOWN ITEM. Ugggghhhh. Grab it, and then run towards the left, where you’ll be able to grab ENERGY TANK #9. Leave the room and –
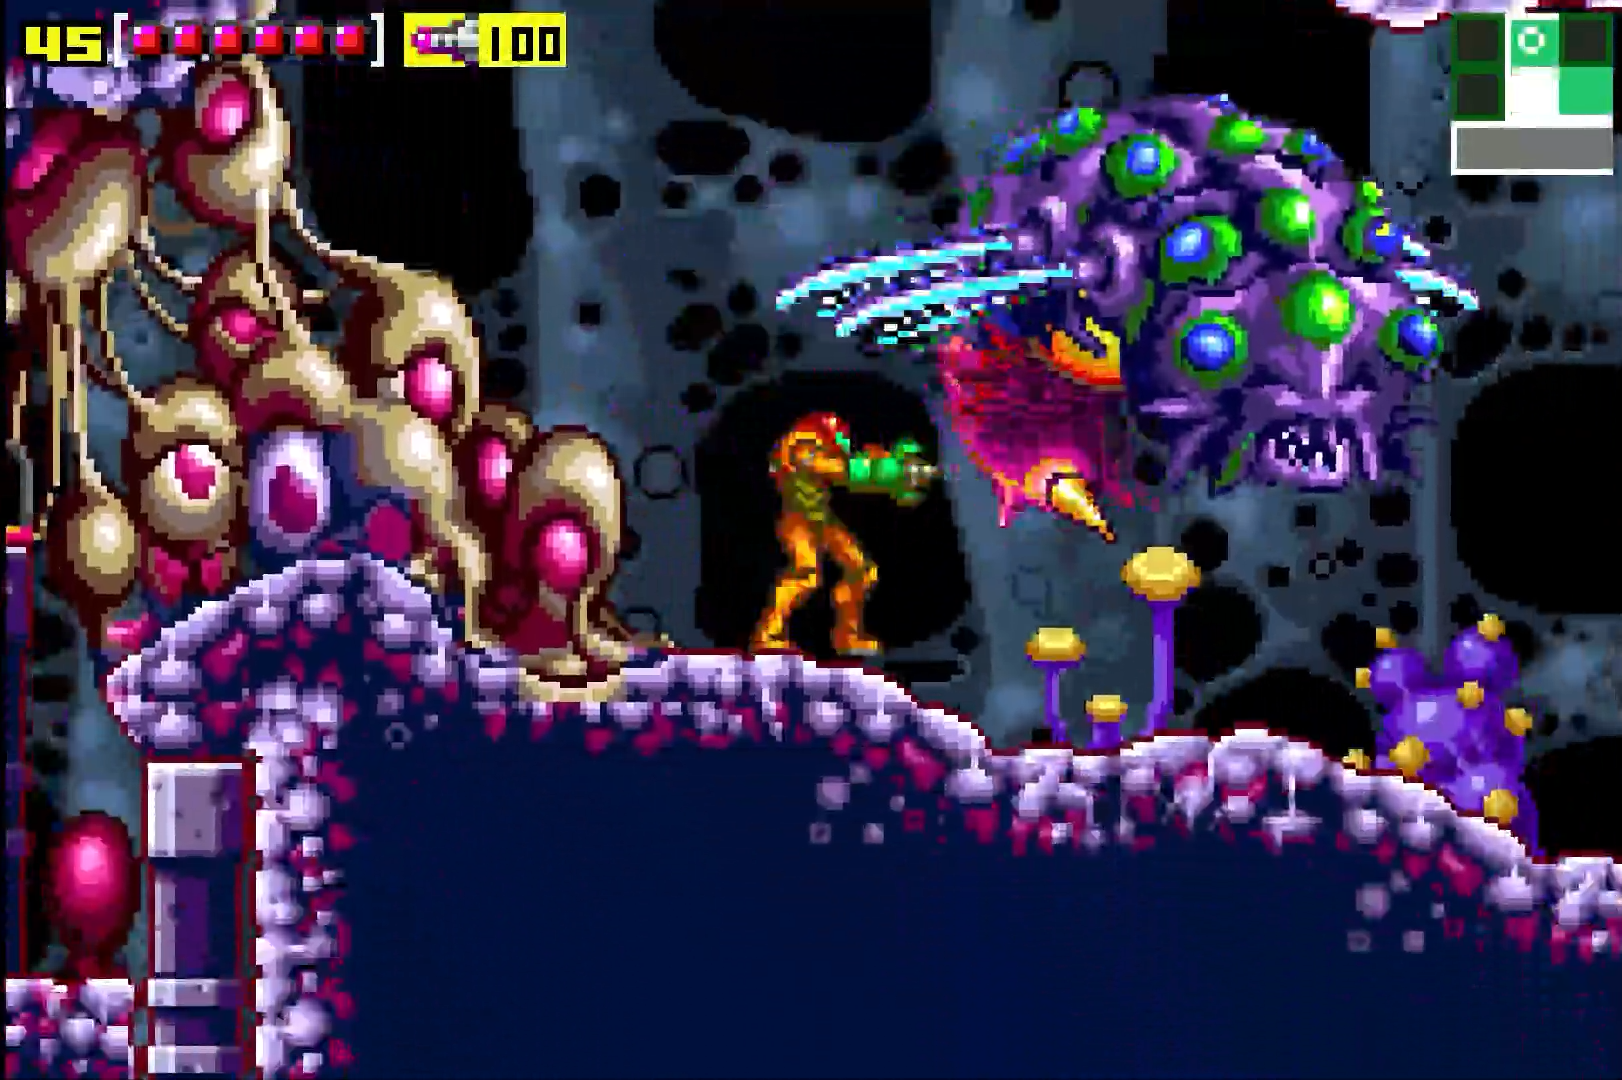
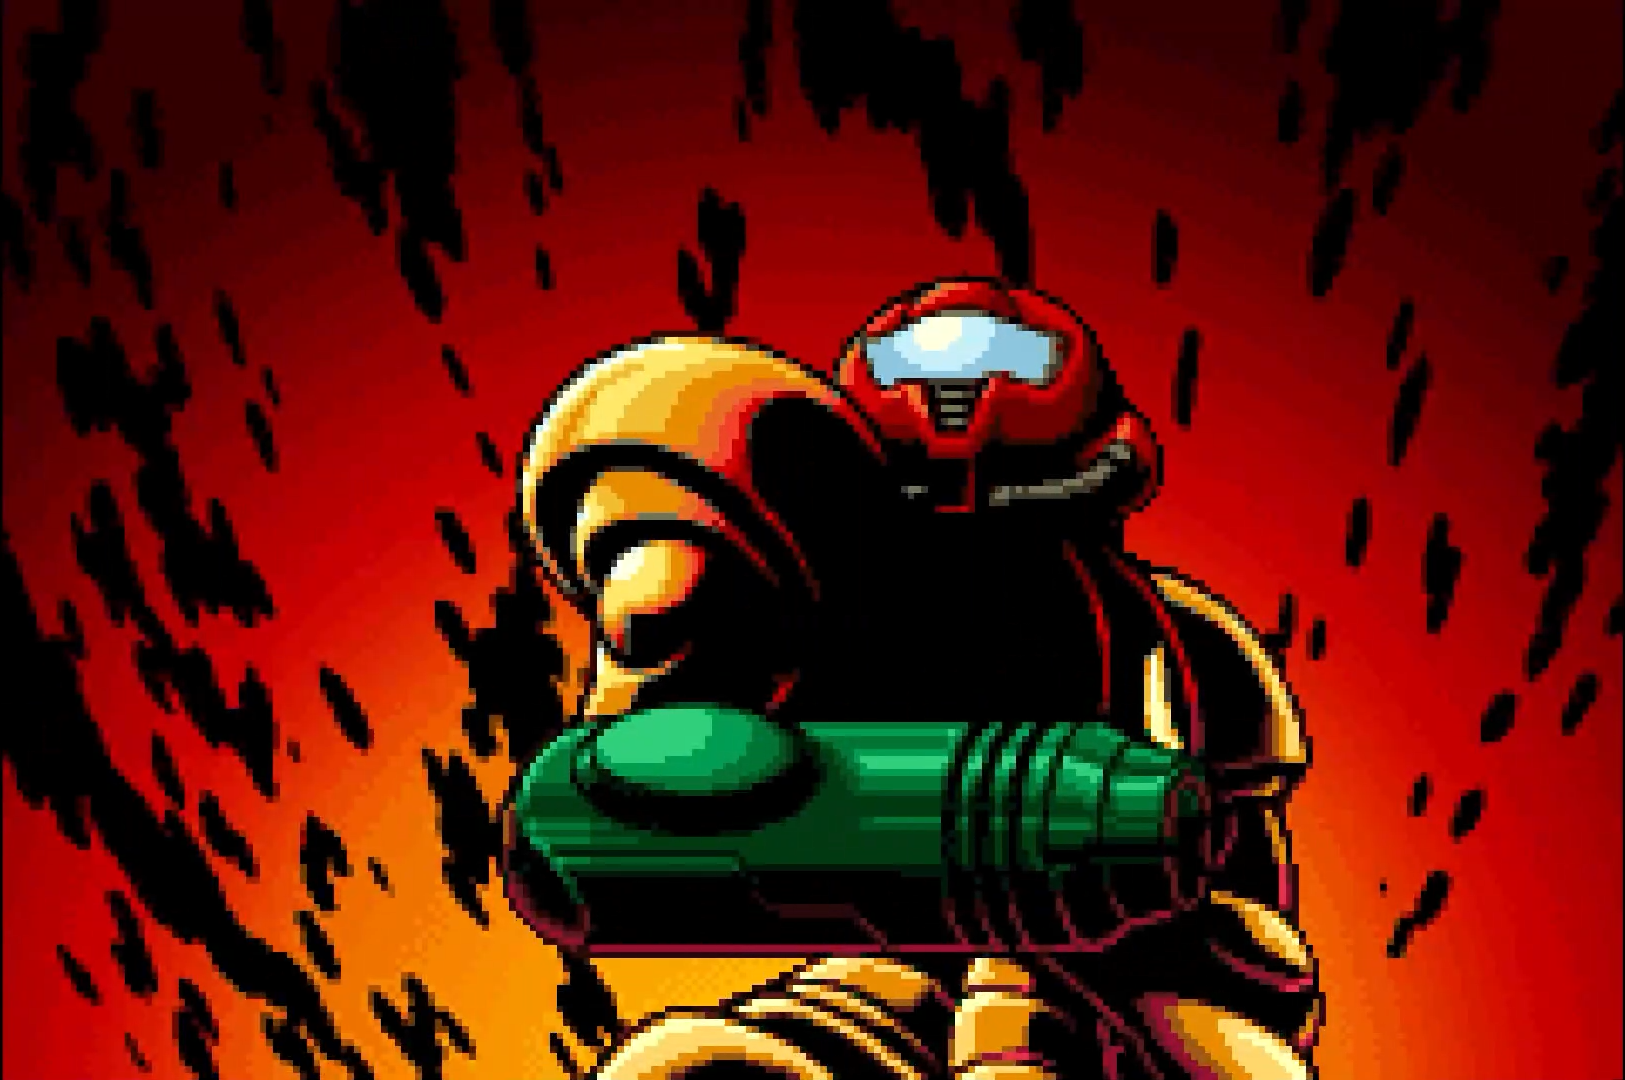
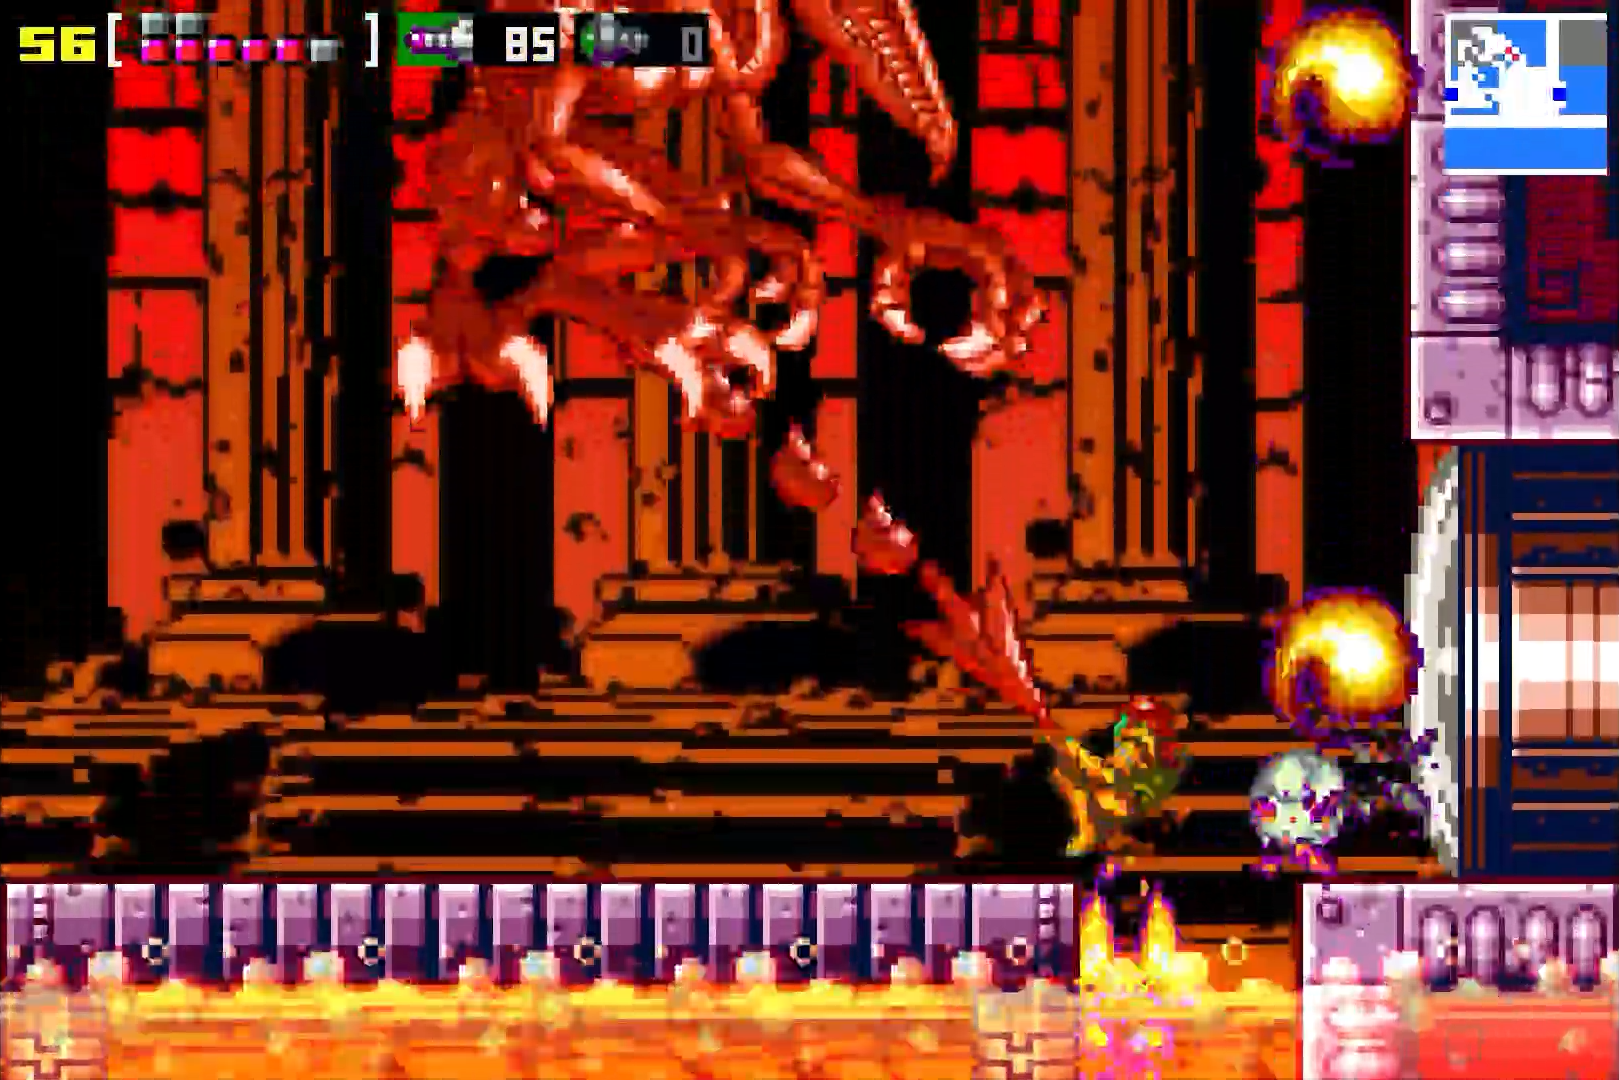
HERE WE GO! Falling from the skies (in an incredible cutscene) is the Cunning God of Death, General of the Space Pirates, and Samus’s fiercest rival: Ridley!
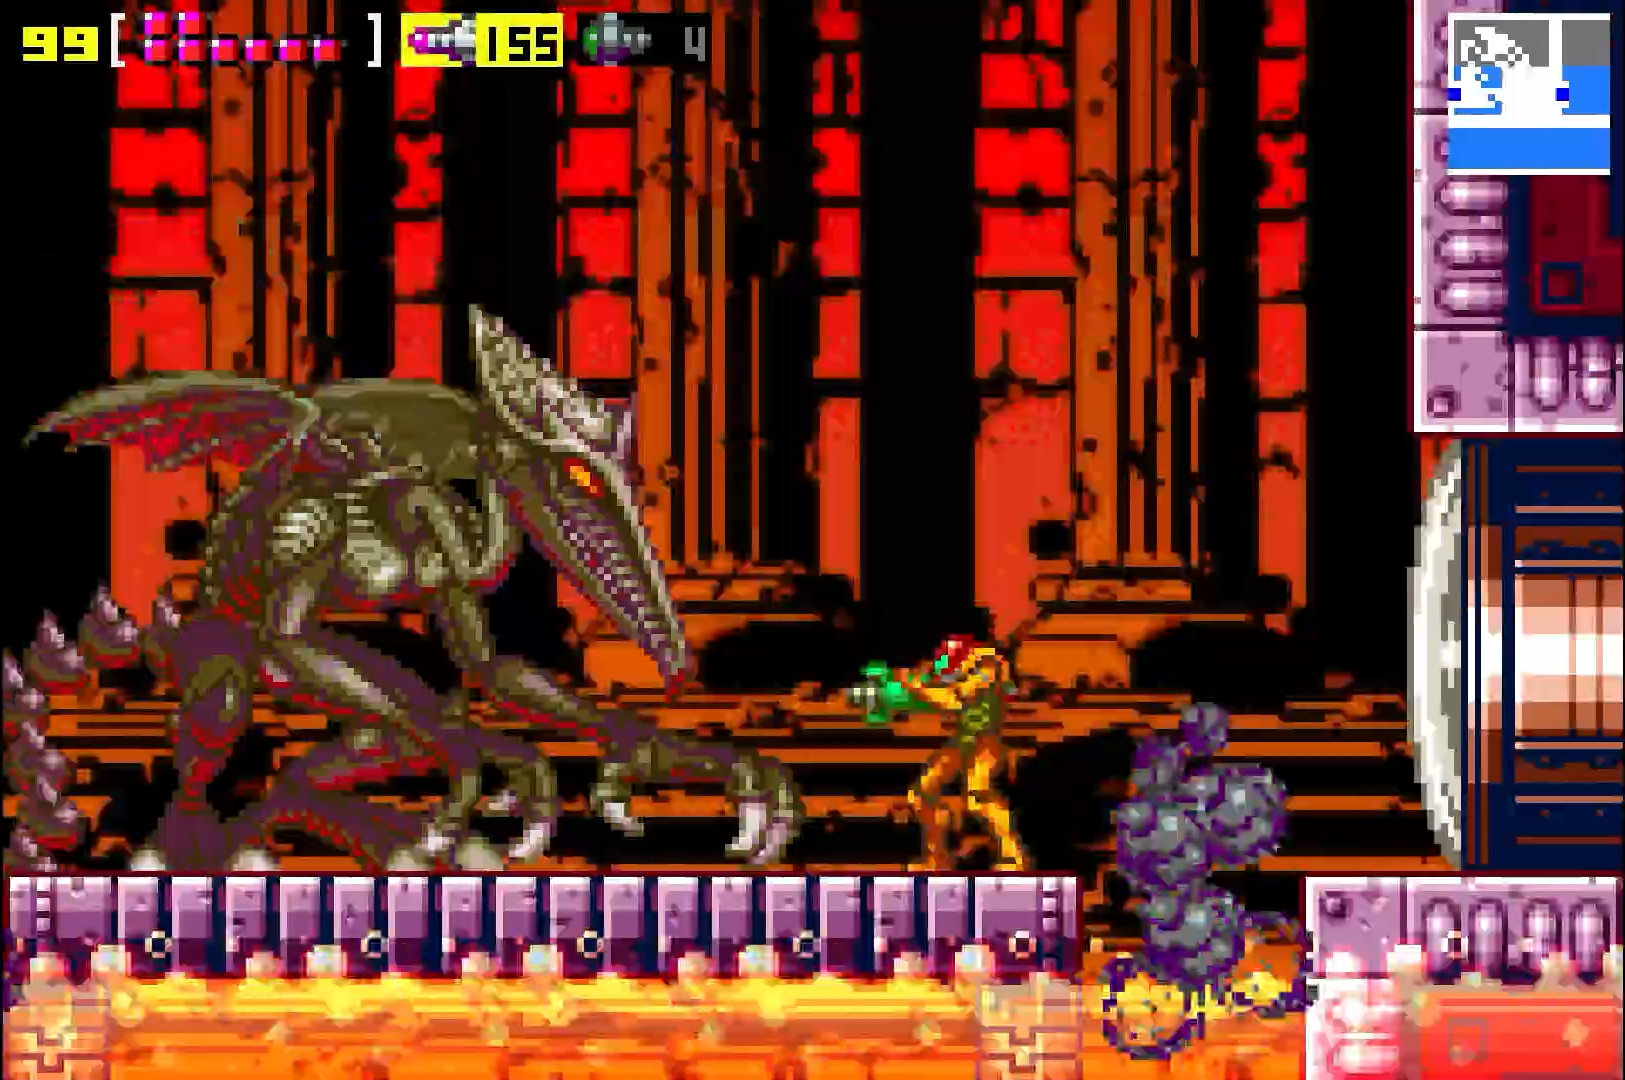
If you’ve played Super Metroid previously, you’re in luck, since this battle is almost identical, with a key exception being that Zero Mission’s Ridley takes far fewer missiles to defeat. That’s no reason to get sloppy, however, so let’s take a deep look at Ridley.
The first thing you need to know is, like many other battles against Ridley in the series, this isn’t a boss you have to think too hard about damaging. There’s no weak point, no series of moves needed to make him vulnerable; you just need to hit Ridley. The only part of the Space Dragon you’ll want to avoid firing at is his tail. His tail is completely invulnerable, and it moves around at such an erratic pace that shooting anywhere on his backside is just a waste, so concentrate your fire towards the front side of Ridley. Another thing – don’t be conservative with your regular missiles! We’ve gone out of our way to collect a bunch of missile expansions, and this is the time to use them! This battle will be a sprint, not a marathon, and you’ll take damage, so just make sure that you’re dishing out more than you’re taking. One thing to note though – save your Super Missiles! I’ll tell you when to use them for maximum effect, so don’t waste them at the beginning.
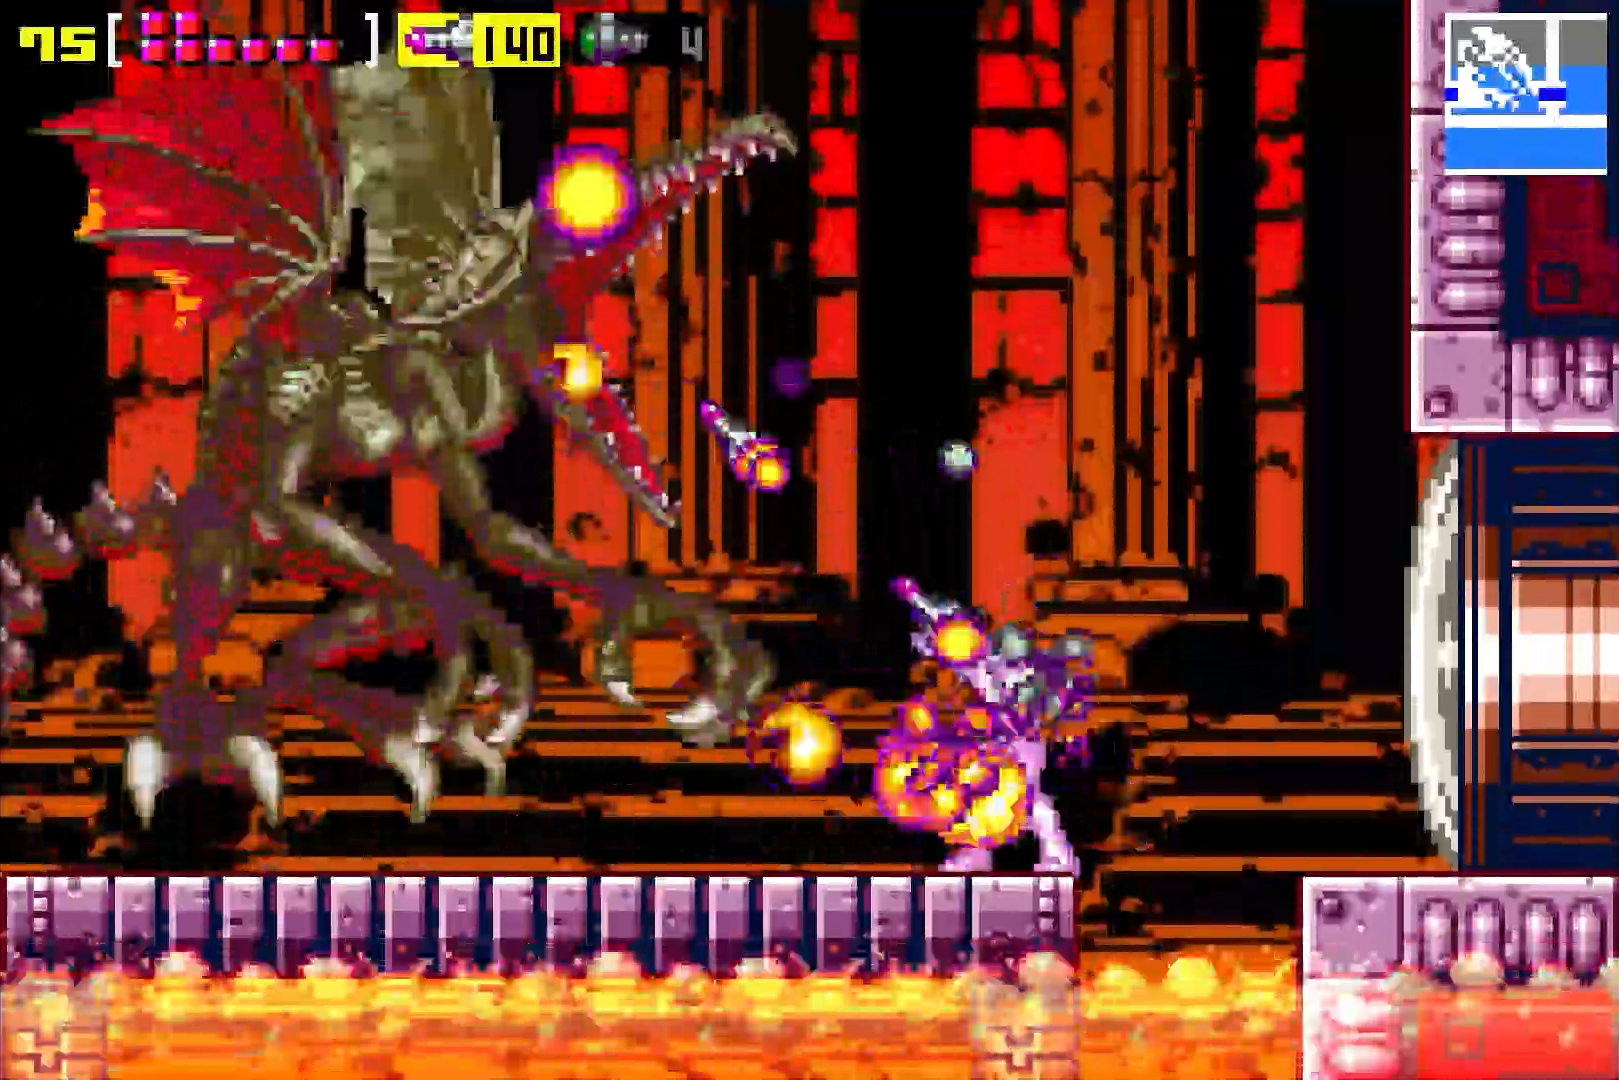
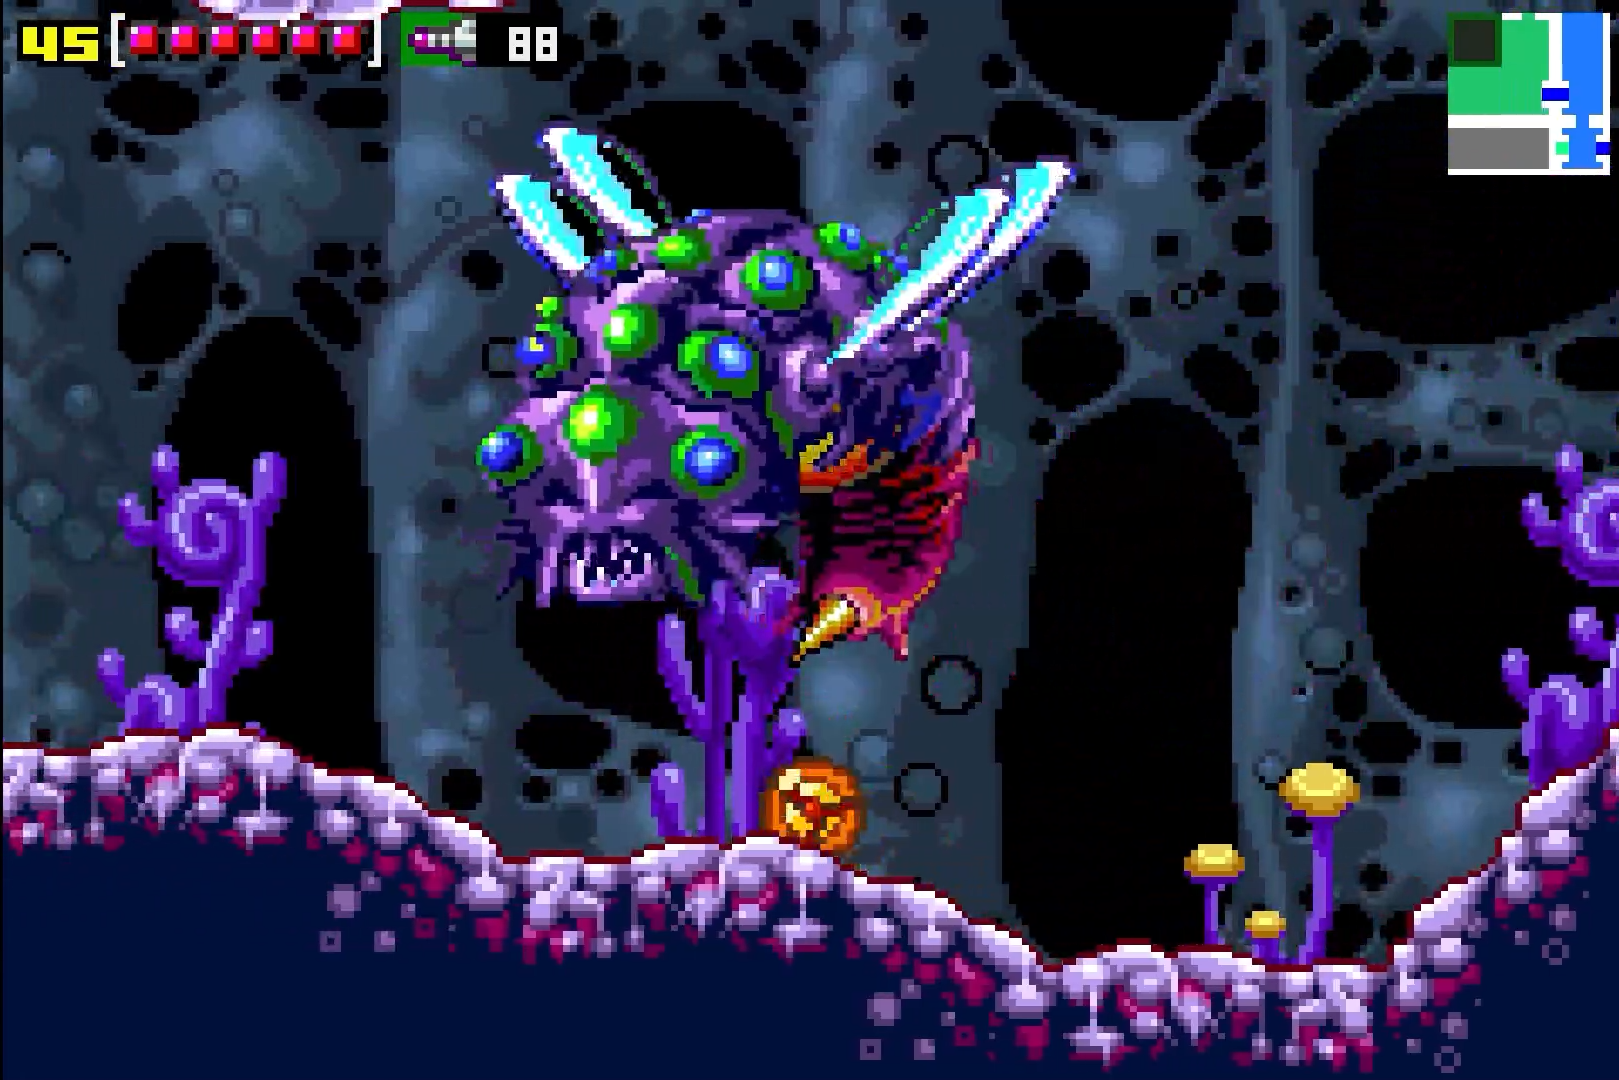
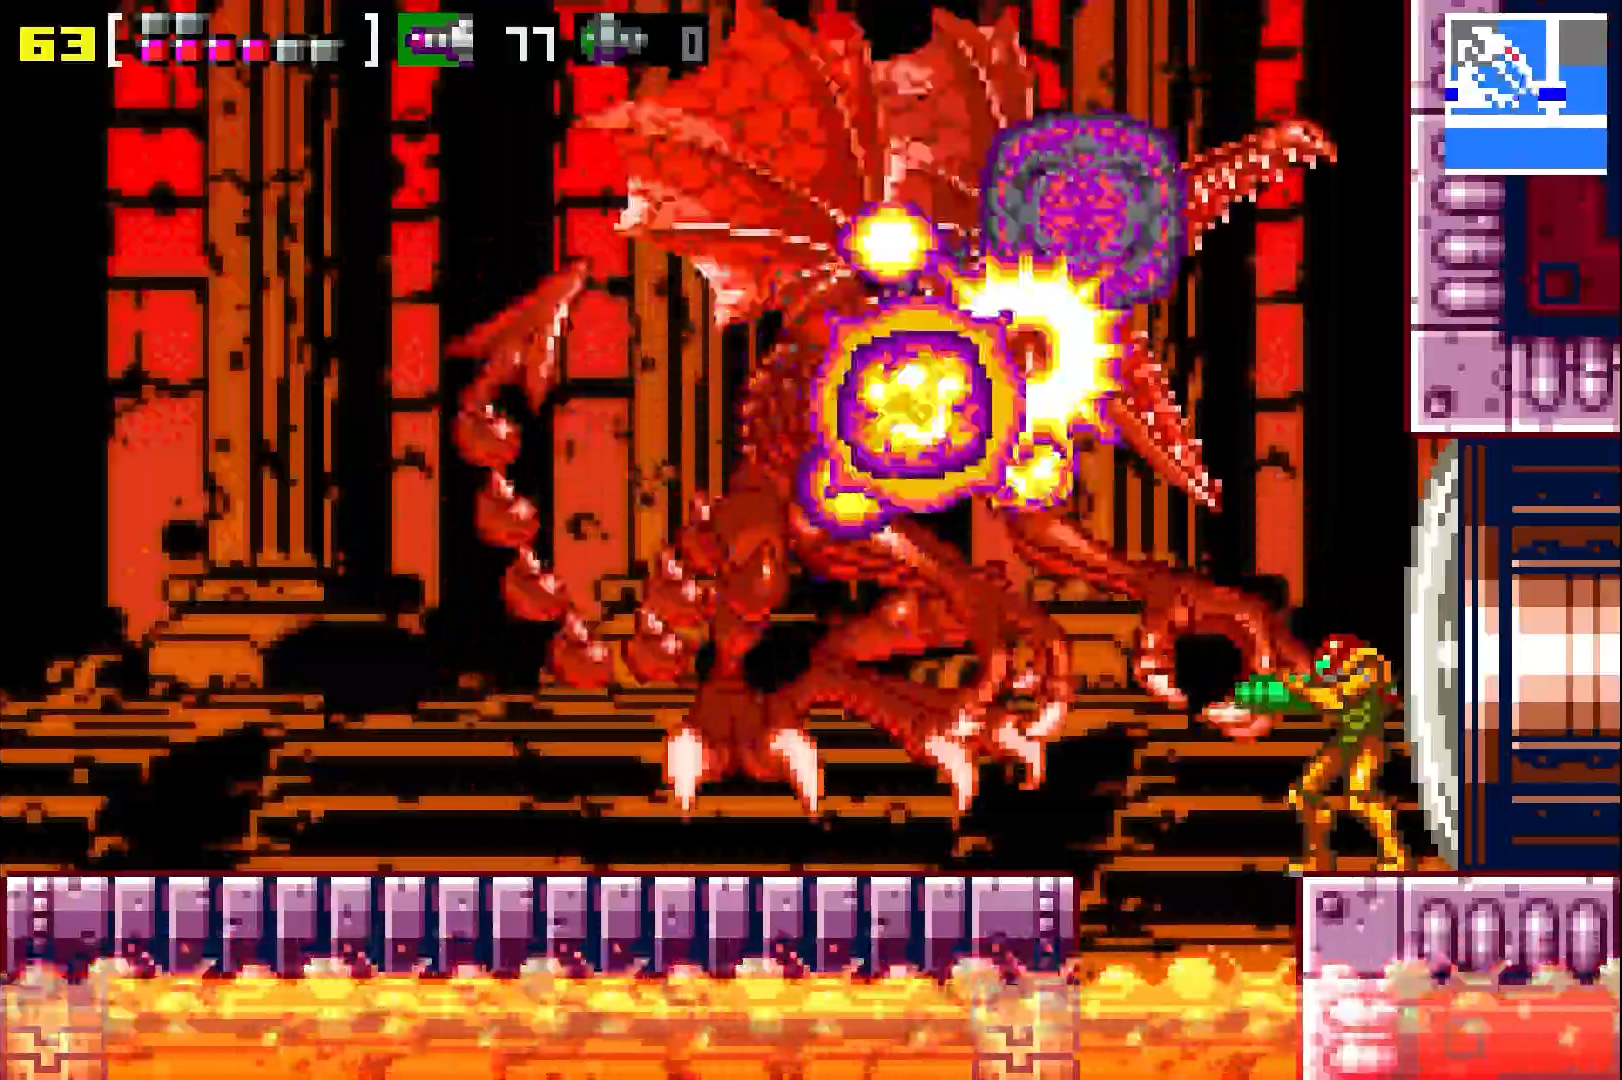
Ridley won’t just let us hit him of course, so let’s take a look at his attacks, and how we can actually turn one of his most fearsome attacks against him! First off – as is probably appropriate for a dragon, Ridley is going to use fire extensively to damage you. There are two different ways that he’ll spit out fireballs; the first is by shooting out smaller fireballs that travel in a wavy kind of pattern towards you. Avoid those as best you can, but it is a little tricky. Basically, just try and run under or around him. The second fireball attack is a little easier to dodge, luckily. Ridley will shoot out five or six bigger fireballs that travel in more of a straight line, making them easier to jump through. It’s worth noting also that either side of the arena has an opening in the floor with a bunch of lava under it, so don’t go falling in!
As mentioned earlier, Ridley’s tail can be a nuisance, and avoiding it is important, since it deals massive damage. Ridley’s tail will be swinging in circles, stabbing, flailing, and just going crazy in general, so keep an eye on it and try and keep your distance as best you can from it. Ridley will also use his tail to perform his trademark “pogo” attack – essentially, this is where Ridley points his tail downwards like a big sword and starts bouncing around trying to stab you in the head. Ouuuch. The Pogo is easy enough to avoid, however; you just need to have your timing right. When Ridley bounces back up, quickly run underneath him to the other side. Typically, Ridley will start his Pogo attack with his backside facing you, so if you can run under and get to the front, you’ll have a couple seconds to serve him a nice helping of missiles with a side order of charge beam.
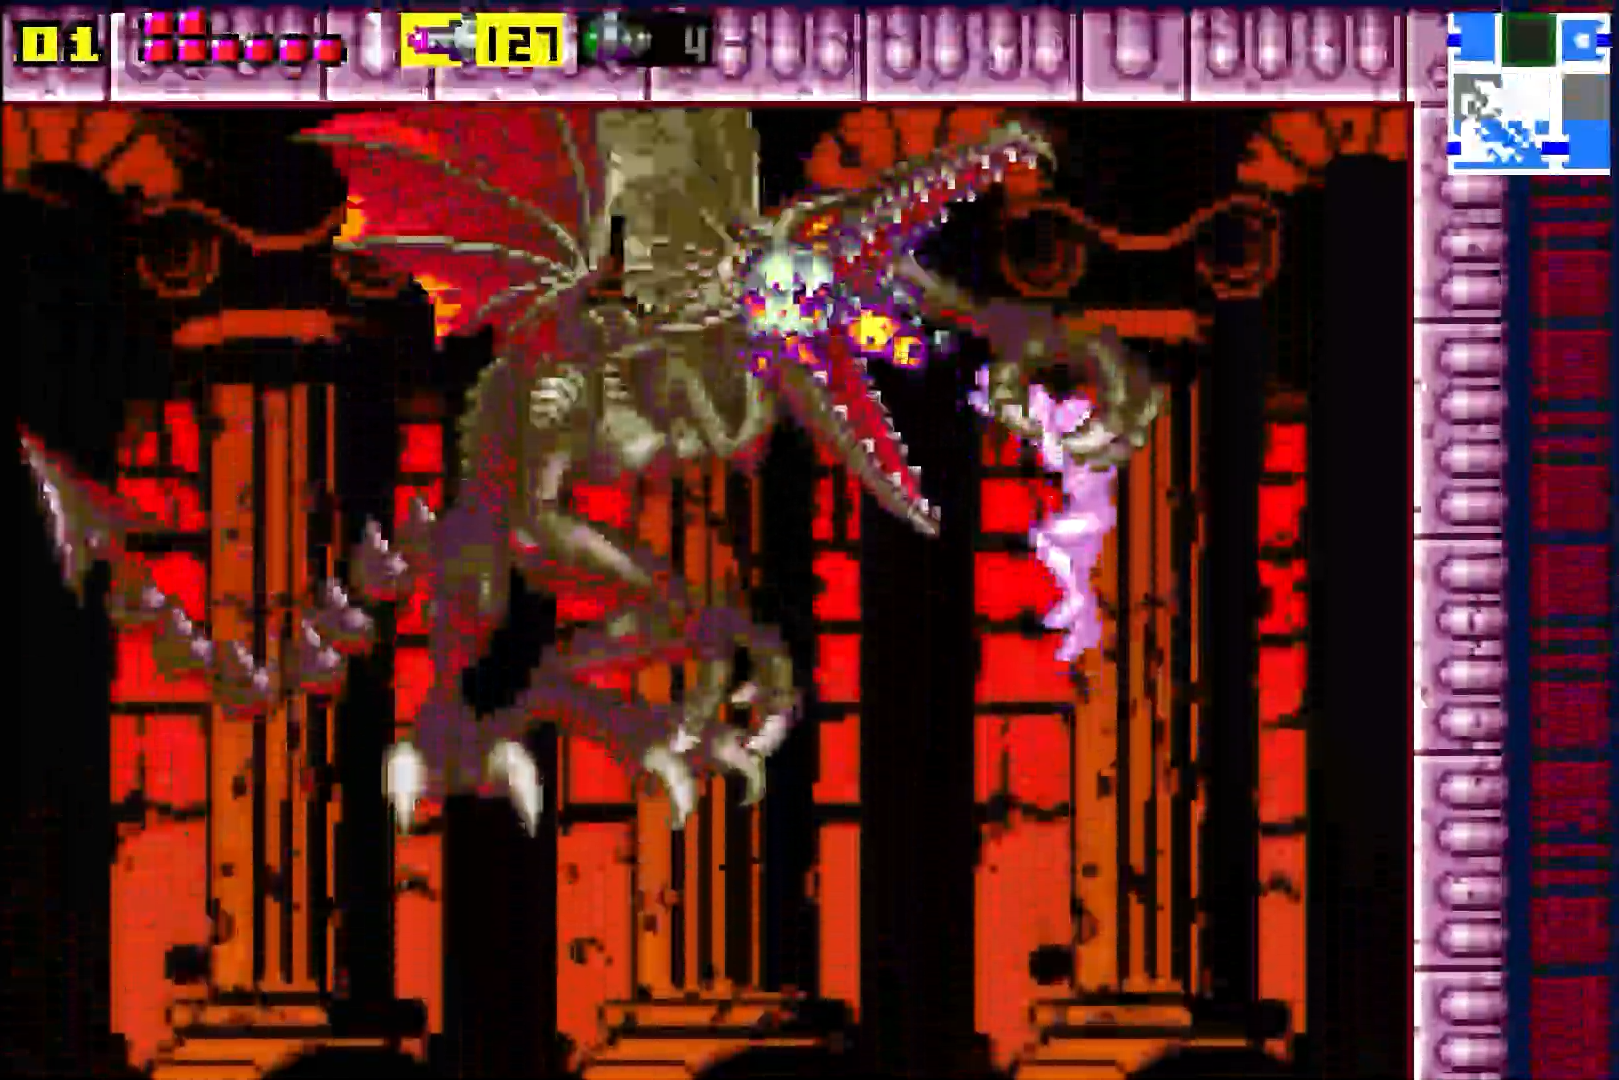
His last attack involves picking you up with his claws, flying to the top of the battlefield, and shooting fireballs literally right in your face. This sounds pretty devastating, and it can be, but this is actually a great opportunity. As I mentioned earlier, we want to deal out more damage than we receive, and if you saved your Super Missiles like I suggested, now’s the time to use them. The battle with Ridley can be fairly chaotic, with a lot of movement in a small arena, Ridley’s tail going nuts, and lots of moving parts; this can make aiming a bit tricky, and when it comes to Super Missiles, we want to make these count. Fortunately for us, when Ridley picks you up and starts shooting at you, he himself stops moving and everything generally comes to a standstill. While he’s holding you, activate your Super Missiles and fire them directly into Ridley’s face as he’s pelting you with fireballs. Six direct shots with Super Missiles will put Ridley on the brink of death, which makes the damage that you took while he grabbed you totally worth it.
You can repeat this strategy again with regular missiles if you have enough health. If that play is a bit too risky, just keep avoiding all of Ridley’s attacks as best you can and pummelling him with missiles. Worth noting though is that the longer this battle goes, the worse off you’ll be. My suggestion here is the best defense is a good offense, so a degree of risk to accomplish that won’t be the worst thing, cause either way, you’re going to be taking heavy damage.
Keep it up, and in due time, Ridley will be destroyed.
Exiting Ridley’s Lair
Whew… that was quite the battle. Unfortunately, there’s no rest for the wicked, so let’s get moving. From the Ridley room, press towards the right, back to the Save Station, and then keep heading all the way right, until you’re in the long vertical hallway at the far right-hand side. There are a couple hidden expansions here, but without certain powerups, they’re much harder to acquire than is necessarily, so we’ll just come back. Scale up the vertical hallway, blasting away the object block and exiting through the top left door.

You’ll be in a new room with a tube in the centre that those annoying little bugs will fly out of. Stand on the left side of the platform where the tube is, and as the bug is flying out, wait for it to be by you on the left, shoot it to freeze it, jump on top of it, and use it as a nice stepping stool to grab the upper ledge. Pull yourself over to grab MISSILE EXPANSION #38. This is the last thing you need in Ridley’s Lair for now, so when you’re ready, take the elevator up to Norfair.