Metroid: Samus Returns Walkthrough: Super Missile Expansions By Area
Here you’ll find the location for every Super Missile Expansion in Metroid: Samus Returns, as well as detailed explanations on how to get them and what powerups you’ll need. Expansions have been listed by area. For a list of expansion by game progression, click here.
Super Missiles by Area:
Surface Area
Super Missile Expansion #10
Location: Surface Area (Second Visit)
Requirements: Plasma Beam
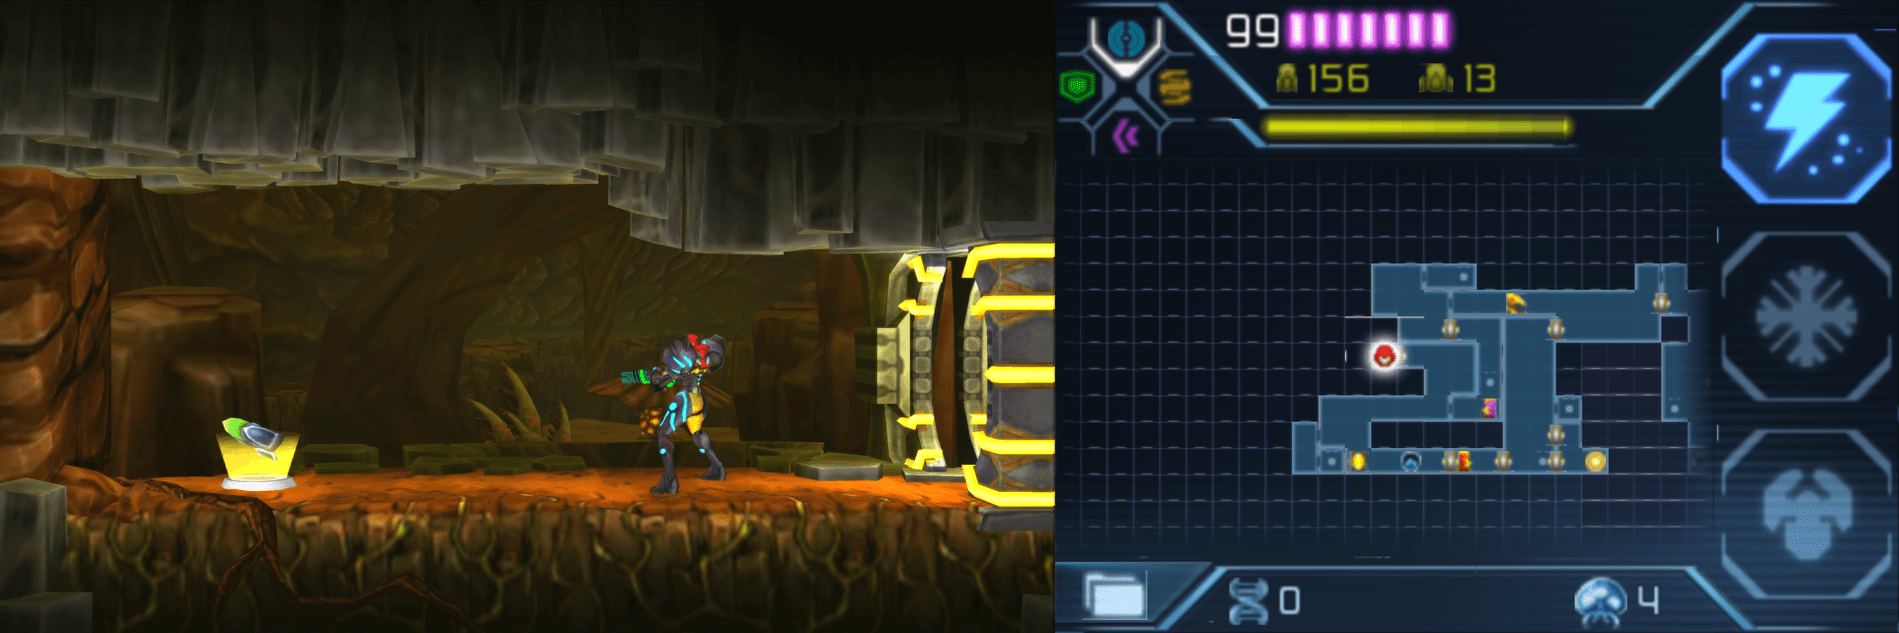
Make your way towards the Energy Recharge Station on the lower west side of the Surface; there should be a door just one room over with Gryncore on it; destroy it with the Plasma Beam, walk in the room, and grab SUPER MISSILE EXPANSION #10.
Super Missile Expansion #16
Location: Surface Area (Third Visit)
Requirements: Lightning Armor, Grapple Beam
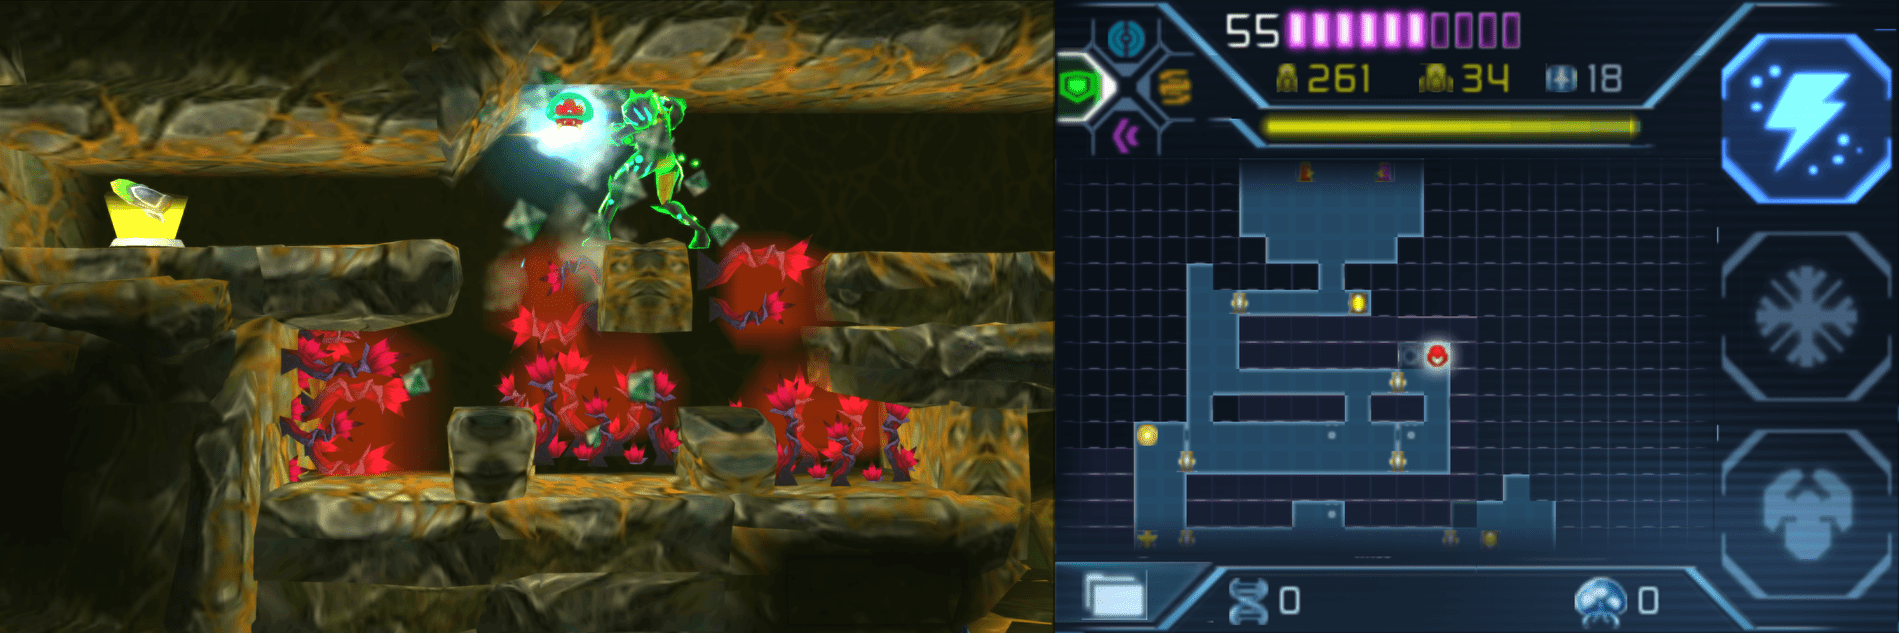
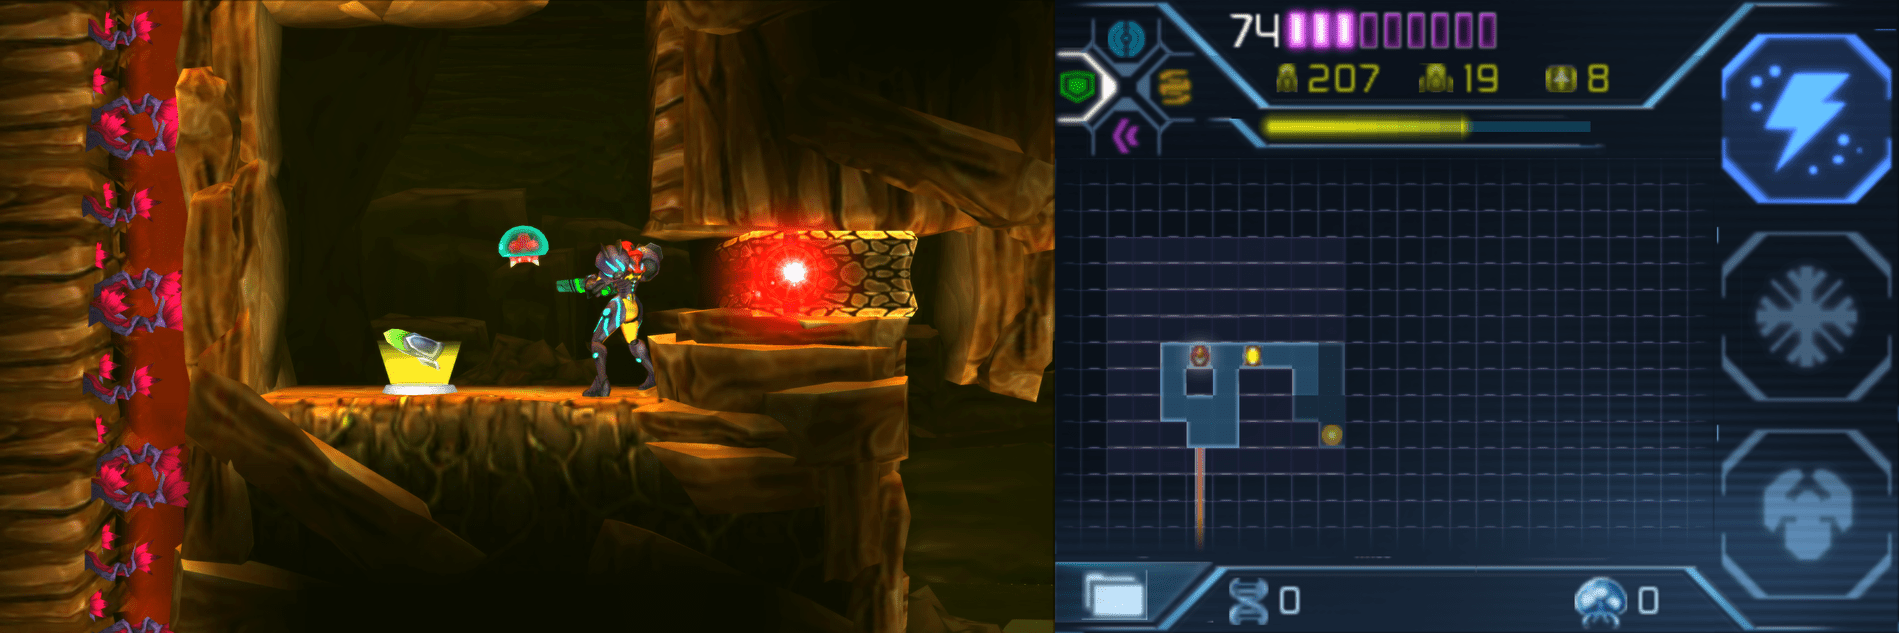
After reaching the Surface from Area 8, jump upwards and take the first left that you see, almost directly above the elevator. There will be a bunch of red weeds on the left side wall; get that Lightning Armor going and jump up the tunnel until you reach the top. Destroy the red Grapple block and grab SUPER MISSILE EXPANSION #16.
Super Missile Expansion #17
Location: Surface Area (Third Visit)
Requirements: Space Jump, Power Bomb
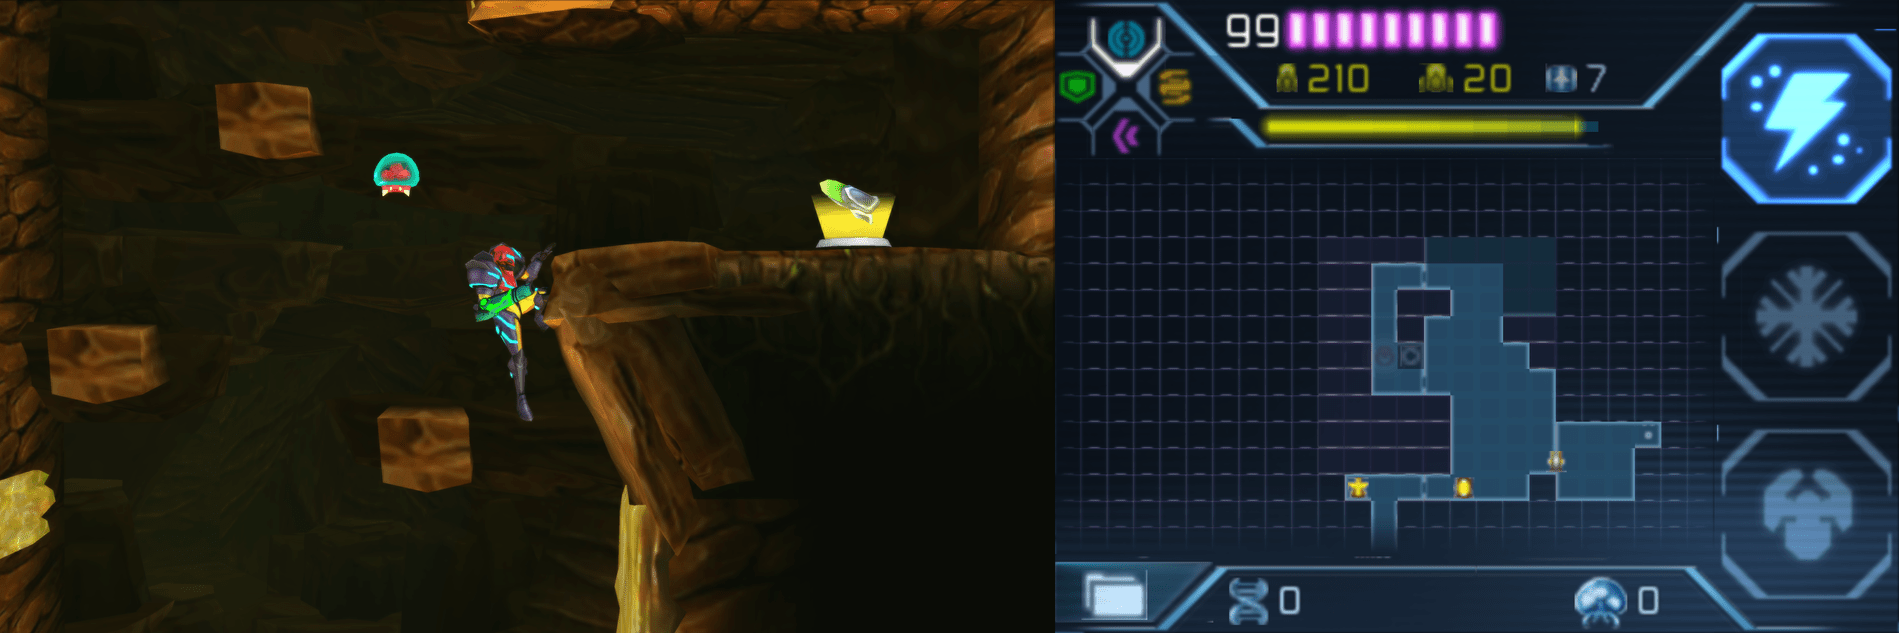
Head to the Save Station on the leftside of the Surface (opposite the Spazer Beam door) and then start Space Jumping upwards until you see a little ledge on the left side cliff that’s just big enough for you to stand on. Lay a Power Bomb and a little alcove will now open up with a shaft that will take you down closer to the surface. Jump down, but don’t just fall – every single platform here is a pitfall block! Slowly Space Jump your way to the bottom and on the right side, you’ll see a little nook you can jump into that’s housing SUPER MISSILE EXPANSION #17.
Area 1
Super Missile Expansion #11
Location: Area 1 (Second Visit)
Requirements: Gravity Suit, Super Missiles
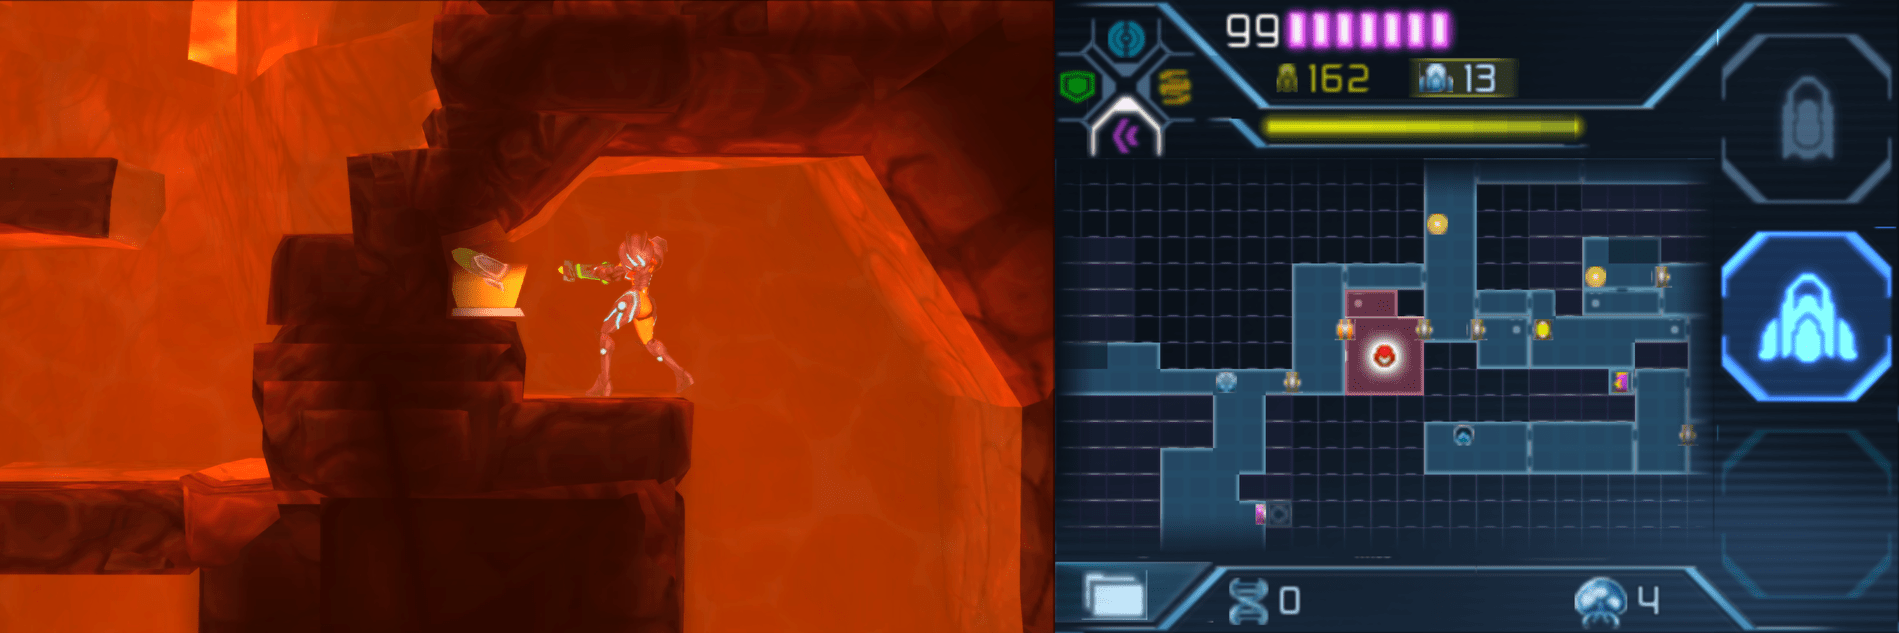
Enter the hot zone, fully submerge yourself in the lava, and you’ll see a little opening where you can jump up and stand on. There will be a Super Missile block in the lefthand wall, so blast it way and nab SUPER MISSILE EXPANSION #11.
Super Missile Expansion #18
Location: Area 1 (Third Visit)
Requirements: Baby Metroid, Missiles
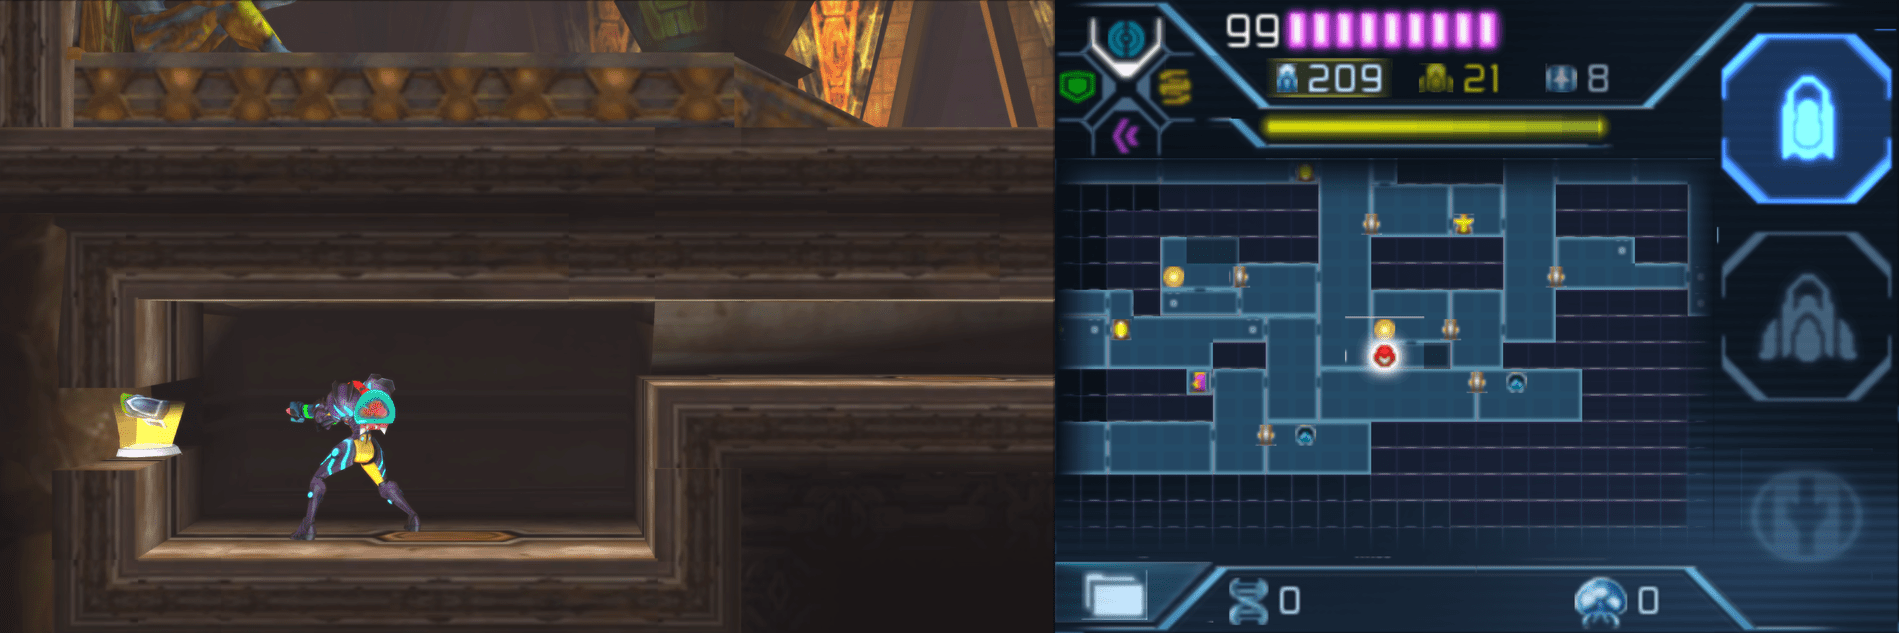
Get yourself over to the room you grabbed the Ice Beam in. Bomb the floor and drop down into a little crevice and roll to the left. The Baby will break away the crystals blocking your path, so once it’s done, scoot inside and fire a regular missile at the wall. Doing so will break a missile block that’s hiding SUPER MISSILE EXPANSION #18!
Area 2
Super Missile Expansion #18
Location: Area 1 (Third Visit)
Requirements: Baby Metroid, Missiles
Get yourself over to the room you grabbed the Ice Beam in. Bomb the floor and drop down into a little crevice and roll to the left. The Baby will break away the crystals blocking your path, so once it’s done, scoot inside and fire a regular missile at the wall. Doing so will break a missile block that’s hiding SUPER MISSILE EXPANSION #18!

Super Missile Expansion #19
Location: Area 2 (Second Visit)
Requirements: Super Missiles, Bombs
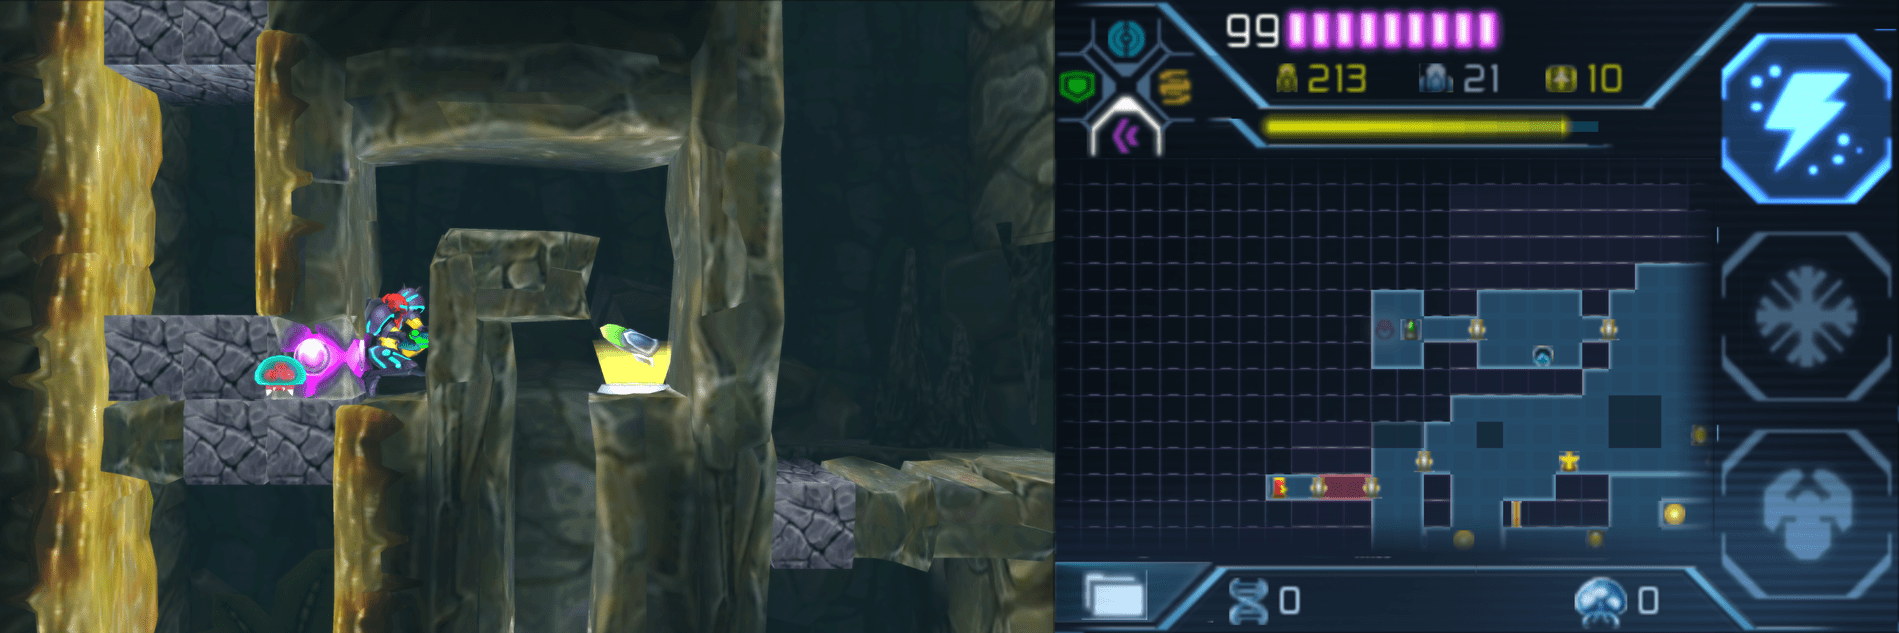
Space Jump across the cavern and get to the room you fought an Alpha Metroid in earlier in the top left corner. You might remember that there was a green blast shield we couldn’t destroy earlier, but that will pose no problem now! Destroy the shield and enter the next room. Jump up to the top tunnel and slowly and carefully bomb your way down; tuck into the tunnel about halfway down and you’ll be able to grab SUPER MISSILE EXPANSION #19.
Super Missile Expansion #20
Location: Area 2 (Second Visit)
Requirements: Baby Metroid, Bombs
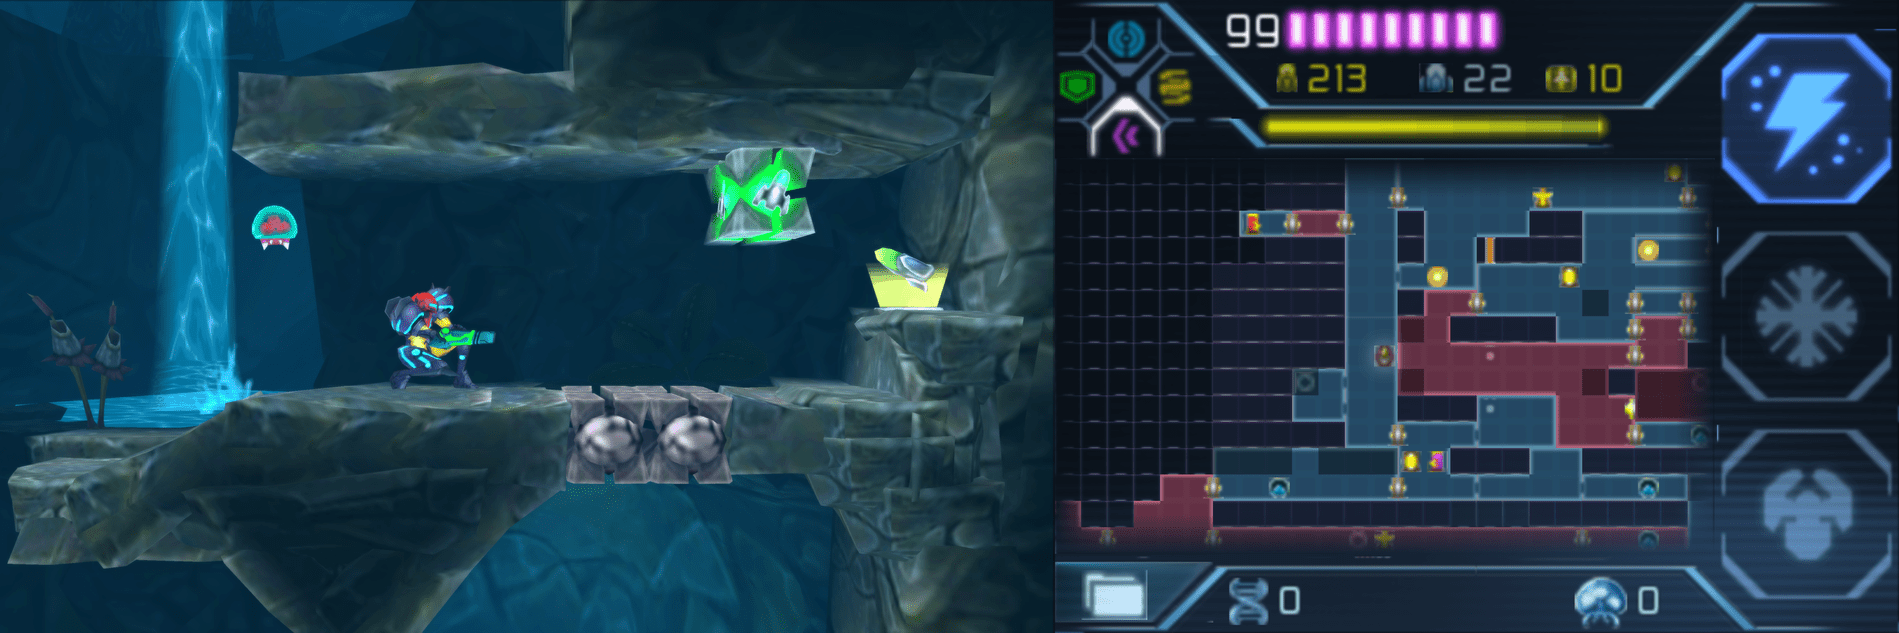
Get to the long shaft room on the westside of Area 2 (there’s a hot zone that leads to a Missile Recharge Station in this room if you need a visual reference to use on your map!). Once there, drop down until you see a couple of crystals on the right-side wall. Have the Infant destroy them and then Spider Ball it across the roof the now-opened up area. Lay a bomb and SUPER MISSILE EXPANSION #20 will reveal itself.
Super Missile Expansion #21
Location: Area 2 (Second Visit)
Requirements: Screw Attack, Bombs
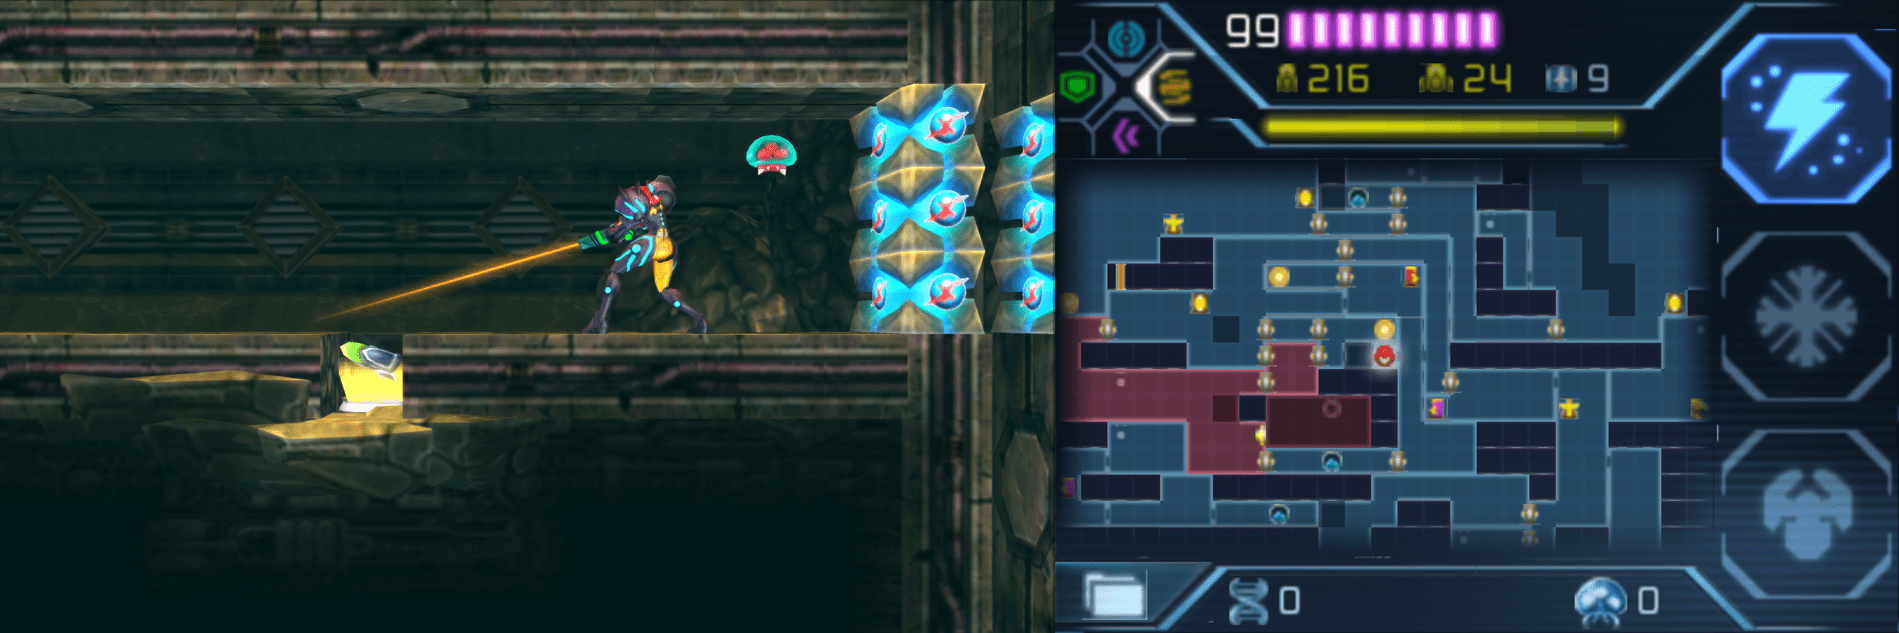
Get yourself back into the room you acquired the Varia Suit in. Directly under the statue is a small opening that you can access using your Screw Attack. Once you’re there, use your Scan Pulse to reveal a block on the floor that you can bomb. Destroy it and SUPER MISSILE EXPANSION #21 will be unearthed.
Area 3
Super Missile Expansion #22
Location: Area 3 (Second Visit)
Requirements: Phase Drift, Missiles
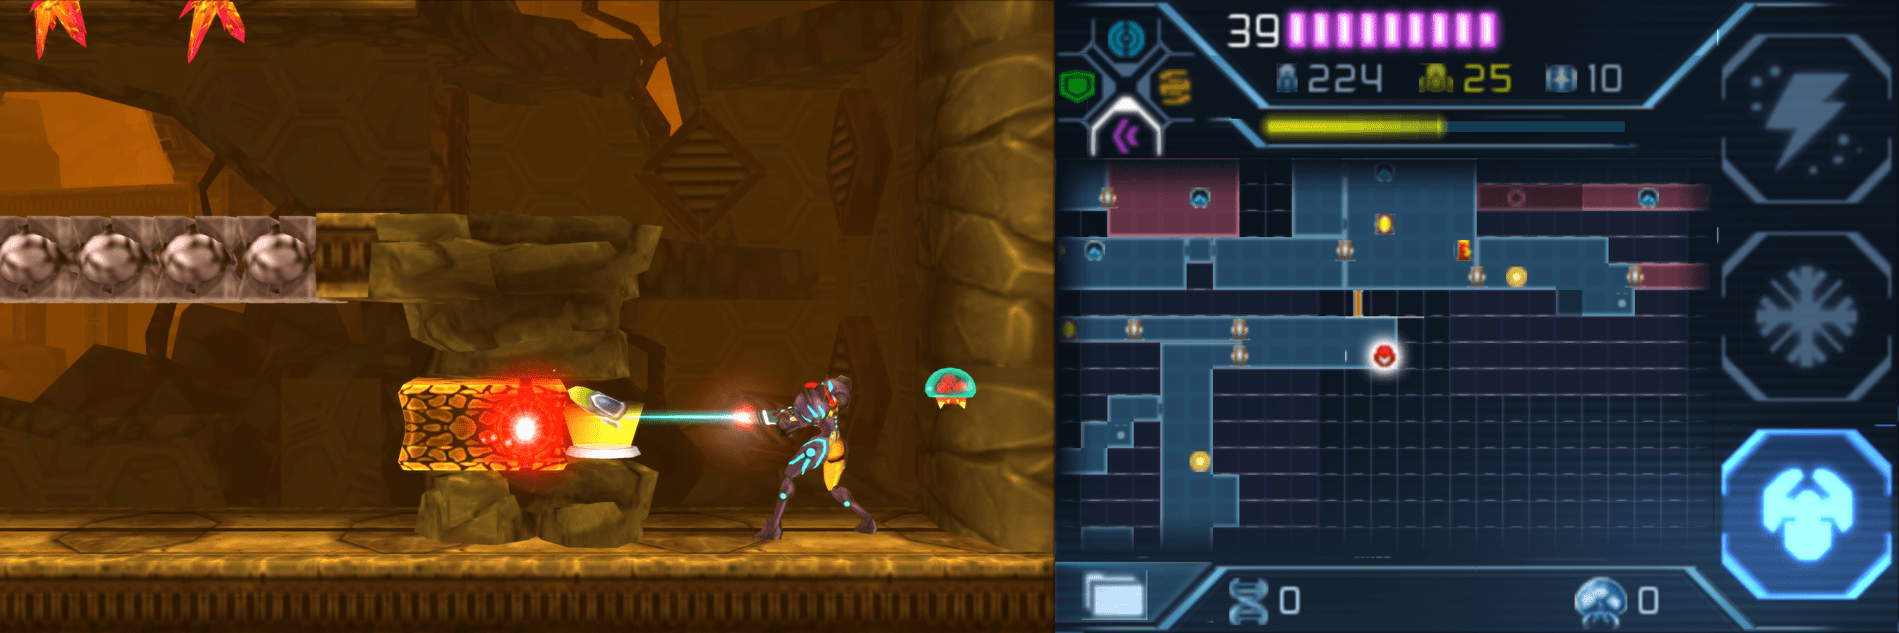
Get yourself to the far east room that has an elevator that connects to the upper section of Area 3. This room has the bridge of pitfall blocks and a bunch of orange spikes at the top. Now that we have our Phase Drift, this will be no problem-o. Activate the Drift, run across, and fire a missile at the wall directly next to the red Grapple block. You’ll destroy a hidden missile block, which will leave SUPER MISSILE EXPANSION #22 ripe for the taking! Once you’re done, take the upper door and ride the elevator up.
Super Missile Expansion #23
Location: Area 3 (Second Visit)
Requirements: Gravity Suit, Grapple Block, Super Missile
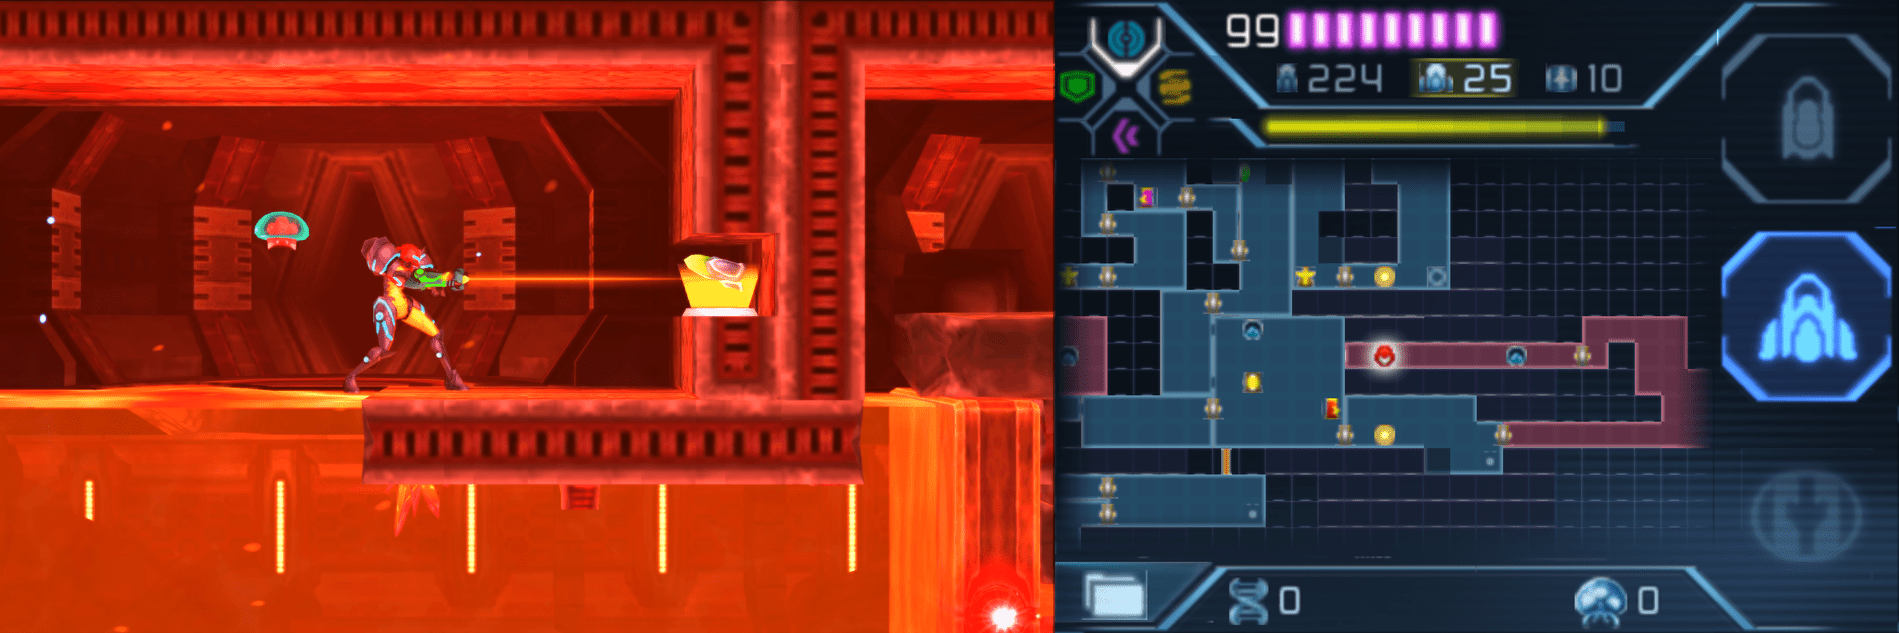
Get into the easternmost hot zone.Your Gravity Suit will just allow you to quickly run through lava, so get back to where you fought the Alpha Metroid from earlier, and then press forward from there. Jump into the lava, yank the big Grapple block towards you, and then slip through that opening back into the lava. There’s a little platform up above you, so jump up and use your Scan Pulse to reveal a hidden block on the right wall behind you. Blast it with a Super Missile, and SUPER MISSILE EXPANSION #23 will be yours!
Super Missile Expansion #24
Location: Area 3 (Second Visit)
Requirements: Super Missiles, Wave Beam, Missiles, Phase Drift (recommended)
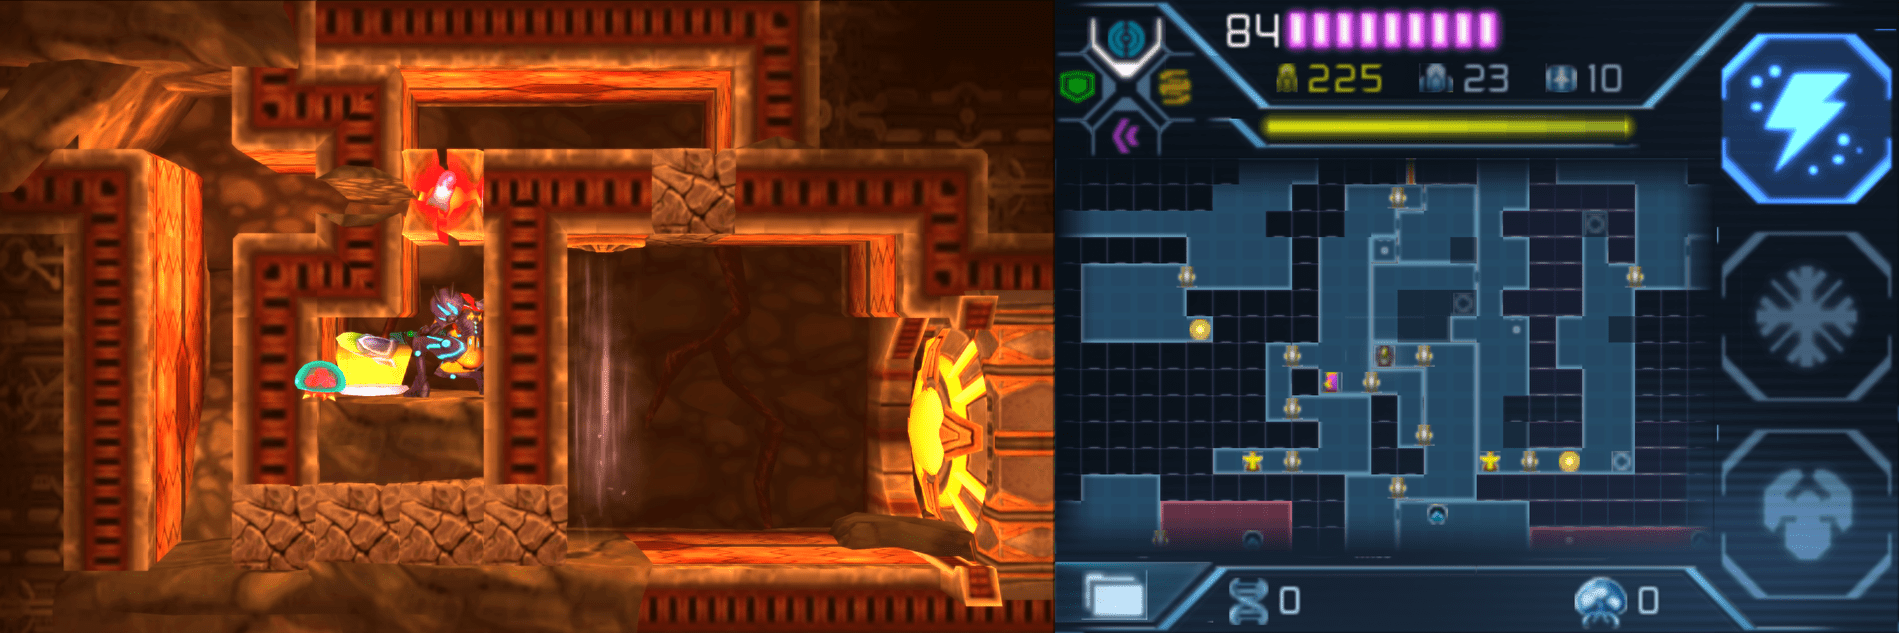
Get to the eastern room with both a Missile Recharge and a Save Station and go through the door at the top. You’ll be in yet another long shaft room (but this one at least has some cool lava-y stuff going on in the background!); jump up until you see a Morph Ball tunnel in the top right corner. Go through and then blast away the green shield covering the Blast Door; enter this new room and you’ll be greeted with a nice little puzzle to overcome.
There will be a row of regular blocks on the ground that are blocking a tunnel that you need to enter. Shoot them and roll through, jumping up to grab the ledge. Activate your Phase Drift, and then fire your beams straight ahead and then again at the four blocks on the ground; all the regular blocks will be destroyed. Now fire a missile straight ahead through the crack in the wall and you’ll destroy a missile block; now QUICKLY roll out and get through the tunnel before all of the blocks respawn and you’ll grab SUPER MISSILE EXPANSION #24! You don’t have to use the Phase Drift here, but it will help! Check out this video if you need a better visual for what to do.
Super Missile Expansion #25
Location: Area 3 (Second Visit)
Requirements: Baby Metroid (recommended), Bombs, Super Missiles
From the Mining Hall, get yourself through the lower left door and the Missile Recharge Station. Take the elevator in that room down into the lower part of Area 3. You’ll be in another large shaft, so drop down to the very bottom by the Save Station. Once you’re there, roll into the water underneath it and jump to the high right-side ledge. Drop a bomb in the tunnel and you’ll see a Super Missile block in the wall; destroy it and slip into the new room.
From here, jump up the ledge and then slip into the Morph Ball tunnels; again, there is a more intricate puzzle involved here, but since you’re coming back with the Baby Metroid, this will be nice and easy. Get to the topmost tunnel, the one not in water, and roll to the right. Drop down through the pitfall blocks and let the Baby eat away the crystals. Roll through the tunnel to grab SUPER MISSILE EXPANSION #25!
Area 4
Super Missile Expansion #1
Location: Area 4 (First Visit)
Requirements: NA
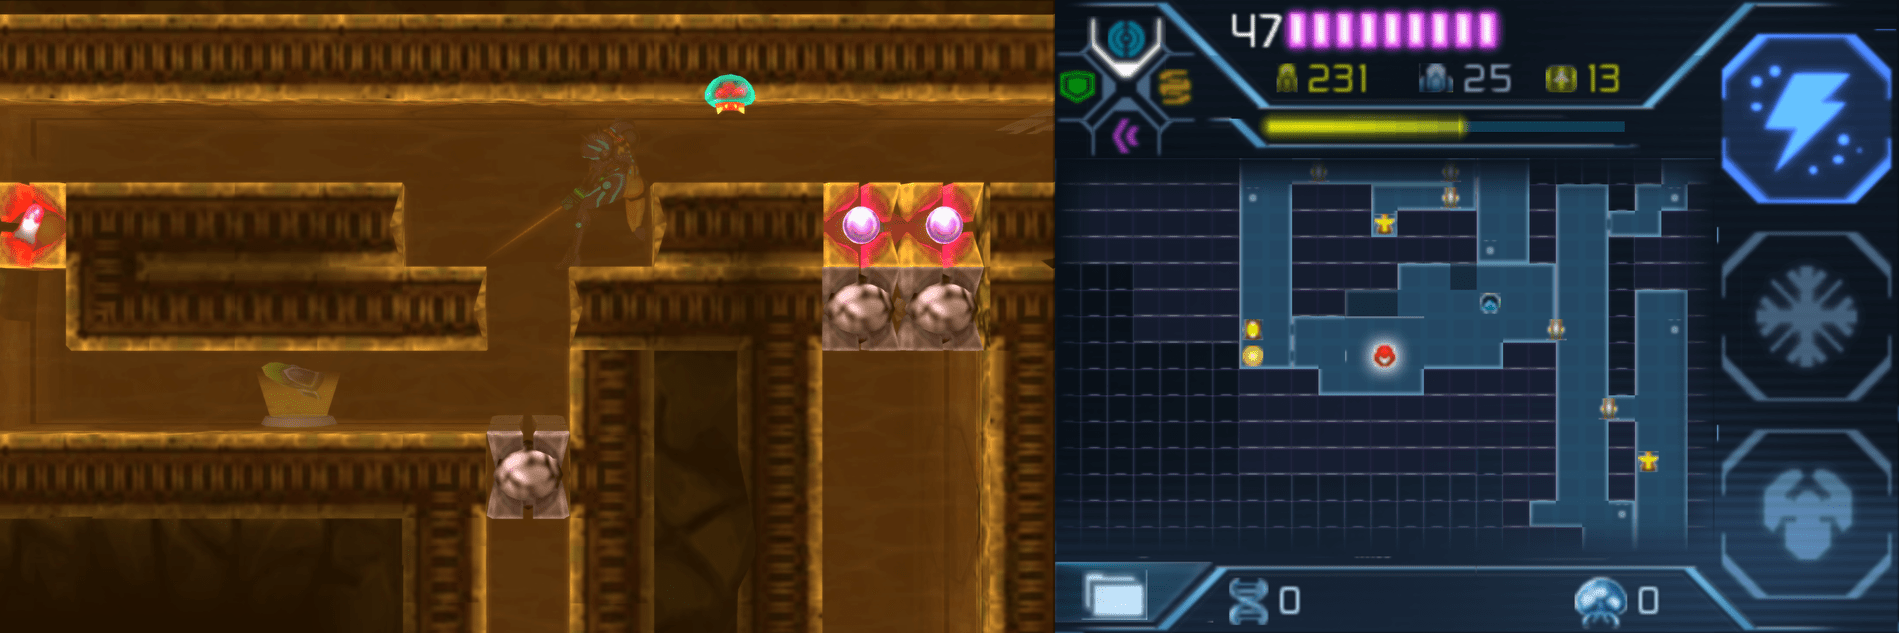
You’ll get the powerup as part of the main progression of the game! See here for an exact walkthrough and the steps needed.
Super Missile Expansion #2
Location: Area 4 (First Visit)
Requirements: Super Missile, Bombs
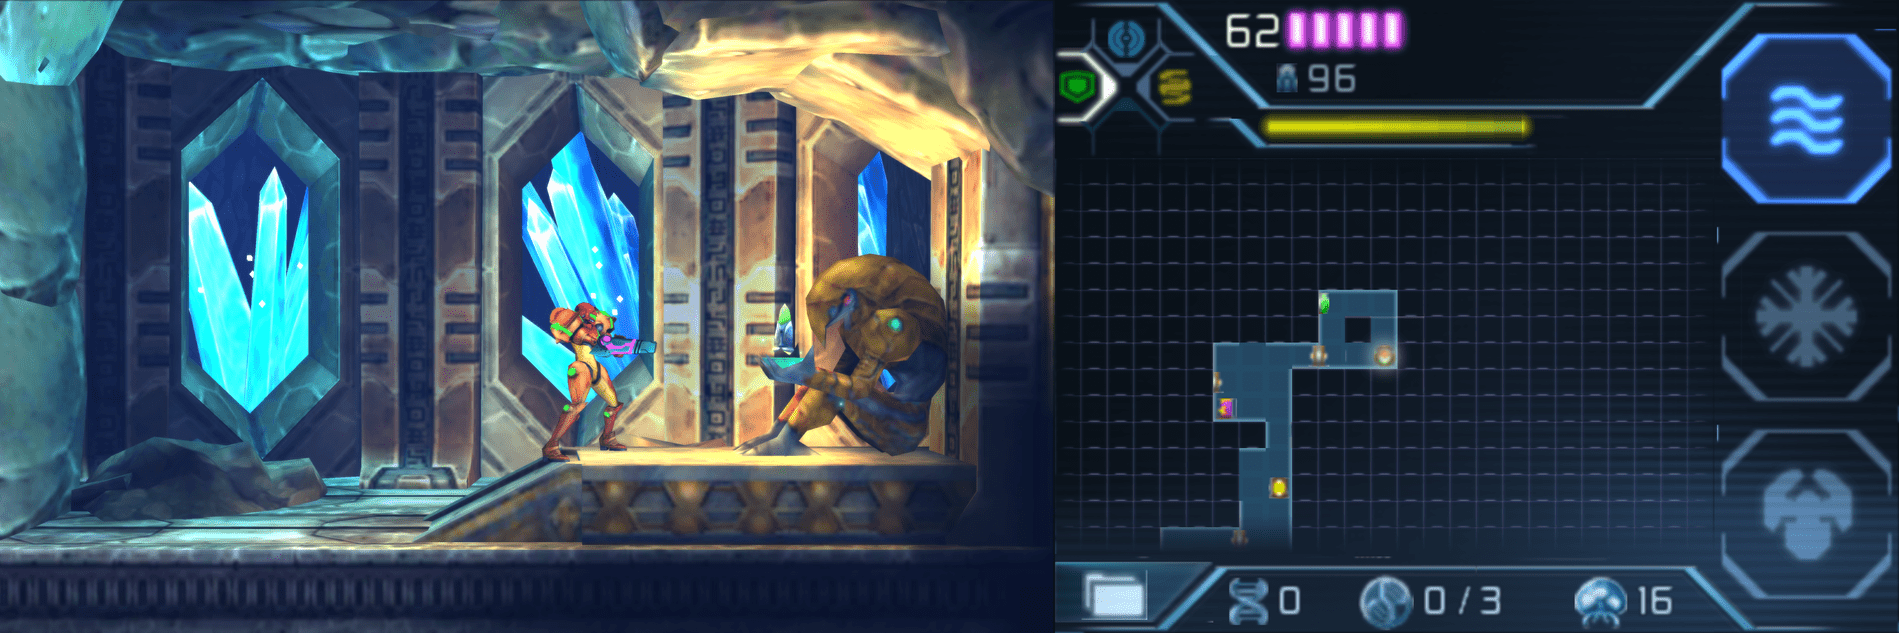
After leaving the room where you picked up the first Super Missile, continue forging upwards and when you see the giant green crystals, take the righthand path. Fight your way through the enemies and obstacles until you reach a Blast Door on the far right wall leading you into a hot zone. Press forward, and you’ll walk past another Metroid husk; continue on, and if you’re sharp eyed, you’ll see a little alcove in the wall where a Morph Ball could fit. If you were to jump in with your Morph Ball and lay a bomb, a Super Missile block would be revealed. Jump up and grab the ledge that’s directly opposite the alcove and use a Super Missile to destroy the block, and you can roll in to grab SUPER MISSILE EXPANSION #2!
Super Missile Expansion #3
Location: Area 4 (First Visit)
Requirements: Super Missiles, Grapple Beam
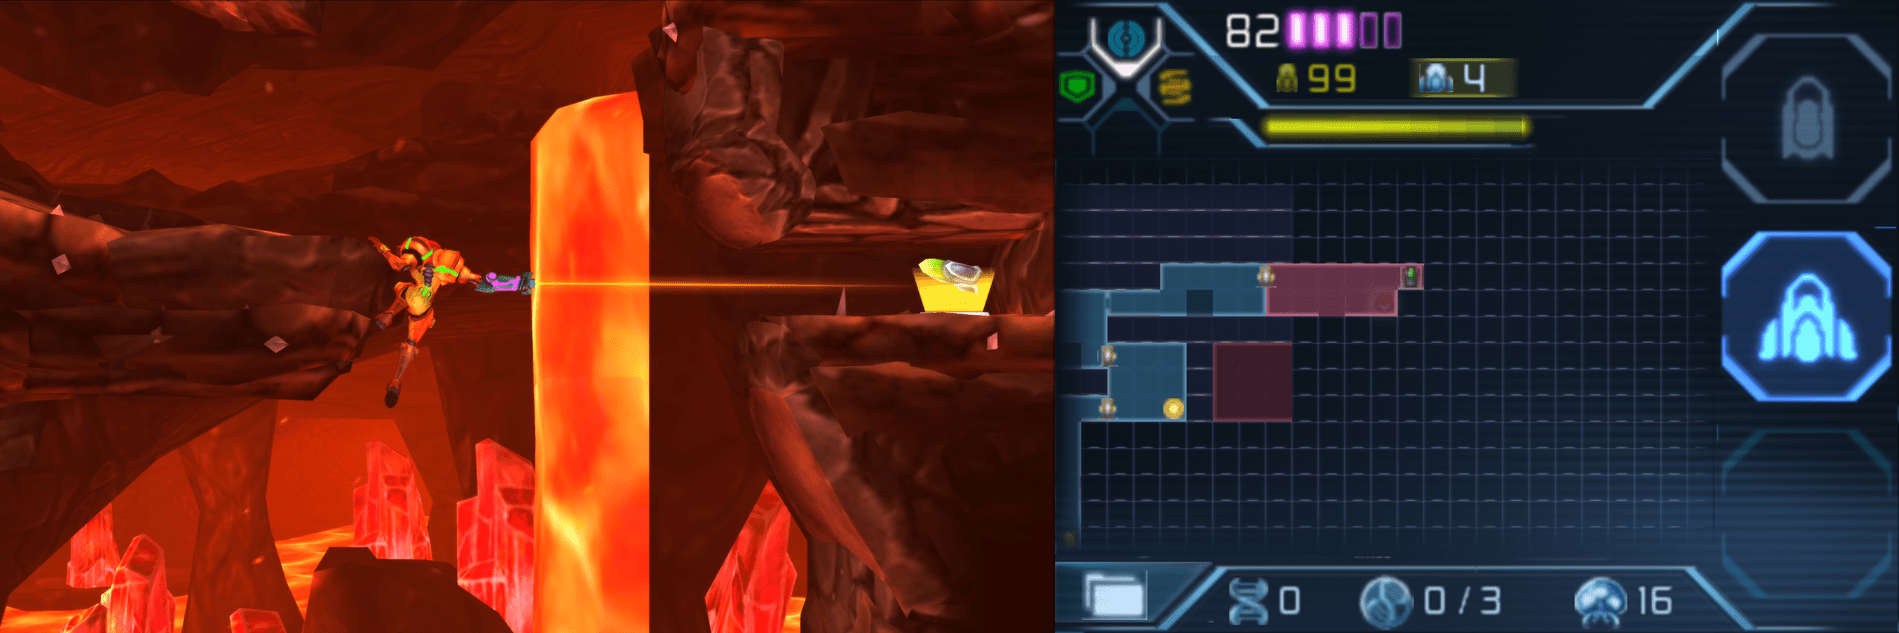
After leaving the hot zone in the top corner of Area 4, head to the left and drop down a bit. You should see a small pool of water, so get on it and head to the left wall. Fire a Super Missile straight upwards between the orange spikes on the walls and then use your Grapple Beam to pull yourself up to the small ledge where SUPER MISSILE EXPANSION #3 will be sitting!
Super Missile Expansion #4
Location: Area 4 (First Visit)
Requirements: Grapple Beam, Super Missiles, Bombs, Area 4 Seal Unlocked
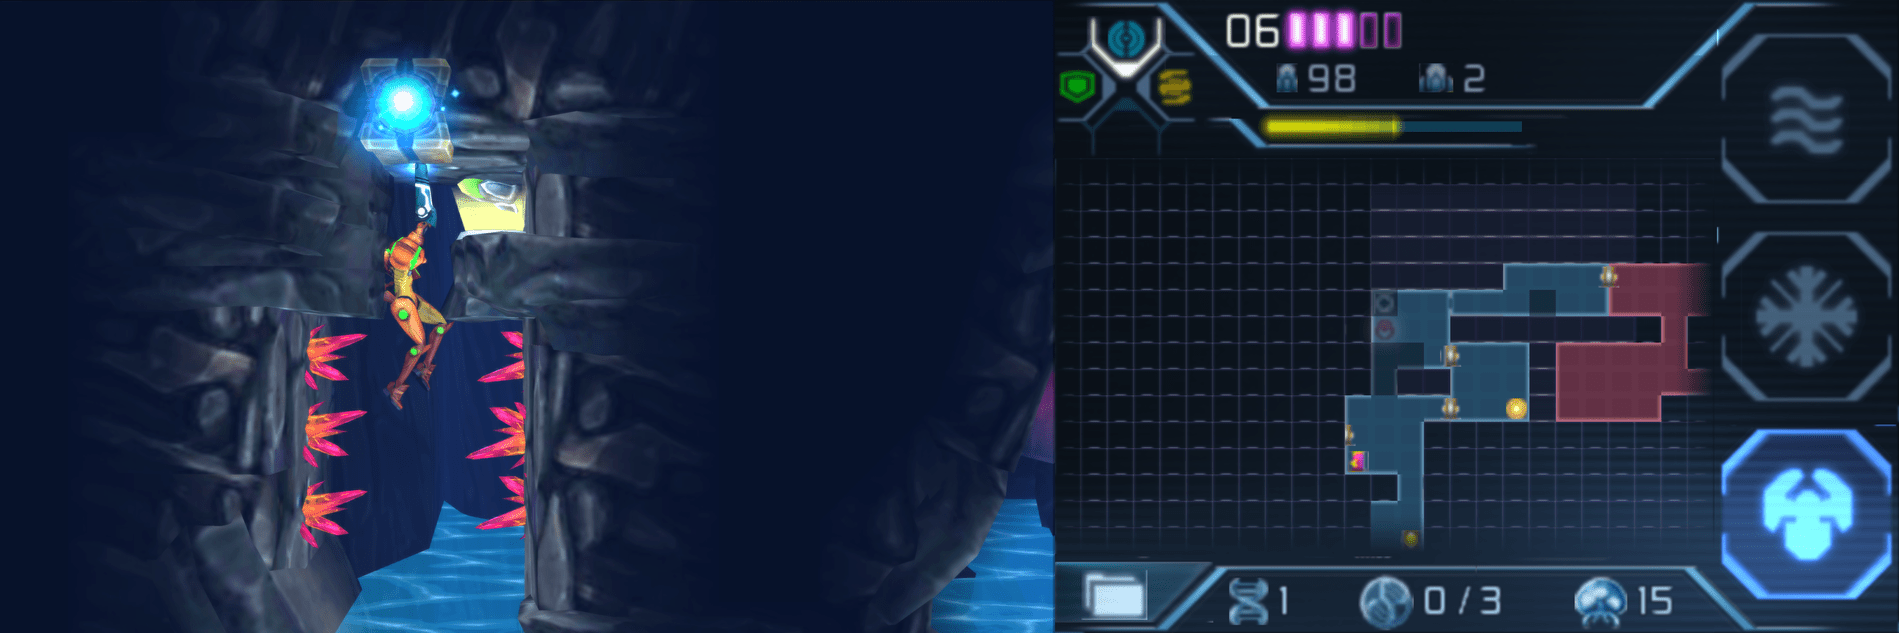
Go to the Chozo Seal. Once you’ve given it all of the Metroid DNA you’ve collected and the acid drops down, descend downwards and use your Scan Pulse. You’ll see three blocks that you can destroy, so bomb them and follow the pathway, crawling above the acid, until you see a Grapple block. Destroy it and then fire a Super Missile directly behind where the block was to reveal SUPER MISSILE EXPANSION #4.
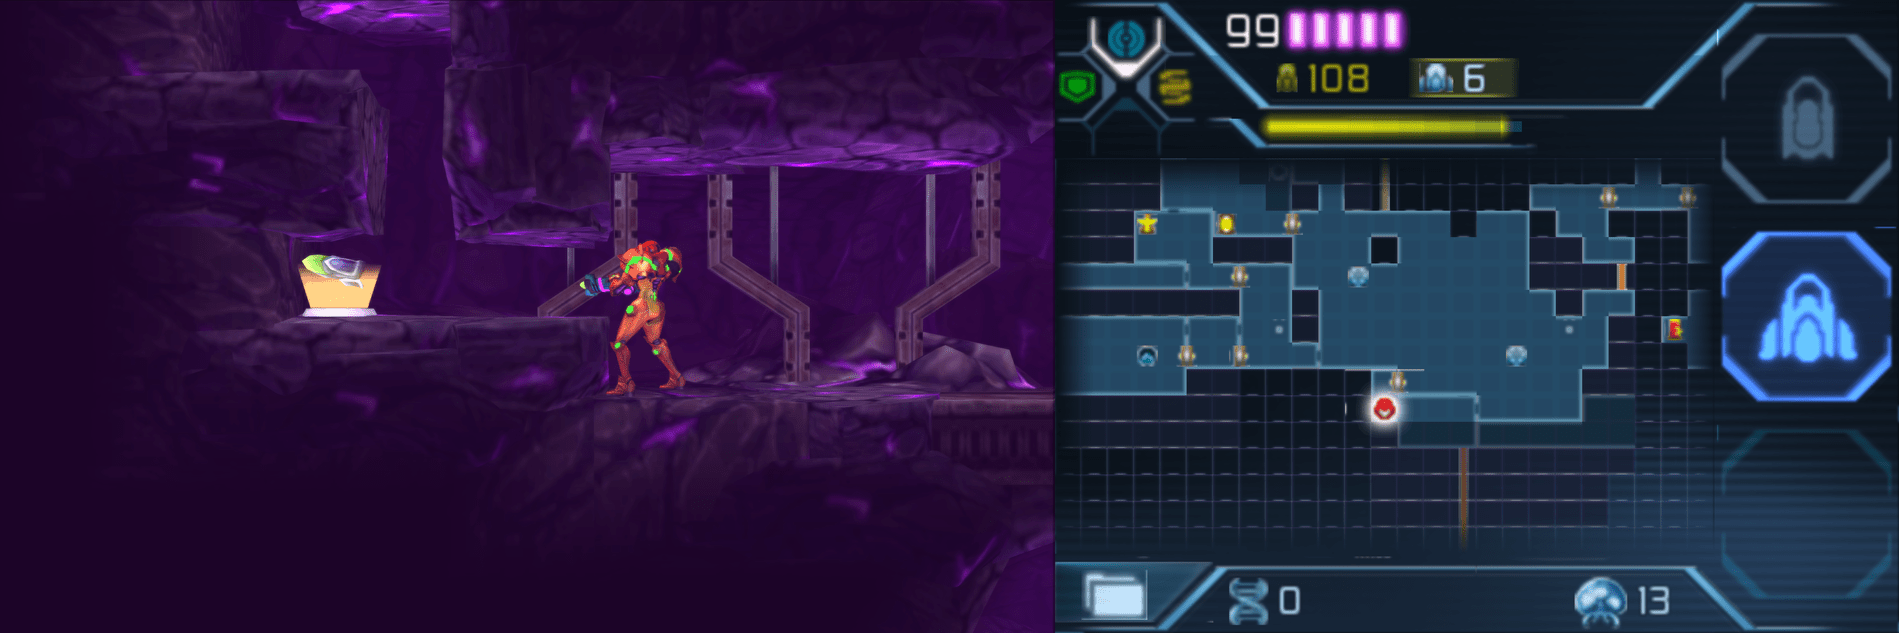
Super Missile Expansion #26
Location: Area 4 (Second Visit)
Requirements: Plasma Beam, Grapple Beam
Go through the Plasma Beam door in the top corner of the left side of Area 4. You’ll see a pitfall block bridge; jump across and there will be the smallest ledge you’ve ever seen that you can grab on, which is right underneath a bunch of orange spikes. Grab the ledge and then use your Grapple Beam to pull yourself up in between the spikes. Grab the upper ledge on your right and you can claim SUPER MISSILE EXPANSION #26!
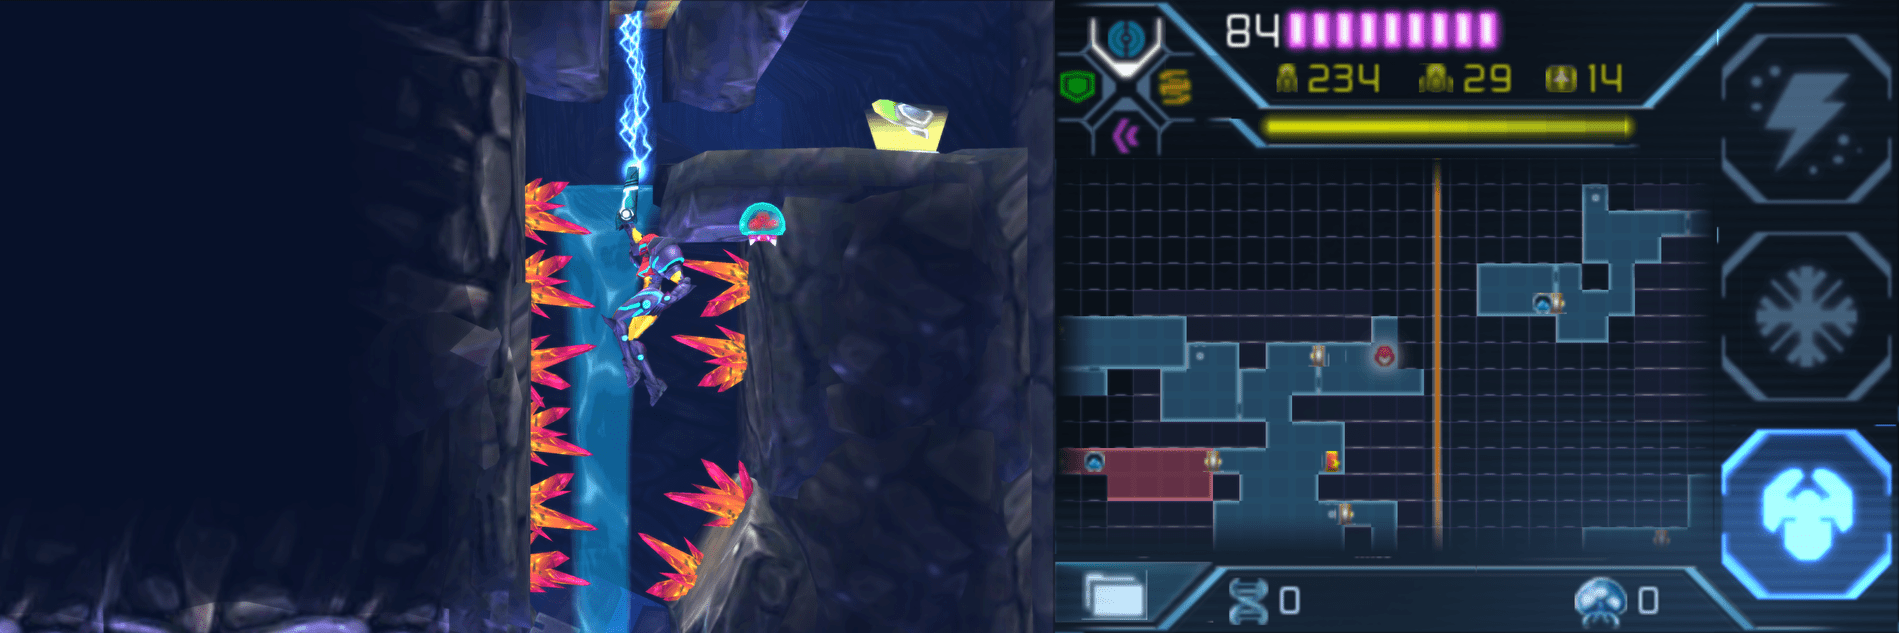
Super Missile Expansion #27
Location: Area 4 (Second Visit)
Requirements: Phase Drift, Babe Metroid (recommended), Missiles
From the Teleportal on the eastside of Area 4, drop down a bit and head to your right. You’ll see a door with a Morph Ball tunnel right above it. Activate your Phase Drift and shoot the door open; quickly, roll through the tunnel and into the other room, where the one sided door should still be open (using the Baby Metroid to munch away the crystals in the Morph Ball tunnel works too!). Fire a missile directly at the wall once you go through the door and you’ll see SUPER MISSILE EXPANSION #27!
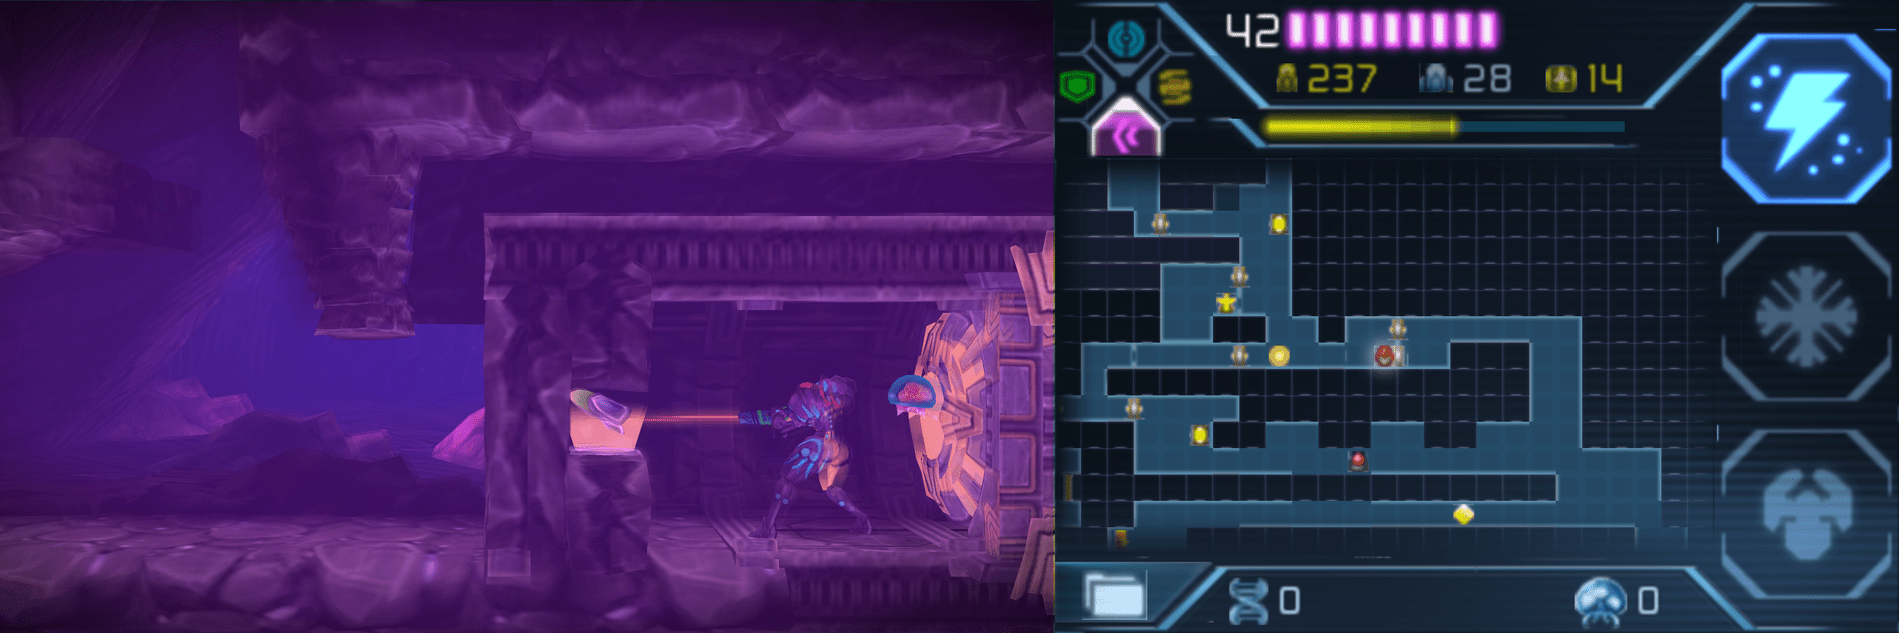
Area 5
Super Missile Expansion #5
Location: Area 5 (First Visit)
Requirements: Phase Drift, Bombs
Immediately after getting the Phase Drift, activate it and use it to quickly roll across the bridge above the water before the pitfall blocks collapse. When you’re safely on the other side, lay a bomb to reveal SUPER MISSILE EXPANSION #5!
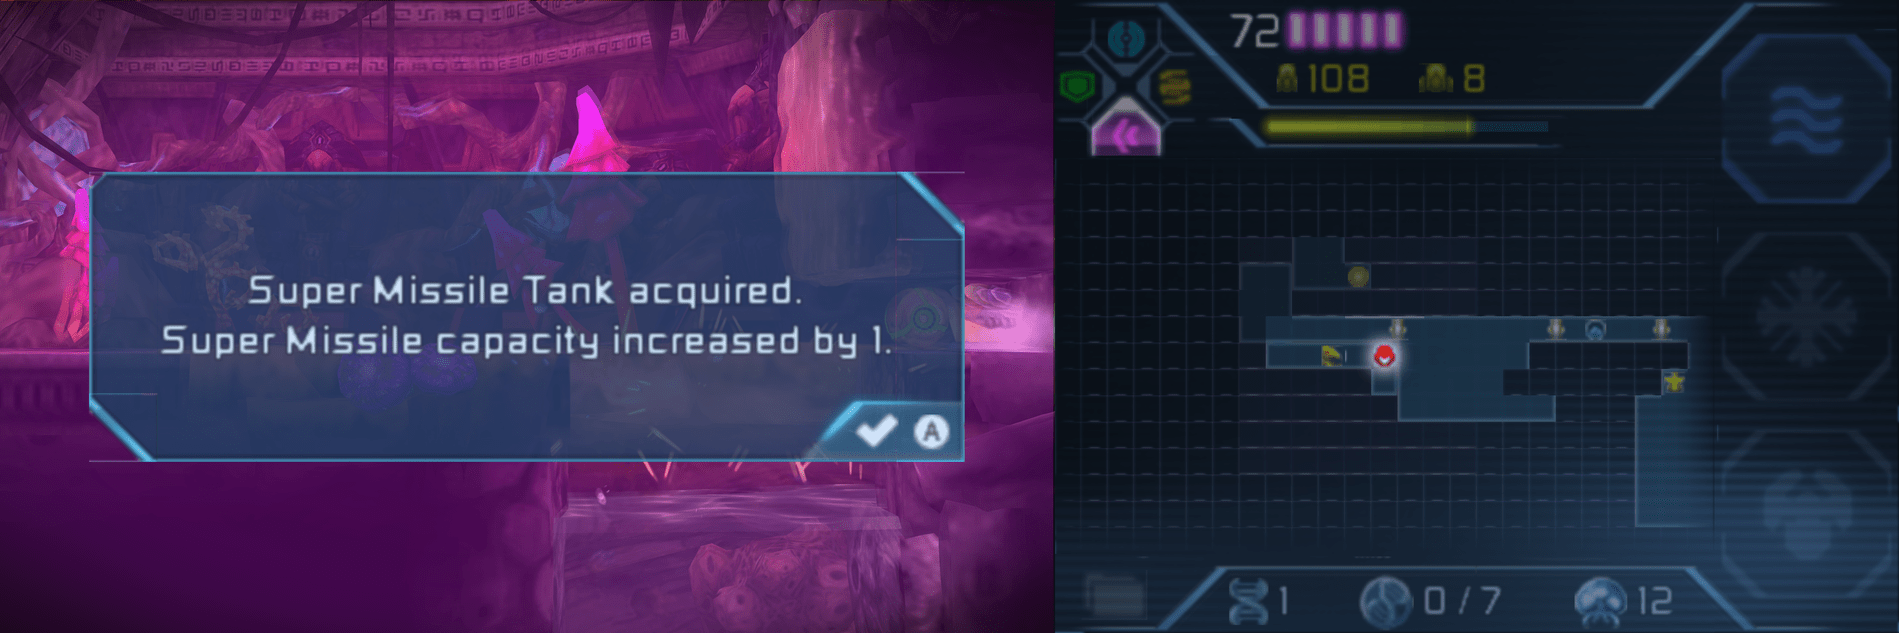
Super Missile Expansion #6
Location: Area 5 (First Visit)
Requirements: Super Missile, Phase Drift or Spider Ball, Space Jump
In the room directly above the Gravity Suit room, Space Jump up to the top right corner and you’ll see a small tunnel that you can tuck into; roll through and jump up, going through the Blast Door on the left. Be careful here! The bridge blocks are all pitfall clocks, and you’ll fall if you try to run on them! Activate your Phase Drift and run across, breaking the Super Missile shield on the Blast Door. Keep your Phase Drift on, run over another pitfall bridge, and you’ll run right into SUPER MISSILE EXPANSION #6!
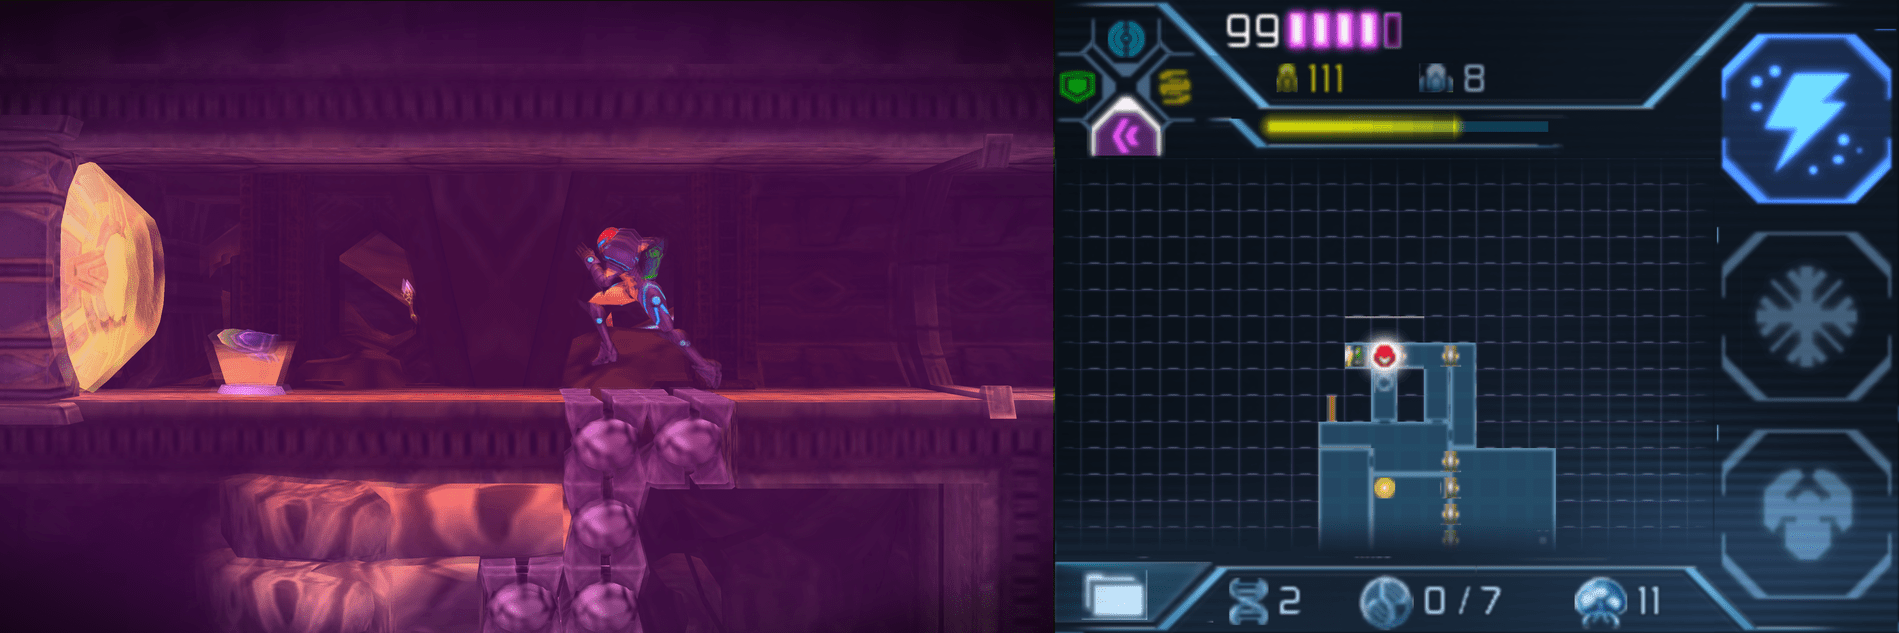
Super Missile Expansion #7
Location: Area 5 (First Visit)
Requirements: Phase Drift, Beam Burst, Grapple Beam, Bombs
In Area 5’s giant Atrium room, start off by plunging into the lower corner. You’ll be in some water, and then see a couple ledges; jump up and use your Beam Burst to blast the big ugly plant in your way (I guess the Plasma Beam lost its flammable properties somewhere between Tallon Iv and here) and then use your Grapple Beam to pull you over in between the orange spikes. Drop a bomb, grapple over again, and then proceed with caution! The blocks in the water are all pitfall blocks, so the smart play here is to slap that Phase Drift on, run across, and then snag SUPER MISSILE EXPANSION #7!
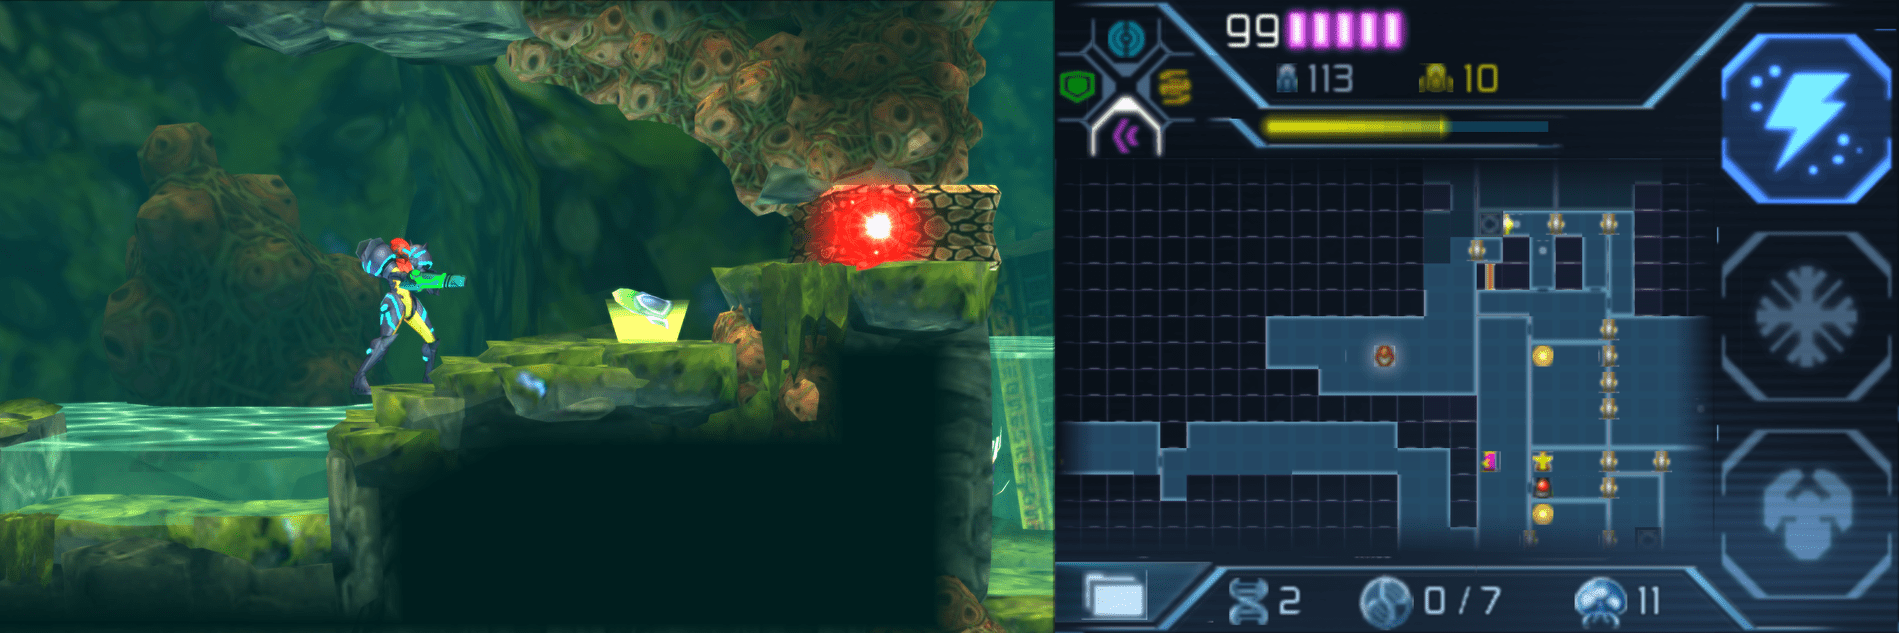
Super Missile Expansion #8
Location: Area 5 (First Visit)
Requirements: Screw Attack, Space Jump
In the Atrium room, Space Jump way back up to the highest center portion of the room on the ceiling; you may have seen earlier there was an expansion out of reach, but no more! Screw Attack through the blocks and grab SUPER MISSILE EXPANSION #8.
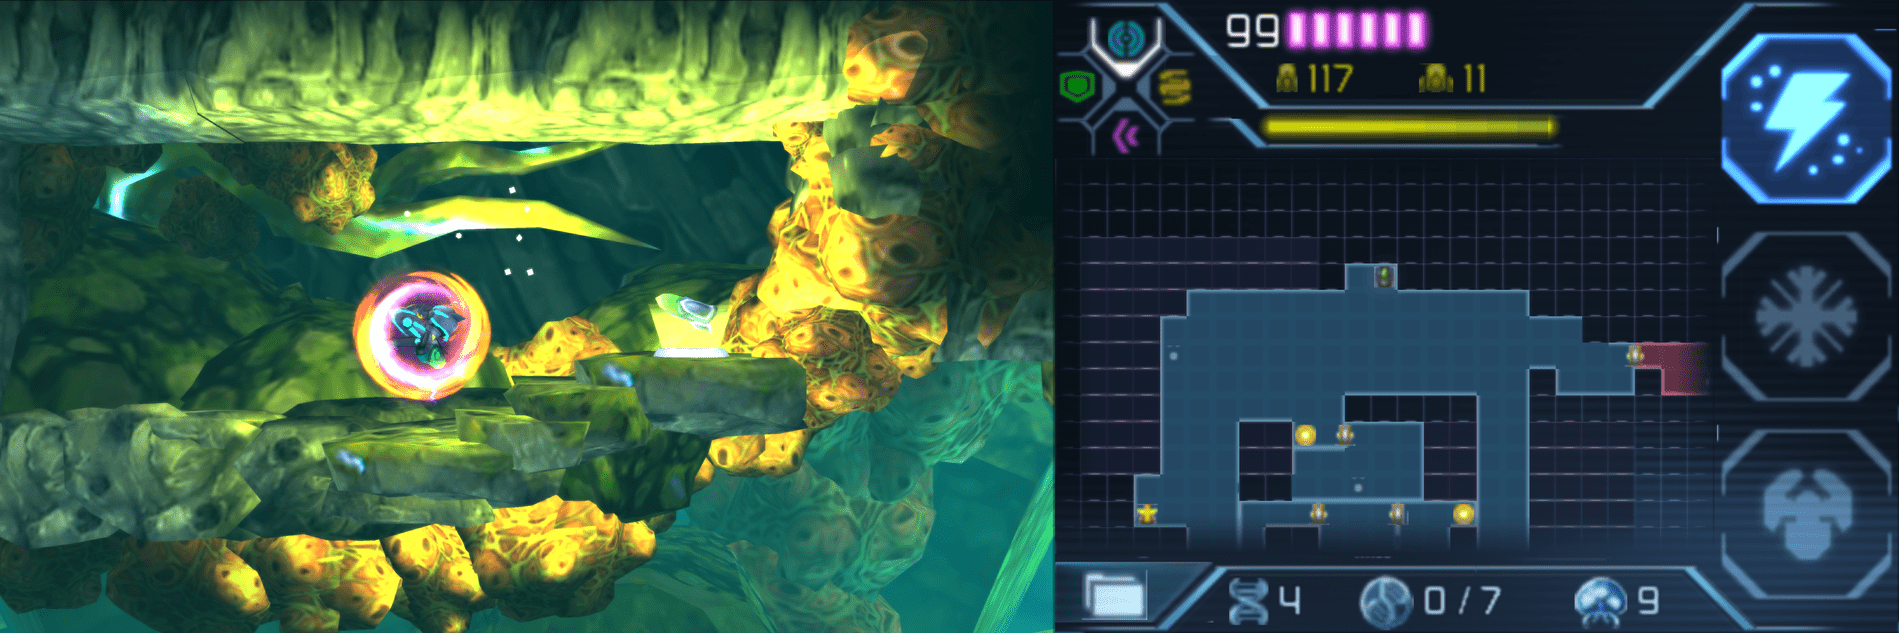
Super Missile Expansion #9
Location: Area 5 (First Visit)
Requirements: Phase Drift, Screw Attack, Area 5 Seal Unlocked
Get to the Chozo Seal. Release the DNA and the acid will drop; before you make your way into the next area, drop down towards the lefthand side until you reach a Missile Recharge Station. From here, jump upwards and you’ll see a small pocket that you can fit into. Climb the ledge up into the pocket, but beware! The floor is all pitfall blocks, so throw the Phase Drift on and Screw Attack upwards to grab SUPER MISSILE EXPANSION #9!
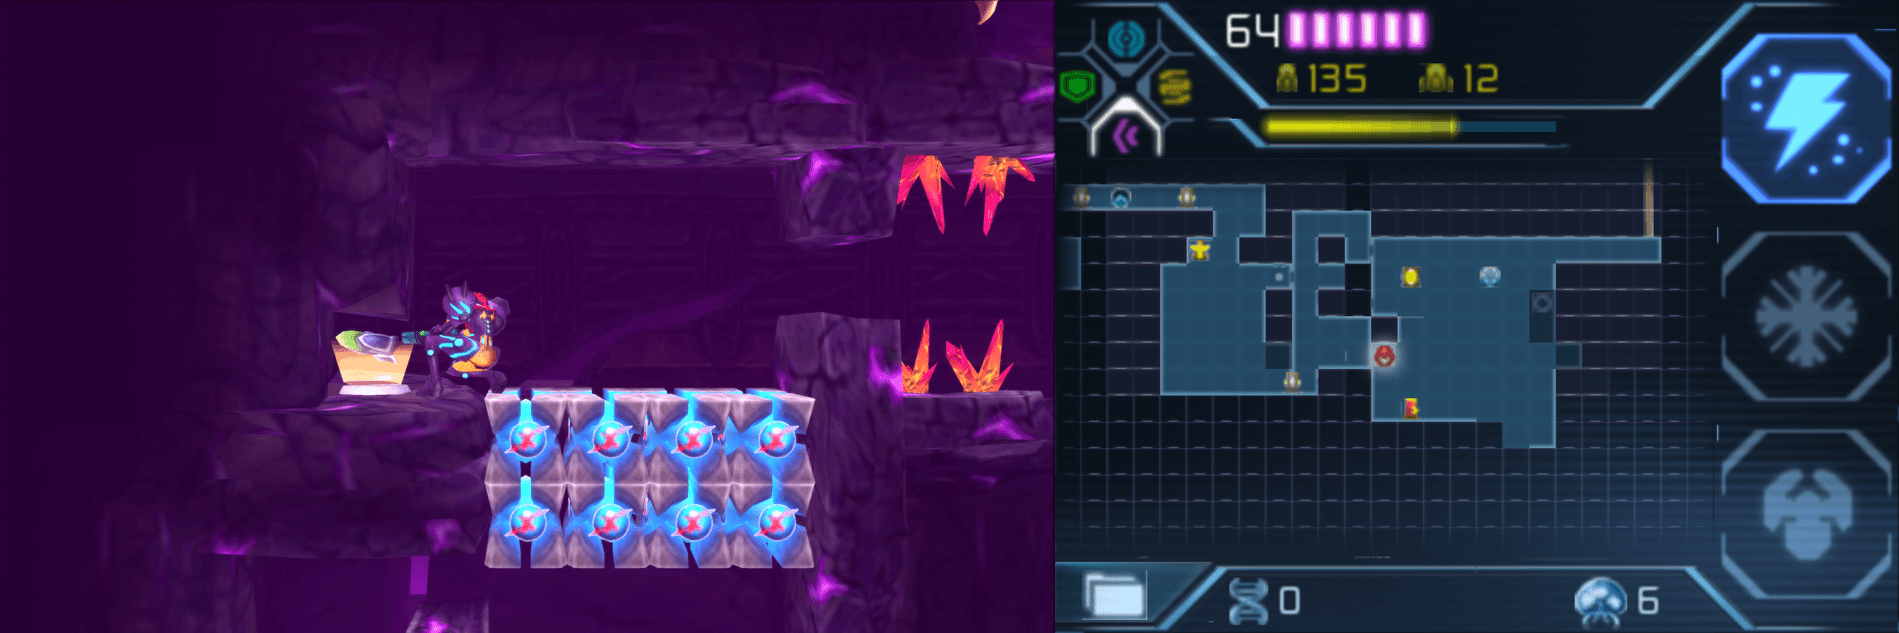
Area 6
Super Missile Expansion #28
Location: Area 6 (Second Visit)
Requirements: Spider Ball, Phase Drift, Missiles, Screw Attack, Bombs
Exit the Teleportal closest to the Diggernaut battle room and make your way to the Missile Recharge Station in the bottom corner of Area 6’s lower half. You should be able to see the expansion that you need, but it’s behind a wall, so jump upwards and eventually you’ll see a tunnel behind some bombable blocks. Destroy them and roll inside; there will be a fan blowing downwards, so drop a Power Bomb next to it and roll through the opening. Destroy the red Grapple block and then drop down the tunnel.
This next sequence is pretty tricky, so you might want to watch the video, but essentially, you’ll want to use the Spider Ball to lay a bomb on the left wall, grab the ledge and shoot the missile block behind it, and then roll through before both blocks respawn. Next, you’ll want to drop down and Screw Attack up to a higher tunnel. Either activate your Phase Drift or use your Spider Ball to carefully roll through the tunnel. Fall down the pitfall blocks TWICE, and then quickly roll over before the third pitfall block gives away. If you did all of that right, you should be beside SUPER MISSILE EXPANSION #28.
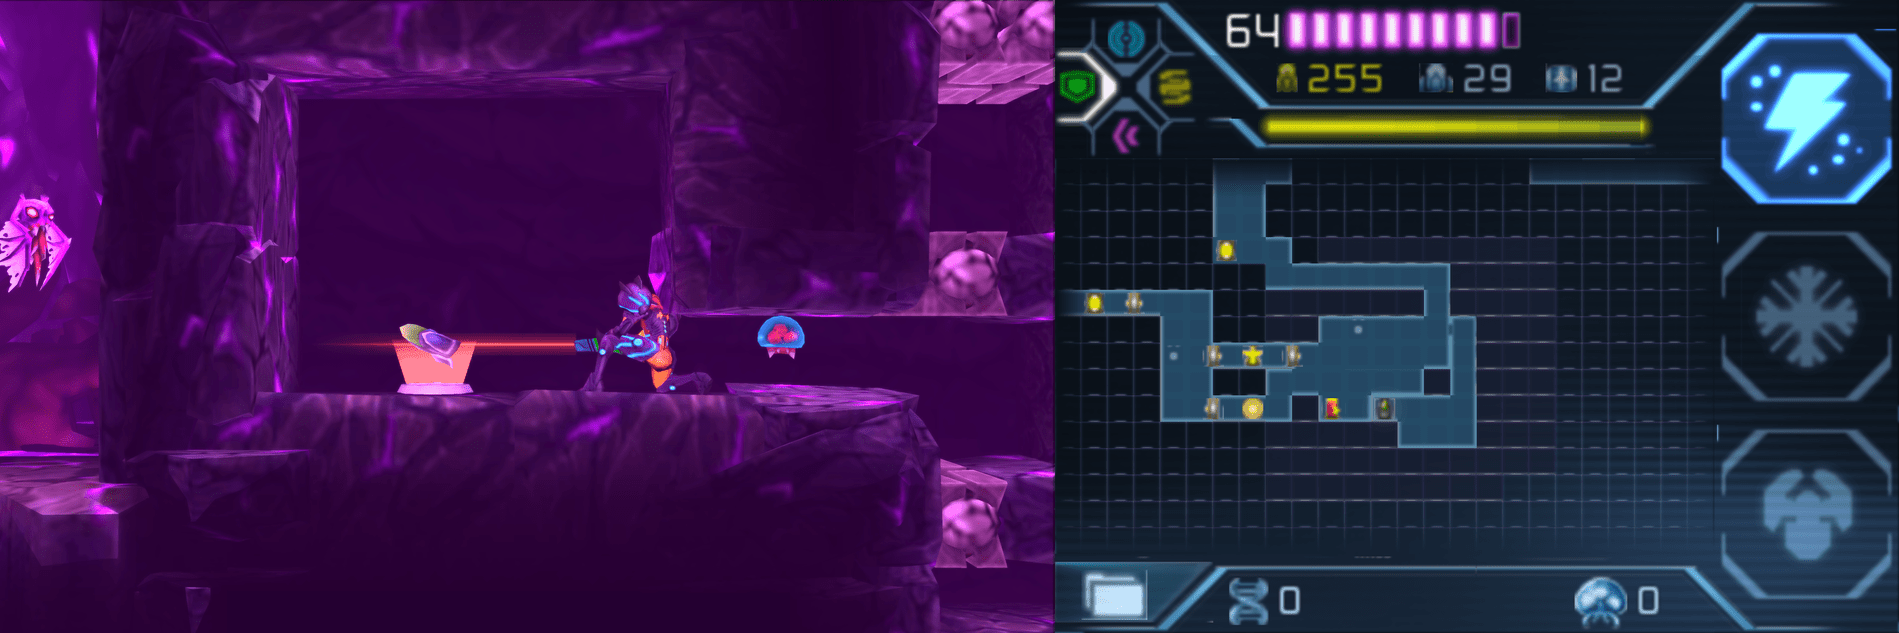
Super Missile Expansion #29
Location: Area 6 (Second Visit)
Requirements: Power Bombs, Spider Ball, Grapple Beam, Bombs
Make the long trek to the very top left corner of Area 6 – you’ll be in the orange room with the giant skeletons in the background. Jump to the very top of the room and then you’ll see a bunch of Screw Attack blocks to your left; destroy them and then drop into the water, bombing the left wall to open up a tunnel. Slip through, run to the far end of the room and lay a bomb on the floor (use your Scan Pulse if you need to!). Drop down and use your Spider Ball to position yourself on the end of the nook that’s sticking out. Spiderspark and you’ll go barreling straight into the far wall, where you can drop down, destroy a red Grapple block and grab SUPER MISSILE EXPANSION #29.
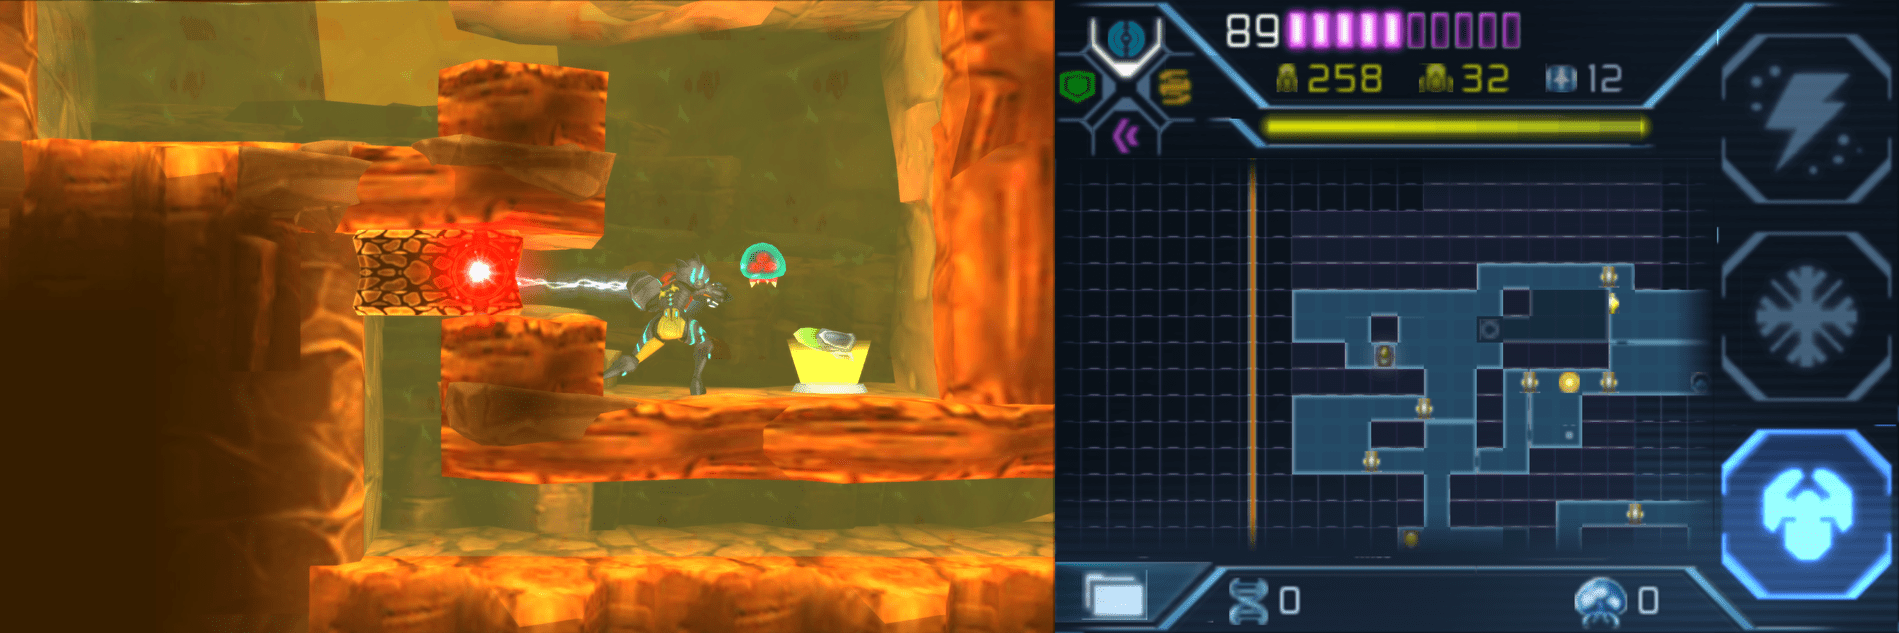
Super Missile Expansion #30
Location: Area 6 (Second Visit)
Requirements: Baby Metroid, Grapple Beam, Bombs
Next up, you’ll want to head to the room that the rightmost Chozo Seal is in, in the very top right corner (you’ll get there by going through the room Energy Tank #7 was in). Once you’re there, drop down and follow the path until you see a bunch of crystals that the Baby Metroid can destroy. Let it eat away, and use your Scan Pulse to find some blocks that you can bomb to enter the tunnels. There will be Glow Flies here, so watch out.
Follow the tunnel up until you pop out on the right side; yank the Grapple block over and then reenter the tunnel. Work your way towards the left side now, slipping through the new opening and grading up. Destroy the red Grapple block using a crack in the wall and then exit the tunnels altogether on the left side. Pop up and yank that Grapple block back towards you. One last time, enter the tunnel and follow it all the way up, avoiding the Glow Flies as best as you can, until you reach the top, where SUPER MISSILE EXPANSION #30 awaits you!
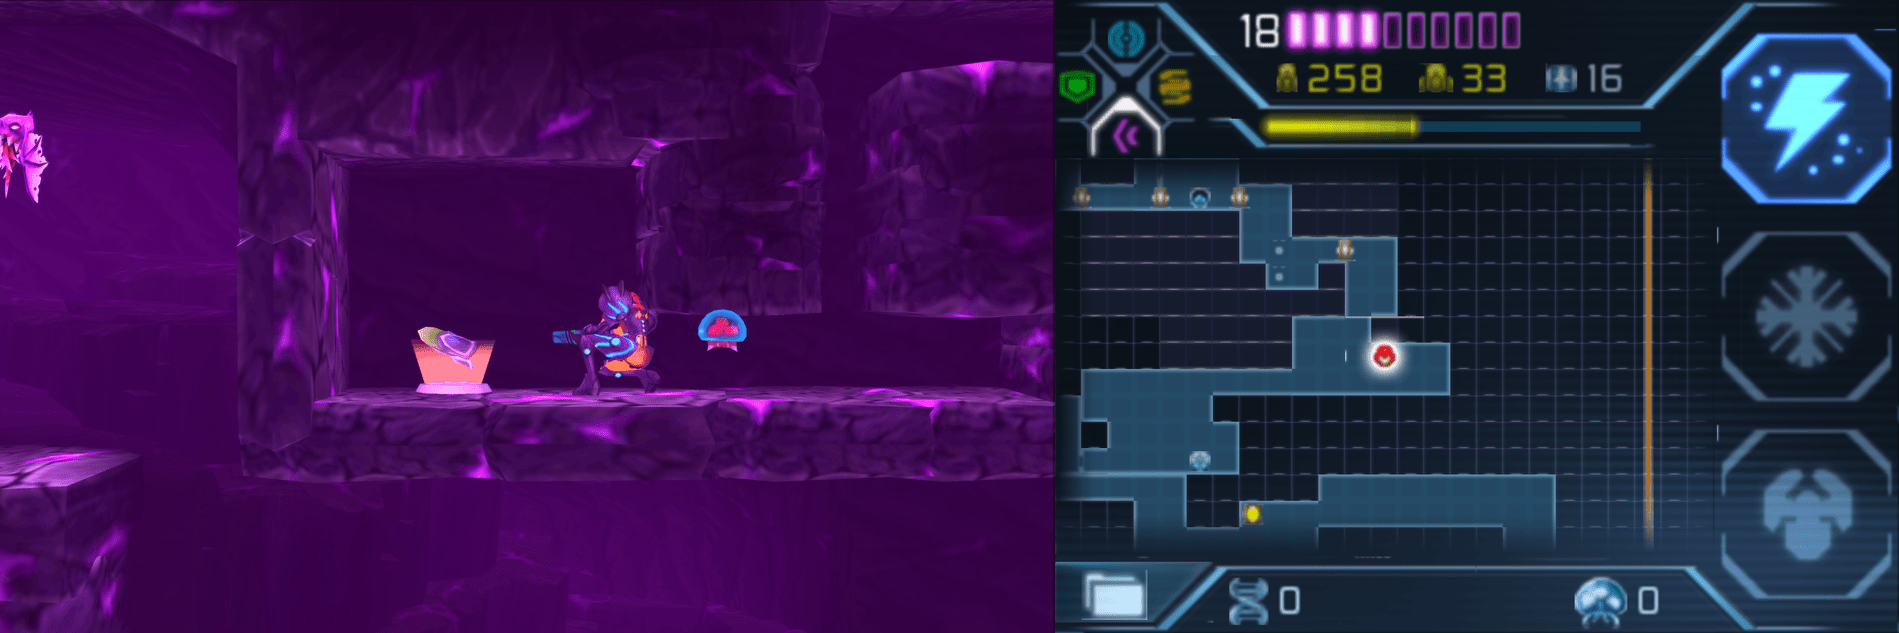
Area 7
Super Missile Expansion #12
Location: Area 7 (First Visit)
Requirements: Power Bombs, Spider Ball
In Area 7’s upper corner room (the one with an Energy Recharge Station towards the top and a Save Station just below it), take the tunnel in the upper left corner of the shaft. Get on the wall and Spiderspark in-between the spikes, and you’ll conveniently land right beside SUPER MISSILE EXPANSION #12!
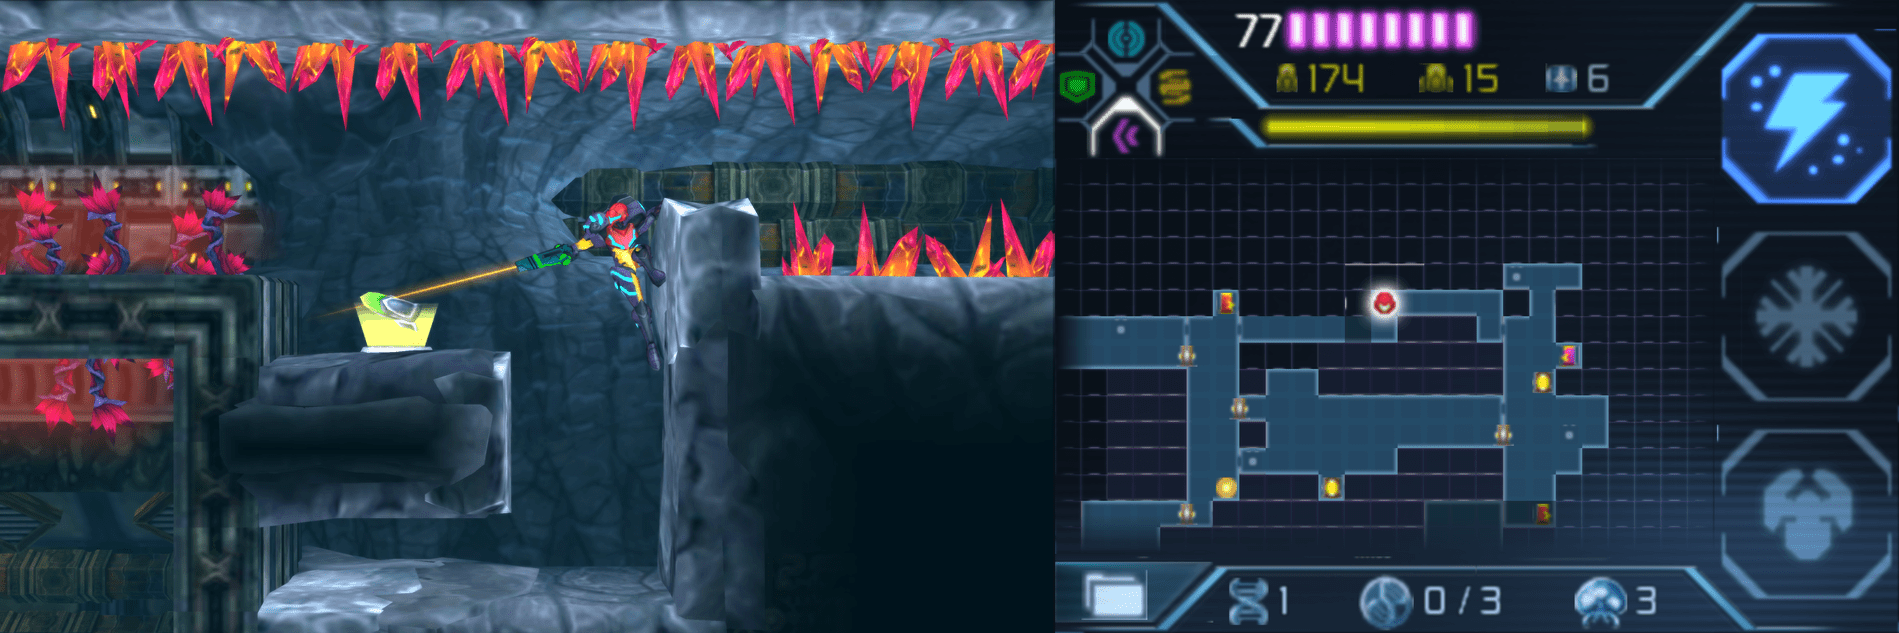
Super Missile Expansion #13
Location: Area 7 (First Visit)
Requirements: Power Bomb, Super Missile, Phase Drift, Spider Ball
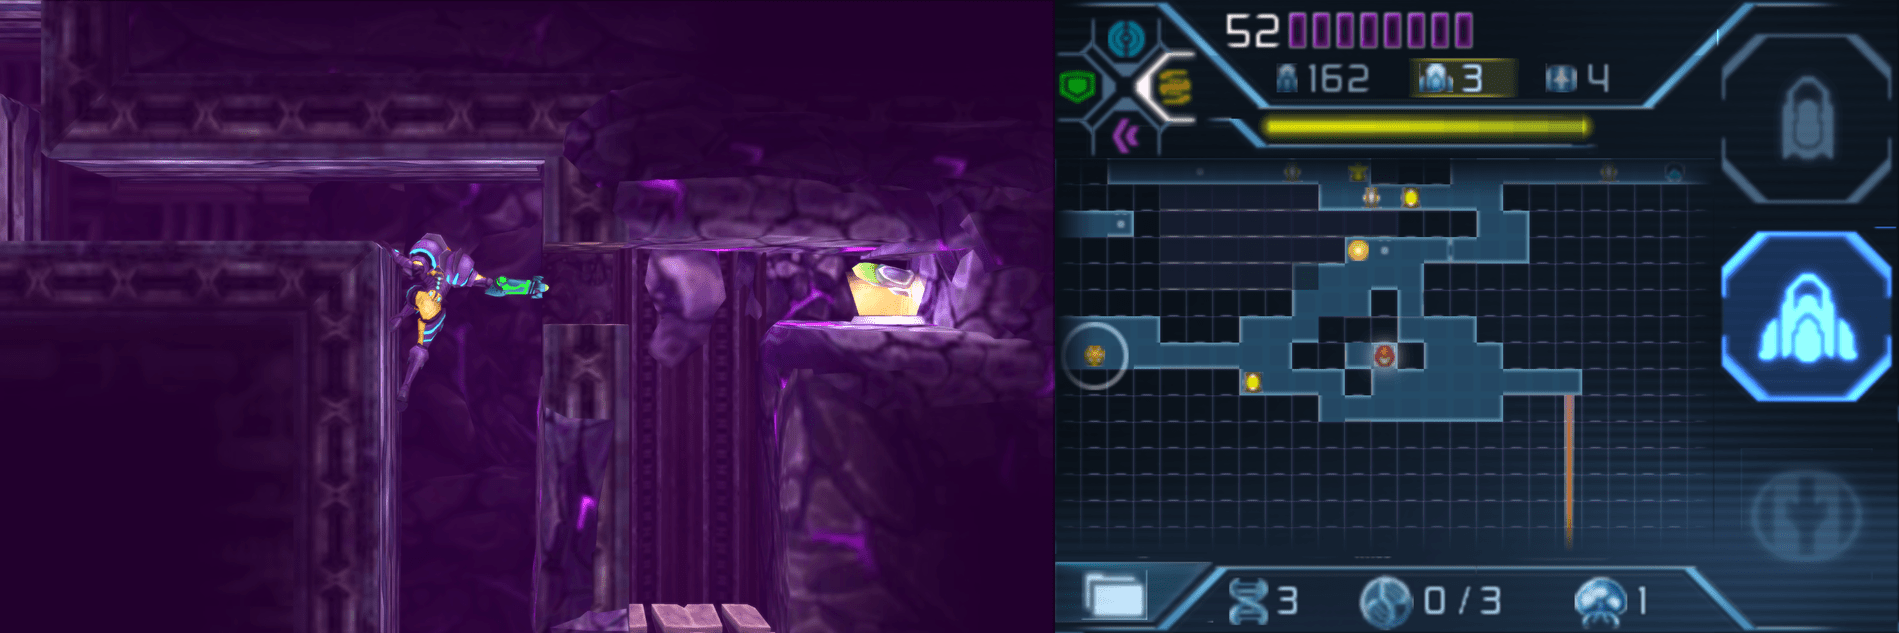
With all three pieces of Omega Metroid DNA in hand, make your way back to the Chozo Seal. Before you get there, take a quick detour, though, in the purple caverns right before. On the far wall directly across from the Area 6 elevator, use your Scan Pulse and you’ll see a Power Bomb block hiding in the wall. Destroy it and then roll up through the tunnel. You can activate your Phase Drift if you want to help you out with this, but when you get to the top of the tunnel, you should see a bomb block and a Super Missile block in the right corner of the wall. Lay another Power Bomb, grab the ledge and then shoot a Super Missile to destroy the block. Use your Spider Ball to quickly roll over and grab SUPER MISSILE EXPANSION #13!
Area 8
Super Missile Expansion #14
Location: Area 8 (First Visit)
Requirements: Screw Attack, Phase Drift, Spider Ball, Power Bombs
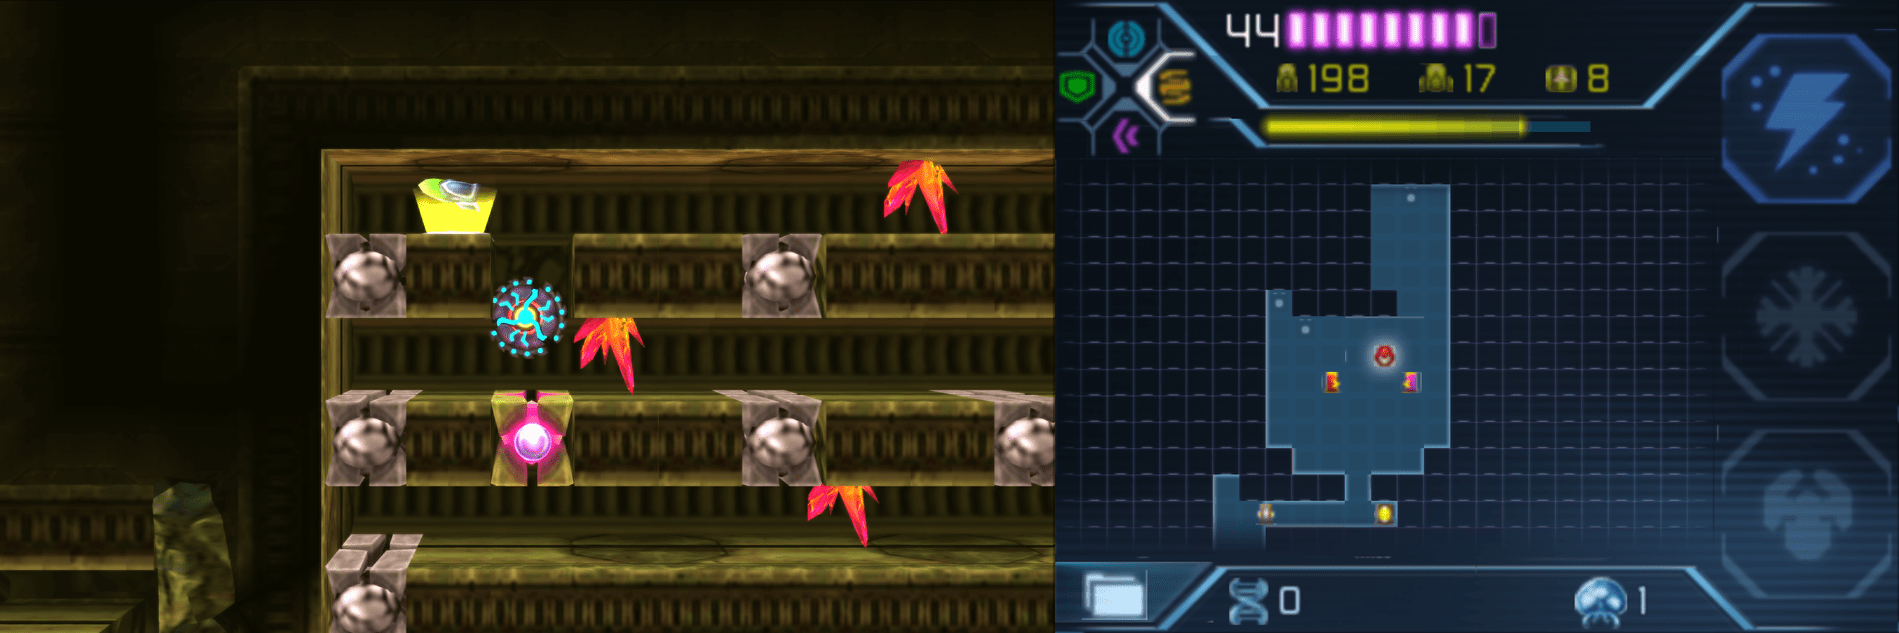
In the Nest Chamber, jump up and slip through the tunnel on the right – watch out for the Glow Flies! They are everywhere here, and you’ll more than likely take some damage here, but such is life. Roll to the end of the tunnel and the Screw Attack the blocks on the floor to drop down below; there will be FOUR tunnels available to you (ayyy) and wonderfully for us, all four are littered with pitfall blocks! How joyous.
Take the top tunnel and roll until you hit a pitfall block; drop down and then lay a bomb SLIGHTLY to your left (don’t go all the way to the left, cause guess what? Pitfaaaaall). Jump back up to the top tunnel and roll to the left; lay a bomb right before the orange spike and then drop down to the third tunnel. Use your Phase Drift and roll towards the left again, over one pitfall block and to the second pitfall block, just in front of the spike. Let the pitfall block drop you to the second row now; honestly, just lay a Power Bomb from here and you’ll see a pathway to the top; use your Spider Ball to creep up and grab SUPER MISSILE EXPANSION #14. Grab it and get outta here!
Super Missile Expansion #15
Location: Area 8 (First Visit)
Requirements: Phase Drift
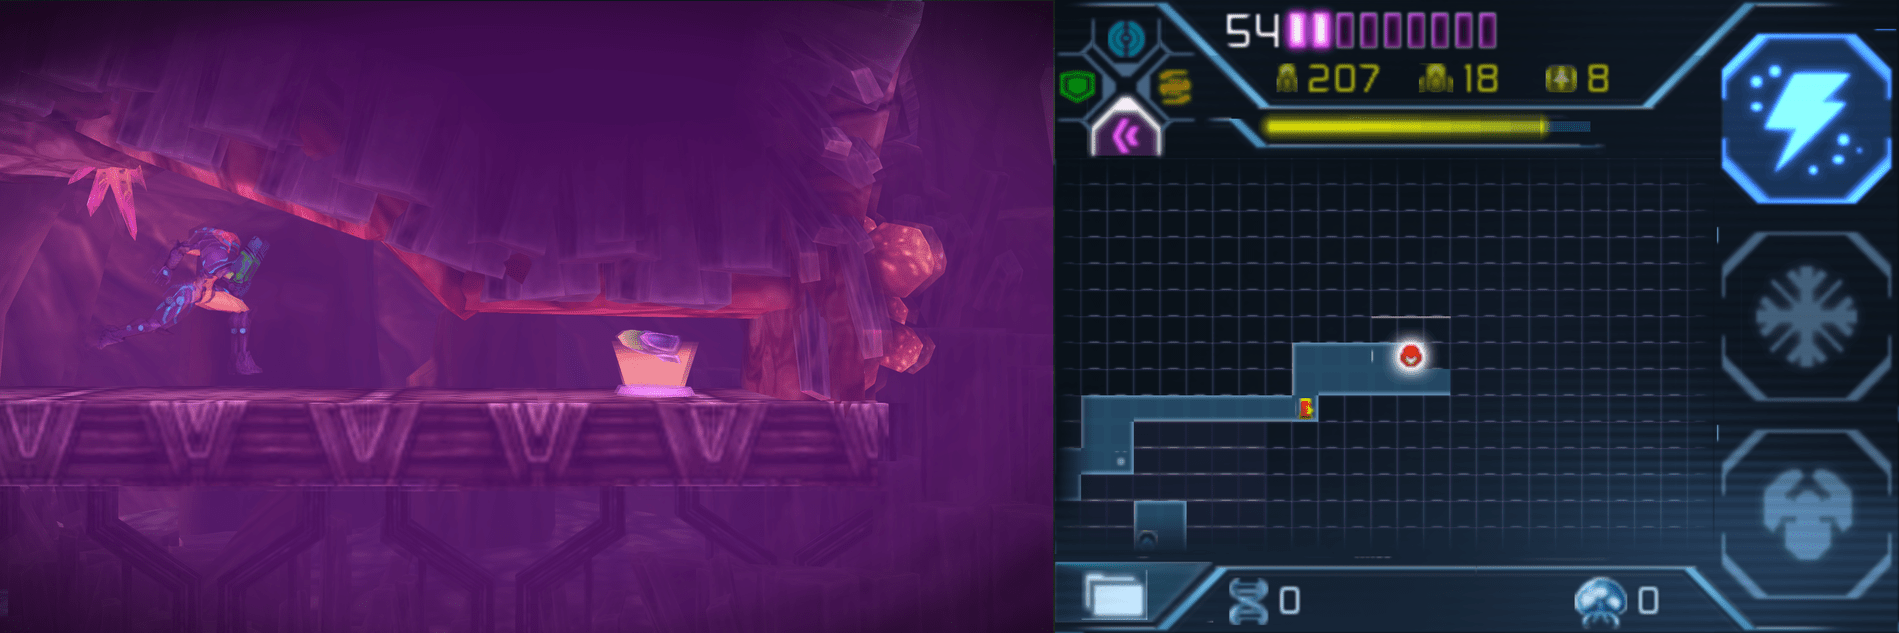
After defeating the Queen Metroid, follow the path back to the surface until you see a Missile Recharge Station; use it, and then jump up to the platform directly above it that’s underneath the orange spikes. Activate your Phase Drift and roll across the bridge, which as you no doubt guessed is made up of pitfall blocks, and you’ll roll right into SUPER MISSILE EXPANSION #15.
Super Missile Expansion #31
Location: Area 8 (Second Visit)
Requirements: Baby Metroid
Once you land in the Teleportal in the lower half of Area 8, make your way upwards and go through the top right door. Run to the right side of this room and jump up until you see a ton of crystals and red weeds blocking a Morph Ball tunnel. Let the Baby Metroid eat away at all the crystals and after it’s done, roll over and grab SUPER MISSILE EXPANSION #31. Great work – that’s the final Super Missile expansion!
