


Metroid Fusion Walkthrough – Sector 1: Neo Ridley’s Cry
Walkthrough
- Biological Space Labs
- Sector 1 – Atmospheric Interference
- Sector 2 – Unknown Saboteur
- Sector 4 – Ultra-High Speed
- Sector 3 – Rogue Security
- Sector 6 – Frozen Parasites
- Sector 5 – Cold Arsenal
- Sector 3 – Meltdown
- Habitation Deck – Signs of Life
- Sector 5 – First Encounter
- Main Deck – Power Failure
- Sector 2 – Overgrown With Vegetation
- Sector 5 – The Nightmare Awakens
- Sector 4 – Diffusion
- Sector 6 – Revelations
- Sector 1 – Neo Ridley’s Cry
- Sweeping the B.S.L.
- The Final Confrontation
Battle March
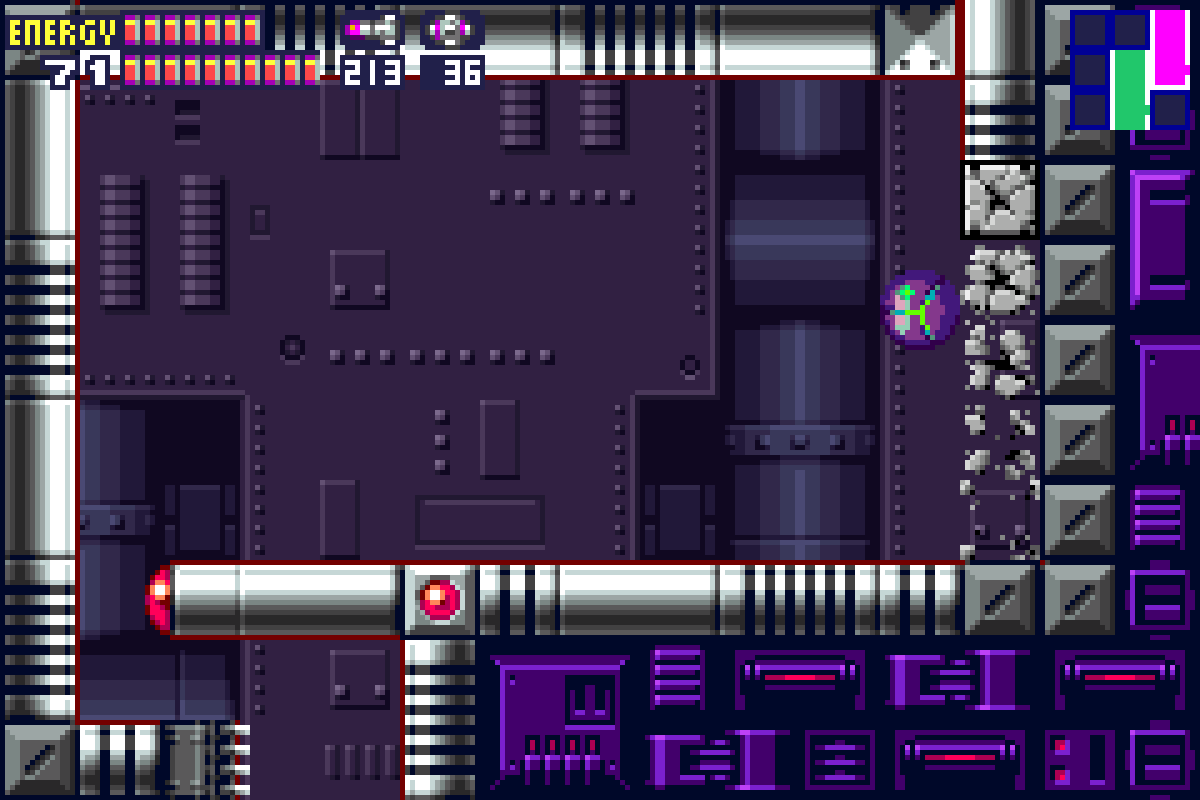
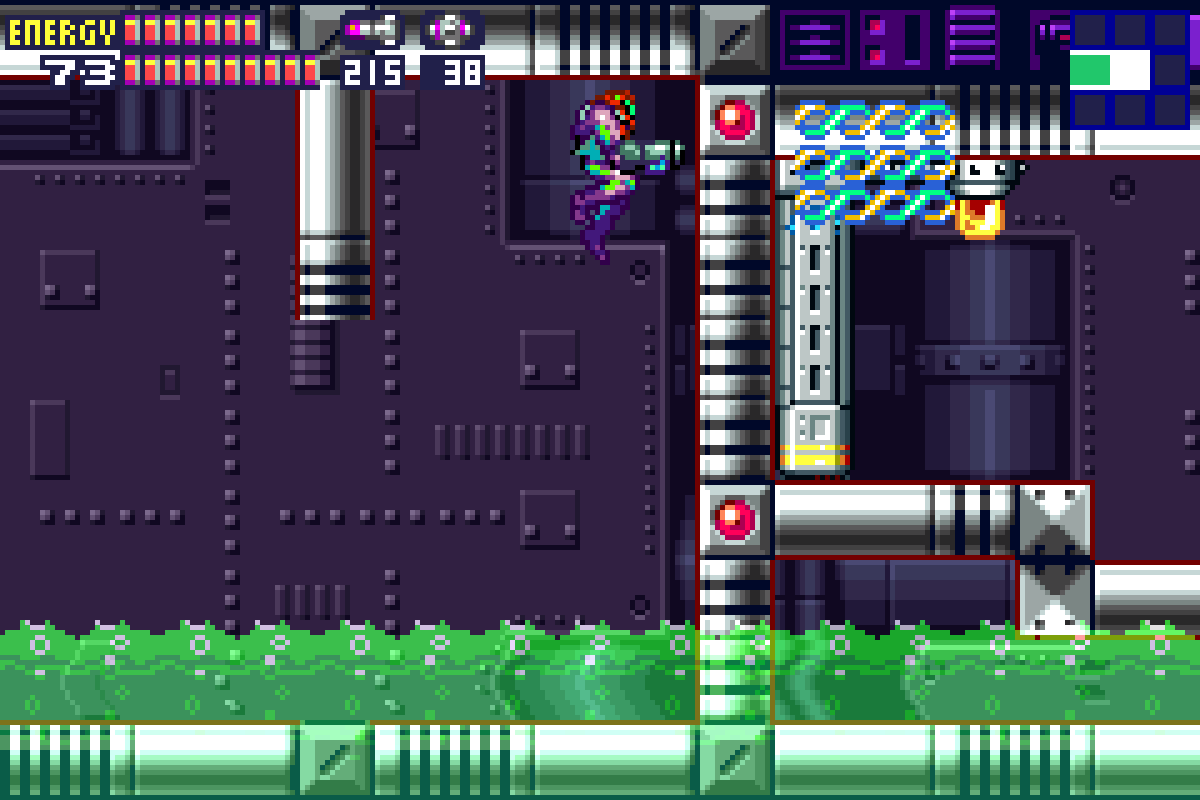
Exit the elevator room and you’ll find yourself in a room very reminiscent of Tourian. You’ll see large metallic rods and tons of Rippers floating around. When you get to the very top of the first rod, charge up a Diffusion Missile and fire it around where the Rippers are. You’ll see ENERGY TANK #17 sitting there for the taking. Keep pressing forward and exit the upper right door. This next room has some acid on the floor, so it goes without saying, don’t touch it! Continue forward and out of the door into the next room. There’s a Save Station to your right, so use it if you need to. Once done head up; You’ll see a door behind a thick wall opposite some monkey bars; we actually don’t need to go through there now, but may as well charge up a Diffusion Missile and get rid of all the blocks blocking the tunnel – why do tomorrow what you can do today as my father always told me! Keep heading up, bombing the rod on the far right blocking the monkey bars and then taking out the Pirate on the upper level. Move into the next room.
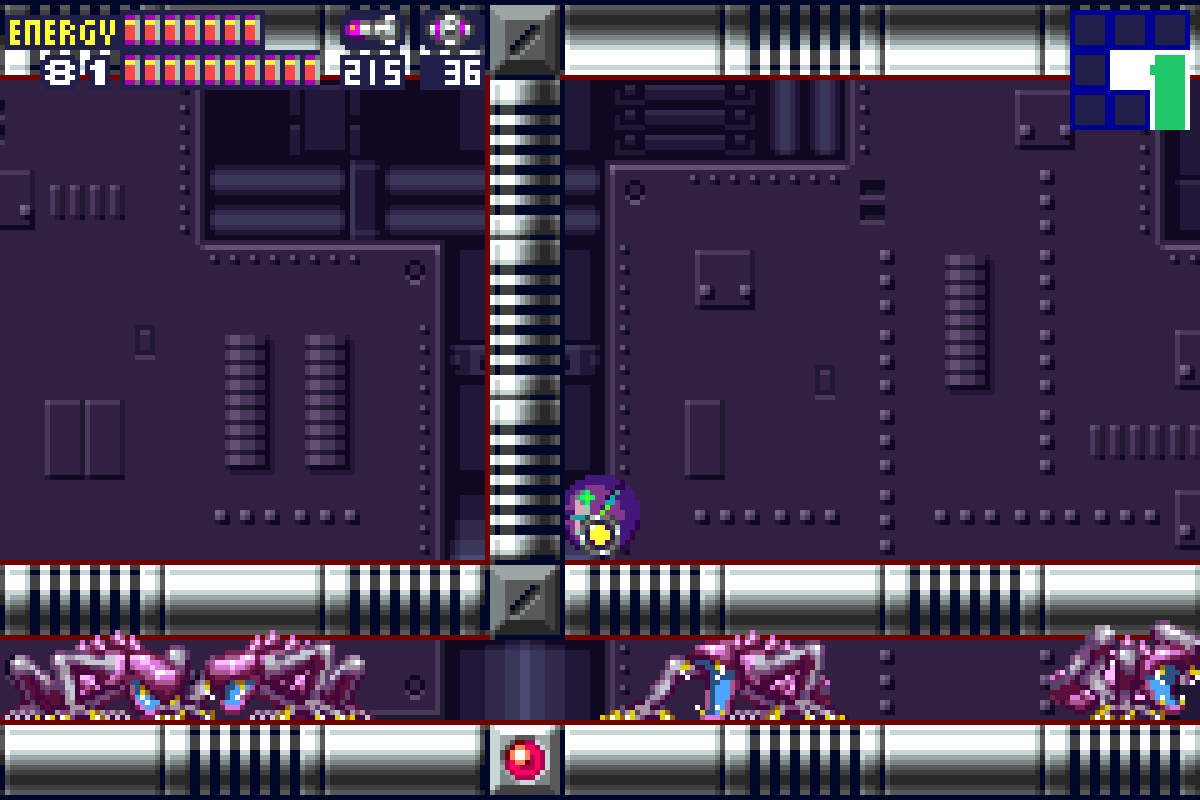
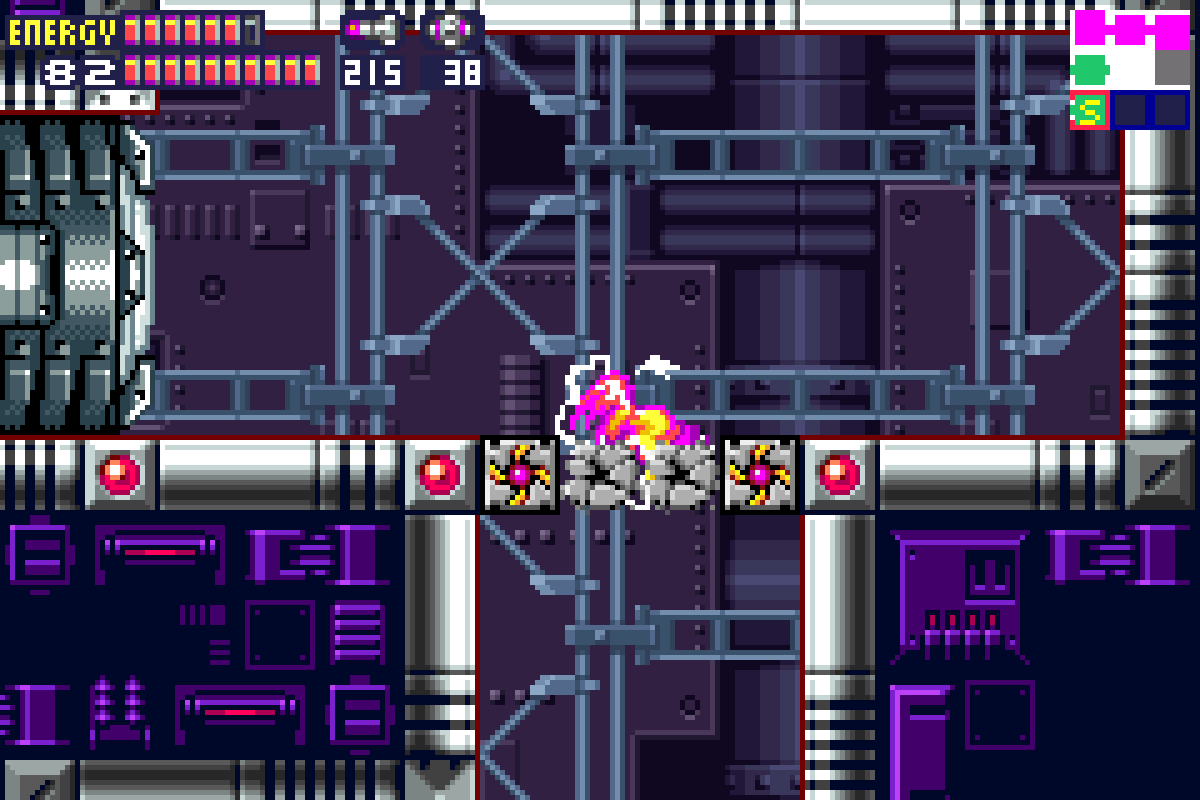
This next room will remind anyone who played Super Metroid of Ridley’s Lair (appropriate considering what’s coming up soon). Before you do anything, bomb the pillar in the center of the room so it’s just out of the way. See all those Genesis’ beneath you? Shoot at them and wait for their X to reform a Golden Space Pirate. For best results, only shoot about half the Genesis; so you only get one Golden Pirate at a time. Golden Pirates hit pretty hard and annoyingly, they are invulnerable to every weapon we have from the front. The trick is to get a charge shot going and simply stand close to the Pirate. Jump over its beams enough times, and eventually the Pirate will jump over you. When it has its back turned to you, turn around and blast it with your shot. One or two shots will destroy it. You’ll need to destroy two of these things in order for the door to unlock, but once you know how, they shouldn’t pose much of a threat.
Continue on (there’s another Save Station in the top left- use it!) and drop down. You’ll see doors to your right and left. To the best of my knowledge, the room on your right has no discernible purpose in this game other than to mess players up by making them fight another Golden Pirate. If you want 100% completion, head on over, but otherwise, there is no point, so just head left.
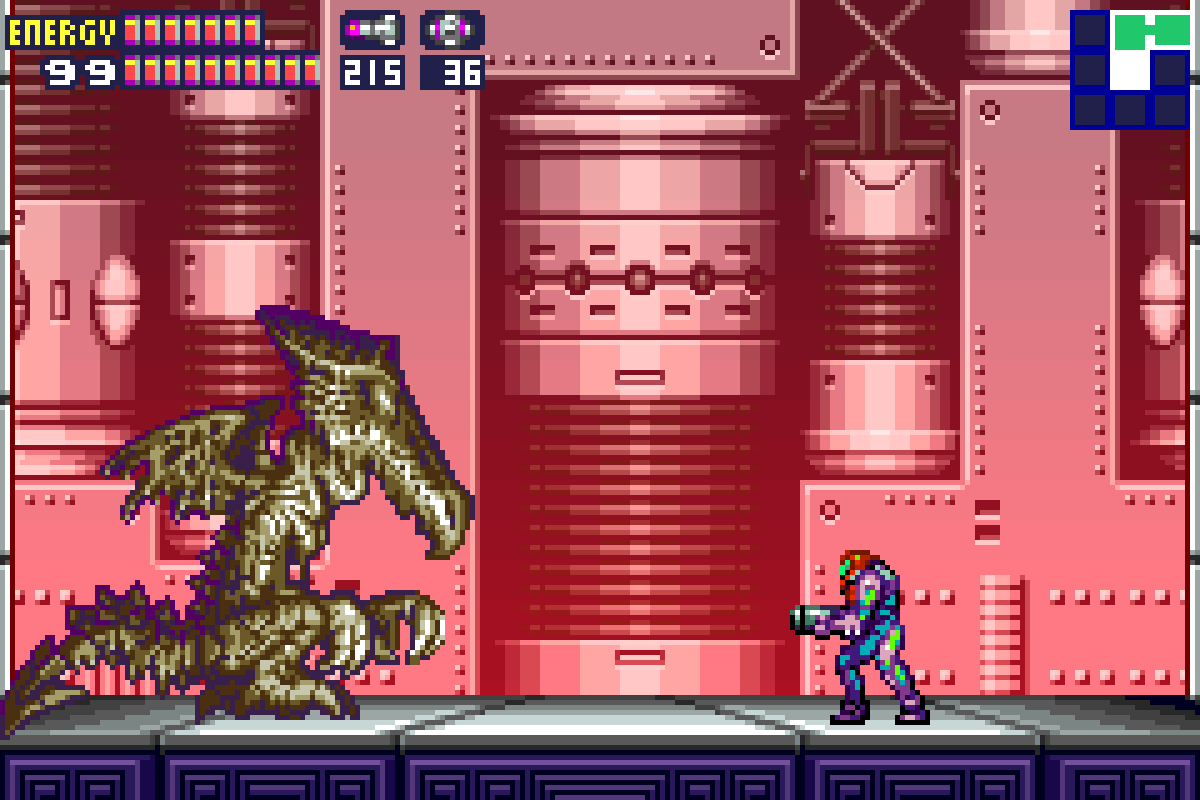
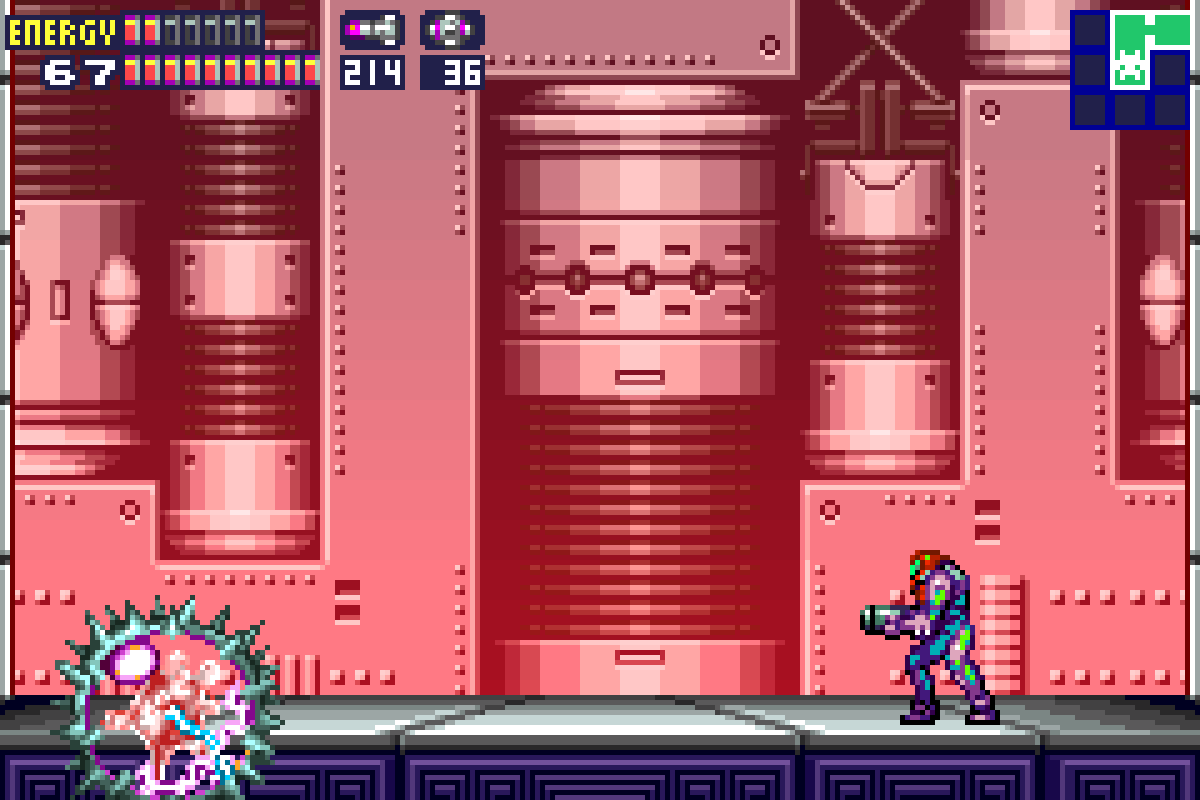
We’re almost there. This room is full of Rippers and acid; use your Diffusion Missiles to create a pathway to the left. Eliminate the Gadora and breathe it in; there’s nothing quite like the feeling of tension and anticipation before a Ridley fight. When you’re ready, step inside and prepare to face the Cunning God of Death… or at least, his X parasite.
Ridley-X
First of all, let’s address the elephant in the room: what the **** is up with Ridley’s scream in this game? He sounds like a really bad contestant on America’s Next Top Kaiju Monster, the one judges would all laugh at but would become famous for being so bad. Ayy…
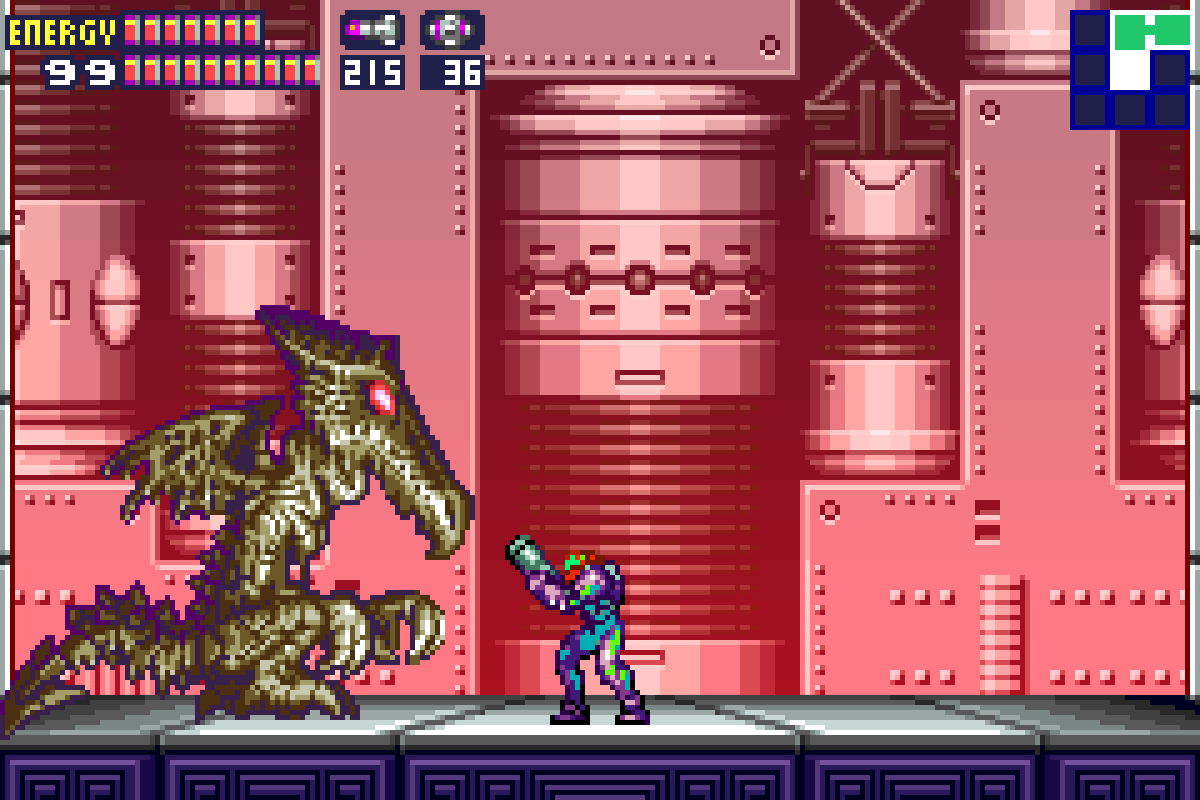
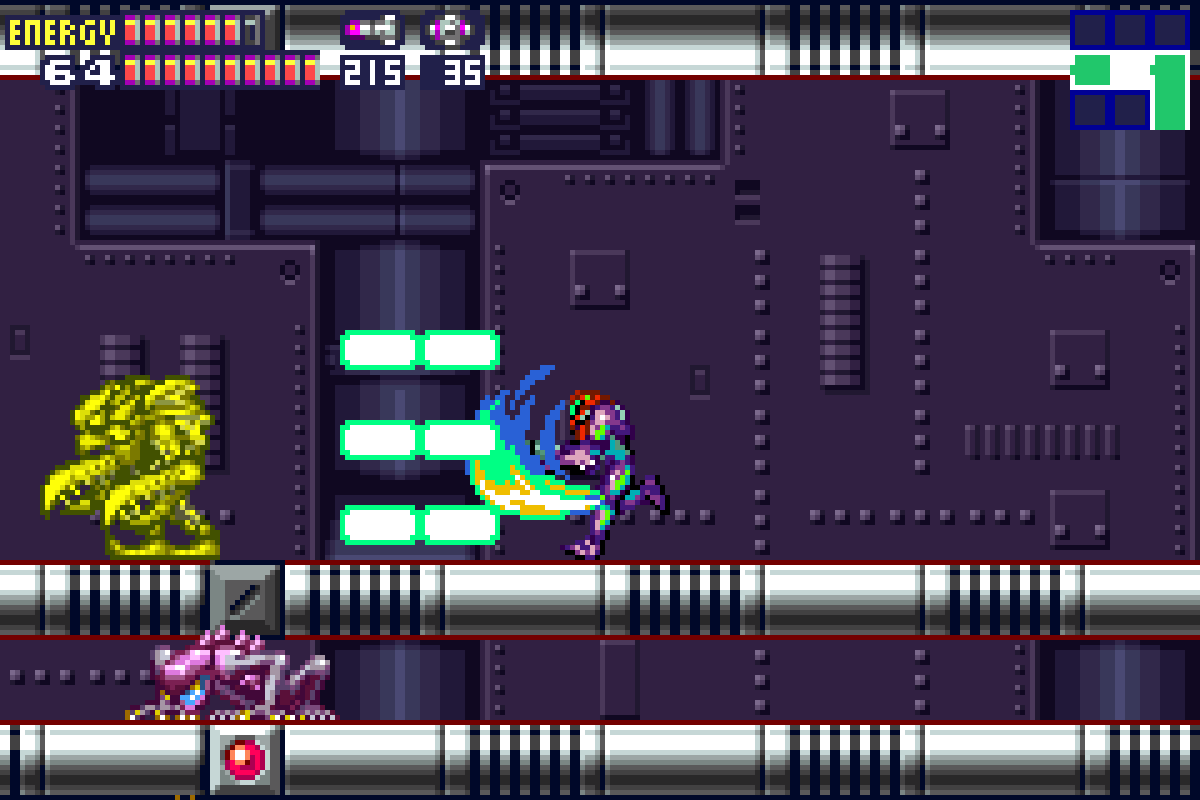
Anyways. During my walkthrough of Super Metroid, I encouraged everybody to try and fight Ridley without using any of my tactics since such a big part of the fun of a Ridley fight is how much of a brawl it feels like. I’ll encourage everyone to try the same here, but this time, more due to the fact that you really don’t need much tactics to beat Ridley at this point in the game. As far as Ridley battles go, this guy is kind of a pushover. That being said, go in cocky and he still has the ability to inflict some pretty massive damage, so let’s see what we’re dealing with here.
This version of Ridley is certainly more grotesque than anything we’ve seen before, and thus, he’s not as agile as in games past, but will rely on brute force more. We’ll use this to our advantage. For this fight, put your Missiles away and stick to beams. Samus’s arm cannon is frankly pretty OP at this point, so we’ll do most of the major fighting in the rest of the game with it.
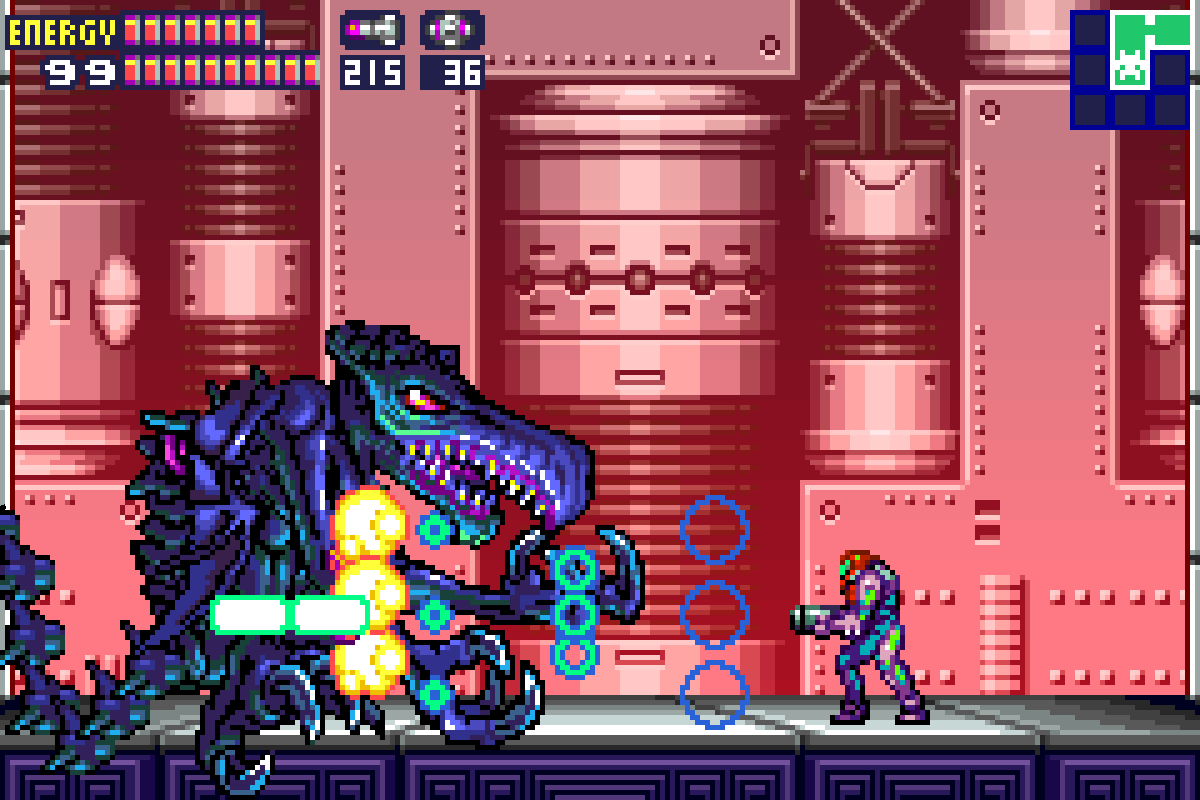
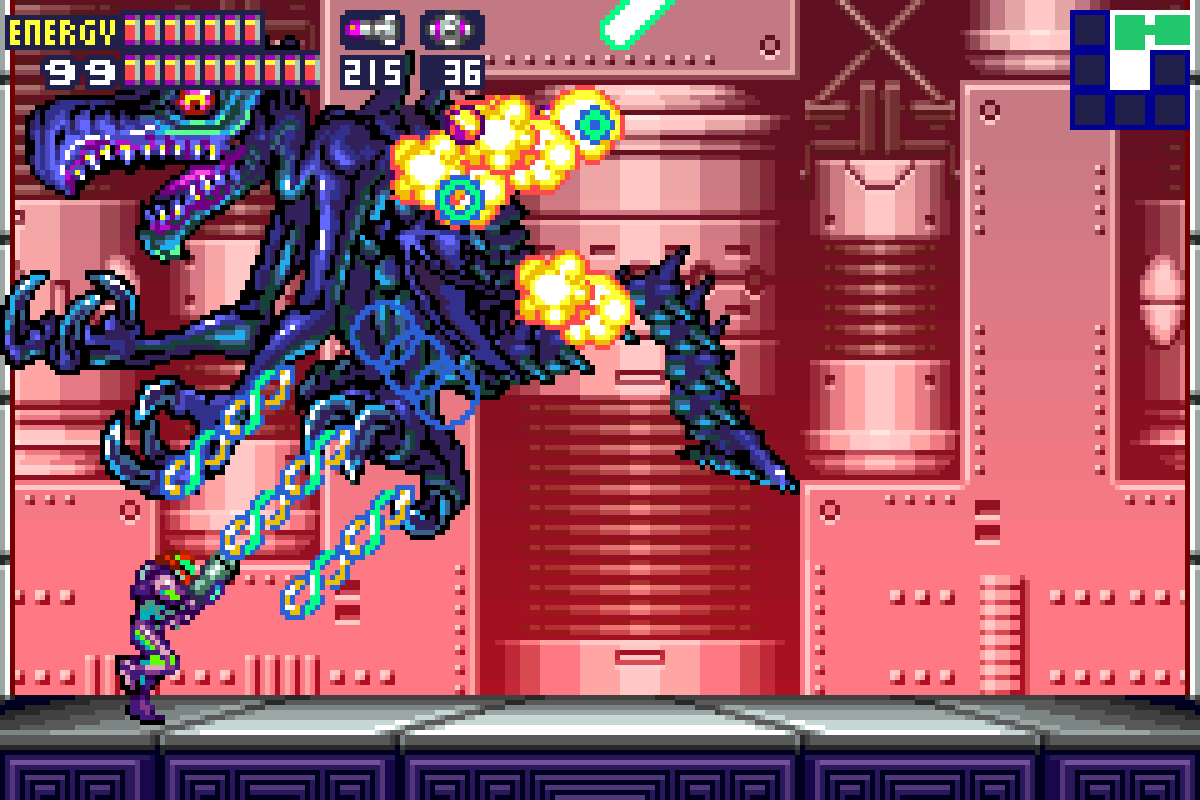
Ridley has a bunch of pretty brutal attacks to be aware of; like in previous encounters, he will spit fireballs at you, only this time the fireballs hone in on your position. You should be able to avoid them by simply running from side to side constantly. Likewise, his classic Pogo attack returns, where Ridley straightens out his tail and bounces around trying to impale you. You’ll want to run under his tail as he’s bouncing towards you: doing so leaves Ridley super vulnerable for a charged shot or two.
Maybe his most devastating attack is when he picks up and basically just punches you in the face over and over. This is rough, and the only way to get him to let go is to fire charged shots right at. As much damage as you’ll take, the bright side is Ridley should be taking as much if not more if you’re firing off charged shots at point blank.
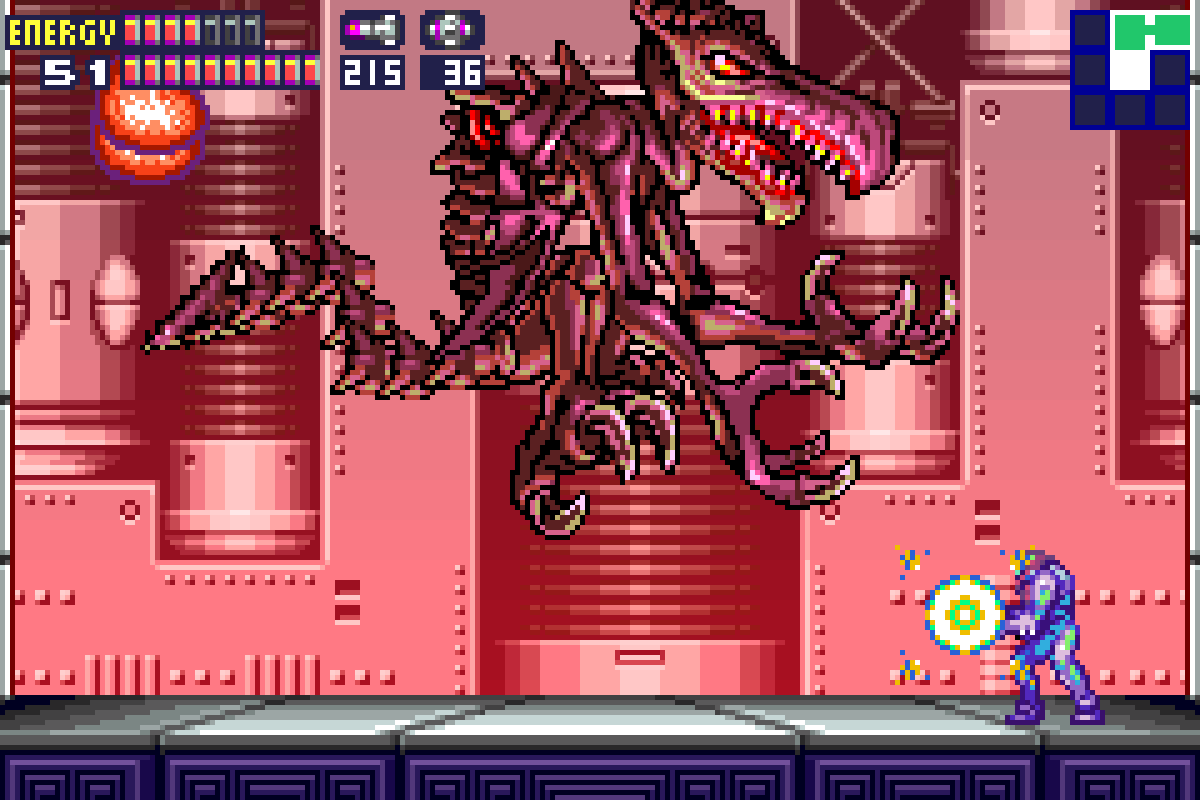

As always, Ridley’s tail will be going crazy, so you want to avoid it as much as you can. Not only will it damage you, but Ridley’s tail is also invincible, so it’s just best to try and always be facing Ridley head on, Pogo aside.
That’s really it. Ridley is vulnerable in every part of his body except the tail. Charge up your shots and fire away. You’ll no doubt take some damage in this fight, but as long as you’re moving side to side constantly and countering his grab and Pogo attacks, you should be more than fine. Honestly, the chances of Ridley injuring your ears with his ridiculous cry are better than the chances he sends you to your death.
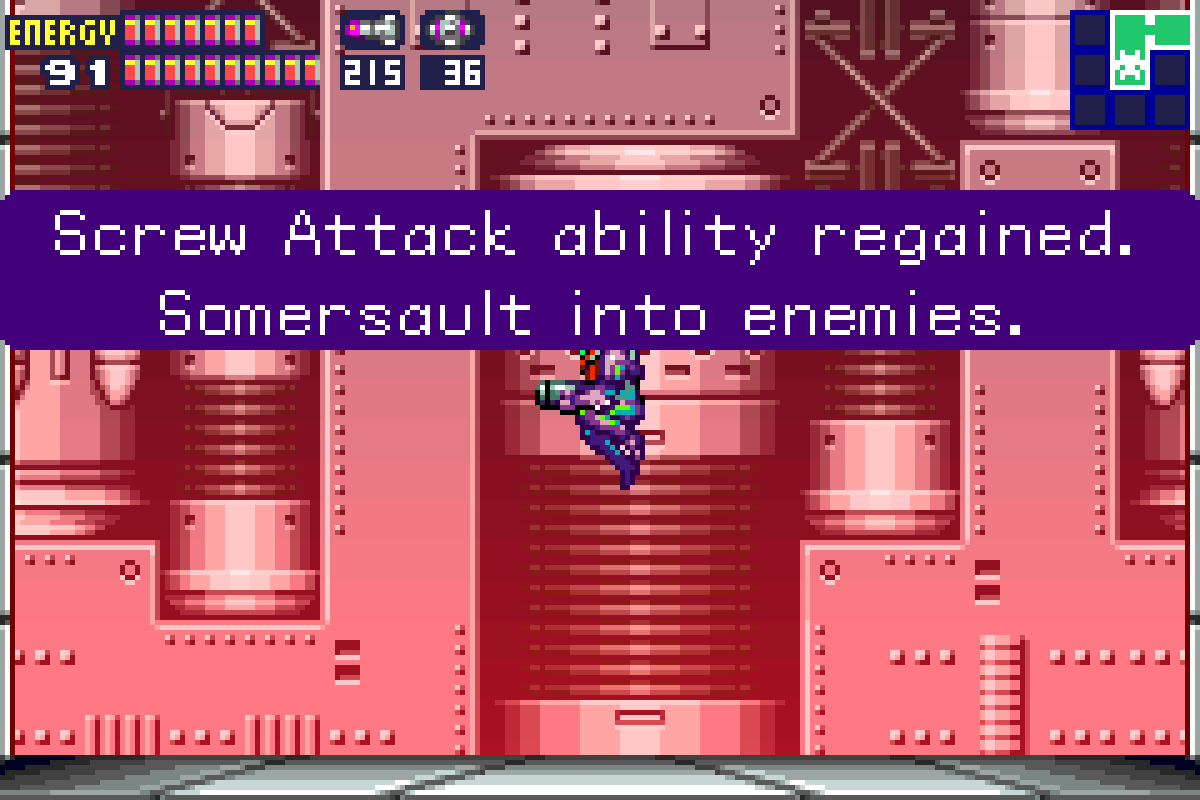
I counted about 24 charged shots before Ridley started self destruction. This battle will be more of a sprint than a marathon, but following these pointers, you should be okay. Deal with the Core-X and we’ll finally have the last powerup of the game, and the ultimate weapon in the Metroid universe: the SCREW ATTACK.
Adam Malkovich
We’re now at the point in the game that I like to call “God Mode” – we have every ability for Samus that we can possibly get, so now nothing is off limits to us. We’ll go around and sweep the board, grabbing any loose expansions still kicking around, but before we get there, let’s set up for the finish.
Once Ridley is gone, exit his room and make your way back to the long hallway we shot the Diffusion Missile in. You’ll be able just to Screw Attack through all the Rippers (and pretty much every single enemy in the game to be honest), so you should be able to get back in no time.
Before you head through the tunnel and go out the door, drop to the very bottom of this room and Screw Attack right through the floor. We actually could have grabbed this expansion on the way to Ridley, but I figured we’d just save it for after since the Screw Attack will make this way easier. If you move over to the left side of the room, you’ll see a Yard crawling inside of an enclosed space. Blast it away, but don’t absorb the X! It will respawn as another enemy, so blast that one, also not absorbing the X. The third formation will spawn a Golden Pirate, which you can just Screw Attack right through. Defeating all three baddies will unlock the door to your right; enter and grab POWER BOMB EXPANSION #14.
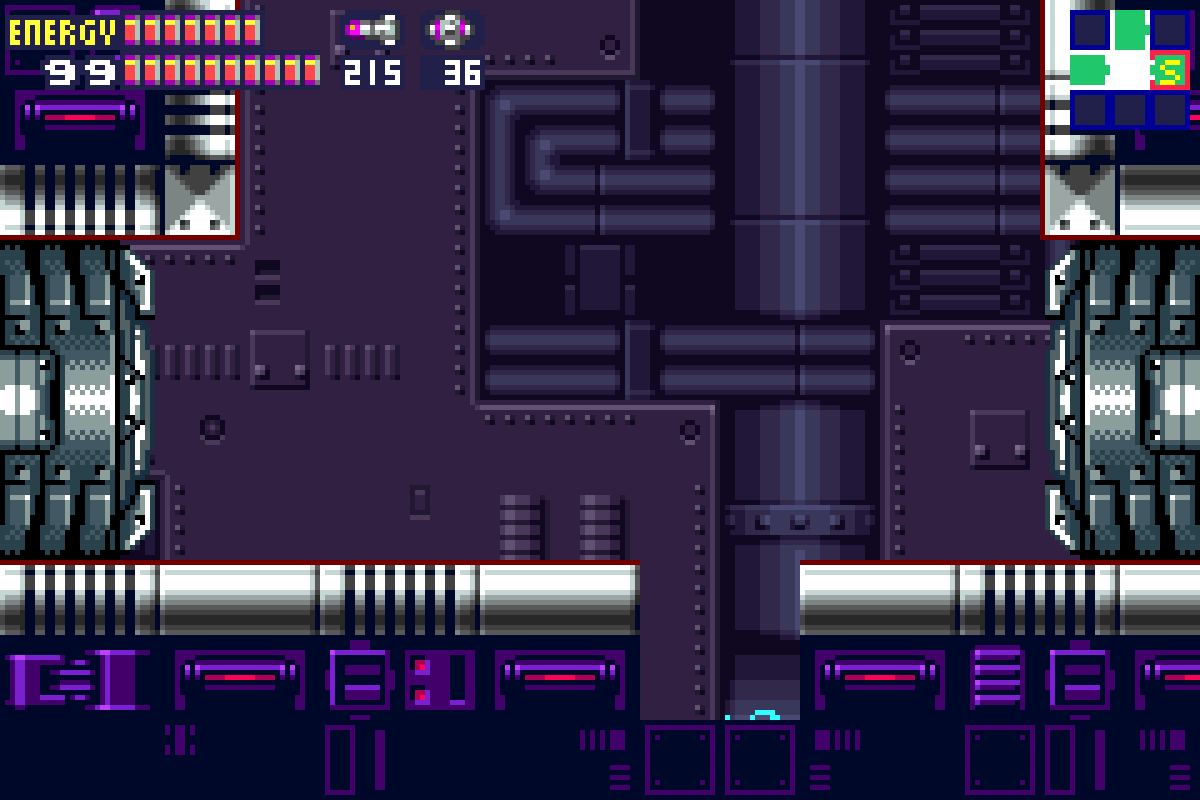

Now head up and back through the tunnel we created earlier with the Diffusion Missile. Blast the gate open and then use your Screw Attack to drop down in the next room to the bottom of a long vertical hallway with a single Ripper and Pirate. Once you’re at the bottom, you’ll enter a new room full of acid on the floor, Rippers flying around, and pillars blocking your path. Keep pressing forward, using your Screw Attack to break the walls and destroy the Rippers. You’ll have to shoot the gate switch open by the final pillar and activate your jump before you take an acid bath, so stay sharp there.
Exit the room and you’ll enter another Super Metroid-esq vertical hallway full of Pirates. This is where you can really see how satisfying the Screw Attack is. Jump up and you’ll shred through these Pirates like swiss cheese with a flaming sword.
Once you get to the top, you have a decision to make. Once you talk to Adam, the game will force you to finish the game. Once you have beaten Metroid Fusion, you can go back and replay and finish collecting all the items, but if you want to have 100% before finishing the game for the first time, ignore Adam and instead use the hidden tunnels to get from Sector to Sector. You can either head straight for the Navigation Room and talk to Adam, OR you can sweep Sector 1, and subsequently, the rest of the Sectors. Personally, I’d just grab the rest of the items now, and if you choose to do so, skip ahead to Section 17.1, but for the purposes of organizing this walkthrough, I’m just going to leave the optional stuff in the next section and break down what happens when you finally get Adam on the line.
Head to the Navigation Room; Adam will tell you to leave the station and let the Galactic Federation handle the rest. Apparently, they think they can contain the X and have interest in capturing the SA-X. Now you know that’s BS, I know that’s BS, and Samus sure as hell knows it’s BS as evidenced by her hilariously ripping Adam a new one. Adam also reveals those wankers at the GF have been deliberately holding back on sending upgrades like the Plasma Beam and Diffusion Missiles just to keep Samus weak. Samus has heard enough and commits to blowing up the B.S.L. – and us along with it, if necessary. Adam suspects this and simply locks Samus in the Navigation Room (kind of a smart idea really) so we need to try and reason with him.
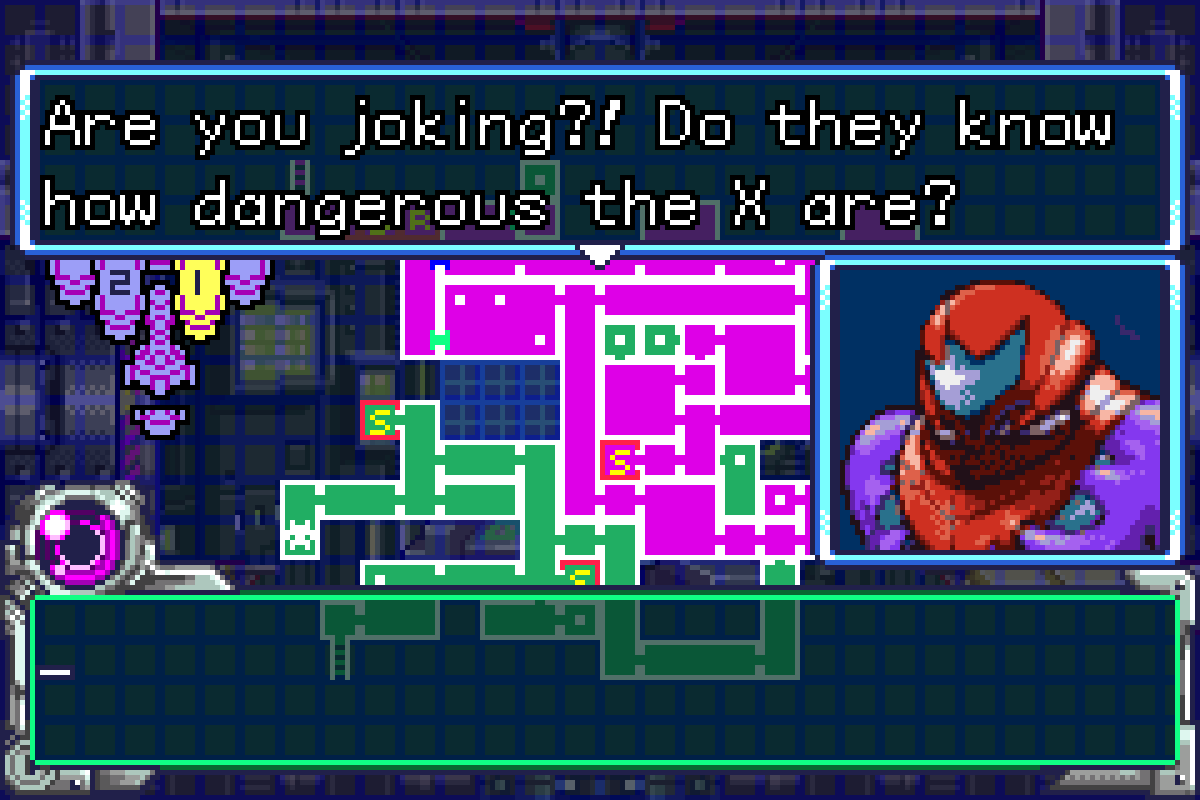
After a tense exchange between Samus and the Artificial Intelligence Commanding Officer, Samus calls him “Adam”, the first time she has actually done so. This apparently wakes up the “inner” Adam Malkovich inside of him, as this computer isn’t just an AI that reminded Samus of her old commanding officer Adam Malkovich – it is Adam Malkovich, or at least his consciousness in AI form. The mileage of this reveal may vary based on the player, but either way, Adam suggests that instead of activating the self-destruct option on the ship, that we actually steer the ship right into SR388, the home of the X, to destroy them once and for all. Now that sounds like a plan!
“Move quickly and stay alive. Any objections?”
Not from me! Let’s finish this!
Next Chapter: Sweeping The B.S.L.