


Metroid Fusion Walkthrough – Sector 5: The Nightmare Awakens
Walkthrough
- Biological Space Labs
- Sector 1 – Atmospheric Interference
- Sector 2 – Unknown Saboteur
- Sector 4 – Ultra-High Speed
- Sector 3 – Rogue Security
- Sector 6 – Frozen Parasites
- Sector 5 – Cold Arsenal
- Sector 3 – Meltdown
- Habitation Deck – Signs of Life
- Sector 5 – First Encounter
- Main Deck – Power Failure
- Sector 2 – Overgrown With Vegetation
- Sector 5 – The Nightmare Awakens
- Sector 4 – Diffusion
- Sector 6 – Revelations
- Sector 1 – Neo Ridley’s Cry
- Sweeping the B.S.L.
- The Final Confrontation
Submerged Roads
Interestingly enough, Adam seems surprised and not overjoyed with the fact that we received the Plasma Beam. Regardless, there is a big emergency in Sector 5. Once you’re in the ARC, Adam will inform you that a creature capable of manipulating gravity has caused massive damage. This creature is something the late researchers in Sector 5 called… the Nightmare. It’s up to us to find it and stop it.
Get yourself down and over to the Big Freezer room. You’ll see that this room has been absolutely totaled, with that silhouette noticeably absent. Guess it’s not much of a spoiler anymore what was flying around in the background earlier.
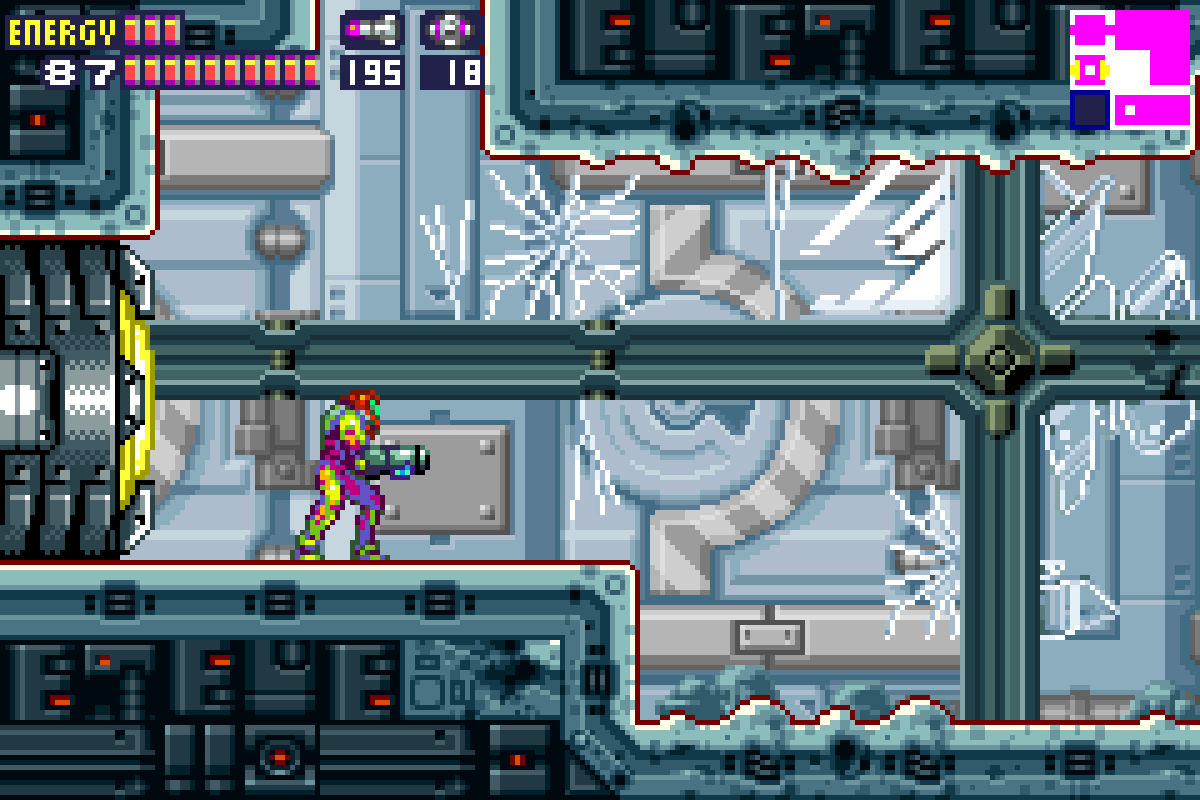

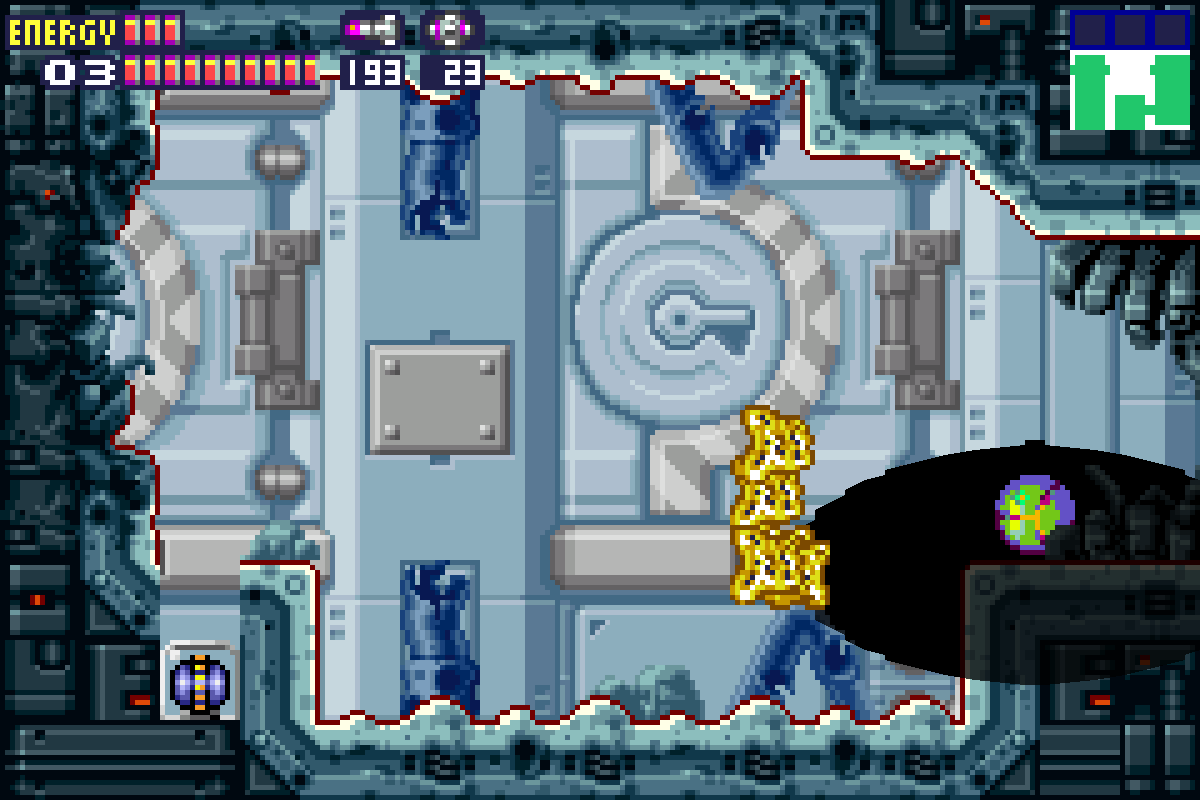
Space Jump up to the top left of the Big Freezer. Shoot the door open to your left and then run directly right. Your Speed Booster should activate towards the end – crouch and Shinespark to the left, through the door you opened just a second earlier. You’ll fly into another room and go crashing through the wall, entering a new room with POWER BOMB EXPANSION #5 right in front of you.
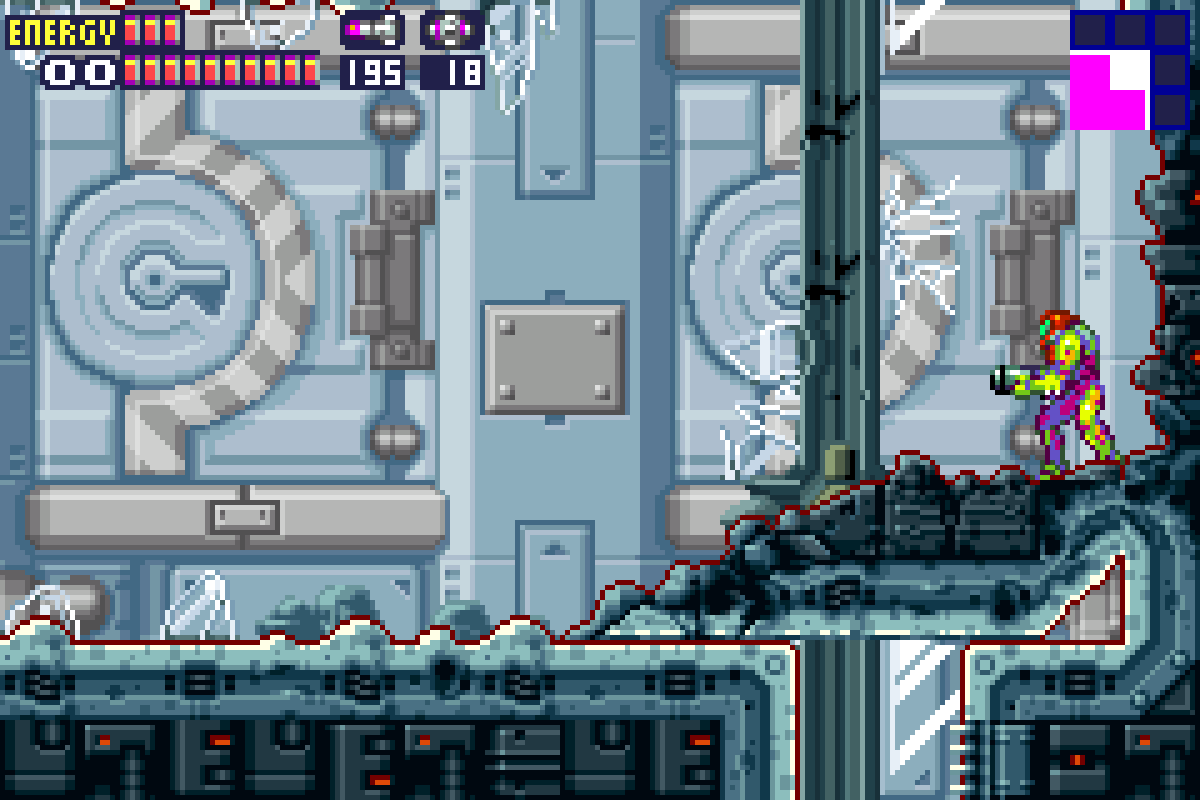
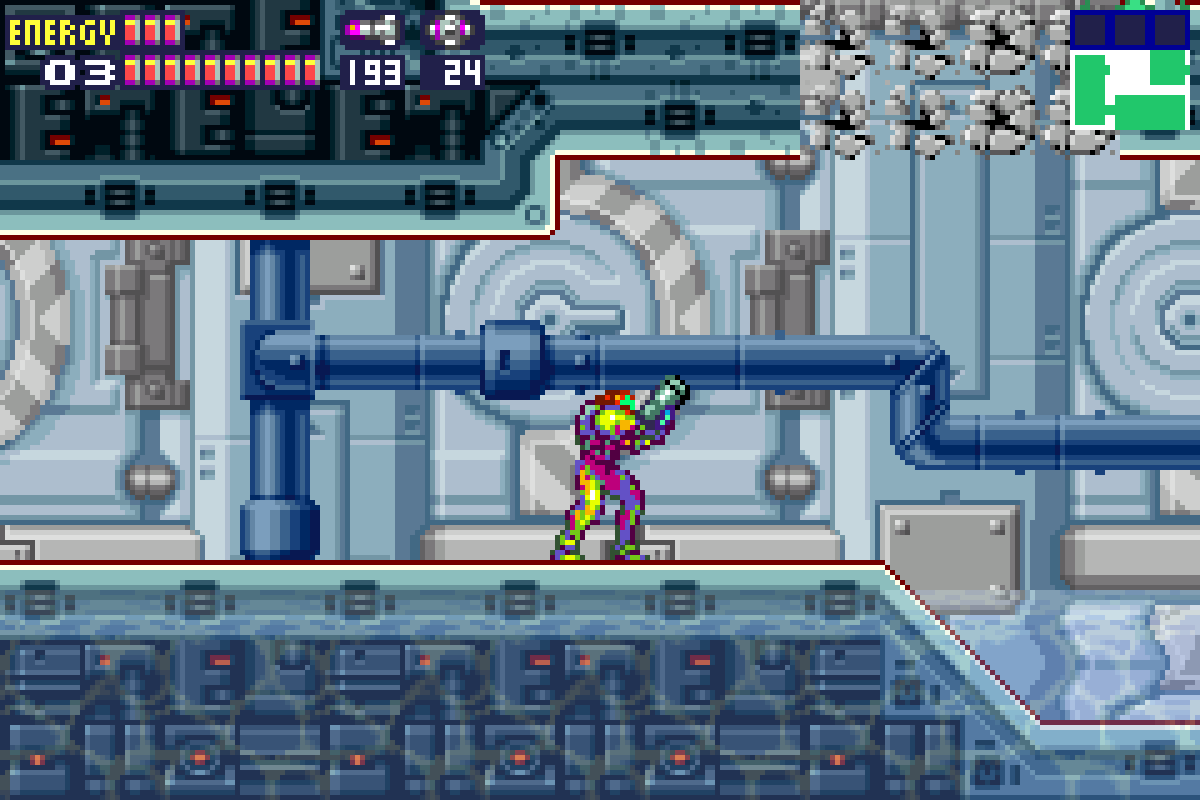
Exit and return to the Big Freezer. Drop all the way to the bottom and exit left into the Thin Freezer. This room has been severely compromised, but fortunately for us, that means that where there was once a Red Lock door, there is now rubble and we’re free to enter. Take the top right door into this room and immediately shoot the ceiling. You’ll see a door which will take you to a connector tube to Sector 3 (side note – I love these shots because it’s easy to forget you’re on a giant space station sometimes. So cool!). On the side of the connector tube that rests in Sector 3, lay a Power Bomb. You’ll see a brick in the wall give away and POWER BOMB EXPANSION #6 sitting right there for the taking.
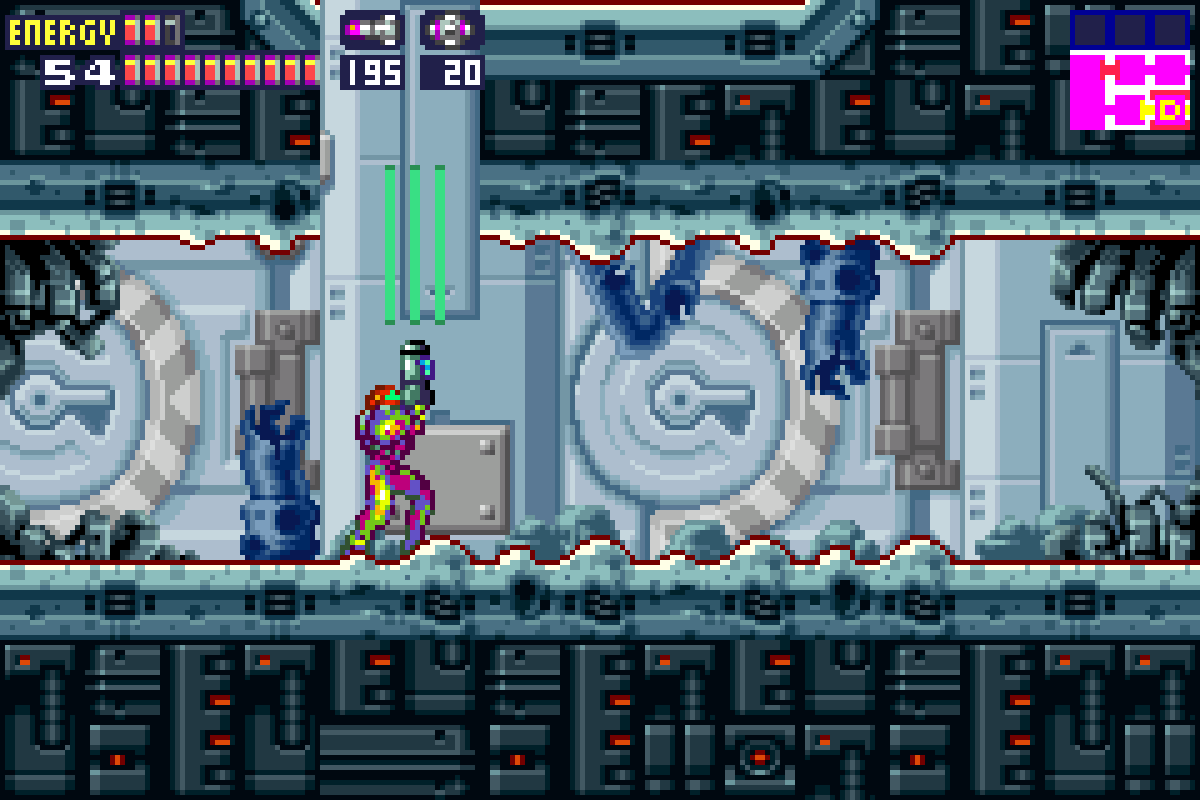
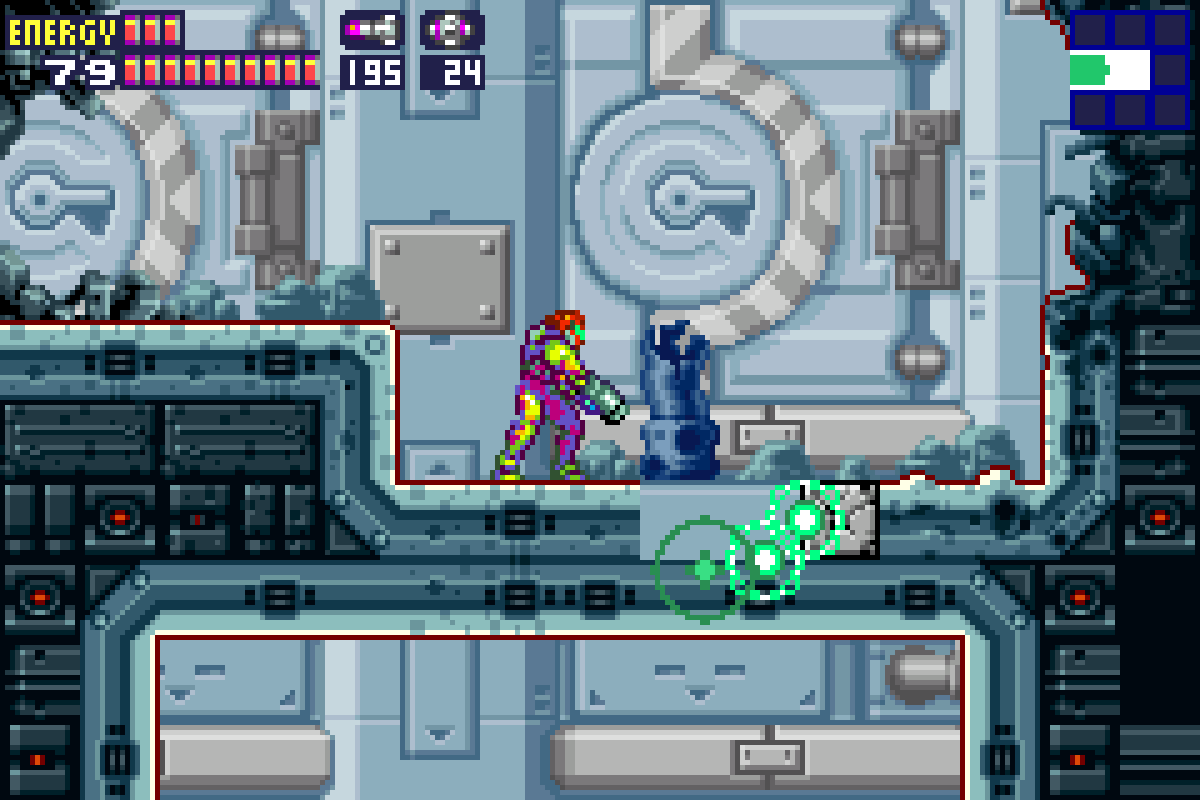
Exit this connector tube and lay another Power Bomb as soon as you get back into Sector 5. You’ll see a small opening in the ceiling reveal itself. Jump up and immediately hit the gate switch. You’ll have two Space Pirates on the other side of the gate shooting at you, and their beams can pass through solid objects (seems like malarky to me) and ours can’t, so hit that switch and take care of them quickly. The X will float to the next level above you, so again, shoot the ceiling at the far left and jump up, taking out the Pirate. Now that you’re on the third level, I’d just lay a Power Bomb; you’ll see openings to your right and left. Jump up to your right first, hit the switch gate, then go left and open that switch gate; abracadabra, you’ve got POWER BOMB EXPANSION #7.
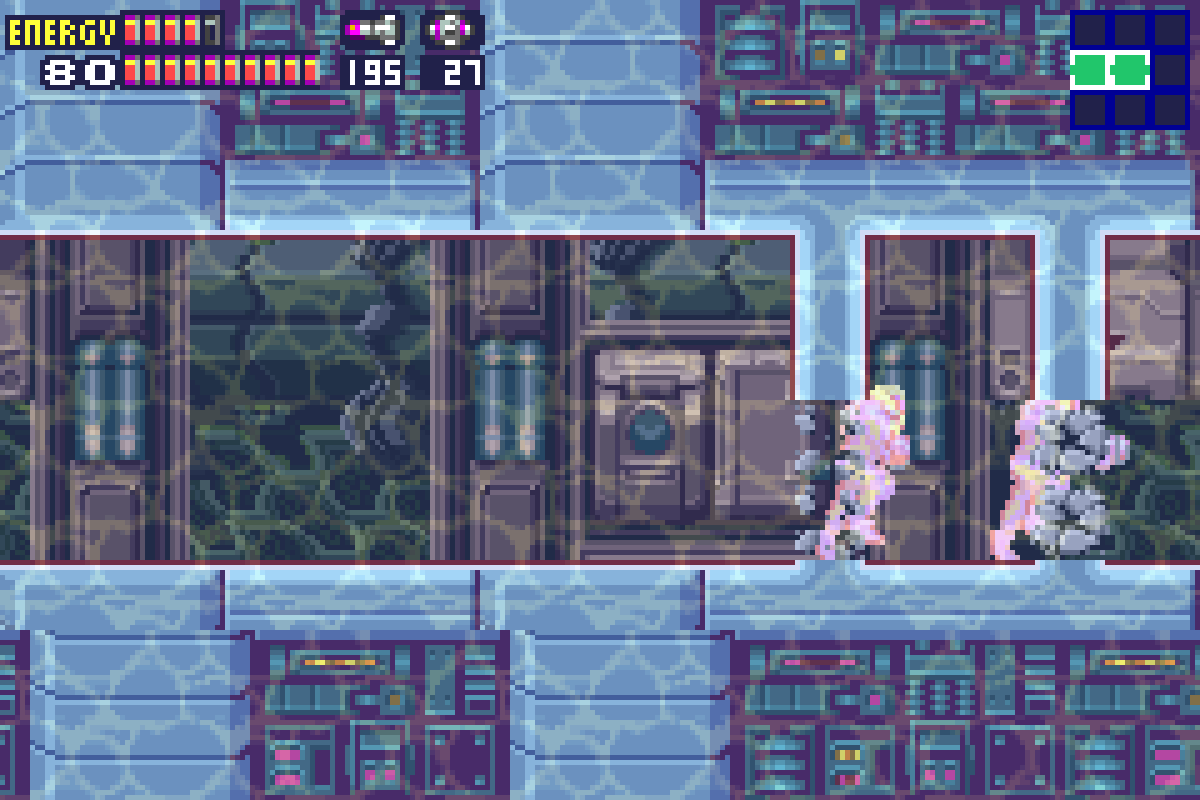
Drop all the way back down now and continue your original path, heading right above the ruined Data Room. Continue right until you get to what seems like a dead end. Shoot the floor, and you’ll fall down into some water, which severely slows your movement. On the plus side, this decrease in agility is good practice for our upcoming encounter with Nightmare. Quickly eliminate the Pirate; it’s worth noting, when you destroy any of the red fish (called Skultera’s) in the water, their X will immediately try to find a Pirate to merge with. Doing so will turn that Pirate into a much more water-mobile Pirate, so watch out. Once the Pirate and Skulteras are eliminated, head through the door.
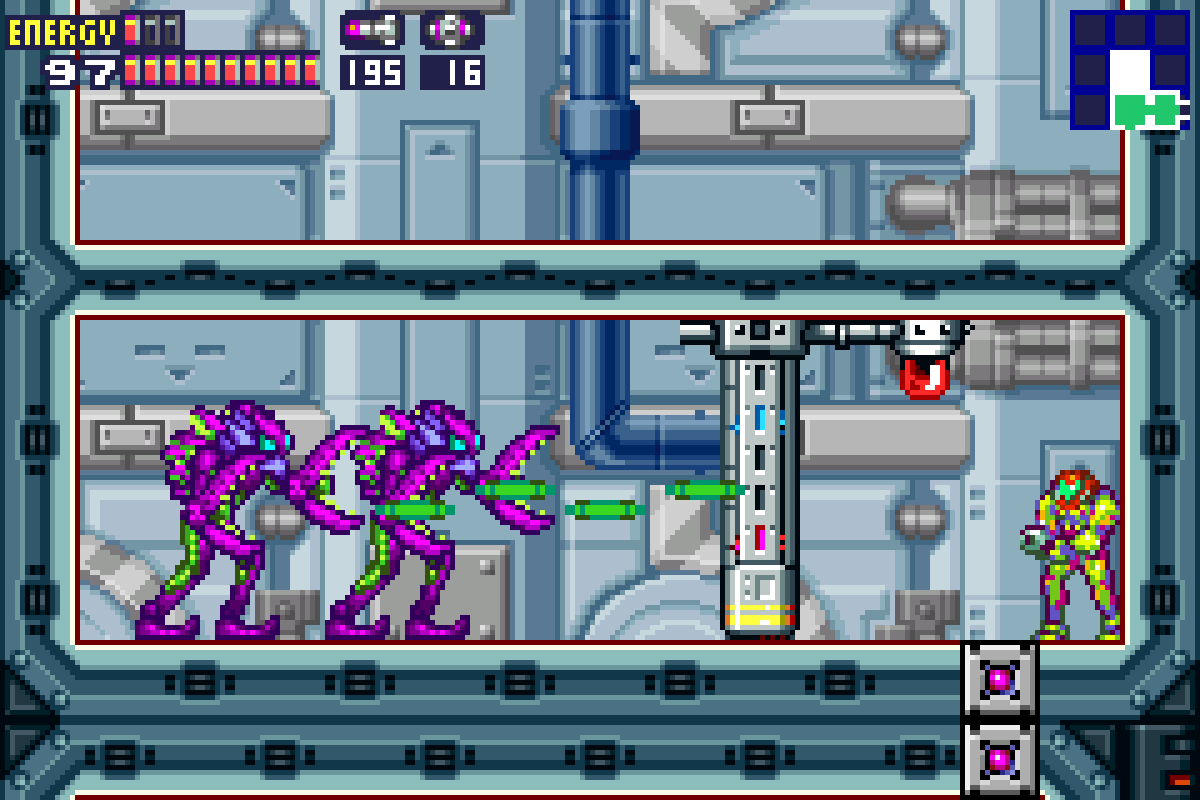
You’ll enter a long hallway fully submerged in water. There are three Pirates in here; take them out and work your way to the top left door. It’s a good idea to have a charged shot ready to go before you walk in the door since there’s an Aqua Pirate right in your face as soon as you enter the next room. Take it out and head up and out the door on your left.
Shoot the ceiling out in this next room in pretty much the exact spot where the two Gerubus’s are lurking (either take them out or avoid them, your choice). Head up and then slip into the room on your left. You’ll see a ton of Zeelas here; lay a Power Bomb, which will both destroy them all and reveal POWER BOMB EXPANSION #8.
Exit back into the previous room and head to the top right hand door. Save your game if you wish, but either way, right before you enter the Save Room, lay a Power Bomb and you’ll see a tunnel in the wall. Roll over and get yourself inside! When you’re almost at the end, just start jumping in Morph Ball form. This may seem silly since we’re in a tunnel, but there’s actually no roof on one of the black tiles. When you jump, eventually, you’ll go up; once you find the spot, jump up, roll over to the left and grab POWER BOMB EXPANSION #9. Roll back down and you can hit up the Recharge Room to your left if you want.
Head through the door directly under the Save Room. Shoot all the Zeela’s in this next room and jump up to the second level. Blast away the Gadora and enter the boss room. You’ll see an Energy Tank, but don’t roll over to it or you’ll miss it! Instead, lay a Power Bomb and you’ll see a tunnel open up in the upper part of the wall. Jump up, roll over and grab the very well played ENERGY TANK #14. Once you’re ready, drop down
Nightmare
Buckle in. This has the potential to be pretty difficult if things go sideways. There is a bit of RNG at play in this battle, and you’re going to take some damage no matter what you do, but with the right knowledge and strategies, we should be able to minimize how much damage you take.
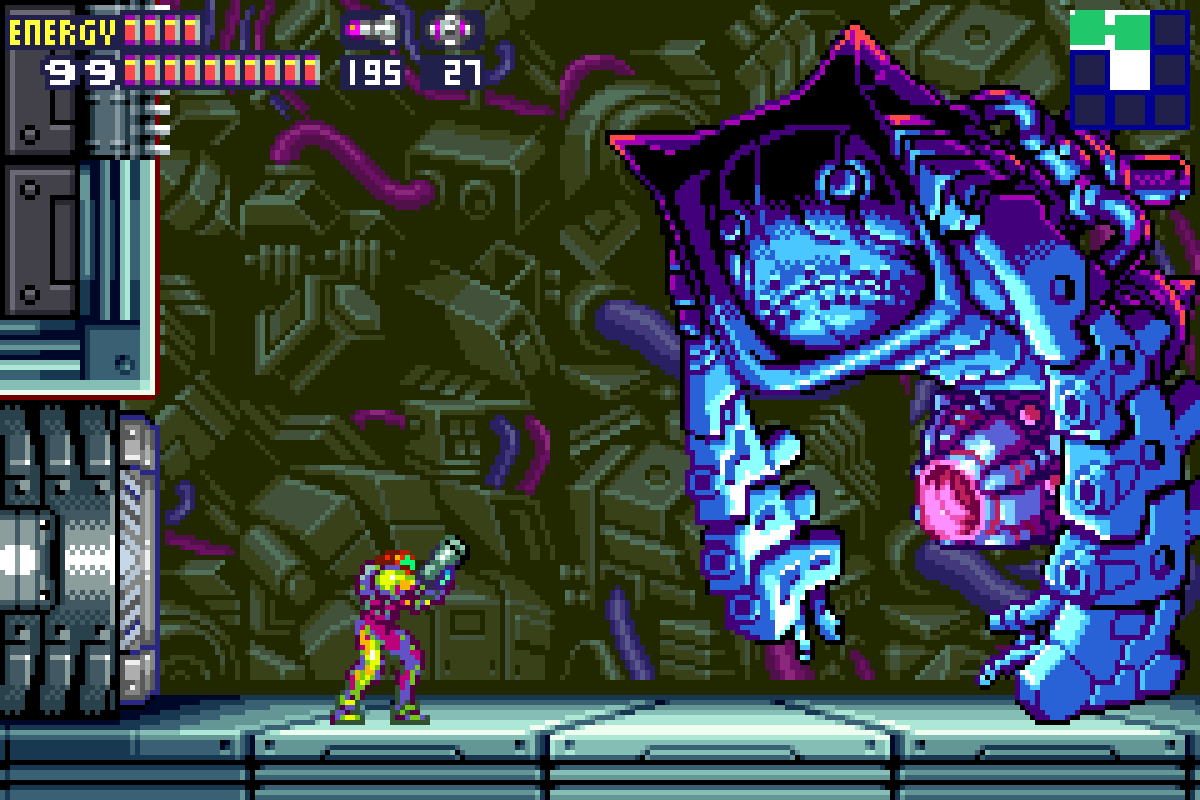
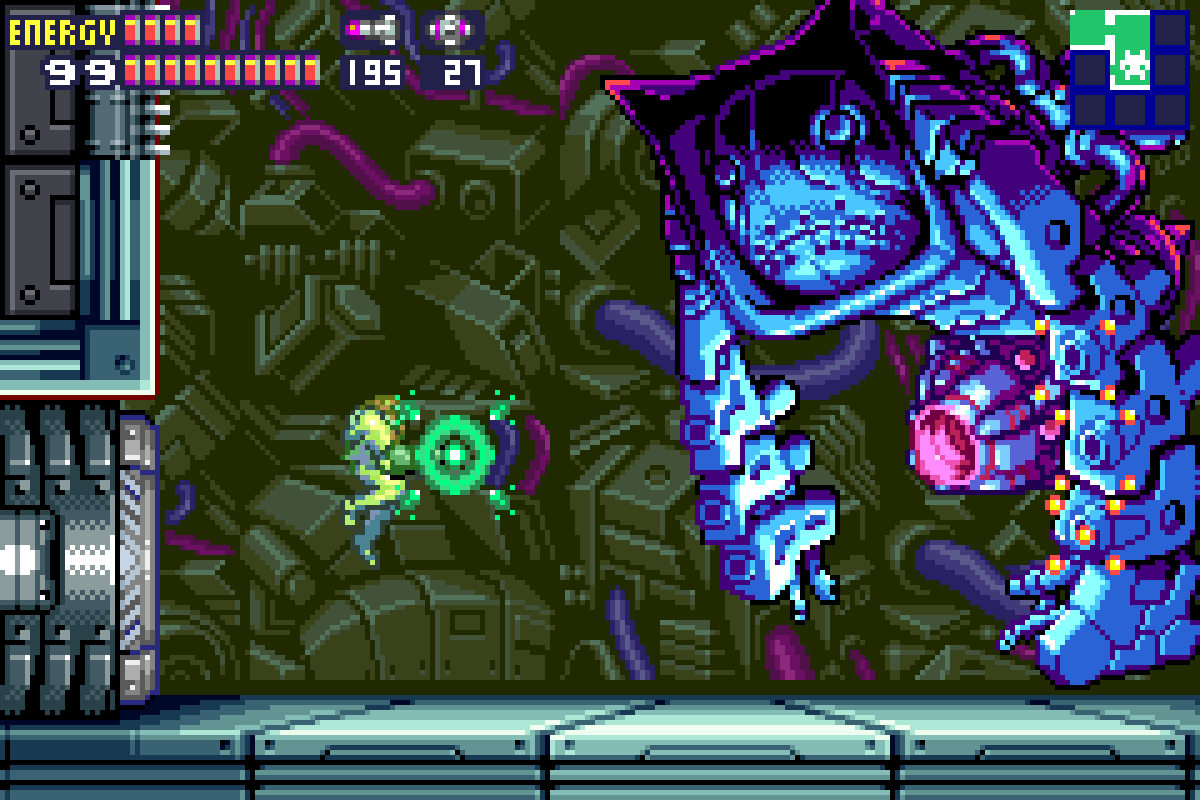
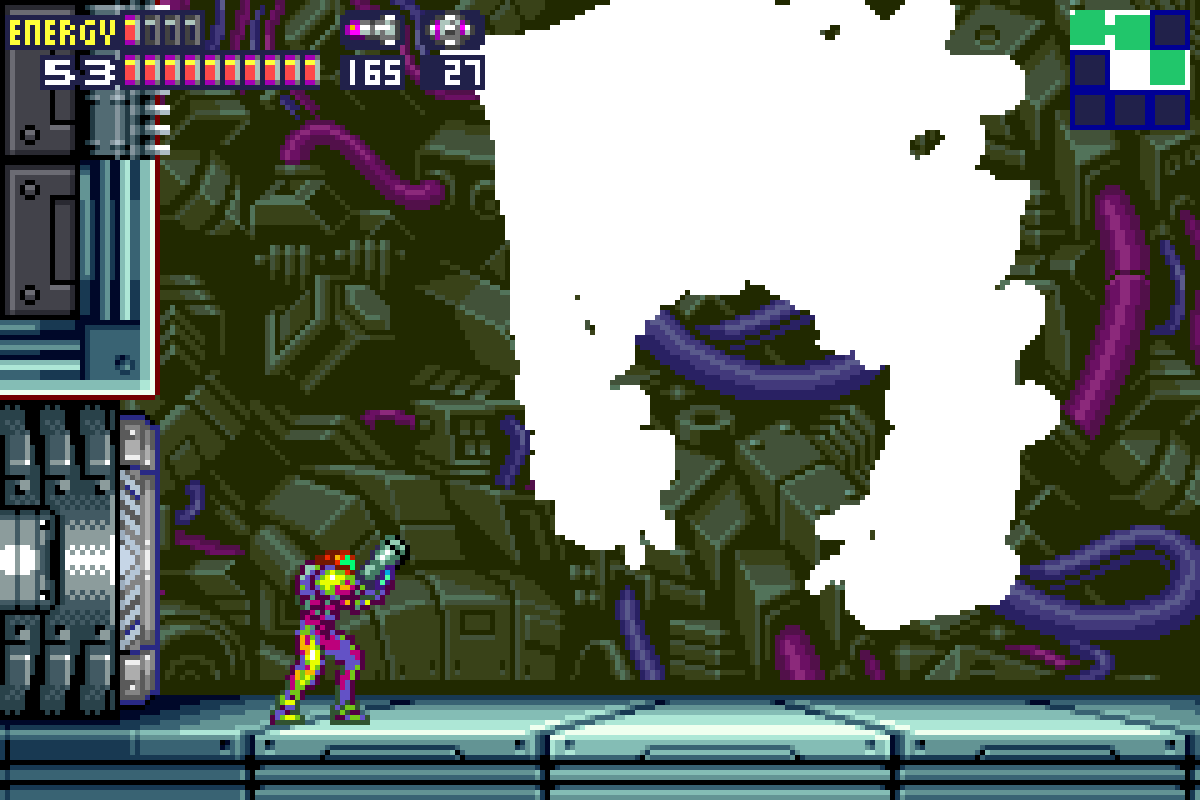
Nightmare will emerge from the bottom of the room and my God, this thing is ugly. Nightmare has two massive arms, an ugly plate covering its face, and a big gravitational modifier attached to his butt. Attached to his hulking arms are some laser beam shooters, and they will constantly be going off this whole battle, so just heads up. Nightmare is also surprisingly agile for such a big boy too, so we’ll have to constantly be moving and jumping to avoid him.
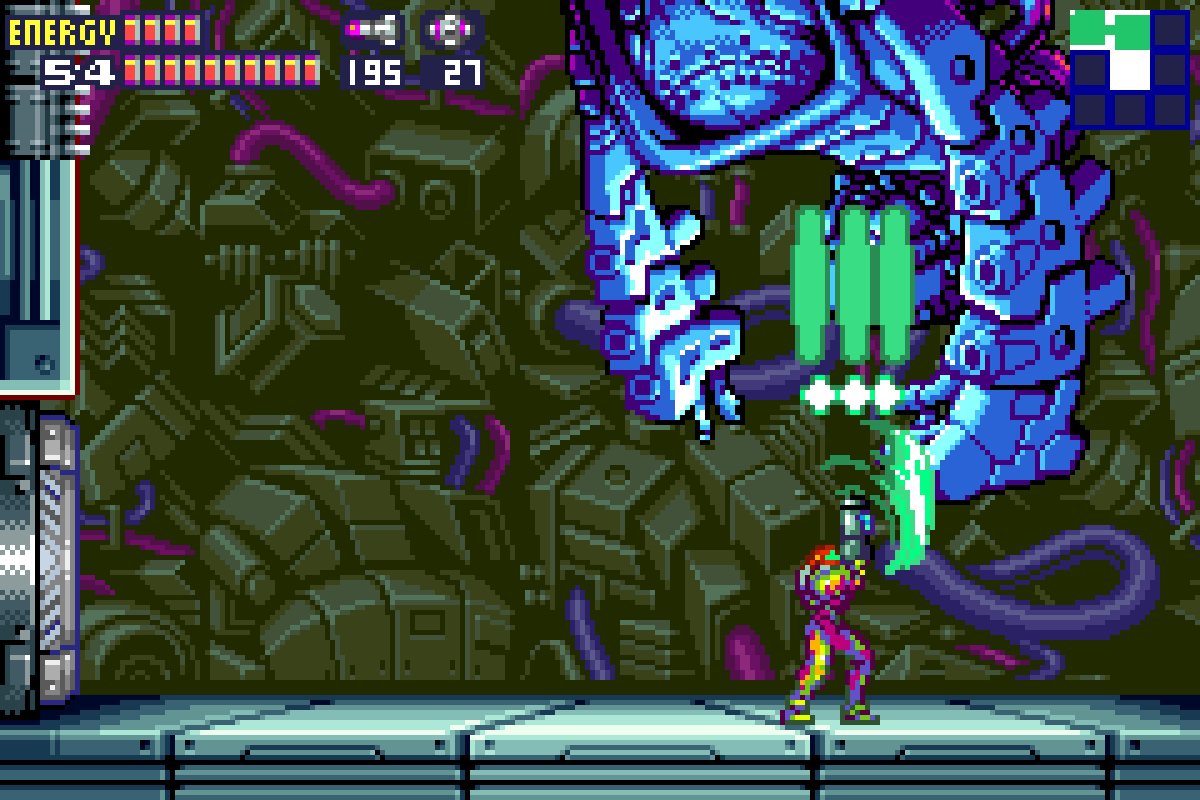
This battle has three phases, though the first one is so short it will probably be over before you even realize it happened. Phase one will start right after Nightmare rises from the ground; he will shoot six beams at you from his arms about every five or six seconds. Fortunately, the beams are pretty easy to jump over. Once you jump over the beams, Nightmare will float upwards to where you were at the apex of your jump. This is your queue to strike.
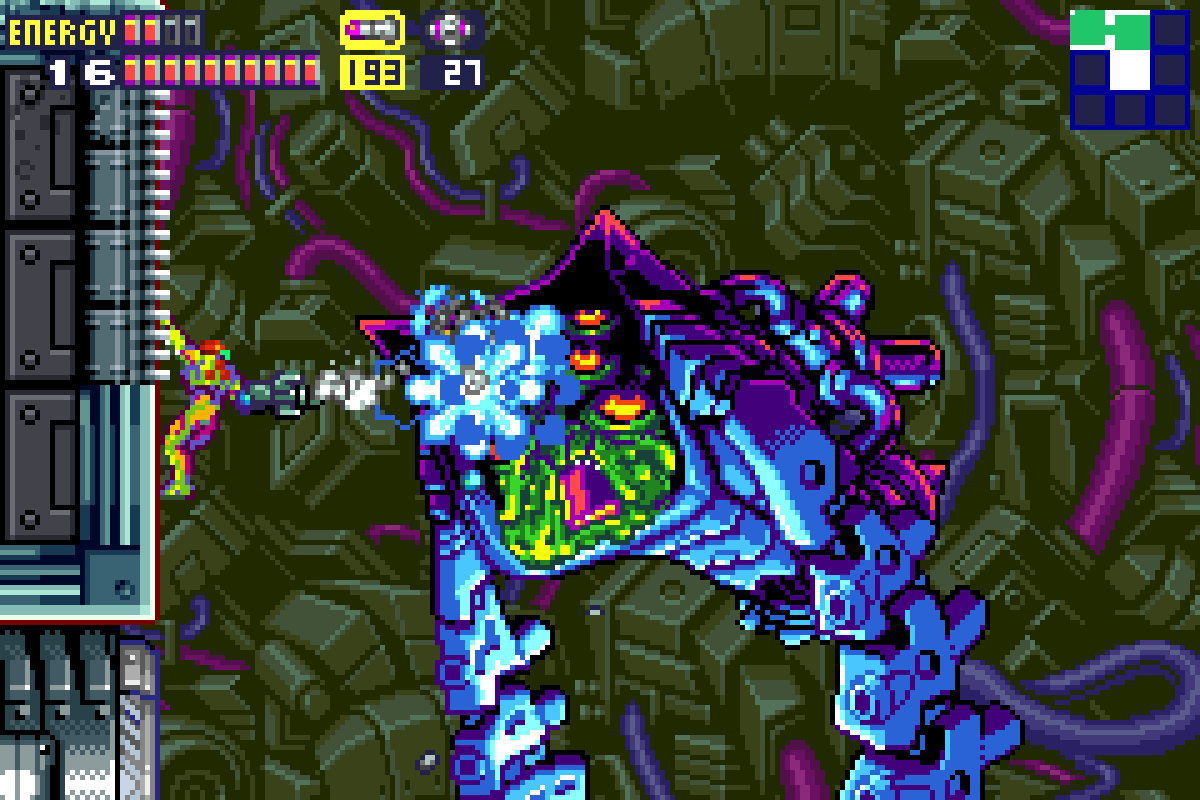
The only part of Nightmare that is vulnerable to our weaponry is his gravitational manipulator; when he rises up, blast it. I would recommend using charged Plasma Beam shots versus Missiles; Missiles are more likely to miss or hit a part of Nightmare that is impervious to pain, whereas beam shots will shoot out three equally devastating shots which have a better chance of hitting and require you to be less precise with your aiming.
Jump up over Nightmares beam attacks, wait for him to float up, run over and shoot up a charged beam shot diagonally upwards towards the manipulator. Do this four times and phase one will end (told you this would be quick). Once Nightmare starts putting that gravitational manipulator to work in phase two is where things get heavy (pun intended).
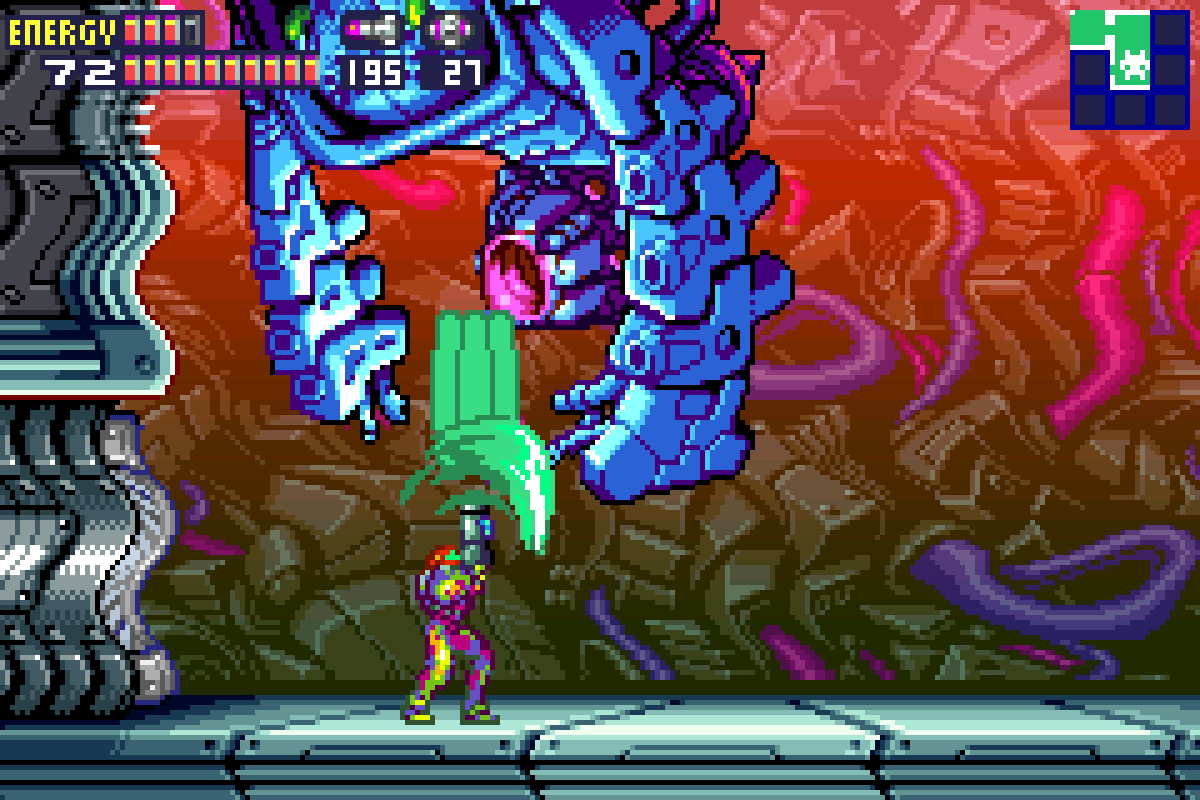
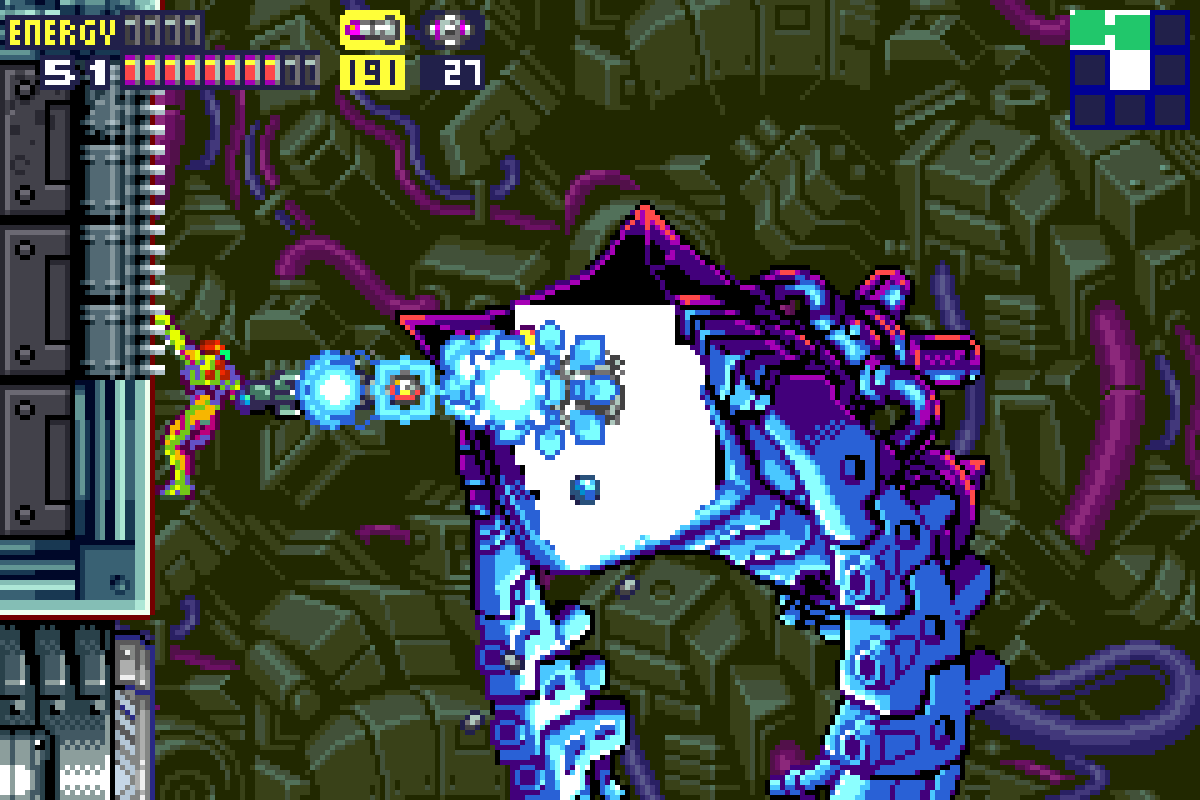
To start off phase two, Nightmare will activate his gravitational manipulator and you will feel the effects immediately. Your movements will be slower and your jumping will be heavier; in short, you’ll be moving as if you are underwater. Don’t even think about using Missiles either, because they’re too heavy and will just fall to the ground – charged shots are the way to go here.
The overall premise of this phase is pretty similar to the last one in that you’ll want to be shooting upwards at the manipulator poking out of his behind. While you would think the gravitational weight might make this pretty challenging, I actually think this part is somewhat straightforward.
First off, a couple notes. Instead of Nightmare’s arms shooting six beams at you, now it will only shoot two, and from the same level; this gives you more opportunity to avoid them. Same basic idea as before: alternate between jumping over the shots and ducking under. In addition to moving up and down, Nightmare will also move left to right. Keep in mind, while he moves very close to the left wall, he will never touch it, meaning that if you’re hugging that wall, no matter how close he is to you, he won’t be close enough to damage you.
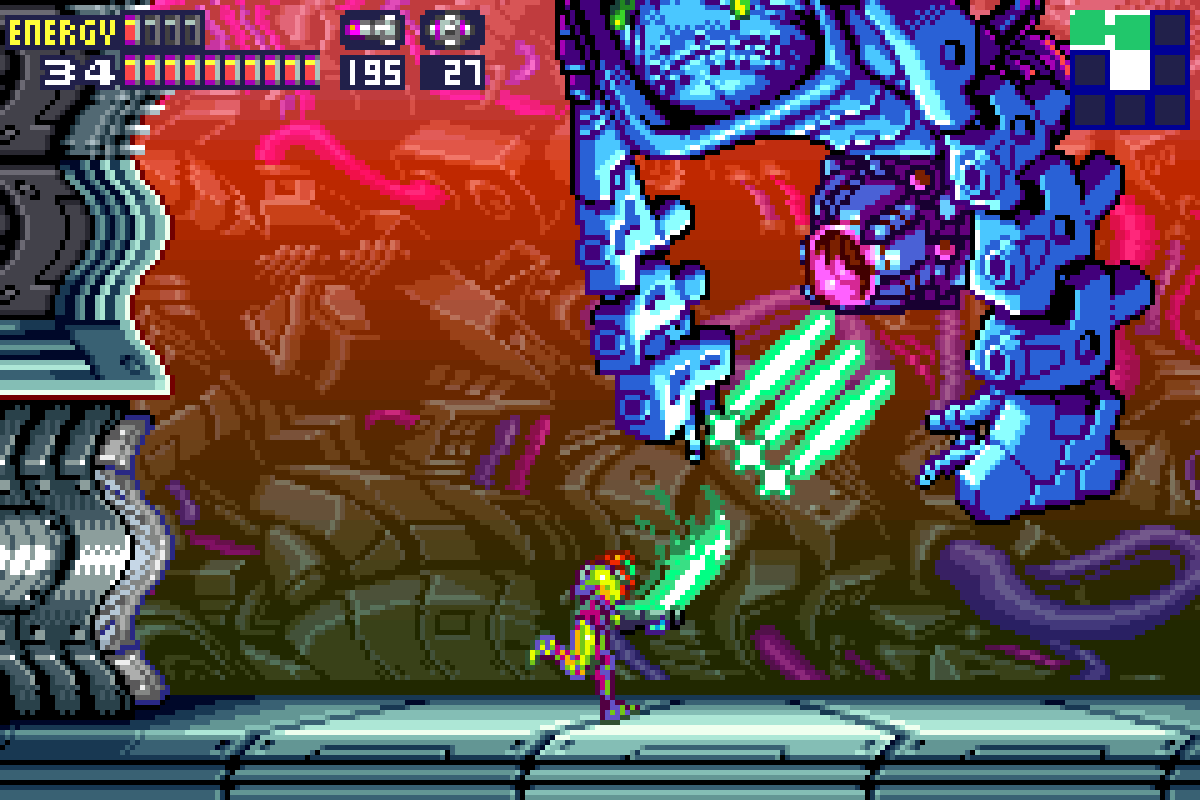
Knowing all this, you’ll want to keep blasting his manipulator with charged shots, just like you were doing before. The best way to do this is to constantly be running left to right and firing towards when you get to the right side. You’ll want to keep jumping over his beams, which are actually easier to avoid in this heavy gravity than you might think. Also worth noting, is just like moving underwater, while it might take you a second to get going, once you’re moving, you can build momentum pretty fast, so don’t be too conservative if you’re running towards Nightmare and it feels like you may not get your shot off before he comes and hits you; you’ll move faster than you think.
Jump up and down over his beams, run back and forth to get the best shot, and keep this process up. About a dozen charged shots to the gravitational manipulator will destroy it and begin phase three. NOTE: try and deliver the “killing blow” while Nightmare is a little higher in the air; this can really speed up the potentially dangerous phase three if done correctly.
Be ready to act quick, because this is where some luck can really set you up for success. Now that the manipulator is gone, gravity will return to normal and you’ll be able to use Missiles again. The metal plate covering Nightmare’s face will also go flying off, revealing the uuug-lay face of this grotesque science experiment. The face is now the vulnerable part, however, your attacks will basically have to be straight on. If you shoot at an angle, your attacks won’t get through.
Now. Here’s where luck comes into play. If you were able to damage Nightmare in midair, and if he is in line with the monkey bars on the left wall, then quickly get up there and start firing Missiles as fast as you can at Nightmares face. Nightmare will slowly start to float towards you, firing all six beams at you. Position yourself on the monkey bars above his beams but in line with his face and you can probably snap off a dozen Missiles or so before you need to move.

This is basically the scenario that we want to lure Nightmare into for this phase. His attacks this phase are similar in that he’s firing all six beams at you, which are easy enough to avoid, BUT, now that Nightmare doesn’t have the giant gravity weight sticking out of his ass, our man is much more agile now, and will be flying around like crazy.
Nightmare will go flying around the room, chasing after you. You’ll need to Space Jump to avoid him, which is harder than it sounds like. Nightmares main attack here will be simply crashing into you, which, while simple, is very effective, draining away about half a tank of energy every time you touch.
Nightmare will basically follow your movement patterns, so I’m going to drop two scenarios and you can choose whatever you think works for you. The first scenario is much more safe: Space Jump in a wide circle around the room and Nightmare will follow. If you’re making wide laps around the room, Nightmare should never get close enough to you to harm you. You can charge up a beam shot just in case he does crash into you, just so that he takes damage as well. Attacking will be slow in this scenario; you can either charge up shots and try and hit him midair, or just wait for him to stop flying and start slowly creeping across the room again, hoping your shots can line up on the monkey bars or just jumping up from the ground and hitting his face at the apex of your jump.
This scenario is safe, but is going to take you forever. Scenario two is quicker, but riskier.
Scenario two basically involves Space Jumping in short circles at the far right side of the room. You’ll want your circles to be tight so that when Nightmare stops and starts crawling towards the left, his face is in line with the monkey bars. Once he starts crawling, you make your way over to the bars and unload with Missiles. To repeat, you’ll only want to Space Jump as high or as low as the monkey bars on the wall go, and only on the right side to maximize the amount of Missiles we can hit him with once he starts moving. Obviously, this vastly compressed circuit of movement presents far more opportunity for Nightmare to hit us, but that’s the risk.
Now, as far as I can tell, there’s no telltale sign as to when Nightmare will stop flying and start crawling towards the left (if you know one, PLEASE let me know!) so again, a little bit of luck will carry the day here. If you can get those short circles and get Nightmare to stop and float towards you fairly quickly, even if you have to take some hits, you’ll probably be able to finish him off pretty quickly. If Nightmare decides to not cooperate, you could be in for a long battle. You have enough Energy Tanks that I would probably recommend going with scenario two, at least to begin with, and risk a little damage to yourself for a lot of damage to Nightmare.
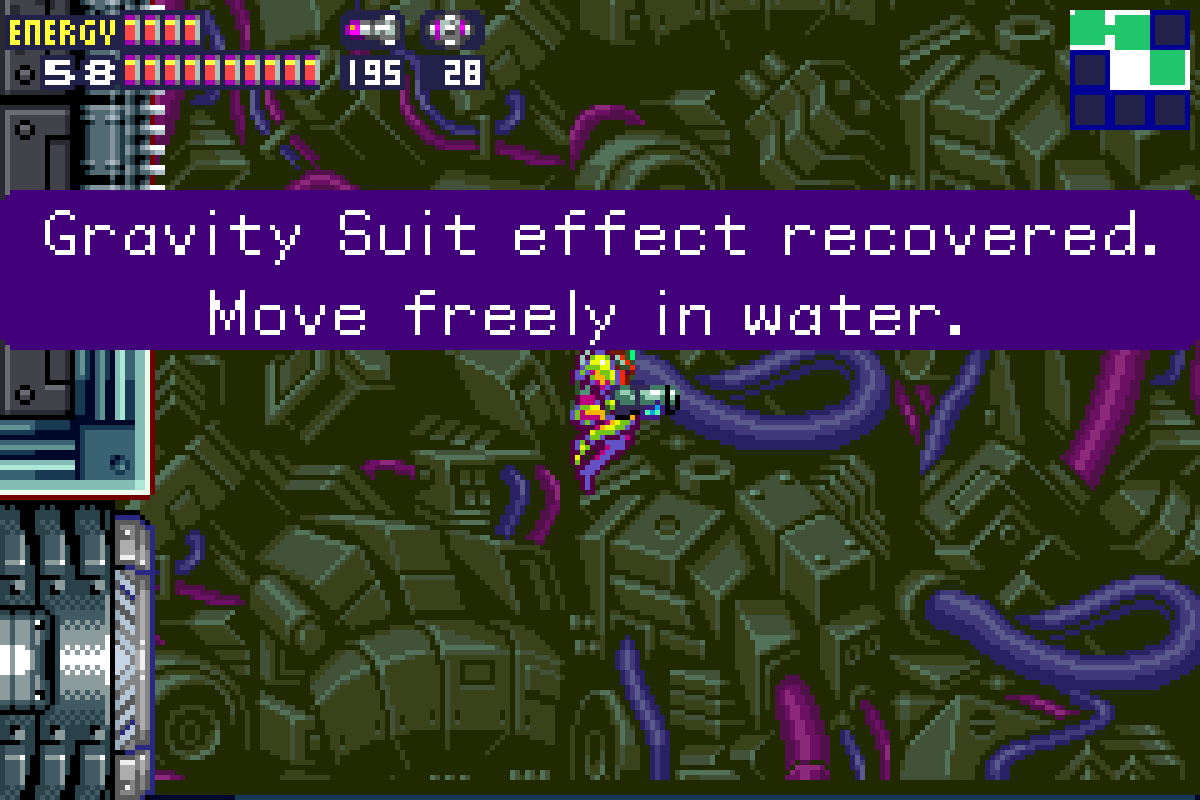
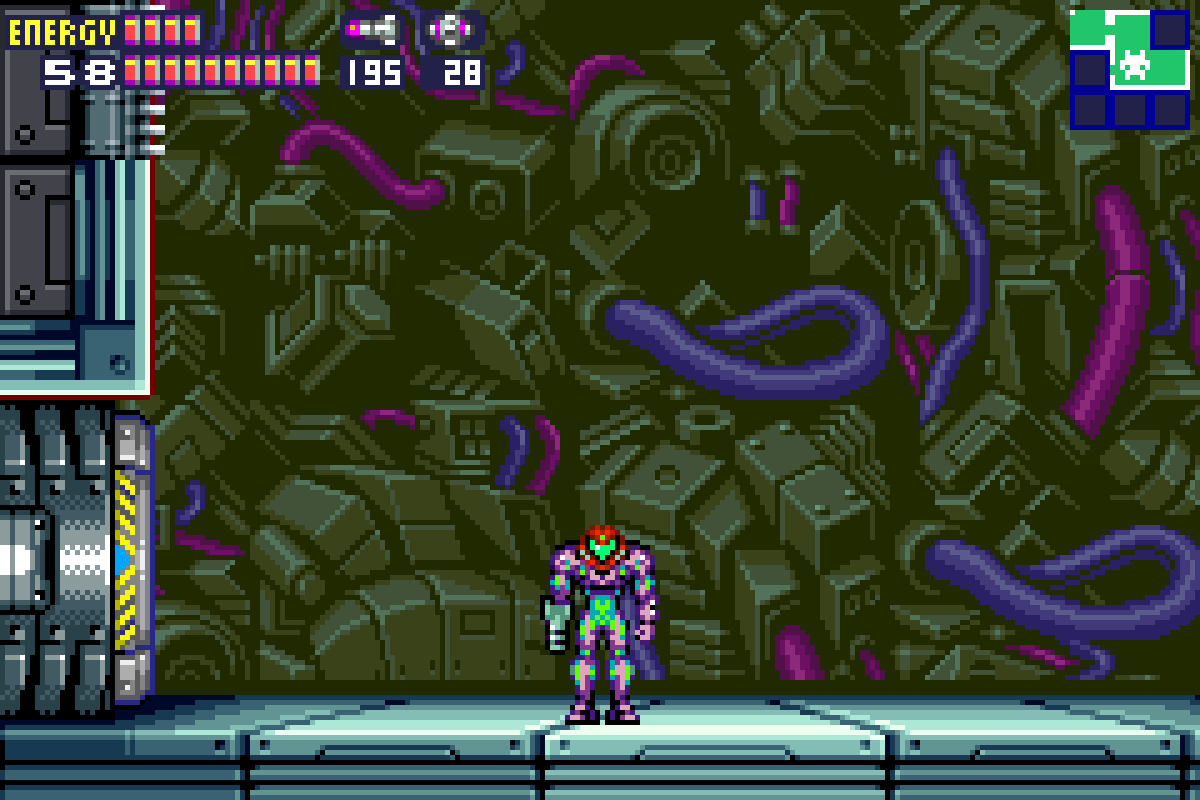
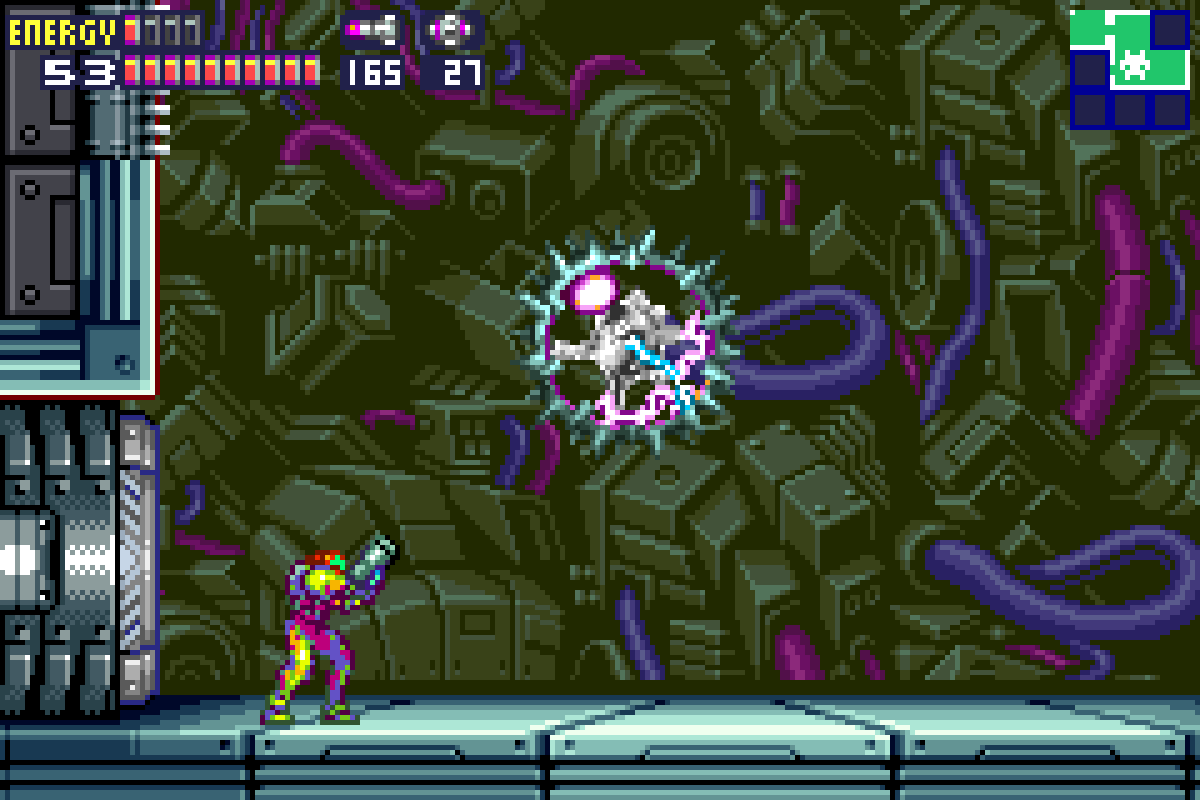
Keep shooting him with Missiles and charged shots, avoid his attacks as best you can, and eventually, Nightmare will fall. Deal with his Core-X and you’ll finally be out of that hideous Varia Suit and into the new GRAVITY SUIT.
Free Moving Through (ARC)
Once you’ve put Nightmare down for the count and acquired the Gravity Suit, it’s time to get out of Sector 5. Head to the far right wall of the Nightmare room and start running. Go through the door and your Speed Boost will kick in, destroying the barrier that was previously blocking your entry. How good does it feel to move freely through water, am I right?
Follow the path back to the room that was submerged in water with the three Pirates in them. There was a door on the right side we skipped by earlier that is our ticket out of this Sector, but before we do that, head over and exit this room to the left, going back into the submerged vertical hallway that we first fell down. You’ll notice a ledge that you can jump up to and grab. Directly across from the ledge is a block that can be destroyed with a Missile. Shoot and roll into the newly exposed tunnel.
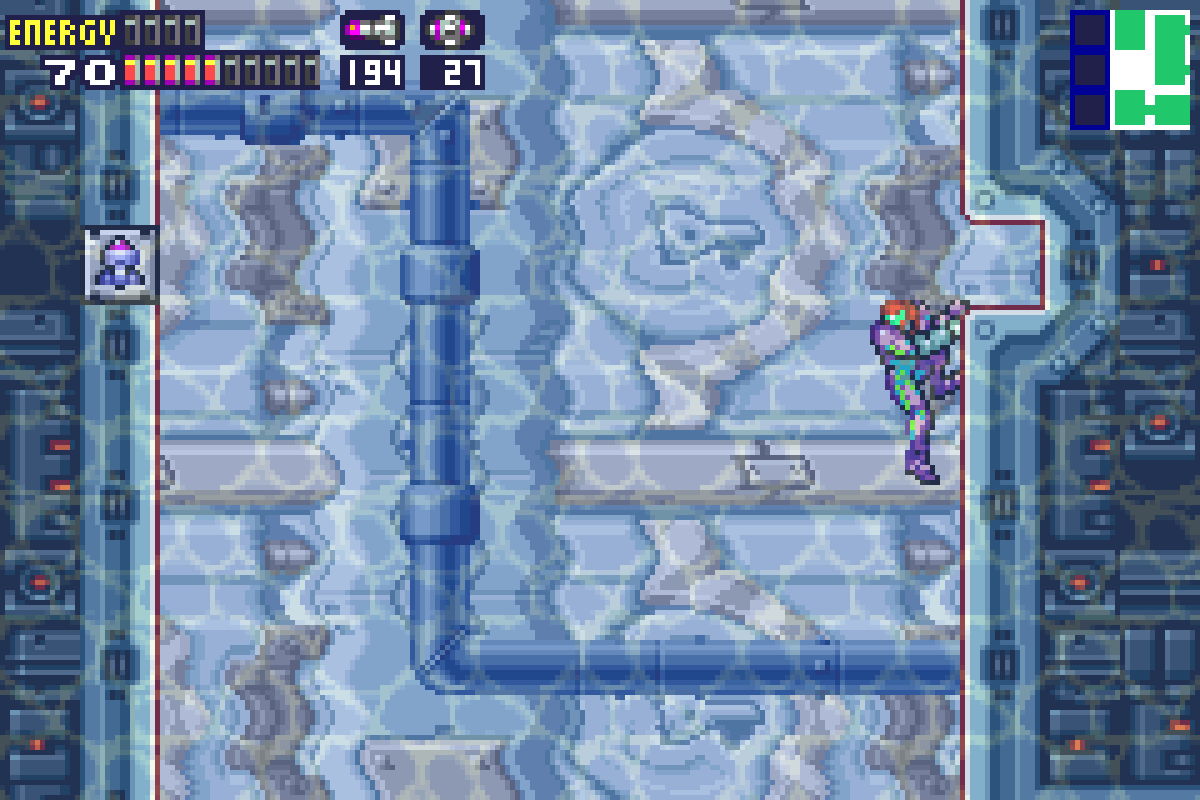
You’ll be in a small room with two platforms and an Energy Tank in the corner. There are multiple tiles of these platforms that will give away if you touch them, so just jump over them and continue. Even though it looks like there’s no access to the upper platform, simply jump when you get to the second-to-last tile on the left and you’ll pass right through the invisible wall and up. Jump over the drop points and roll over to grab ENERGY TANK #15!
Roll out of this room and back towards the bottom door. Go through and eliminate all the Pirates and fish (what is this, the ocean?!) and then start running towards the door on the far right.

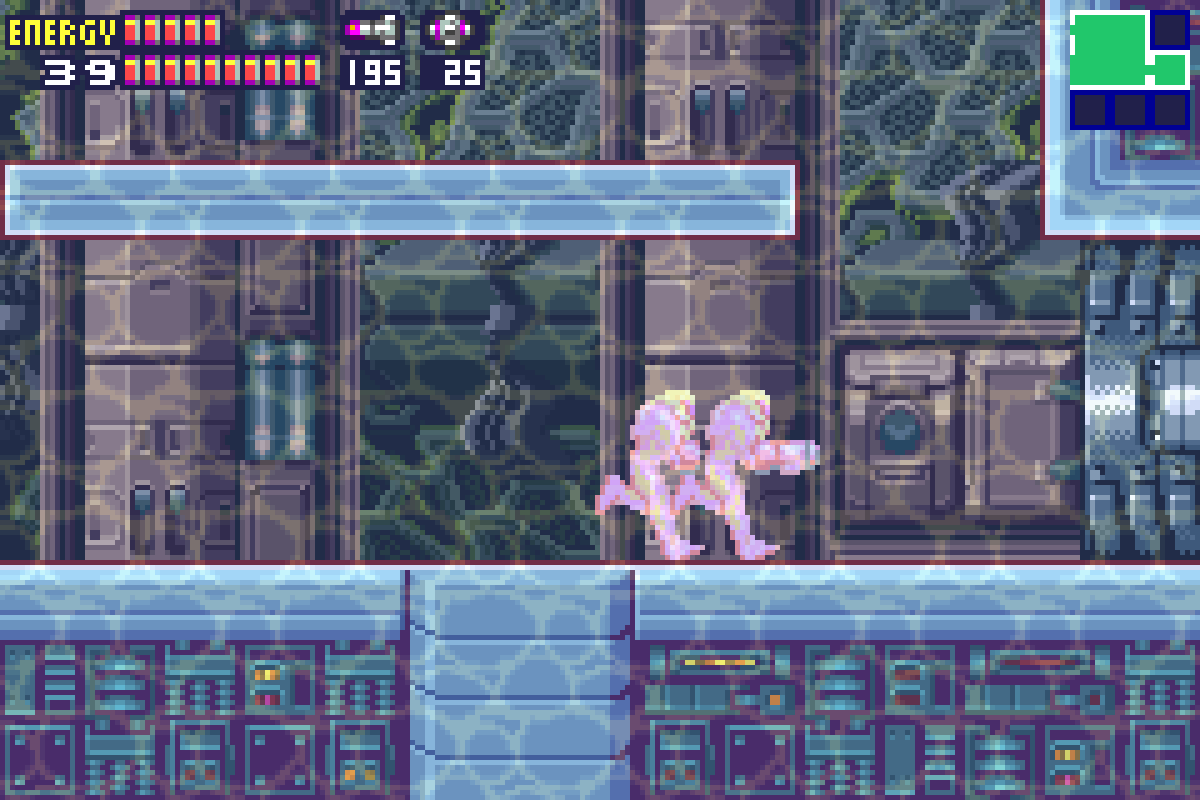
Once you go through the door, you’ll go crashing through two pillars. Once both are destroyed, STOP and crouch; get in between the two pillars (you can still see the tops) and Shinespark directly up. You’ll see POWER BOMB EXPANSION #10 just laying there. Grab it and drop back down.
Run again towards the right and your Speed Boost will kick in. Eventually, you’ll run from Sector 5 to Sector 4; don’t stop running though! Once you get into Sector 4, you’ll start running up a hill; once you’re at the end, jump while Speed Boosting and you’ll go crashing through the wall. This can be tricky, but if you mess up, you can just head back and try again. Once you’re through, hit up the Save Room and do your business before descending into the waters of Sector 4 (AQA).
Next Chapter: Sector 4 – Diffusion