


Metroid Prime Walkthrough – Fire & Ice
WALKTHROUGH
- Frigate Orpheon
- Planet Tallon IV
- The Ruins Come Alive
- Fire & Ice
- Phazon Laboratory
- Ghosts & Gravity
- Space Pirate Assault
- The Entrusted One
- Artifacts in the Wild
- The Great Poison
Magmoor’s Flames
Scans in This Section
Creatures: Grizby, Burrower, Magmoor, Puffer, Triclops
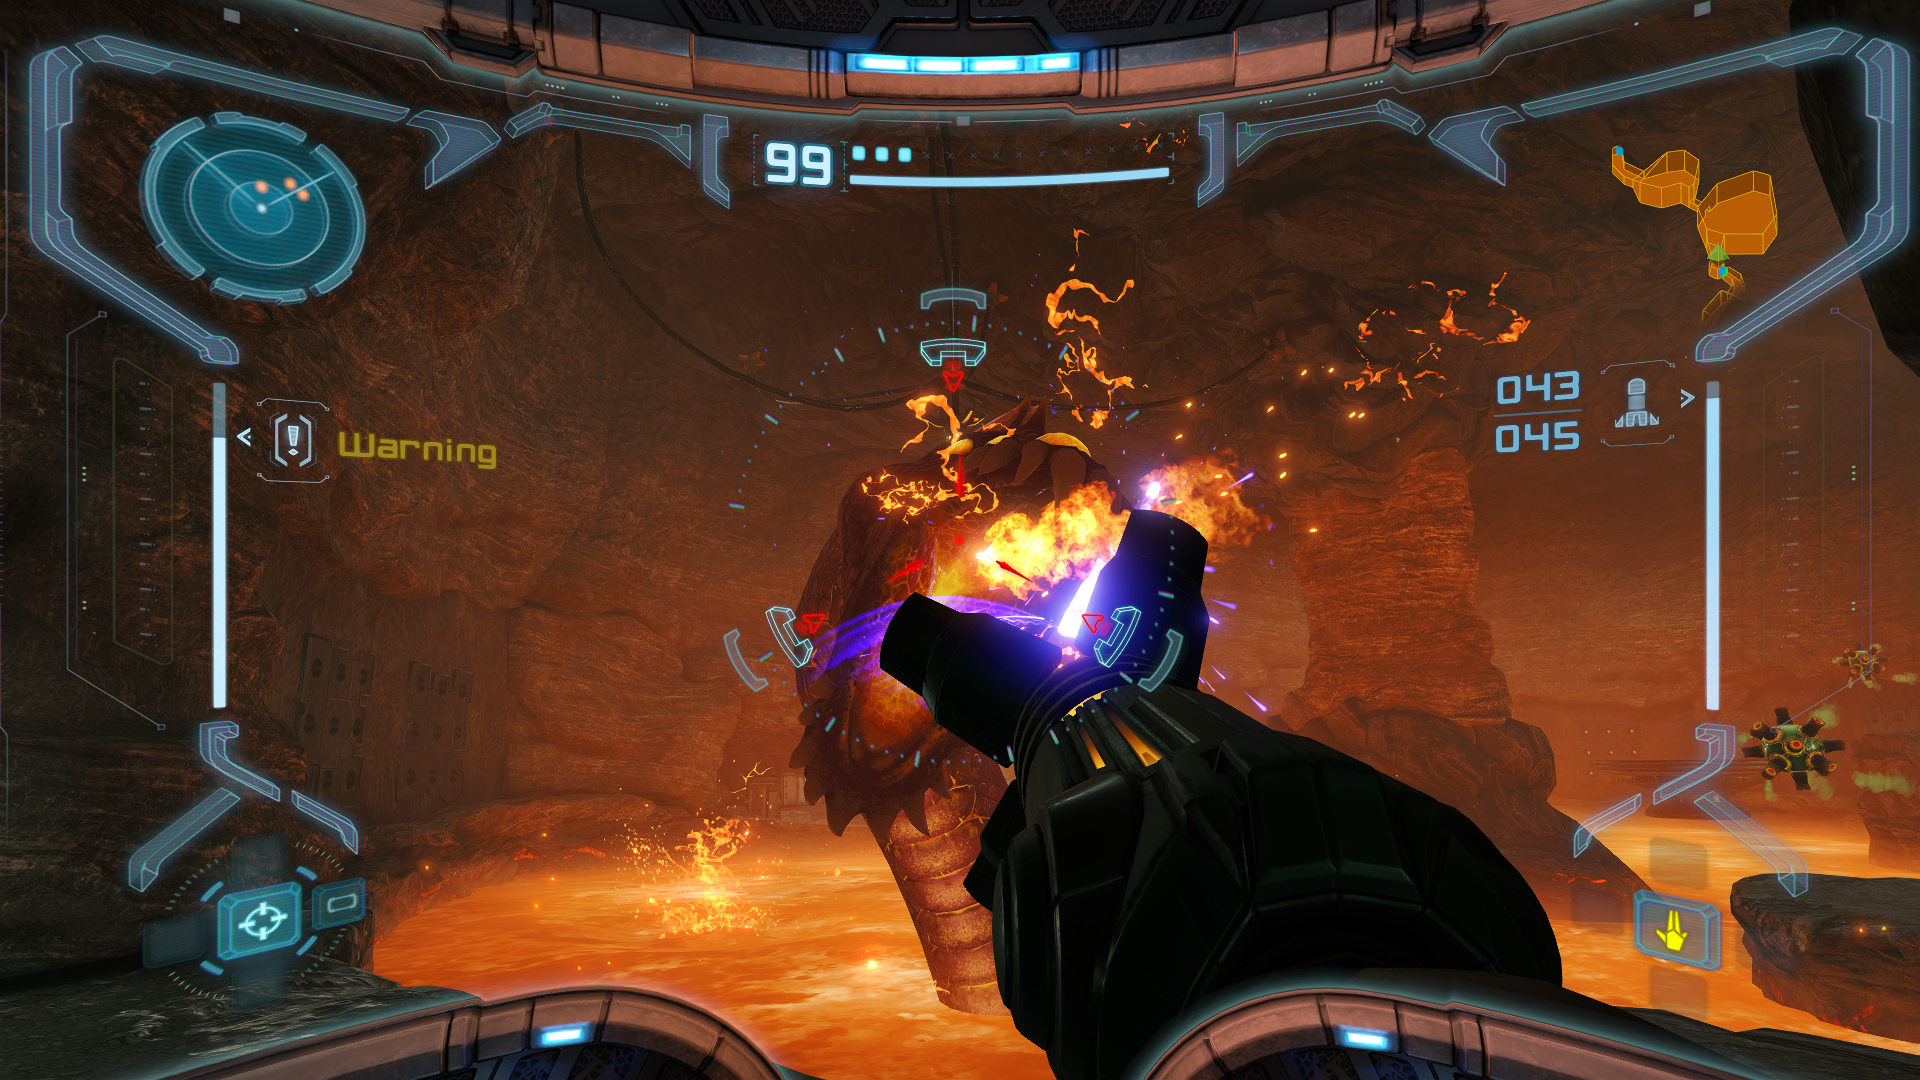
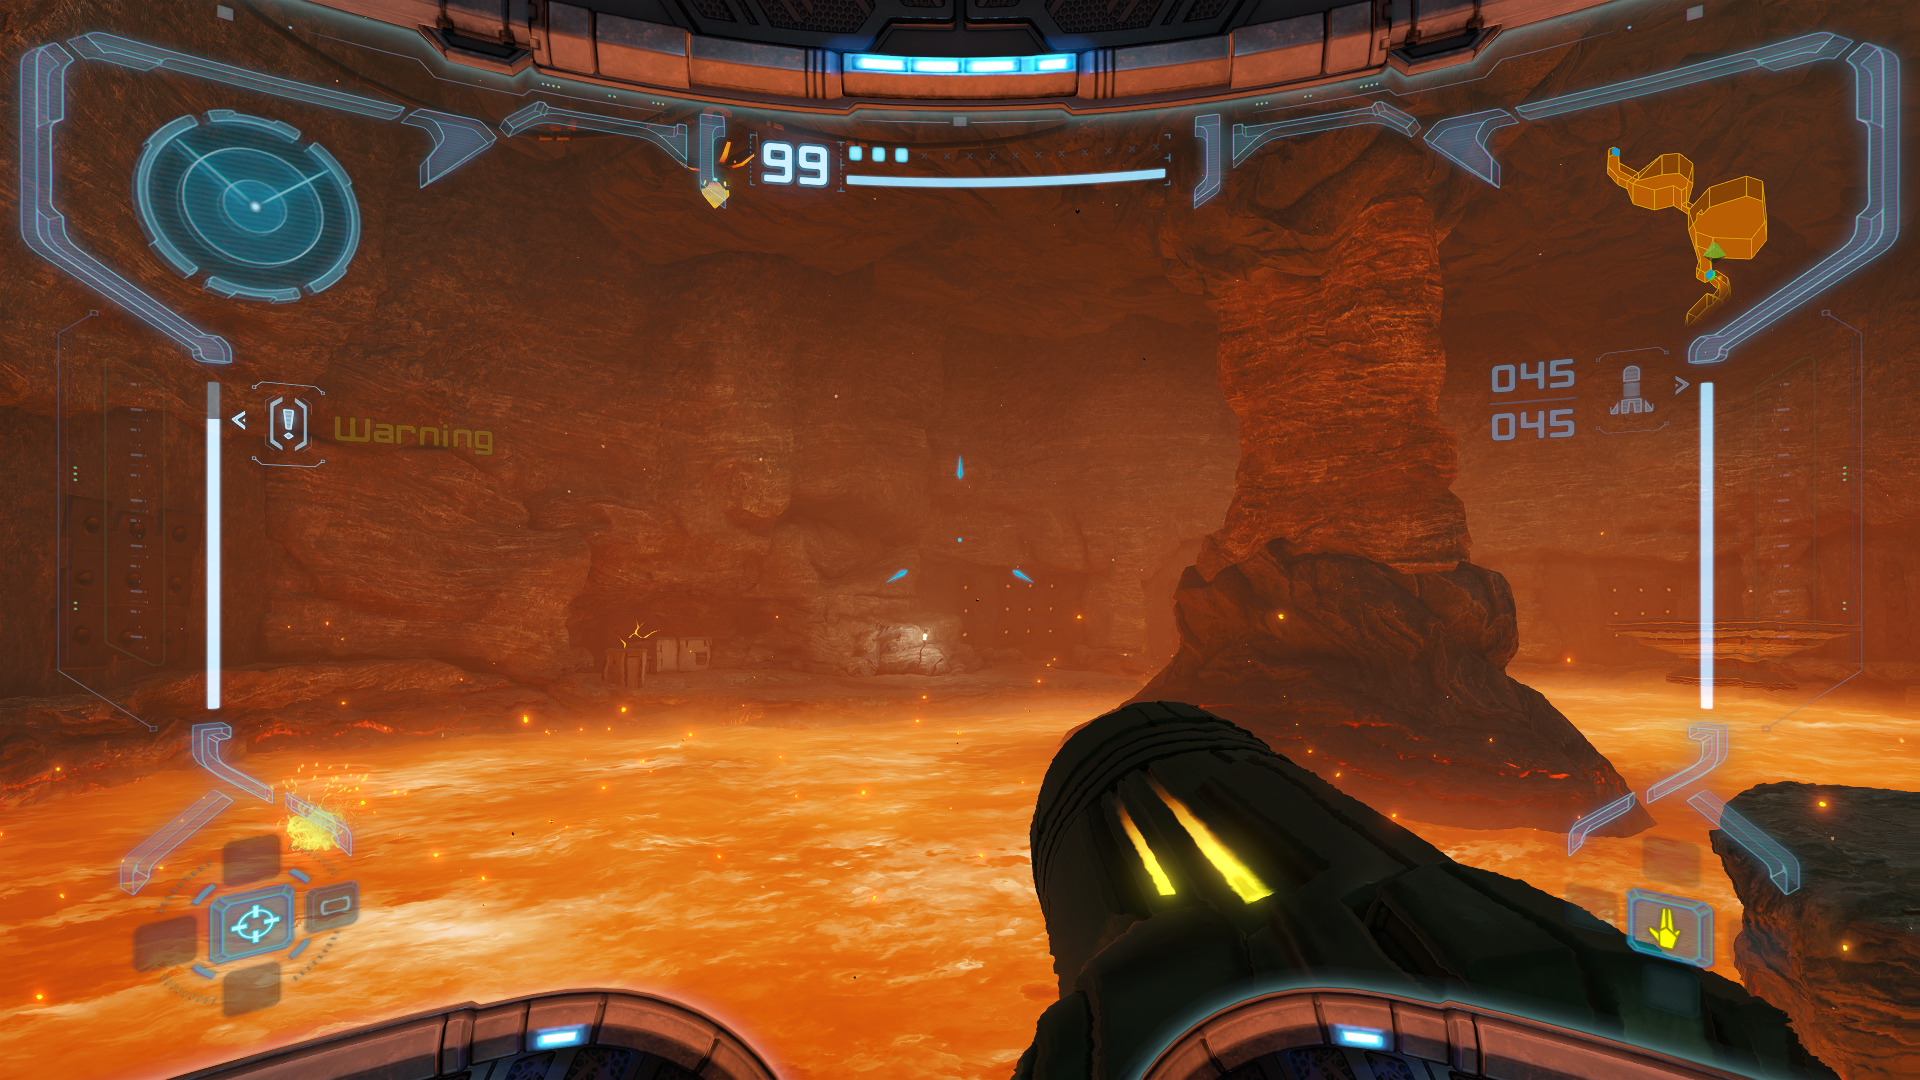
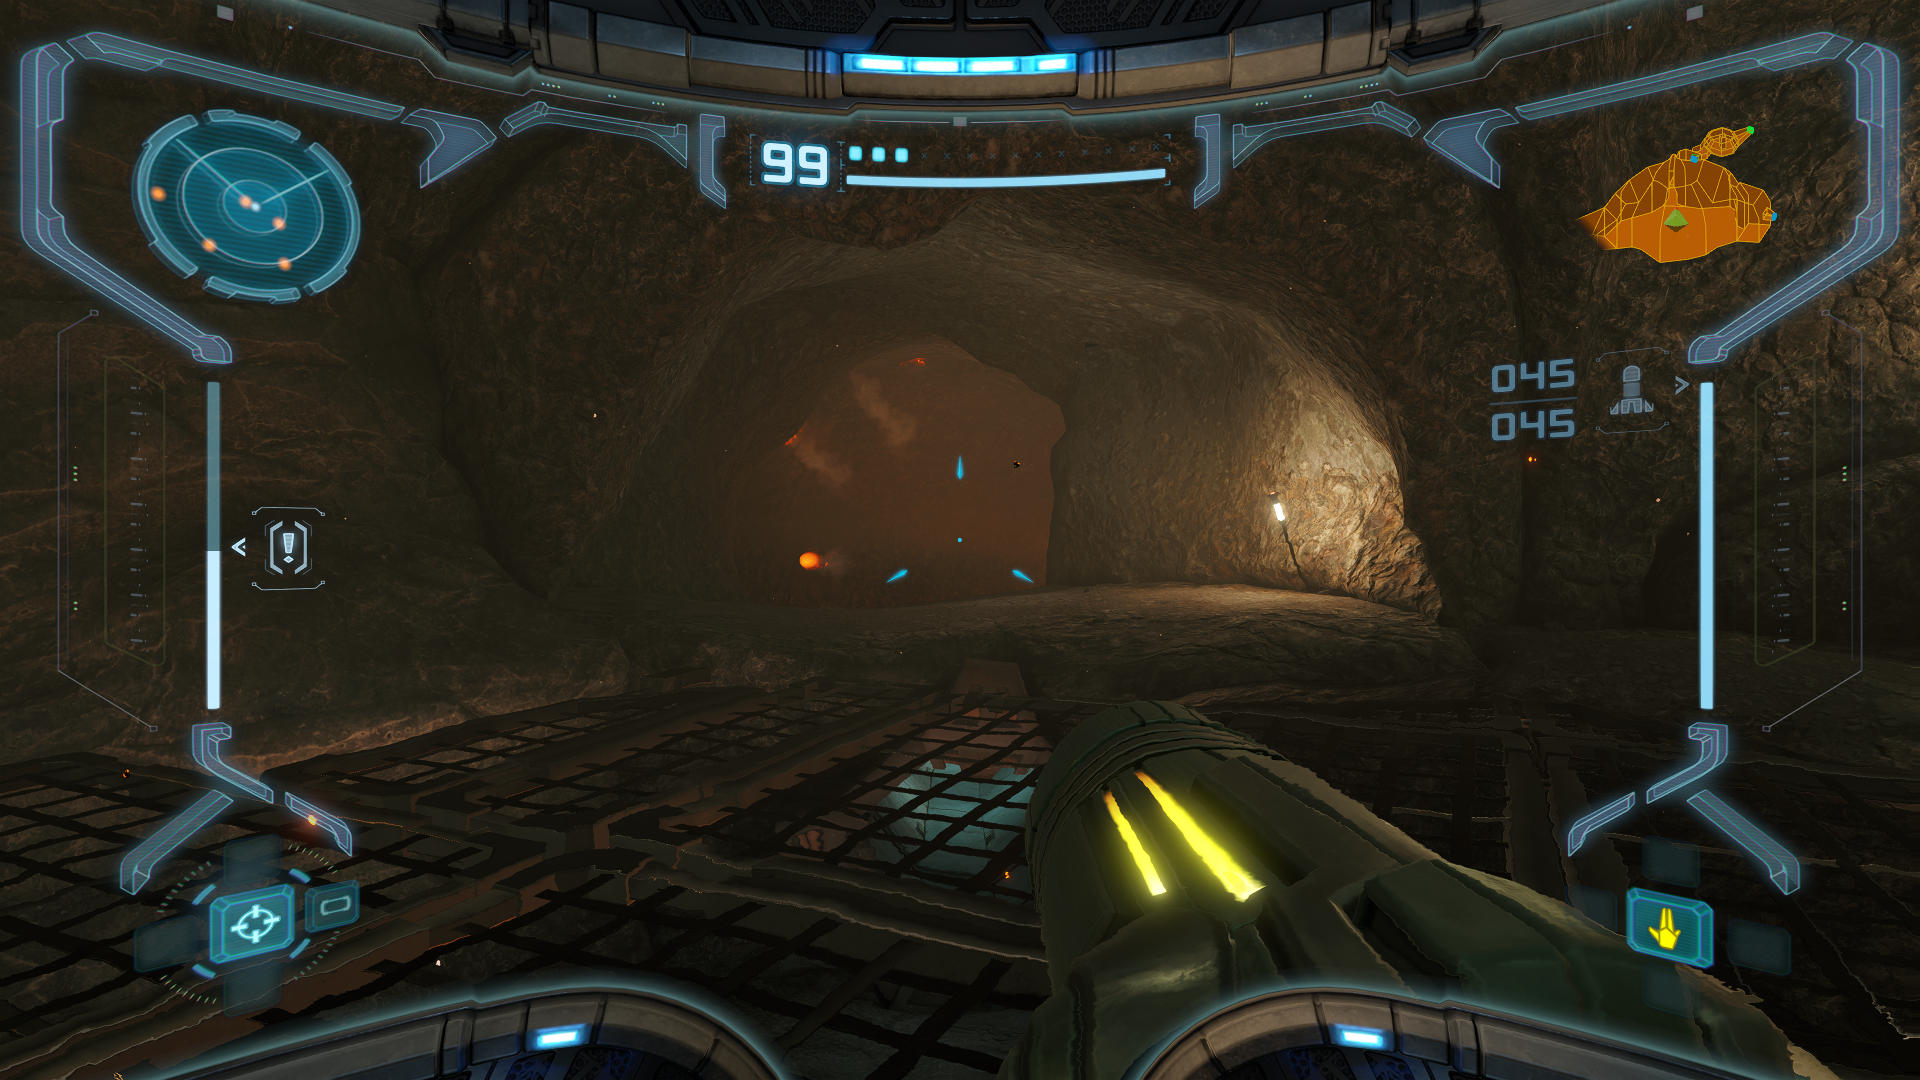
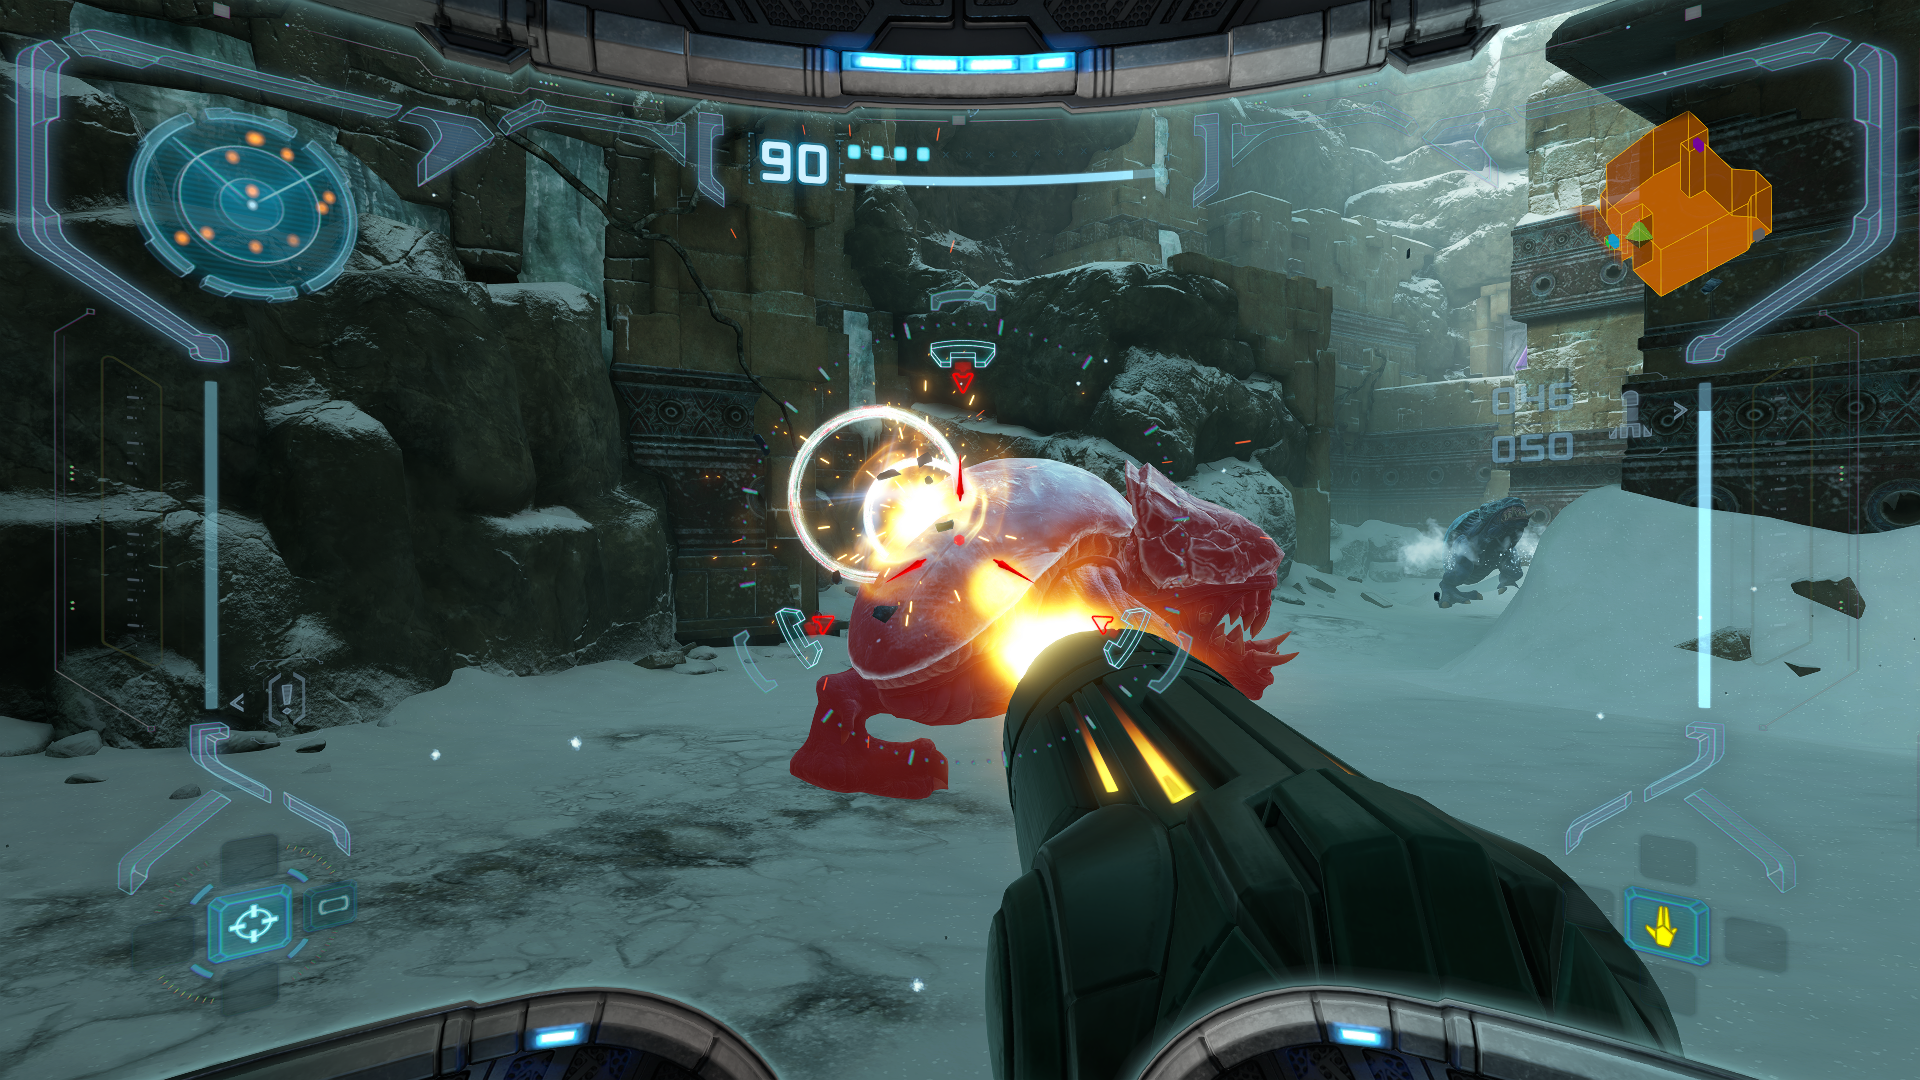
Upon entering the Burning Trail, drop straight down to the bottom of the shaft. As we just established a few moments ago, fall damage is of no concern to us. At the halfway point you’ll find a door with a Blast Shield attached. Blow it open to reveal a Save Station (which I definitely recommend using after having just finished a major boss). Continue on and scan the GRIZBY near the exit. In the Lake Tunnel, scan the BURROWER just after the magma pool. Right after the Magmoor Caverns intro cutscene plays out, you’ll be greeted by the titular creature itself. Scan the MAGMOOR, then take it out before traversing the rest of the room. Fast missiles are REALLY good at taking these things out quickly and they make great practice for honing this technique due to their mostly static movement. They’ll die in four missiles, or three if you follow up with missiles after a charge shot.
This is actually a perfect time to bring up Hard Mode, which is unlocked after finishing the game for the first time. Hard Mode doubles both enemy damage and health, the latter of which is important regarding the information given in this guide. I’m going to continue bringing up damage statistics at various points I deem necessary so that you have an idea on the time to kill for some of the beefier enemies (like with the Magmoor we were just talking about). However, this guide is written from the perspective of a Normal Mode playthrough. If you’re using this guide for a Hard Mode playthrough, keep that in mind and remember that the resources listed to kill an enemy will be nearly doubled.
After taking out the first Magmoor, scan one of the PUFFERS patrolling the area before you thin the herd. At the end of the platforming section, there’s a glowing cracked Sandstone wall hidden behind some crates. Bomb the wall and roll through.
After entering the Pit Tunnel you’ll be greeted by a dead end (for now at least) and a grating with some Triclops’ mingling about underneath. The grating has openings on both sides the Morph Ball can fit into, so that’s how we have to get to the other side. Scan a TRICLOPS for your logbook, then get ready to move past them. These guys can be an absolute pain in the you-know-what at first until you have an understanding of their movements. They forage for small food and unfortunately our Morph Ball is perfectly sized for their mandibles. Thankfully, a small ball of steel isn’t exactly edible for them, so they’ll have the courtesy to spit us out at least, but they’ll do so at the entrance, making us have to start over again. What you want to do is roll away from an approaching Triclops and lay a bomb in front of their movement path, should you find yourself in their vicinity. They also have a bit of suction to their grab, which makes it easier for them to get you, but simultaneously makes it easier to blow them up. Practice up on your Triclops demolition skills here because they are all over the caverns, including the very next room.
The next room is called the Triclops Pit and its main gimmick is pretty self-explanatory. The door we need to go through to progress is to the left, but we’re gonna take the door on the right first to grab a Missile Expansion. Unfortunately, the door on the right is the one we need to roll under the Triclops Pit to get to. Not only will you have more of these buggers to deal with, but finding the entrance and exit is also somewhat of a maze, so your orientation will be tested too. After jumping down onto the top of the pit, you can find the entrance in an alcove directly underneath the surface you entered the area on. You’ll see some steam vats on the inside, that’s your cue that you’re looking in the right place. To find the exit, just take the right passage and you’ll reach the exit shortly. You should only encounter two Triclops’ on this route, so if you find more before locating the exit you might have overshot it. After you reach the exit, simply walk into the next room and grab MISSILE EXPANSION #10. Once you’re back on the top level of the Triclops Pit, jump through the goblet looking platforms until you reach the door on the left. These platforms slowly sink, so move swiftly.
At the Monitor Station, we need to get to one of the doors on the top level to progress. As much as I know you probably want to take the door to your immediate left, we gotta save that one for later. Take out the three turrets on the ground level of the complex before moving in (unlike the tutorial, these now take two missiles instead of one). Once inside, look for another sinking goblet platform that leads to some rock formations. Take that route and use it to platform onto the second level of the structure. As soon as you’re off the goblet platform and onto the rocks, turn around and look up to spot a fourth turret guarding the second level. If you kept platforming, it would have started taking pot shots at you. Since you’re out of its range from here however, you can easily dismantle it before it becomes a threat. Once you’re on the second level of the structure, follow the bridge to the door.

It’s time to REALLY test your bomb jumping skills. The puzzle we did back in the Vault was our introduction to the double bomb jump, but this next puzzle in Transport Tunnel A requires a few of them in succession. In the Morph Ball tunnel, you’ll notice a vertical section as soon as you enter just over a metallic block. The way the puzzle works is that you climb a total of three of these vertical sections using double bomb jumps. What’s more, that metallic block directly underneath? Yeah, that can only take two bombs before it’s destroyed, the precise amount needed for a double bomb jump. This means if you pull it off but miss the upper platform, you’re taking a VERY warm bath. There’s some good news though however! If you’re playing on the Wii or Nintendo Switch, you have the Spring Ball ability, as mentioned earlier, which allows you to perform double bomb jumps without detonating anything on the ground, completely undercutting this hazard! If you’re playing on GameCube though, you’re gonna have to do this puzzle the intended way. Regardless, follow the provided video if you’re having trouble timing your jumps until you finally launch yourself into ENERGY TANK #4.
Once you’ve got your reward, head to the Transport to Phendrana Drifts North and ride the elevator up.
Phendrana’s Frost
Scans in This Section
Chozo Lore: Cipher, Entrusted One
Creatures: Crystallite, Flickerbat, Scatter Bombu, Baby Sheegoth, Ice Burrower *missable*, Ice Shriekbat *missable*
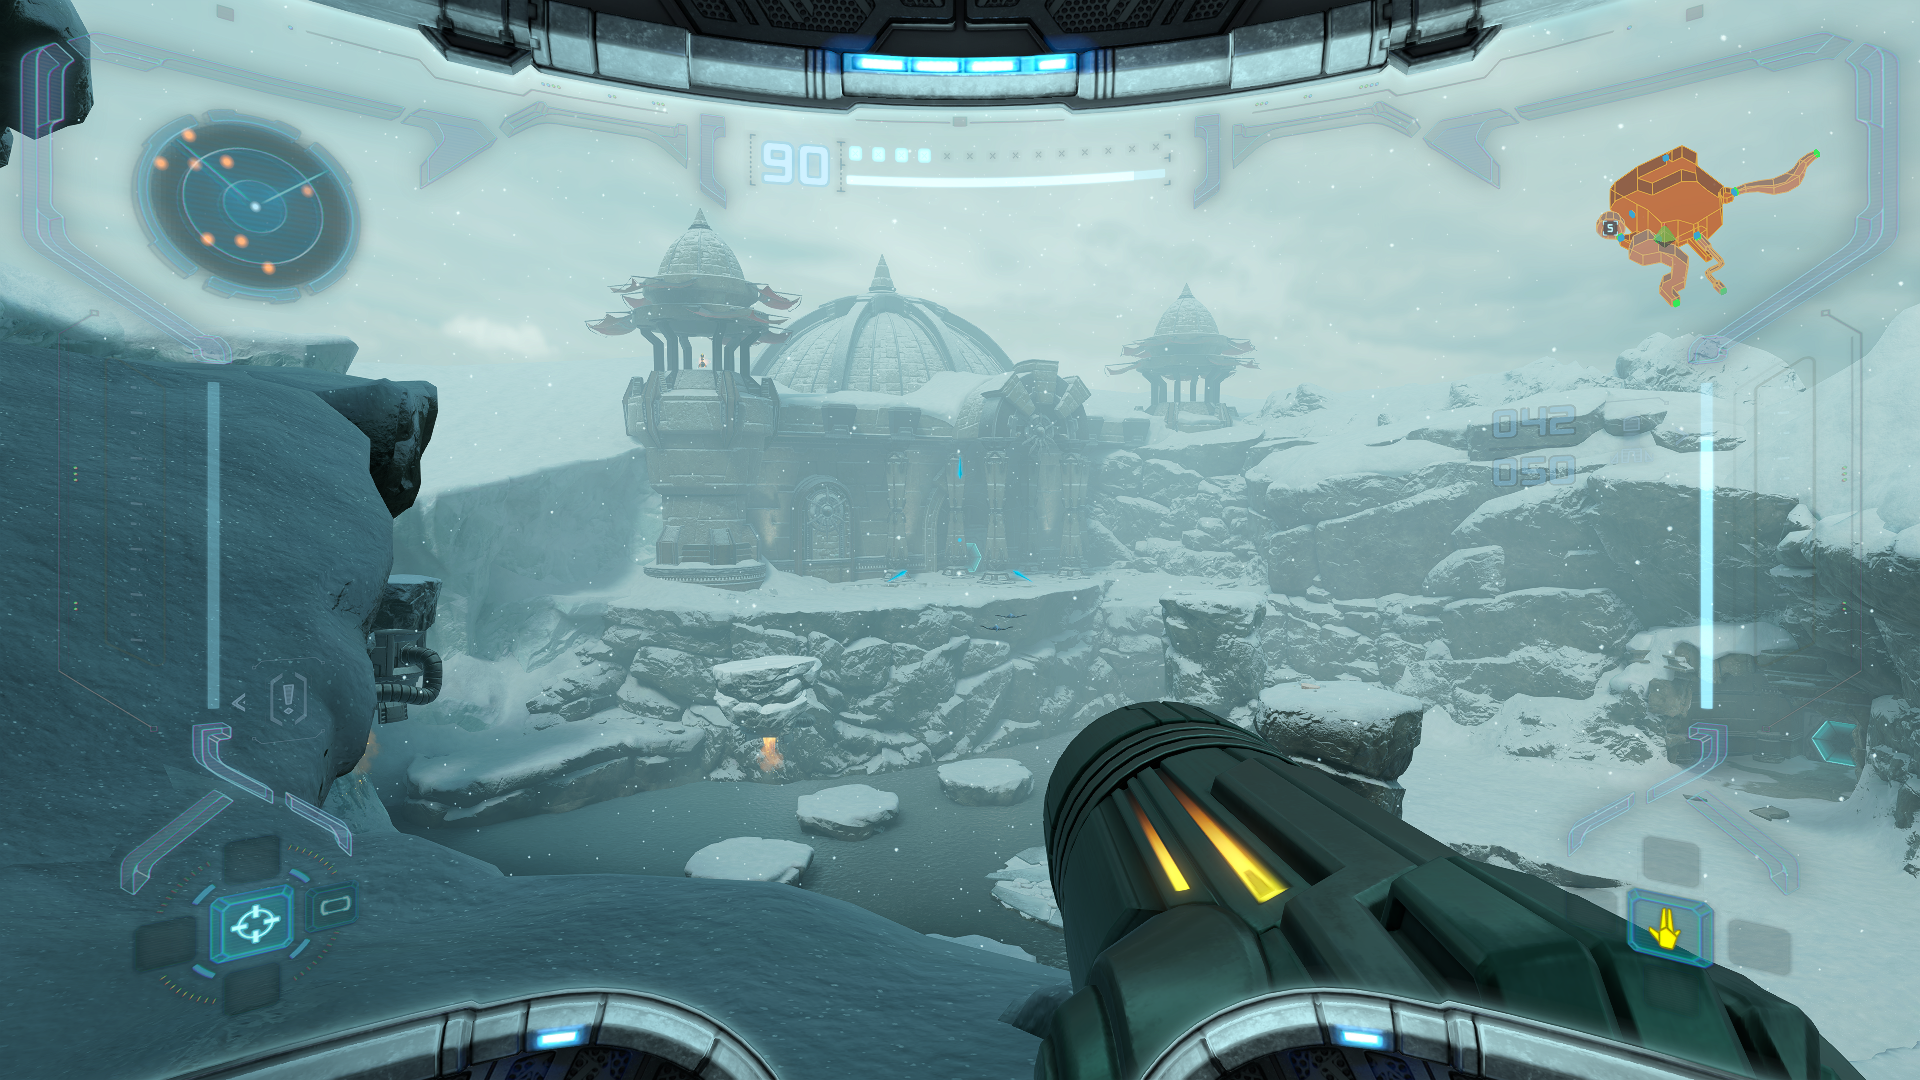
At the Shoreline Entrance, use your Charge Beam to blast away the ice buildup in the tunnel. Then step out into the Phendrana Shorelines and… wow, let’s just take another minute to enjoy this incredible music.
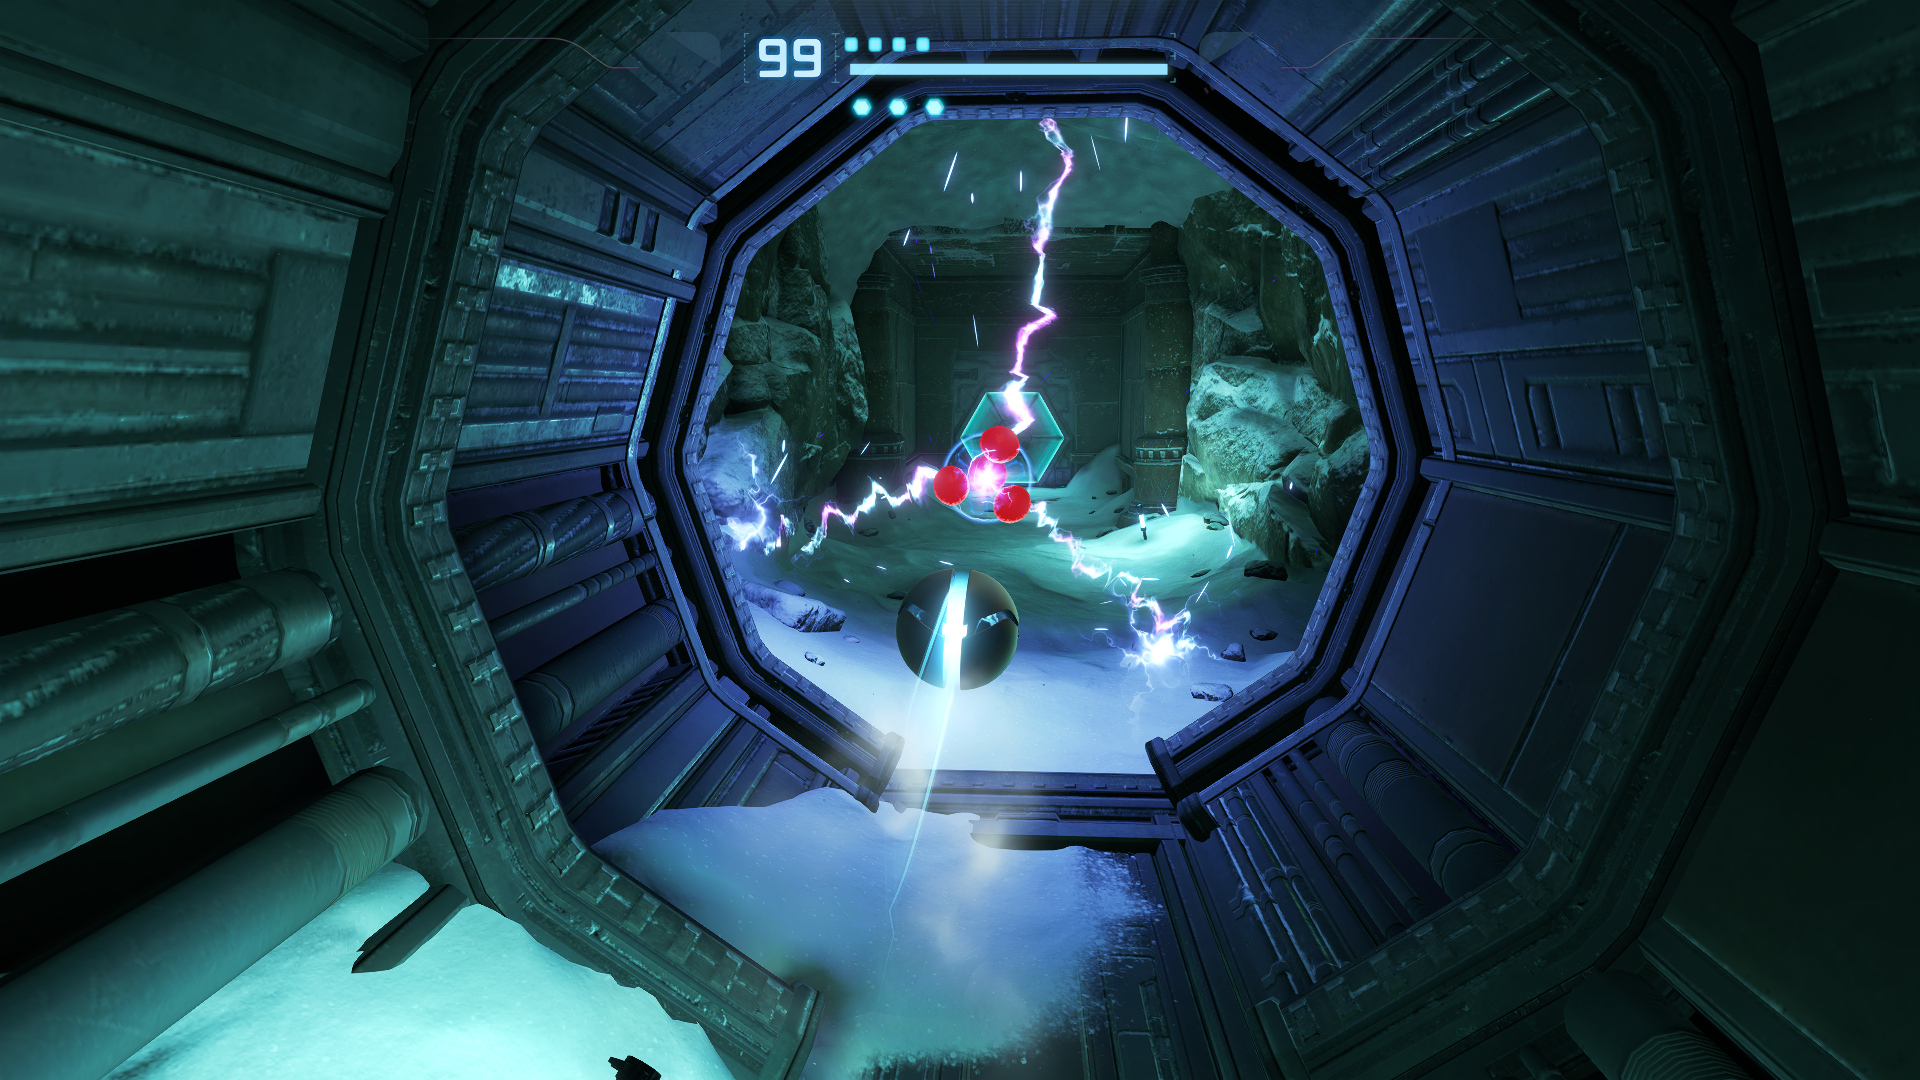
Still here? Great, let’s continue! There’s a Save Station just across from us you can use if you want, then scan one of the CRYSTALLITES and FLICKERBATS in the area. The Flickerbats will periodically go invisible and break your scan lock, so it might take a couple tries. Next, fire a missile at the grating at the end of the stream to reveal a new passage. Go inside and scan the panel to unlock the door above, then use the snow bank to platform back to it. In Ice Ruins Access, scan the SCATTER BOMBU after destroying the ice. You can’t kill Scatter Bombu just yet, so you’ll have to roll under their energy streams with the Morph Ball for now. In Ice Ruins East, scan the BABY SHEEGOTH while it’s still sleeping.
In combat, Baby Sheegoths can only be damaged in the back. First you have to destroy their protective ice layer, then a few shots into their exposed flesh will finish them off (Seriously Samus, you need to chill). These creatures will almost always attack in groups and are a real test of your dashing skills. You’ll want to keep locked on to them and jump to the side to trigger a quick dash. You can perform another dash as soon as you hit the ground, so chain those together to move quickly. Fast missiles will save you a lot of time here too, so I definitely recommend practicing them here. Once you’ve dealt with them, platform around the structures to reach the next door.
In the Plaza Walkway, scan an ICE BURROWER before leaving the room. In Ice Ruins West, go inside the structure directly to your right and scan a new piece of Chozo Lore, “CIPHER”. Next, before engaging with the Baby Sheegoths, look up at the rock formation separating the two. On the ceiling you’ll notice a group of Shriekbats. Only these aren’t your regular Shreikbats, these are ICE SHRIEKBATS. SCAN THESE PESTS IMMEDIATELY. This is the only room in the game where they spawn, and even worse is that after we get an upgrade not much further ahead in our playthrough, they will be gone FOREVER. This is one of the easiest scans in the game to overlook, so I am going to hammer it in your head one more time. SCAN THEM NOW. Did you get all that? Good, now you can proceed towards the door with the Blast Shield and move on to the next room.
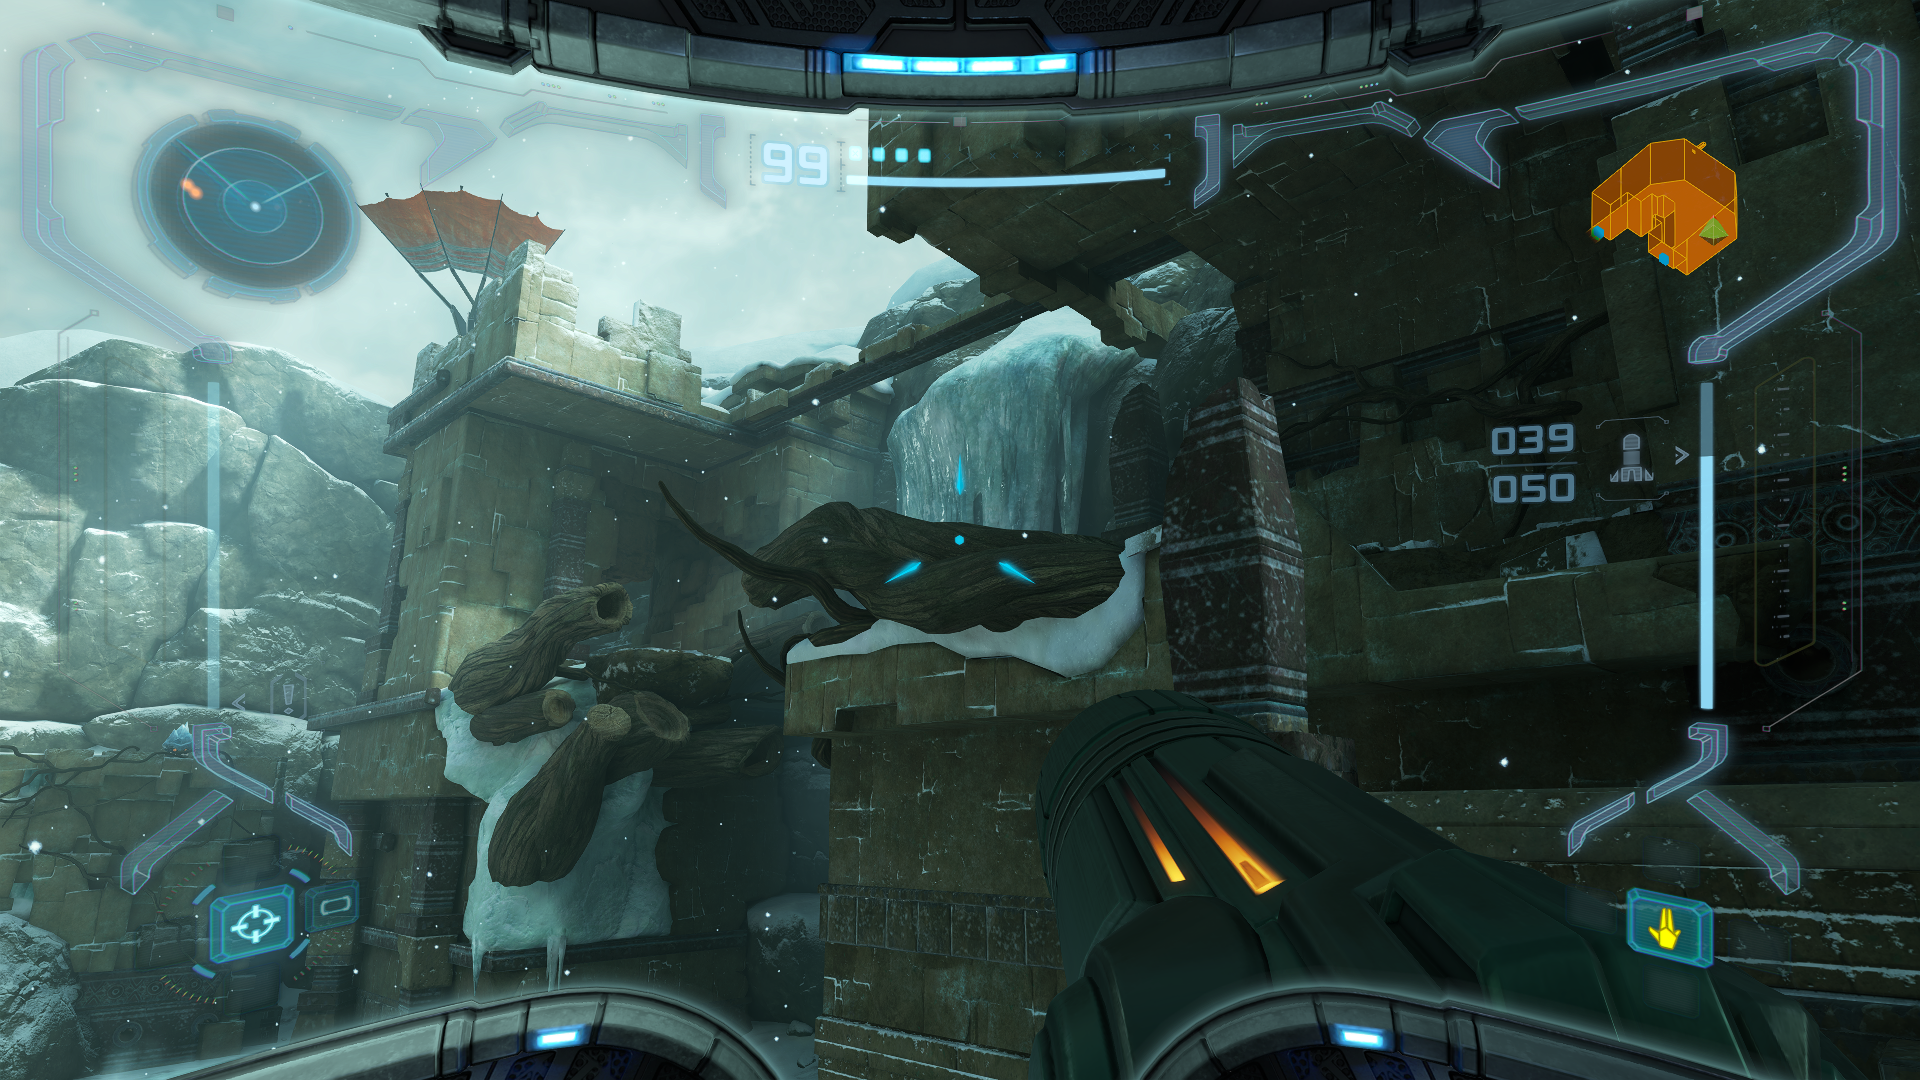
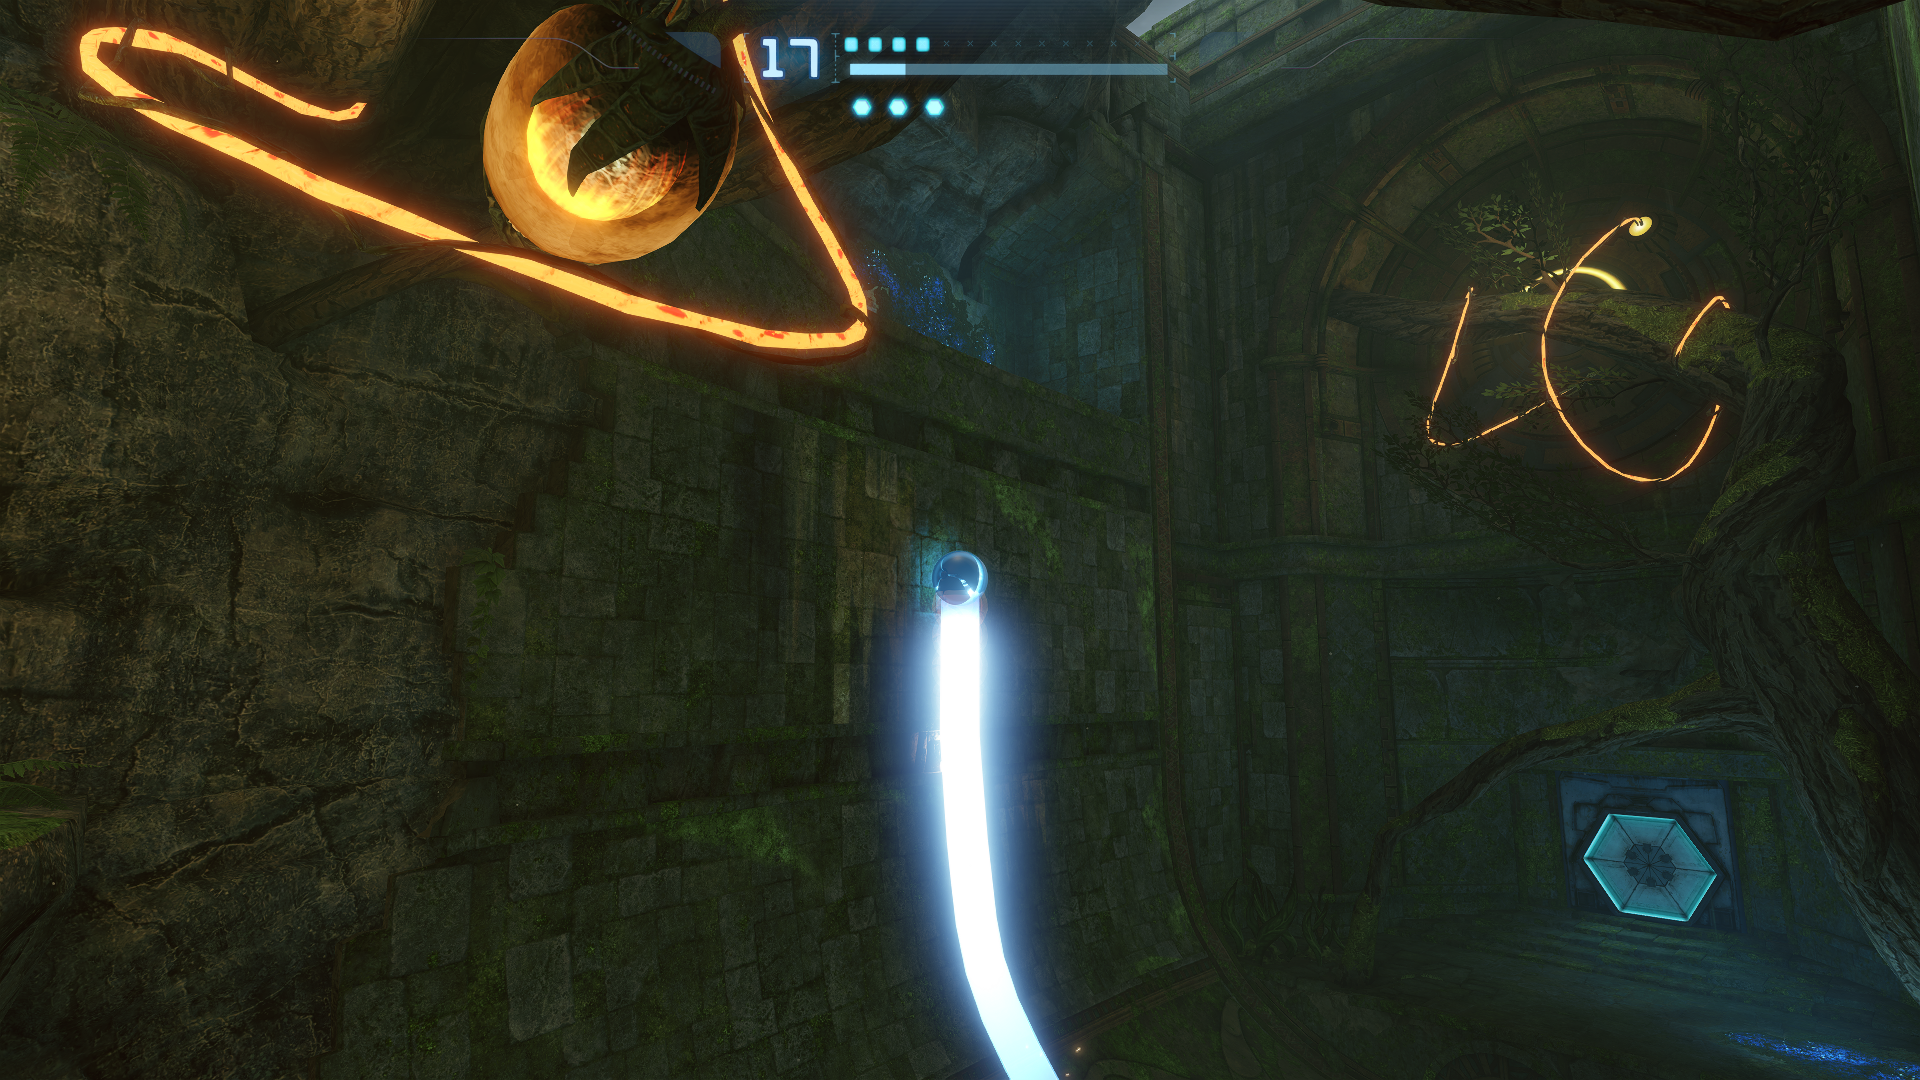
In Phendrana Canyon, drop down to the bridge and look behind some large crates to find a new piece of Chozo Lore, “ENTRUSTED ONE”. Take out the Baby Sheegoth and then scan the blue symbol by the floating ice platforms. The platforms will realign to a position leading to a large tower. When you jump on the platforms, they will disintegrate after a short period of time, so you gotta keep moving. Once you reach the tower, collect the BOOST BALL and get ready to go full Tony Hawk mode.
The Space Jump
Scans in This Section
Creatures: Bloodflower
The Boost Ball charges the Morph Ball with a surge of kinetic energy and lets us release it for a quick burst of speed. It’s primarily used for navigating the half-pipes that we’ve seen all over the game (makes you wonder what the Chozo got up to for fun). This can be a little tricky to get the hang of, but you want to release the energy around the center of the half-pipe to the start of your vertical climb; that’s the sweet spot to get maximum airtime. You’ll get some time to practice as you have a half-pipe right in front of you that you need to use to leave the area. Once you do so, head back on over to the Phendrana Shorelines, where you’ll see Meta Ridley flying overhead, a reminder of why we’re here in the first place. From there, go to the Transport to Magmoor Caverns West and leave the area.
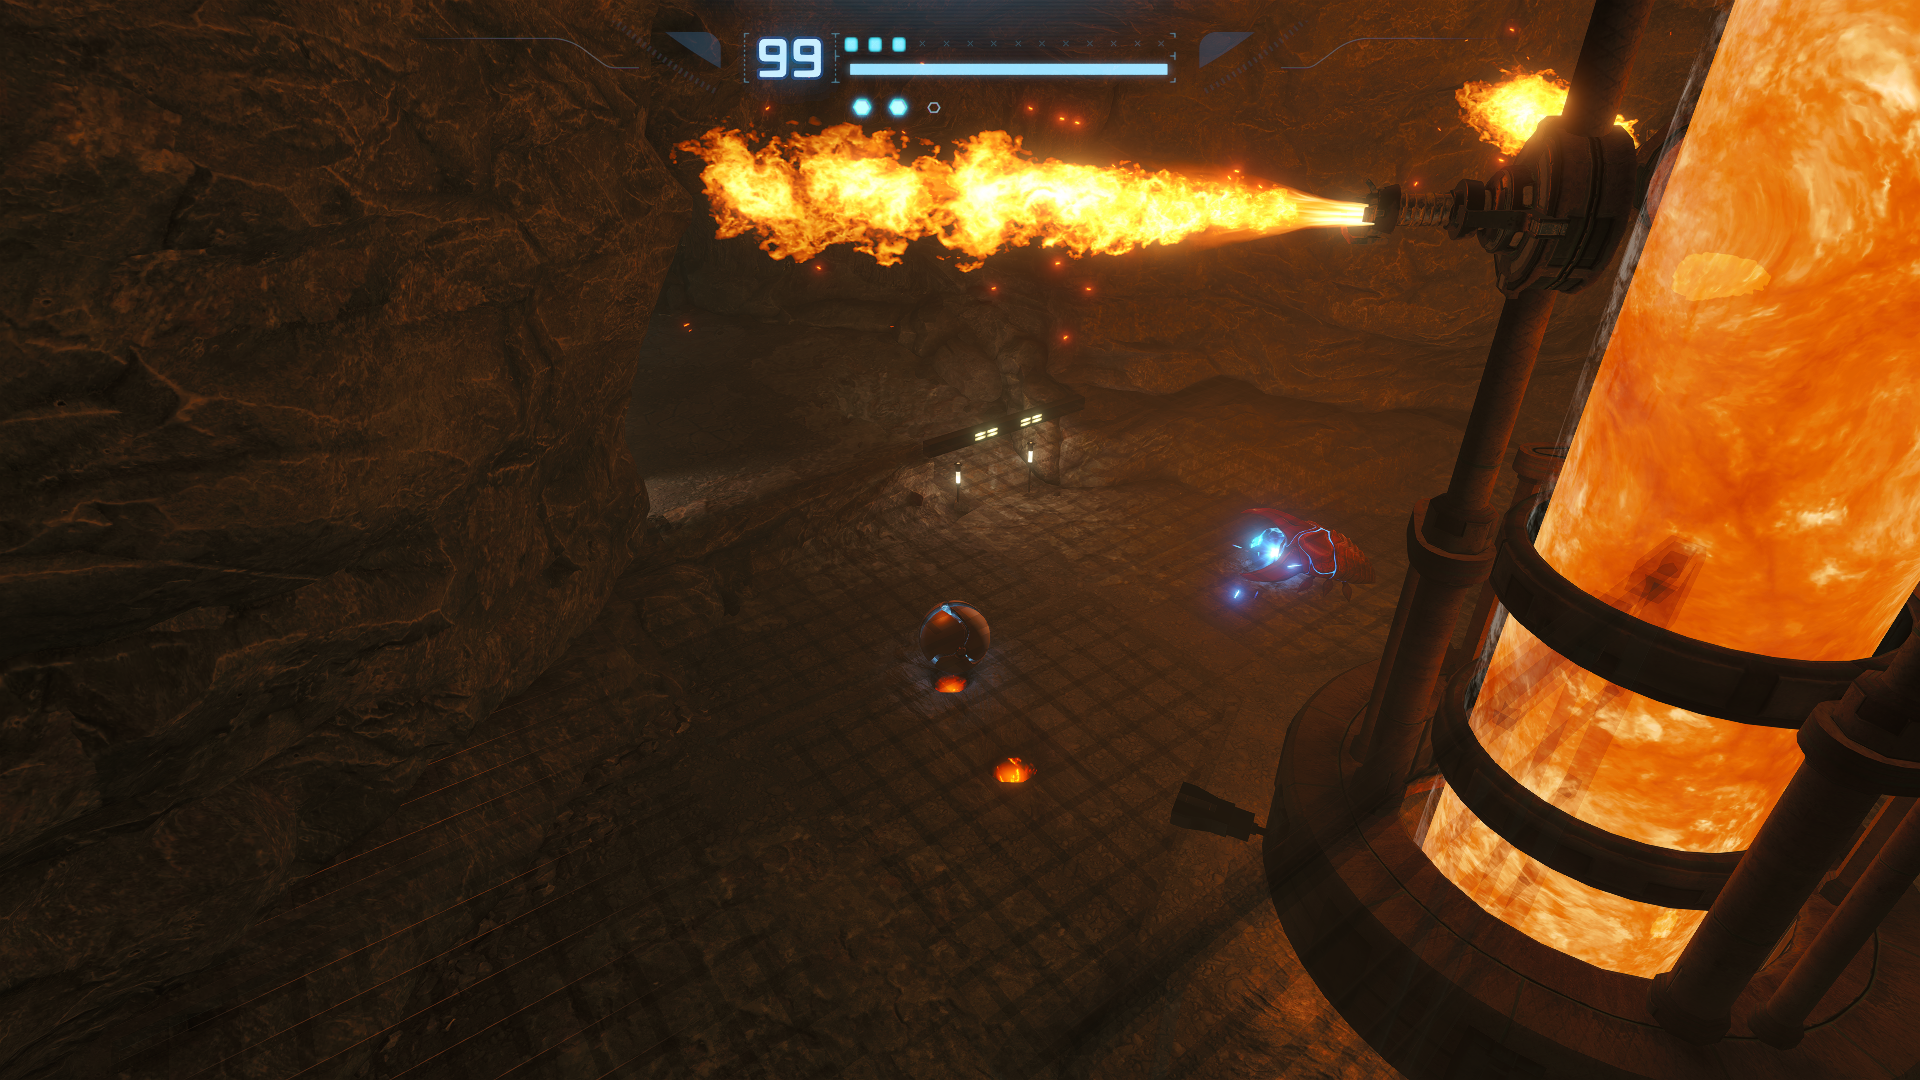
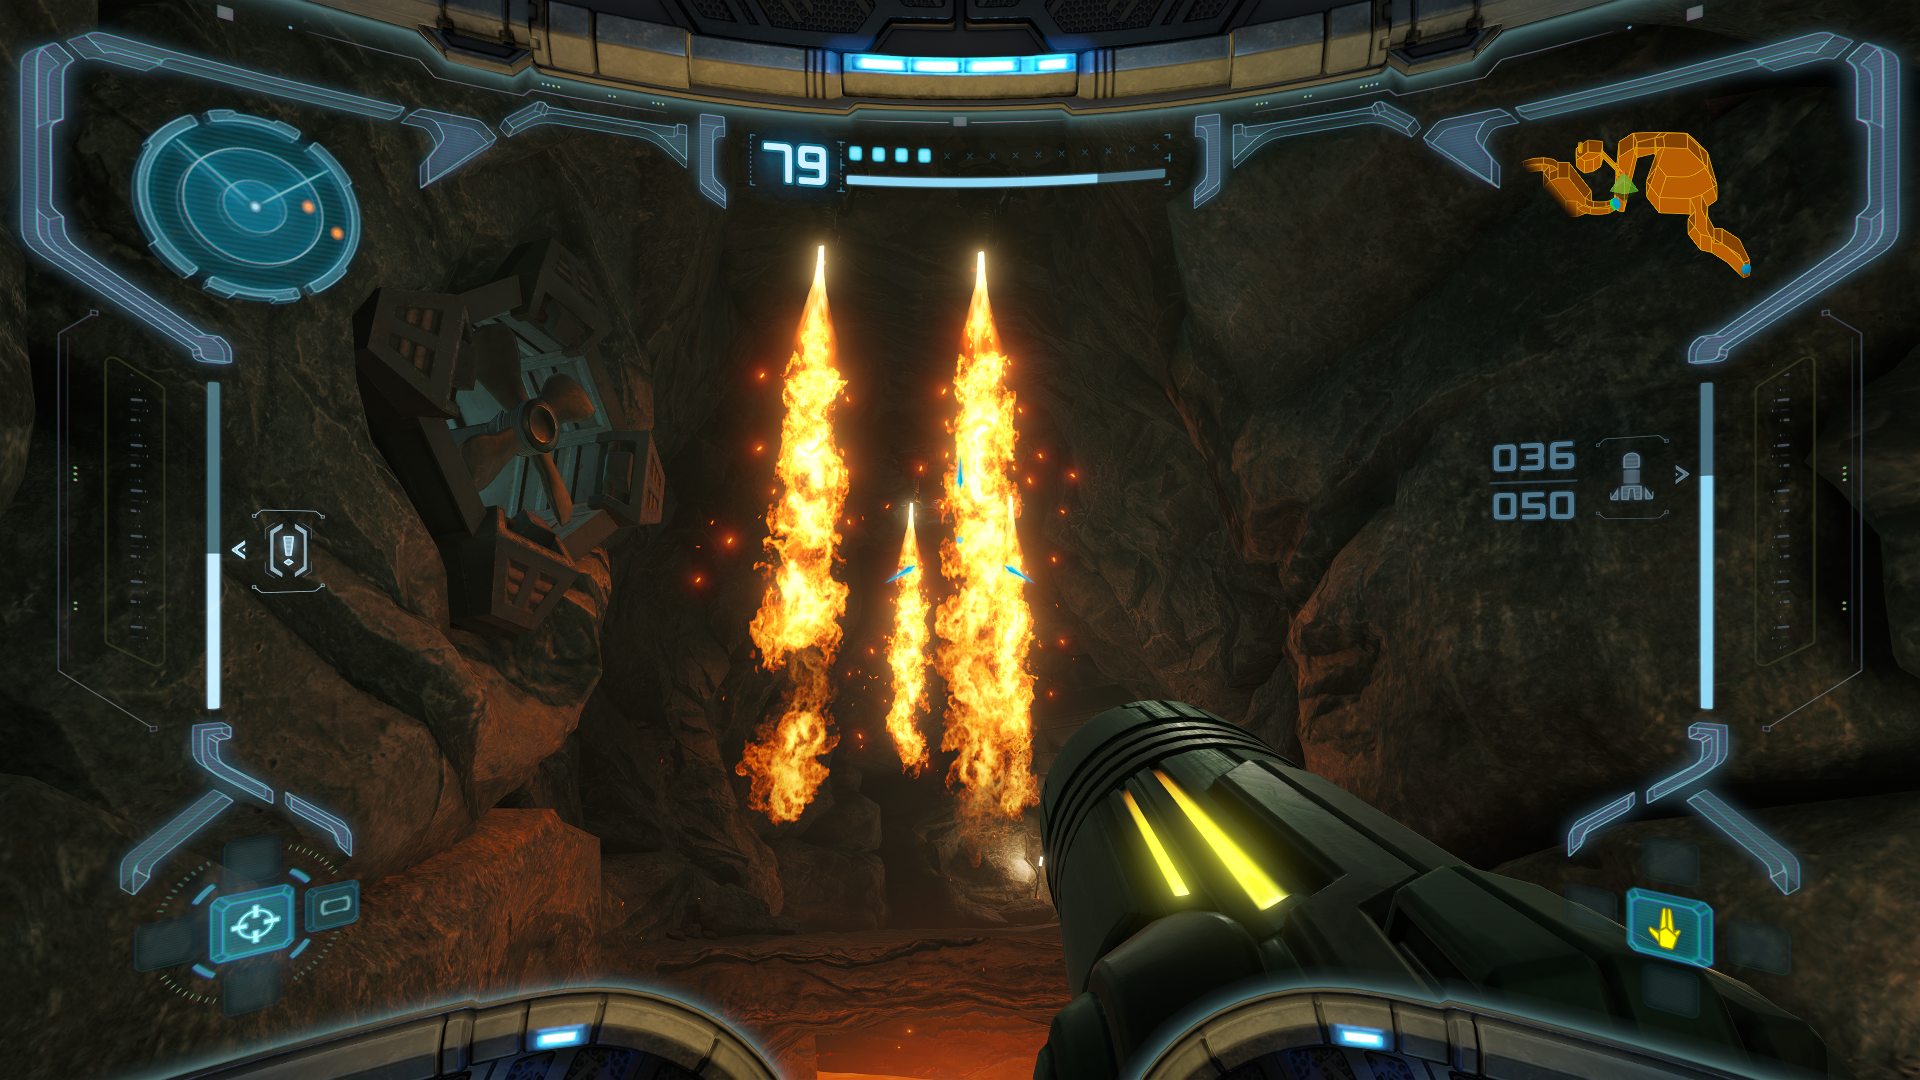
After you arrive at Magmoor Caverns, head to the Monitor Station and go through the very bottom door that’s been unexplored. In the Shore Tunnel, you’ll cross through a damaged tube that series veterans will already know what to do with. For newcomers, don’t worry about it, we won’t be doing anything with that information until much later. Just keep this location in the back of your mind for now. In the Fiery Shores, watch out for the overhead flamethrowers when you first enter the room. Their base damage isn’t too bad, but they can knock you into the magma which eats a lot of health. When you get further into the room, take out the Magmoor as well as the Triclops on the adjacent platform. Be careful when laying bombs for the Triclops! If it grabs you, it will spit you out into the magma (now THAT’S a lot of damage!). When all the creatures have been dealt with, hop into the Morph Ball tunnel to get to the other side of the room. In Transport Tunnel B, you’ll encounter a Magmoor in the center of the room surrounded by some Morph Ball tracks. Take out the Magmoor first so that you can safely navigate the tracks without worry. In the Transport to Tallon Overworld West, ignore the door in front of you and take the elevator up.
In Transport Tunnel B, grab MISSILE EXPANSION #11 underneath the bridge you cross. In Root Cave, climb the tree branches until you reach the Blast Shield and go through there. In the Root Tunnel, scan the BLOODFLOWER and then take it out by blasting one of the Sap Sacs surrounding it. In Tallon Canyon, go to the half-pipe by Transport Tunnel A and boost your way to the top level. At the top, bomb the Sandstone structures blocking the Morph Ball tunnel. When you get back to the Landing Site, you’ll arrive on a higher level you haven’t been able to reach yet. Jump over the two gaps leading to the entrance to the Alcove. In the center of the room lies the SPACE JUMP BOOTS, which function differently here in the Prime Trilogy than they do in the 2D entries. Here the Space Jump Boots are just a fancy way of saying “double jump”. It’s definitely a lot more subtle and might sound underwhelming at first, but trust me when I say that this makes exploration a lot easier. There are LOTS of shortcuts you can take around various platforming sections with your Space Jump Boots that make backtracking substantially less tedious. Be on the lookout for those opportunities!
There and Back Again
Scans in This Section
Creatures: Ice Parasite *missable*
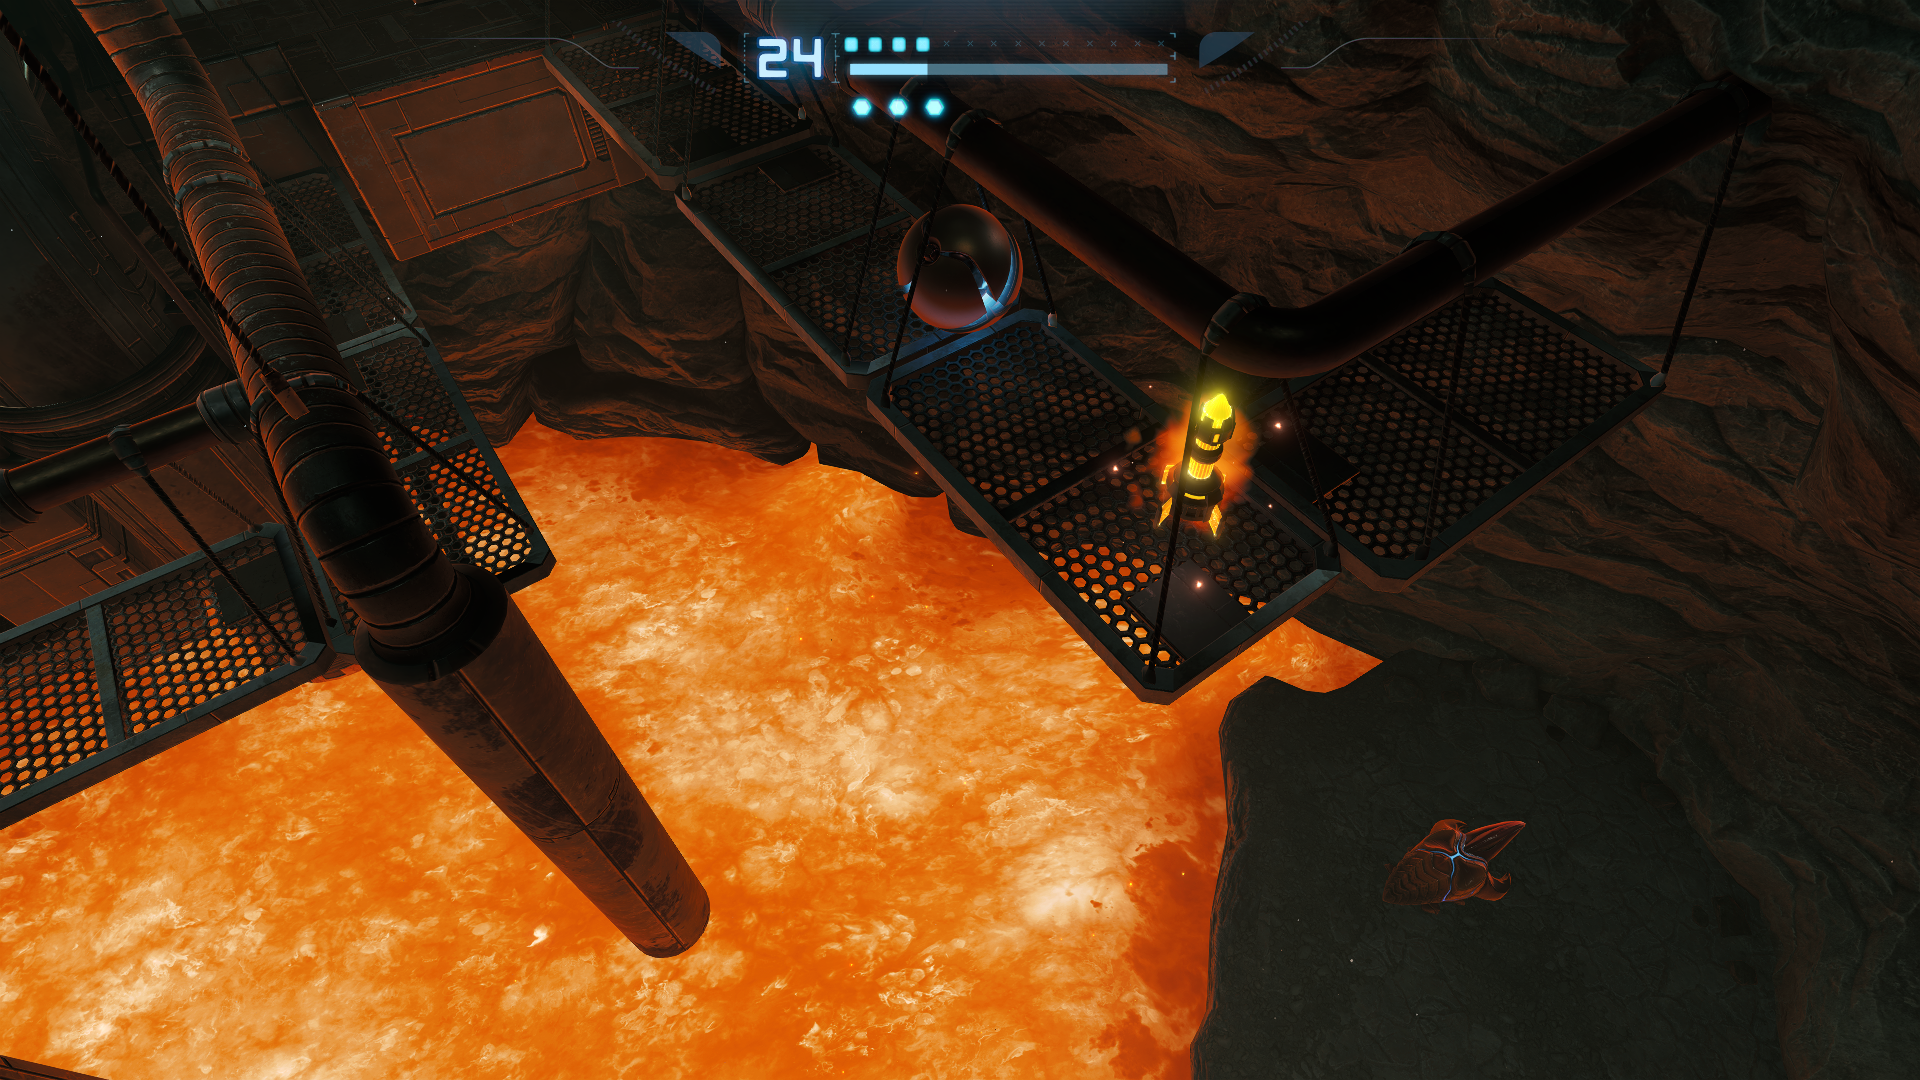
We just made a long trek from the Phendrana Drifts all the way to where we first started in Tallon Overworld, so where do we go from here? Well… back to Phendrana Drifts. Yeah, Samus is getting her steps in alright. Save your game at the ship, then head back to the Transport to Magmoor Caverns East and take the elevator down. From here we’re mostly going to take the same route back, but we’re going to collect a Missile Expansion along the way in Fiery Shores. Now we could have collected this last time we were in the room, but it’s faster and more efficient to get it here during the return trip. Once you’re past the flamethrowers and enter the large body of magma, turn to your left and destroy a stack of crates to reveal a Morph Ball passage. Take the passage up until you get to a pair of catwalks without any guard rails (definitely not OSHA certified). Slowly roll across these narrow paths and you’ll have MISSILE EXPANSION #12 in the bag. That’s all the cleanup for our return trip, so I’ll see you all back at Phendrana Drifts!
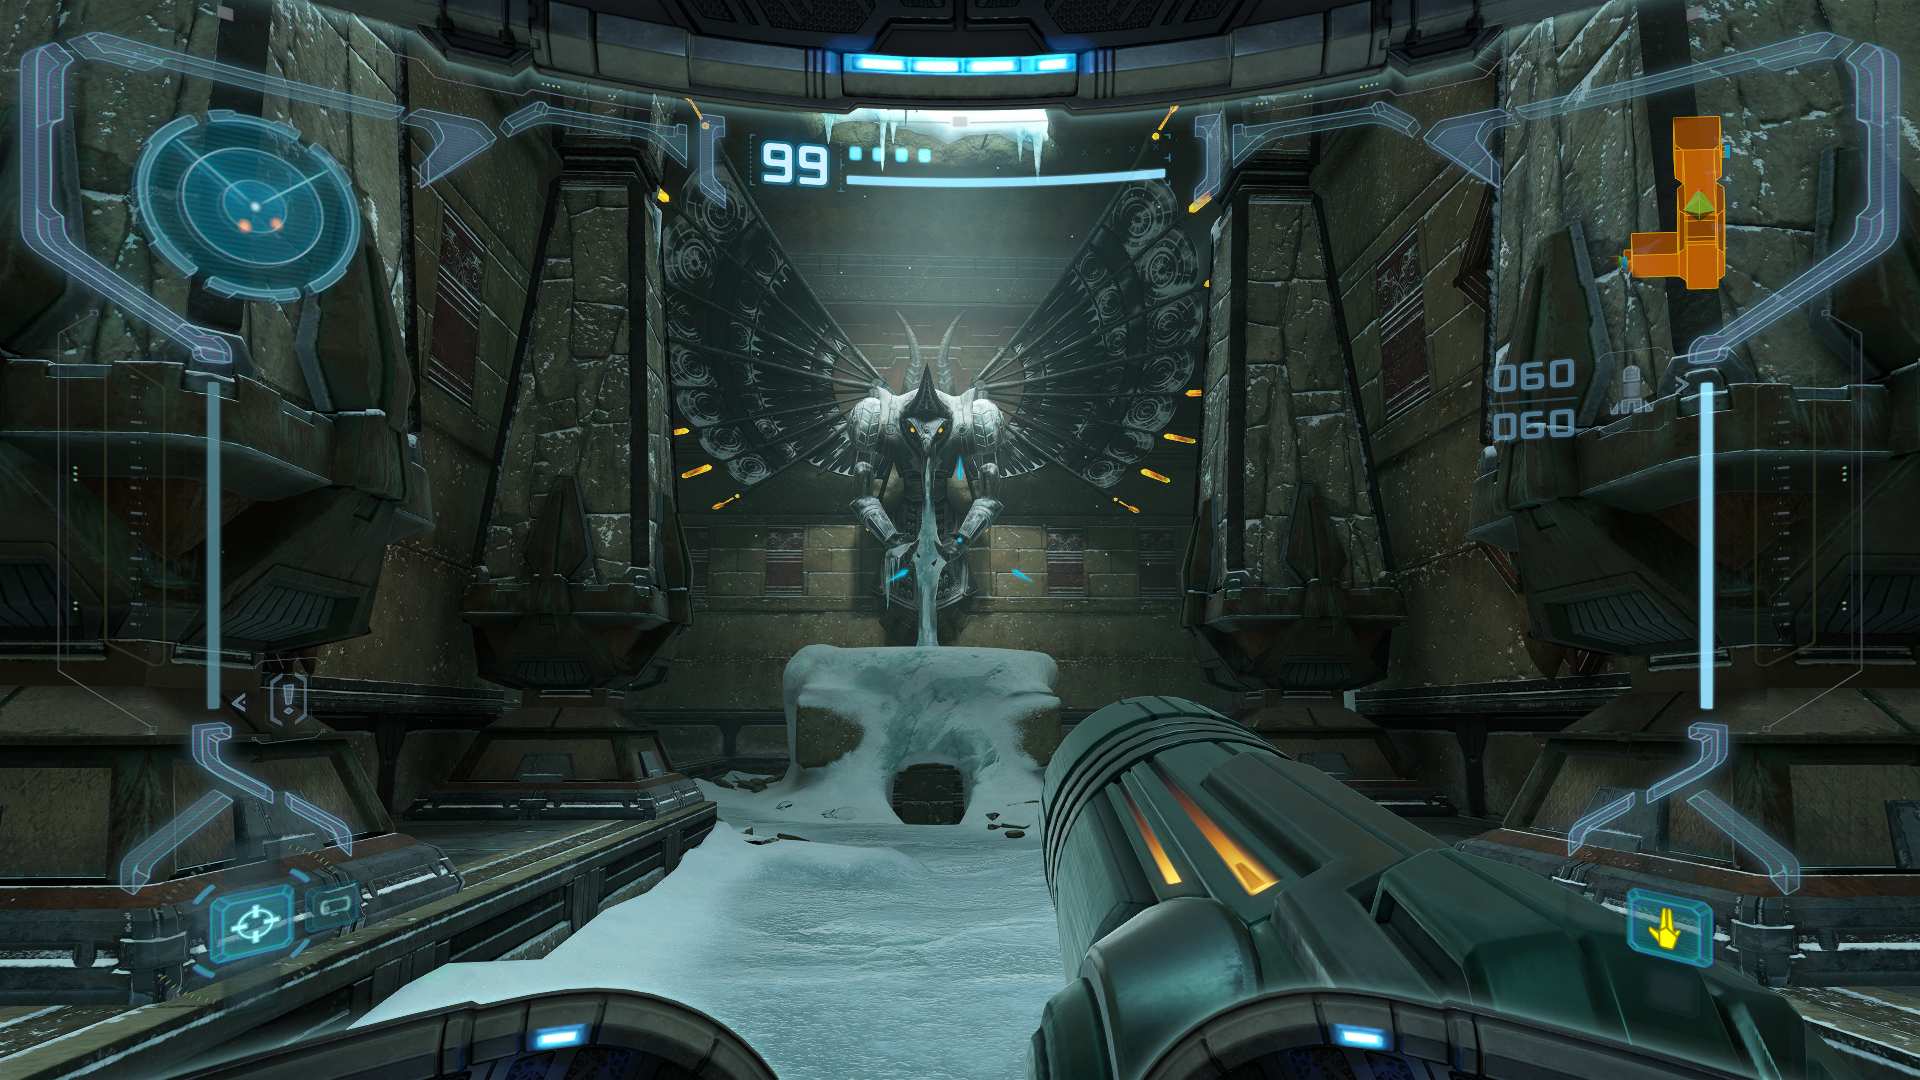
Whew, alright, we’re back folks! Let’s take a quick breather at the Save Station first before we continue. Back at the Phendrana Shorelines, use your Space Jump Boots to reach the floating platforms leading to the North East structure and enter the door. When you reach the Chozo Ice Temple, take out the Baby Sheegoth and then scan an ICE PARASITE. Climb the structure until you reach the very top adorned with various Chozo iconography. There’s a gate blocking the door we need to reach and scanning it reveals it depicts a Chozo shaman. There’s also a symbol that translates to a hidden message: “To pass my gaze, seek my twin within this room”. Start scanning the various Chozo figures in the hall. Eventually you’ll get to a bust depicting another Chozo shaman. Your suit also mentions the bust being composed of Brinstone, a material you should be familiar with by now, as it’s vulnerable to missiles. Blast the bust to reveal a Morph Ball Slot and use it to lower the gate. In the Chapel Tunnel, bomb the metallic bricks to get to the lower level, then bomb the weakened column section to create an opening at the top. Do this twice to create the full path to the Chapel of the Elders. Waiting for us at the other side of the room is our next powerup, but we all know how this goes by now.
Sheegoth
Scans in This Section
Creatures: Sheegoth
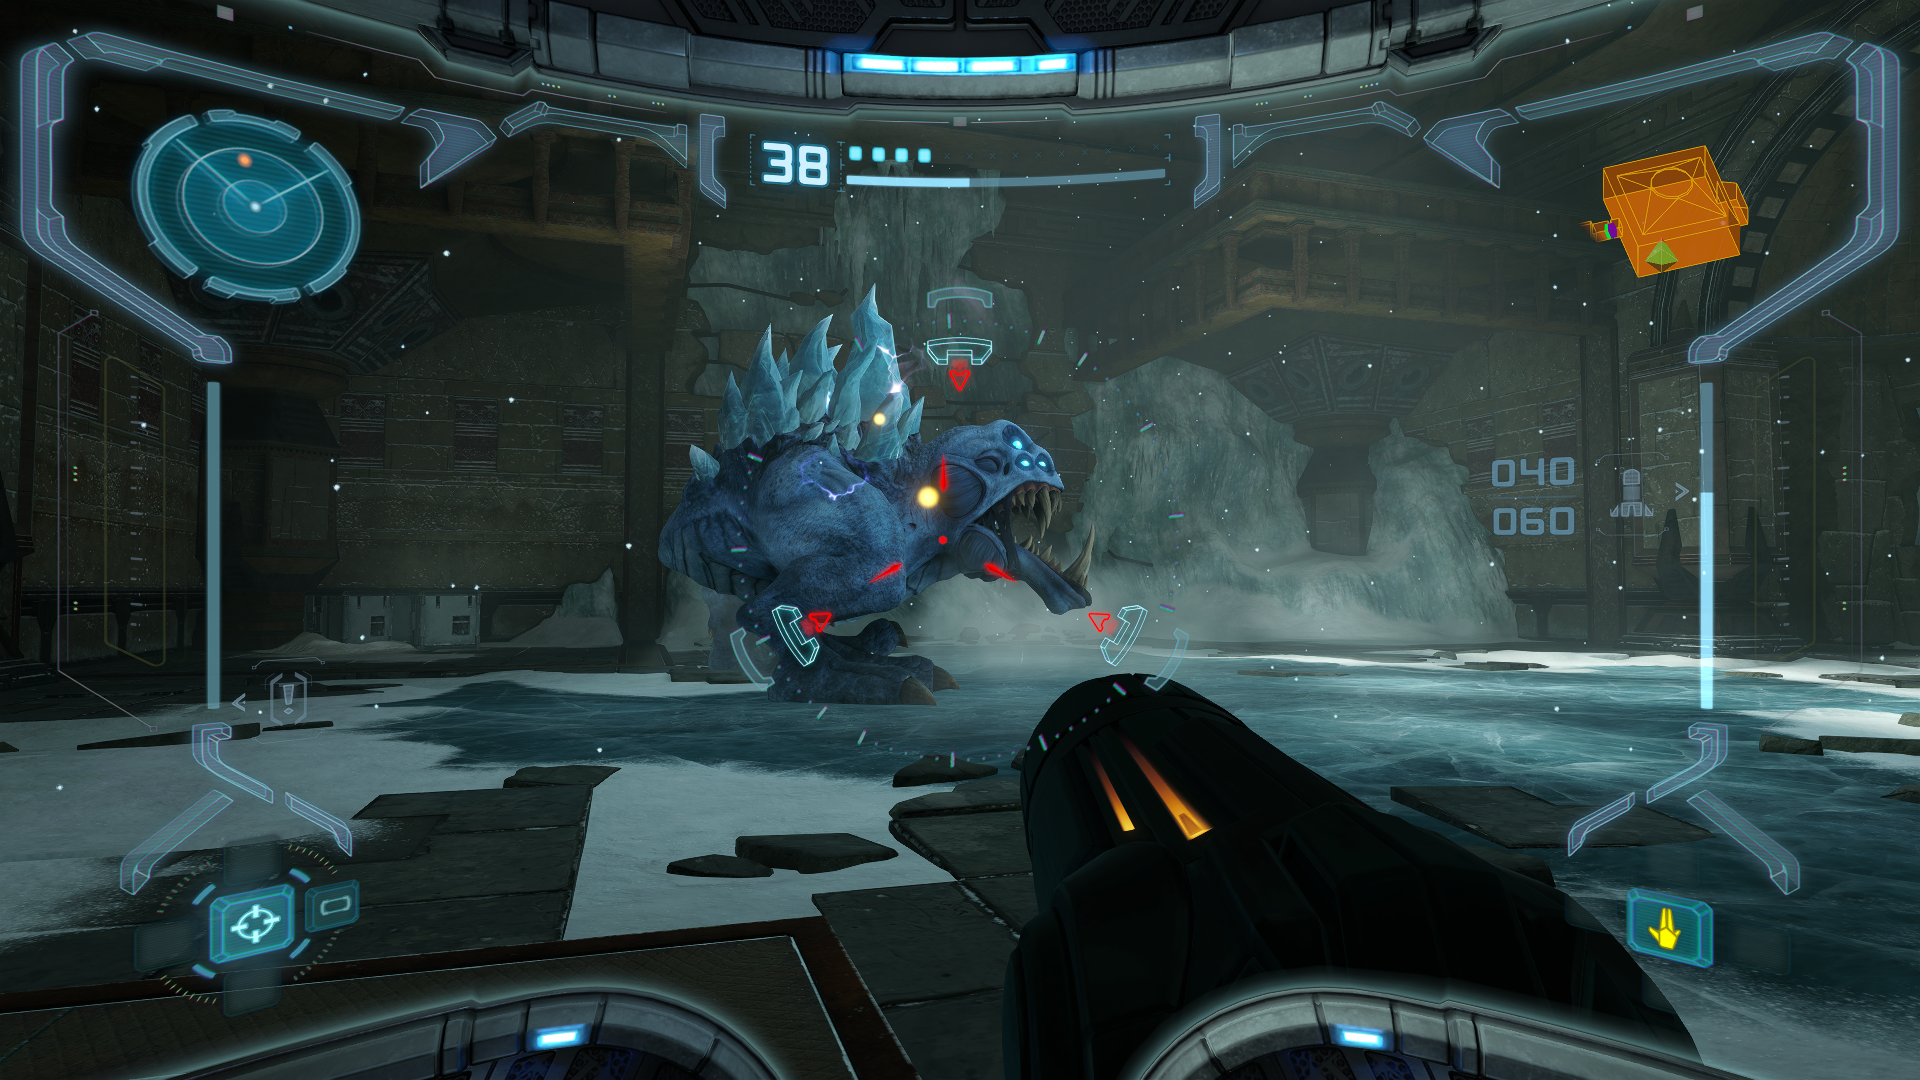
The first part of this fight just involves taking out four Baby Sheegoths; you’ve fought enough of these by now so this is pretty self-explanatory. The REAL purpose of this section is for what comes after, the adult SHEEGOTH. Firing our Power Beam is useless as all of our shots get pulled into the Sheegoth’s back to be absorbed. If it absorbs enough, it will fire back that energy with its own attack. For its other attacks it can occasionally try to ram you, which does more damage than a Baby Sheegoth, but is also slower and easier to avoid. The next two attacks are important, though, and we’ll get to why in a moment. At long range, the Sheegoth will hurl ice projectiles at you from its mouth, while at close range it uses its ice breath to freeze you. These attacks are important because, after the attack has ended, the Sheegoth will hyperventilate – this is our queue to open fire! While they’re hyperventilating, fire missiles or drop bombs by its mouth to bring on the pain! If you start running low on missiles, you can also shoot the crates scattered around the arena for more ammo. Keep up the pressure until the beast is slain!
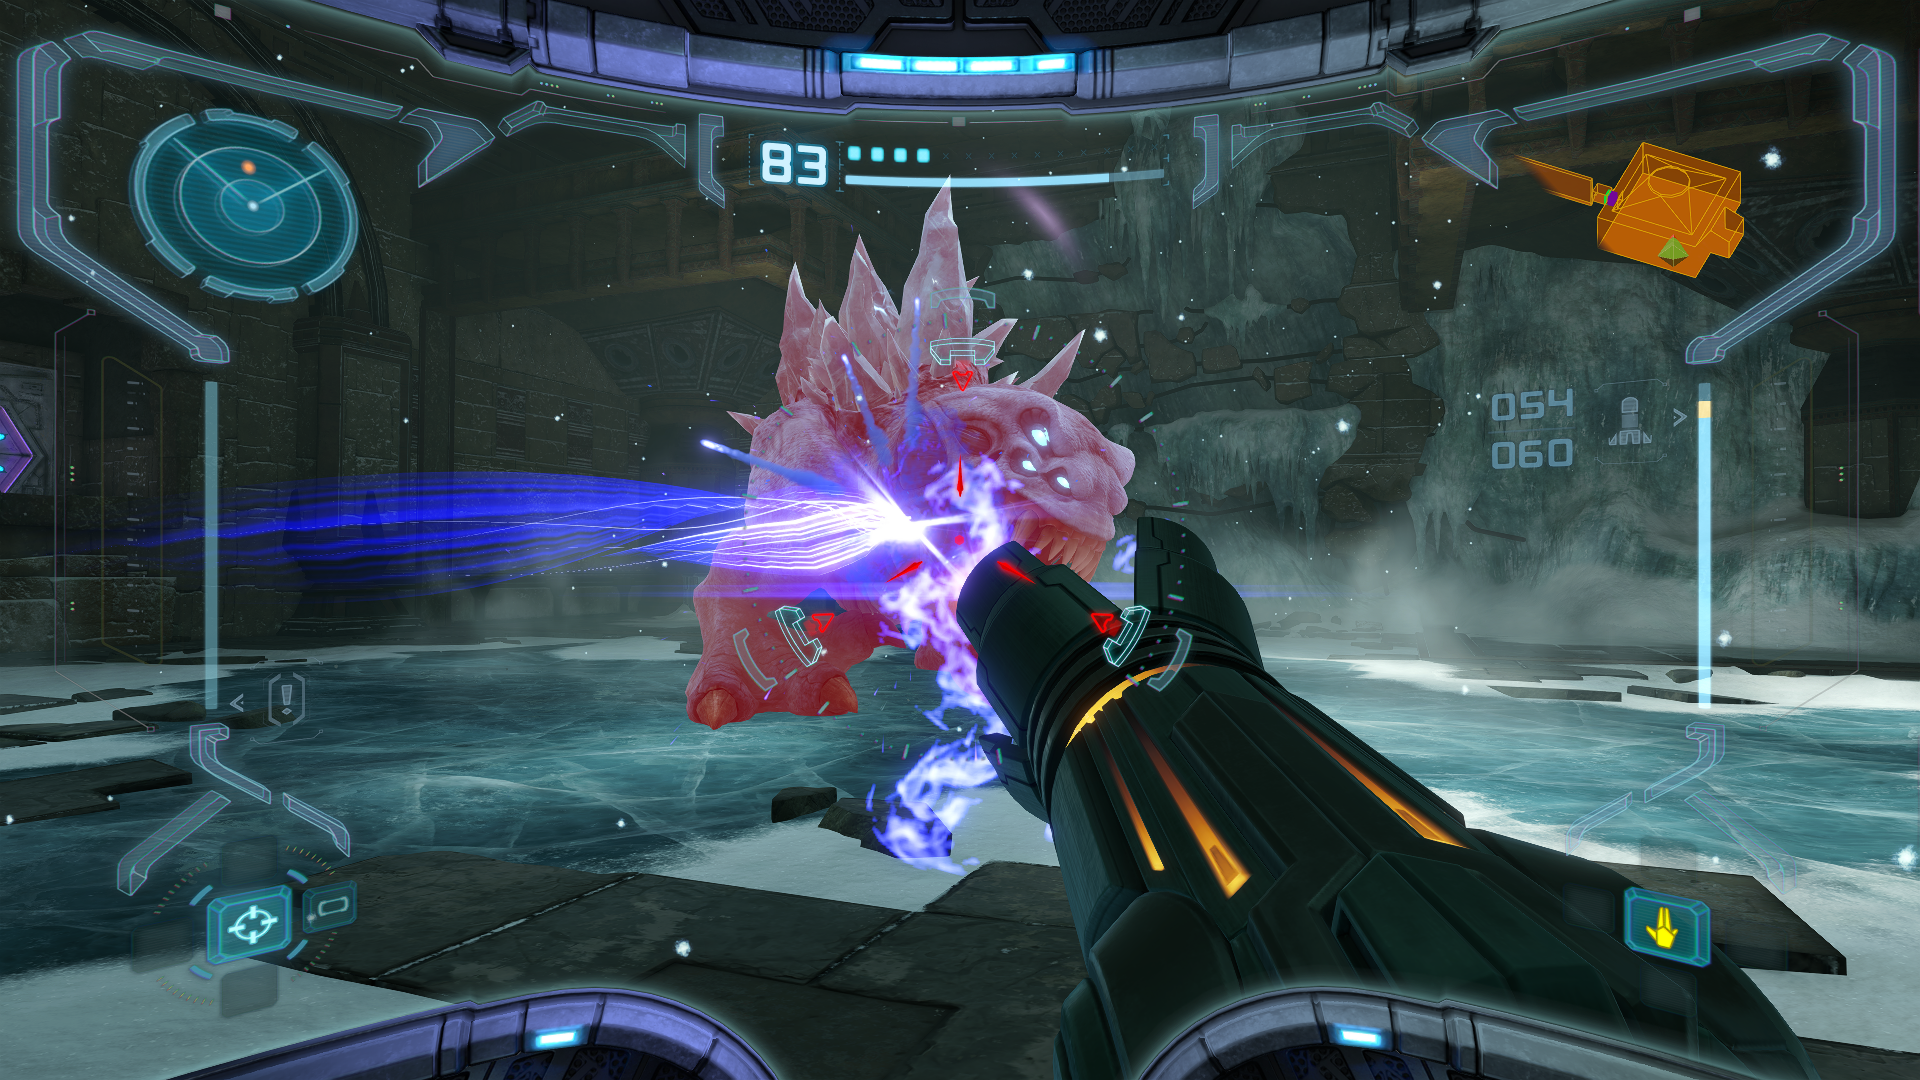
ADVANCED STRATEGIES: I’m highlighting the fast missile technique again because of the substantial amount of time you’ll save by using it here. Not only can they take out Baby Sheegoth shells quickly like I mentioned earlier, it will absolutely obliterate the adult Sheegoth while it’s hyperventilating. You can easily cut a 5+ minute encounter into less than a minute.
Next Chapter: Phazon Laboratory