


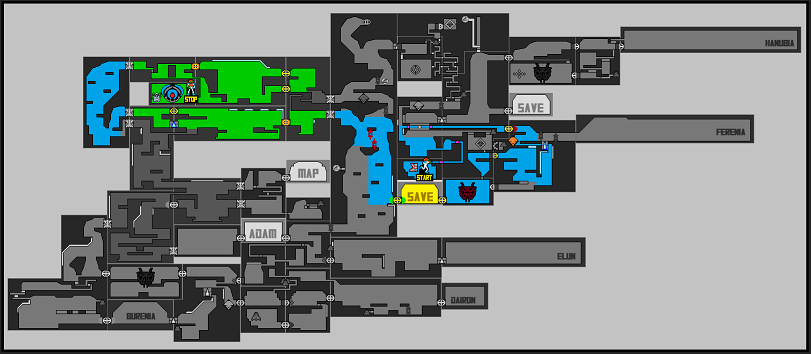
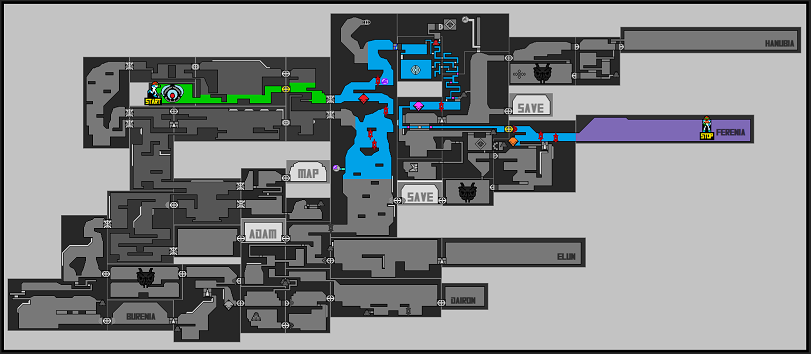
Metroid Dread Walkthrough – The Forest of Ghavoran
Walkthrough
The Spin Boost
We’re back in the decidedly less creepy Ghavoran now, and we’re starting off hot with a Shinespark missile expansion! Get towards the Grapple door and yank it open. Run back a little bit and start Boosting. Crouch either right before or right after you run into the next room. When you get into the next room, turn around and perform a wall jump above the door, so that you’re pretty high up in the air. At the apex of your wall jump, release your Shinespark and you’ll go flying, eventually crashing into MISSILE EXPANSION #32! Awesome! I just love that feeling of flying around as a speeding bullet, don’t you? Check out Shinespark Puzzles for video.

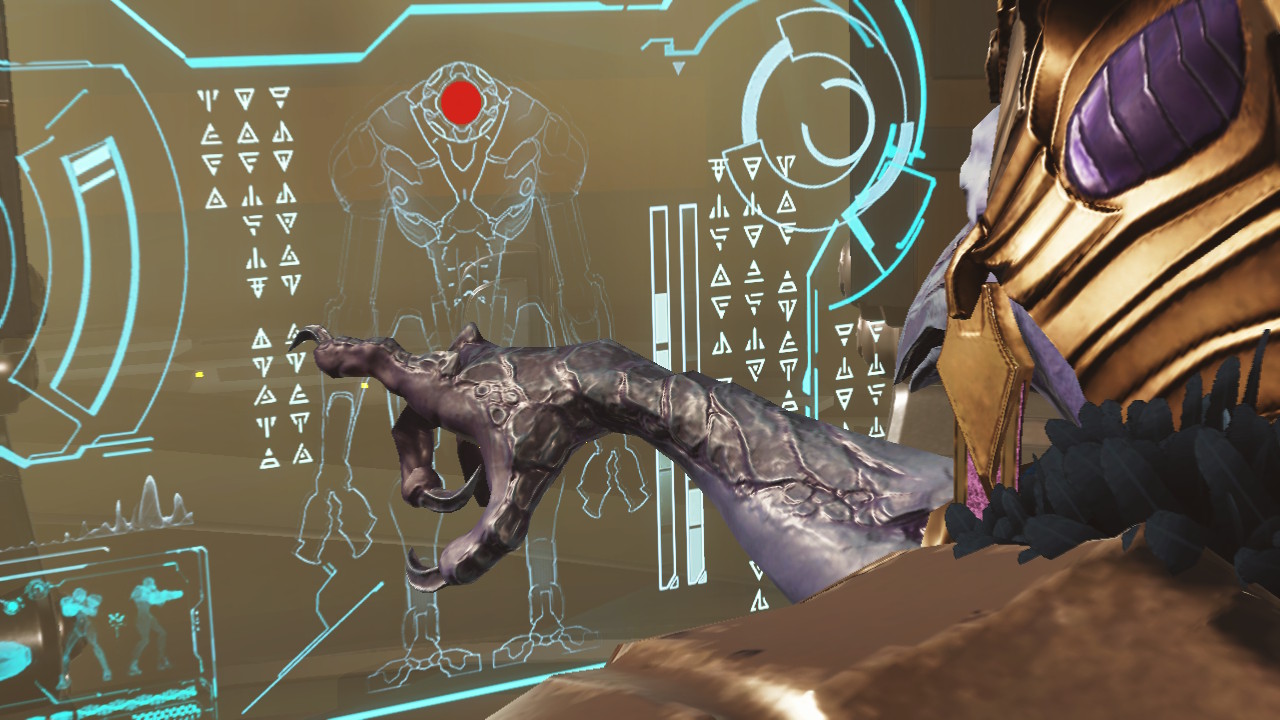
As you’ll have probably noticed, it didn’t take the X very long to infect basically every creature on ZDR. From this point onwards, every enemy you encounter will be an X parasite host. The enemies themselves will mostly act in the same manner, so you don’t need to be too concerned about this, but just FYI.
Make your way left and left again, stopping in the Network Station to chat with Adam. Adam confirms that Raven Beak released the X from their confinement for reasons unknown. Save your game and continue.
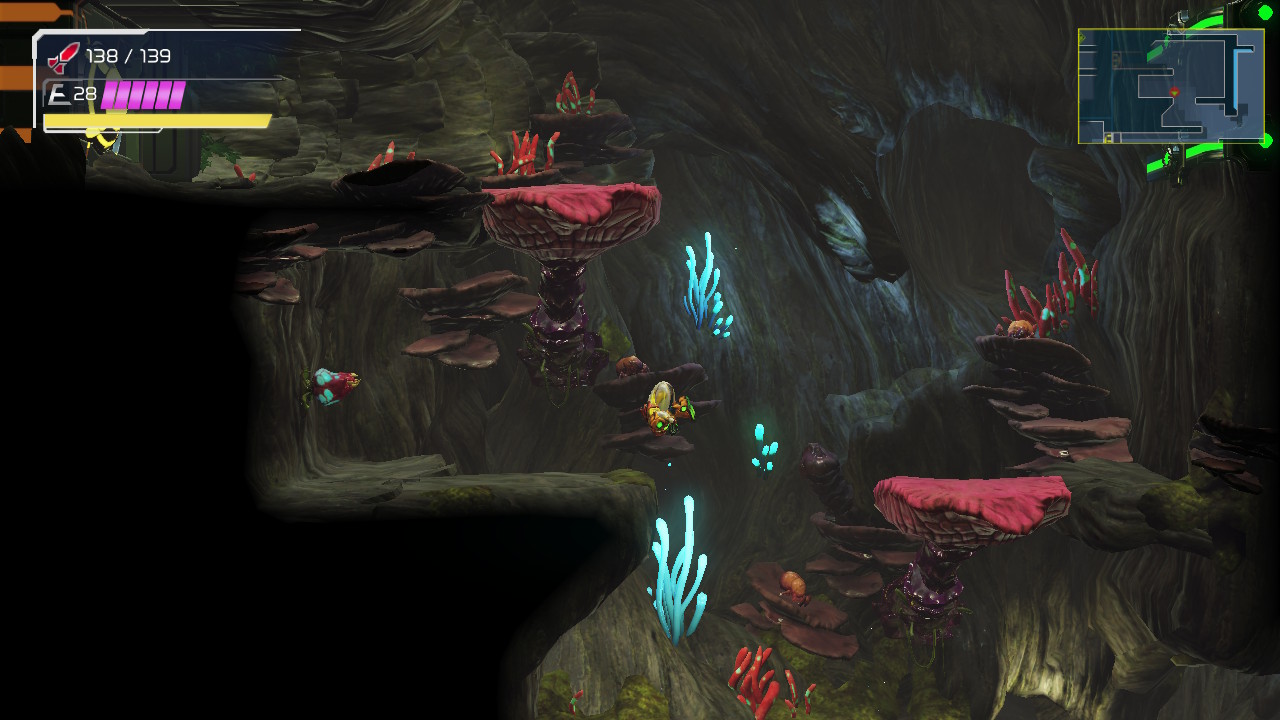
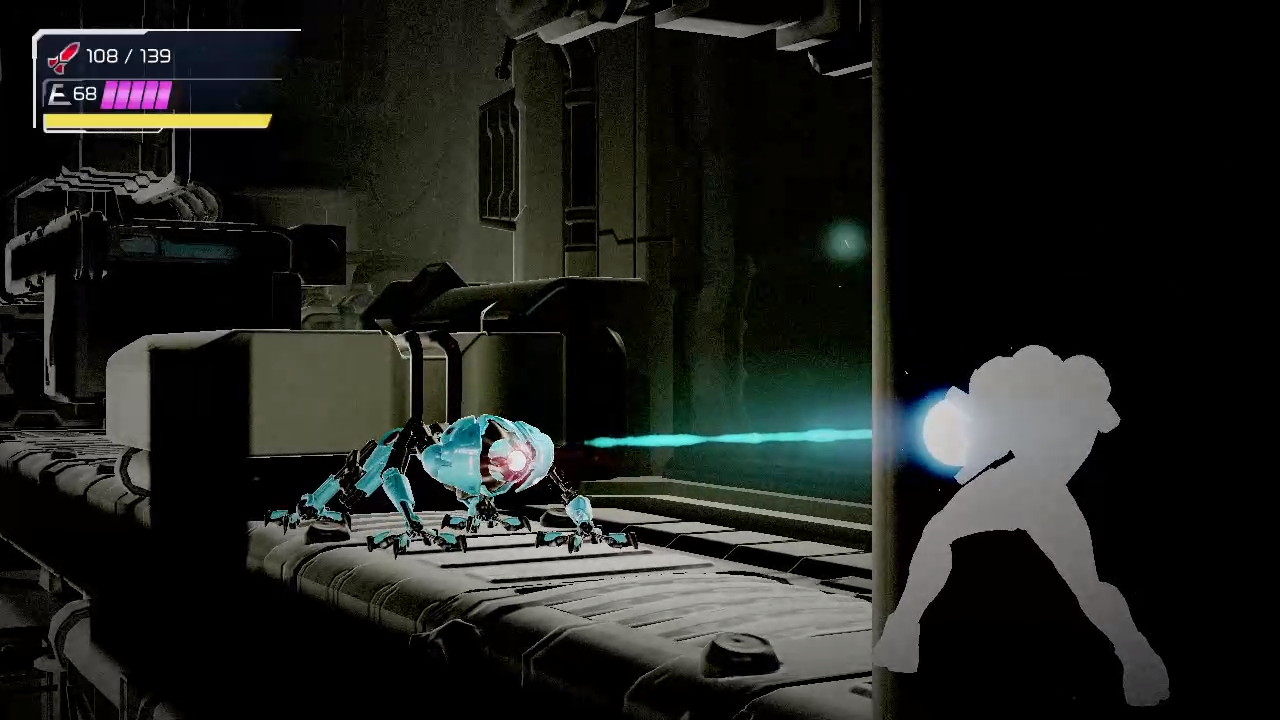
Head to the left and continue into the E.M.M.I. Zone. Unfortunately, Ghavoran’s E.M.M.I. has been reactivated and resumed its patrol. Double unfortunately, this E.M.M.I. is equipped with weaponry made up of our biggest weakness; cold. Triple unfortunately, these weapons can zap and stun you from a distance. All this is to say that this will be our toughest encounter yet. Quickly make your way up the E.M.M.I. Zone and head up the spider tracks. This spot is pretty notorious for attracting the E.M.M.I. or just having it sitting at the top, so keep your cool if you die a couple times. Just climb up the tracks and take the door to your right.
Drop into the water and make your way towards the E.M.M.I. Zone exit on the right. With any luck, the E.M.M.I. will be far enough behind you that it can’t hit you with its ice bursts. Once you exit the Zone, head through the water and Grapple up to the spider tracks (if you want, lay a bomb in the corner nook. We can’t do anything in that room now, but as a reminder for later, it might not be a bad idea). Make your way through the tunnel, bombing to get higher. When you get to the top, take the door on the right and download Map data for Ghavoran. Once you’re done, exit and drop a bomb in the middle pillar of the room. A tunnel will open, letting you get back inside the E.M.M.I. Zone.

Quickly dash across the top of the first room in the Zone, and be on guard as you enter this next room. You’ll want to scale towards the top as quickly as you can, but the E.M.M.I. will be lurking about halfway up, mostly on the right hand side I’ve found. Climb up and exit the E.M.M.I. Zone through the top left.
You’ll now find yourself in a room with a big pool of water below you and a big rocky spire shooting down from the ceiling. The water will prevent you from getting to the far side of the room, so for now, just head above you and *sigh* back into the E.M.M.I. Zone. Luckily, like our last stops in Ghavoran’s E.M.M.I. Zone, it’s a short stay. There will be two doors in front of you; take either one. Flash Shift right across the room, going through the door, and then Flash Shift again across that room right out of this accursed E.M.M.I. Zone.
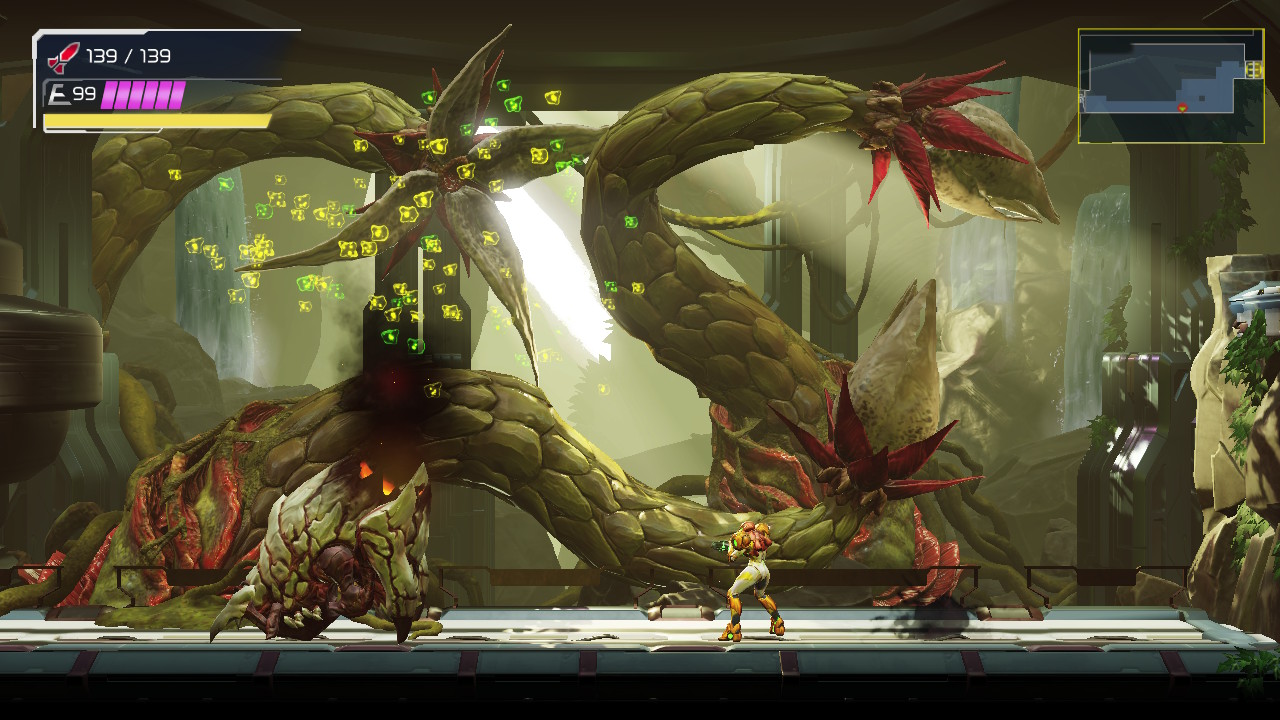
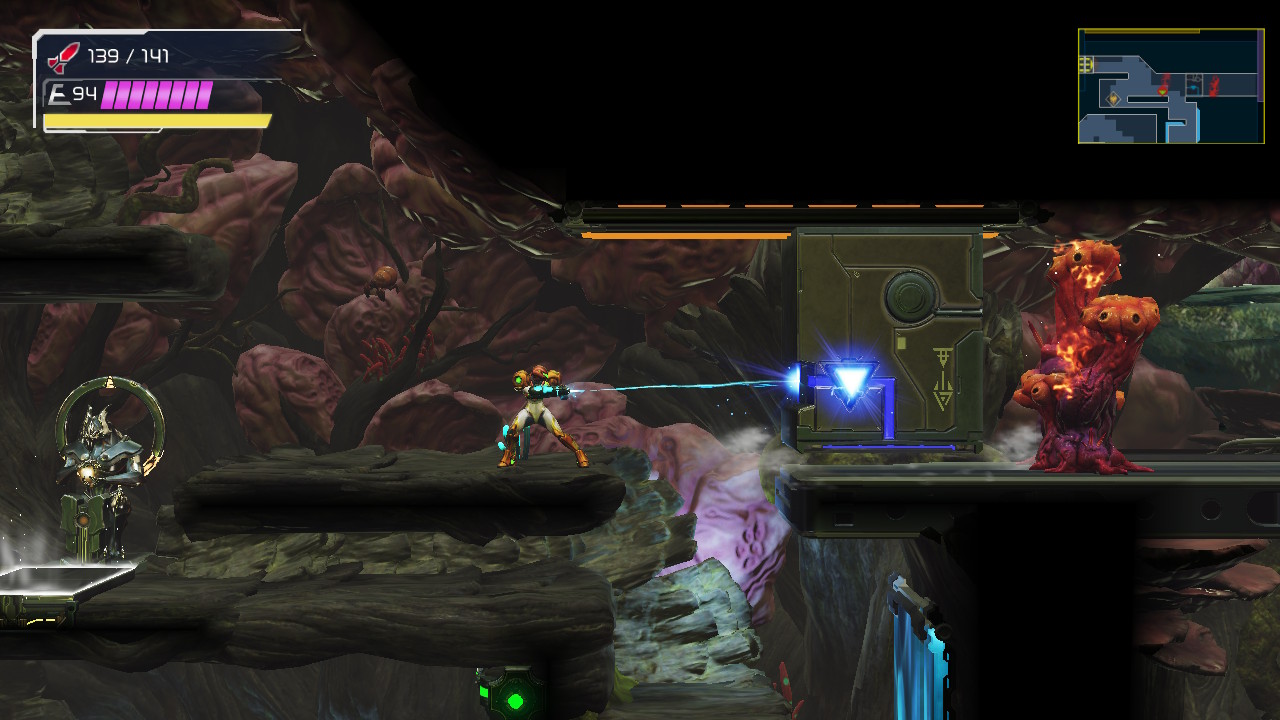
You’ll now find yourself in one of the biggest rooms in the entire game. For simplicity’s sake, we’re going to call this room the Giant Tree since the background has (you guessed it!) a big giant tree! This is actually a pretty cool room, but it’s also somewhat annoying, at least for right now, since those big pink flower platforms collapse after about a second of standing on them. Here’s where you’ll really start to notice the big red fiery mushroom things blocking your path. You’ve probably seen them around before this I’m sure, but they’re very prevalent here. These things are called Enky’s by the way; the more you know. Needless to say, navigating this room right now is somewhat of a hassle, so quickly fall down to basically the only door you can take: a door with a Plasma cover located in the middle right side of the Giant Tree. Enter the Save Station and head right after.
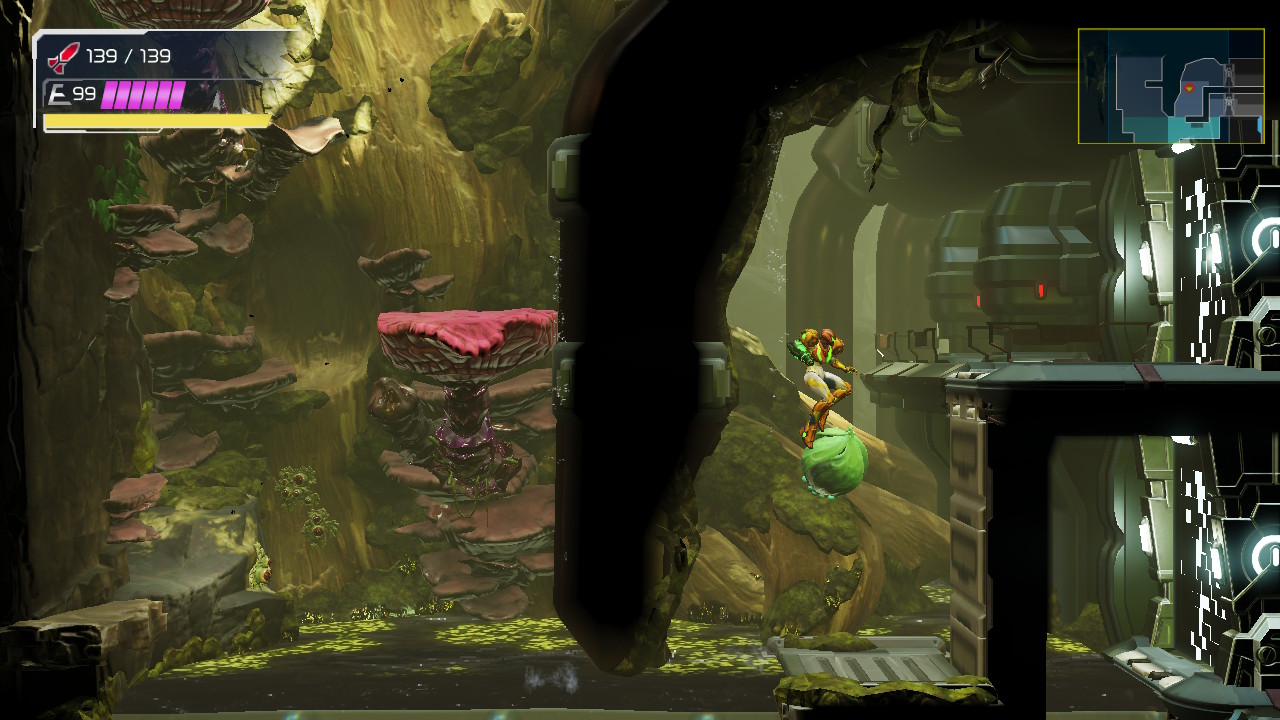
There will be a ginormous armored enemy crab in this next room. I wouldn’t even try and fight it; rather, wait for it to stand on its hind legs and then slide right under it and then get the heck out of this room. You’ll now find yourself in a forest-y looking room with seemingly two pathways to take, but guess what: the pathway on the left is made up of pitfall blocks and those awful dissolving flower platforms. Looks like the pathway on the right is the only way forward. Take that route, climb up the spider tracks, roll through the tunnel, and use the total recharge station if you need it. Above you is a red missile door! Cha-ching!
Blast that missile cover away and enter the room, rolling aaaaall the way through the long tunnel until you roll out into the water (Remember this little platform since you can return here in a bit after nabbing the Ice Missiles to Sequence Break and grab the Gravity Suit early). Drop down into the water and roll through the tunnel into the Morph Ball Launcher. At long last you will arrive at a Chozo Statue that houses the SPIN BOOST.

Ghavoran Central Unit
Well the good news is that navigation just got a bit easier thanks to the Spin Boost, but the bad news is, with an upgrade coming soon that lets you jump as many times as you want, a double jump is kind of a lame duck item. Whatever though, we got it and it lets us traverse to new areas and that’s all that counts!
Make your way back up to the Morph Ball Launcher and into the water, and then back through the long tunnel until you’re back in the room that had the original missile cover door. Go past the total recharge station and drop all the way down. Equipped with our double jump, you should be able to jump up and to the left, going over the pitfall blocks and flower platforms. Jump up and take the door to the next room. Fall down the tunnel and you’ll land in the room where the armored crab USED to be. I say “used to” because an old friend is waiting for us there instead.

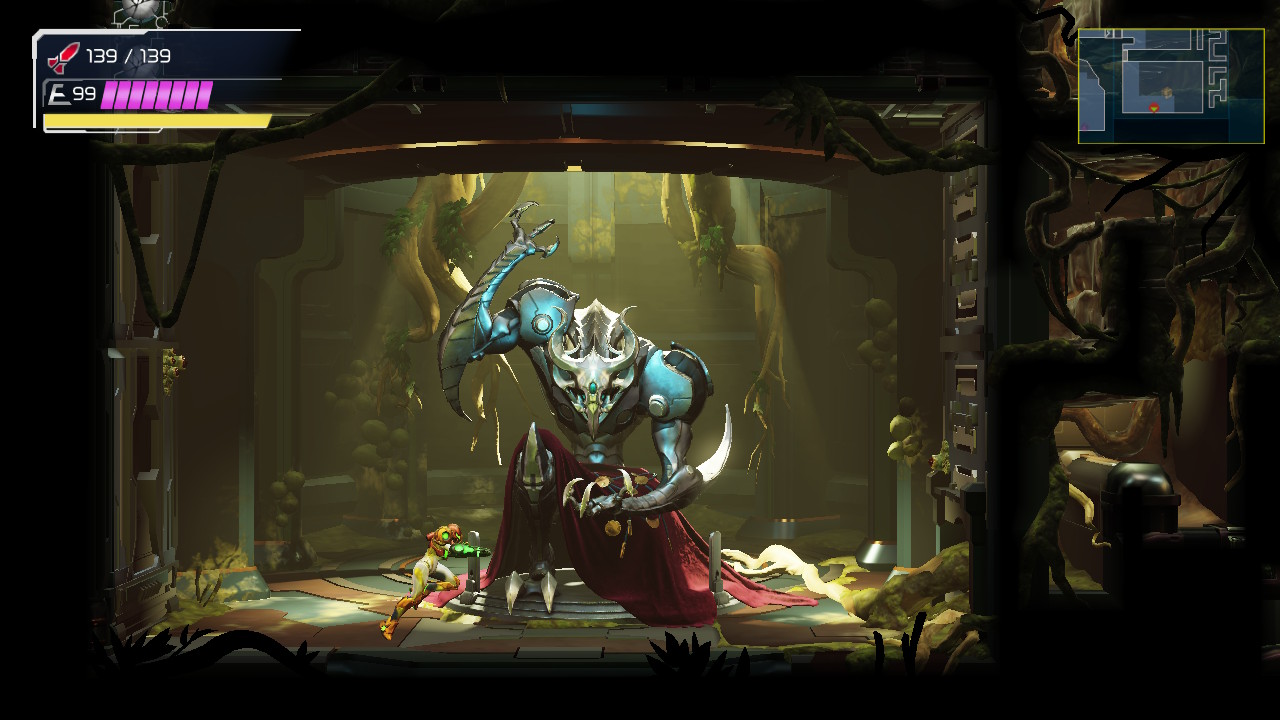
A spear wielding Chozo Soldier will drop down and begin to attack you, so let’s show him who’s boss. This fight is identical to the fight in Elun, so check out the boss guide for strategies on how to vanquish this pest. Once you’re done, continue on to the Giant Tree room.
Use the Spin Boost to jump on the flower platforms, making your way back up to the top left and into the E.M.M.I. Zone. We’re almost done with this menace (of all the E.M.M.I.’s, it was the blue one that gave me the most troubles, I have to say), but for now, make your way to the left as quickly as you can and keep going straight until you leave this cursed E.M.M.I. Zone behind. I think there’s also something a little more depressing about Ghavoran’s E.M.M.I. Zone than the others since Ghavoran is so full of life and beauty and there’s just this big, sterile complex in the middle of it with killer robots. Just me?
Anyways, you’ll now be back to the room we were in earlier with two E.M.M.I. Zone entrances at the bottom. We couldn’t proceed before, but now we can, so let’s get it! Drop into the water and double jump across the gap, pulling yourself up to the left. Jump up the flower platforms until you get to the top. Enter the E.M.M.I. Zone.

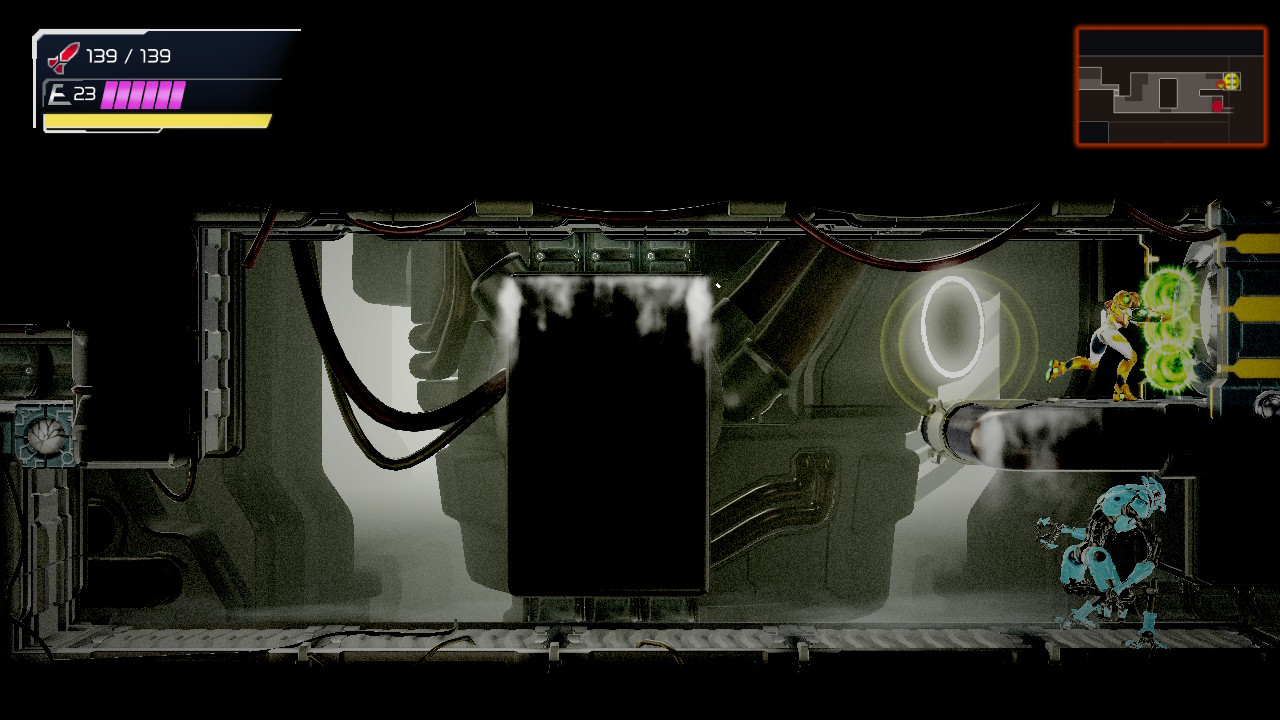
Proceed forward and open up the charge beam door. You’ll be in a large room in the E.M.M.I. Zone, but for now, get to the ledge and drop directly down. Be careful, cause there’s a great chance that the E.M.M.I. will be right beside you. Once you land, high tail it to the left and into the Central Unit room.
You know what to do here. No changes in strategy or nothing new to report here, just the usual: our regular customer, the Central Unit, in here ordering a missile soufflé with a side of charge beam sauce. Feed it lunch and then collect the Omega Stream and Cannon. Let’s finish this E.M.M.I..
E.M.M.I.-05IM
This is a pretty intense showdown, and was to me certainly the most difficult of all the E.M.M.I. encounters. To know how to destroy this blue meanie, it’s important to know the layout of the room. At the bottom, there are steps and raised platforms, meaning there’s not enough room for you to melt the armor off the E.M.M.I.’s face. There’s two doors on the right side of the room, but both just lead to a small connecting room that, again, has no room for you to melt off any armor. There’s only one option left, and it’s the roof.
On the roof of this room is a spider rail, and this will be our key to defeating this E.M.M.I.. What you’ll want to do is to drop down to the middle of the room and somewhat engage the killer robot, or at least make sure it’s following you down. Once you see the E.M.M.I. on ground level, head to the bottom door on the right and head up through the connector room. Ride the spider rail to the other side of the large room (this will be the doorway you originally entered from), and wait. You’ll see the E.M.M.I. emerge from the door and start crawling across the roof on its way to extract your DNA. This is your chance to line it up and fire your stream. The aiming can be a little tough, but you’ll get it eventually.
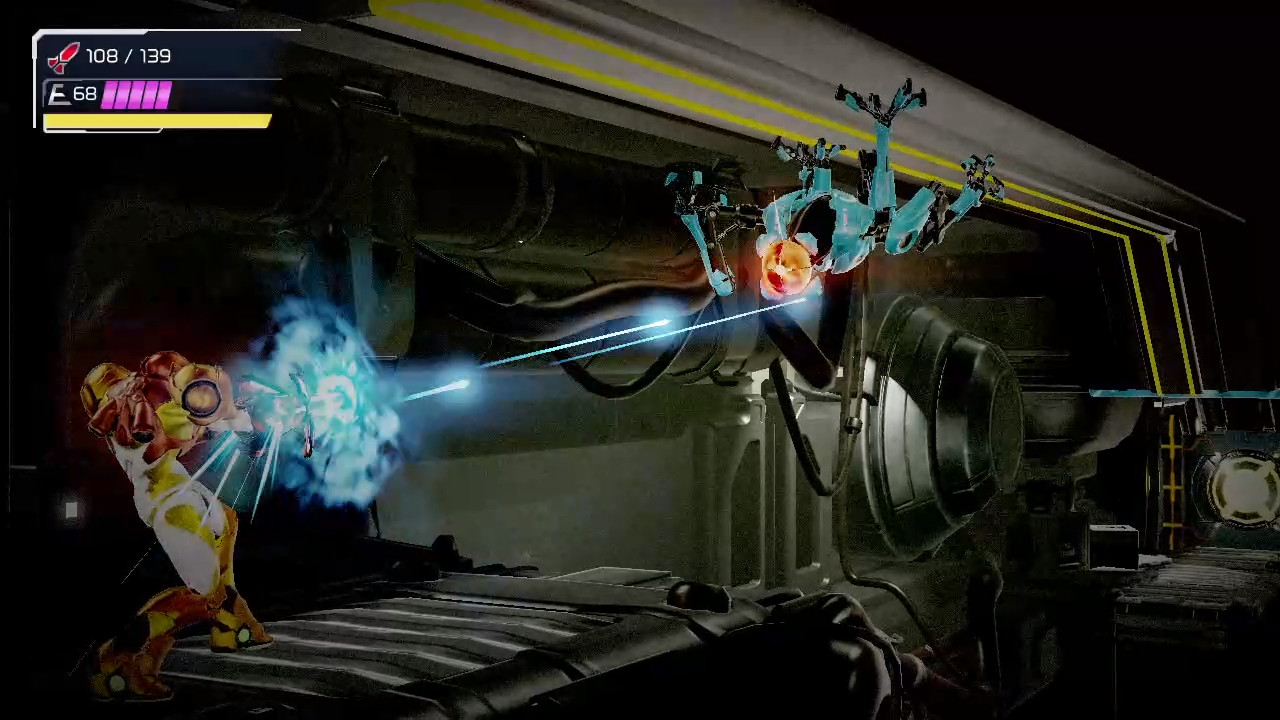
Once the face armor is melted off, either quickly charge your Omega Cannon, or if the E.M.M.I. is too close for comfort, drop down and repeat the cycle of luring it back to the roof. Blast its head off and collect the ICE MISSILES as your well earned reward!
The Pulse Radar
Now that we have this frosty addition to our arsenal, let’s get out of here! Head back into the connector room and you’ll see a little tunnel now opened. Slide through it and blow this E.M.M.I. Zone joint. You’ll actually exit into the Giant Tree, albeit a part higher up you haven’t been to yet. There will be two options in front of you, letting you either go up or go down. We’re going to both actually, but first, let’s head down.
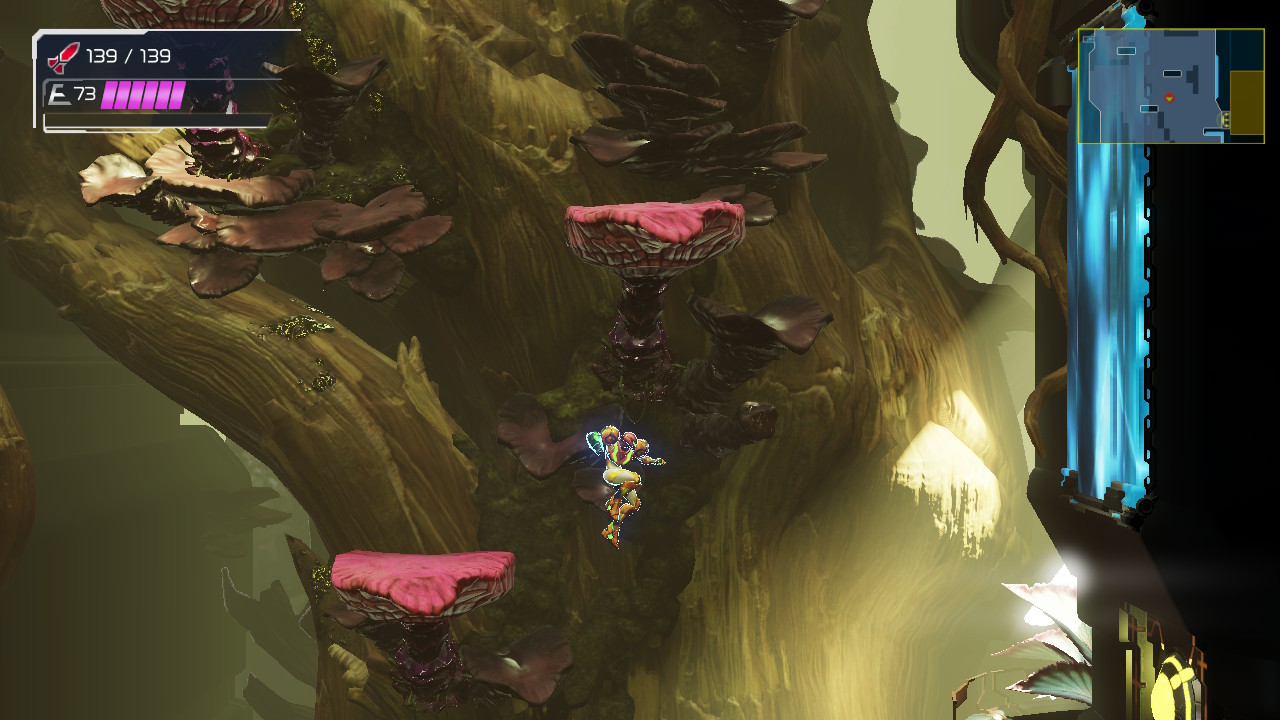
So the Ice Missiles are awesome in general, but awesome in particular when in Ghavoran since by using them, we can overcome the two biggest annoyances in this area – the flower platforms, which can now be frozen for a couple seconds, and the Enky’s, which can be permanently destroyed with just a simple blast. Let’s put both of these advantages to great use right away as you drop down to the platform in the Giant Tree that’s connected to the Save Station in the middle right.
From here, freeze the flower platforms to your left and jump on them; you’ll see a Grapple block in the wall to your left, so while the flower platform is frozen, quickly destroy the block and before you jump into the tunnel, fire off a missile to destroy the block. Once the path is clear, jump over and grab ENERGY PART #8!
Head back up to the E.M.M.I. Zone exit we came out of after acquiring the ice missiles and this time, take the top path. Blast the Enky and right behind it will be ENERGY TANK #6. Sweet! Continue up and take the Grapple door on your right.
In this next room, slide into the little nook in the bottom left corner of the room and you’ll fall through the floor. A cutscene will trigger and you’ll pick up your last Aeion ability of the game: the PULSE RADAR. For anyone that’s played Samus Returns, you’ll already know what this item is all about, but for anyone that hasn’t, this is a pretty handy gimmick that will scan an area and reveal any breakable blocks! Put it to the test right away and use it to get out of this room and into the Morph Ball tunnel.
You’ll now be in a tunnel with options to either go up or down; head up first, minding the bugs shooting out in every direction, and keep laying bombs until the path takes you back into the Pulse Radar room. Lay another bomb and jump up to grab MISSILE EXPANSION #33. Roll back into the other room and drop down, bombing until you fall out of the tunnel.
You’ll land beside an Enky, so destroy it and proceed. You’ll actually find yourself at the top of the room connected to where we got the Spin Boost, and like I mentioned earlier, if Sequence Breaking is your thing, go and grab the Gravity Suit right now! Assuming you’re just gonna follow the beat and path, go and roll through the super long (my god is it long) tunnel and back through the used-to-be missile cover door.
You’ll see yourself once again at the total recharge station, except THIS TIME, we can destroy those damn Enky’s. Do so and pull the Grapple Box out of the way. With that obstacle removed, the way to Ferenia is now clear. Head towards the elevator room and take the tram.
Next Chapter: The Ruins of Ferenia