


Metroid: Zero Mission Walkthrough – Powering Up
Walkthrough
Hi-Jump Boots
Once you’re back in Brinstar, you’ll see a wall crumble and a path to a Chozo Statue will open up. Check that out, and then head left. Once you go through the door into the vertical hallway, get in Morph Ball form and start rolling on the platform. You should fall into a Morph Ball Launcher. Blast away, and push towards the right when you start to fall. You’ll tuck in a little nook close to the top that will give you MISSILE EXPANSION #22.
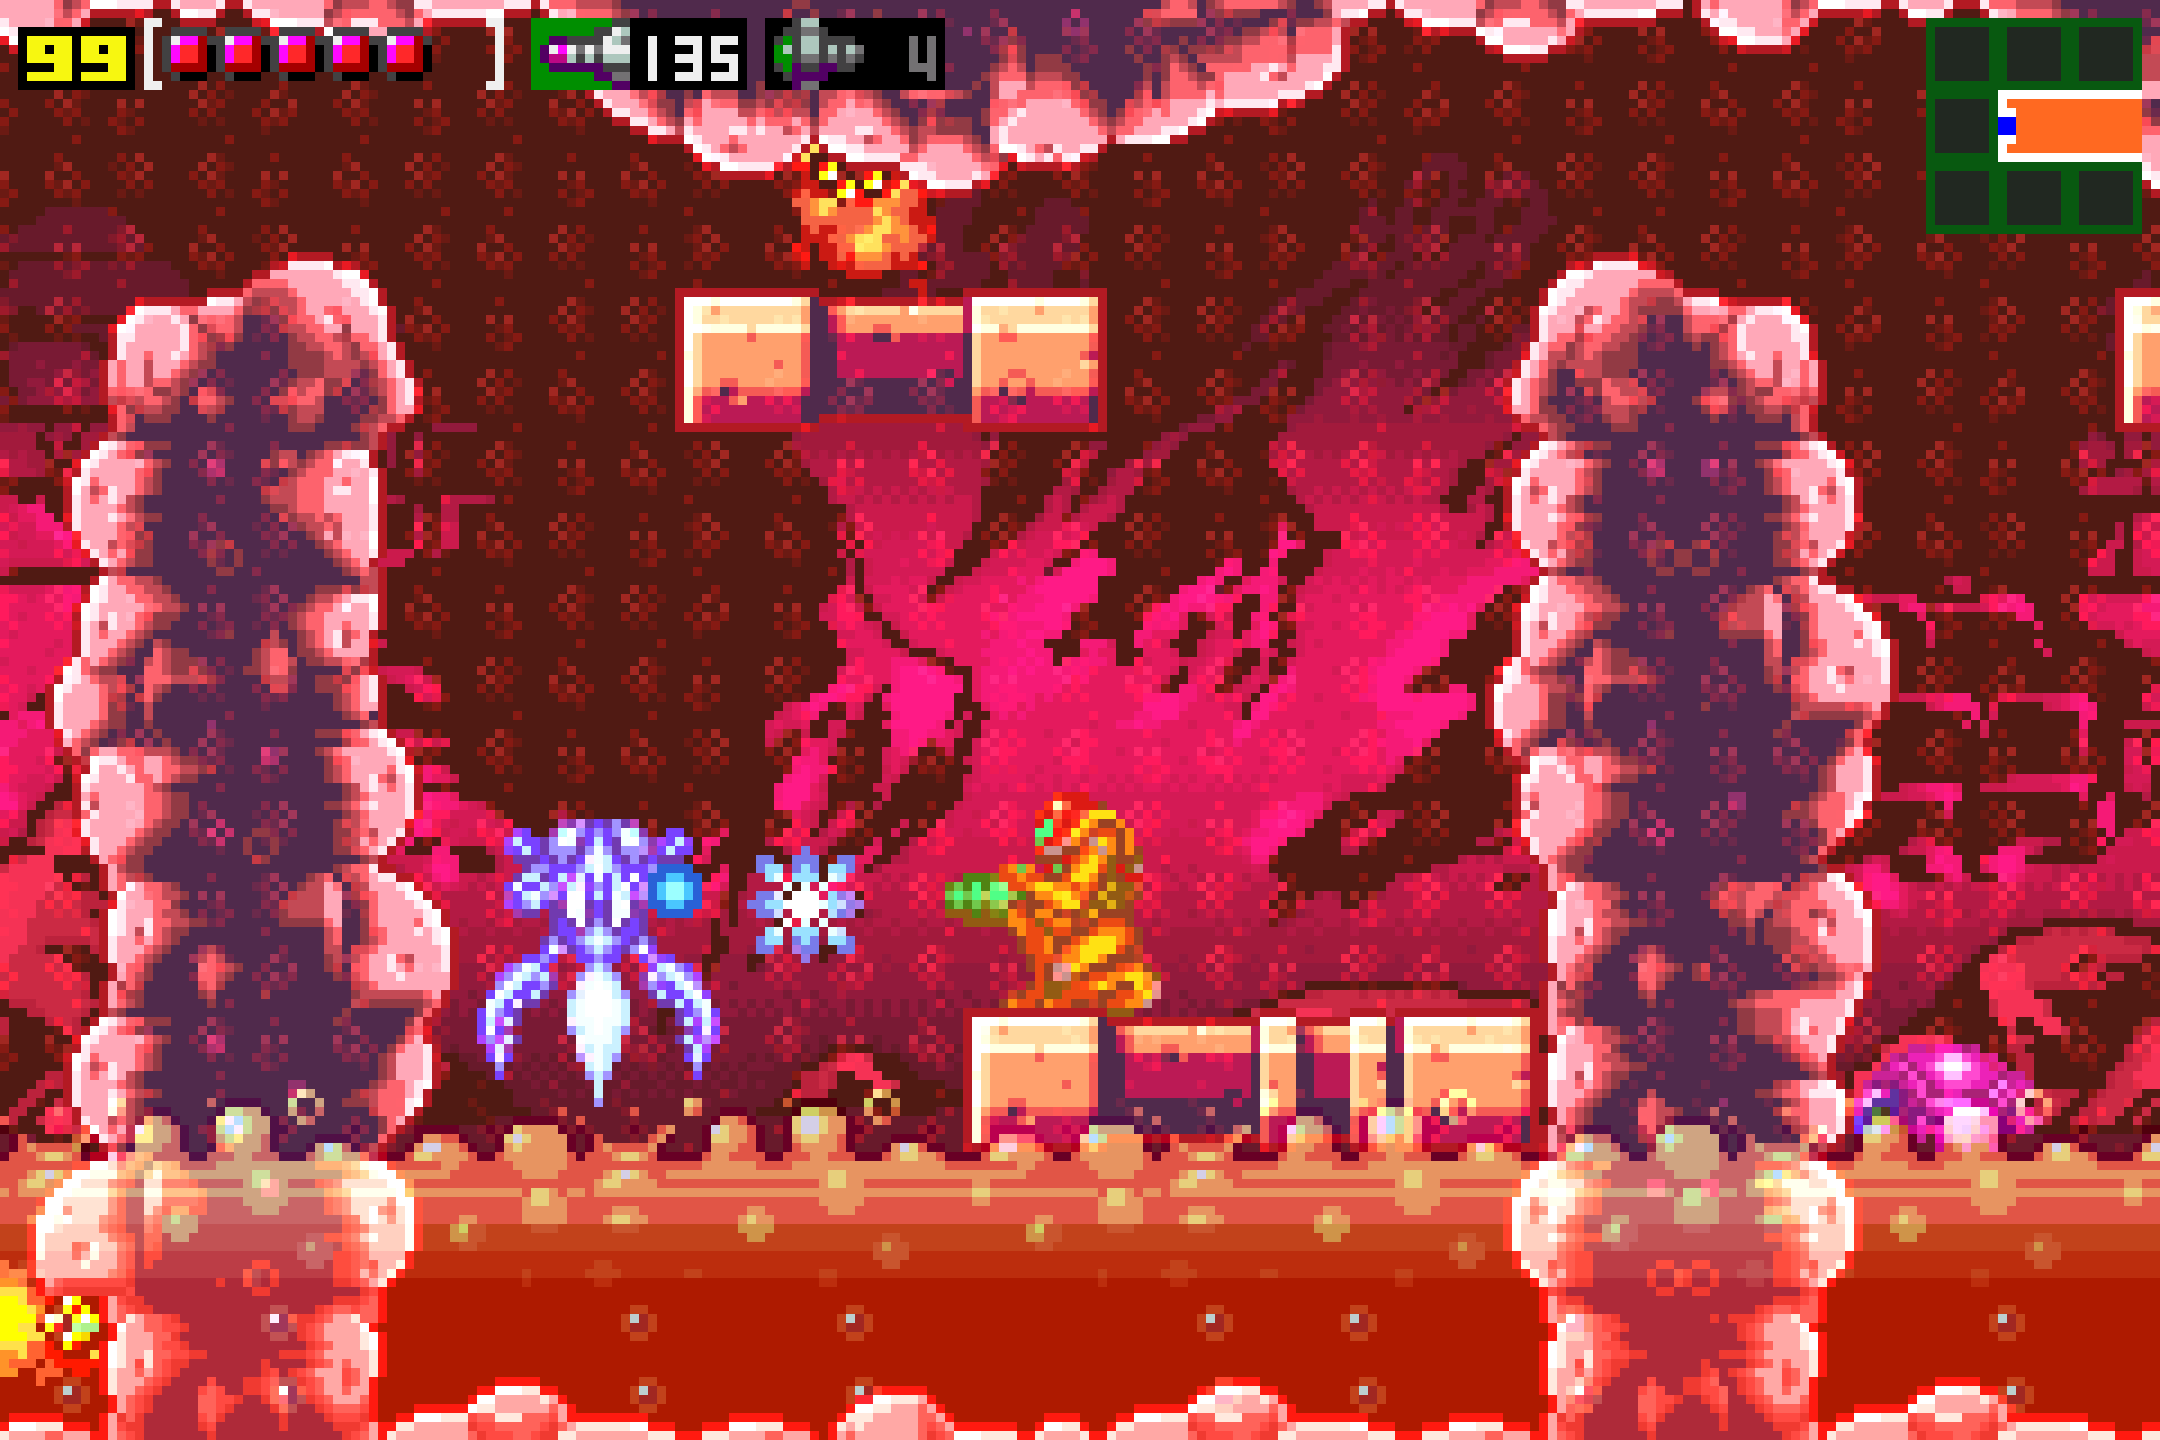
Head through the upper right door once you’re done. You’ve probably seen the circle on your map and been wondering where that expansion is hidden here, and I’m going to encourage you to perform a bit of a harder move and grab that expansion now, since Ridley’s Lair can be a bit challenging. There are three Skree’s on the ceiling. What you are supposed to do is get the Wave Beam and freeze the one on the right-hand side, use it as a platform, and grab the Energy Tank which is hidden in the ceiling. Instead, shoot the Skree’s and find the Tank on the roof (shoot upwards, it’s about 3 tiles or so to the left of the big rocks). Once you see it, perform a Bomb Jump (see Special Abilities for details). Bomb Jumping is pretty easy in Zero Mission, and though it may take you a bit to get the timing down, eventually, you’ll propel yourself up towards ENERGY TANK #4! If you can’t get it, no worries! Come back with the Wave Beam and grab it then!
Once you’ve gotten all the powerups you need, head down to Norfair. Once there, press towards the right, using the Save Station if you want. Go through the big room with magma on the floor and start charging up your Speed Booster once you’ve reached the other side. Fire as you run to open the door and your Speed Booster will kick in, breaking the ground in the long vertical hallway and allowing you to drop down!
Take the door to your left and do the exact same thing; run towards the left side of the room, turn around, and start shooting and running. Your Boost will kick in and you’ll go crashing through the floor again in the vertical hallway, allowing you to drop down further yet. Take the door to your left, clear this room of enemies, and enter through the red blast door. You’ll see a Chozo Statue sitting there; shoot it to receive the HI-JUMP BOOTS and SPRING BALL! Sweet! Just as a note – I know we’re used to rolling underneath these Chozo Statues, and there’s a clear tunnel for us to fit through, but the heat will be too extreme, so stay clear for now!
Back in the vertical hallway, use your new Air Jordan’s to jump high and grab the ledge, letting you continue your descent down, and also grabbing MISSILE EXPANSION #23 on your way! When you land at the bottom (or at least the bottom as of right now) don’t even bother going into the door directly to your left. There’s nothing in there for us right now. Instead, jump up and take the door on the upper left, and you’ll see another helpful Chozo Statue. Exit up and out of this room, step inside the Morph Ball Launcher, and let it blast you up! Once you’ve landed, head back up to Brinstar!
The Varia Suit
Once you’re back in Brinstar, head left into the hallway we fought Deorum in earlier. There’s an expansion hidden here that will take some somewhat precise Shinesparking to obtain (what’s a Shinespark? See Special Abilities!). Infact, we can actually get an important item here much earlier than the game intends for us to. I usually try to write these guides in a “the way the game intends you” kind of way, but this one is easy enough, so it’s up to you whether you want to do this or not. Let’s get started.
Once you get to the flat part of the room (this will line up to where the dot on the left side of your map is), start running and shooting. Your Speed Booster should activate right after you go through the blast door. As soon as your Booster kicks in, CROUCH! You’ll have about 3 seconds to act, so move quickly! Head back through the blast door into the room you came from and head down that little slope. Quickly turn around, fire the door open, get into Morph Ball form and activate your Shinespark. Head to the left and you’ll go crashing through a wall into a secret room which will house MISSILE EXPANSION #24! But wait – there’s more! Roll back out and repeat this process – run, crouch, Morph Ball, Shinespark. This time, when you get into the secret room, press down on the D-pad! Do this after you’ve destroyed the two Rippers with your Shinespark. You’ll have another 3 seconds to work with here, so quickly lay a bomb on the ground, closer to the right side of the room. The ground will give away and you’ll be on a small ledge (not the bottom most part, but a slightly raised ledge off the ground). Shinespark to your left, and you’ll go flying into another secret room which houses SUPER MISSILE EXPANSION #1! Congratulations – you just pulled off a sequence break! This can be tough to all take in over text, so head to Shinespark Puzzles to see video on how to do this.
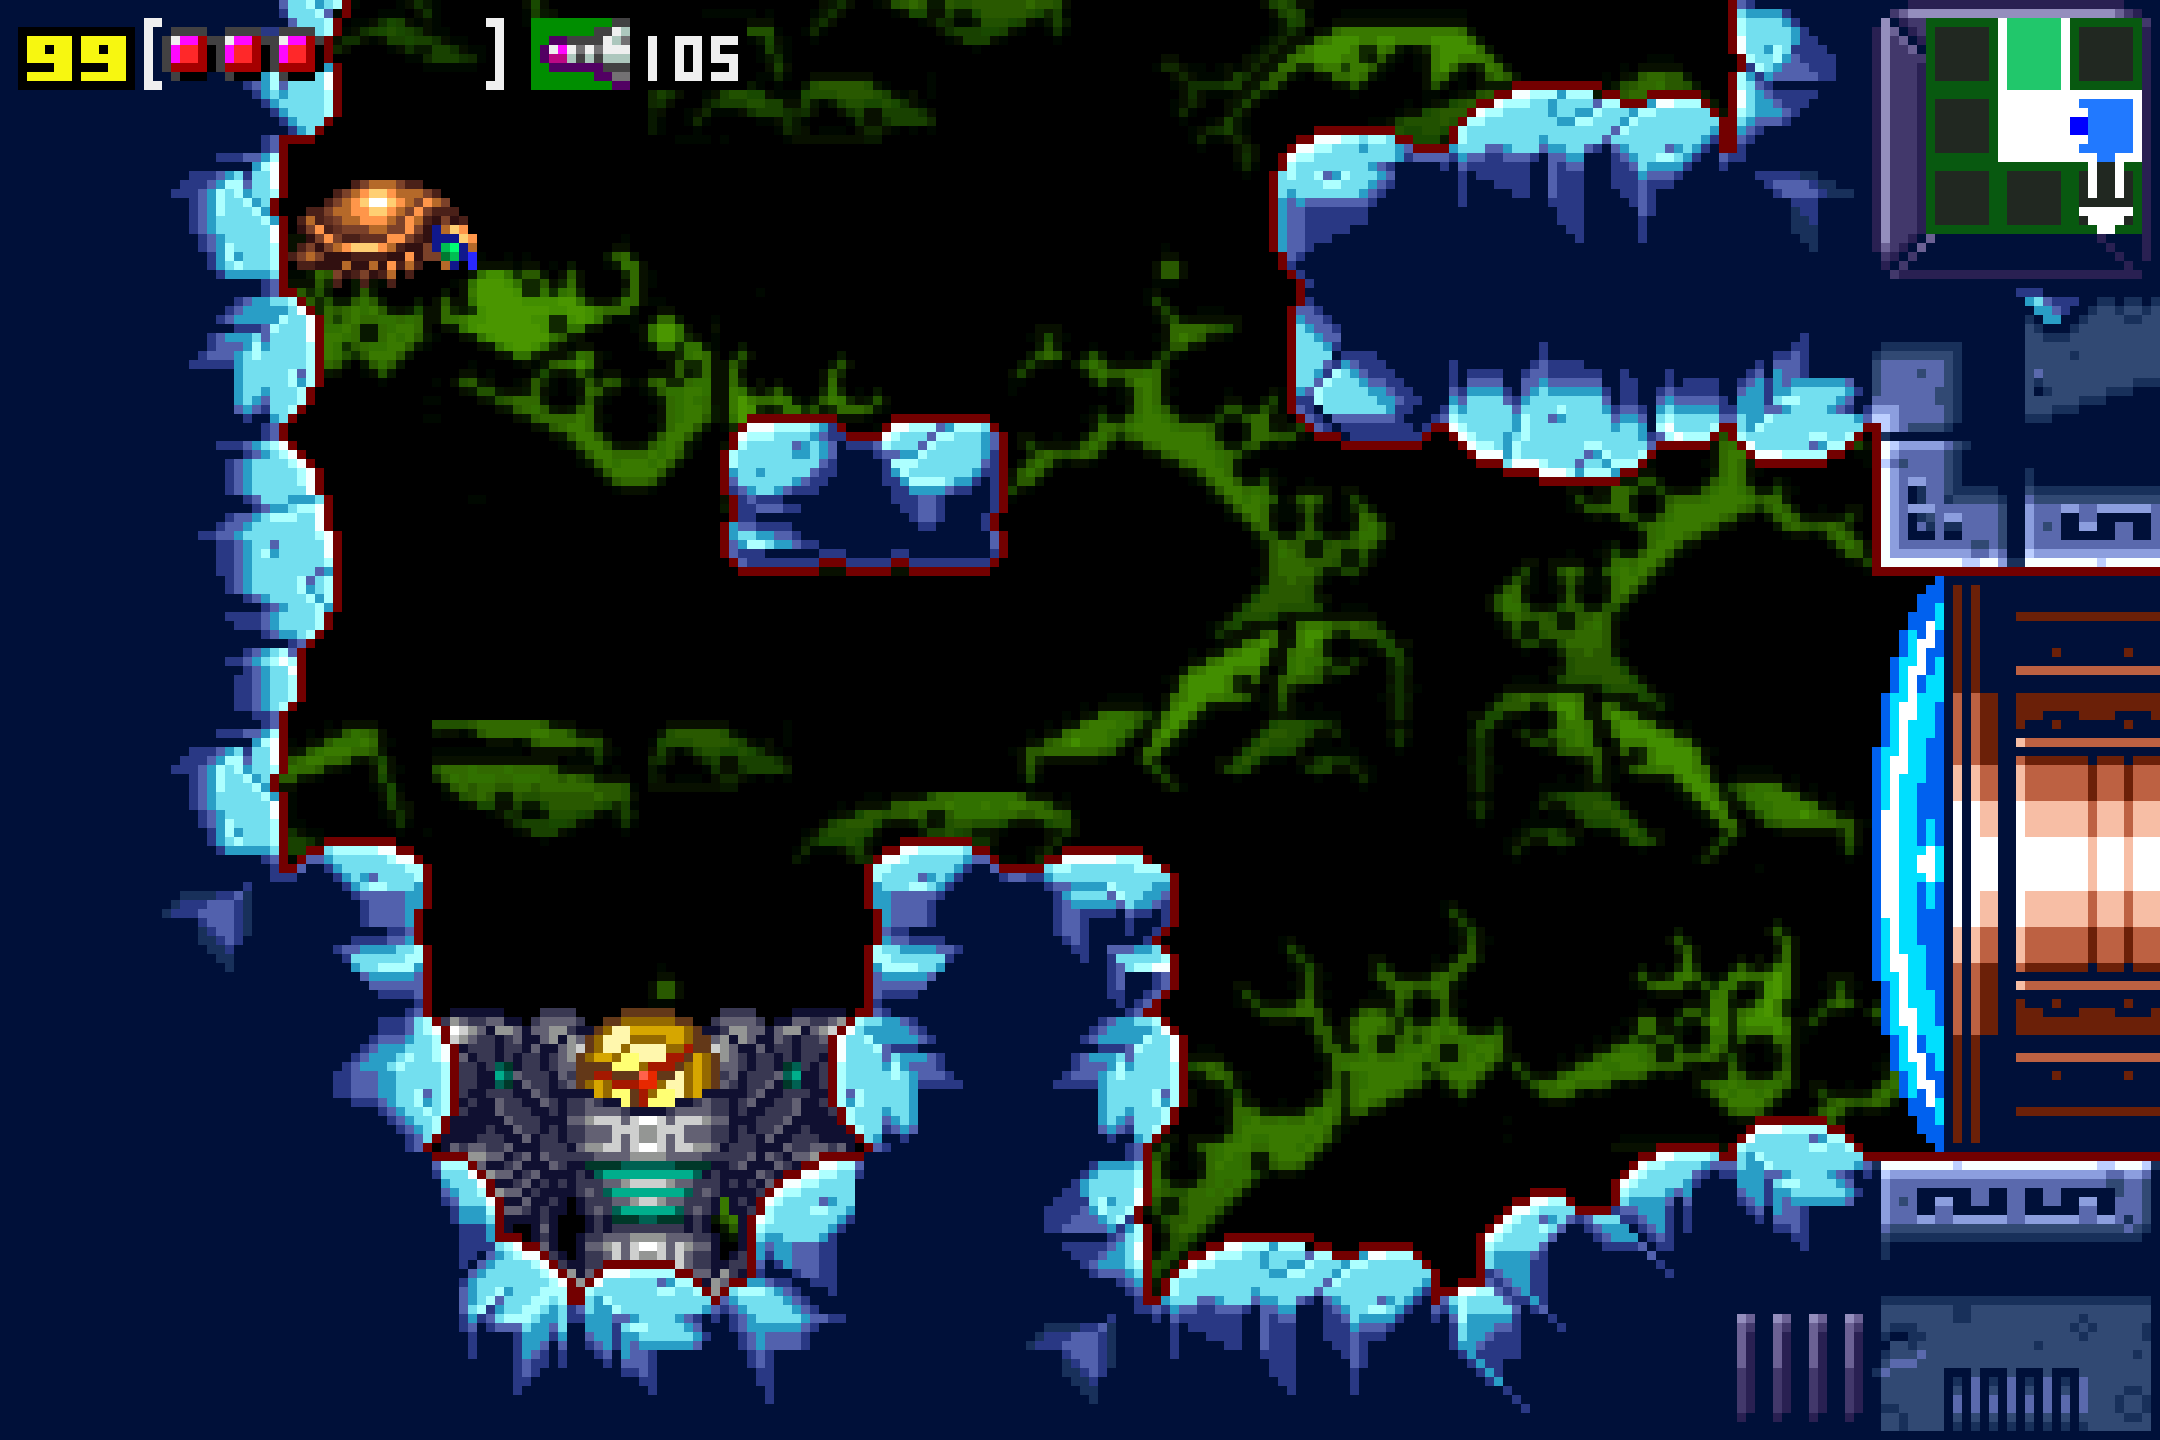
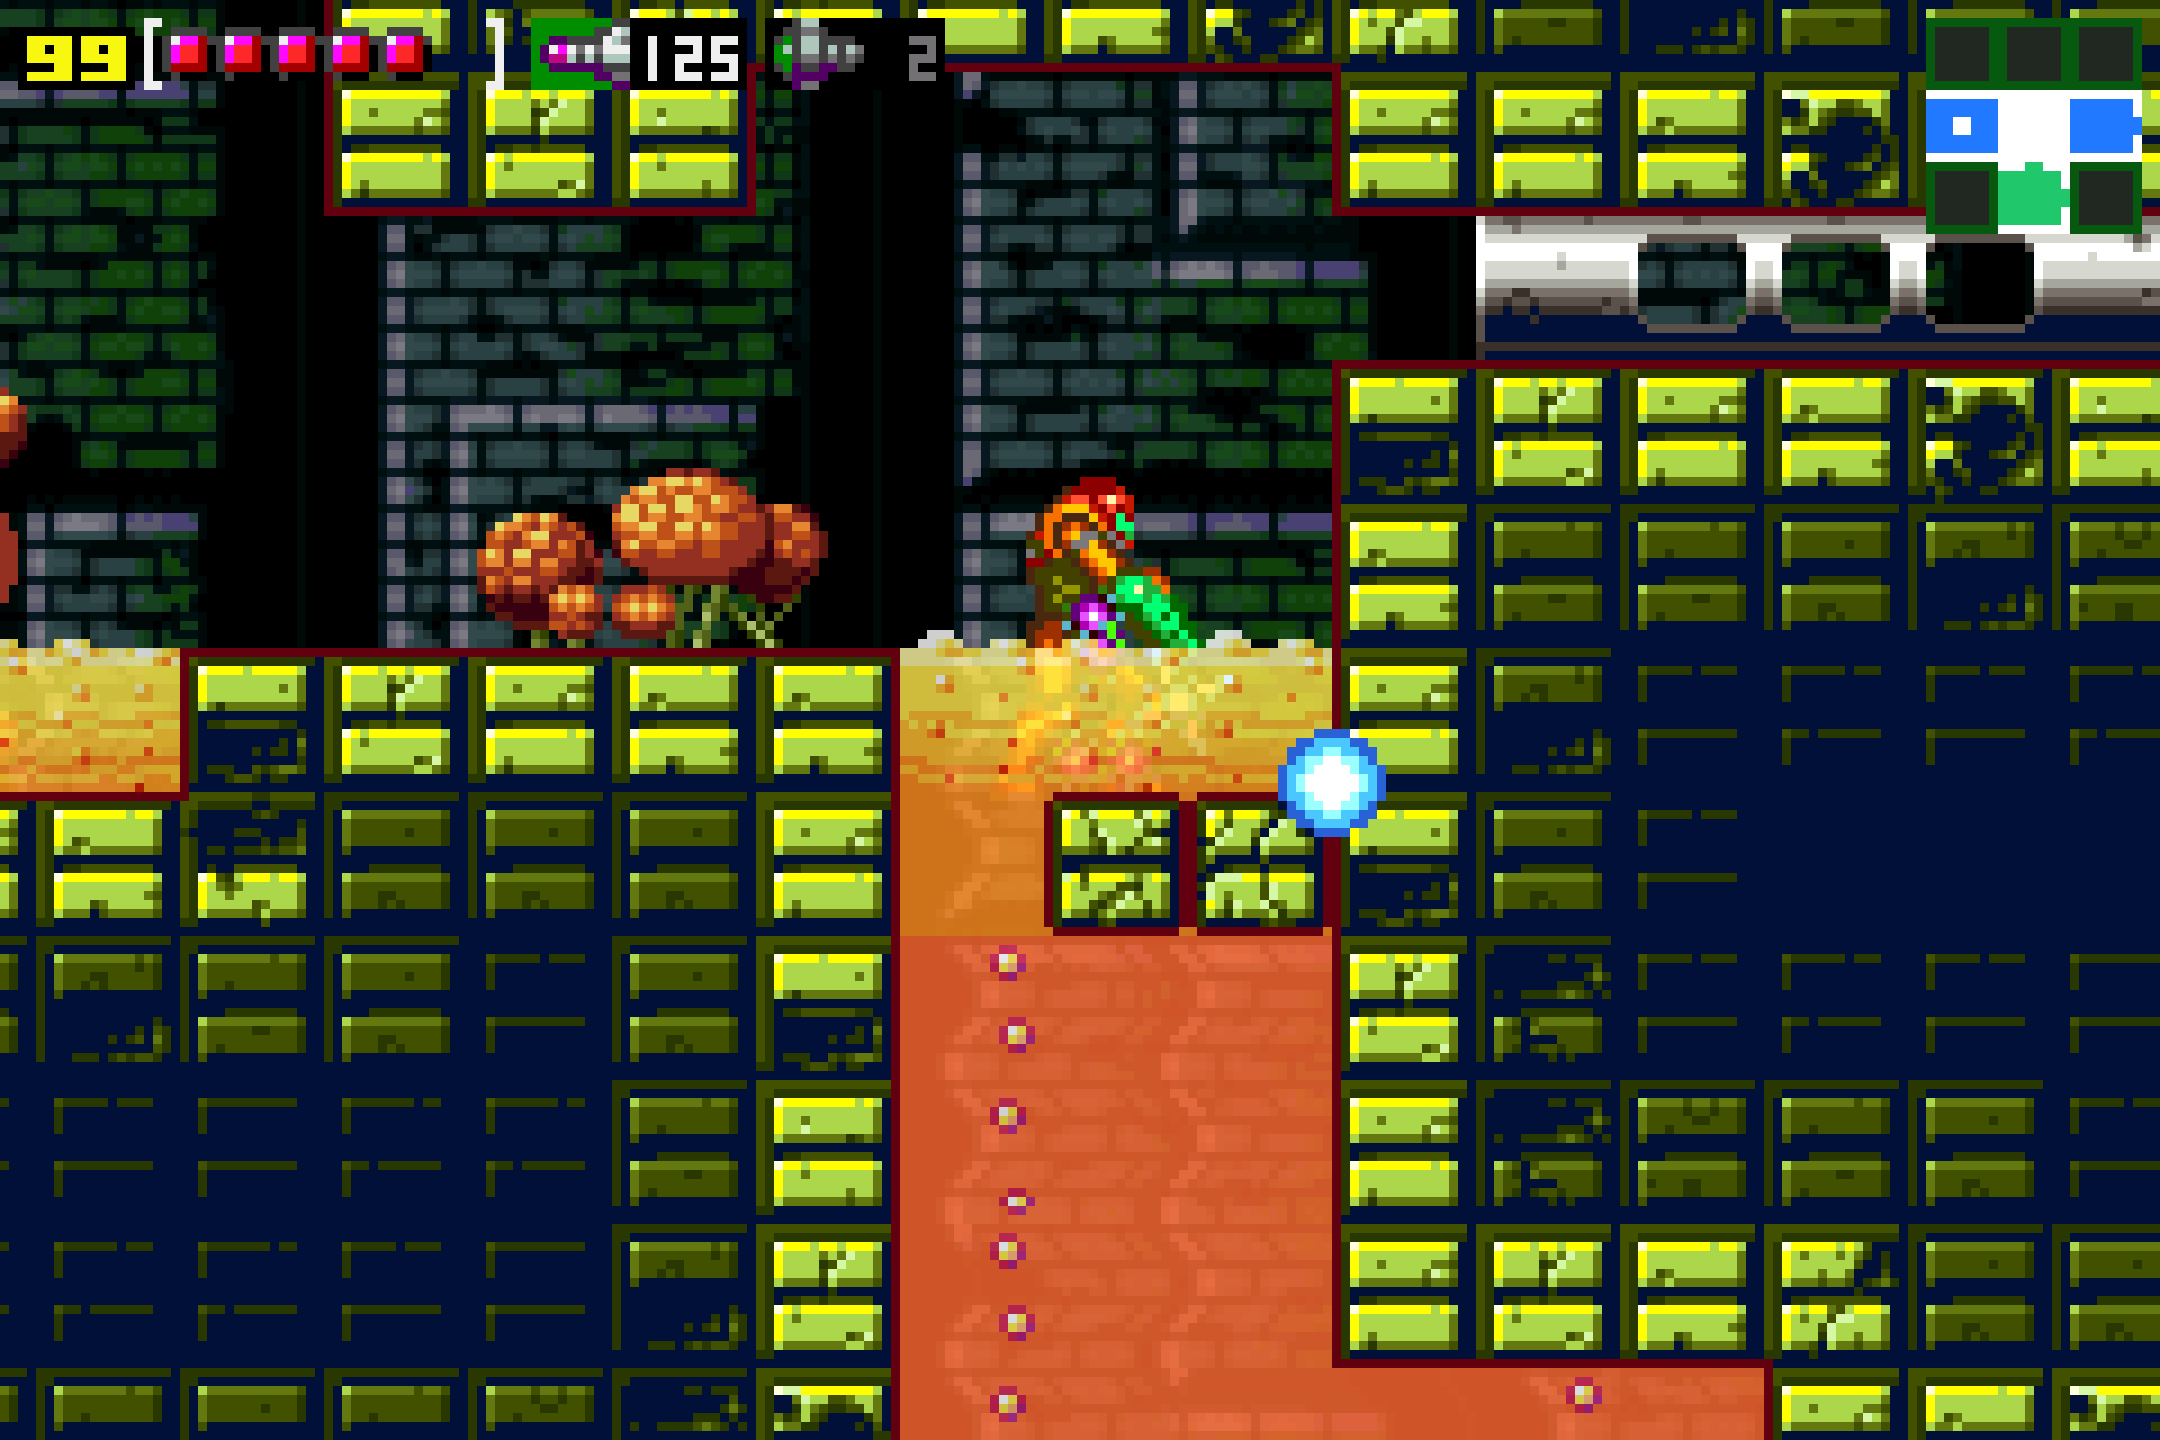
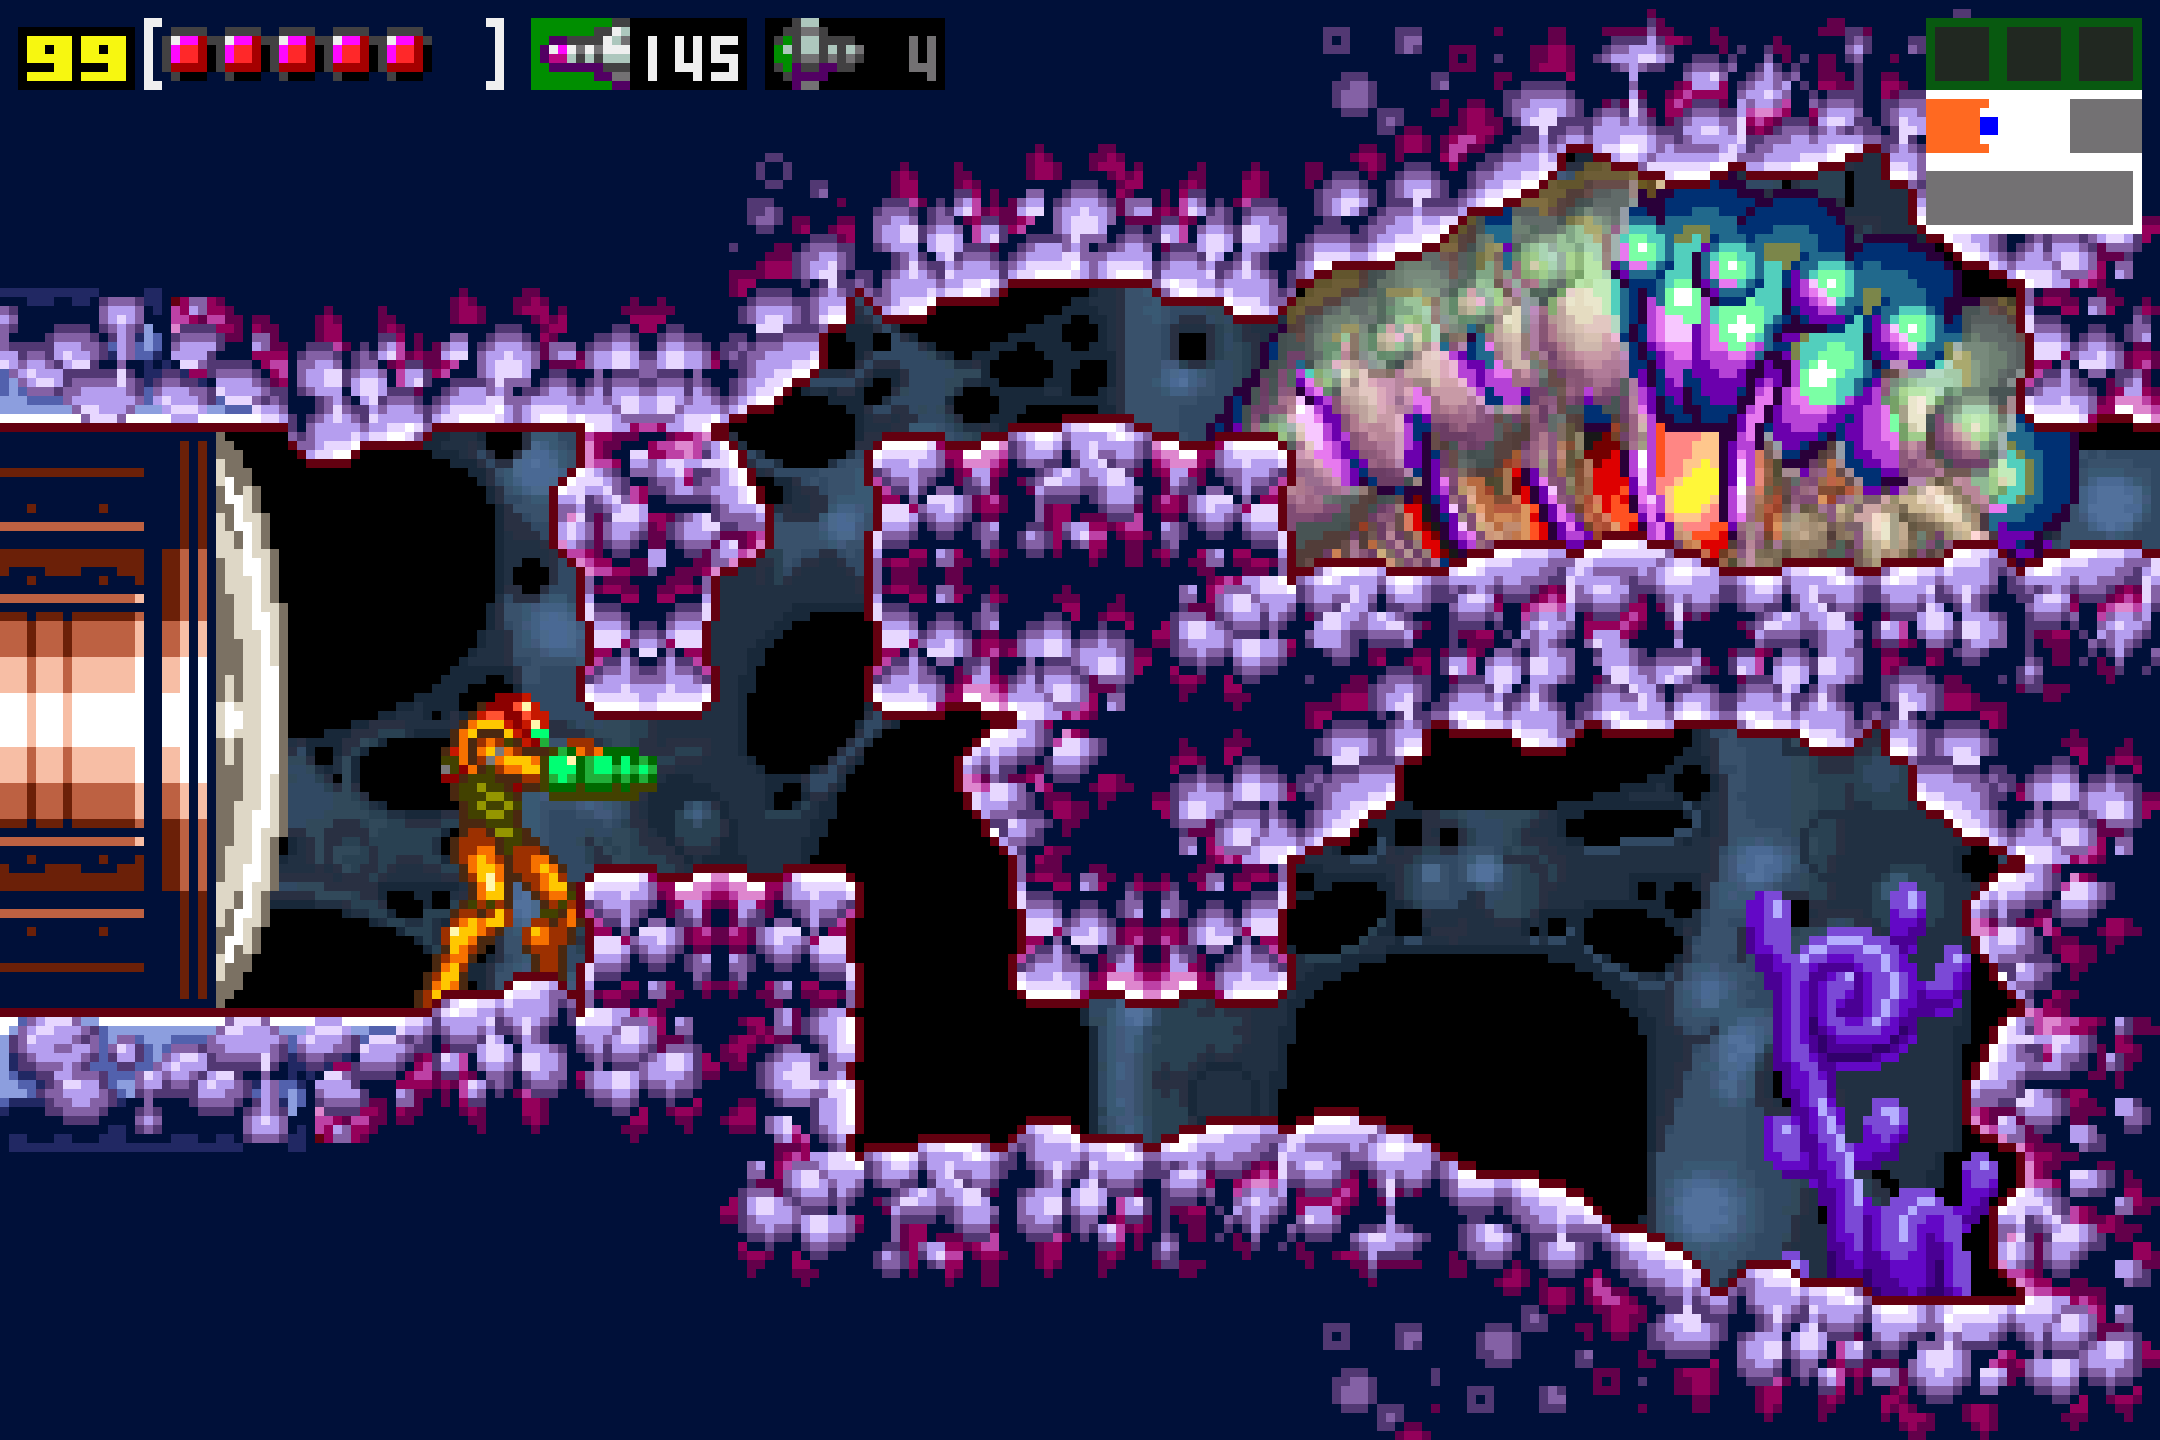
Once you’re ready, get back to the first vertical hallway and start climbing (I’d also use the Save Station while you’re there!). Press towards the top and take the door on the right. You’ll be in a long hallway now that anyone familiar with NEStroid will recognize. Press forward until you get to a bunch of Morph Ball tunnels stacked on top of each other. Take the tunnel on the very top and roll through, over the acid, and out of the tunnel. You’ll come face to face with a weird looking object, some kind of big ball wrapped in vines. This is called a Tangle Vine Fruit, and there’s a bunch of them around here blocking the way, which is annoying. You can’t destroy it, so instead, jump on the ledge above it and shoot the cracked wall, allowing you to roll through and into the next room.
Here we go! There’s a Save Station to the right of this room which you can use if you want, but just make sure to come back to this room after! This room doesn’t look like much, but once you destroy the Waver flying around, shoot the ceiling. You’ll see that there’s an opening for you to jump through, so do it! There will be another Waver flying around up above. Shoot it, and use it as a platform to get to the door on the upper left.
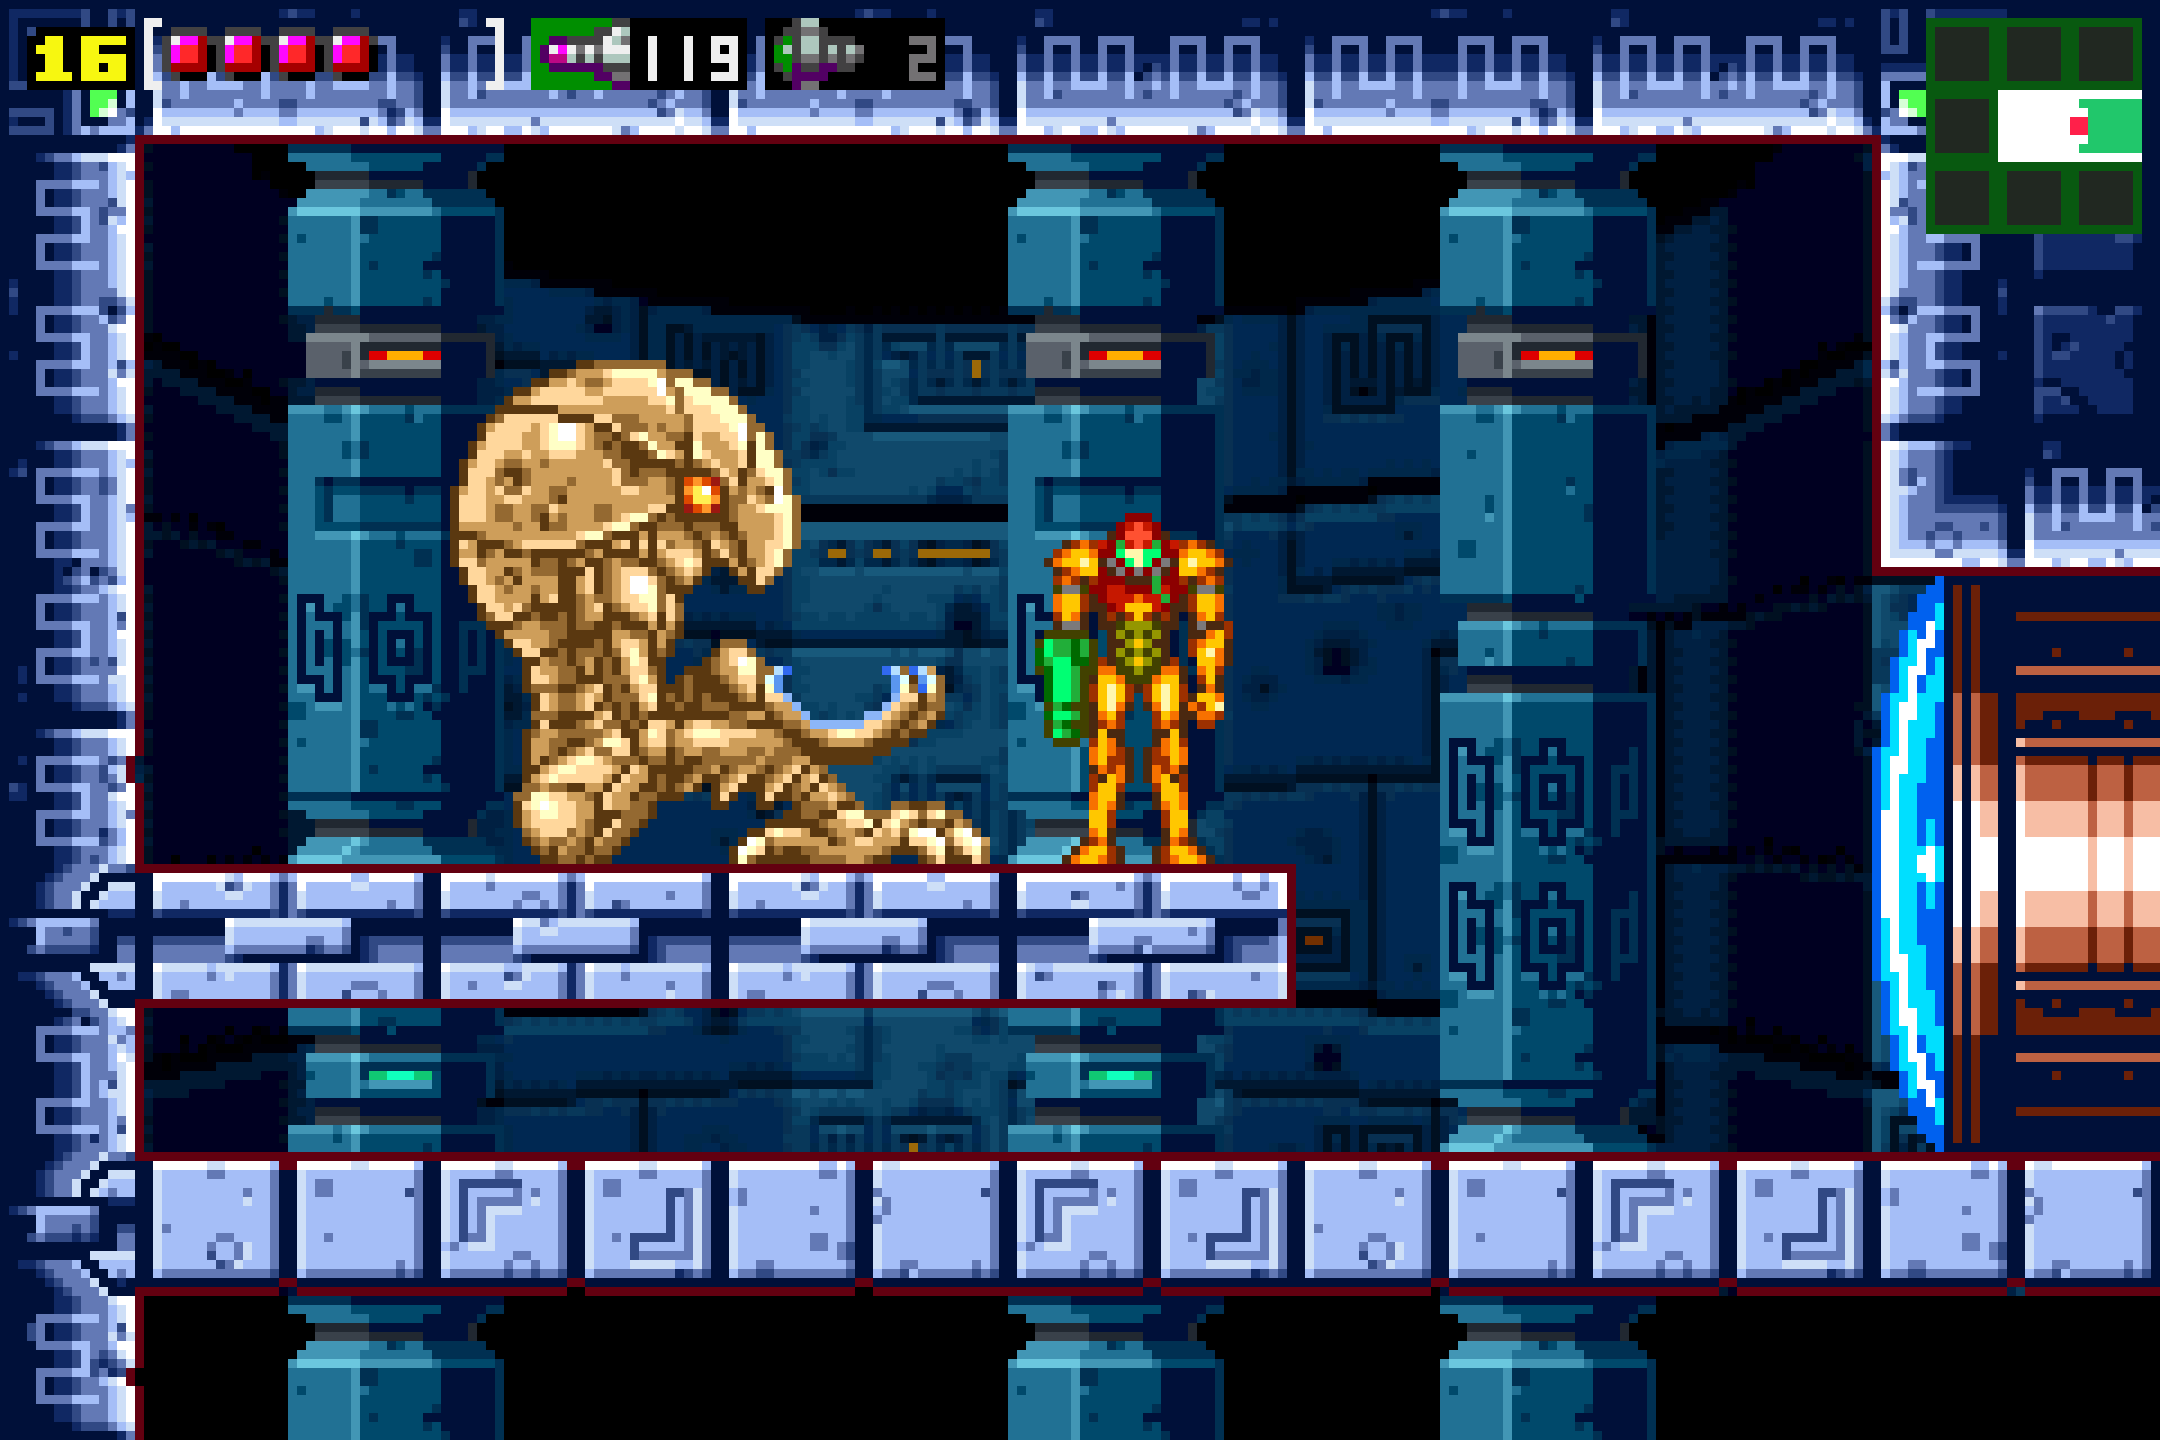
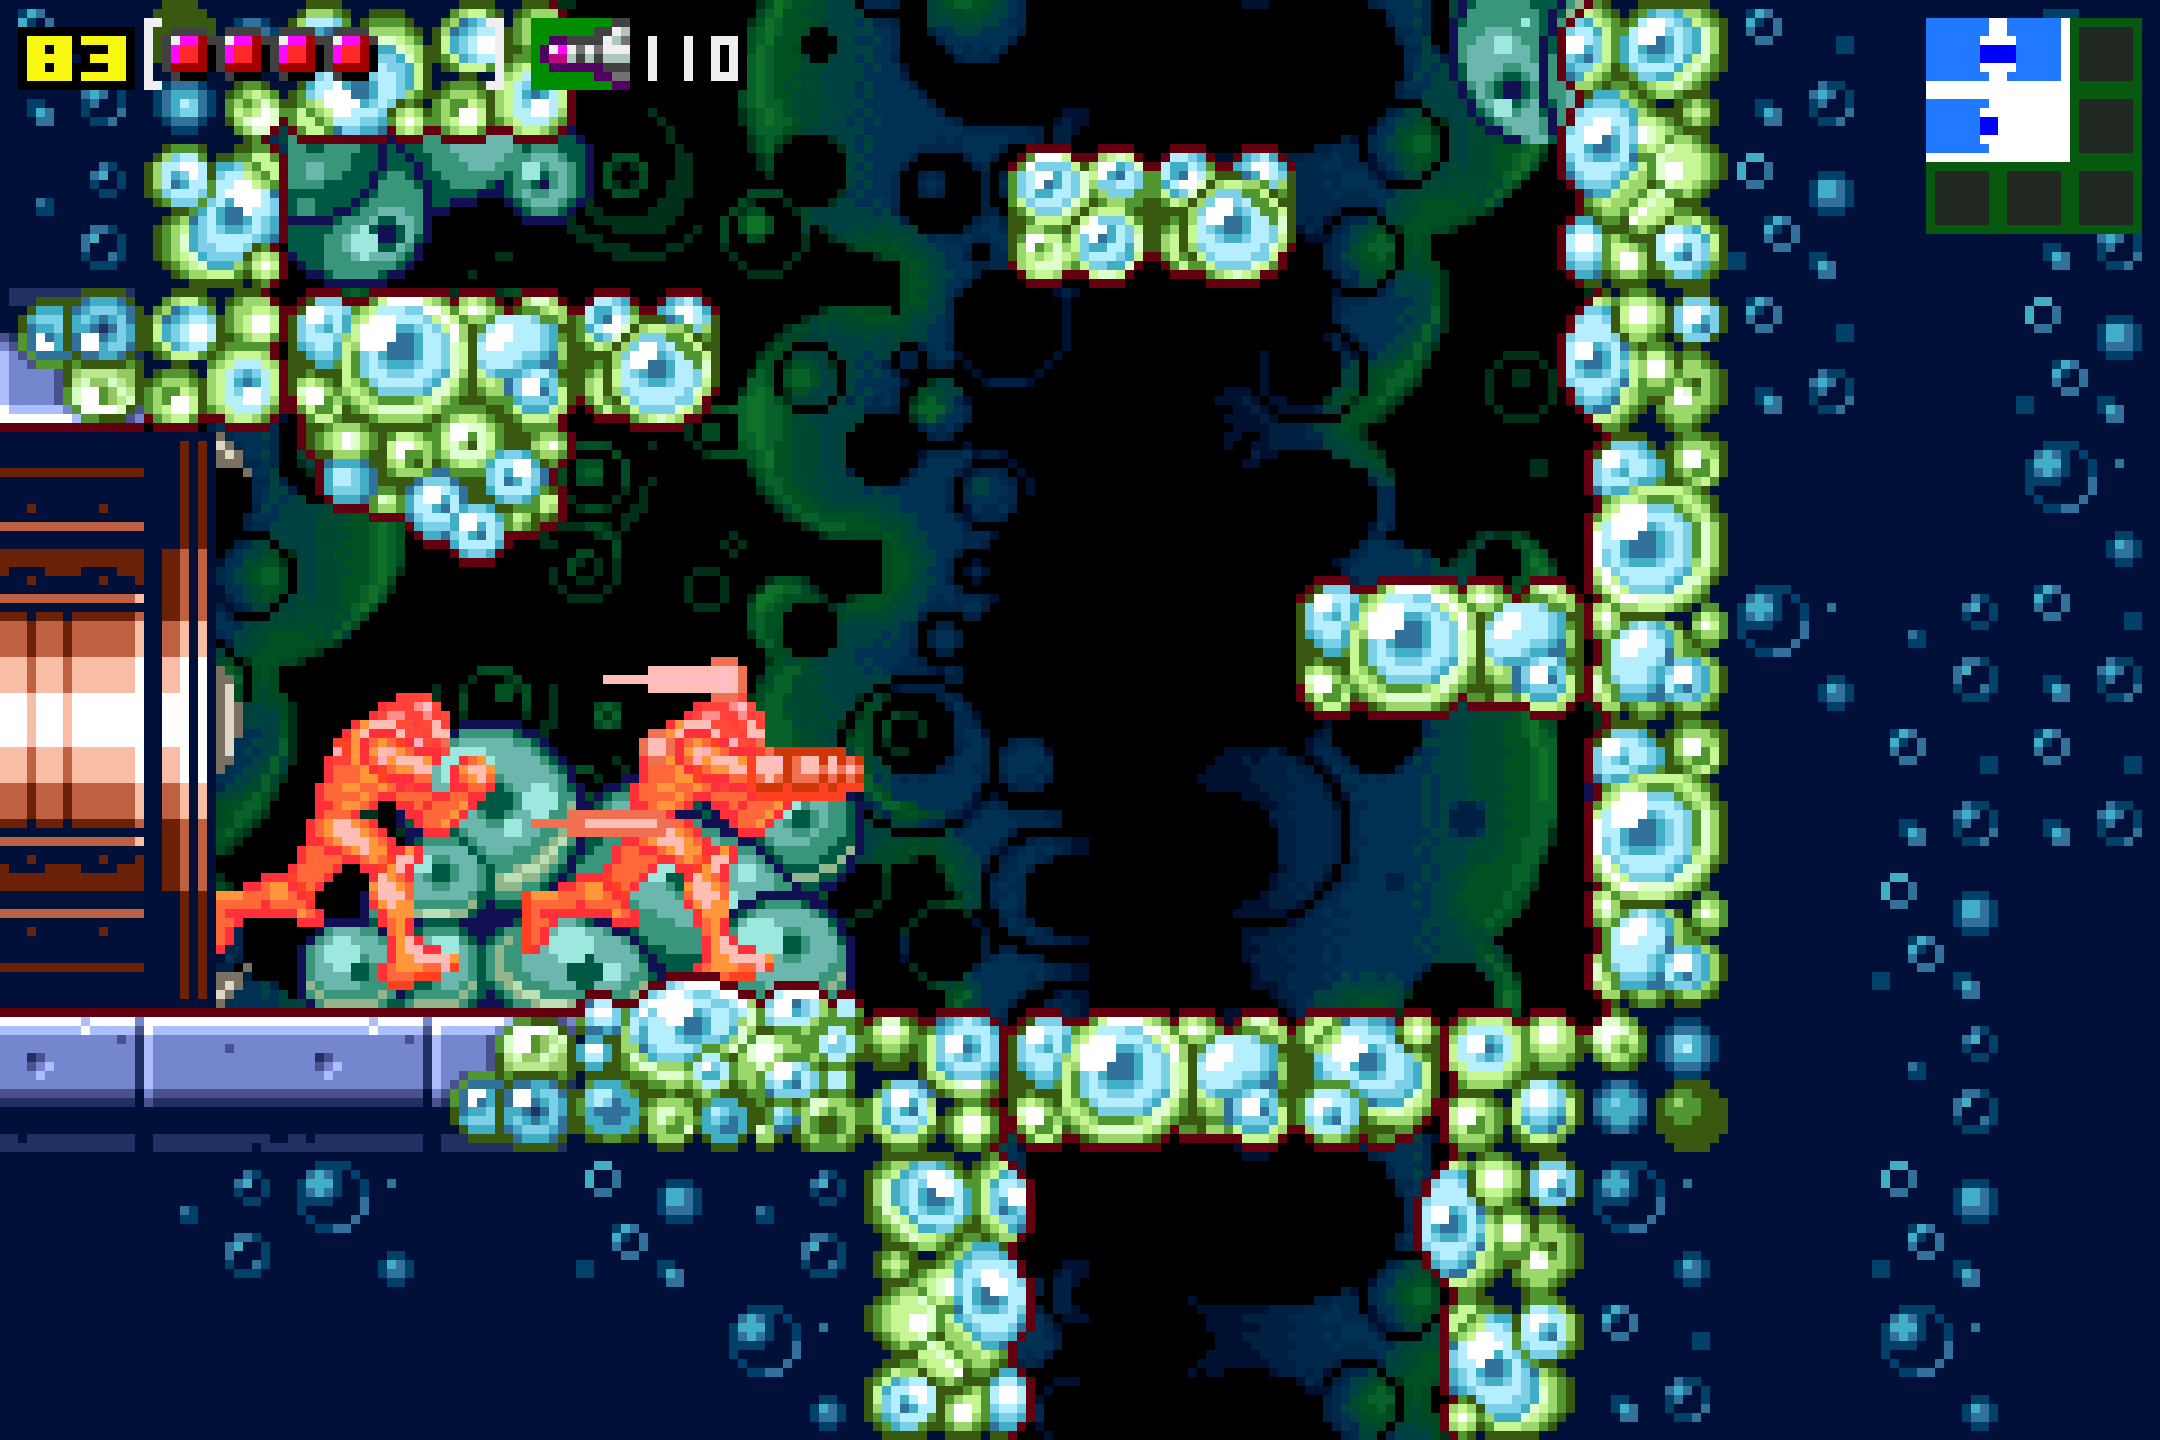
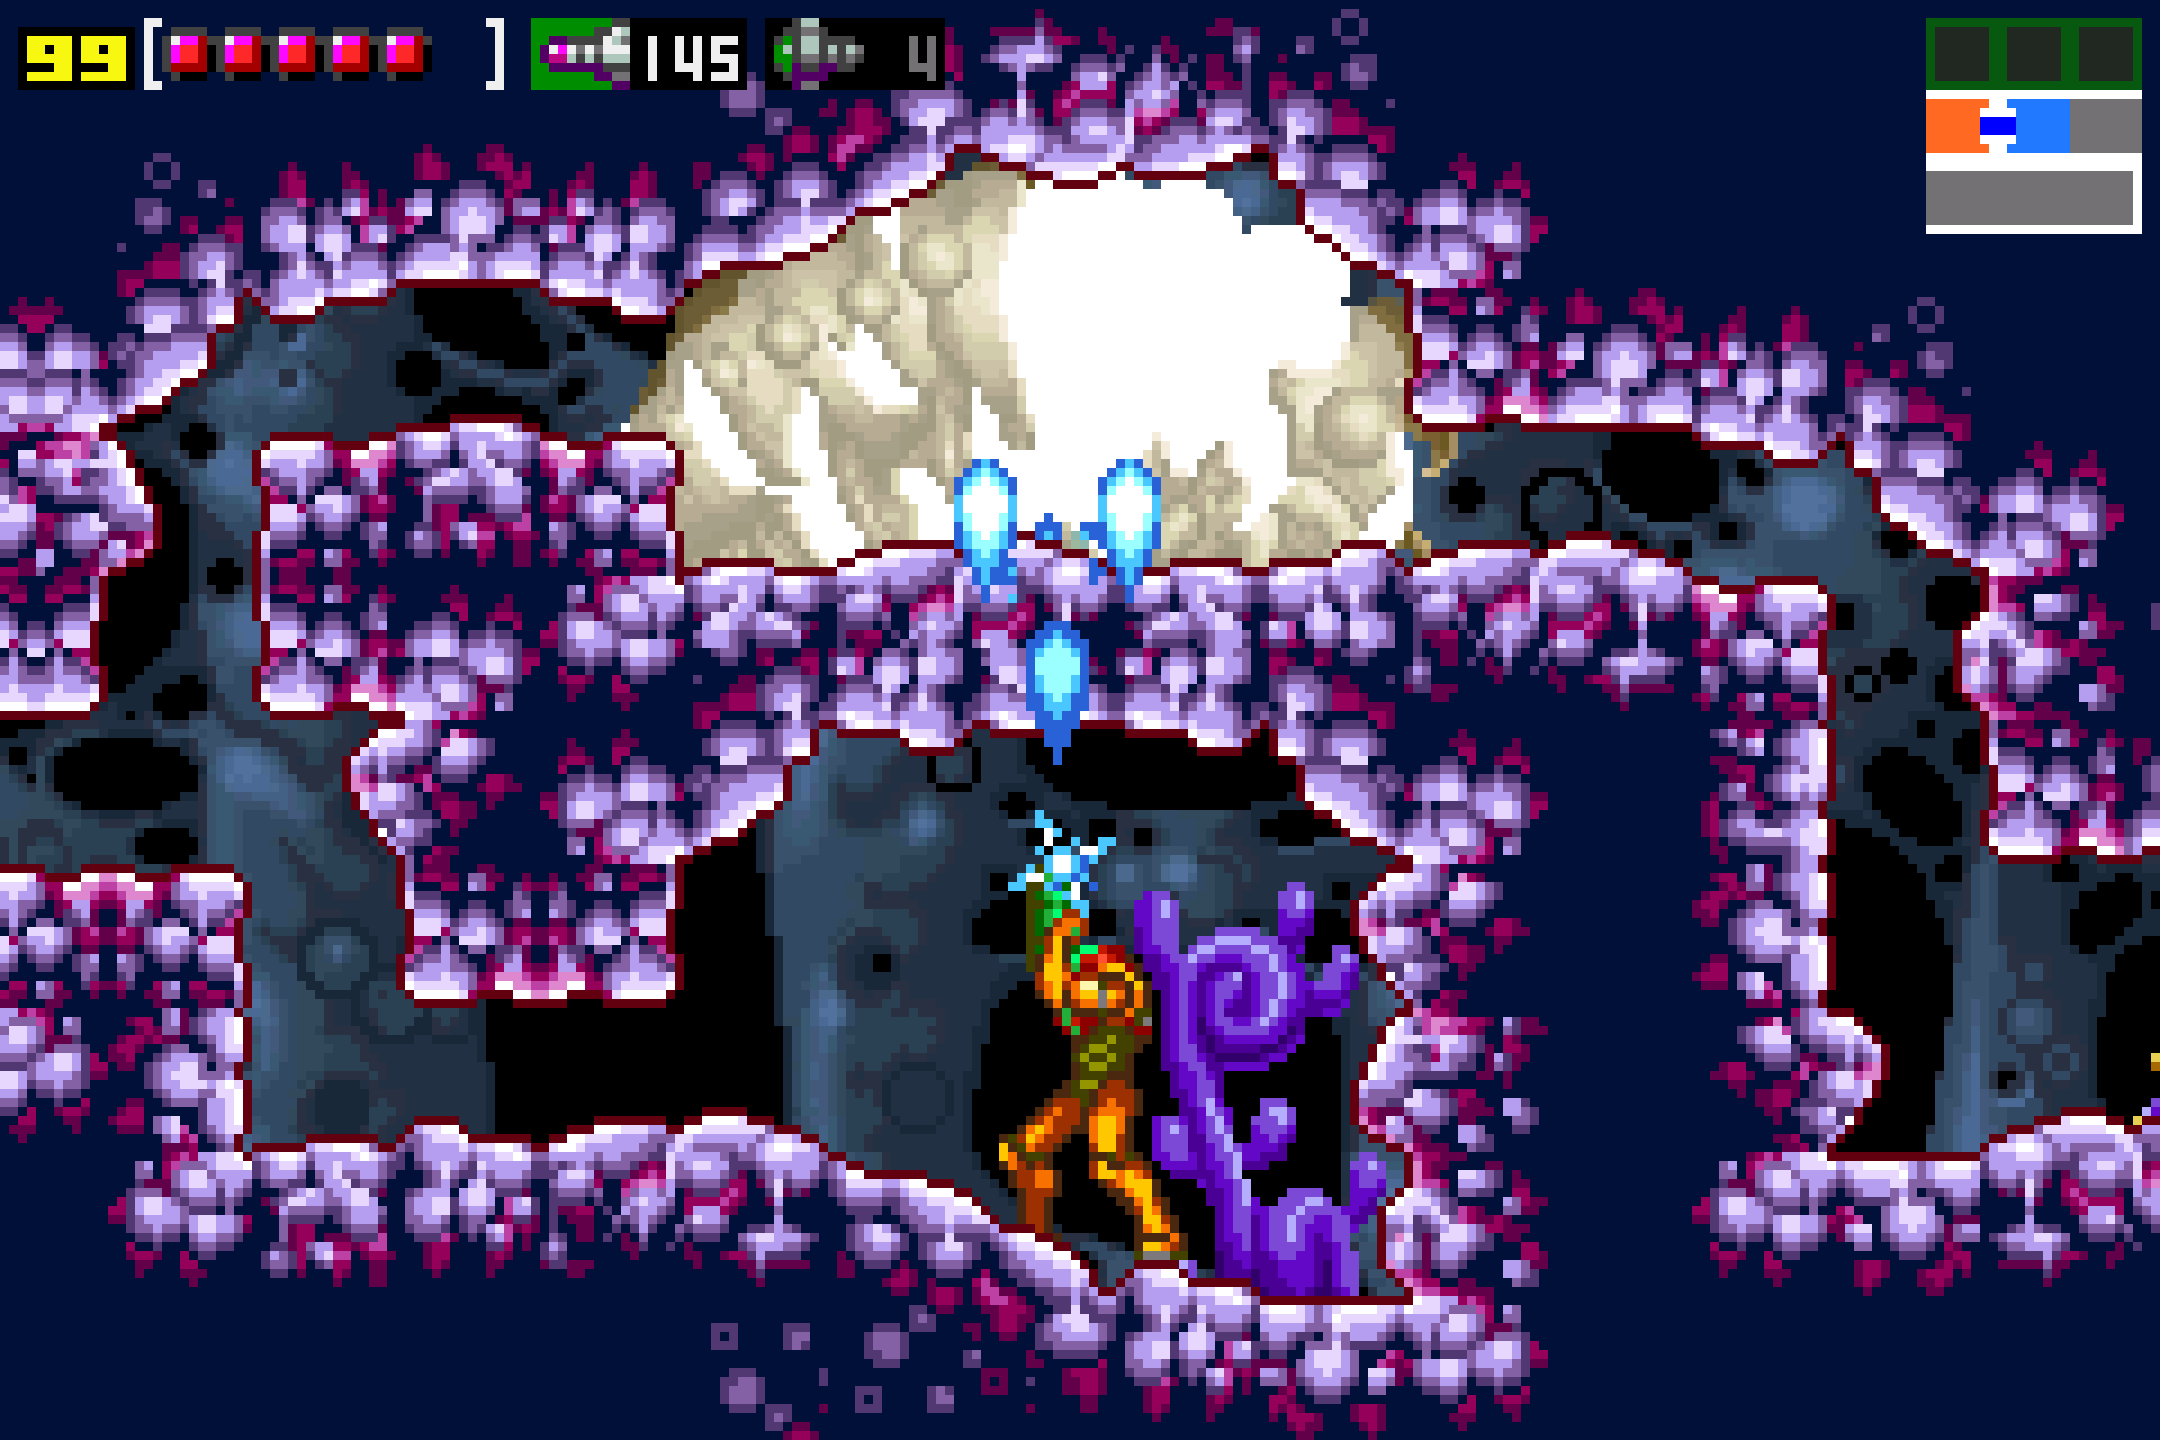
In this next room, there will be two Tangle Vine Fruits in the way, but, curious thing: there are a bunch of bugs which start to swarm the fruits, decaying and… eating it? Alrighty. Keep that bit of knowledge in the back of your mind for later: bugs eat fruits. Once the path is clear, push forwards! Use the Spring Ball to navigate over the platforms above the acid. Release another batch of bugs so they can eat the Tangle Vine Fruit, and then head through the red blast door. Shoot the Chozo Statue and, at long last, acquire the VARIA SUIT.
The Wave Beam
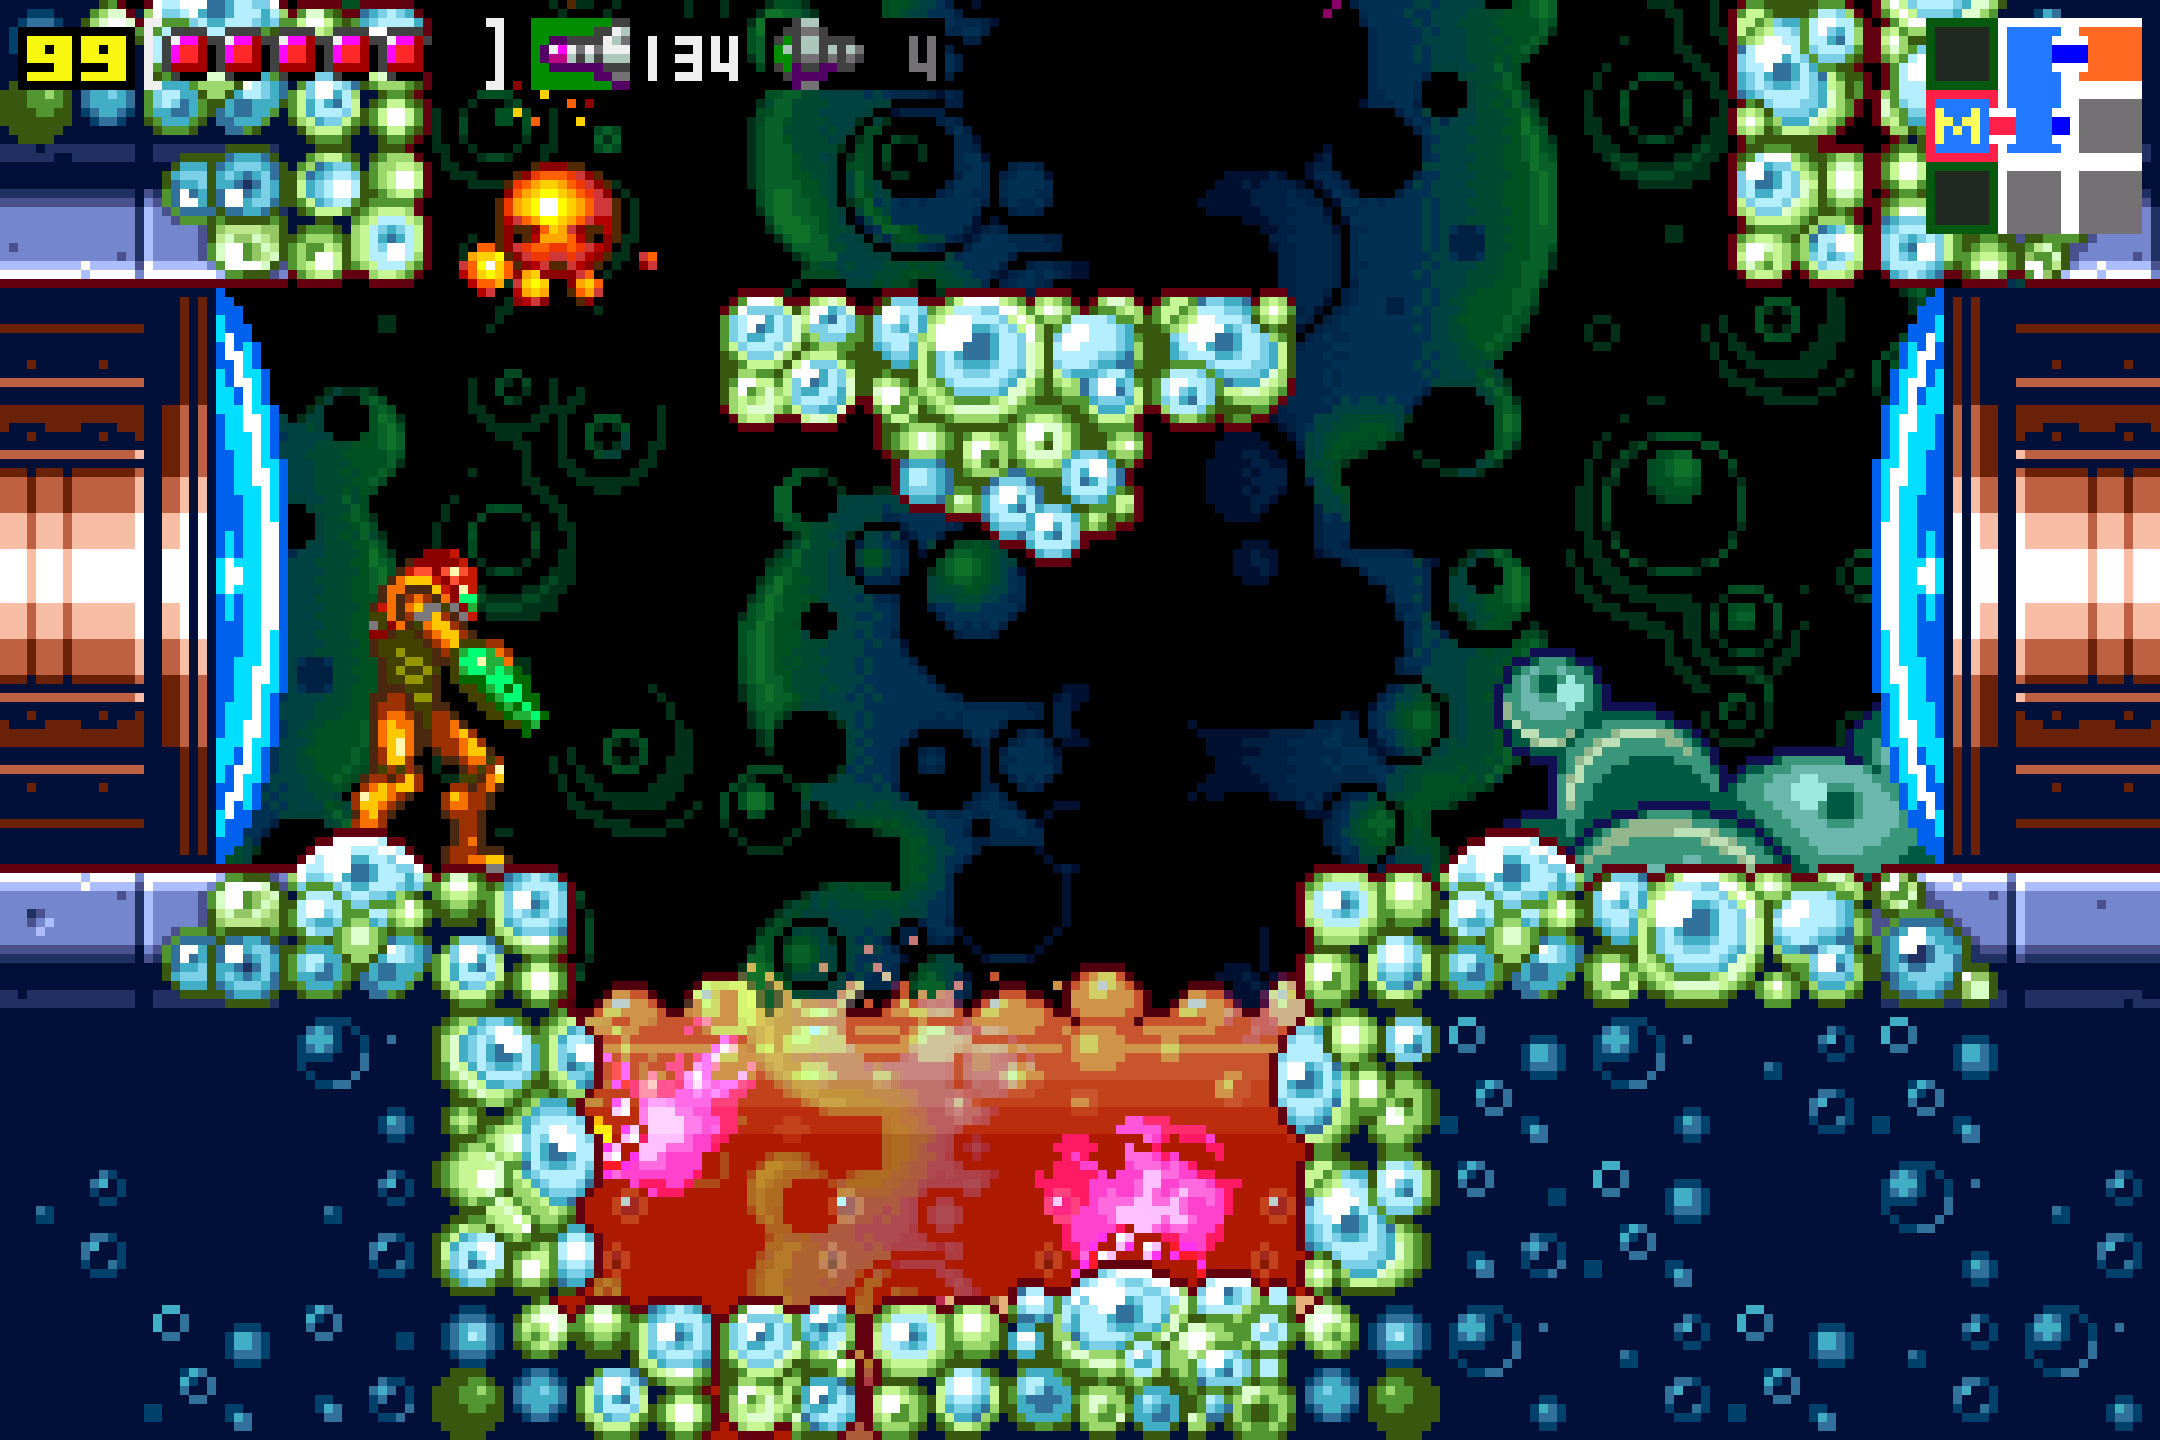
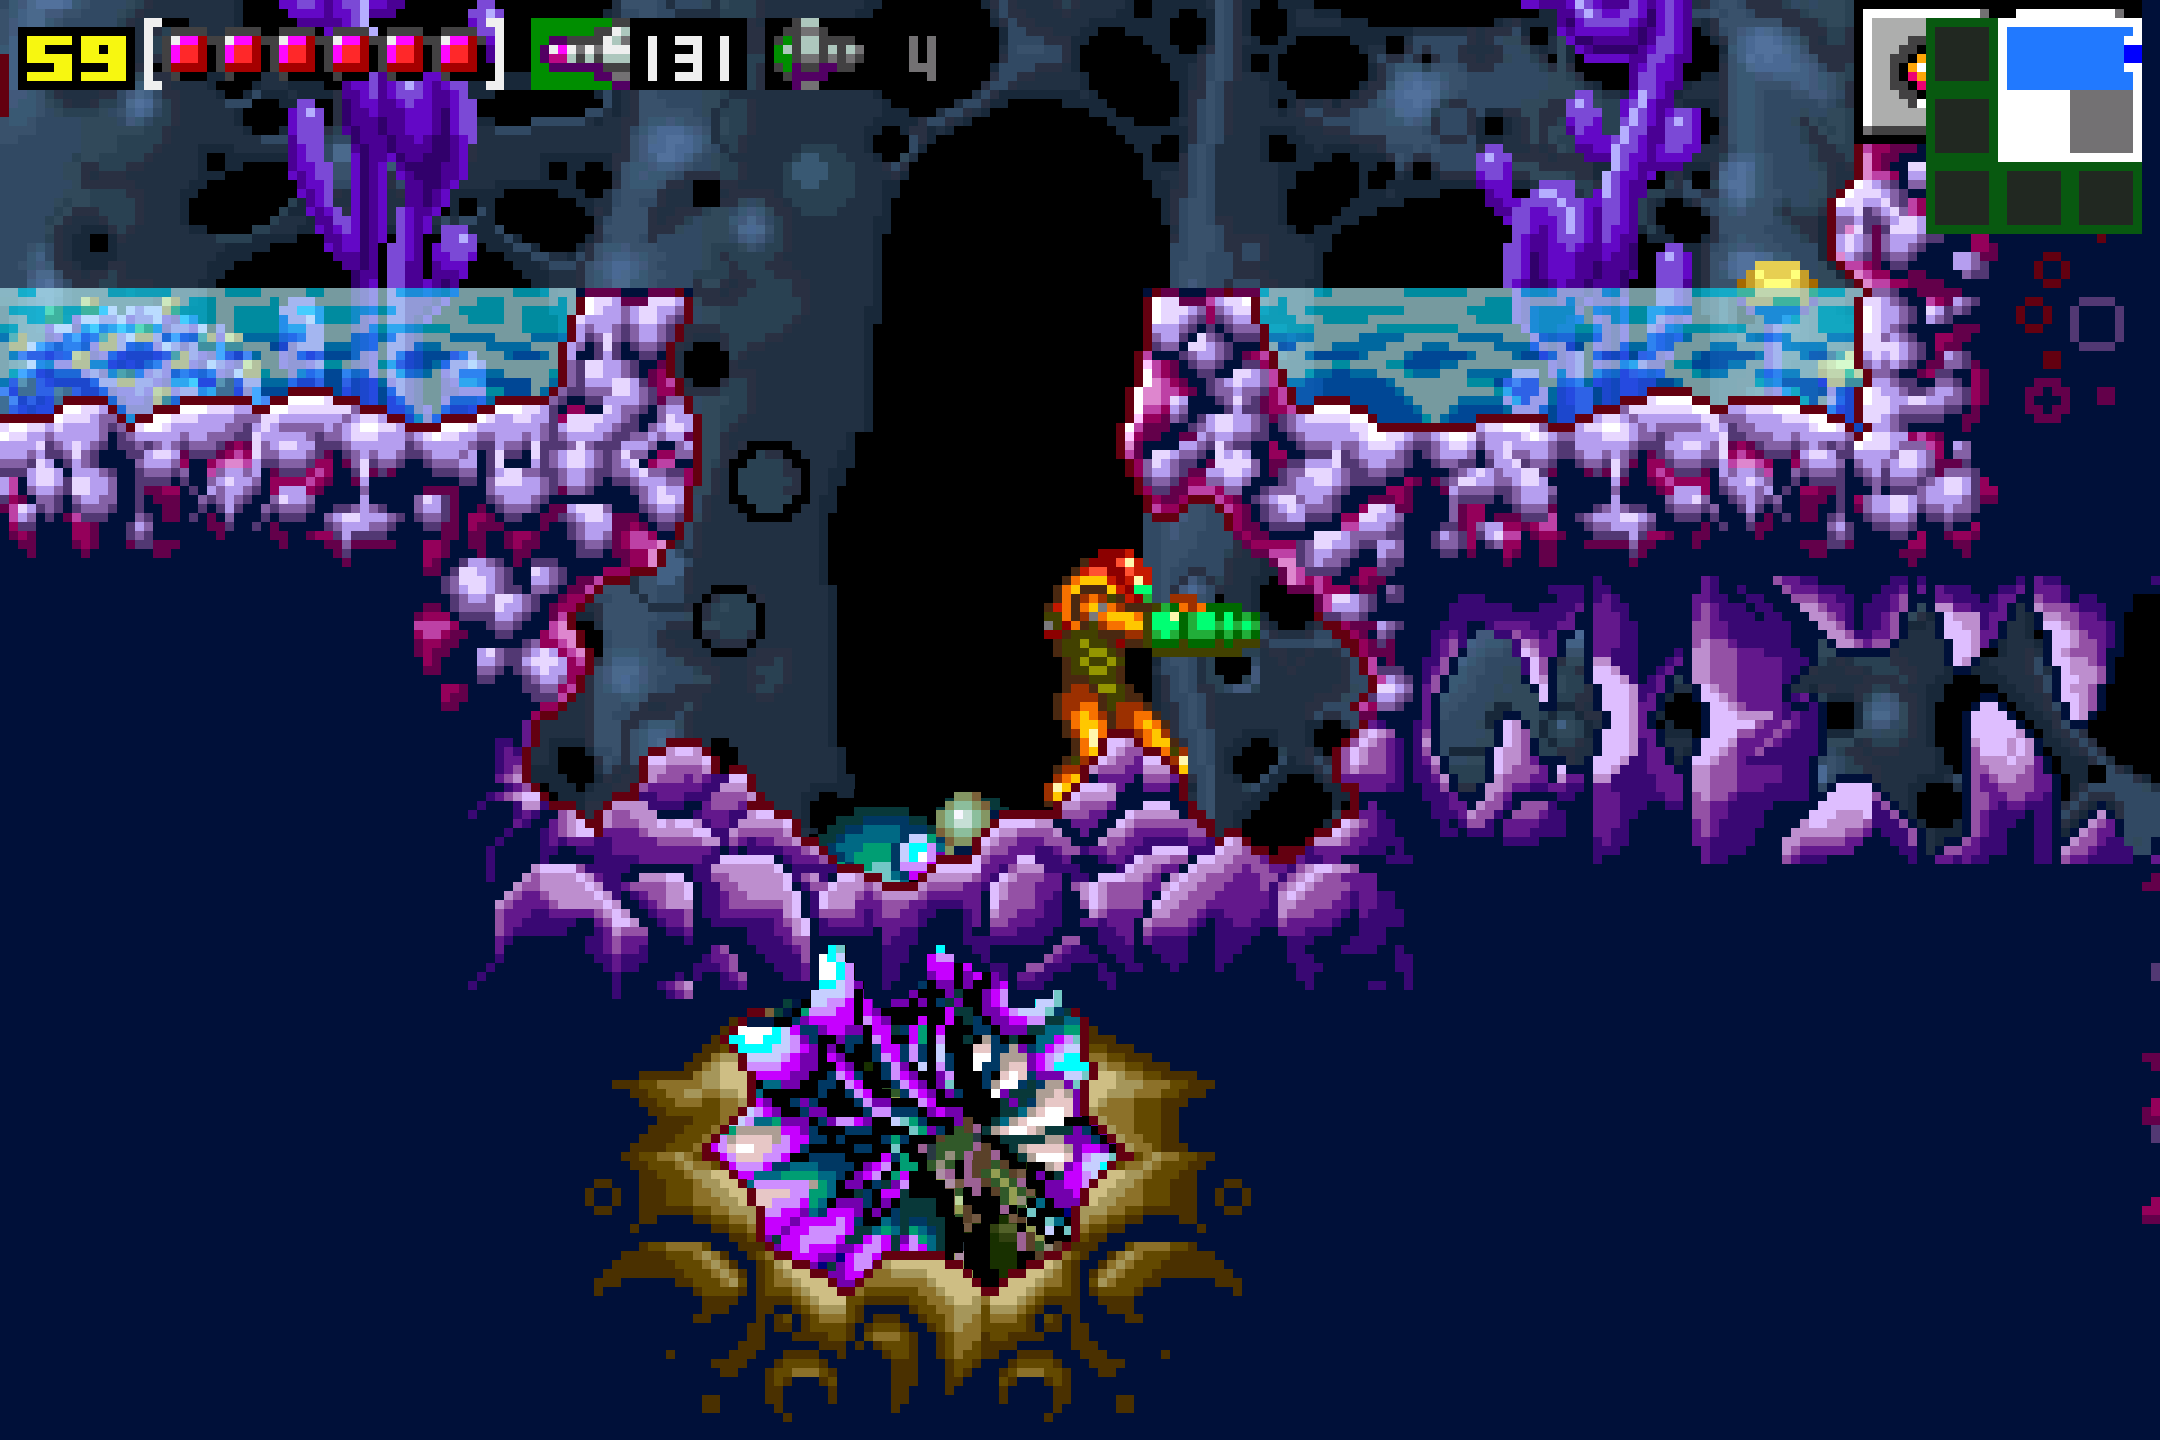
Wondrous! Equipped with our new suit, extreme heat and acid are no worries now! Infact, we’re going to put this new suit to the test right away! Head back into the room with acid on the bottom and drop down. Bomb the centre and the ground will give way, allowing you to drop down slightly. Crouch and shoot the wall to your left and a small tunnel will open up. Roll over and grab ENERGY TANK #5! Roll back out and exit the room to the right. Drop down and head into the Save Station. Continue pushing ahead and you’ll run right into MISSILE EXPANSION #25! Good news – this is the last expansion in Brinstar! Other than general routing, we’re done here! Give yourself a pat on the back!
You’ll see a bunch of bugs again on the far right side of the room. Let them swarm all over you, and start moving! You’re going to “carry” them into the acid. Bomb the floor so you can drop down and then roll over and let the bugs eat the Tangle Vine Fruit (just run into the fruit and the bugs will transfer from you to the fruit). Roll over, step inside the Chozo Statue, let it do its thing, and then head down into Norfair.
Once in Norfair, make your way to the long vertical hallway on the right and head up. There was a door that we’ve skipped past so far on the left side that’s directly in the middle of blast doors above and below it – time to check out what’s inside! Carefully jump across the platforms, eliminating any enemies in your way, and you’ll see MISSILE EXPANSION #26 sitting there for the taking! Once you have that, exit the room and then use your Speed Boost to descend lower down the vertical hallway; you’ll want to head to the Chozo Statue that housed the Hi-Jump Boots earlier. Under the statue is a small tunnel that was too hot for us before, but with the new air conditioned Varia Suit, poses no threat to us at all! Roll through the tunnel and then make your way through the next room, taking the blast door on the left.
This next room is kinda fun. Shoot all the enemies and then shoot and bomb all the blocks on the floor. Once you’ve got a smooth, clear path, backup and start running up the hill. Your Speed Booster will kick in, and when you get to the top of the hill, take a huge jump and you’ll go crashing through the Speed Boost blocks! Woo! Exit left and continue on. Take out the Baristute in the next room and keep pressing left until you reach the Save Station. Do your left and exit left.
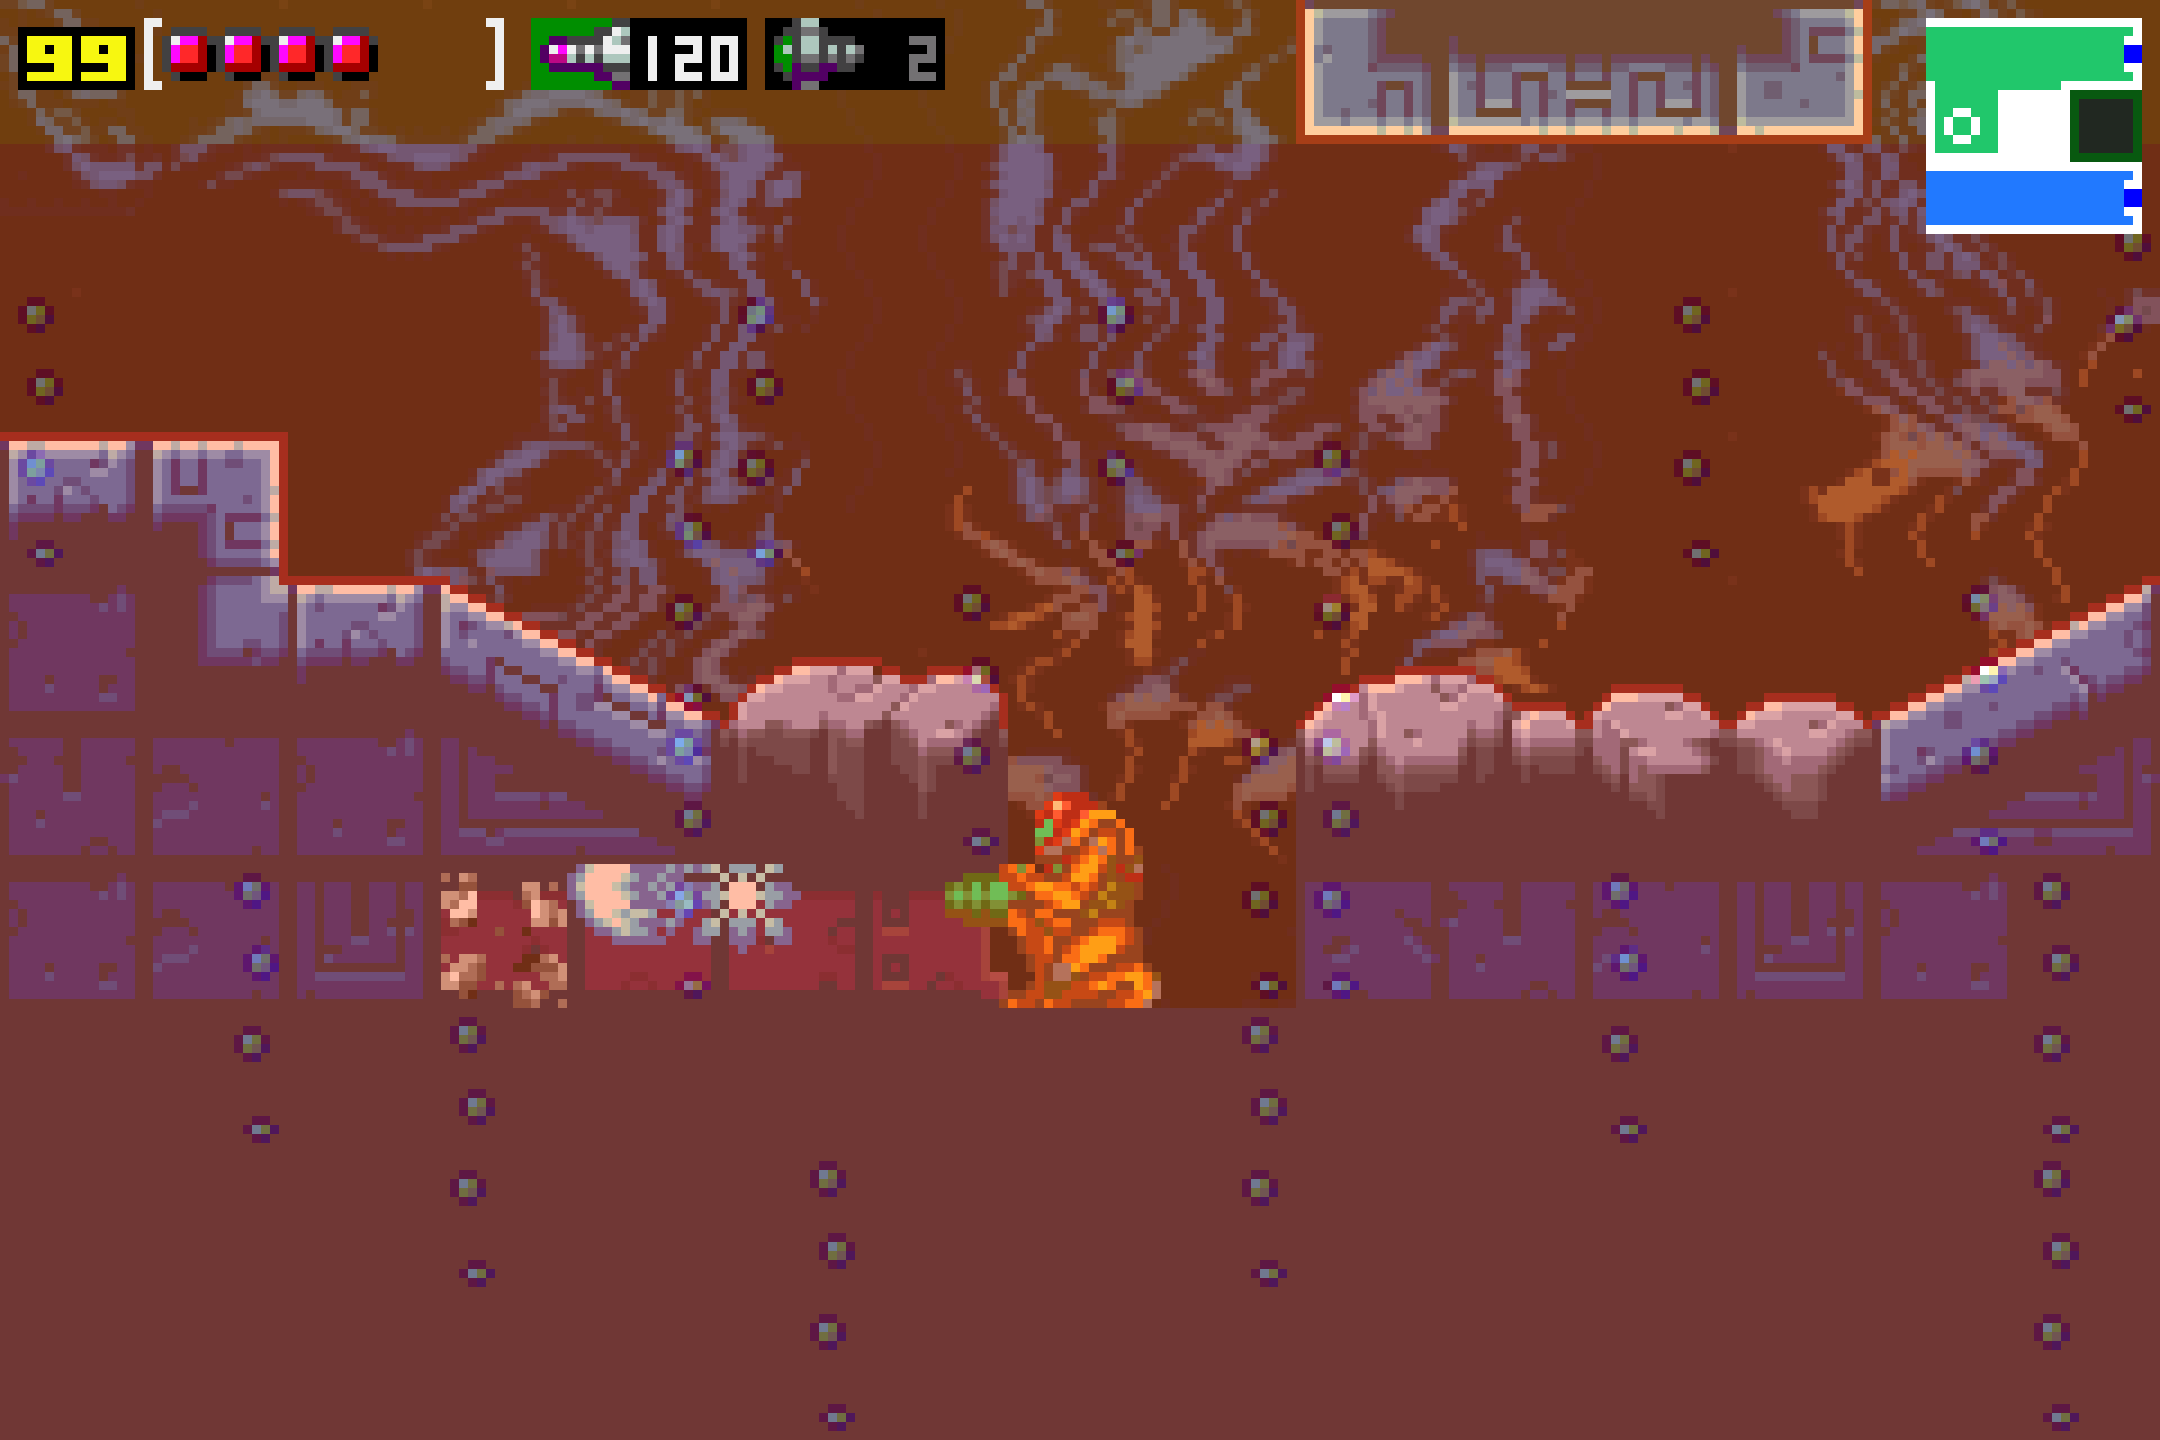
There’s actually a few directions that we can go since we performed a sequence break earlier and grabbed Super Missiles, but I’m going to guide you on a path similar to what the game intended for you to do. If you were to open any green blast doors, well, I couldn’t stop you, could I?! From the Save Station, keep pressing left, going all the way through a heated room with small ledges, flying enemies you’ll want to freeze, etc. etc. You should be pretty good at this by now, so make your way through until you reach the far left room; drop down and enter the red blast door on your left. Download Map data for Norfair and then exit. In a great homage to one of NEStroid’s infamous “invisible lava” sections, you’ll see that there’s some creatures crawling around in a pit of what is supposedly hot lava. Putting two and two together, jump in the not-really-real lava pit and drop down. After you roll through, descend and take the door on the right. Be aware – the lava pool by this door is DEFINITELY real, so don’t go diving in.
Make your way through this next giant room, careful jumping across the pillars and exiting right. Keep pressing that way, making your way through a room with a bunch of vines and tangled enemies, through a room with lava underneath, and finally, to the Save Station. Save your progress, and then exit to the left, going back into the room you just came from. Lay some bombs on the left side of the room and the floor will give away. Drop down, and wouldn’t you know it? More fake lava! Get down and then take the door on the left. In this next room, you’ll have to take out another Baristute, but that should be a cakewalk for you by now. Once that big nasty bug is dealt with, take the door on the left. A Chozo Statue will be waiting for you; shoot it and claim the WAVE BEAM! Return to the Save Station once you’re done.
Kiru Giru
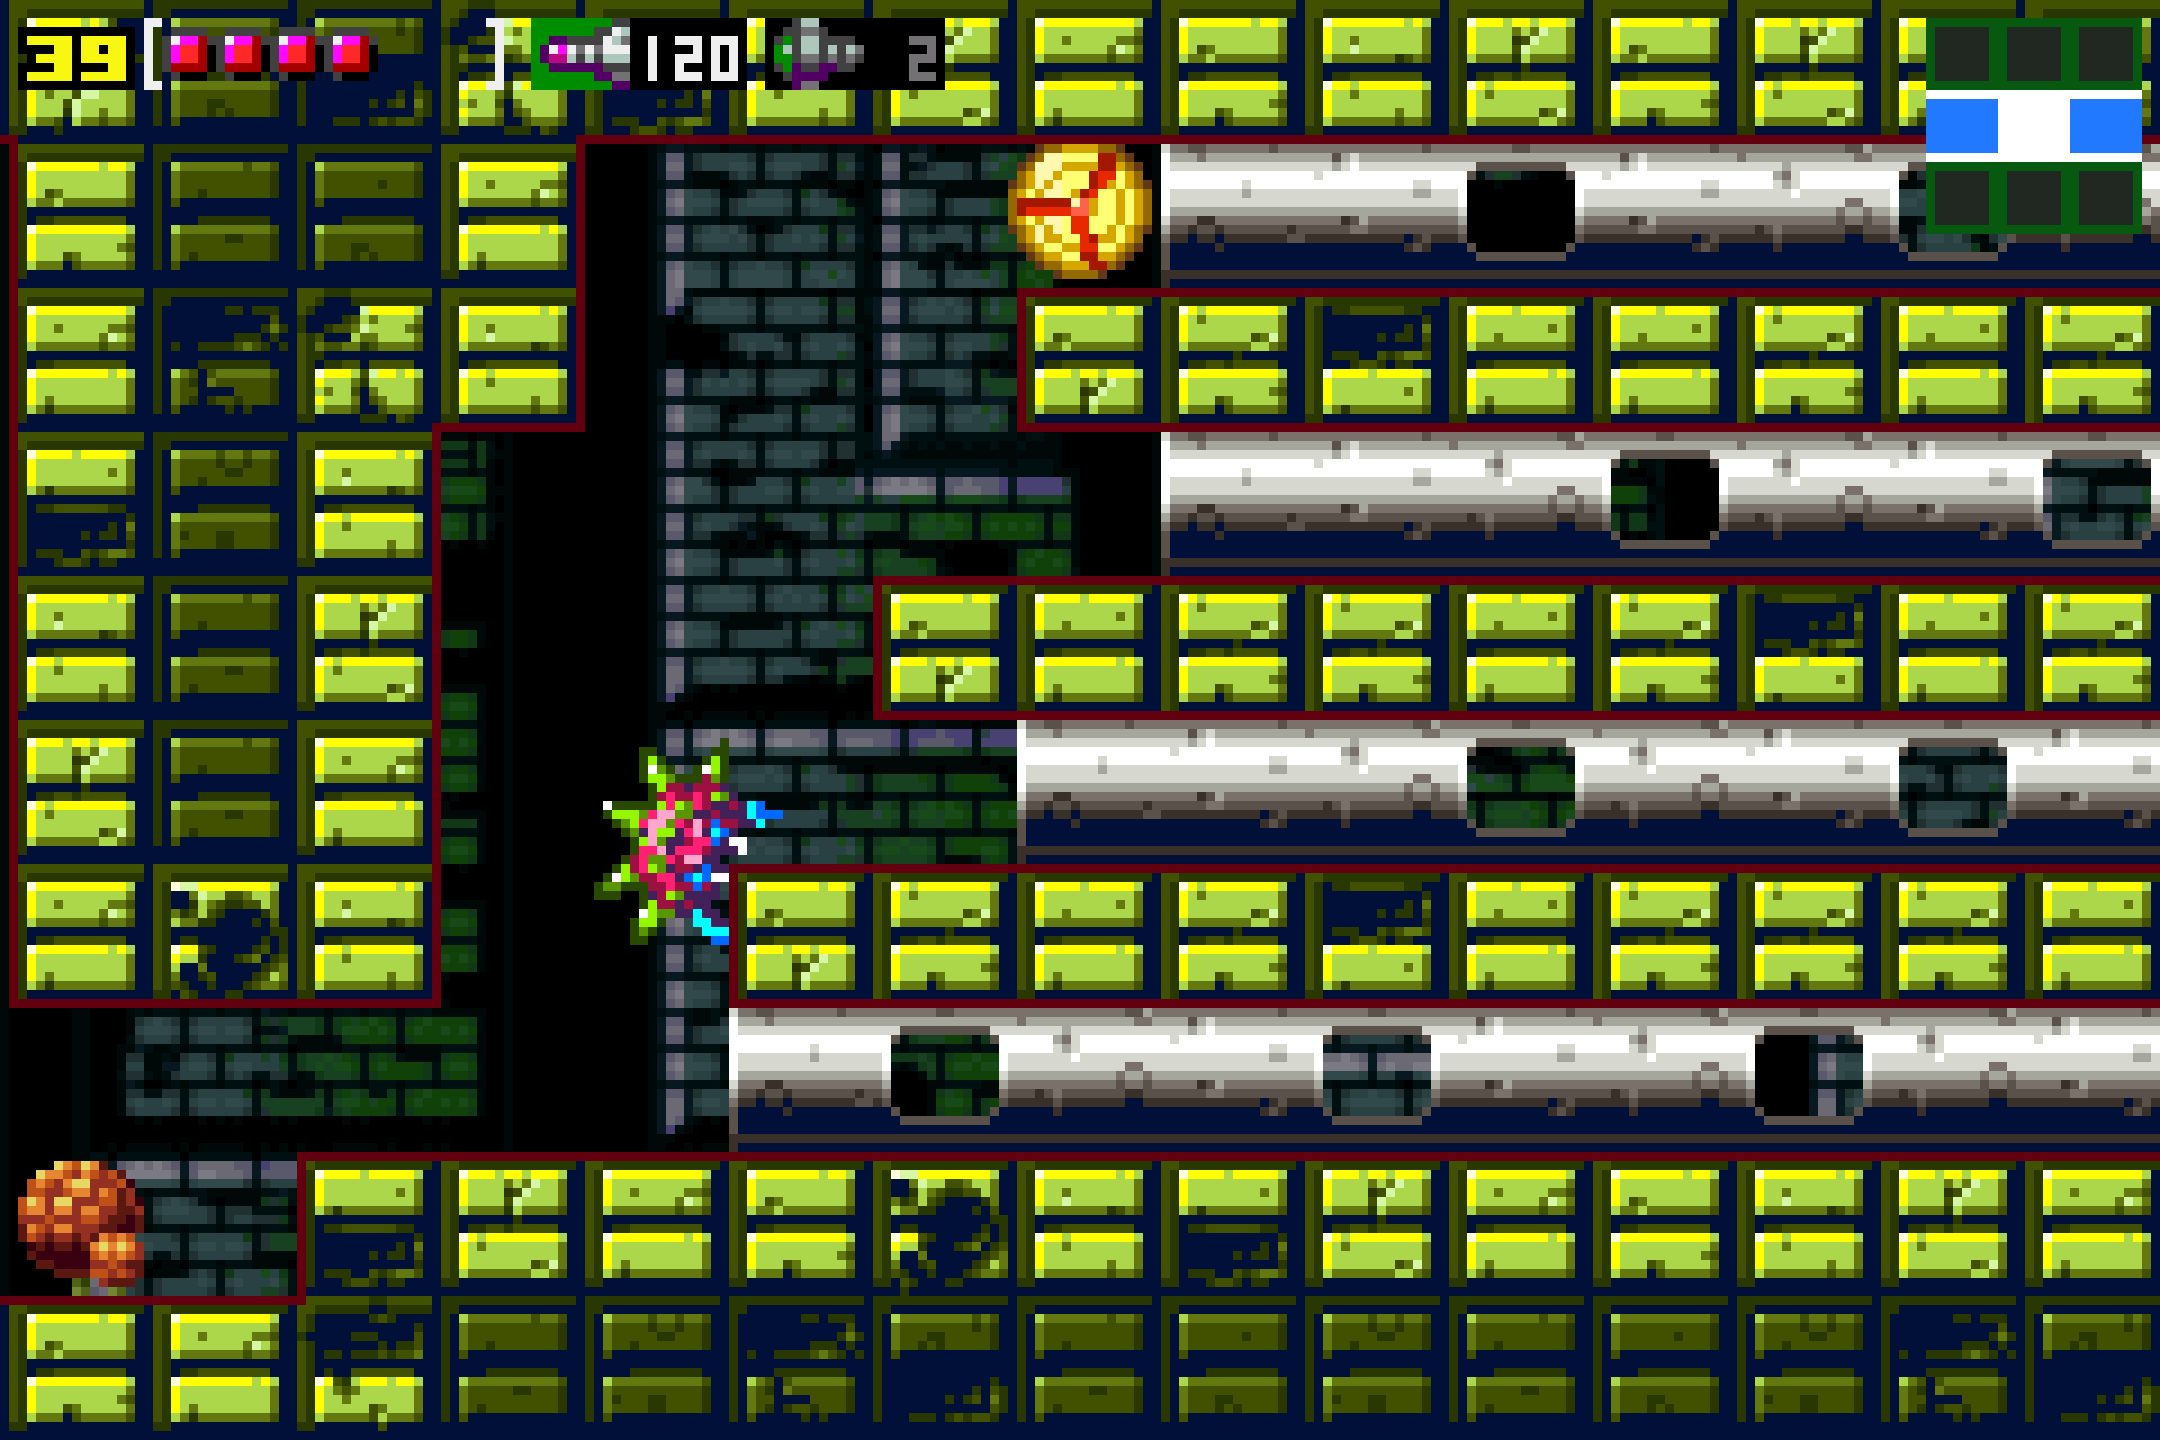
Head through the right-side door of the Save Station and get ready. Run through the next room with your Speed Booster and take the right-side door. You’ll now be in a hallway with two larvae-like creatures known as Kiru Giru’s. These giant slugs need to be eradicated, and as you can probably surmise by their glowing belly orbs, the underside of their belly is where we want to shoot. Roll through the tunnel and fire upwards. Your Wave Beam will pass through solid objects, so this Kiru Giru is a sitting suck. Once the first one is destroyed, pass through and press forward until you come face-to face with the second.
Allow it to chase you back to the leftside of this small tunnel; once it’s settled, rapidly shoot its face with your beams. The Giru will back up a bit, and there’s your queue to strike. You don’t need it to back up too much, but enough that you can get into Morph Ball form and lay some bombs. What we want to do is lay the bomb as the Kiru is charging forward so that the bomb explodes on its belly. To do this, just look for its tell: when the Kiru Giru is about to charge at you, it will raise its little slug arms and screech. That’s your queue to quickly lay some bombs and roll back. In short: shoot, roll, wait for signal, lay bombs, roll back. Two or three sequences like this should be enough to destroy the slug. Once it’s destroyed, shoot diagonally up at the wall and you’ll see ENERGY TANK #6 hiding in the ceiling! Shoot it and grab it!
Head to the left again and run through the door, using your Speed Boost. Once the floor breaks, grab MISSILE EXPANSION #27 and then head into the Save Station on the bottom left door. Work your way through the next room, blasting away all the vines until you get to the end. Step through the door and get ready for a boss battle.
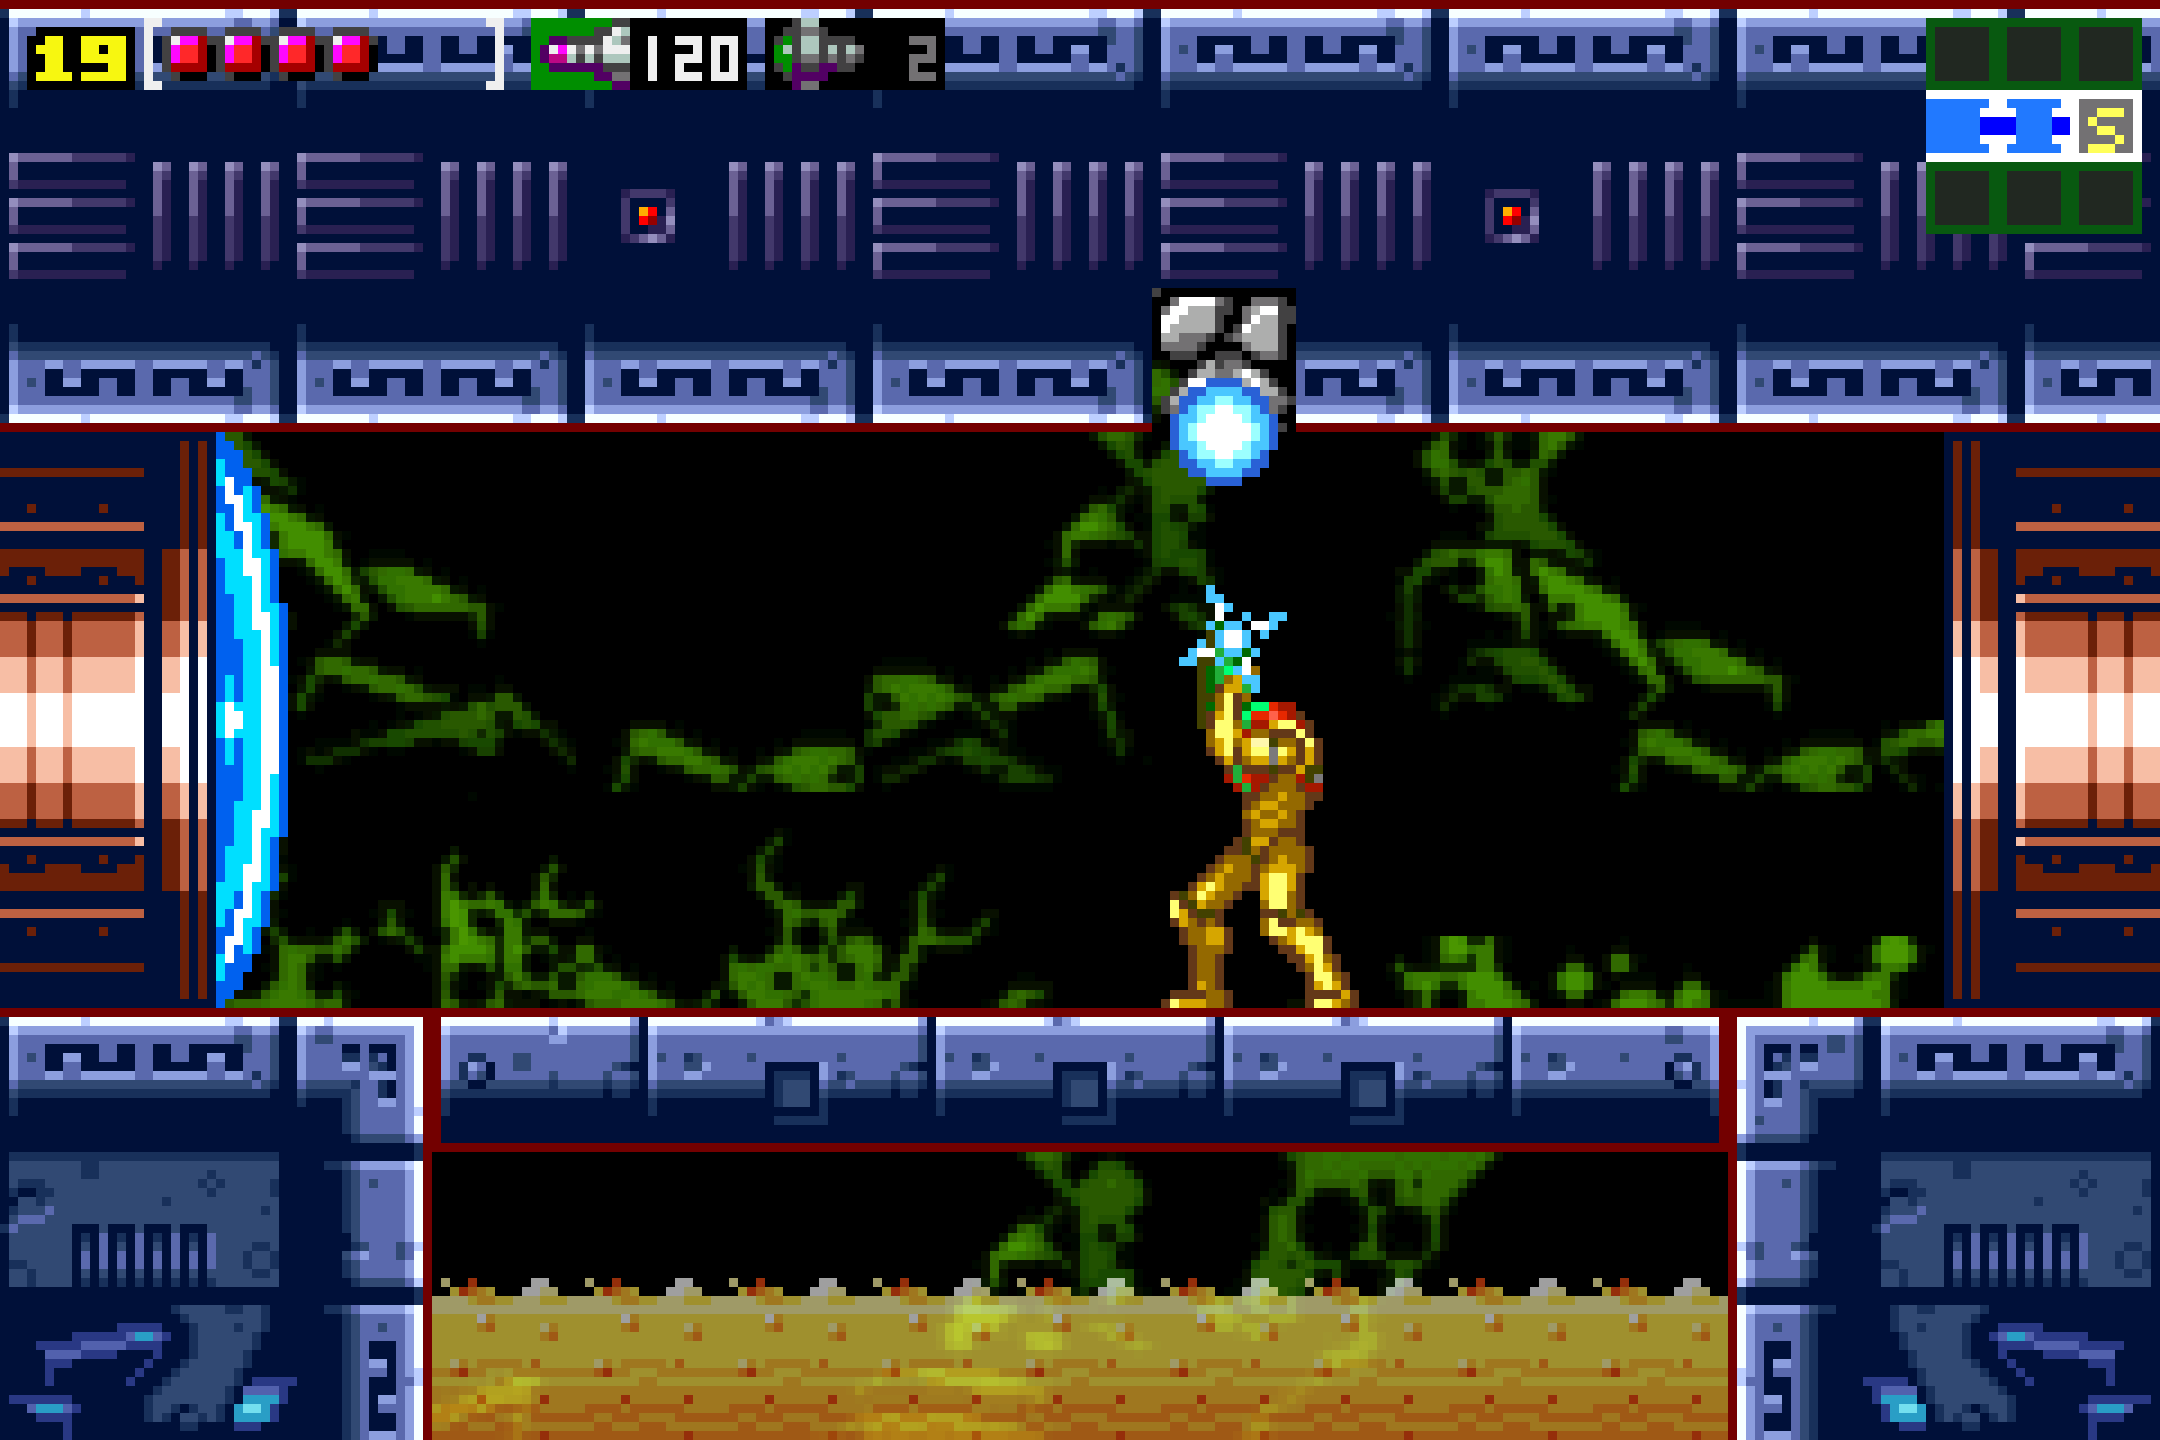
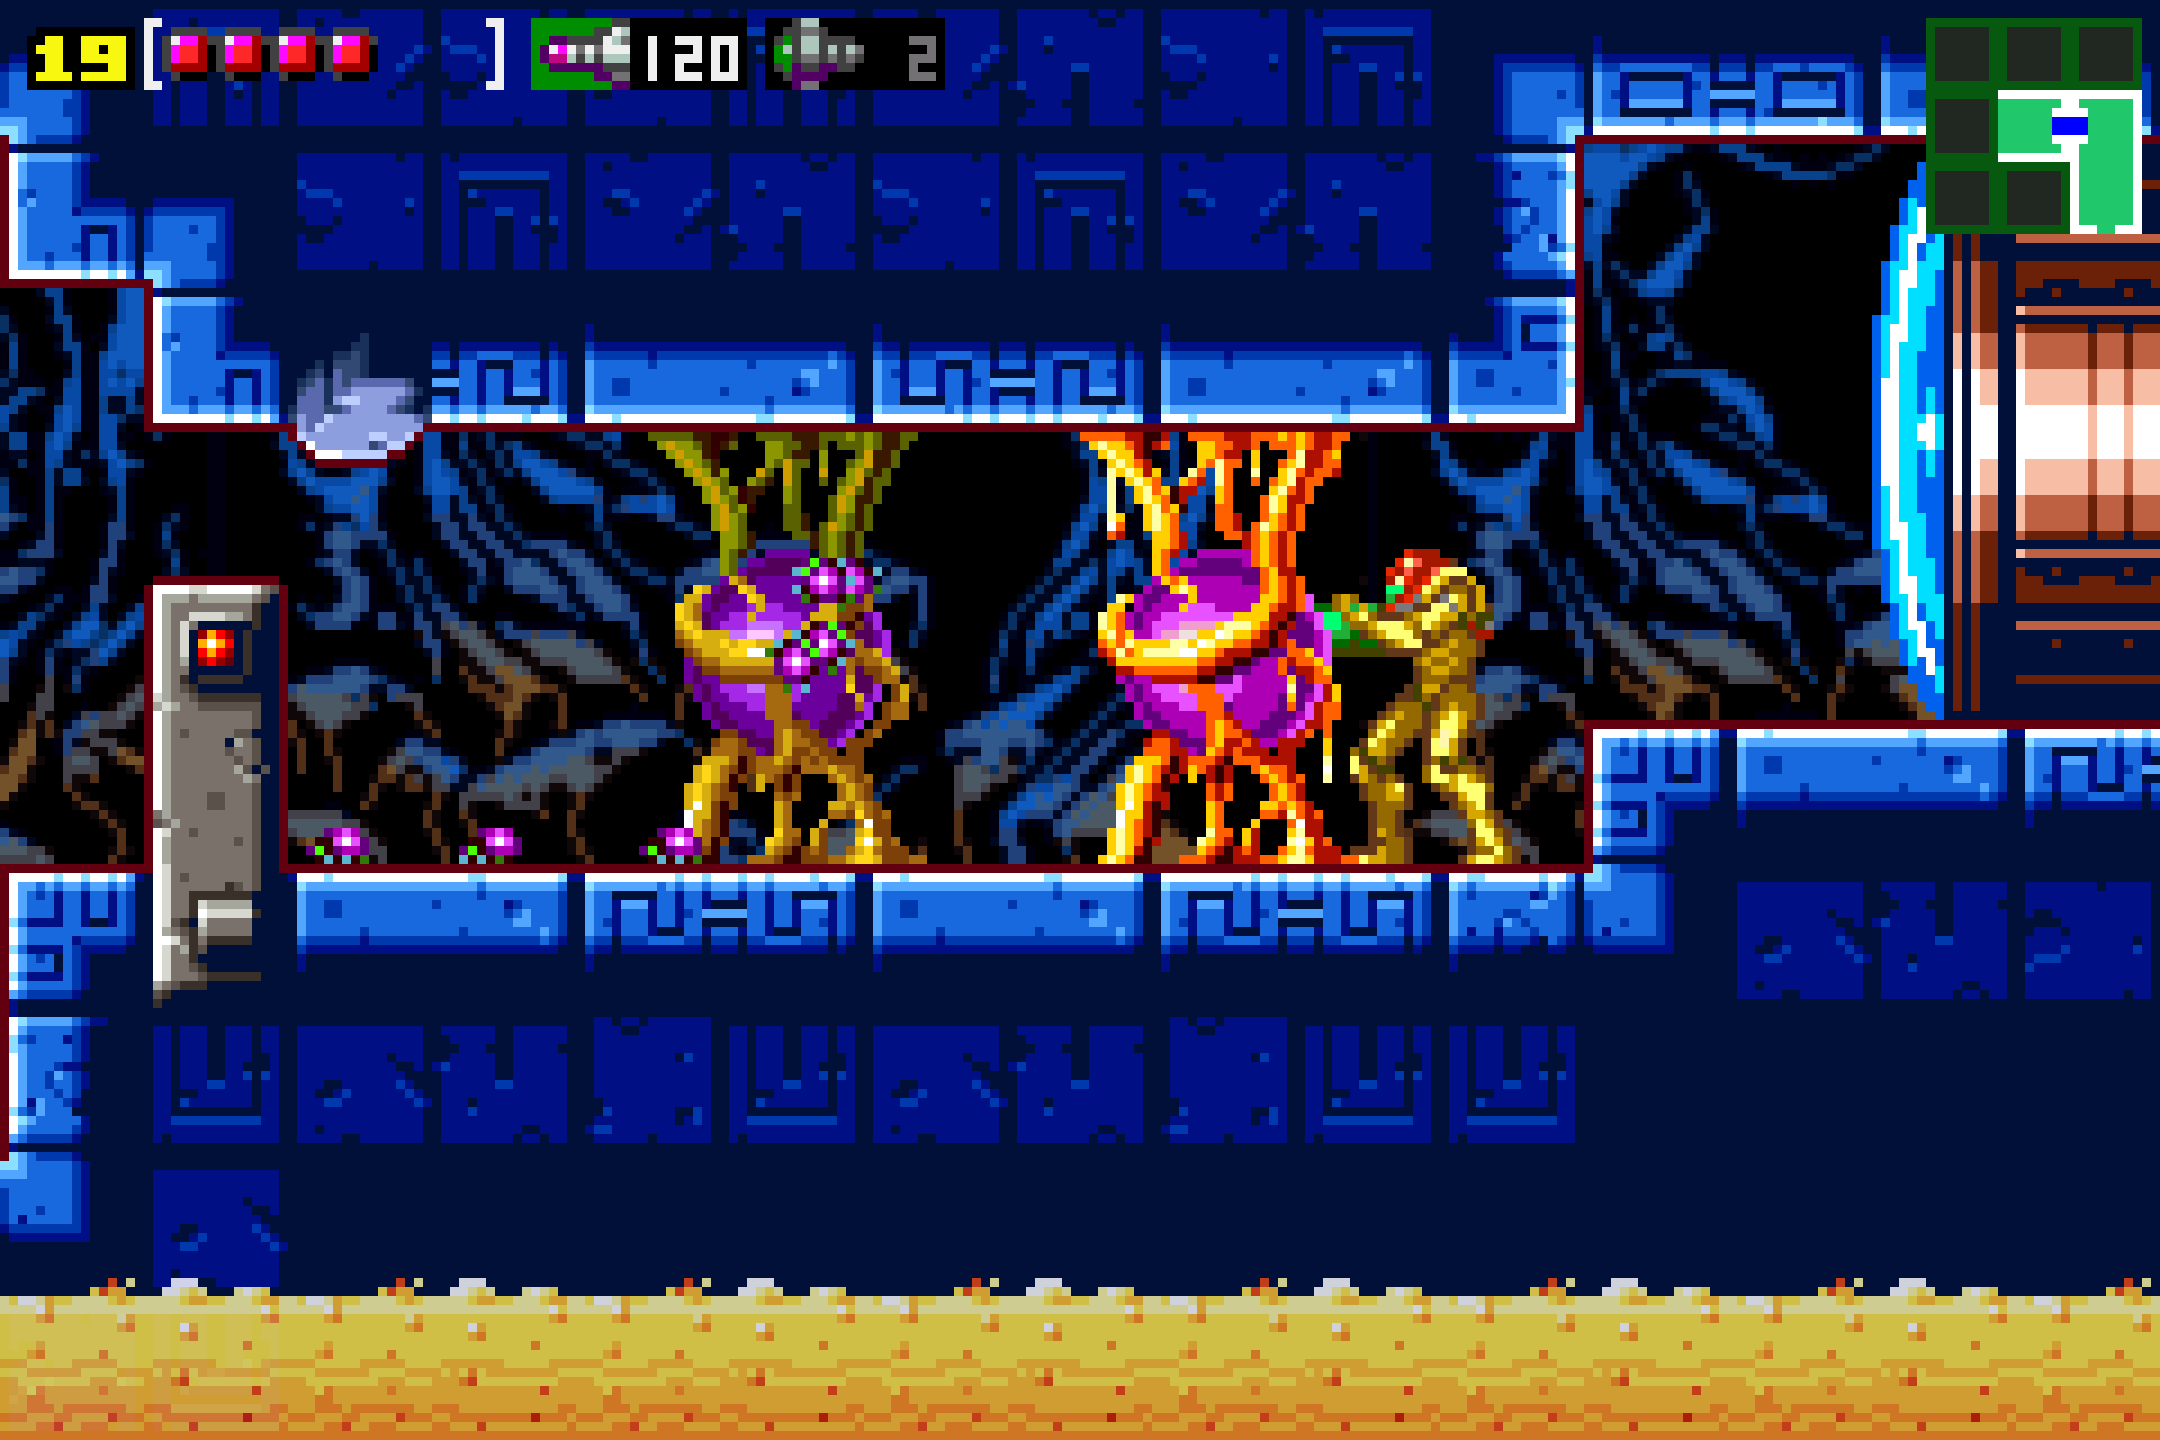
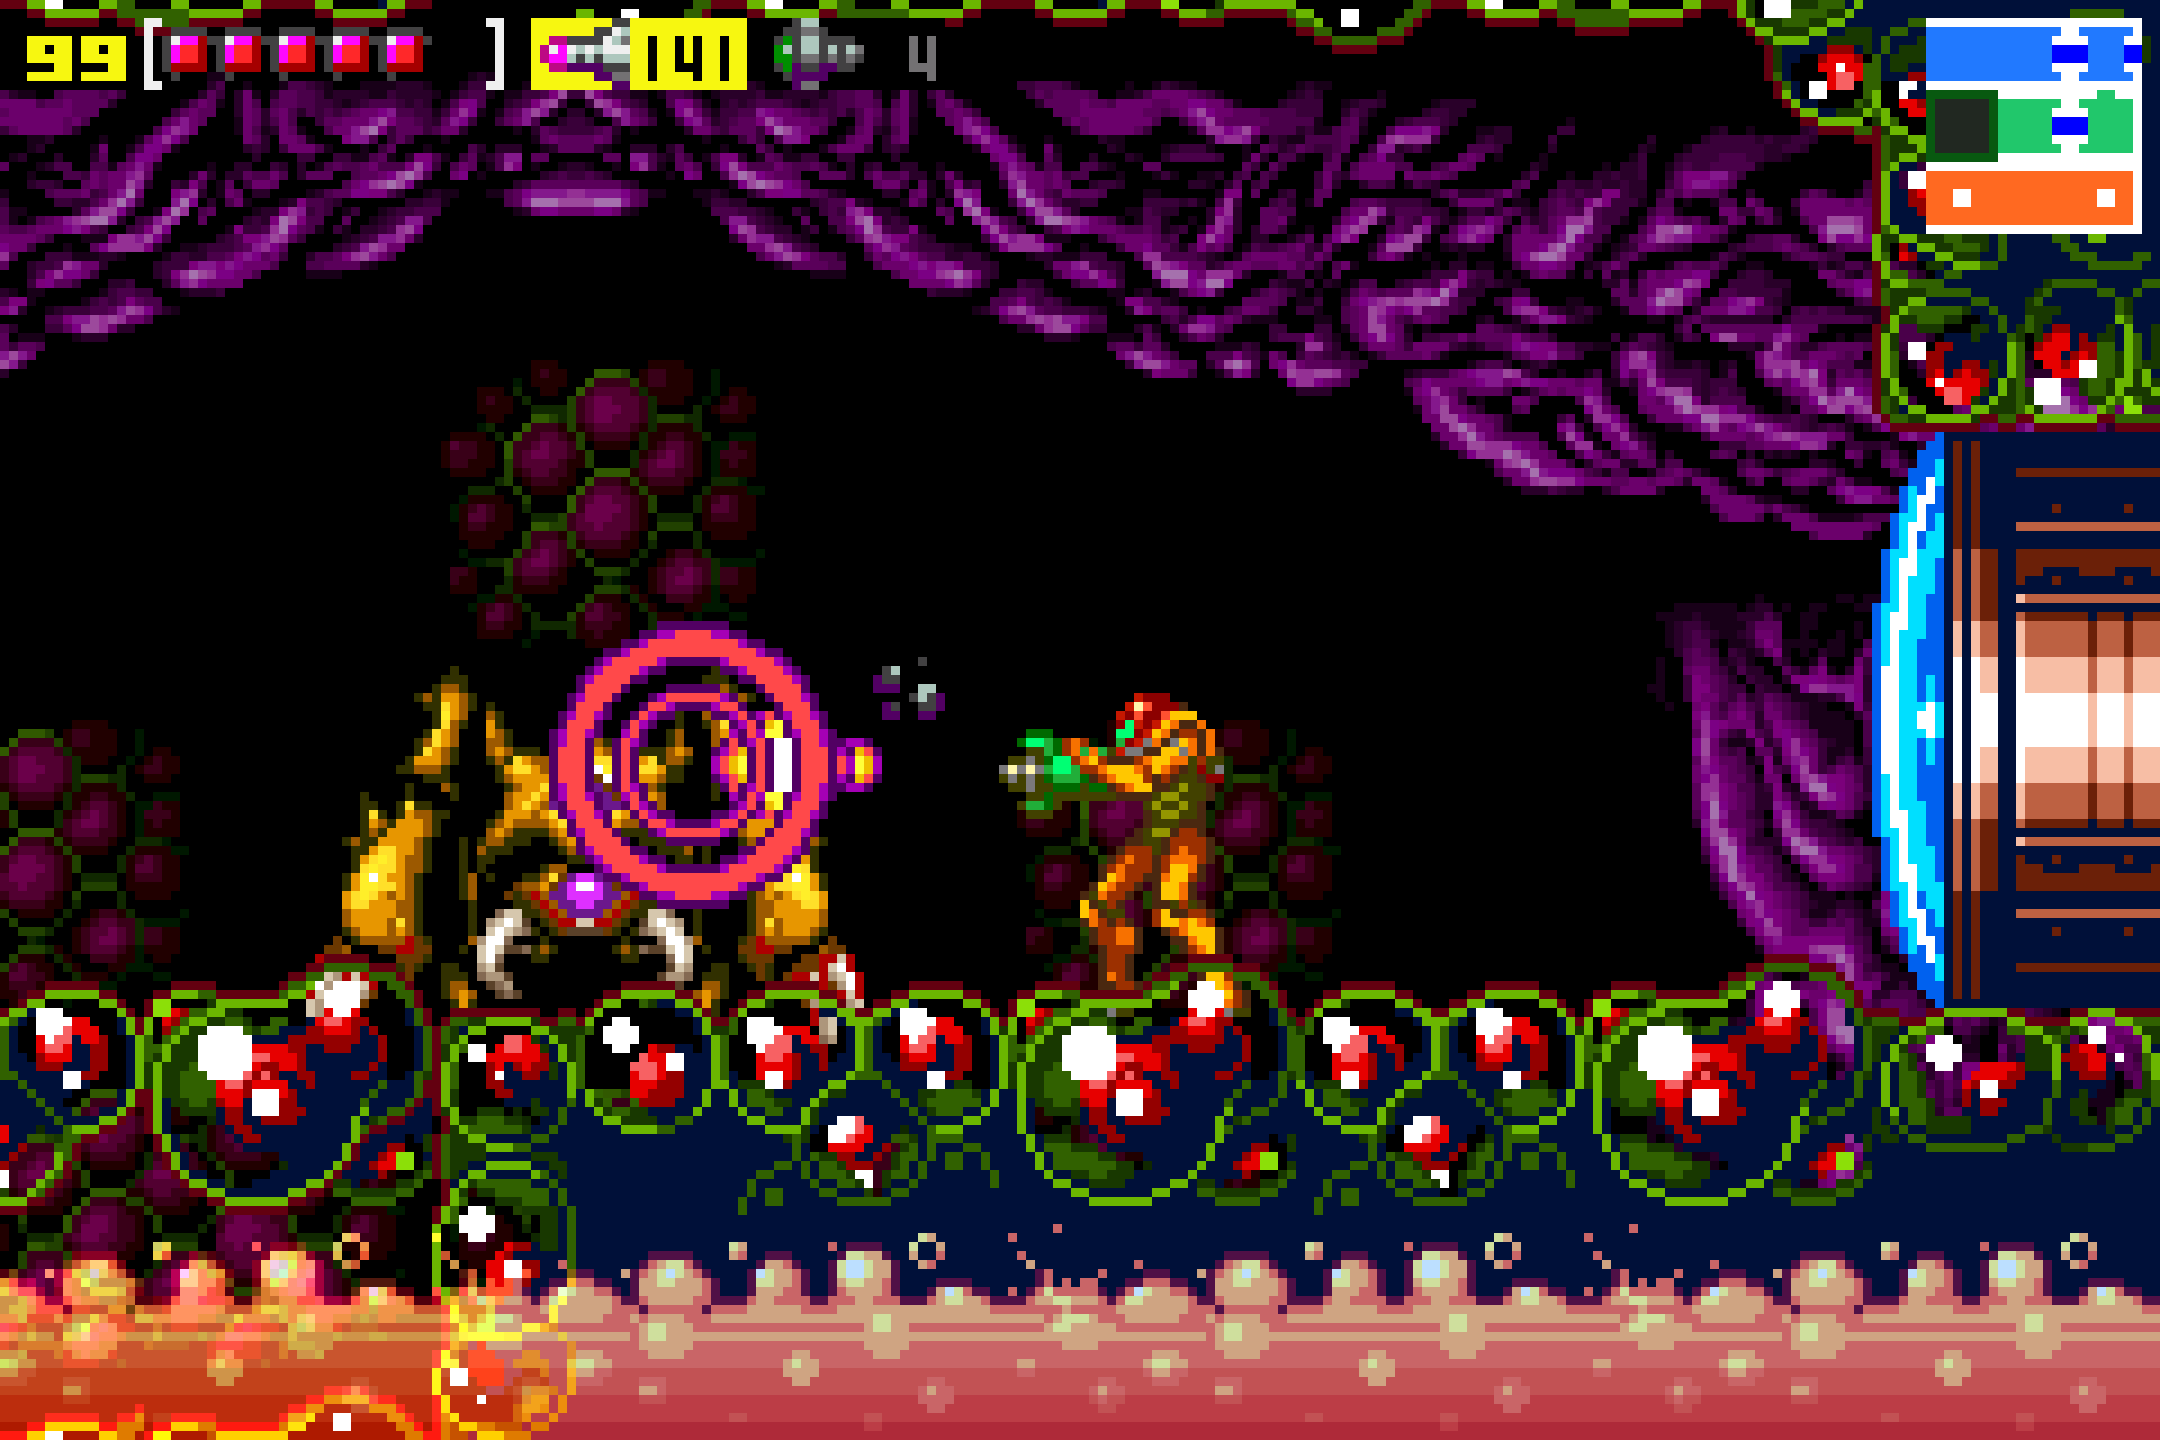
Up above is a Kiru Giru, ensnared by vines and foliage. This is a pretty easy and straightforward battle, but just to set the stage: you’ll see a Ripper that’s flying around the room lackadaisically; pay close attention to where it is, since its positioning in this room will be key to victory. You should also see a bunch of thick looking vines above Kiru that are holding it up. As you no doubt guessed, the key to victory here is to shoot down the vines supporting poor Kiru Giru and have it fall to its death.
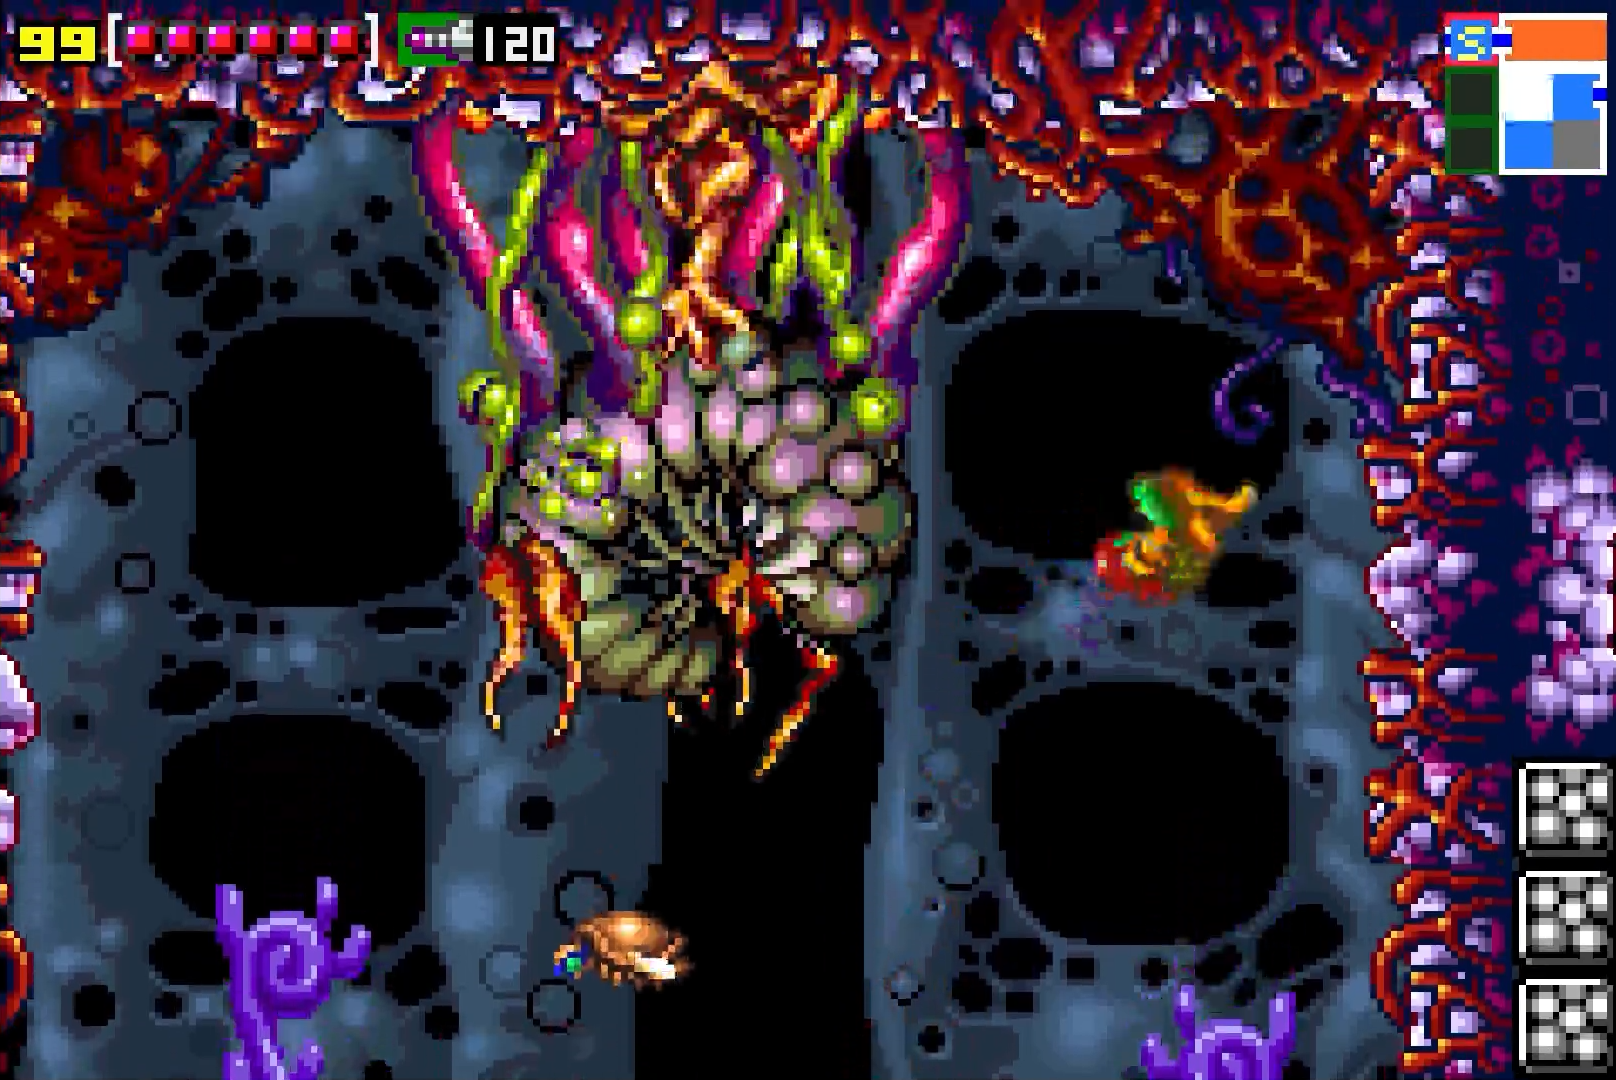
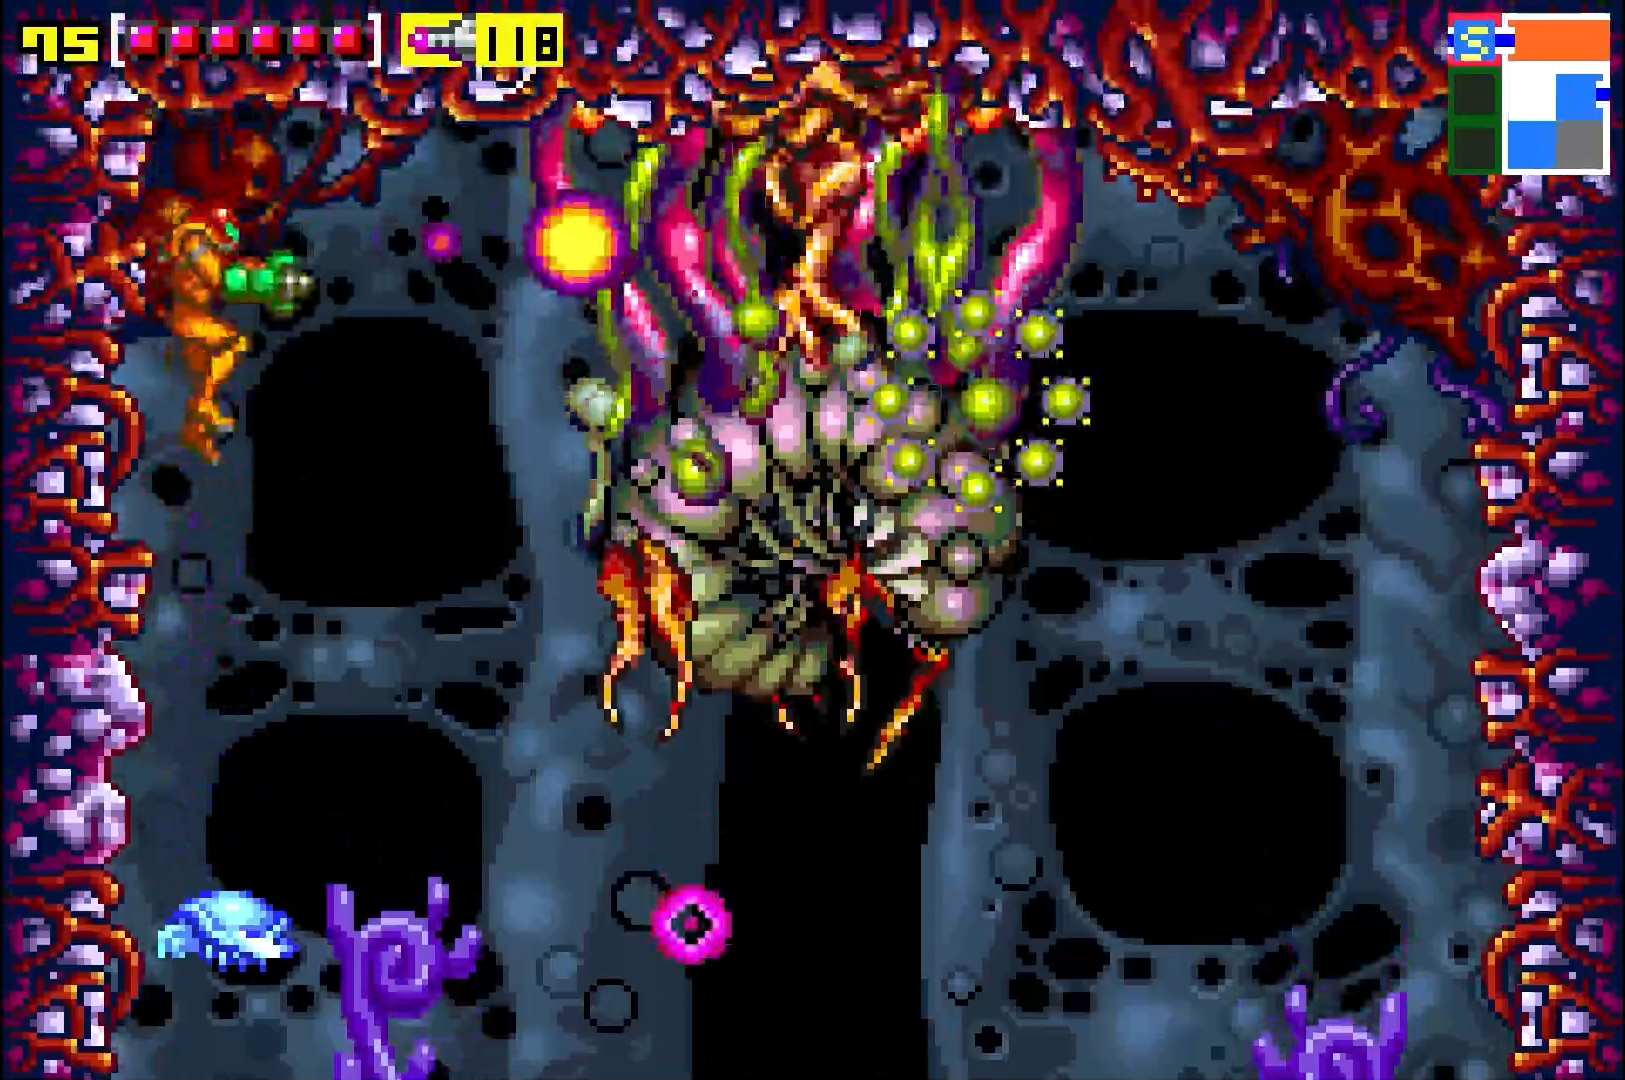
Ensnared Kiru Giru only has one attack, and it’s very easy to dodge. Every three-to-five seconds, Kiru will shoot off five spores that travel in a semi-circle shape. These can ding you, but they really won’t hurt very much, and better yet, you can just shoot them for health and missiles. Defeating Kiru is simple: wait until that Ripper is in position somewhere along the upper right side of the screen, freeze it, and then jump on. Jump up and fire off some missiles at the vines holding up Kiru. You probably want to keep this rhythm going where you jump once, firing at the vines, jump twice, firing at the vines, and then jump a third time, firing downwards at the Ripper to re-freeze it, keeping your position. The vine in the middle is indestructible, so you’ll need to switch sides once one side is destroyed.
Dodge or destroy the spores, and then repeat this process on the left side of the room, and you’ll send Kiru Giru crashing down to the ground. One piece of advice – don’t stand directly under the big slug before he starts to fall.
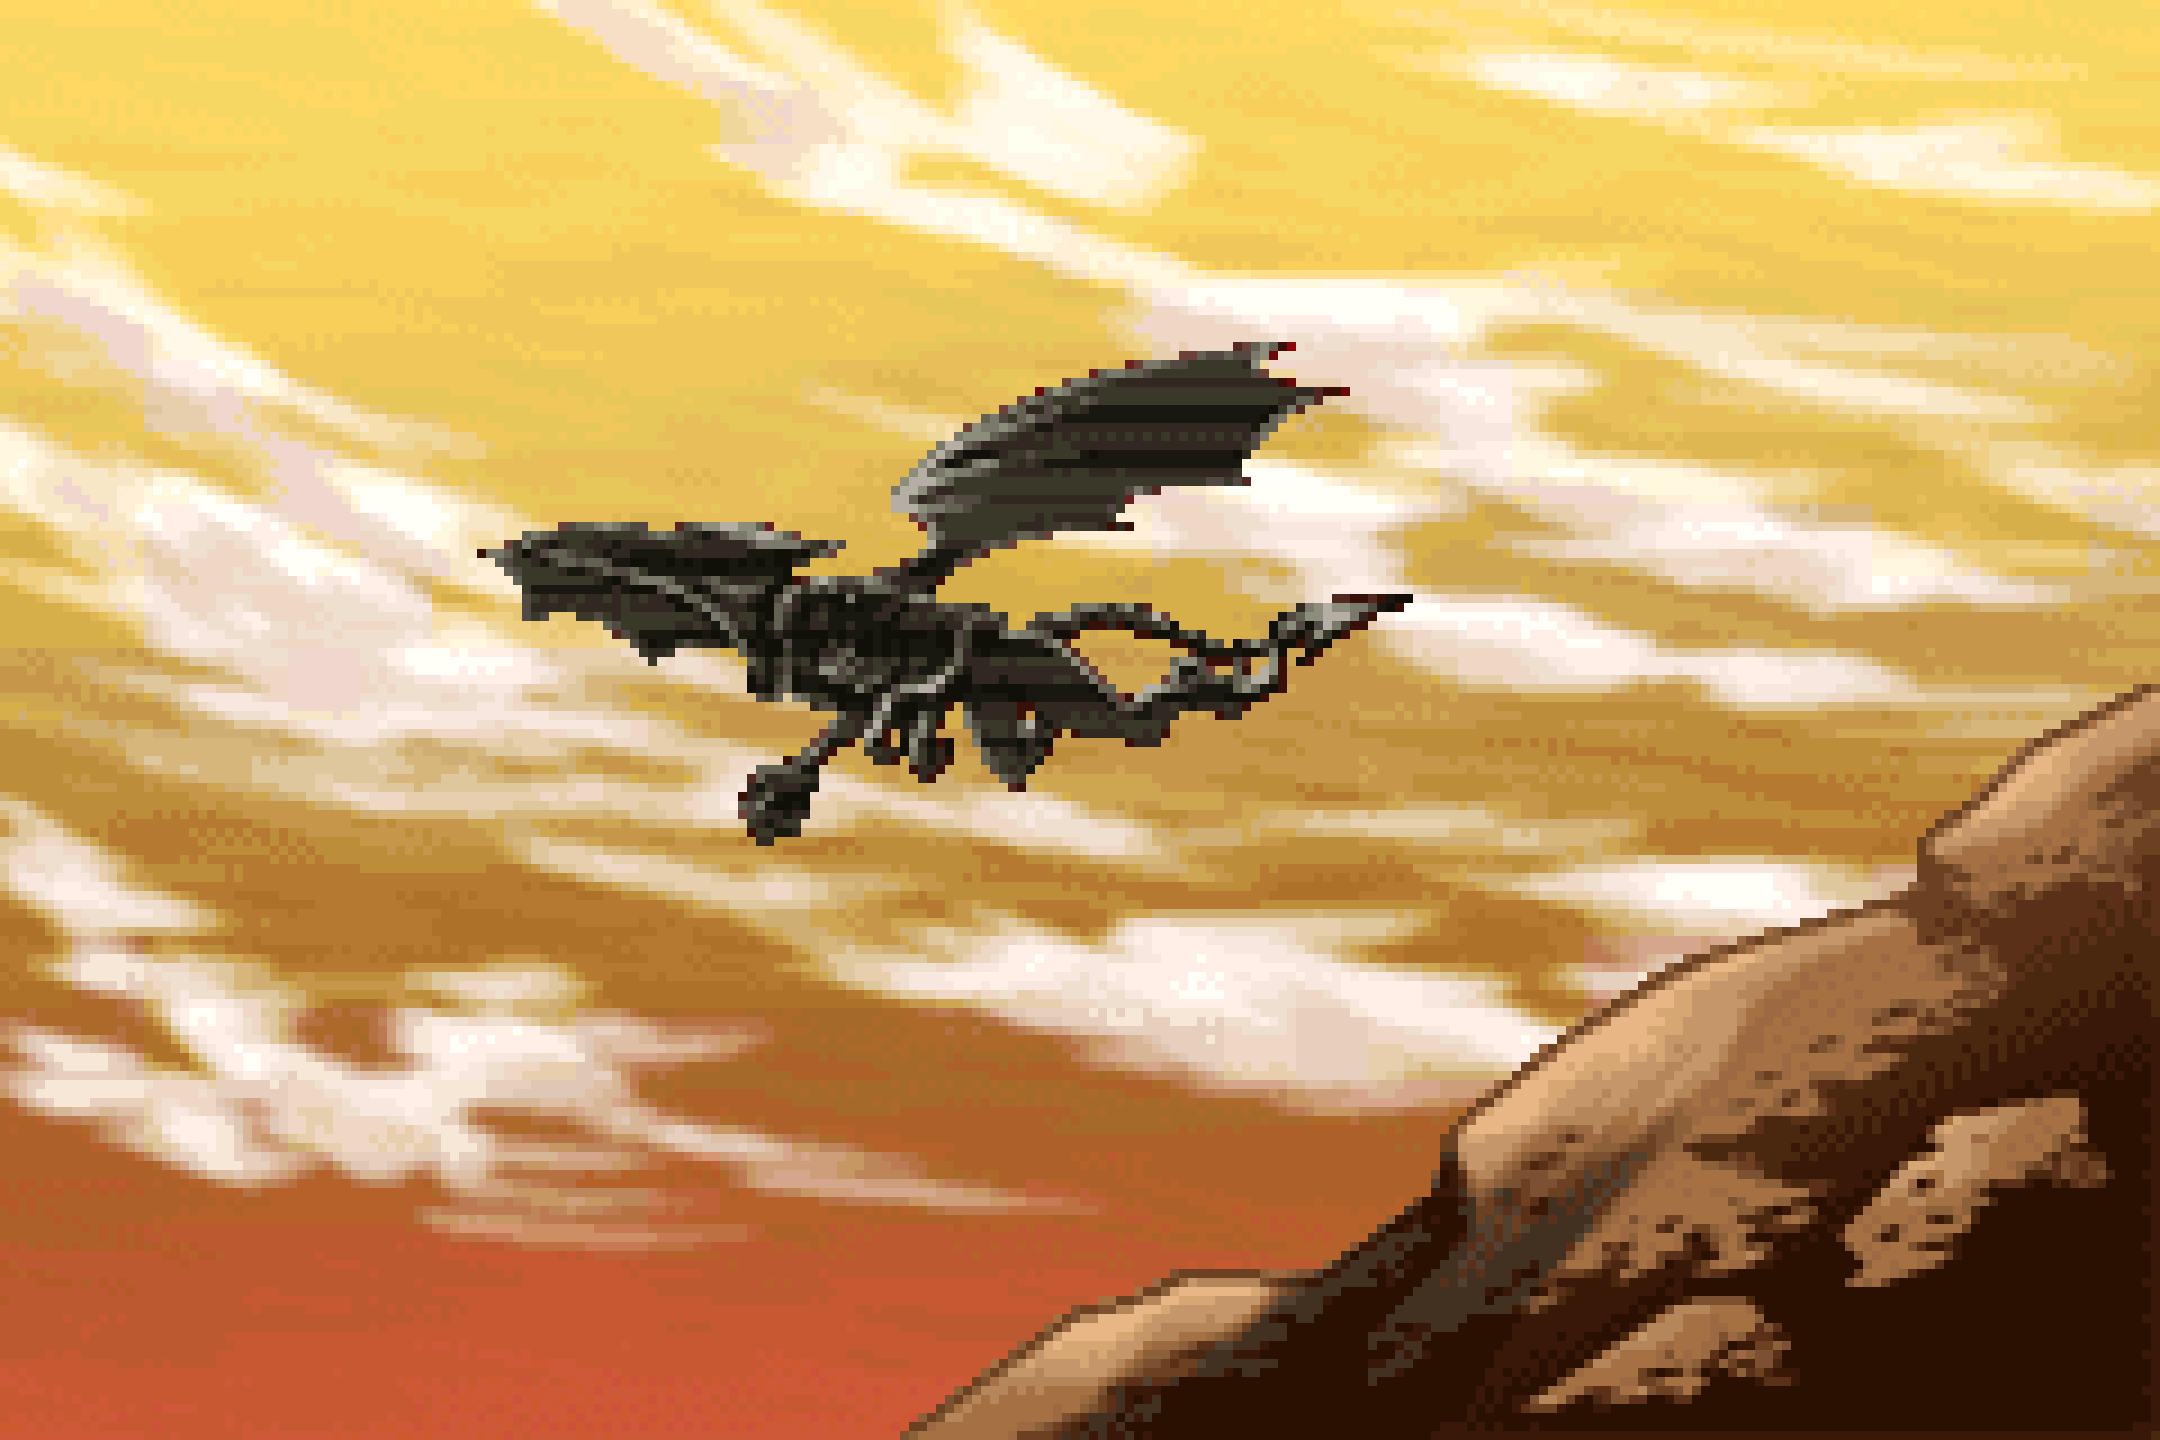
Follow the newly opened pathway and take the elevator down to Ridley’s Lair…