


Super Metroid Walkthrough – The Hunt For Ridley

Walkthrough
- Ceres Research Station
- Welcome to Zebes
- Overgrown With Vegetation
- Fires of Norfair
- Heavy Artillery
- A Derelict Ship
- Dark Waters
- The Hunt for Ridley
- The Final Battle
Revisiting Norfair
From the dark waters of Maridia to the sweltering fires of Norfair, we’re going from one hostile place straight to the next, as we’ll be diving into the depths of Norfair, and Zebes itself, for a rematch with our most deadly foe. The end is in sight though, so let’s press on!
When you arrive back in Norfair, the first thing you’ll want to do is make your way to the Save Station room and Speed Boost across, pressing right until you eventually end up in the lower part of the Bubble room. From there, drop down through the blast door on the floor, go all the way down to the bottom right door in the next room, and then through the door on the right in the next room.
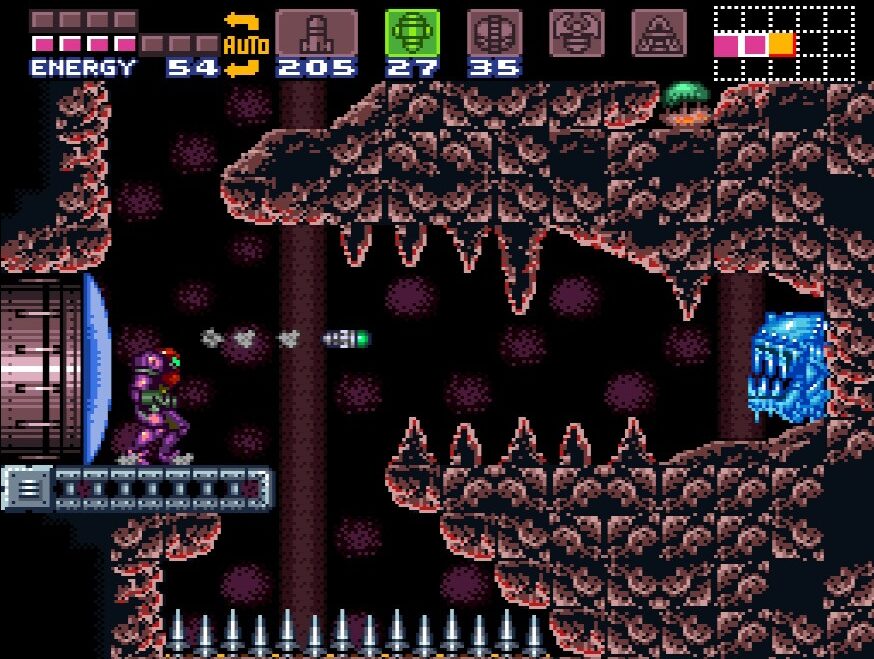
You should be in a room you’ve blitzed past before, with a little space to drop down in the center. Head down, shooting the blue flames as you drop, and open the yellow blast door.
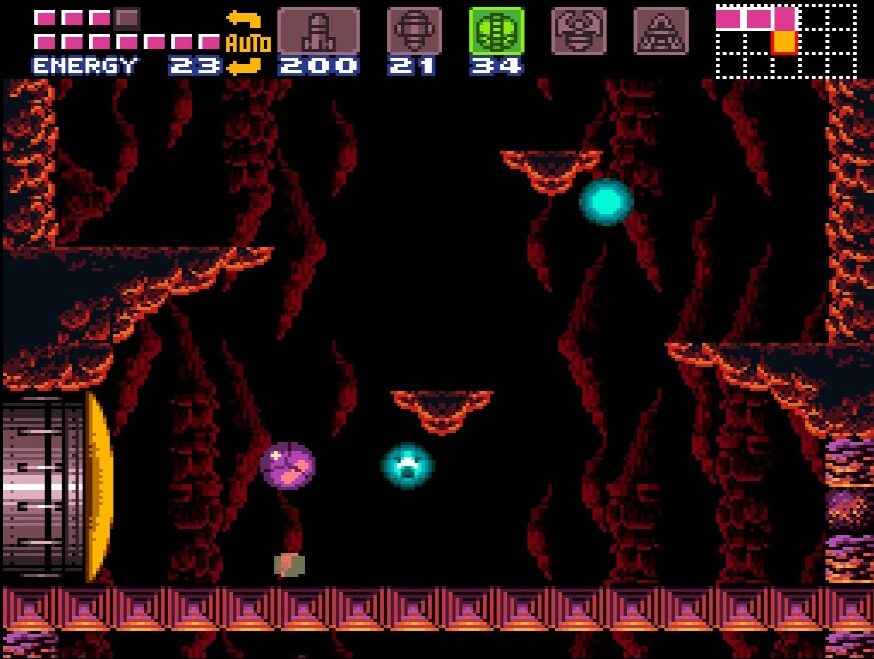
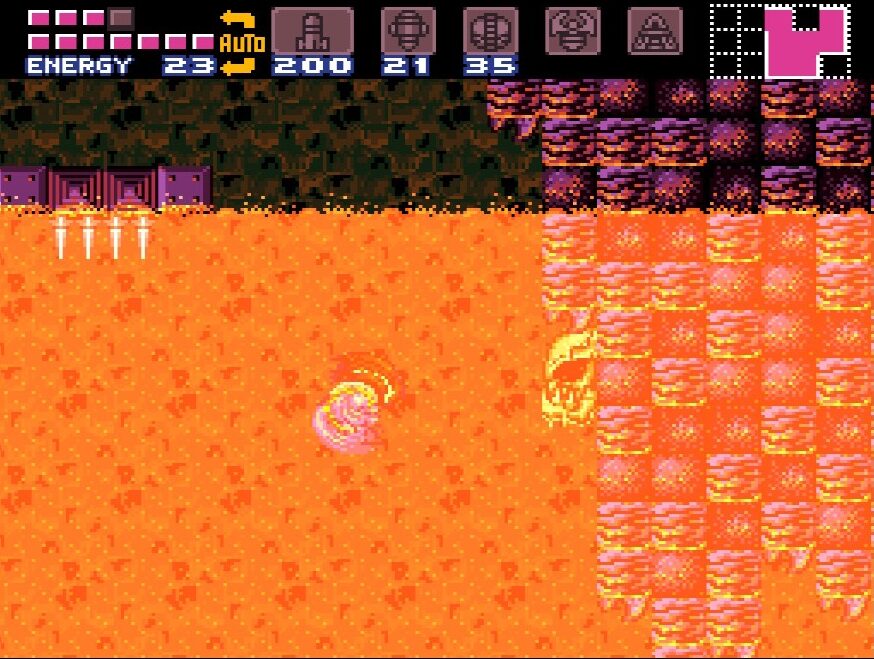
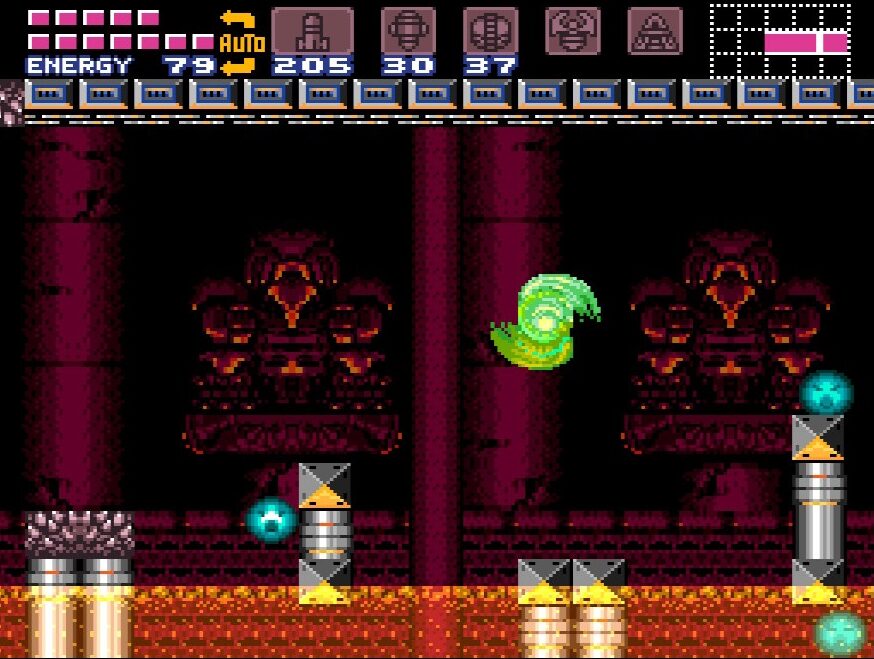
This next room is a giant cavern filled with glowing orange lava. Fortunately, our Gravity Suit protects us against this particular lava, so dive in. Avoid the Xenomorph’s on your way down (these things really do get around, they’re everywhere!) and Space Jump up to the top left corner. Enter through an ominous pathway that resembles Ridley’s head and go through the blast door. You’ll see an elevator and another blast door to your left. It leads to a Save Station, so use it if you need to. When you’re ready, descend into Ridley’s Lair.
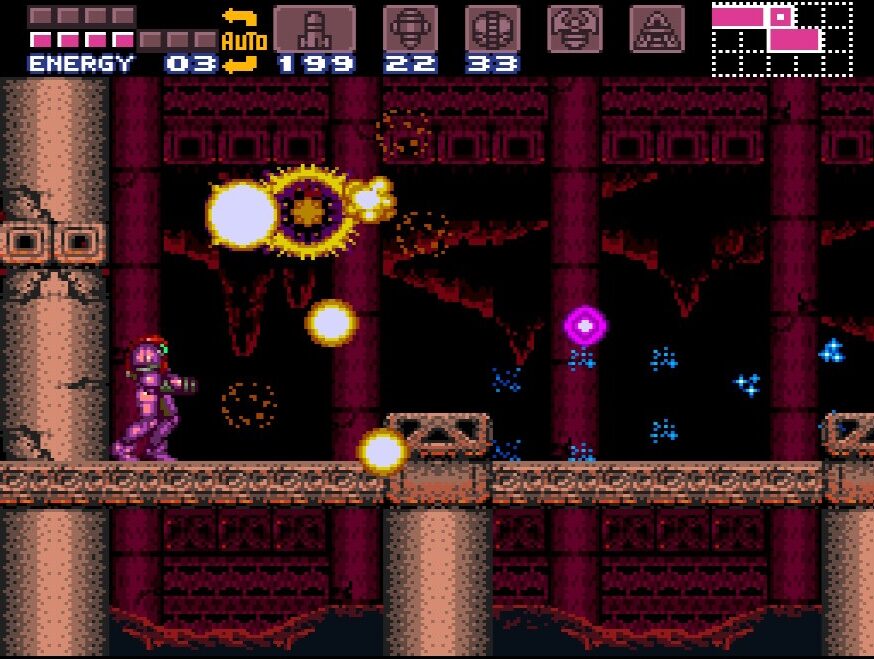
That music… things are starting to get intense now! When you land, head to your left and Space Jump your way across the room. This lava will damage you, so don’t fall in! Do your best to avoid all of the fire plumes and enemies shooting at you and hot lava until you finally make it to the other side.
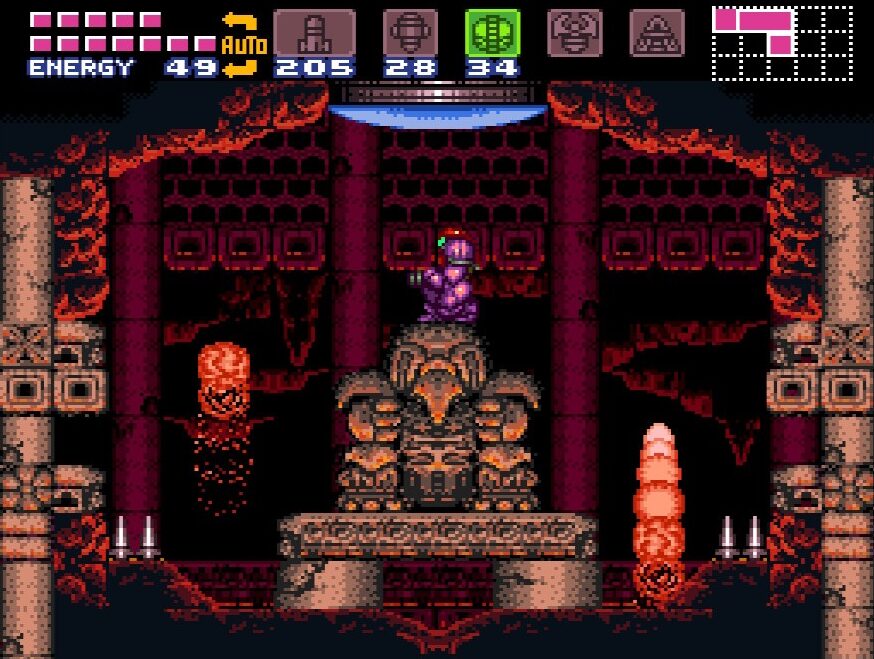
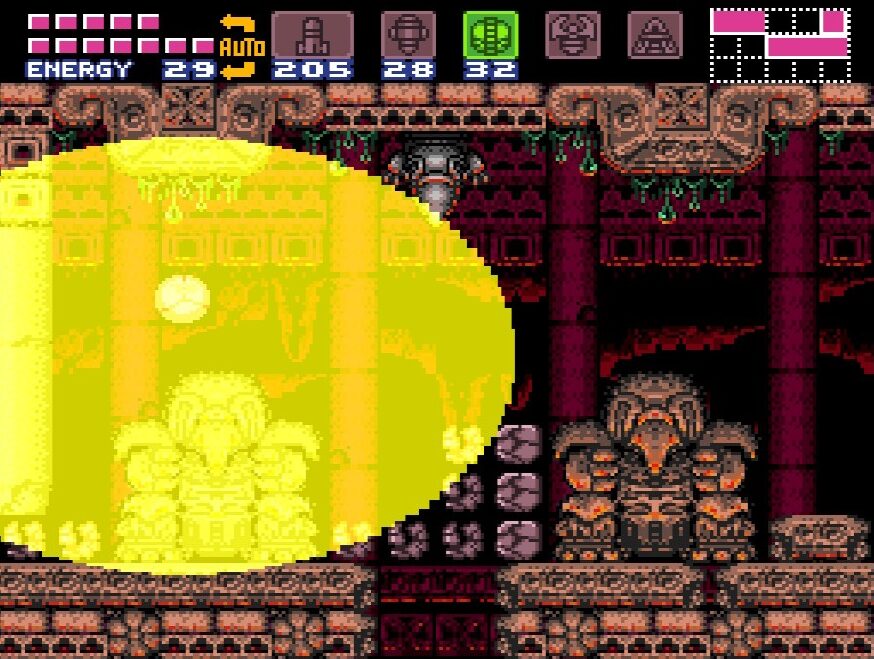
You’ll now enter a room with a ton of lava everywhere. Again, this is the lava that damages you, so don’t go for a swim! Instead, Space Jump over to the other side of the room and land on the small ledge on the left. Lay a power bomb to reveal a Chozo Statue! You remember the Wrecked Ship Chozo that carried us around? This is the same kind of idea. Jump into this Chozo’s hand and he’ll do… something… that causes the lava in the room to drain! Fall to the floor and slip through the hole in the middle.
Make your way to the right side of this room and enter through the blue blast door. When you see the Missile tank, Space Jump over to get it! The floor will give out if you land on it. We’ll have to fall down in a second anyways, so it’s not a big deal if you accidentally touch it, but for now, you may as well jump over and grab MISSILE EXPANSION #41 before this next encounter.
Once you’ve got it, drop down and get ready for a reunion with an old friend…
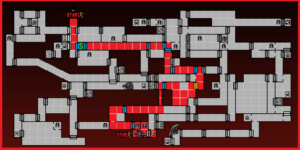
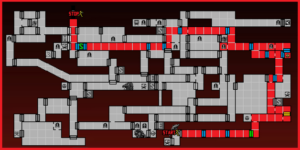
Norfair Route:
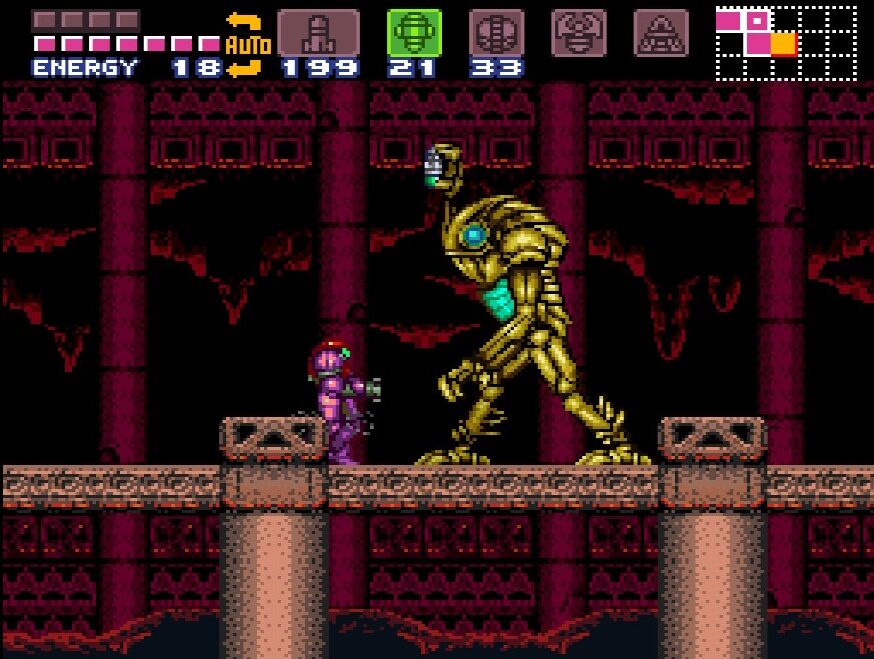
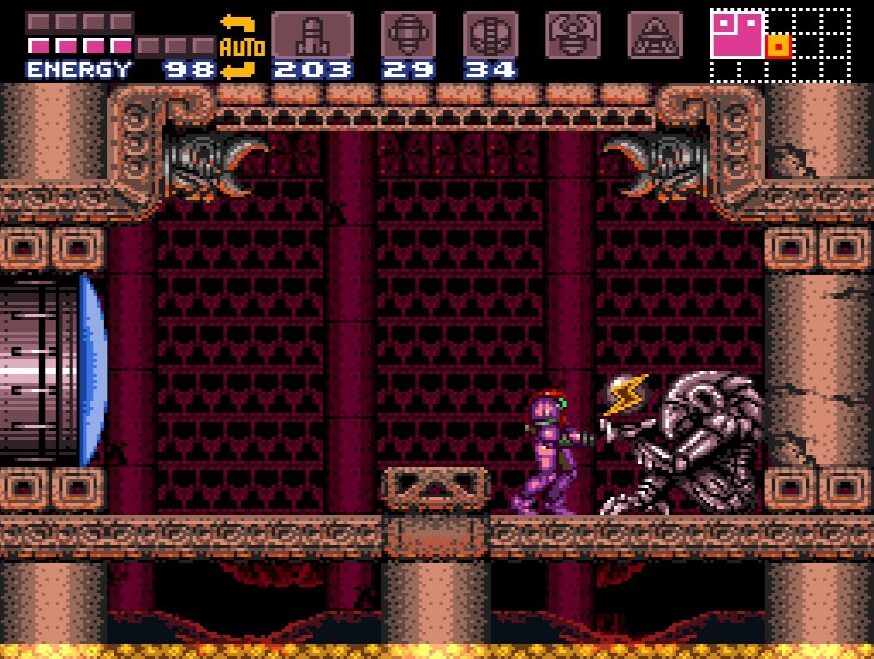
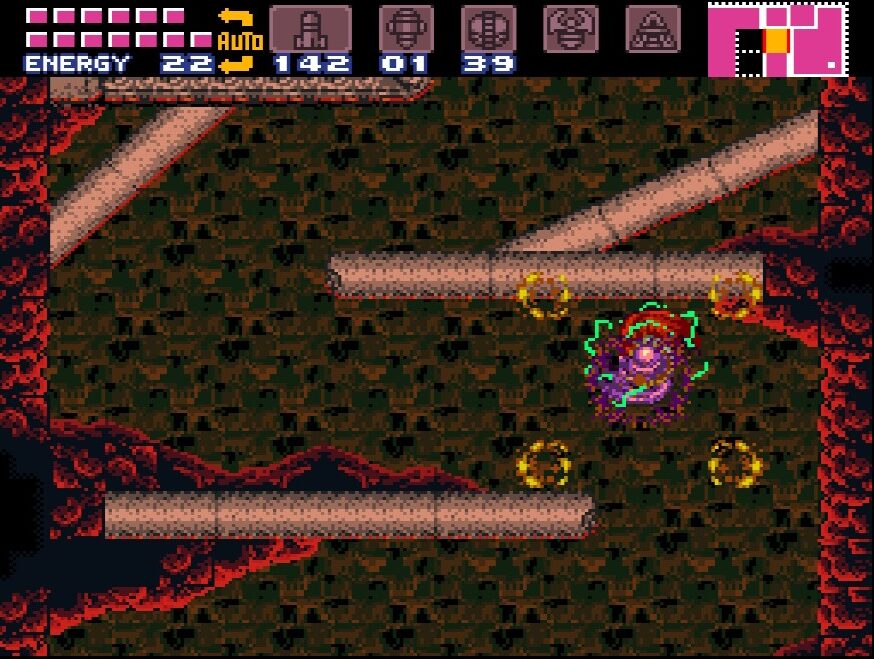
BOSS BATTLE: GOLDEN TORIZO
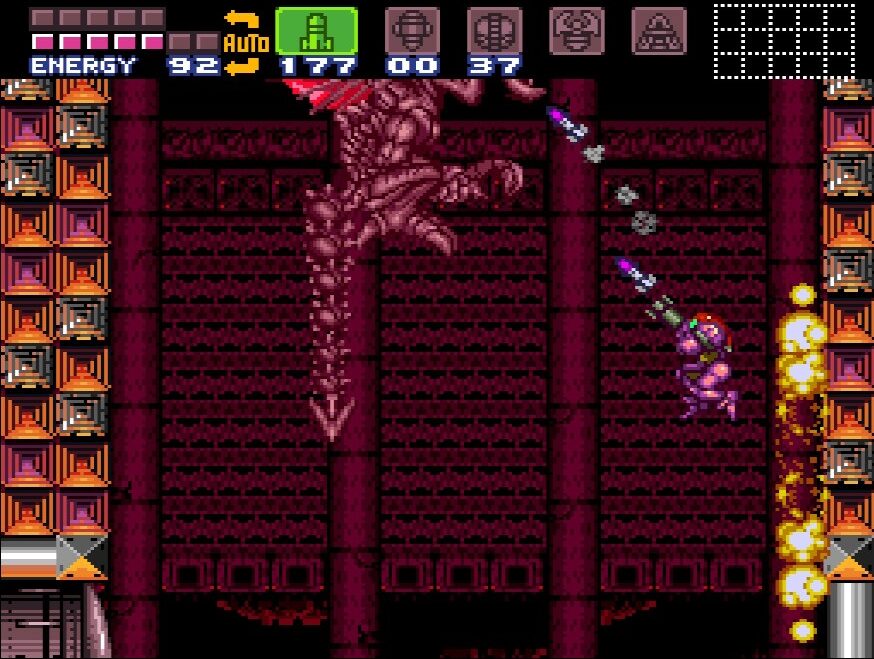
Look who’s back for a rematch! To trigger this battle, drop down and head towards the door. Move away from the door quickly as Torizo will literally drop on your head! The big guy will fall from the ceiling above and take a second to animate, but when he does, it’s on!
Golden Torizo has a few tricks up his sleeve that his younger brother from the start of the game did not. The first you’ll notice is how fast he is. We’re in a much larger room than our first encounter, and he’ll take full advantage of that by jumping around everywhere. That being said, you can do the same.
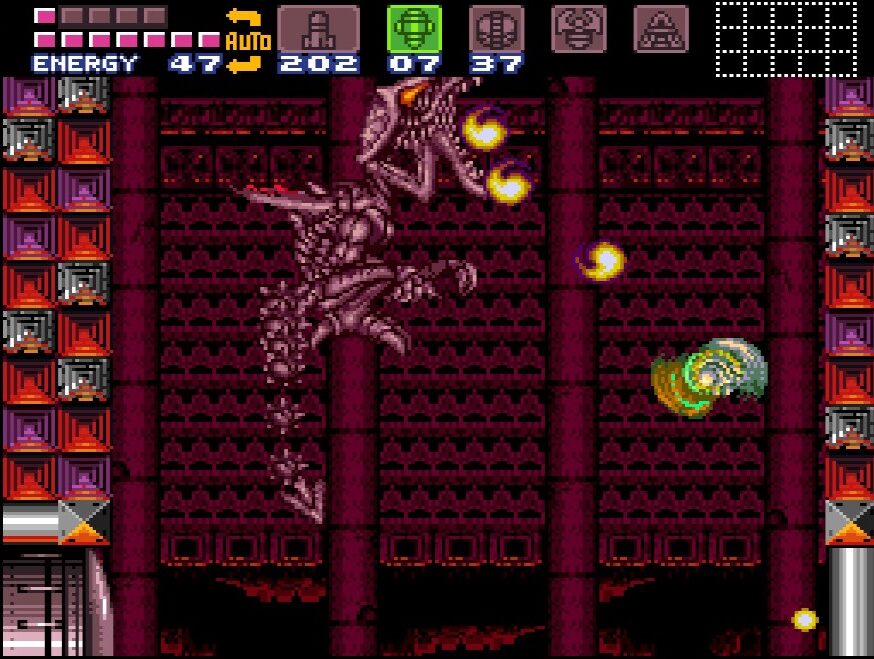
He has most of the same attacks we saw earlier, just jacked up. His arm can still punch you right in the face if you get close enough, and it moves fast and hits hard. He’ll also still shoot rocks at you that you’ll be able to shoot for ammo and health. This time around, Torizo will also shoot what I can only describe as little egg sack things that will hatch creatures that will damage you. Shoot these down as they come, or jump to avoid them. Lastly, Torizo will spit a line of fireballs at you; if the fireballs miss and hit the floor, they’ll cause a small eruption, so watch out!
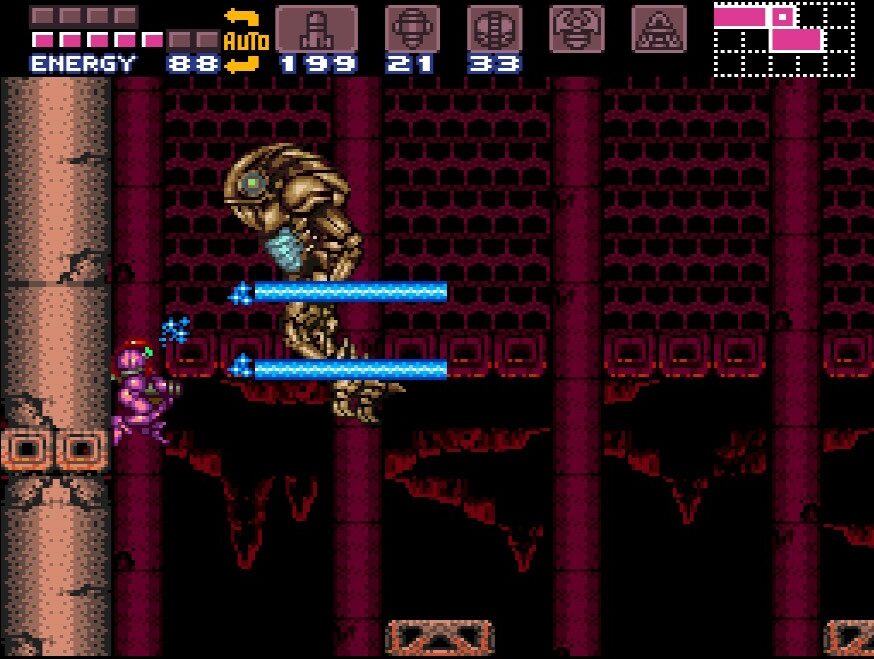
His most devastating attack is his shock wave attack. Just like before, he’ll wave his arms and send multiple vertical shockwaves your way. These hit really hard, so do your best to Space Jump over them. Actually, you can Space Jump through them as well – it seems as long as Samus is Space Jumping, the waves won’t damage you.
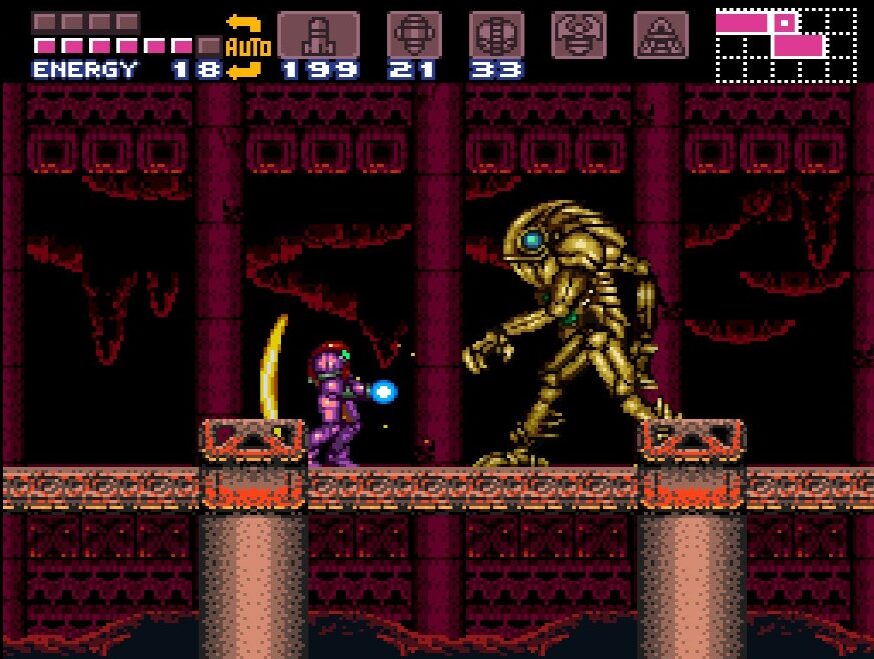
You’ll be able to see a glowing plate on his chest. This is where you want to aim your fire. I wouldn’t recommend using Missiles for this fight – Torizo will dodge almost every single Missile you throw at him. It is possible to beat him using Missiles, but you have to be extremely close to him, basically right under his chest firing diagonally up, and even then, he’ll still dodge a good number of your shots. Since we’re going to be needing those Missiles in a bit and they’re not effective anyways, attack him with charged beam shots.
The key to this fight is to always be moving and always be jumping. The more time you can spend in the air avoiding his attacks and charging your own beams, the better. When you land, hit him with a charged beam shot and then jump again. You may bump into him in the air, but that’ll be far less damage than if he hits you with his shockwaves. The good thing about the beams too is the game is fairly generous about damaging him even if your aim isn’t perfect. The Plasma combined with the Wave Beam means you can hit him from almost any direction and he’ll take damage, as long as your shot is within spitting distance of his chest.
The more damage Torizo takes, the more his golden hue starts to fade. Keep this up and nail him with 15 charged shots and he should self destruct.
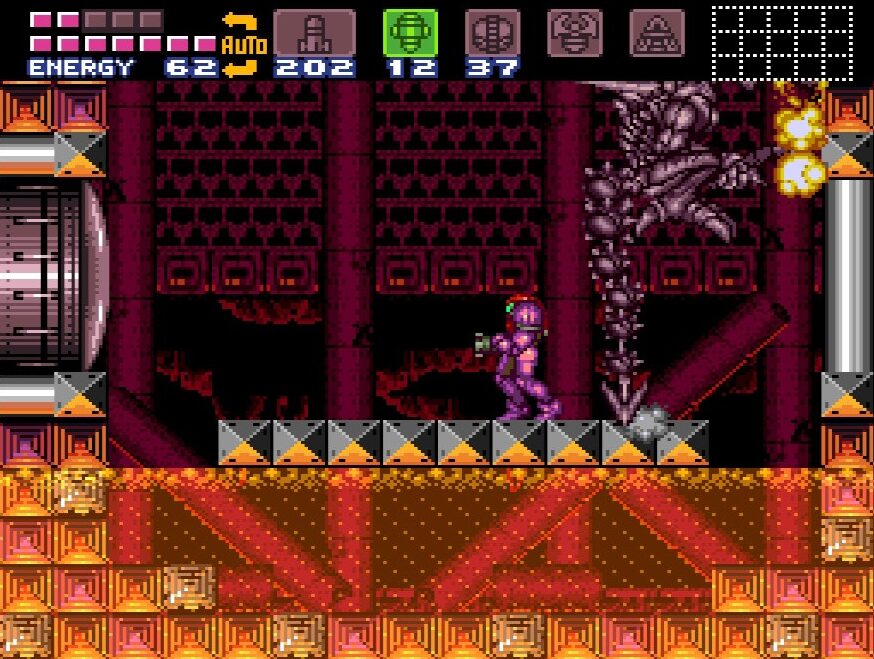
Once you’re done, jump up and at the apex of your jump, lay a power bomb. The area that Golden Torizo fell from will give way, allowing you to jump up and get SUPER MISSILE EXPANSION #10! Congratulations, that’s every Super Missile tank in the game!
Walk through the door at the bottom and you’ll get the last power up in the game, and Samus’s ultimate weapon – the SCREW ATTACK. You are now at maximum power and all abilities are available to you. All that’s left is to take out the Space Pirates. The hunt for Ridley begins!
Ridley’s Lair
We are operating at full power now! Once you’ve grabbed the Screw Attack and the item jingle is over, jump up and test out your new toy. The way it cuts through the walls like butter… beautiful! Jump up and keep going. There’s an Energy Recharge Station about halfway up this hall. Use it and continue your ascent, going through the door on the top right.
There will be a ton of red Rippers moving at mach speed in this room, but they don’t stand a chance against the Screw Attack! Jump over, taking out any Ripper foolish enough to get in the way, and open the green gate.
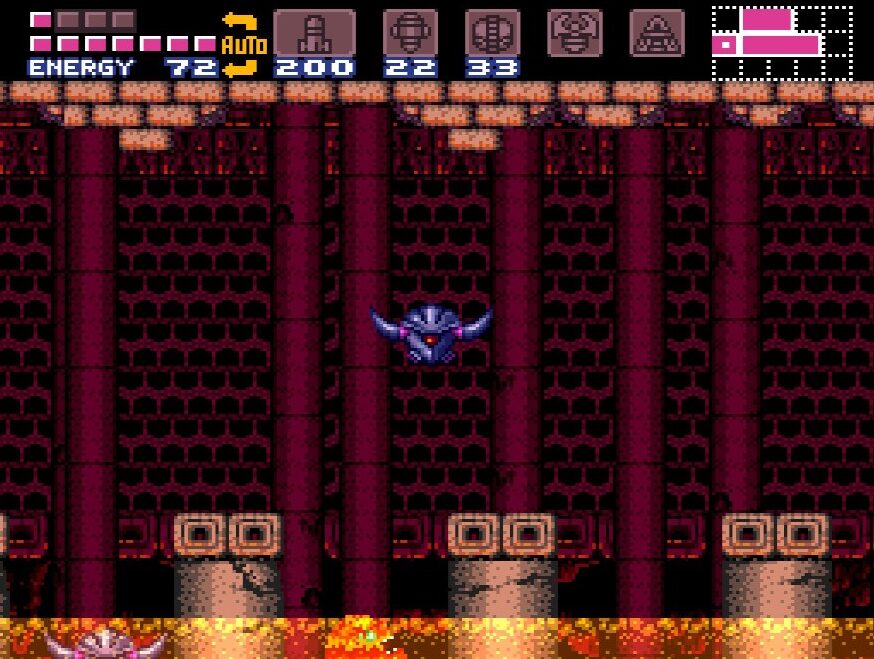
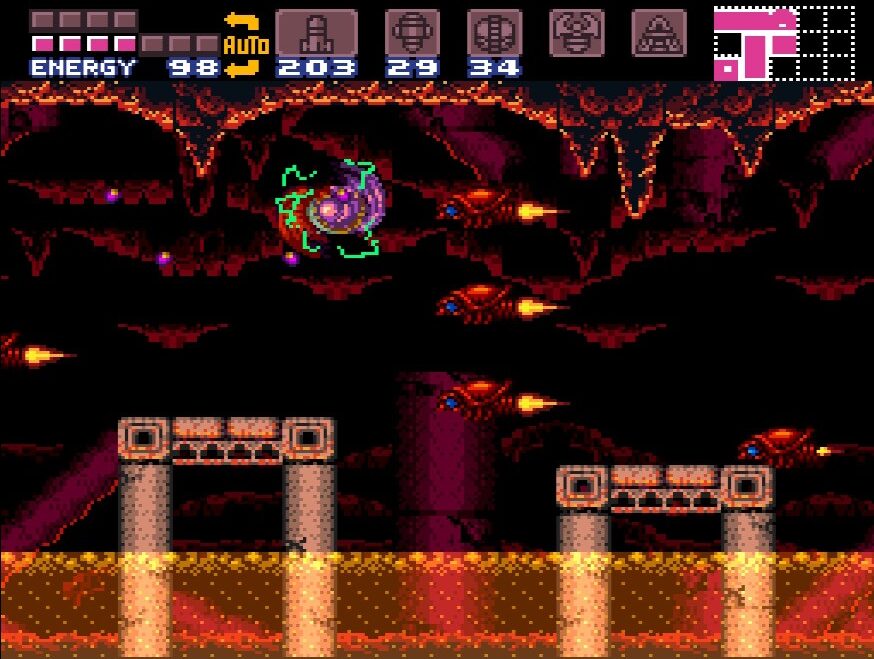
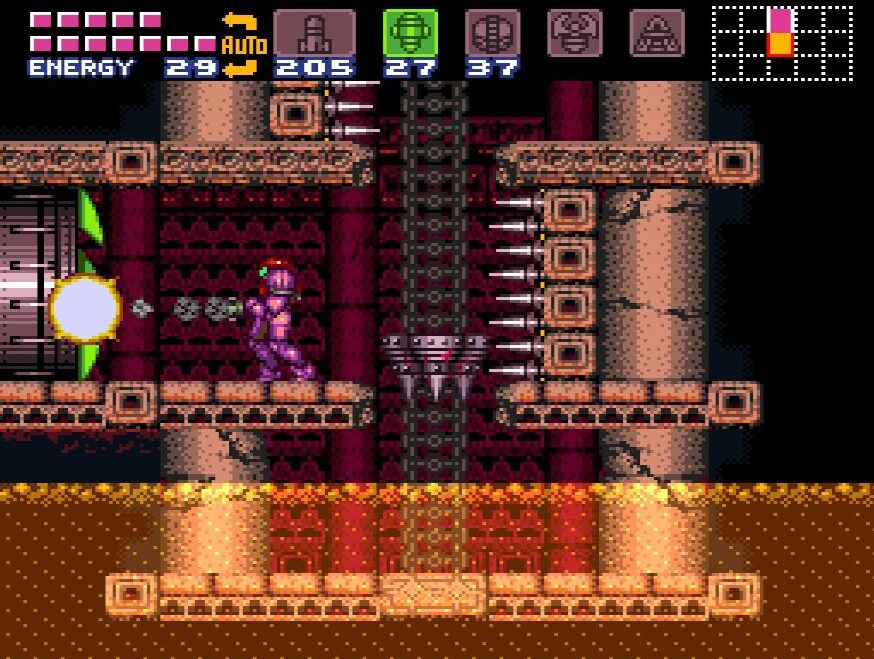
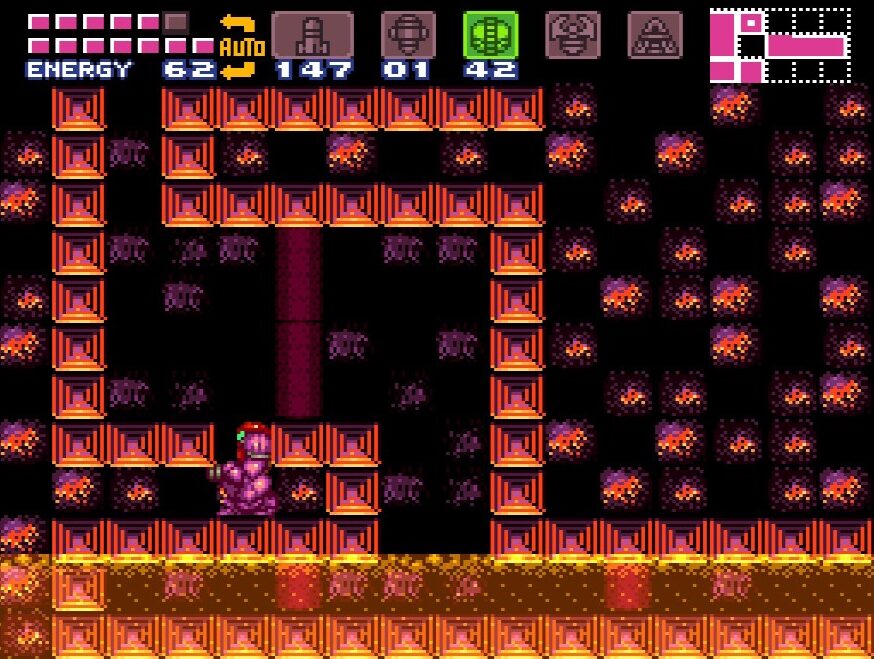
In the next room over, you’ll want to get a bit of a running start and then just jump over. You’ll smash through all of the pillars with your Screw Attack while the screen shakes and lava starts rising. The lava won’t ever rise high enough to hurt you, but it does add to a cool moment where you feel invincible using the Screw Attack. Make your way right and through the door.
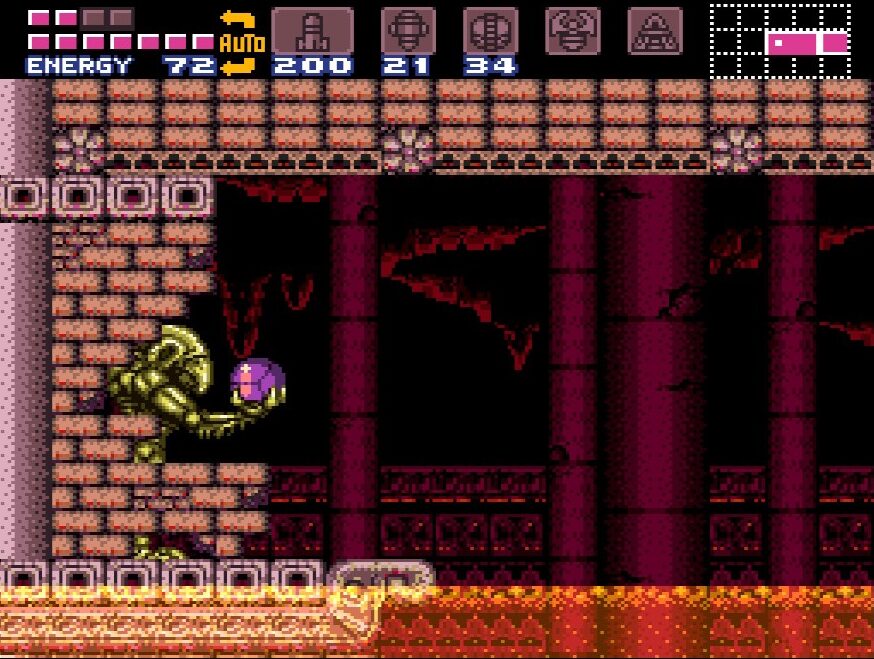
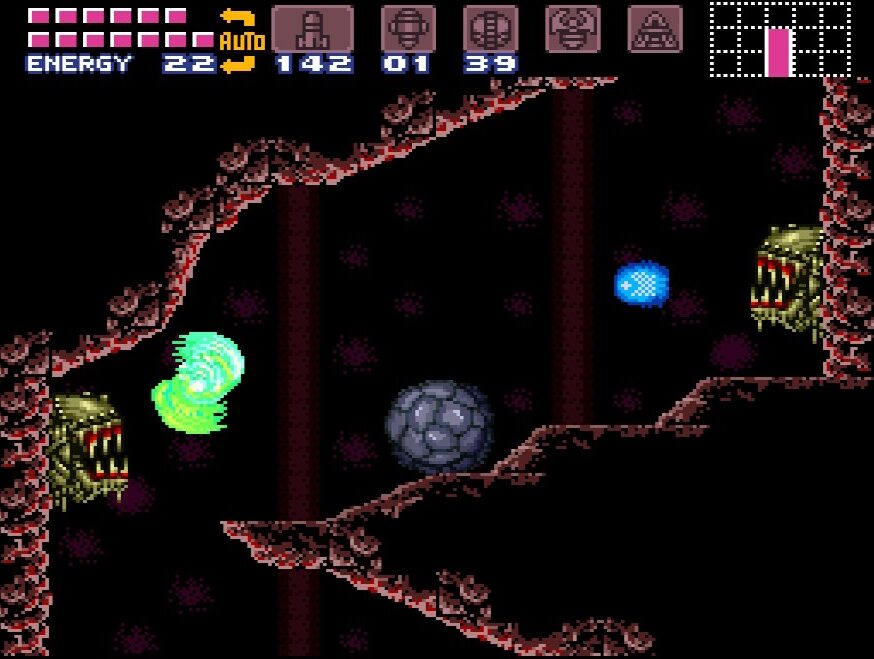
You’ll find yourself in a long, vertical hallway with Golden Pirates climbing the walls and Xenomorphs shooting fire at you. Avoid the Xeno’s and take out the Pirates with your Screw Attack. Keep on climbing upwards until you get to a blue blast door on the top right. Instead of going through it, shoot the ceiling. You’ll see an area where you can jump even higher. Make your way up and through the door on the left.
This room has a thin layer of flooring. Bomb the very center and drop down. Now, before you do anything else, get over to the left most side of the room, hugging the wall. Drop a bomb there and don’t move! The rest of the blocks beside it are all collapsible and you’ll fall down if you try to roll over to your right. Instead, roll to your left, going through an invisible wall to grab MISSILE EXPANSION #42.
Roll back the way you came from, jump up and exit the door you came in from. Back in the long room with the Golden Pirates, shoot the floor, drop down and enter the door on the top right.
You’ll now find yourself in a huuuge room full of Golden Space Pirates and rising lava. Unlike the last couple rooms we’ve seen this in, the lava will rise up and burn you, so act fast! After falling for what seems like forever, start Space Jumping up and to the right. You can either take out or avoid the Pirates, your choice. If you’re having problems keeping your Space Jump, use the platforms to get up. Either way, make your way through the door at the top right.
You’ll be in a tiny hall with two bricks on the ground. We’re coming back here in a second, but for now, make your way across and out.
You’ll come face to face with a giant statue of what almost looks to me like an amalgamation of Ridley and Kraid. In this statue’s mouth is another damn Xenomorph. Instead of freezing or ignoring them as we usually would, this time blast it right in the face with a Super Missile. Head over to where the Xeno was and you’ll find you can actually drop down. Walk across the hand of the statue (creepy) and Space Jump below it and to the right. You’ll find ENERGY TANK #12 sitting on a line platform. Do your best to avoid hitting the fireflies here, unless you like jumping in the dark. Make your way back up and into the room we previously came out of.
Back in the tiny hall, lay a power bomb and drop down. Keep making your way deeper and deeper, Screw Attacking ant enemies in your way. There’s a Save Station in the middle of this hall – it would probably be a good idea to use it. Keep on pressing down and when you hit the bottom, bomb the bricks on the lower right. Keep rolling right and you’ll see a yellow blast door you can go through.
Now, we’ll be in a tiny room with a really cool looking Chozo Warrior statue in the middle. Get to the left side of the statue and shoot diagonally down. You’ll see a little gate pop up. Hop on it and get into Morph Ball form and roll over to the left. Take out all the bugs on the other side of the room and keep going to the very left most wall. Under the pillar, lay a bomb and roll over to grab POWER BOMB EXPANSION #8!
Roll back to the other side of the pillars in this room and lay a power bomb in between the two Chozo Warrior statues. The middle part will be blown away, allowing us to drop down. Avoid the spikes and take the quasi-elevators down until you get to the bottom. Fire a Super Missile and the green door and get ready for a brawl.
There will be two Silver Space Pirates in this room. These guys are absolutely nasty. They’re invulnerable to every single piece of weaponry we have, including the Screw Attack, and they throw out kicks and ninja stars like a Grandma passing out Halloween candy. The door to the next room will remain locked, however, until we take them out.

Don’t bother shooting Missiles at the Pirates, they’ll just deflect them. Instead, get a charge shot ready and start jumping around. You may not be able to damage the Pirates with your Screw Attack, but the Pirates also cannot damage you while you’re jumping. Eventually, and with little rhyme or reason that I’ve been able to find, the Pirates will start doing some flying jump kicks. This is your chance to strike. When they land after a kick, the Pirate’s body’s will then turn golden for a quick moment. Shoot them with a charged blast while they’re still gold to destroy them. Each one will take a couple hits, but if you keep jumping around, the damage should be minimal. Once they’re defeated, proceed through the door.
The next two rooms are just long hallways leading up to Ridley’s room. Proceed through them, Screw Attacking any enemies in your way. I can’t stress this enough – make sure your Missiles and Super Missiles are full. We’ve painstakingly acquired all 50 Super Missiles in Super Metroid – it’s time we put them to use. Take out the Guard Door guarding Ridley’s room. It feels like the music is reaching a crescendo here, and you should be able to taste the proverbial “big fight feel” in the air. When you’re ready, step inside.
Ridley’s Lair Route:
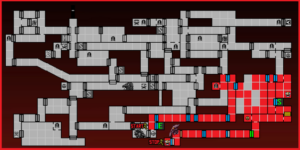
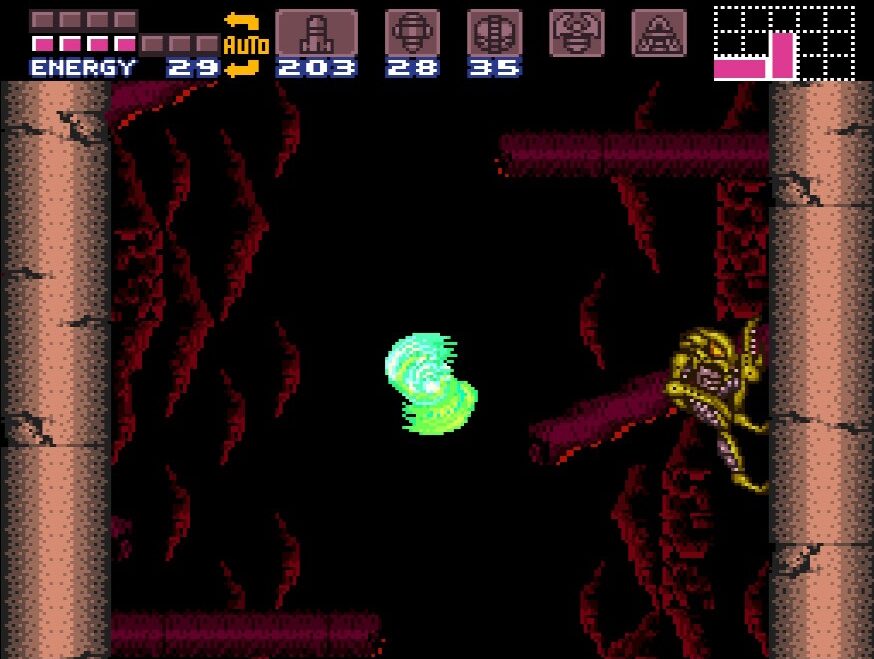
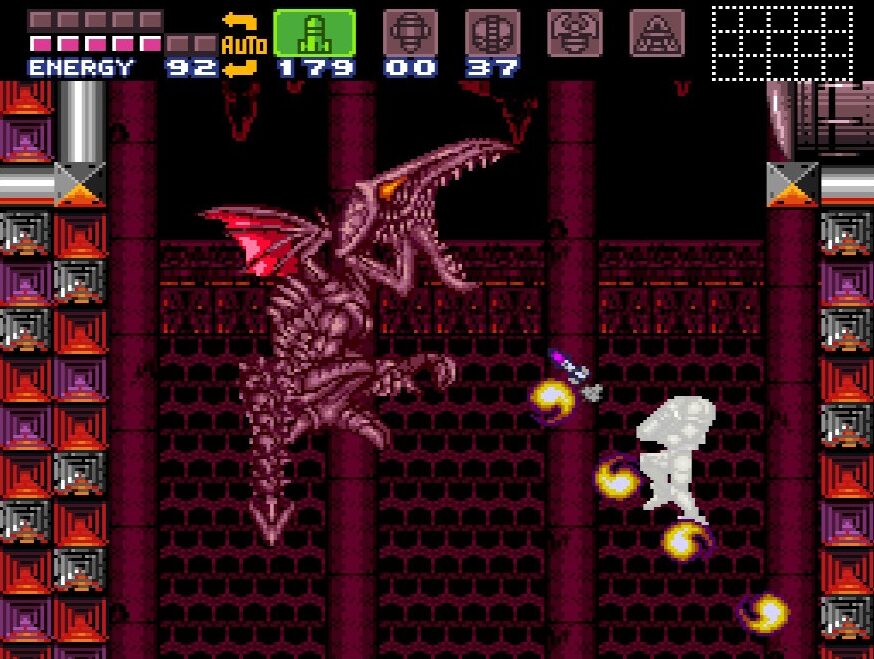
BOSS BATTLE: RIDLEY
Samus! Ridley! The time for talk is over. Now it’s time to fight!
I know this is counter-intuitive to this guide that you’ve hopefully been following, but I actually really want to encourage everyone reading to try this fight at least once without reading any of my tips. Part of the fun of this boss battle is just what a wild brawl it is. And truth be told… there isn’t much in the way of strategy. This won’t be one of those fights where you have to damage somewhere to expose a weak point and quickly strike. Nope… this will be a good old fashioned hoss fight between two big bastards trying to pummel each other to death.
As soon as the fight starts, you’ll be given a quick second where Ridley isn’t moving and instead just screams. Don’t waste this time – nail him with three or so Super Missiles right to the face!
You’ll be able to hit Ridley anywhere with Missiles and have him take damage, with the exception being his tail. His tail is invulnerable, so avoid it whenever you can. Other than that… pelt him every single way you can with Super Missiles and Missiles. There’s hot lava on either side of the room under the platform, so needless to say, don’t fall down. You will take a lot of damage in this fight, especially if it’s your first go around with the leader of the Space Pirates. To make it easier though, let’s take a look at some of Ridley’s attacks.
As I mentioned, Ridley’s tail is invulnerable, and he loves to swing it around at you. His tail will be going crazy this whole fight, so do your best to avoid it, and more importantly, to not hit it and waste a Super Missile.
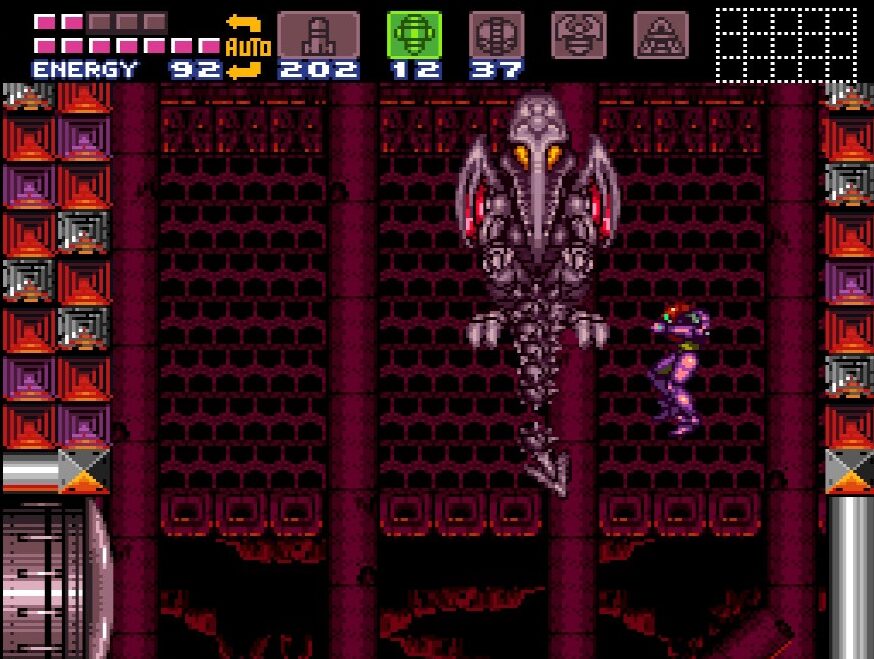
Ridley will swoop from side to side in the room, often going off screen and swooping down and diagonally. This is your chance to jump over him, turn around in the air, and pelt him with Missiles. Ridley will also pick you up if he gets the chance. He won’t do as much damage as Draygon did, but still try and avoid this. If he does grab you, aim directly up and shoot off a couple Missiles. You should land at least a hit of two.
Of course, Ridley is a dragon (of some sorts anyways) so you know he’s got some fireballs up his sleeve. He’ll shoot a line of fireballs at you that will explode on impact, either on you or the ground. These are probably the least of your worries, as you can dodge them fairly easily and even Screw Attack directly through them, taking no damage. For that matter, you can actually Screw Attack through *Ridley* and not take any damage… except if you hit his tail. The Screw Attack won’t damage him, but you’ll be safe for a second anyways. Just watch out for that tail.
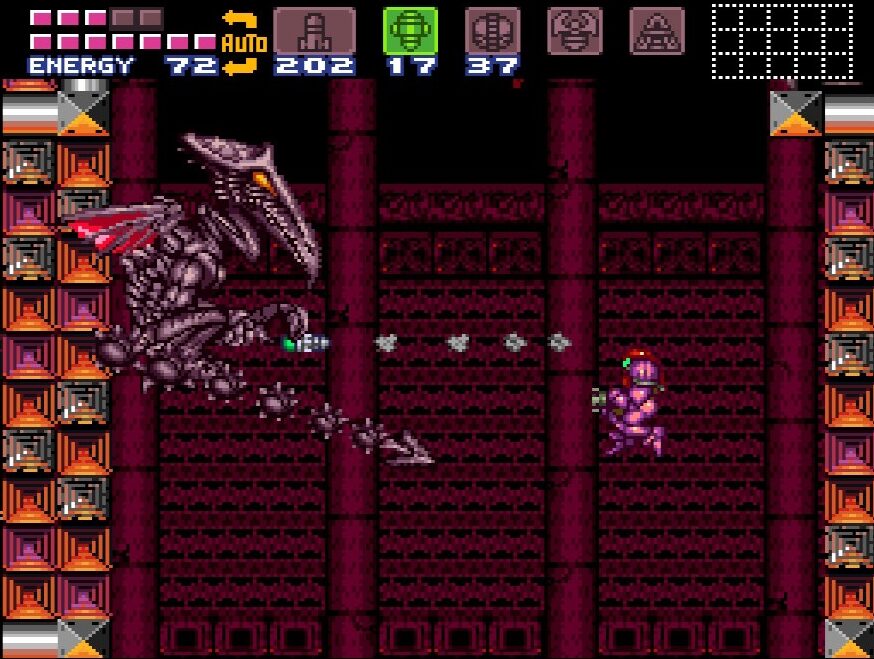
Speaking of his tail, Ridley’s signature attack is what Metroid fans have dubbed the “Pogo”. Ridley will straighten out his tail and start to bounce up and down like a point stick, trying to stab you as he goes. This is another great chance to aim up and blast the hell out of him with Missiles, duck and run under his tail when he goes up, and blast him from behind.
Obviously, Super Missiles are the way to go here. If you’ve been following this guide, you should have 50/50 Super Missile tanks, so don’t be shy using them. Ridley is by far the toughest enemy we’ve faced so far in terms of durability. The battle was too frantic to count, but I’m guessing if you hit him with about ~40-45 Super Missiles that should do it. Of course, that is assuming you hit every shot you take, which is about as likely as Ridley stopping to sing us a song mid battle.
If you run out of Super Missiles, you can either use charged beams, which hit hard but will take more precise aiming, or switch over to regular Missiles. Again, if you’ve been following this guide, you should have over 200 Missiles, and now is the time to use them. I’d recommend using Missiles and firing at will. Unload in every direction as you’re jumping and spinning around.

Just like Golden Torizo, the key to this is to always be moving and jumping. Try to aim your Super Missile shots, but don’t be so focused on making sure you land the perfect shot that you’re not firing at all. We need to hit Ridley a lot and accepting that some shots are going to miss will make this a lot easier.
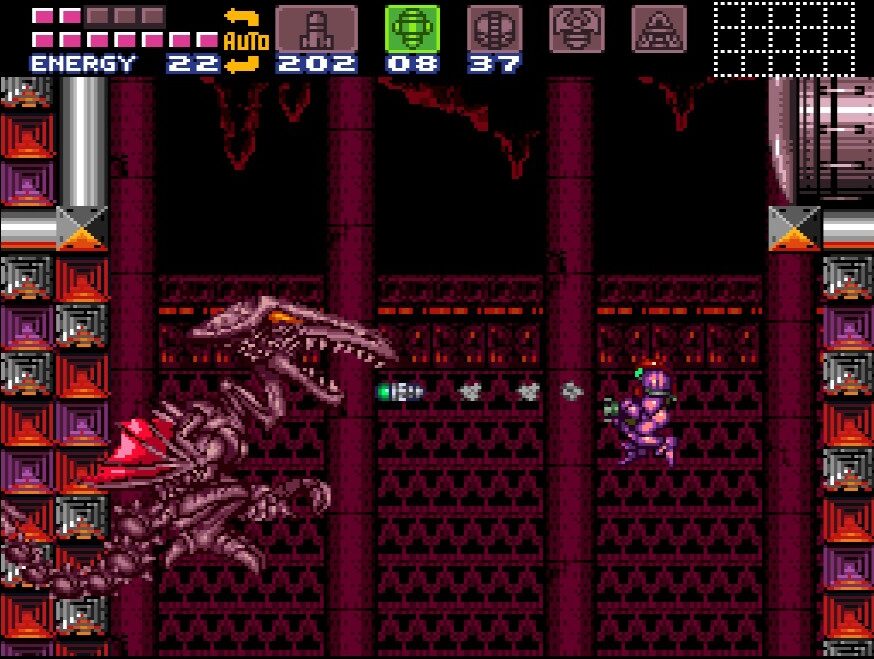
Keep blasting him with every weapon at your disposal and watch as he turns redder and redder. Eventually, the slugfest will come to an end, Samus will raise her arm in victory, and you’ll hear the sweet, satisfying crunch of Ridley exploding.
Once Ridley is dead, head over into the next room, shoot the blocks underneath the door and grab ENERGY TANK #13. You earned it.
Leaving Norfair
Almost home. Now that you’ve won the bullfight, it’s time to get the heck out of Norfair. There are a few last pickups in the depths here, so I’ll quickly guide you on your way back to make sure you don’t miss them!
Make your way aaaaall the way back to the room with the big Ridley/Kraid looking statue that we got the Energy Tank from earlier. This time you’ll want to scale to the top of that room, avoiding the Xenomorphs and the boulders falling down everywhere. When you get to the top, you’ll see a blue blast door on your right. Ignore it since it doesn’t lead us anywhere we need to go. Instead, head left and run through the invisible wall and out the door.
Make your way up this room. Pretty quickly, you’ll see a blast door on your left. Hold off going through for now though and head right. You’ll see MISSILE EXPANSION #43 just sitting there for the taking. If this seems too easy, that’s because it is; lay a power bomb and you’ll see a couple pathways behind the Missile tank revealed.
Use your Spring Ball to jump up to the highest pathway and roll over. This next section is kind of weird since most of the pathways are invisible to us, but basically you want to keep jumping in Morph Ball form as high as you can, roll over to the right, drop down, and jump right again. Keep doing this until you land on a dissolvable brick. Lay a bomb and keep rolling to your right until you see a door on the floor.
Fall through the door and you’ll see a power bomb on your righthand side. Shoot the blocks, jump over and POWER BOMB EXPANSION #9 will be yours! Leave through the door on the left, and you’ll see that this is the door we passed by a second earlier. Make your way back through the invisible wall, up the room, and out of the door on the left.
In the next room, jump over all the rising lava until you hit a very inconveniently placed brick wall with but a single pathway for us to roll under. There’s no tricks or gimmicks here unfortunately, so you’re gonna have to wait until the lava is low and roll as fast as you can to the other side and jump up to the first available platform. Stop on this particular platform and lay a bomb right in the center. You’ll unearth a little tunnel that you can roll through. Creep over and grab MISSILE EXPANSION #44. When you’re finished, go out and through the door near the top corner.
Follow the path here and you’ll eventually wind up in the familiar Bubble room! Believe it or not, that’s everything there is to do in Norfair! Finish up any loose ends you might have down here, and when you’re ready, head up to Brinstar.
Norfair Route:
Next Chapter: The Final Battle