


Metroid Prime Hunters Walkthrough – Vesper Defense Outpost
WALKTHROUGH
- Celestial Archives
- Alinos
- Vesper Defense Outpost
- Arcterra
- Celestial Archives, Part II
- Alinos, Part II
- Arcterra, Part II
- Vesper Defense Outpost, Part II
- Oubliette
The Battlehammer
Scans in This Section
Bioforms: Alimbic Turret v1.4
Lore: Alimbic Prophecy 03, Octolith Safeguard, History 03, History 04
Objects: VDO, Spore Farm, Lab Equipment, Mixing Tanks, Clone Engine, Fuel Rod, Frozen Fuel Line
Equipment: Battlehammer
Vesper Defense Outpost (VDO) is a refueling station and munitions dump once used by the Alimbics during their rule. The station houses numerous fusion weapons and must be kept at a constant subzero temperature in order to prevent accidental rupture. Eons of neglect has led to the structural failure of several fuel canisters, resulting in the spill of radioactive fuel now frozen onto and in orbit around the station. We’ll have to be careful as we navigate this unstable area. However, a weapons depot is the perfect place to hunt for more clues on the ultimate power’s whereabouts.
Upon exiting the gunship, scan the VDO terminal directly in front, then head towards the door and scan ALIMBIC PROPHECY 03 located above. Enter the Bioweaponry Lab and scan the SPORE FARM, LAB EQUIPMENT, MIXING TANKS, CLONE ENGINE and FUEL ROD after taking out the Petrasyls. Next, after you arrive at the Weapons Complex, head down the left hallway and scan the FROZEN FUEL LINE on the floor. You’ll hear a turret locking onto as you approach the scan, but don’t shoot just yet! Scan the new ALIMBIC TURRET V1.4 before destroying it. Head right afterwards and take out the Psycho Bits along with their spawning devices. Once you’ve dealt with them, scan the OCTOLITH SAFEGUARD, HISTORY 03 and HISTORY 04 datashades. After gathering your scans, look down the hole in the middle of the room and you’ll notice a couple of Lesser Ithraks hanging from opposite sides of the ceiling. Take them both out from above to spawn a shield key, then drop into the room below and snatch the key to reveal ATTAMETER ARTIFACT #3A and activate a platform leading back up.


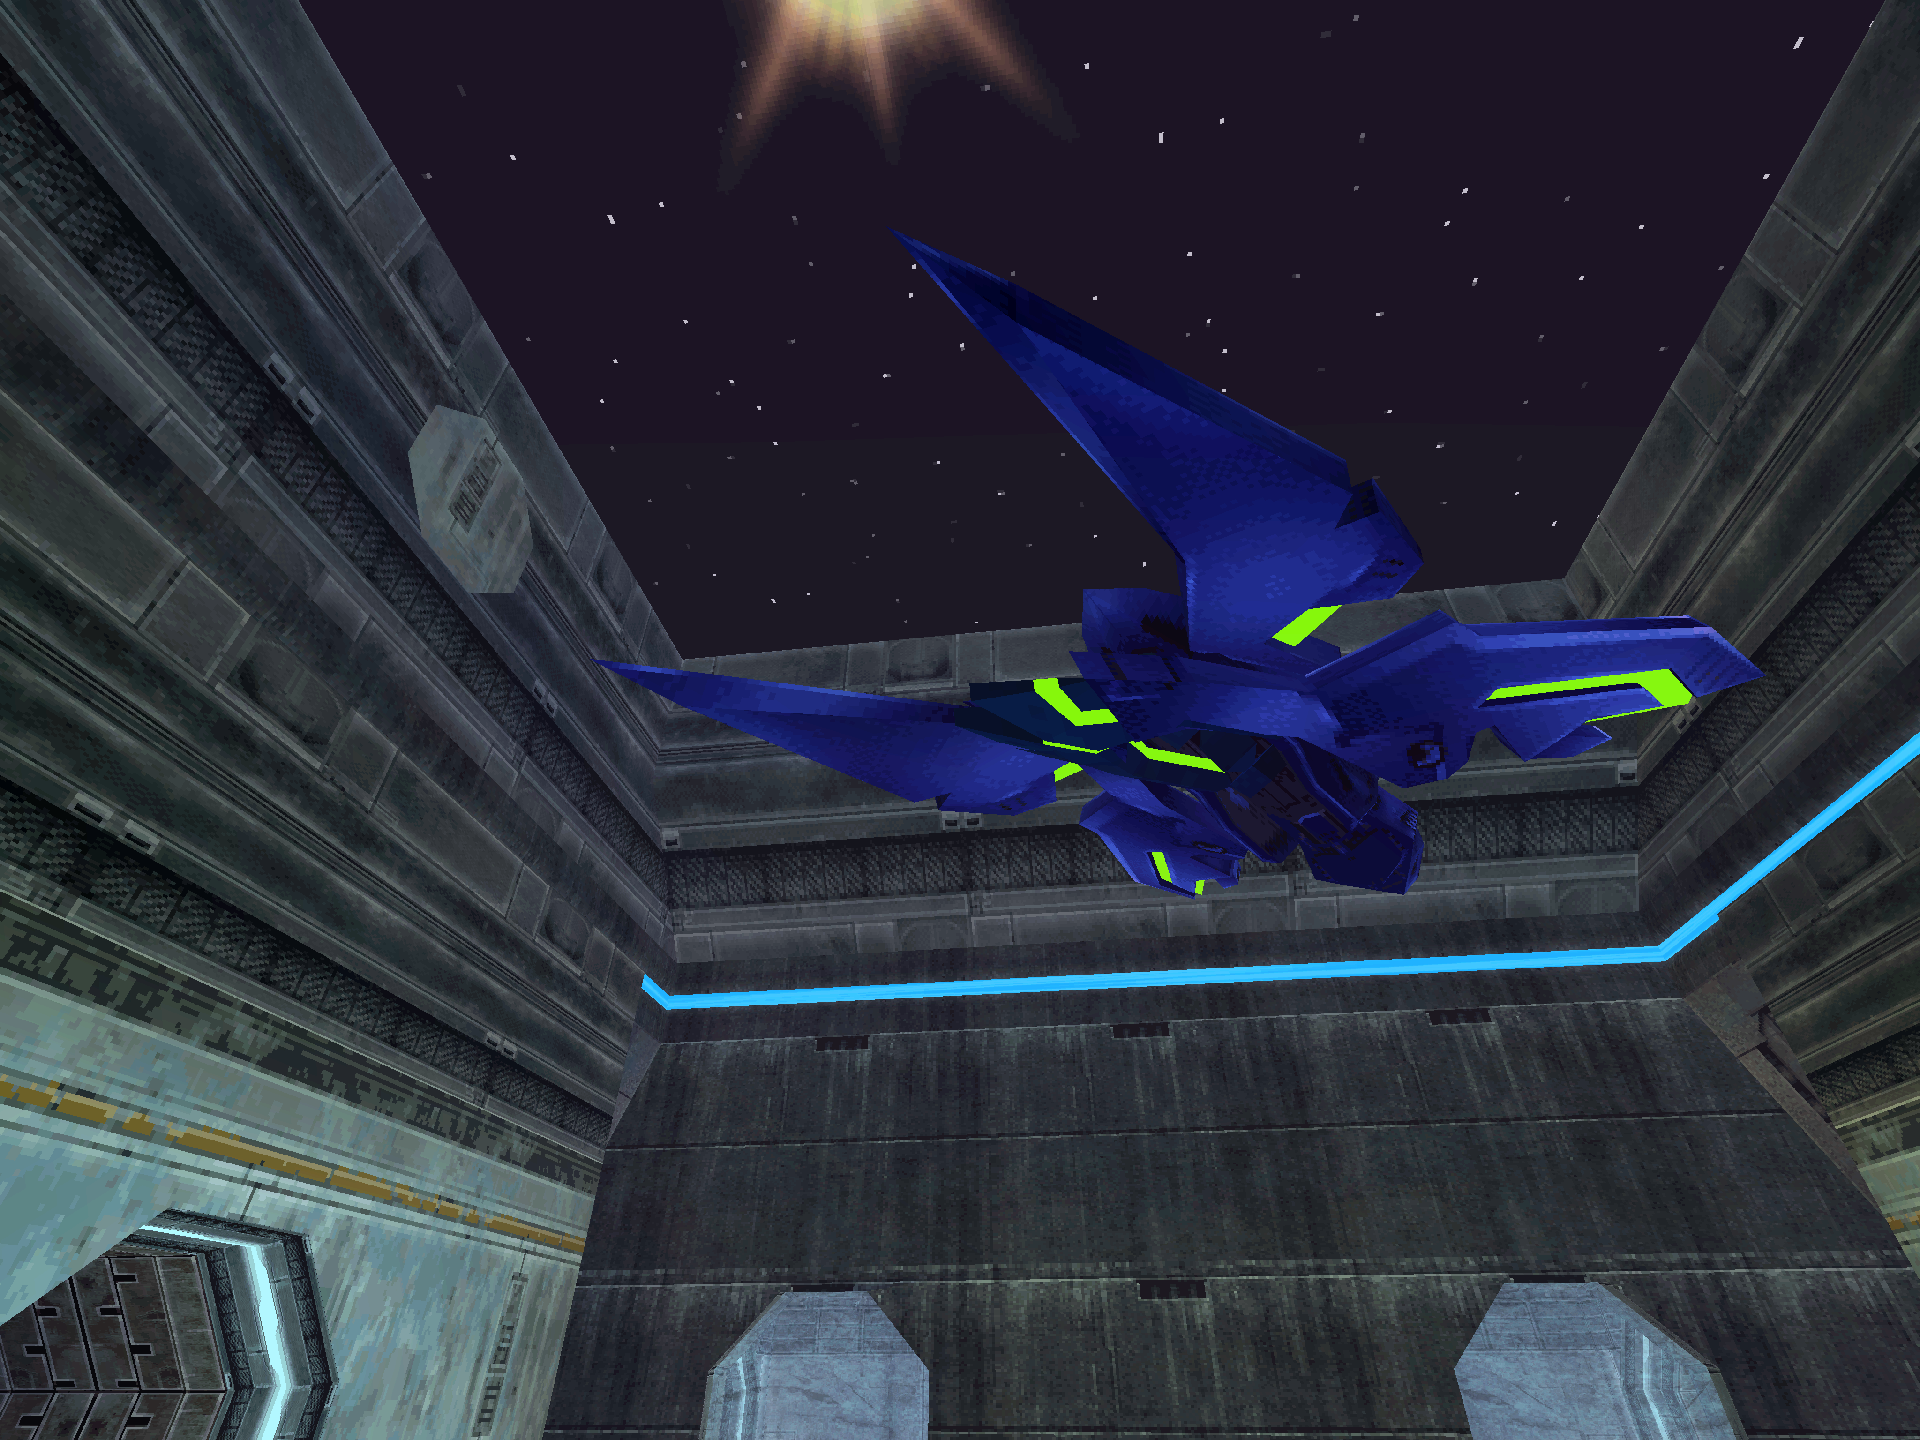
As you leave the room, you’ll be faced with a tunnel door that has bright blue glowing pillars flanking each side. This is our next destination, so open the door and activate Morph Ball. We have a few ways to go from here. First, go to the moving platform at the center and bomb jump on top. After it lifts you up, head right and perform a double bomb jump to collect MISSILE EXPANSION #4. Then head directly to the left and use the jump pads to navigate to the top of the room. Wait for the green lasers to dissipate before entering the jump pad! At the top you’ll enter what might be the coolest Morph Ball tunnel in the entire series: A see-through tube surrounding a destroyed container with all sorts of brain-like organic matter seeping out. Gnarly! On the outside we have a destroyed wall with a clear view of some of the frozen radioactive fuel orbiting around the station. These don’t serve any gameplay functionality, but this is one of my favorite pieces of art in Metroid so I wanted to highlight it! After exiting that wicked tunnel, scan the Cortex Chamber as well as the four spectral locks in the tight enclosure. Scanning the locks will reveal the BATTLEHAMMER, allowing us to progress to new rooms we weren’t able to access before. How do the Alimbics have Weavel’s Battlehammer in storage from a centuries old space station? Don’t think too hard about it.


The Third Stronghold
Scans in This Section
Bioforms: Psycho Bit v4.0, Crash Pillar *missable*
Lore: History 07, History 05, History 06, Alimbic War 10, Oubliette 08, History 08, Alimbic Prophecy 07
Objects: Stronghold Portal *missable*
Equipment: Large UA Pack, Small UA Pack
After obtaining the Battlehammer, wait for the LARGE UA PACK to spawn in its place so that you can add it to your logbook. Then shoot the green force field with the Battlehammer and roll back through the tunnel into the main room of the Cortex CPU. Drop down to the middle level by moving right so that you don’t fall through the gap. If you do, just roll right and bomb yourself back onto the moving platform. Note: You’ll encounter a Quadtroid (also not related to Metroids just like the Petrasyls, what is up with this game?) that you won’t be able to scan yet. To deal with it, just lay a few bombs for it. Dropping a bomb next to it will make it explode instantaneously, so wait to drop the succeeding bomb as you descend from the blast each time. Bomb jump your way to the Morph Ball tunnel in the center to access a path leading to the top of the Compression Chamber.
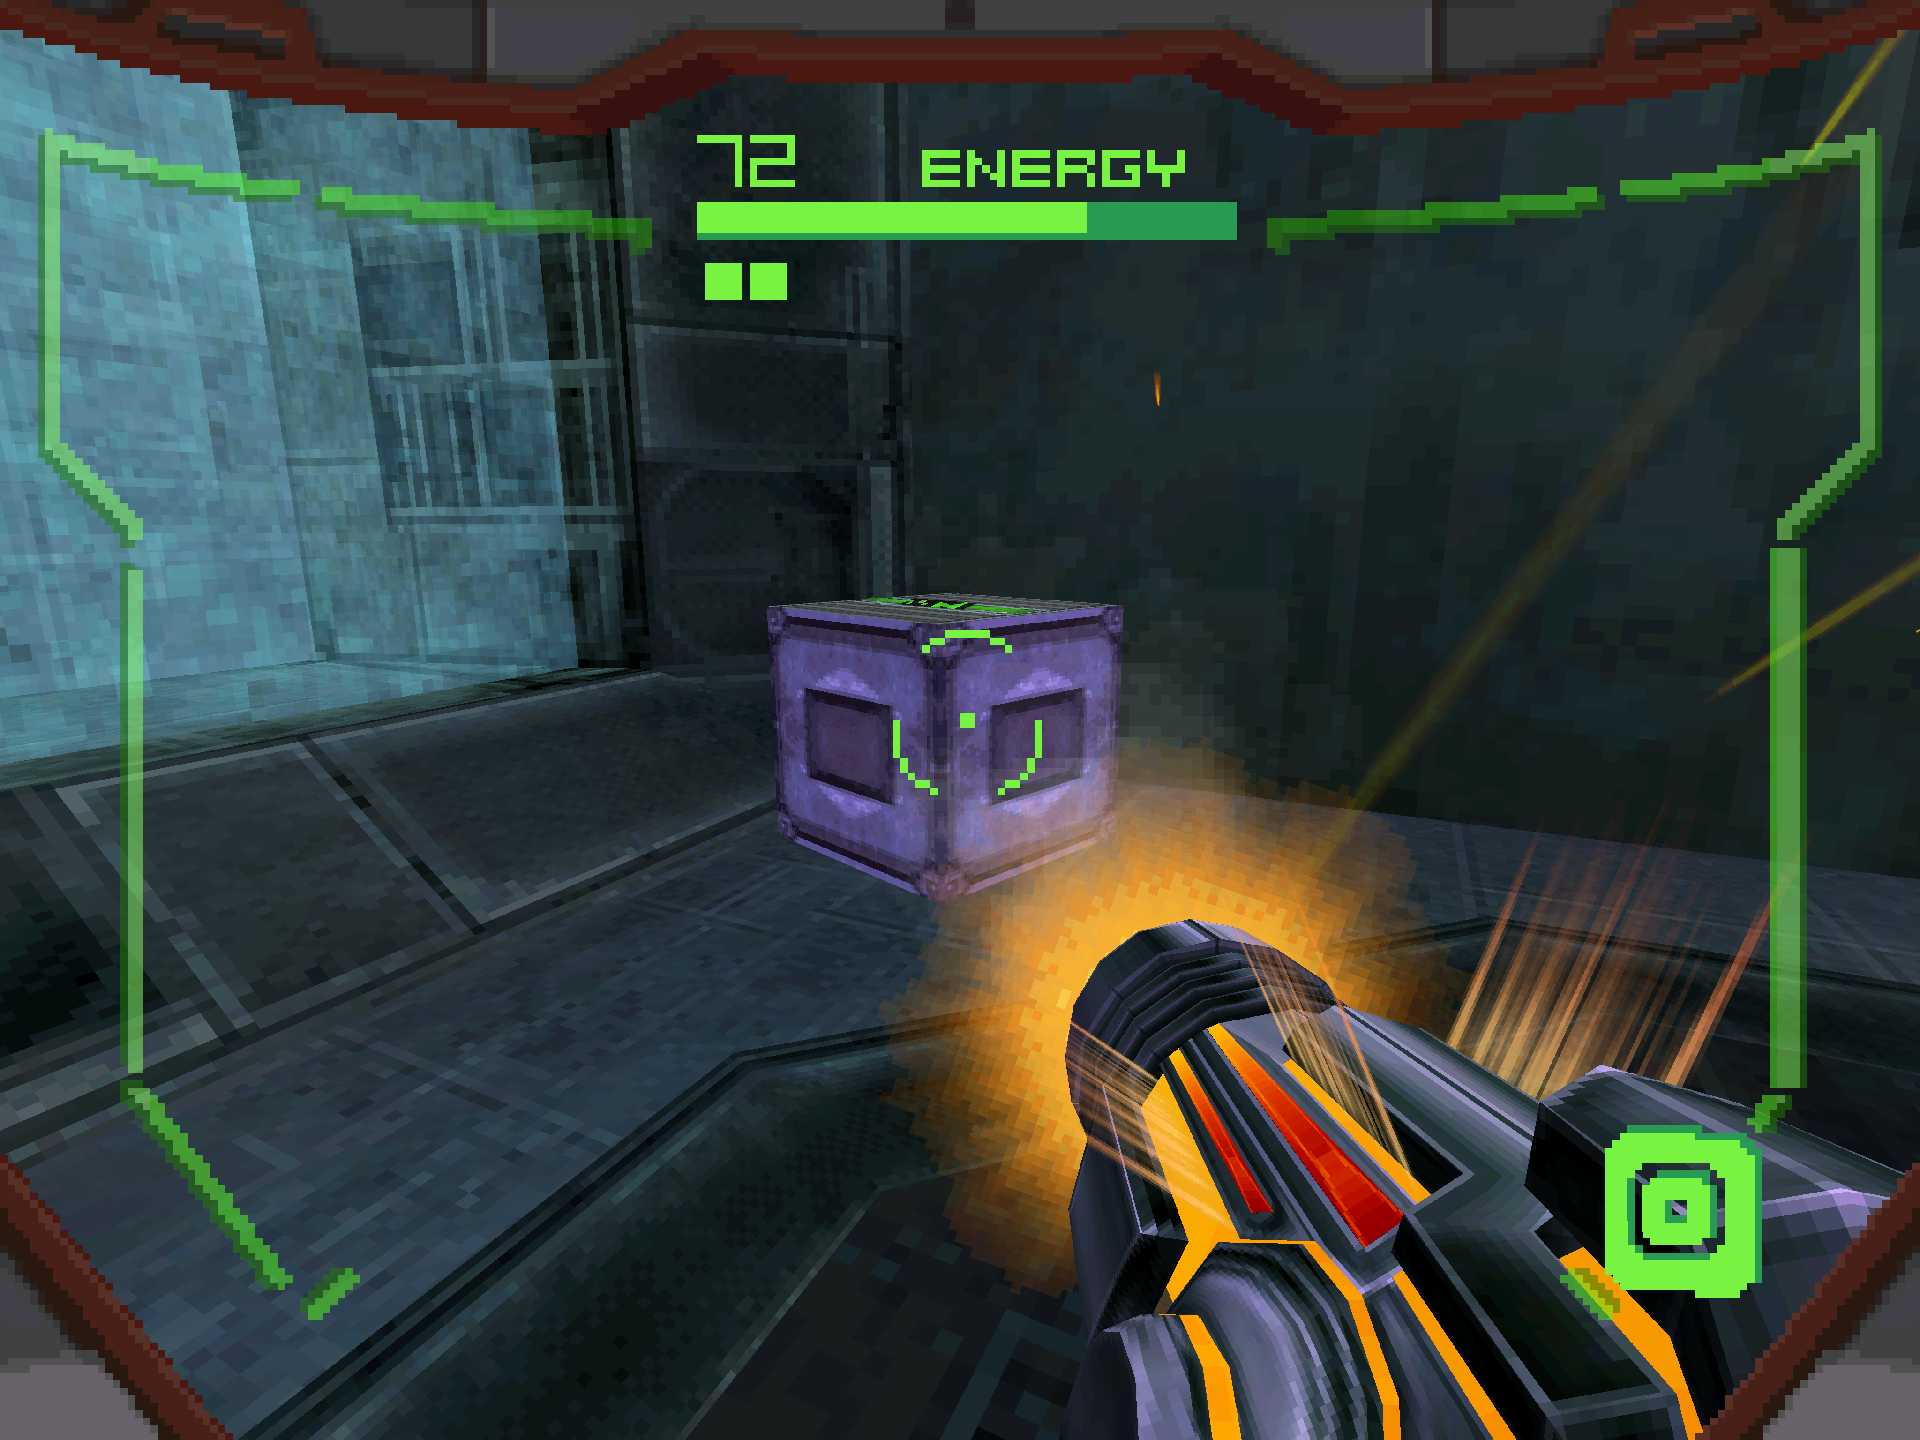
In the Compression Chamber, you’ll see most of the room covered in various force fields blocking your access. Before we do anything, scan the HISTORY 07 datashade along with the STRONGHOLD PORTAL. Use the Battlehammer to destroy the green force field and enter the other half of the complex. You’ll be met with an Alimbic Turret and some Psycho Bits spawning from devices on the ceiling. Deal with those, then activate the Scan Visor to add the HISTORY 05, HISTORY 06 and ALIMBIC WAR 10 datashades to your logbook. Keep your visor open and scan the panel on the top ledge and back wall of this side of the complex. These will unlock a set of force fields on the bottom level, including a set containing a Universal Ammo Expansion. To reach this area, we’ll have to head back to the Cortex CPU main room and take the tunnel on the bottom left. Before you leave, destroy the single crate near the back wall to add a SMALL UA PACK to your logbook.


Upon reentering the Compression Chamber from the bottom floor, scan one of the PSYCHO BIT V4.0S before taking them and their spawning devices down. These ones have extra shielding and shoot projectiles that can freeze you in place, so now’s a good time to try out the new fire power of your Battlehammer! Afterwards, collect UA EXPANSION #1 and roll to the other side of the room. As soon as you enter, you’ll be attacked by a Lesser Ithrak. Defeating it will spawn a Shield Key which you can use to deactivate the force fields on the back wall. Head back and scan the OUBLIETTE 08 datashade hovering just on top of the tunnel entrance. Enter the tunnel and use the jump pad to access a compartment at the top of the Compression Chamber housing BINARY SUBSCRIPTURE #3A. Collect it and scan the HISTORY 08 datashade before dropping back down. As soon as you collect it, a Guardian will ambush you on the top floor, this time firing Volt Driver shots. Defeating it will disable the last of the force fields, allowing you to exit the room and head back to the Weapons Complex. After entering the area, head back into the room where you collected the first artifact and use your Battlehammer to destroy the green force field. On the other side, scan the CRASH PILLAR and ALIMBIC PROPHECY 07. The Crash Pillar will activate as soon as you get near it. Wait for it to levitate above you, then fire a homing missile at its underside. Two direct hits will turn it to scrap and activate a platform leading to the top level. Ride the lift to the top and activate the ship deck portal for a quick shortcut back to the VDO Gateway. I actually recommend using it here to save your game back at the gunship, because if you die at the next section, it’s A LOT of lost progress. After you save your progress, teleport back over to the Weapons Complex and continue down the hallway. Hopefully you’ve practiced up on your aim, because you’re gonna need it real soon!


Sylux
Scans in This Section
Bioforms: Sylux, Lockjaw
Objects: Gestation Tanks, Delano 7 *missable*
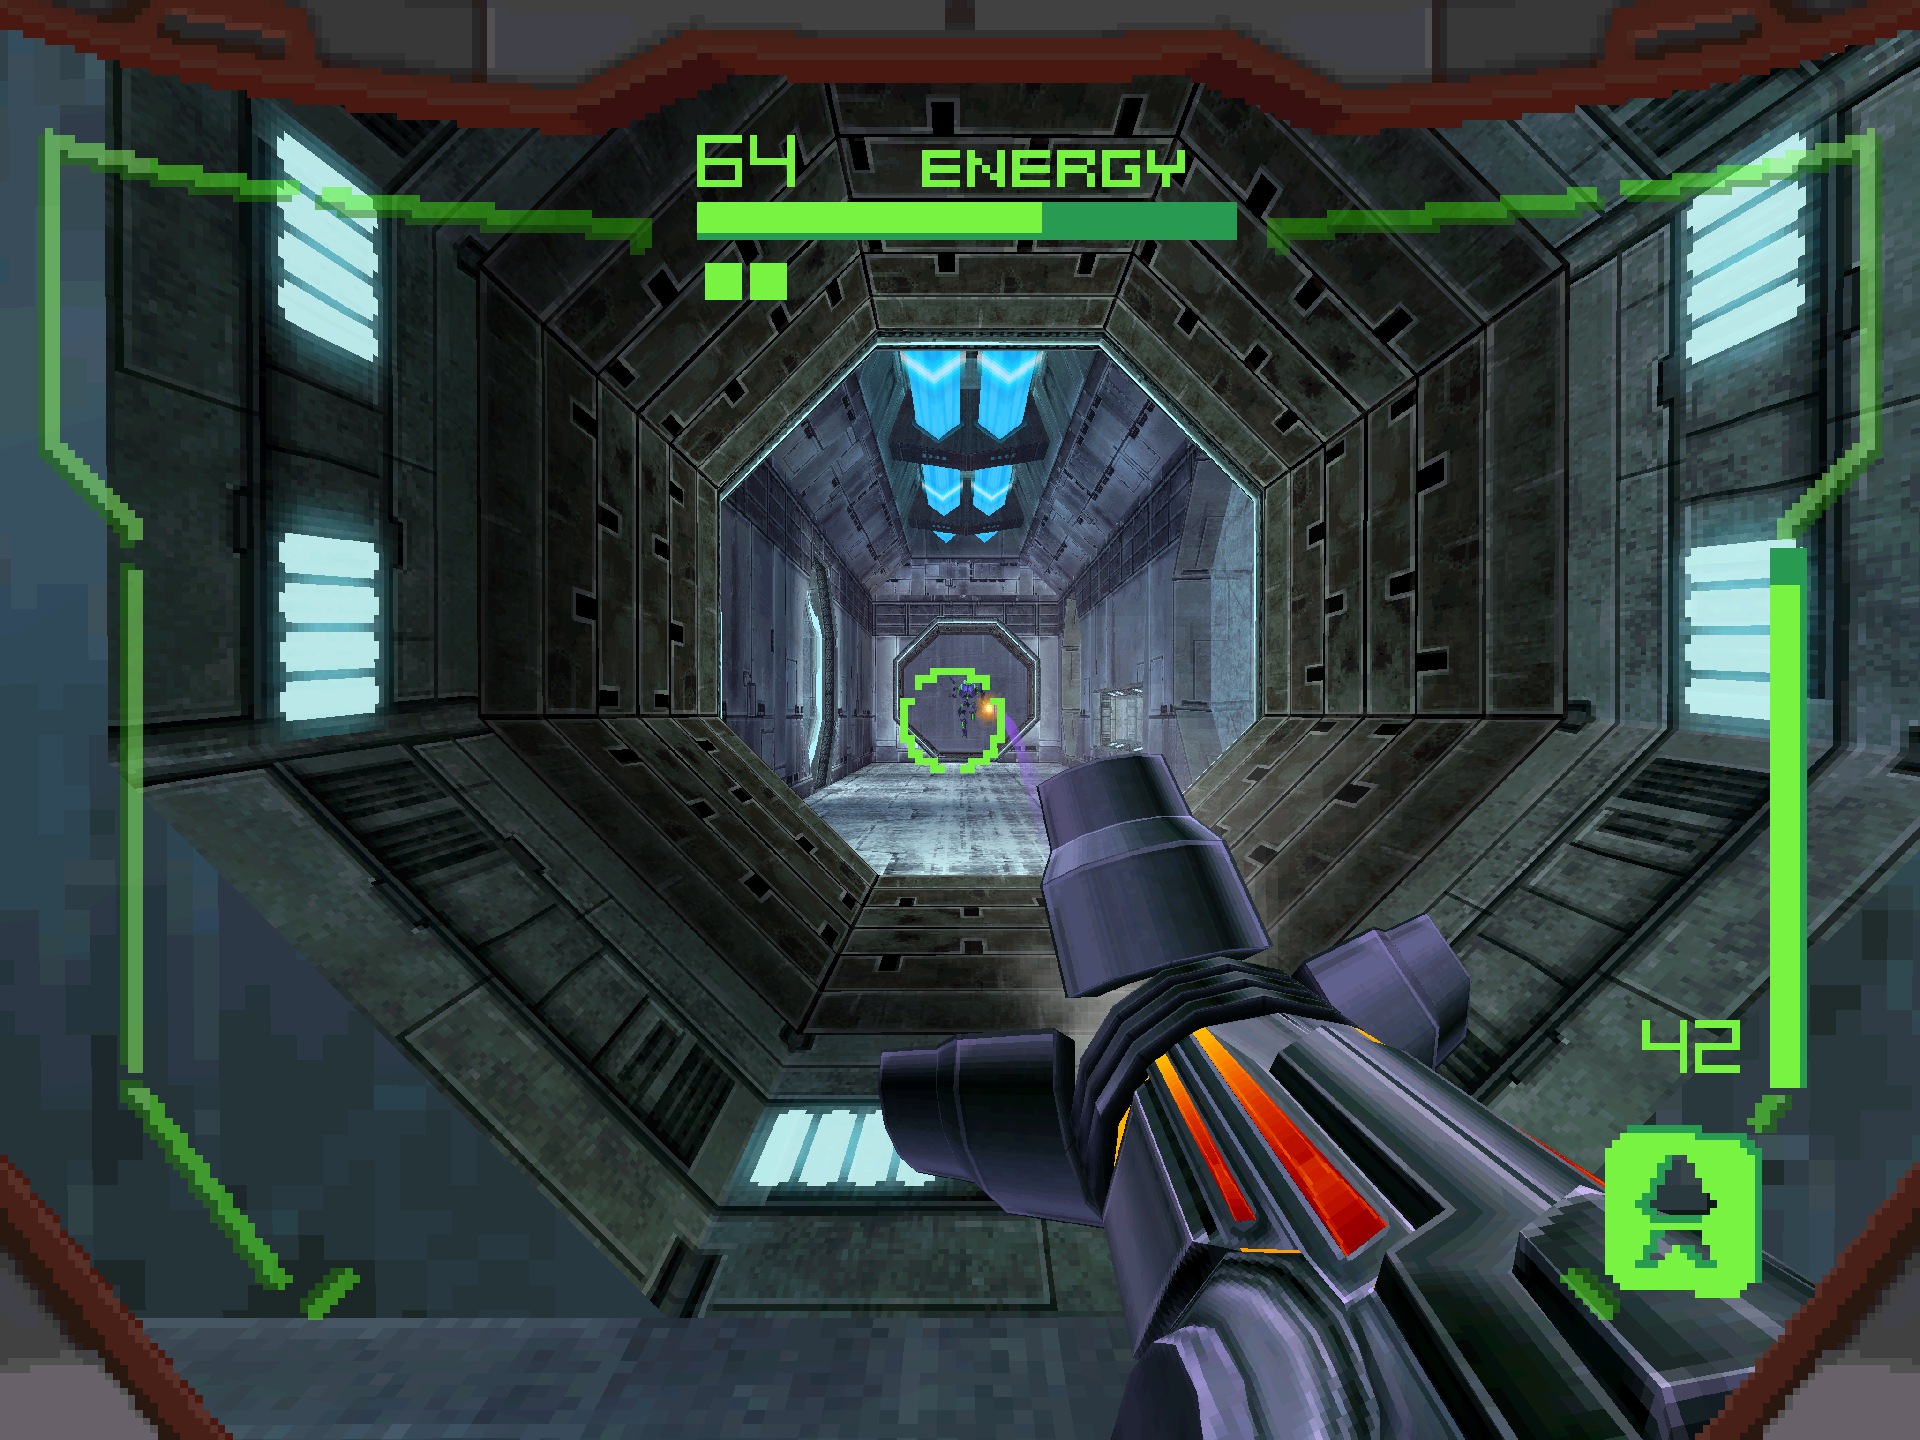
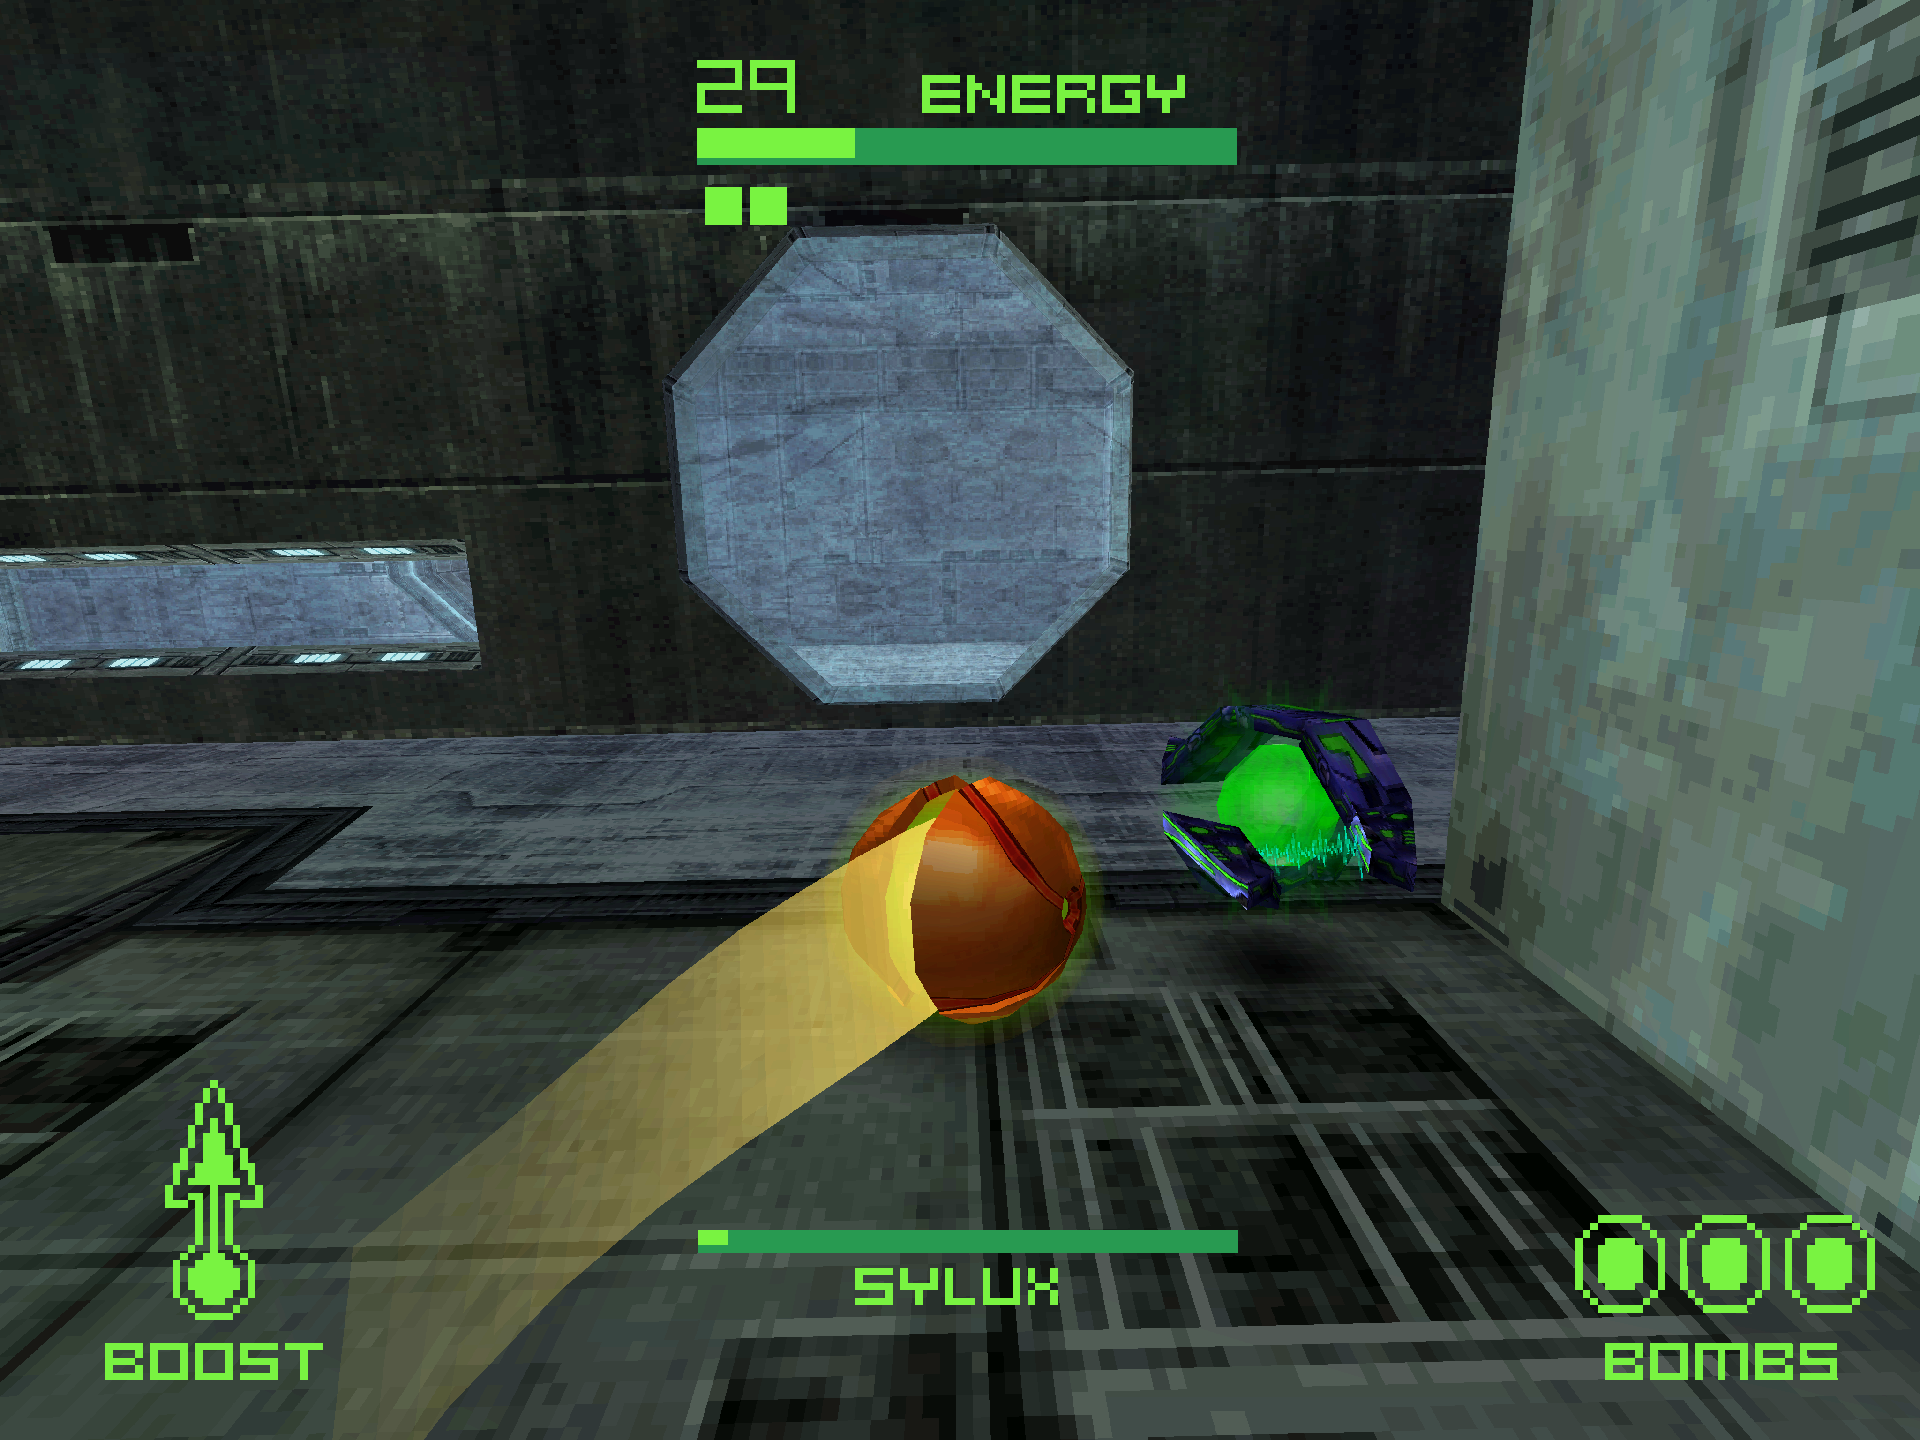
At the end of the hallway, we come face to face with SYLUX, another Hunter searching the Alimbic Cluster for the ultimate power. Sylux is a bit of a unique character amongst the cast in that he later becomes a major antagonist in Metroid Prime 4: Beyond, but for now all that’s known about him is his intense hatred for the Galactic Federation as well as Samus by association. He specializes in tracking targets, making him a deadly foe in the shadows as hinted at in later Metroid titles. Despite that, he’s not afraid to go on the offensive either. All of the weaponry and technology he uses are stolen Galactic Federation prototypes, including the Shock Coil which has since become a banned technology. That’s the side of Sylux we’ll be seeing in Metroid Prime Hunters.
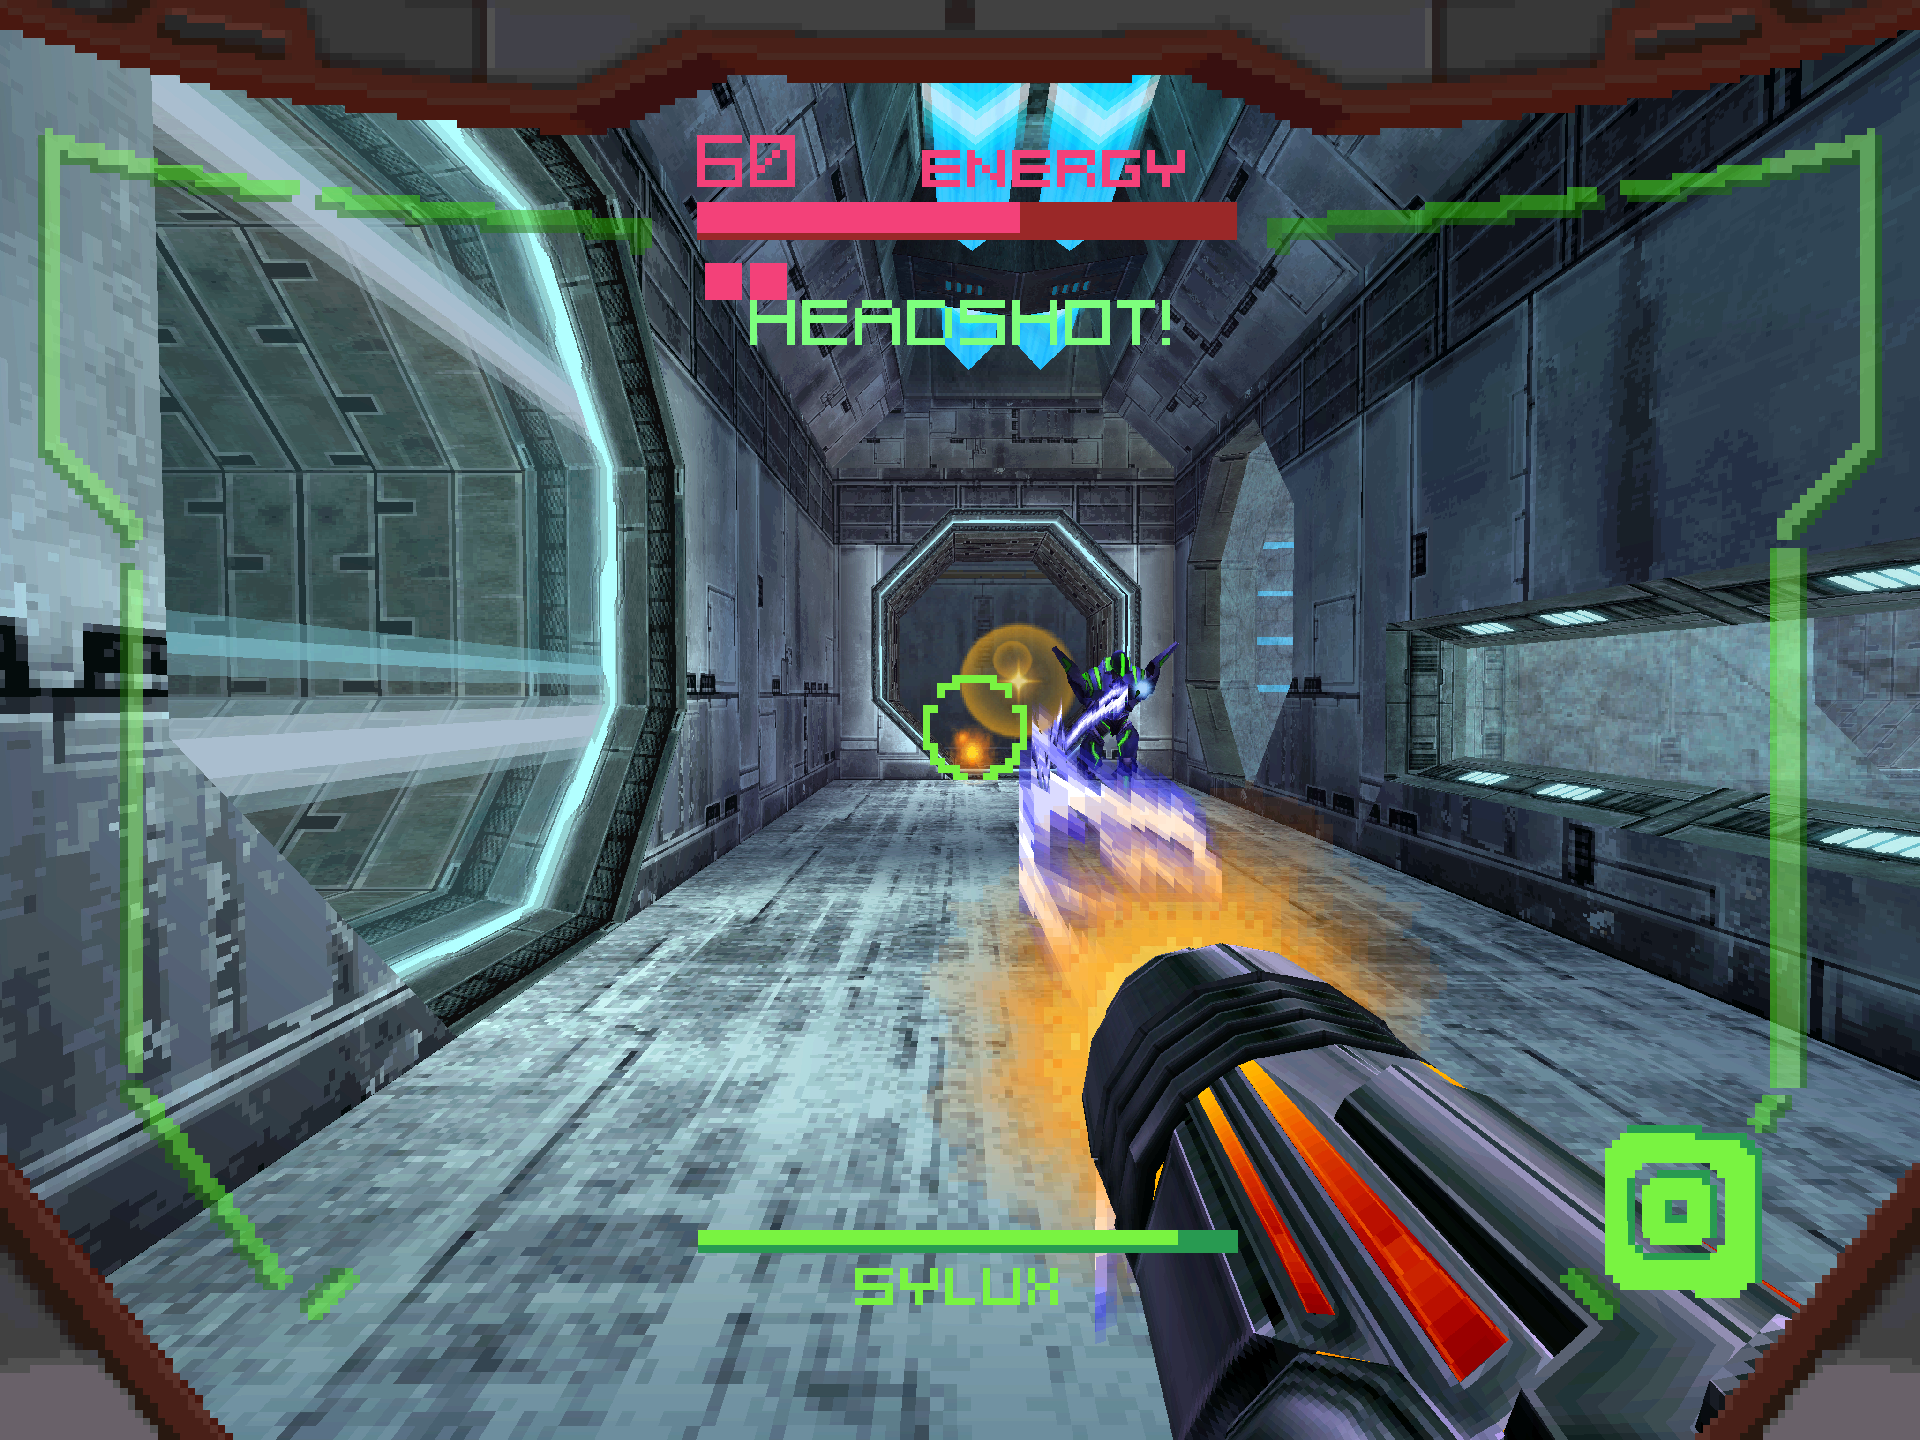
Sylux will be rushing you down most of the fight with the Shock Coil. If hit, you’ll begin slowly losing health; however, the true potential of this weapon is actually never shown off in singleplayer. In multiplayer, Sylux will replenish his health for every unit of damage done, and a consistent connection with a Shock Coil stream will result in rapid health drainage after a short period of time. We don’t have to worry about those effects here though. This weapon is only effective in close quarters, so keeping your distance is the number one rule to remember during the encounter! The first phase of the fight is essentially a long interconnected square-shaped hallway, so whenever Sylux gets within Shock Coil range, activate Morph Ball and boost yourself away, dropping some bombs along the way. Homing missiles are a great option for most of the hallway, though I prefer the Power Beam at the end with the Gestation Tanks as Sylux can occasionally weave between them, making missiles a little more difficult to connect. If you start running low on health and ammo, you have a few crates lying around that can provide a refill.
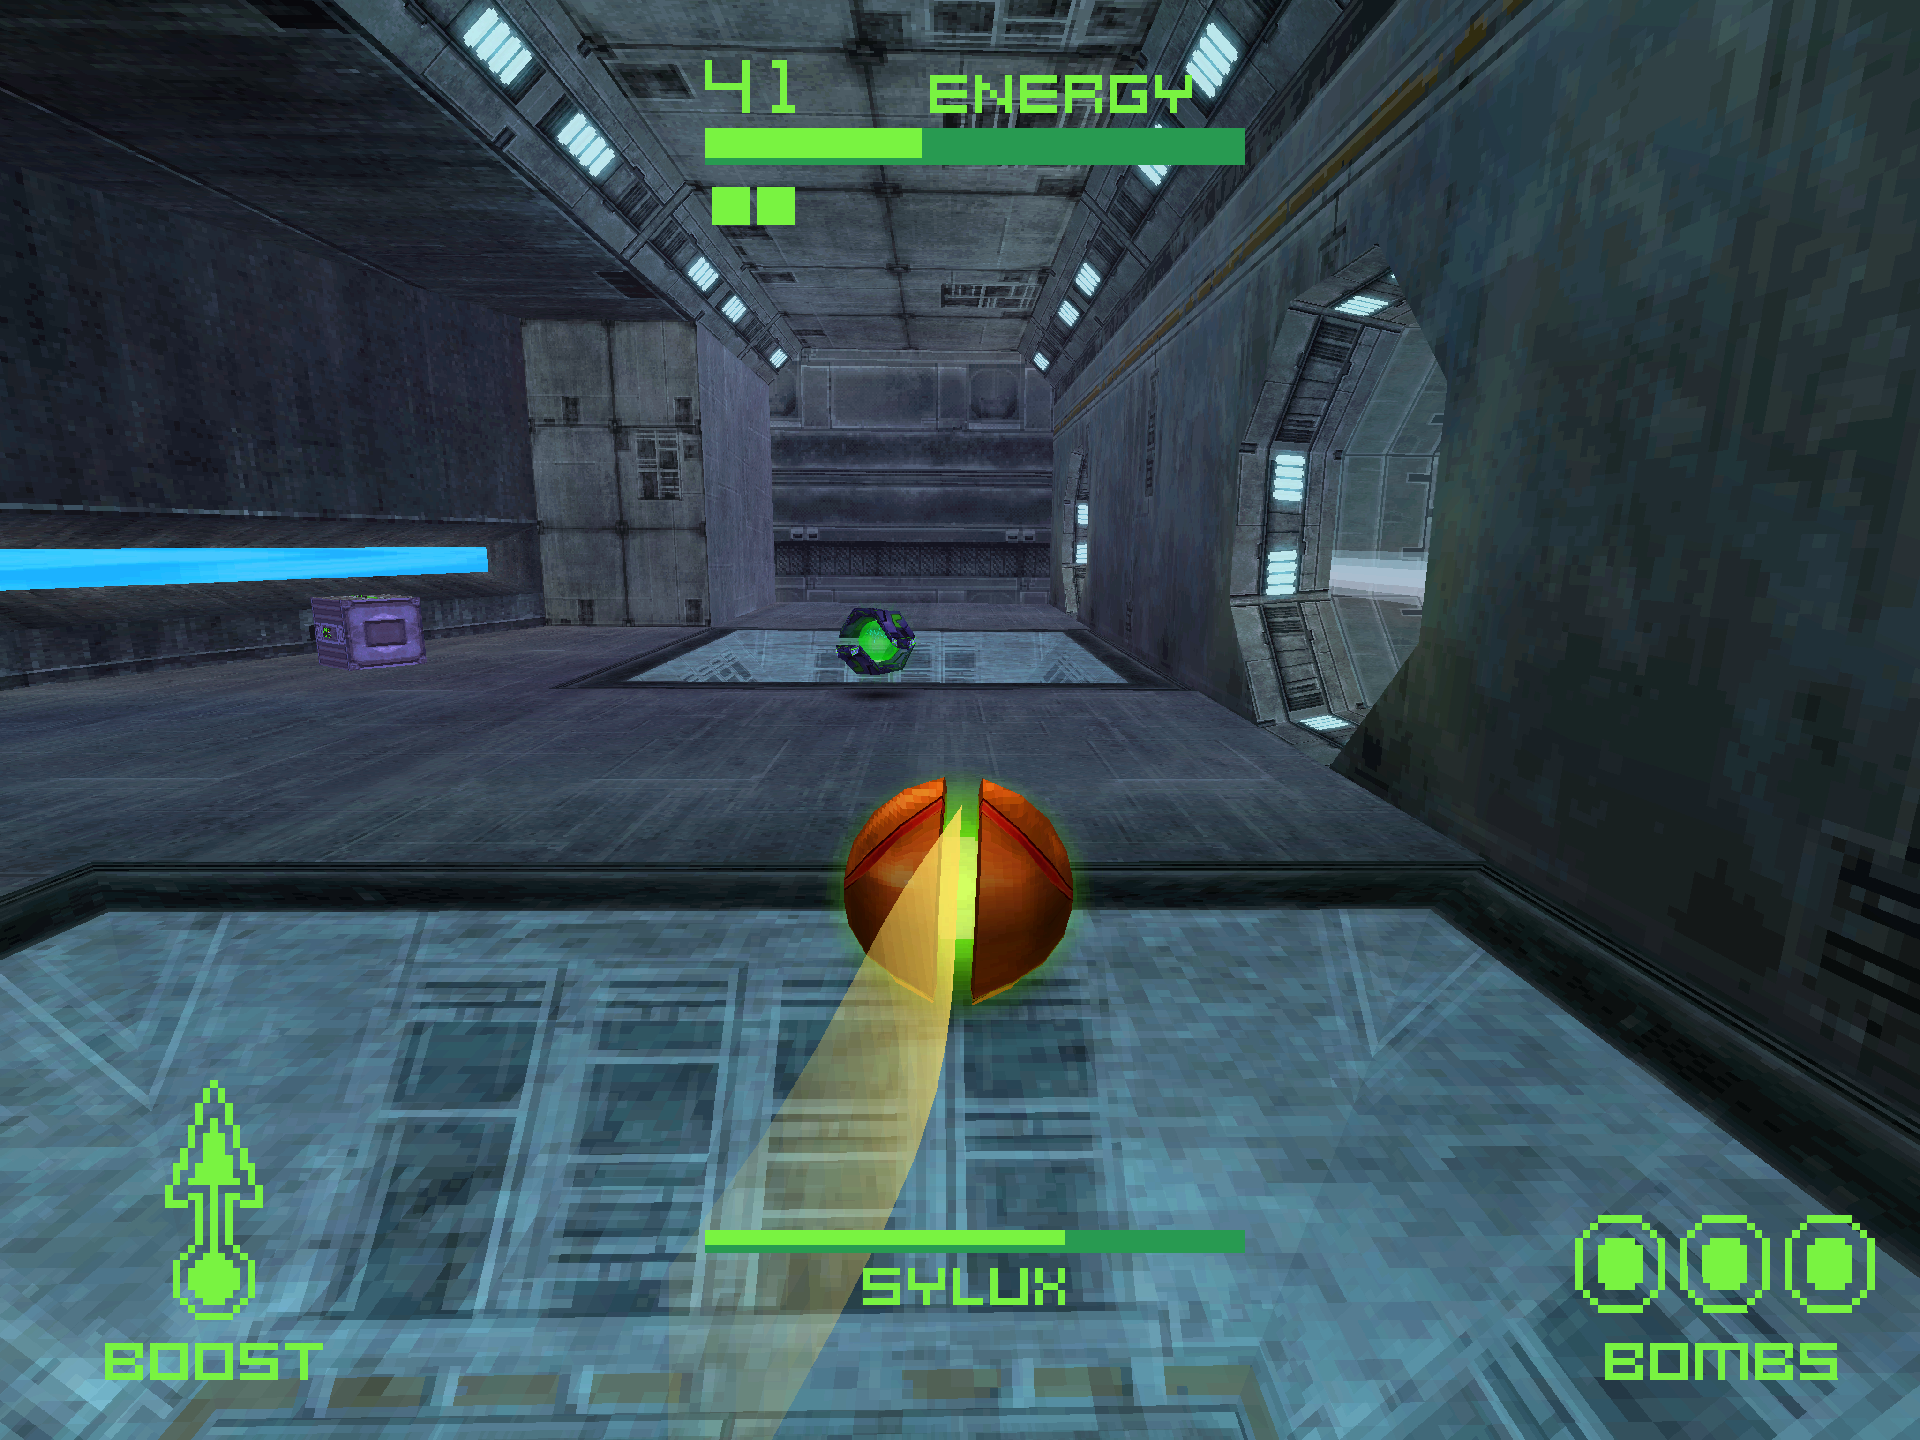
After you’ve dealt a little bit of damage, Sylux will start occasionally transforming into the LOCKJAW. The Lockjaw is very fast and will catch up to you, so your best bet is to bunny hop around it while firing off your Power Beam. Sylux will drop trip wire mines that you’ll want to avoid. A single mine does minor damage, a trip wire does decent damage, and getting caught in the center of a connected trio does CATASTROPHIC damage. We want to avoid this latter scenario at all costs! After enough damage has been dealt, Sylux will retreat to the center of the Weapons Complex. If you’re running low on health and ammo, blast open the crates in the hallway before following him in. This is also a great time to scan the GESTATION TANKS since you won’t be pre-occupied with the battle.
When you enter, a force field will lock you into the new arena and Sylux will attempt to ambush you. There’s some more crates inside if you’re still running low on resources, but I’d try to save them for later if you can. After about thirty seconds, Sylux will call in his ship, the DELANO 7, through the opening to assist him. Be sure to scan this, it’s the only logbook entry during a Hunter fight that’s missable! The Delano 7 has an autocannon that will lock on to you and fire low damage shots if you stand still. You can fire at the ship to momentarily disable the cannon, but I wouldn’t even bother with this. You should always be moving during the fight anyways, and as long as you’re moving, the autocannon shouldn’t be an issue.
Your biggest concern should be Sylux’s trip wires, as they stay up even after he leaves his Lockjaw form. He will try to pressure you into these traps as he rushes you down, so keep your spatial awareness in-tact so that they don’t eat away at your precious health pool! Due to the nature of the arena, you’ll also want to go into Morph Ball whenever Sylux activates the Lockjaw. It’s very easy to get ensnared while standing, even while bunny hopping. The best way to avoid the trip wire traps is to circle around the edge of the arena in Morph Ball while Sylux does his thing.
Keep your focus on Sylux and he’ll be forced to retreat with the Delano 7. The battle is won for now, but the war will have to be finished at another time…
After defeating Sylux, a Shield Key will spawn in the center, deactivating a force field holding CARTOGRAPH ARTIFACT #3A. Retrieve the artifact, then head back to the upper floor of the Compression Chamber and use the Stronghold Portal to earn the next Octolith.
Cretaphid v2
Scans in This Section
Bioforms: Cretaphid v2 *missable*
This thing, again!?!?! Yup, this is the point in the game where I have to inform you that there are only two types of Octolith guardian bosses that you will be fighting FOUR times each. Yeah, it’s a doozy. The basic strategies for these fights play similarly to their counterparts, usually with some new attacks added or a required sub-weapon to deal damage.
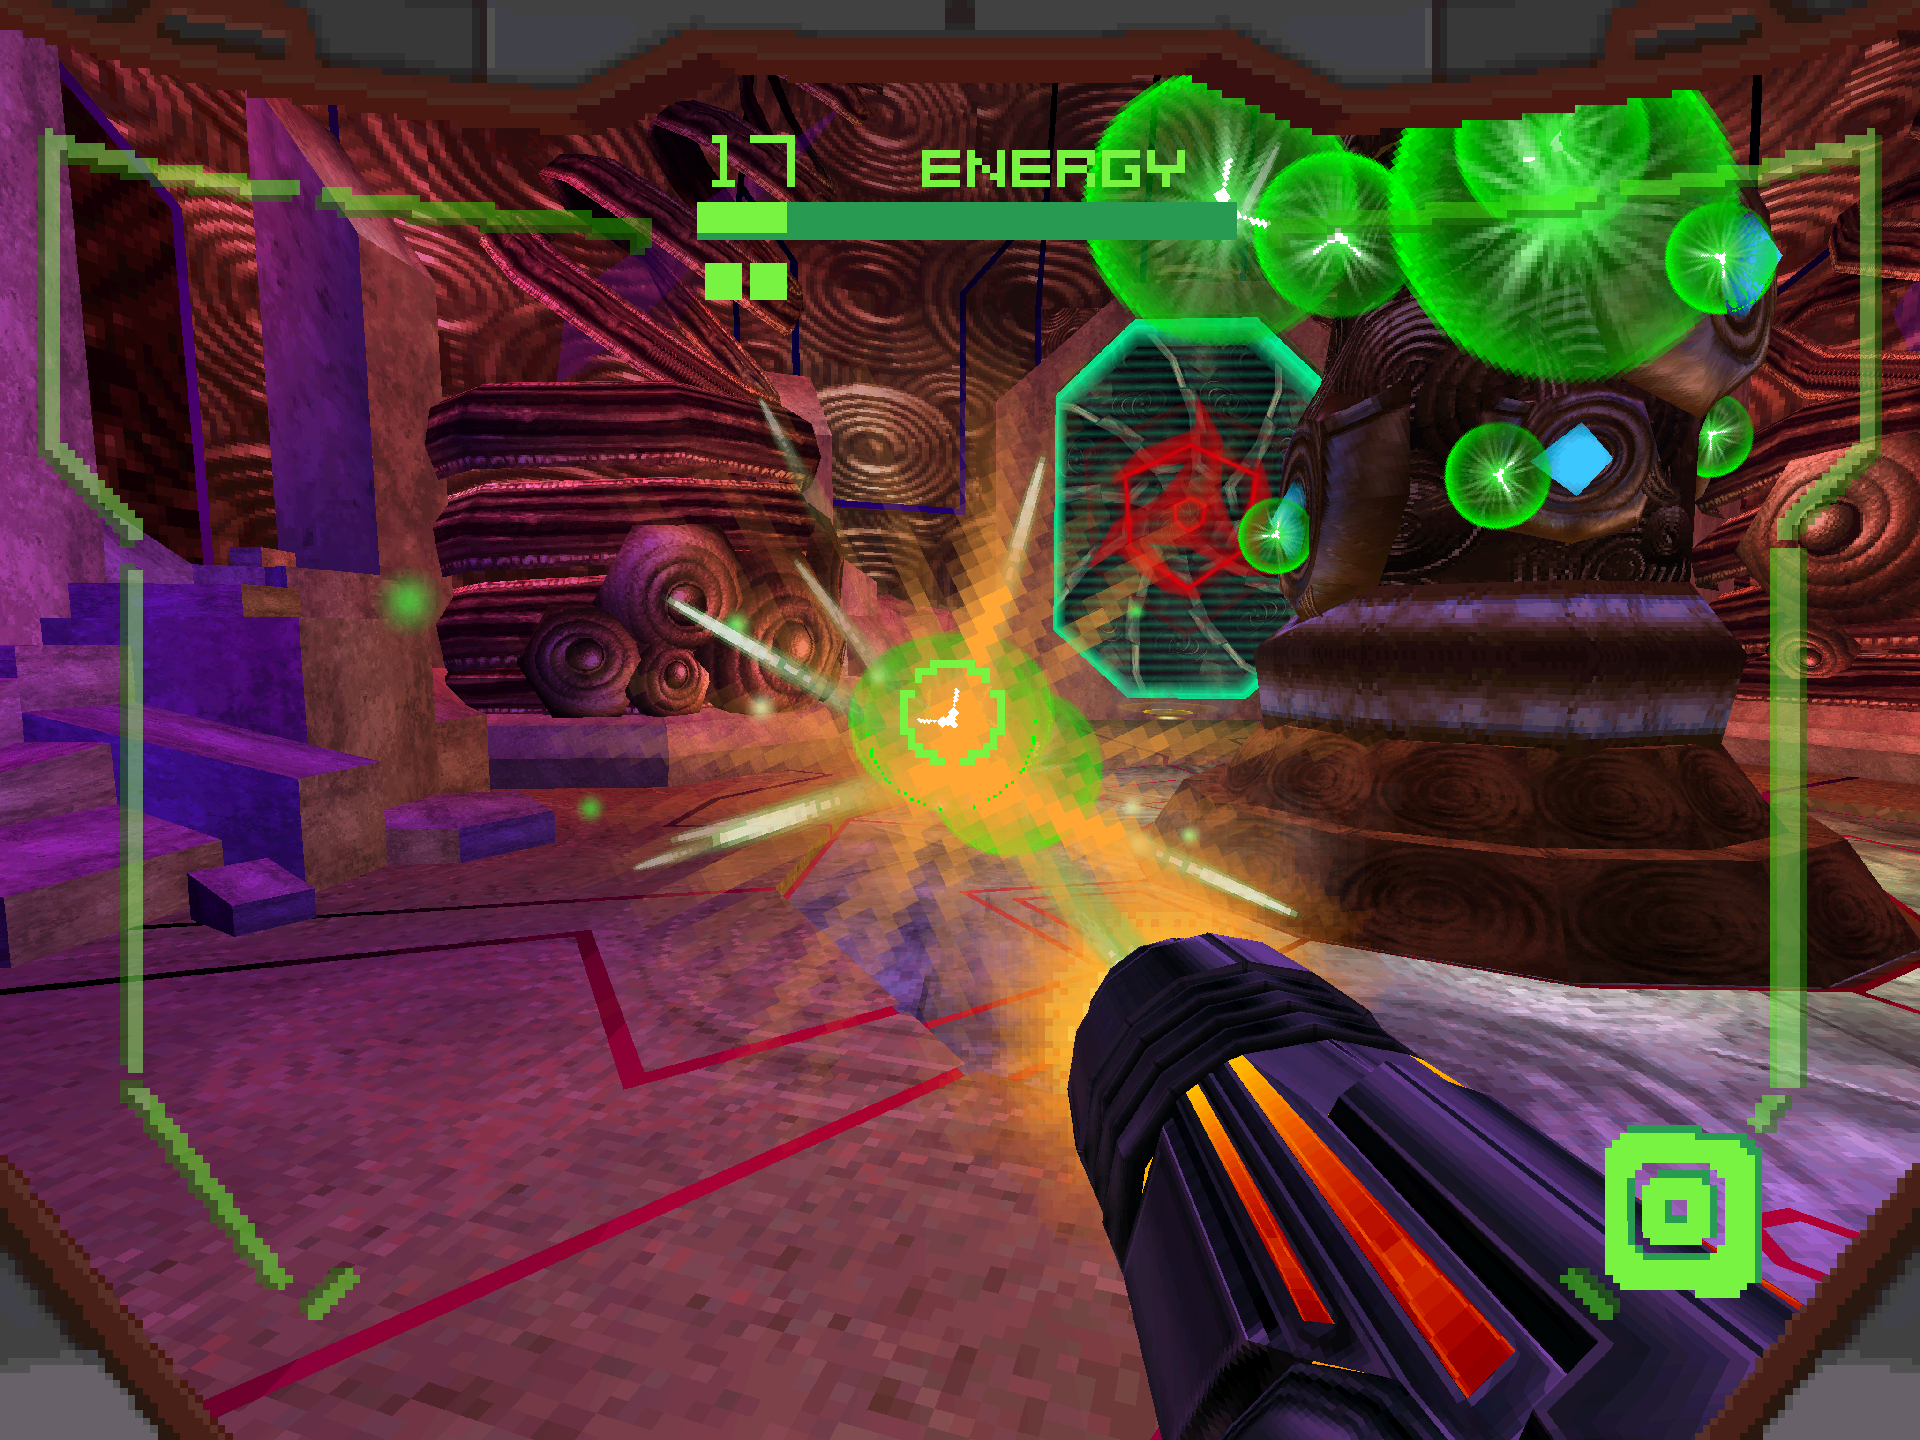
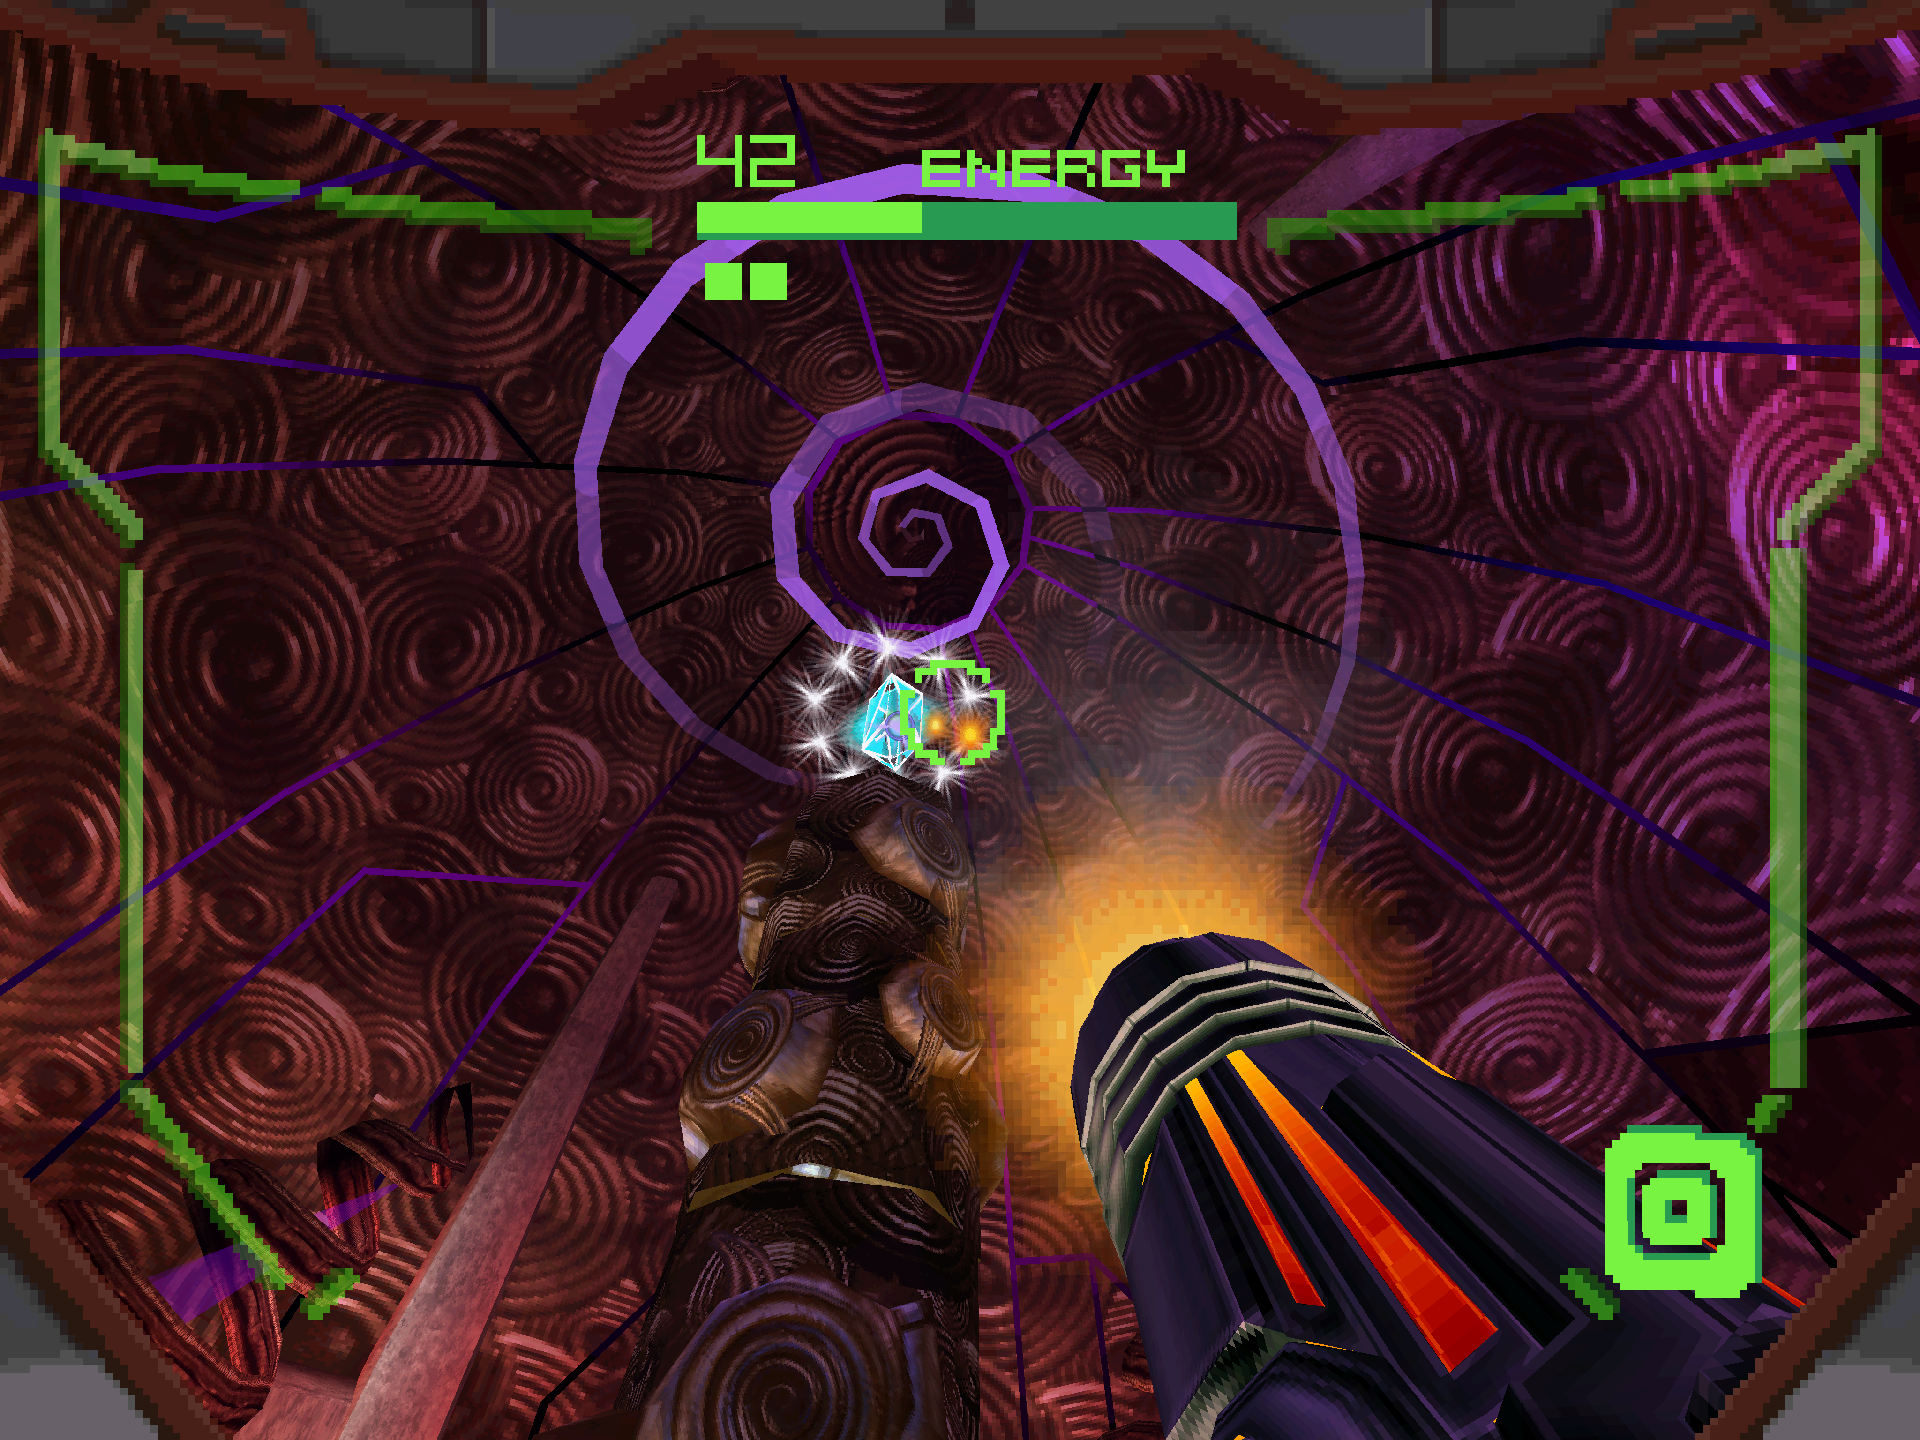
First off, scan CRETAPHID V2 before anything else and add it to your logbook. Every variant of these fights count as their own individual entries, so it’s important not to miss these since they are all missable scans! From there you’ll want to take out the weak points to expose its core and damage it just like in the initial fight. The big change to this fight is heat-seeking plasma projectiles that will follow you around the arena replacing the lasers on the v1 model. You can destroy them with a Charge Shot, but much like the Delano 7 from before I don’t think it’s even worth bothering with since they rarely leave behind any health or ammo pickups. Keep that in mind as you’re moving, but otherwise use the same strategies from before to claim your Octolith. Battlehammer is a great weapon to use on the core if you’re comfortable aiming the arced projectiles.
A Brief Escape
Scans in This Section
None
You know the drill by now; grab the Octolith and leave the area. You have three minutes to escape VDO, the shortest timer yet. Despite that, this is actually one of the easiest escape sequences in the game as there are only two chances of a random Guardian ambush! Take either of the exits out of the Compression Chamber and head for the Weapons Complex. From there, make your way back to the VDO Gateway and use the jump pads to get to your ship. That’s it! Next stop, Arcterra.

