


Metroid Prime Hunters Walkthrough – Celestial Archives
WALKTHROUGH
- Celestial Archives
- Alinos
- Vesper Defense Outpost
- Arcterra
- Celestial Archives, Part II
- Alinos, Part II
- Arcterra, Part II
- Vesper Defense Outpost, Part II
- Oubliette
Mission File 79109
Scans in This Section
Bioforms: Psycho Bit v1.0, Petrasyl, Lesser Ithrak
Lore: Alimbic Prophecy 01
Objects: Celestial Archives, Synergy Drive, Synergy Processor, Port Helm, Starboard Helm, Alimbic Panel, Navigational Chart, Tetra Trade Map, Synergy Strut, Science Hub, Alimbic Artifacts, Cartograph Artifact *missable*, Artifact Shield, Shield Key *missable*, Cooling Fans, Alimbic Joist, Tetra Galaxy
Equipment: Hunter Gunship, Small Energy, Small Missile Pack, Medium Energy
“The secret to ULTIMATE POWER lies in the ALIMBIC CLUSTER.”
After the Galactic Federation receives this strange telepathic transmission originating from an isolated pocket of the Tetra Galaxy known as the Alimbic Cluster, they hire intergalactic bounty hunter, Samus Aran, to uncover the meaning of the message. Samus must find out what the “ultimate power” refers to, and is commissioned to either retrieve or destroy it if discovered. The Federation also points out that due to the unencrypted nature of the transmission, it’s likely others have gotten wind of it and will also be tracking it down, making this a galactic race for whatever this might entail. Sounds like a typical Wednesday for our heroine! After Samus embarks to the Alimbic Cluster, she scans the cluster and finds a lone space station, Celestial Archives. With nowhere else to go, we head to this mysterious location in search for clues.


The Celestial Archives are an abandoned Alimbic space station once used by the now deceased species for data collection and transmission. It is also the origin point of the telepathic transmission that prompted this investigation in the first place. Metroid Prime Hunters is a bit more combat focused and plays differently than your average Metroid Prime experience; however, one thing that remains surprisingly consistent is the returning Scan Visor. In fact, the Scan Visor arguably plays an even bigger role this time as nearly EVERYTHING Samus can scan will go into her logbook and count towards the player’s completion percentage. The only scans that don’t go into the logbook are specific object scans and switches marked by an exclamation point in the Scan Visor. Items and pickups you collect throughout the adventure will go into the logbook, but will automatically appear after they’re collected making scanning them redundant. Right as we land at the Celestial Gateway, pop open that Scan Visor and scan the HUNTER GUNSHIP, CELESTIAL ARCHIVES terminal and ALIMBIC PROPHECY 01.
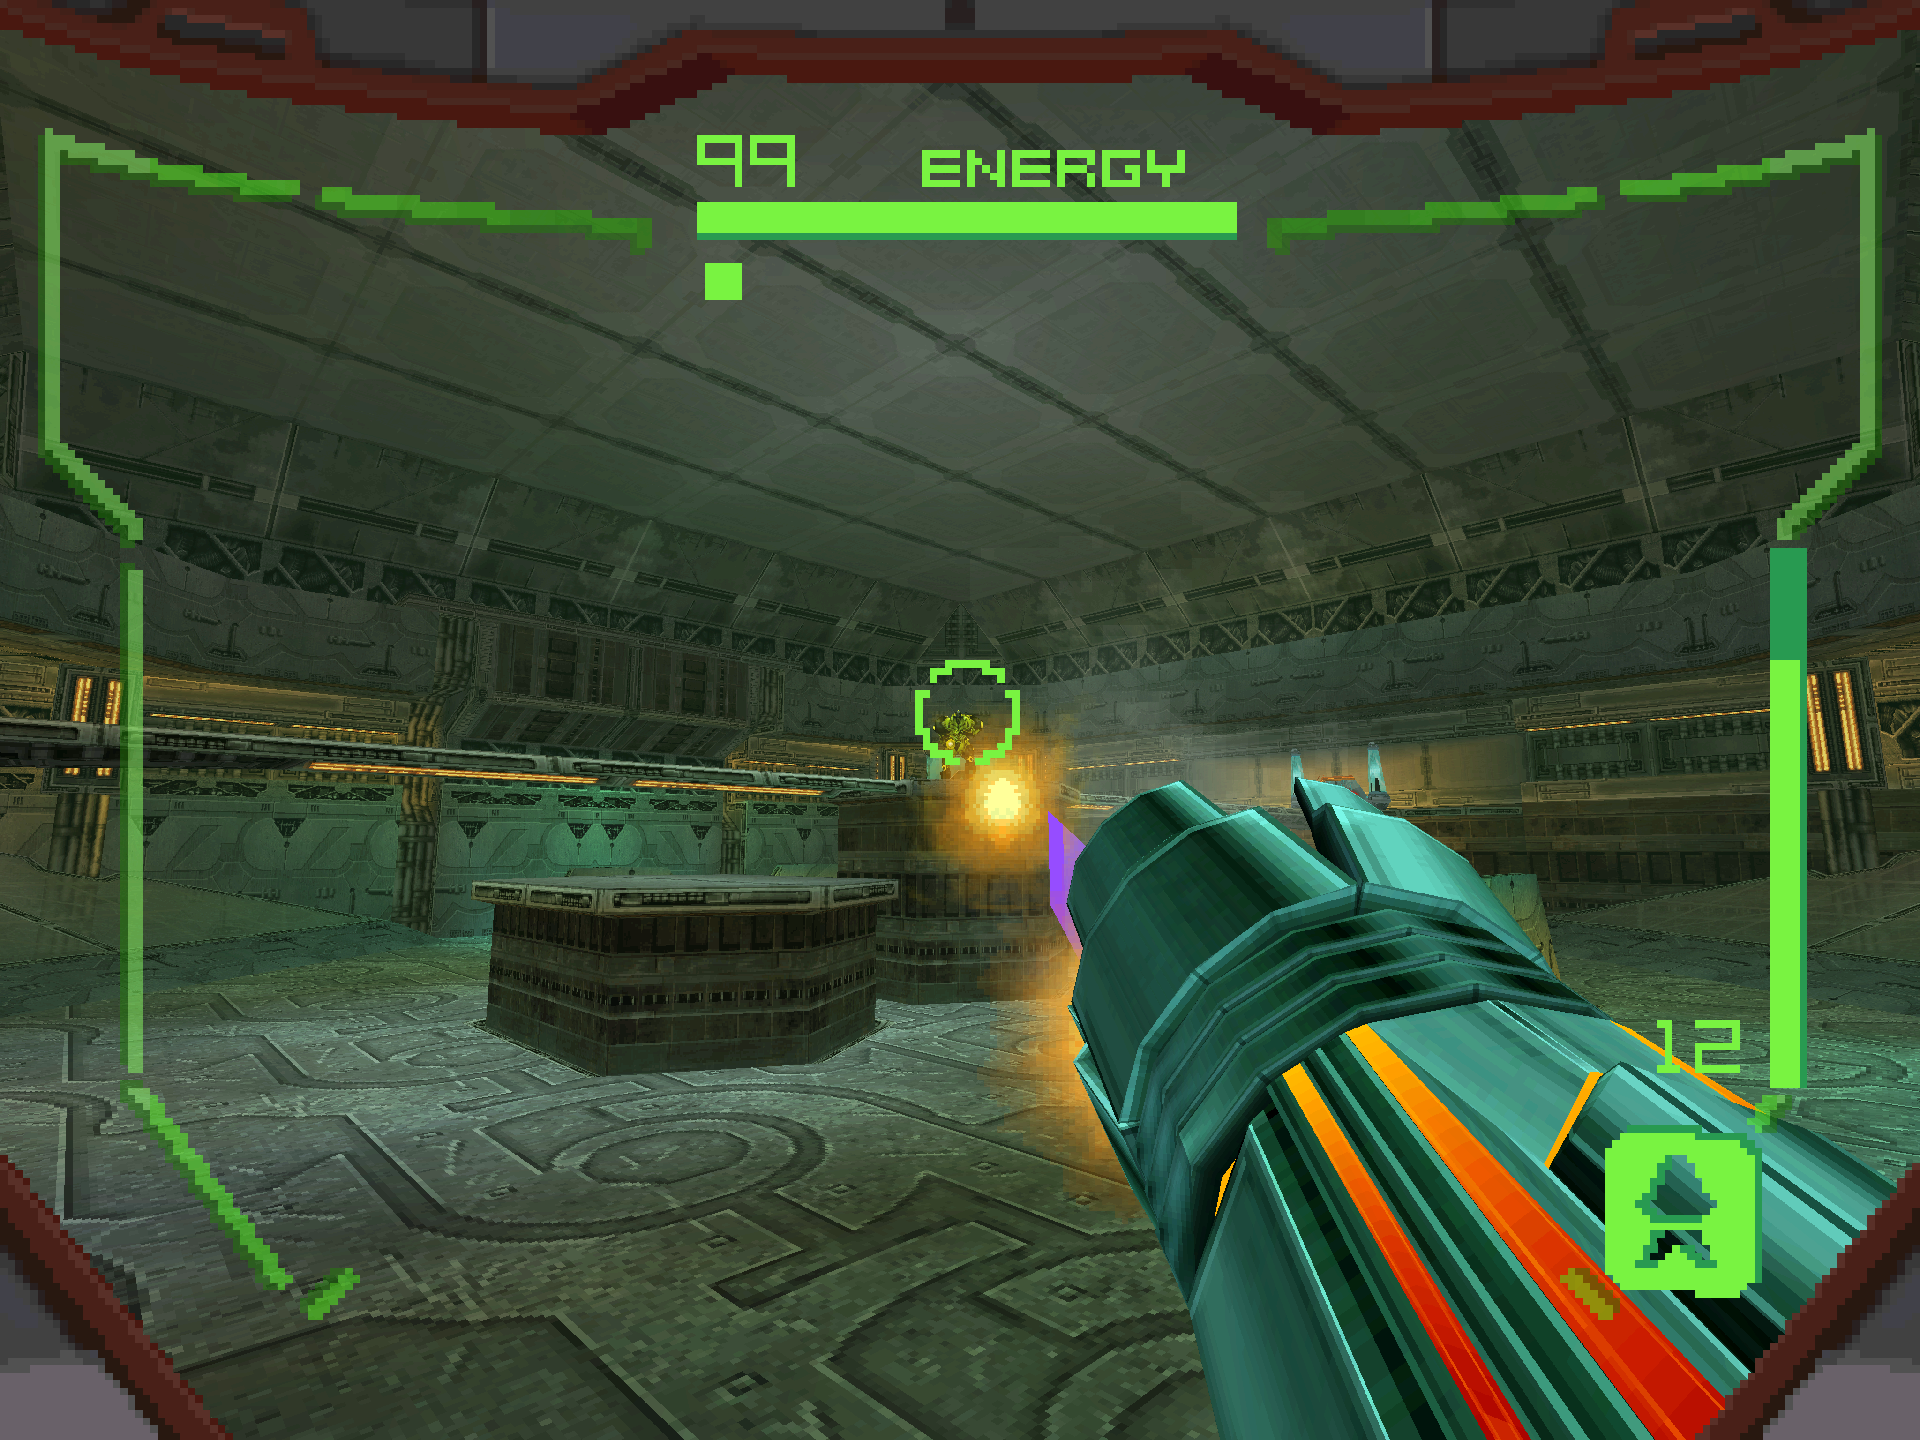
In the Helm Room, scan the SYNERGY DRIVE, SYNERGY PROCESSOR, PORT HELM and STARBOARD HELM. Near the end of the room, a cutscene will play near the sealed door and zoom in on a switch. Scan the switch to unlock the door and proceed to the next room. One thing to note about Metroid Prime Hunters is that the game will group multiple rooms together under the same name, unlike the mainline Metroid Prime games which has some sort of title to differentiate individual hallways and small alcoves connected to the main rooms. I bring this up because the next piece of the guide technically still takes place in the Helm Room despite being two rooms over. I’ll make precise callouts throughout the guide when this happens to avoid confusing anyone. In this new room, Samus will face her first enemy, the PSYCHO BIT V1.0. They go down in a few Power Beam shots, as well as a single Charge Shot. Scan one, then take out the pack and use them to practice your aim.


In the Meditation Chamber, the game will prompt you to use the Charge Beam to destroy some crates, some of them which contain SMALL ENERGY orbs. Note that the Charge Beam pulls pickups towards you just like in the mainline Metroid Prime games. However, this only applies for singleplayer, not multiplayer! Further down the hallway, scan the ALIMBIC PANEL, NAVIGATIONAL CHART, TETRA TRADE MAP, SYNERGY STRUT and PETRASYL. Take out the Petrasyl (don’t let their appearance fool you, these aren’t related to Metroids at all) to spawn a SMALL MISSILE PACK and refill your ammo, then use a missile to destroy the brown blast shield.
After you pass the Psycho Bits in Data Shrine 01, your gunship will issue a transmission that an unidentified vessel has arrived at the space station, advising extreme caution as you proceed forward. Once you enter the central structure, the doors will lock, forcing you to find the solution out. While trapped inside the room, scan the SCIENCE HUB, ALIMBIC ARTIFACTS terminal, CARTOGRAPH ARTIFACT and ARTIFACT SHIELD. Upon scanning the Artifact Shield, a swarm of Psycho Bits will warp inside and ambush you. This fight is a bit more of an endurance test than the last couple of encounters, but the strategy remains the same; keep moving and shooting! Use the larger room to your advantage and continue to strafe throughout while dumping shots into each bot as they spawn in. I recommend using the first few shots to take out one, then using the resulting Charge Shot on another. This will be much less painful on your trigger finger, trust me! You can also use the Charge Beam to draw in any energy orbs that are leftover from a defeated enemy, but as long as you’re consistently moving, the slow projectiles shouldn’t be doing much damage to you. Once defeated, scan and grab the SHIELD KEY to lower the Artifact Shield and obtain CARTOGRAPH ARTIFACT #1A.


Securing the Cartograph Artifact unseals the room, allowing us to leave. The door with the two blue energy pillars next to it is where you want to go, while the room you came from does not have a set of these. The game will use this signpost quite often to tell you where to go, so keep your eye out for them to maintain your orientation. After exiting the room, you’ll be prompted to enter Morph Ball mode. Enter the tunnel directly in front of you to secure ENERGY TANK #1. After collecting the tank and exiting the tunnel, you’ll be met with a LESSER ITHRAK in front of a sealed door. Defeat it to unlock the door and move on. Be sure to pick up the MEDIUM ENERGY orb it leaves behind to add it to your logbook! In Fan Room Alpha, scan the COOLING FANS and climb up the platforms to the top of the room.
Data Shrine 02 immediately greets us with an ominous piece of music, so whatever is around the corner probably isn’t friendly. Head right and you’ll encounter the source of the unidentified vessel from earlier; Kanden! The result of a catastrophic lab experiment failure, Kanden was created to be the ultimate super soldier. He now seeks the ultimate power to prove himself worthy of that title. You can actually scan him just before triggering a cutscene, but don’t fret if you can’t as you’ll have another opportunity in just a moment. Upon being spotted, Kanden will transform into his Stinglarva form and hightail it outta here. Chase him down and don’t let him escape! After rolling through the first Morph Ball tunnel, keeping rolling down the hallway until you hit a second tunnel containing MISSILE EXPANSION #1. Unlike most Metroid titles, the Missile Expansions in Metroid Prime Hunters will give you a whopping TEN missiles each, so these make a pretty huge difference to your firepower! On your way out, scan the ALIMBIC JOIST in the hallway. In Fan Room Beta, scan the TETRA GALAXY from the window pane and climb up the shaft, blasting away any Petrasyls that get in your way. Make your way to the center of Data Shrine 03 and get ready to rumble!


Kanden
Scans in This Section
Bioforms: Kanden, Stinglarva
KANDEN marks not only our first boss fight, but our first Hunter encounter. These work a bit differently than your standard boss fights. While most bosses have weak points and some sort of puzzle to expose them, the Hunter fights are essentially multiplayer bot matches. Anything will damage them, with headshots delivering extra damage. Each Hunter will fight exclusively with their Affinity Weapon in bipedal form, while also transforming into their alt forms at various points throughout. After the main scripted boss fight, the Hunter can appear randomly in other areas of the game and challenge you to another fight (with a much lower health pool too).

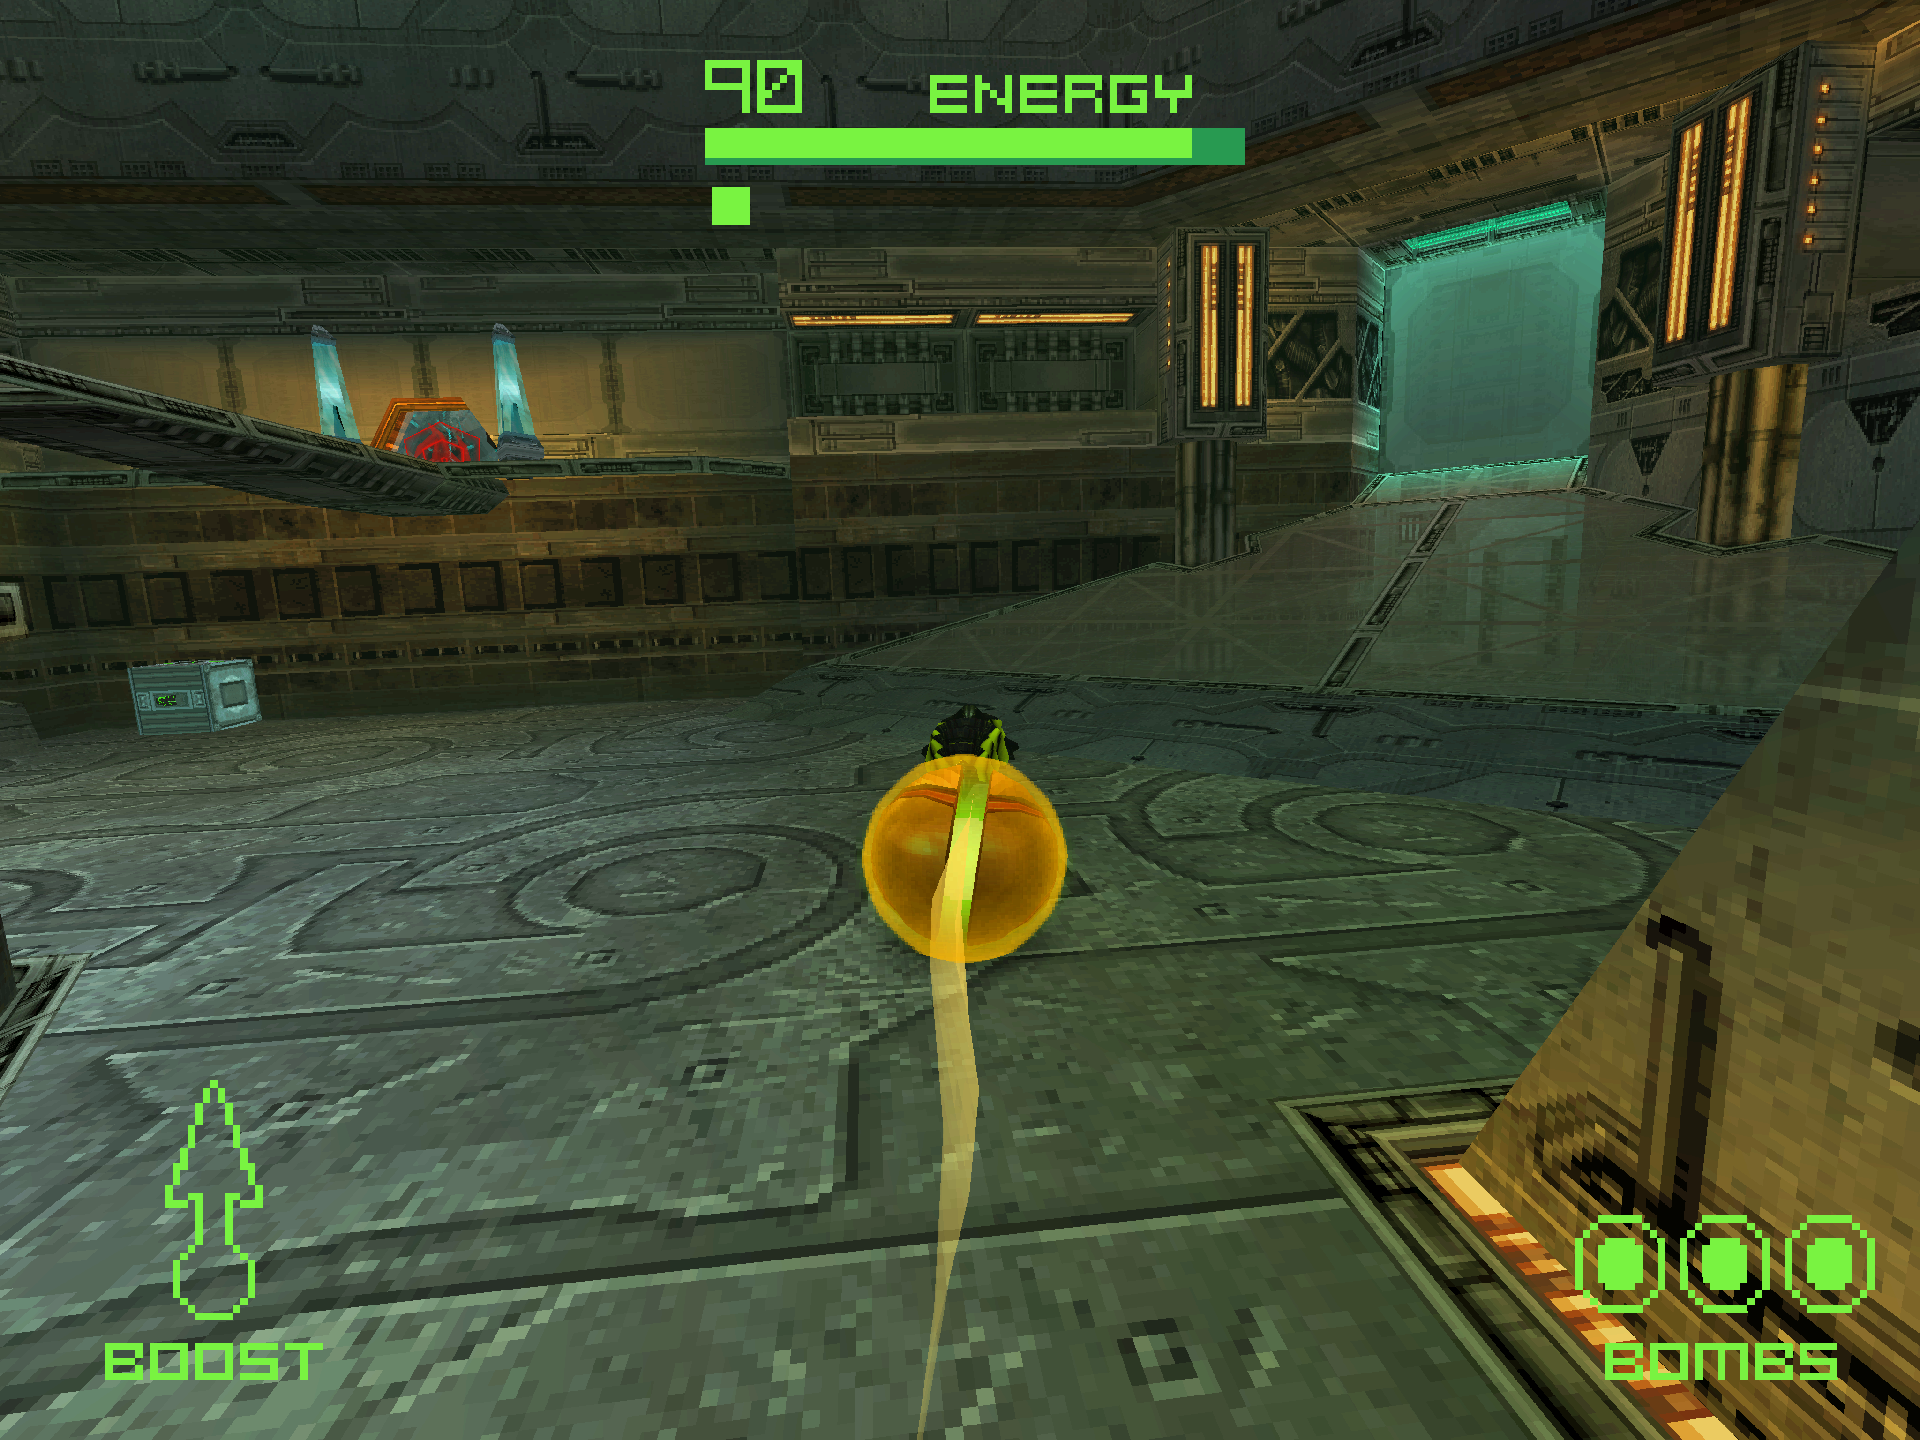
With that out of the way let’s get to Kanden’s specific strategy for this fight. First off, make sure that you scan both him as well as his STINGLARVA alt form. After that, the strategy is pretty similar to the Psycho Bit swarm encounter. Keep strafing around the area while you blast shots into Kanden. Use your charged homing missiles if he’s further away, but otherwise stick with the Power Beam for close and medium range encounters. Try to go for headshots if you feel comfortable for extra damage! Kanden will occasionally fire off charged Volt Driver shots which will distort your visor if they hit. The projectiles are slow moving, but also hone in on you so keep your eye out for them! When Kanden transforms into the Stinglarva, match him up with your own Morph Ball and drop bombs when he’s in the vicinity. If you’re proficient enough with the Boost Ball, you can use that for some extra damage too and completely melt his health away!

The First Stronghold
Scans in This Section
Bioforms: Alimbic Turret v1.0
Lore: Stronghold Void
Objects: Political Hub, Anthropological Hub, Attameter Artifact *missable*, Lift Controls, Binary Subscripture *missable*
Equipment: Large Missile Pack
After defeating Kanden, make sure to scan the POLITICAL HUB and ANTHROPOLOGICAL HUB if you haven’t already during the fight, then collect the Shield Key to unseal the door holding ATTAMETER ARTIFACT #1A. Scan the ATTAMETER ARTIFACT before picking it up, then open the crate behind the Anthropological Hub to recieve a guaranteed LARGE MISSILE PACK to add to your logbook. After finishing up, exit the center room and take out the ALIMBIC TURRET V1.0S guarding the way out. In the Synergy Core, scan the switch to activate a ship deck portal back to your ship if you want to save your progress. Scan the LIFT CONTROLS and climb to the top. In the next room, shoot the projectile-sensitive switches to spawn a Shield Key and reveal BINARY SUBSCRIPTURE #1A. Scan the BINARY SUBSCRIPTURE, then grab it! This is the final artifact needed to activate the Stronghold Portal. The Stronghold Portal during each visit will transport you to that section’s main boss fight, serving as the finale.


On the other side of the portal lies the Stronghold Void, an undisclosed area with no map data hiding Alimbic secrets guarded by their most formidable cybernetic security systems. As soon as you rematerialize within the void, pop open your Scan Visor and you’ll notice a floating scan that isn’t visible to your standard Combat Visor. These are datashades, packets of telepathic information left over by the Alimbics before they mysteriously vanished. These are necessary for 100% scans, so we’ll point them out in the guide every time they appear. Scan the STRONGHOLD VOID datashade and continue down the path to see what awaits.
Cretaphid v1
Scans in This Section
Bioforms: Cretaphid v1 *missable*
Lore: Biodefense Chamber A
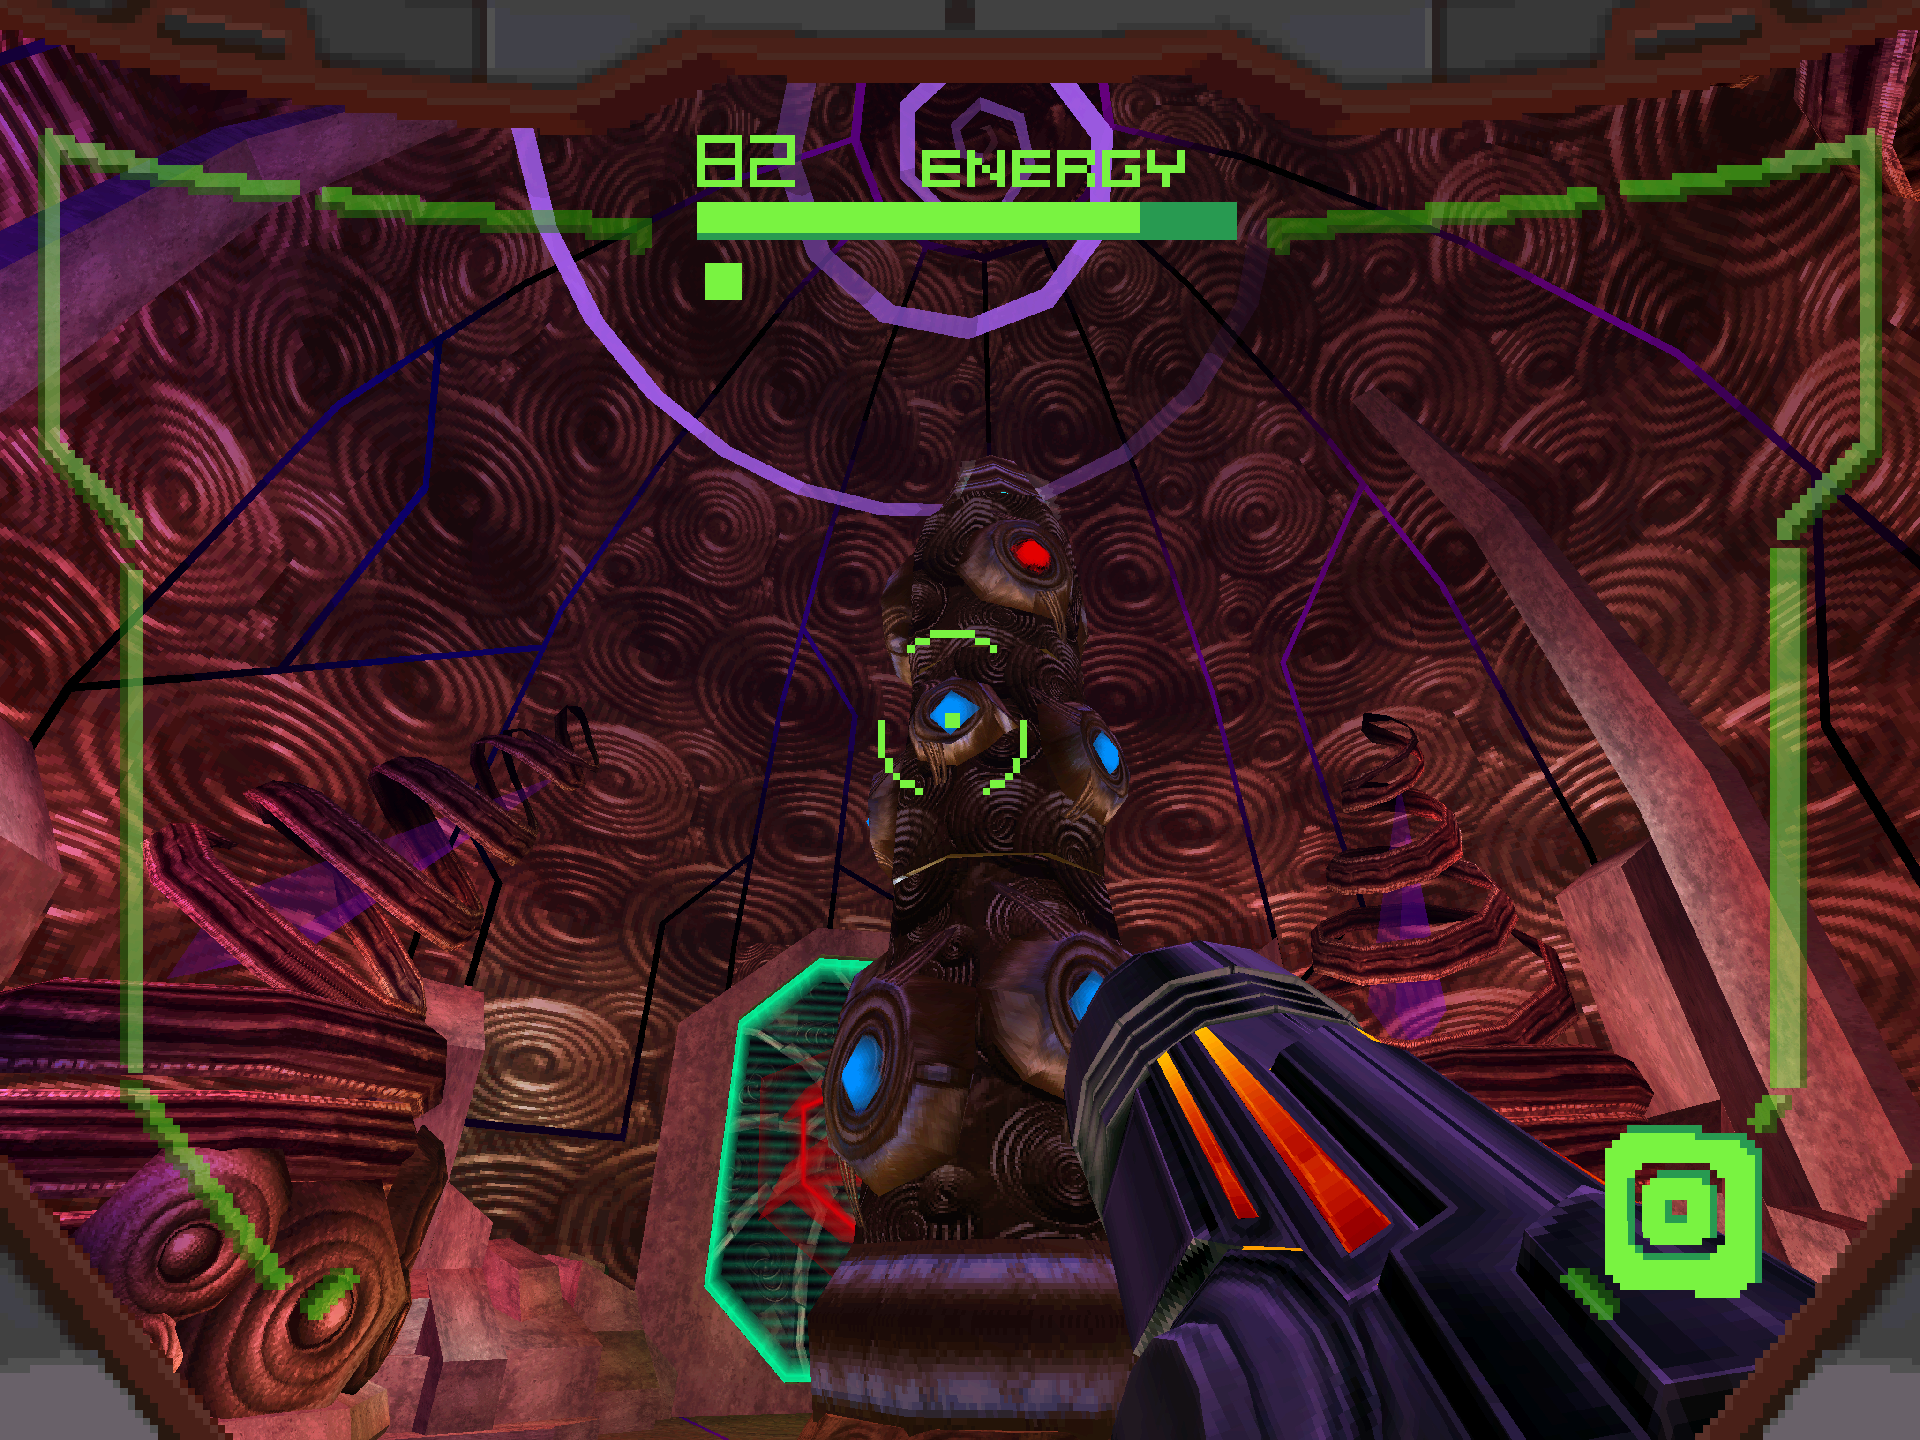
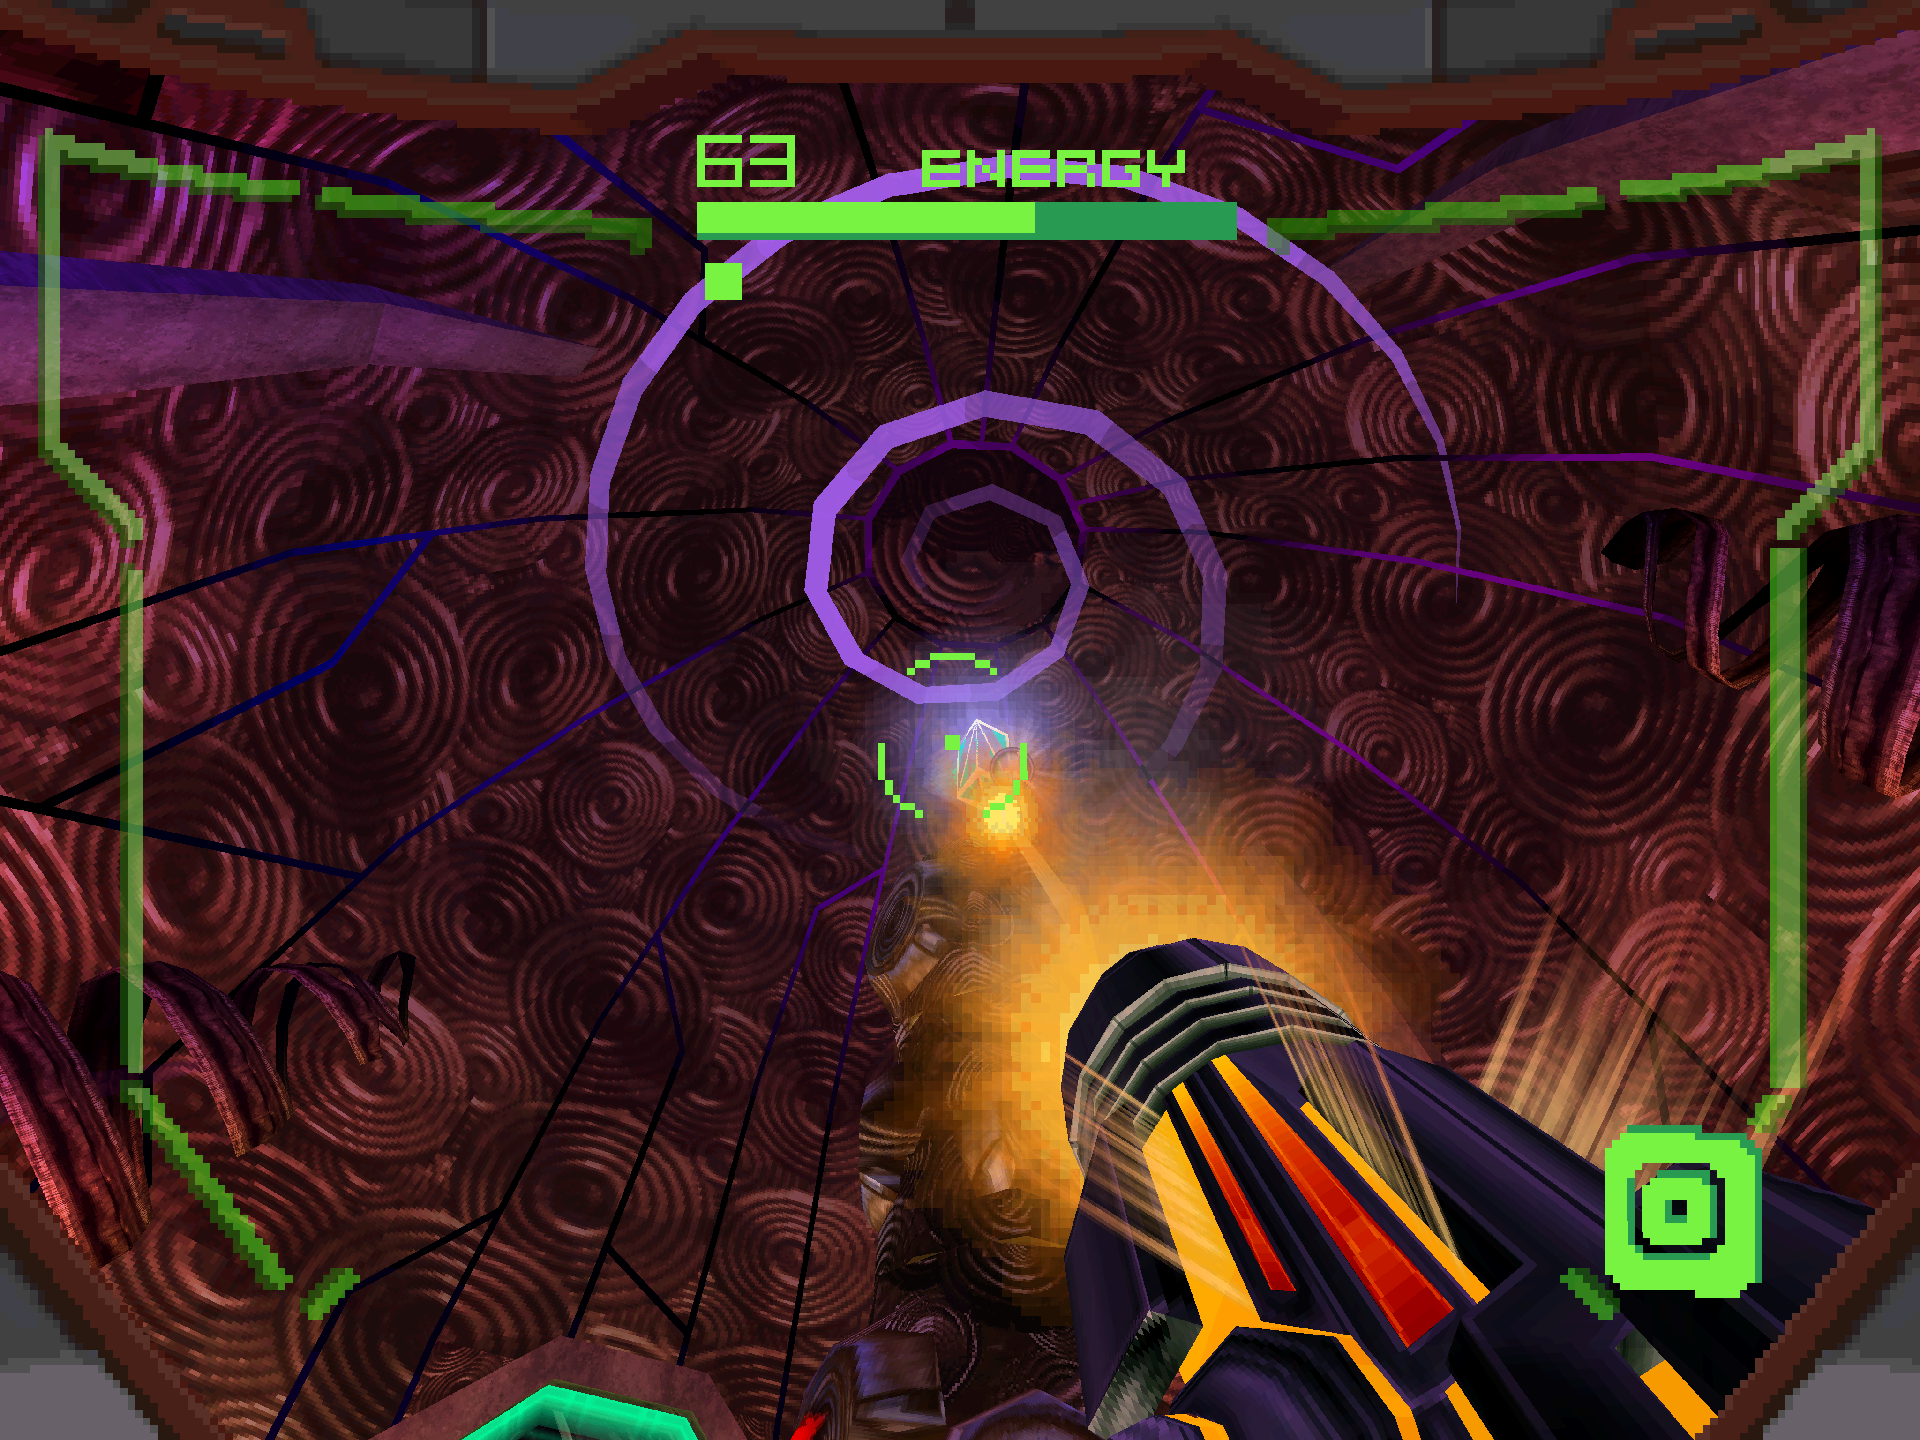
This one is pretty simple! Scan both the CRETAPHID V1 and BIODEFENSE CHAMBER A datashade, then blast away at the blue weak points on its outer shell with the Power Beam. Run underneath and past the lasers if they get too close, and keep strafing like all of the other enemy encounters so far. When all of the weak points have been shot, the mainframe will exit the top of the cylinder and start firing projectiles. Stick with the Power Beam and you should be able to get to the next phase in a single try. Each phase of the fight will move the lasers lower towards the ground. When this happens, you’ll want to incorporate some jumps over the lasers depending on their angle. Otherwise, keep at it until it’s done for!
“Octolith Taken”
Scans in This Section
Bioforms: Guardian
Objects: Octolith *missable*


Defeating this boss grants you an Octolith, one of eight keys needed to uncover the mystery of the ultimate power. Scan the OCTOLITH, then make your way back to Celestial Archives. As soon as you’re leaving the void, the Alimbic security system will spring one last trap on you; an escape sequence! You’ll have eight minutes to make it back to your ship before… something happens. It’s actually not really clear what we’re escaping from as the area looks exactly the same upon our return later… but we won’t think too hard about that. Unfortunately, the ship deck portal we activated to the Celestial Gateway is also disabled, so we’ll have to backtrack our way through the entire path to get back to the ship. You’ll be ambushed in the first room of the Synergy Core by Psycho Bits as soon as you enter. Take them out to unseal the doors and continue onwards. Remember the blue pillars on our way up showing the path forward? Well, this time you’ll want to use the adjacent doors without them this time whenever they come up. The first set will be on the inside of Data Shrine 03. Navigate through the center, then take out another group of Psycho Bits blocking the way to Fan Room Beta. Don’t bother platforming through Fan Room Beta, just drop down and head towards the exit as you won’t take any fall damage.


In Data Shrine 02, head right, drop down and take the Morph Ball tunnel back in the direction you came from to access the other side. Roll past the first Lesser Ithrak and instead focus on the two Alimbic Turrets and the Ithrak guarding the sealed door. Drop down Fan Room Alpha and head left once you enter Data Shrine 01. Inside the doors will be sealed again as you’re ambushed by more Psycho Bits. A more powerful green variant will be part of the group this time, however it does not need to be scanned as it’s weirdly considered to be the same v1.0 unit as the ones we’ve faced already. After taking out the bits, exit the center and head towards the Meditation Chamber. An excessive amount of Petrasyls will spawn in, but they’re pretty harmless. Carve a path through the chamber and head for the Port Helm.
Upon entering the Port Helm, you’ll be ambushed by a trio of GUARDIANS. Scan one and then take them out. The Guardians function similar to the Hunter boss fights as multiplayer bot matches, including headshots for extra damage. They’ll typically ambush you in packs, play a bit more aggressively and utilize multiple weapons you’ll collect on your adventure against you (this set is using the Power Beam). On the flipside however, they also have lower health pools making them much quicker to kill than a Hunter. Missiles are perfect for this trio. A charged missile will instantly kill a Guardian, and they LOVE to bunch up together making for some excellent double kill oppurtunities! Once you’ve sent them back from whence they came, run to your ship and escape Celestial Archives; our first task is officially complete and it’s time to explore a new planet!

