


Metroid Prime Hunters Walkthrough – Arcterra
WALKTHROUGH
- Celestial Archives
- Alinos
- Vesper Defense Outpost
- Arcterra
- Celestial Archives, Part II
- Alinos, Part II
- Arcterra, Part II
- Vesper Defense Outpost, Part II
- Oubliette
Frozen Wasteland
Scans in This Section
Bioforms: Geemer, Shriekbat
Lore: Alimbic Prophecy 04
Objects: Arcterra, Alimbic Crest, Alimbic Emblem


Arcterra is the final location in the Alimbic Cluster that we haven’t explored yet, so it’s time to dive in, search for more clues and take home another Octolith! This is the furthest location away from the sun in this solar system, making it an inhospital frozen wasteland. That wasn’t always the case, however, as seen by the Alimbic architecture and technology found across the planet. As soon as you exit the gunship, scan the ARCTERRA terminal as well as ALIMBIC PROPHECY 04. Make your way down the path and scan the GEEMERS, ALIMBIC CREST and SHRIEKBATS as you approach them. In Sic Transit, scan the ALIMBIC EMBLEM before proceeding forward.


Well this is awkward…
Noxus
Scans in This Section
Bioforms: Noxus, Vhoscythe
Equipment: Large Energy
We’ve stumbled upon a kerfuffle! As we turn the corner of Sic Transit, we see two new Hunters engaged in combat; Noxus and Trace. Noxus is a member of the Vhozon, a fanatical species located in the outer rim outside of Galactic Federation jurisdiction with a strict code of moral and spiritual ethics. Noxus’s mission is to obtain the ultimate power to keep it from falling into the hands of the unworthy. Trace meanwhile is a member of the Kriken Empire, a reviled galactic species notorious for the invasion of numerous inhabited planets. Part of Kriken tradition is to exile their youth at a certain age as they search for new planets to conquer. Trace is one of these young Kriken on its rite of passage, seeking the ultimate power for fame and glory in the empire.
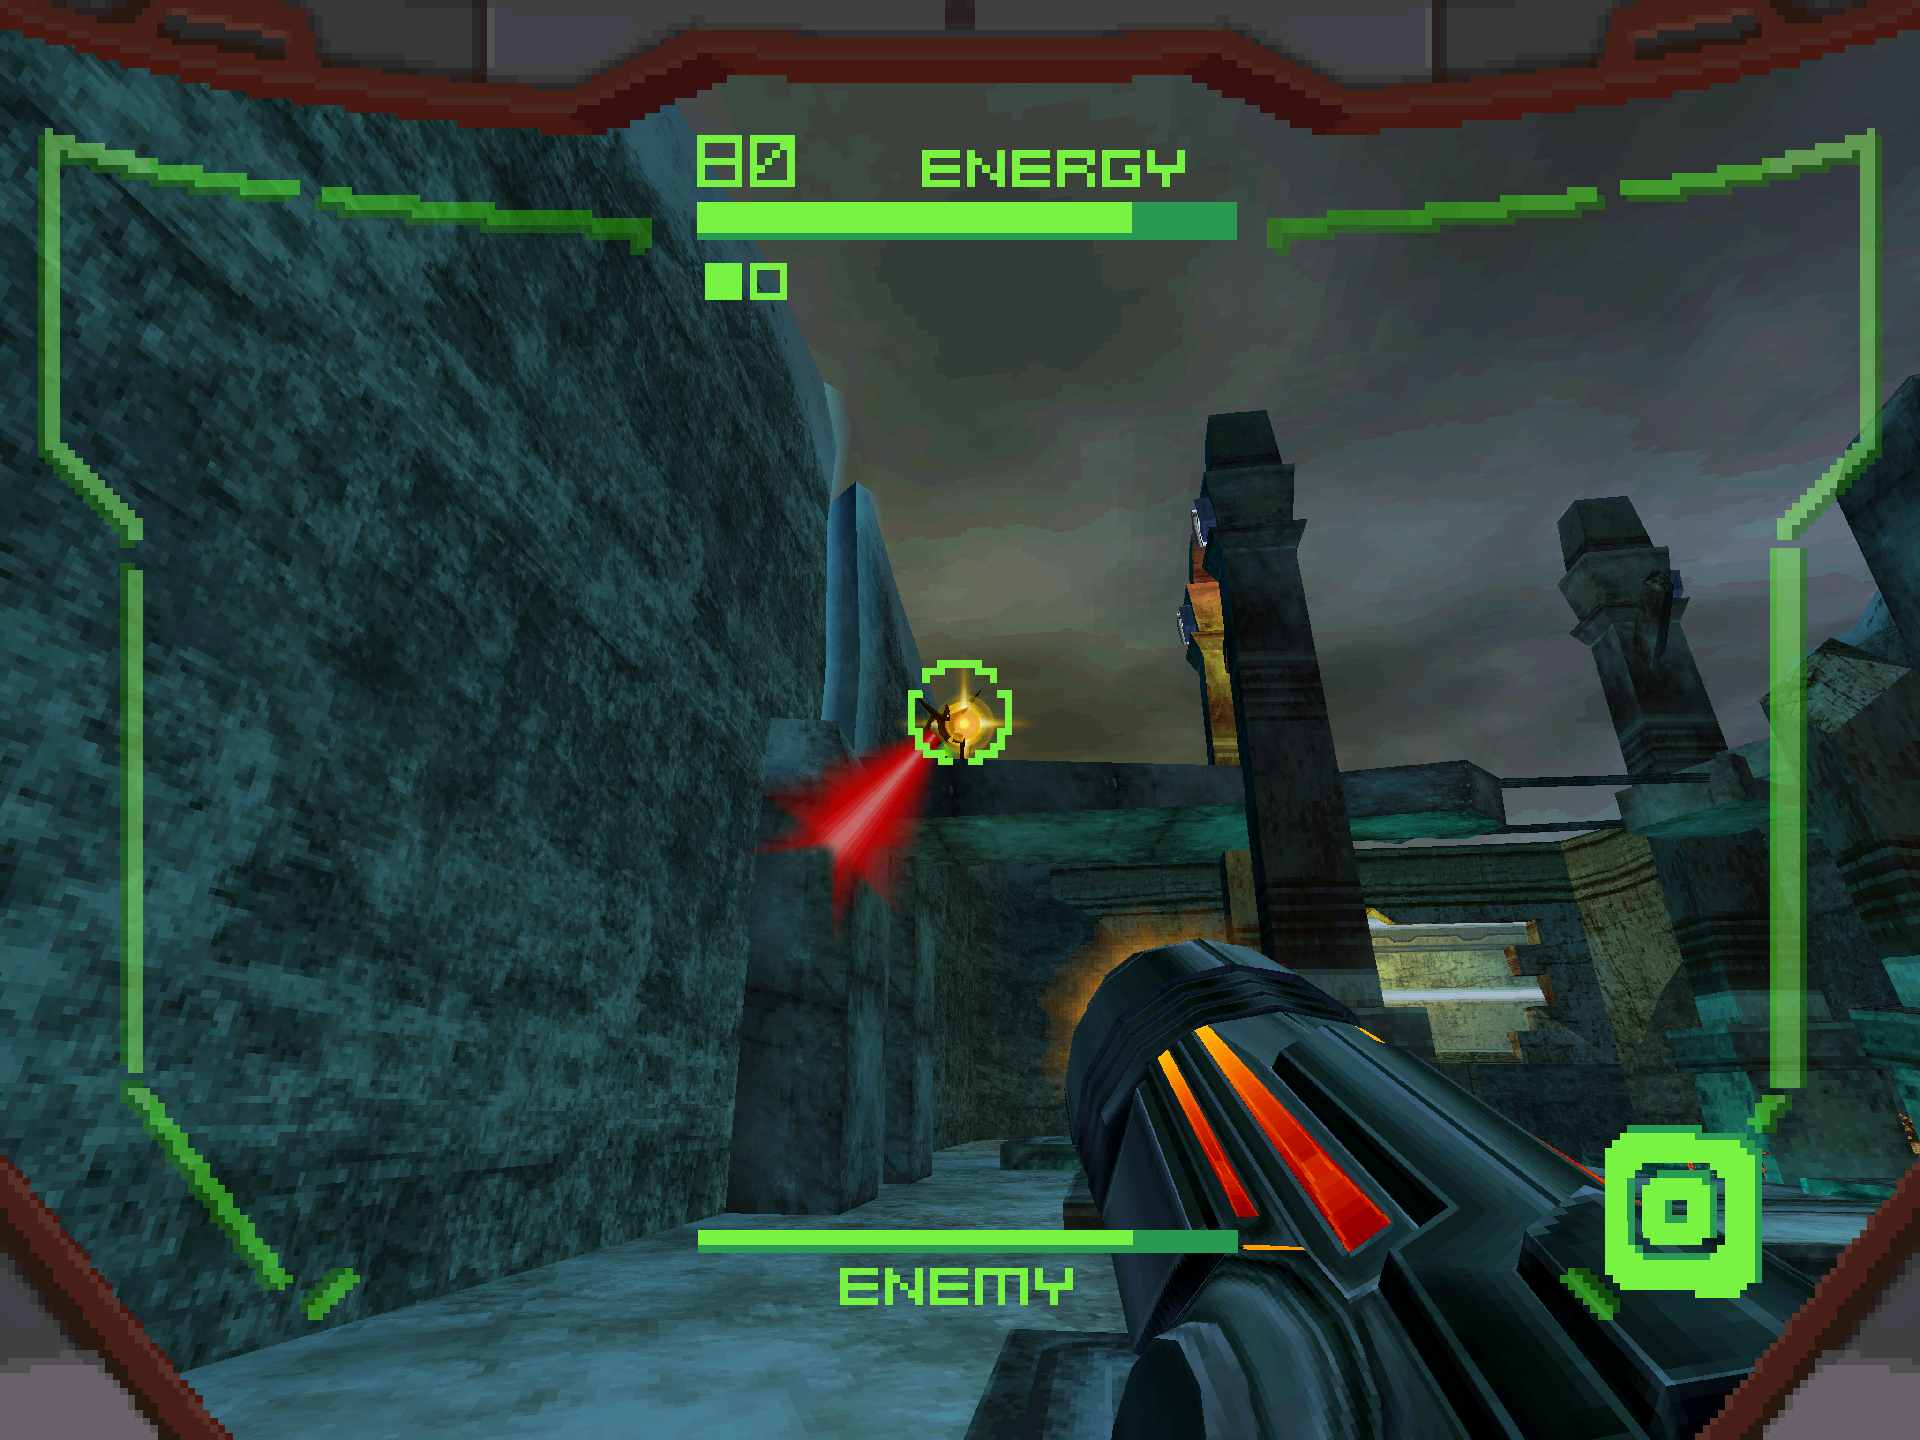
As soon as we walk in on the fight, everyone turns their attention to us. NOXUS is the primary Hunter we’re fighting, however Trace will still try to snipe us from the bridge above. A few shots at Trace is all it takes for it to retreat into the background so that you can focus all your energy on Noxus (Note: Trace CANNOT be scanned during this fight).
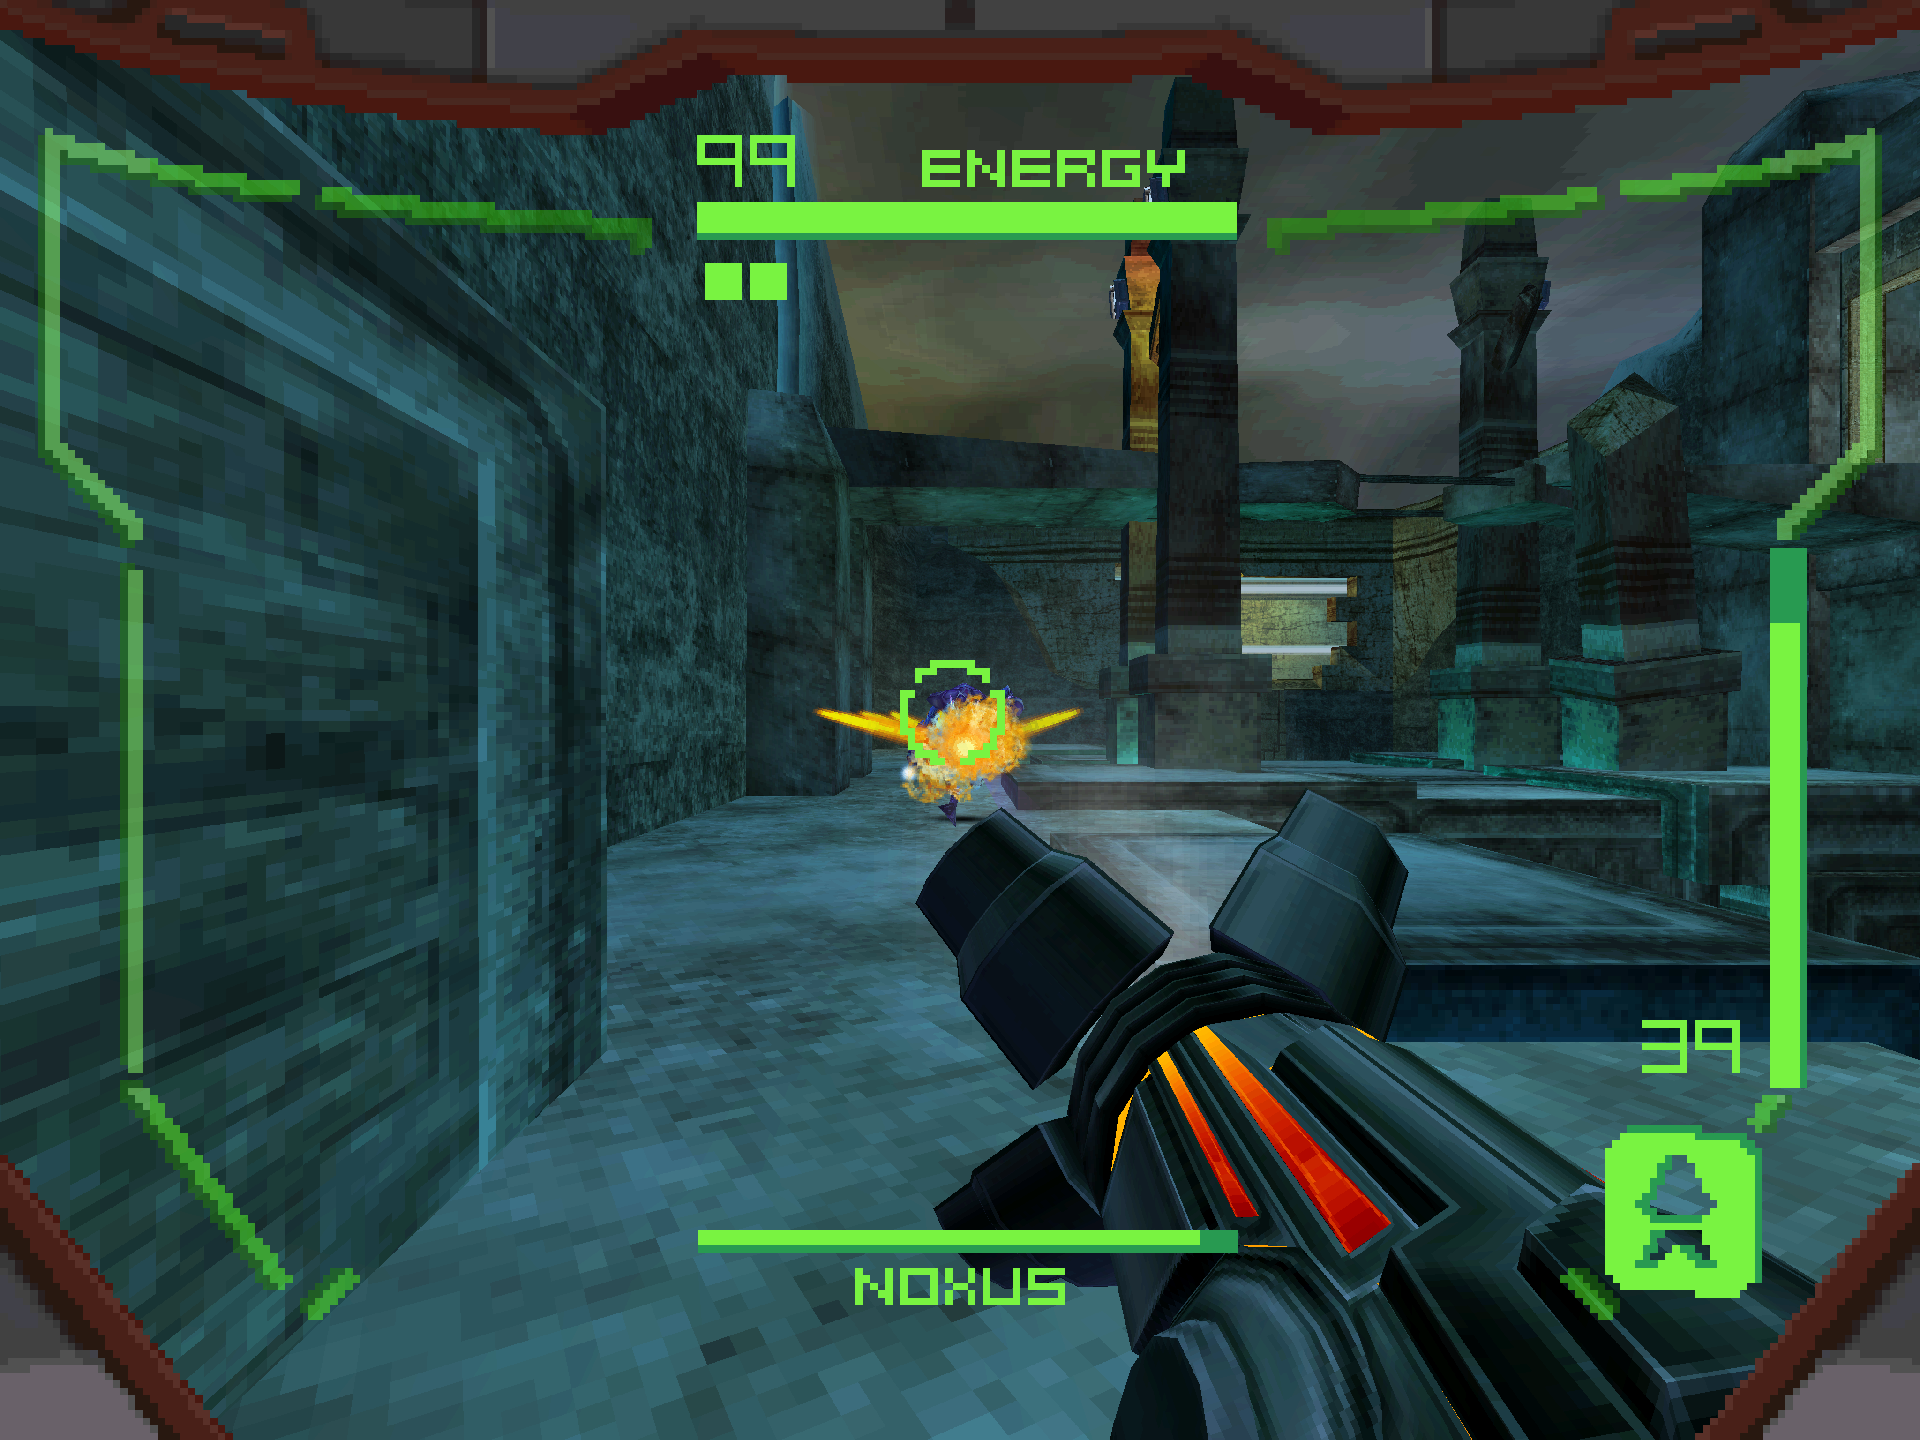
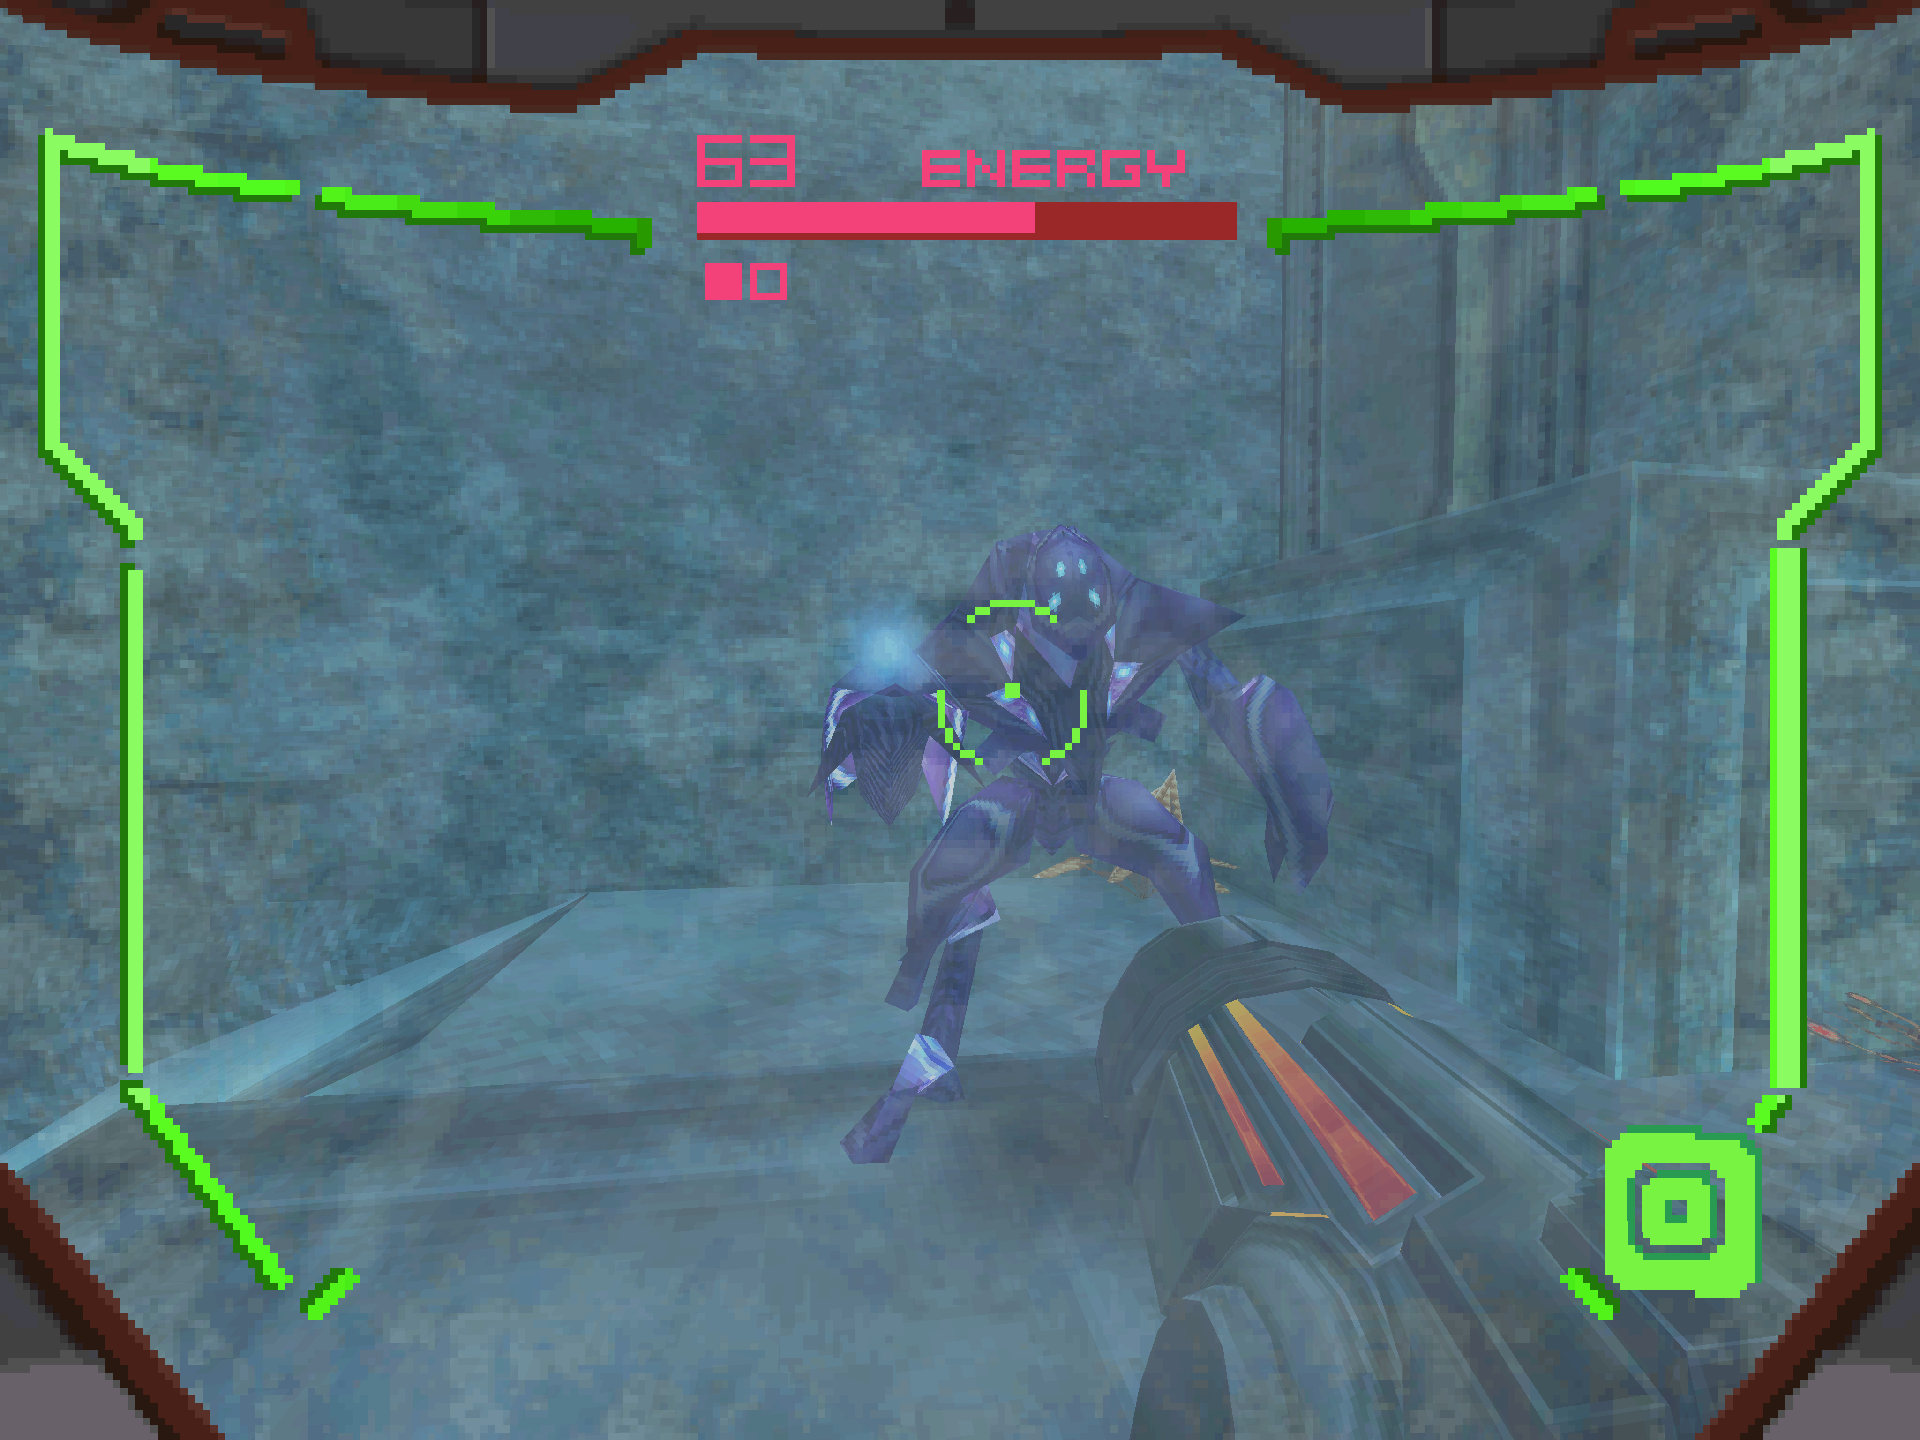
Noxus comes equipped with the Judicator, a weapon that fires supercooled plasma bolts at opponents. The standard shots ricochet off the surface, however the Charge Shot fires a close quarters ice spread that will momentarily freeze you if you’re caught in the blast. Noxus will try to rush you down as a result, however this arena is very open and not ideal for him. Keep your distance and this will be an easy win. When Noxus transforms into the VHOSCYTHE, jump onto any elevated position to avoid getting hit. You can shoot the toxic plant life around the arena for health and ammo, however considering how easy the fight is I think it’s more beneficial to take them out early if they’re in your way to avoid excess damage.
The Judicator
Scans in This Section
Bioforms: Barbed War Wasp *missable*, Blue Barbed War Wasp
Lore: Alimbic Pride 01
Objects: Damaged Bridge, Ammolite Shards, Alimbic Insignia
Equipment: Judicator
After the battle, some spawn devices will activate across Sic Transit spewing Voldrums and Psycho Bits. Destroy them, then begin scanning the six proxy locks hidden in the room. The locks are located in the following locations:
- Lock 1: Above the sealed door on the far side of the room (the yellow tinted portion). The lock is at the top of the second level landing.
- Lock 2: The top of the pillar on the bridge.
- Lock 3: The top of the second pillar on the opposite side of the bridge.
- Lock 4: The third pillar on the bridge, directly beside the second lock.
- Lock 5: In the small alcove with the orange blast shield, directly opposite the door on the wall.
- Lock 6: Behind the Alimbic Turret in the yellow alcove.
While you’re scanning these proxy locks, be sure to scan the DAMAGED BRIDGE which you will find along the way. After the final lock is scanned, a Shield Key will spawn and grant you access to ATTAMETER ARTIFACT #4A. After you collect it, roll into the tunnel, ride the platform up and perform a bomb jump at the top to nab ENERGY TANK #3. The platform can act a little finicky sometimes, so if it doesn’t carry you up immediately, try laying a bomb. Grabbing the artifact will also unlock the doors, allowing you to move forward.
After entering the Ice Hive, jump down and you’ll notice some yellow switches behind force fields, except for one with sparks flying out. Scan that switch to create a power surge destroying the rest of the force fields. Scan the remaining switches to create a larger power surge through the circuit, this time awakening several BARBED WAR WASP hives from the electrical current. Barbed War Wasps in this game are pretty much just reskinned Psycho Bits with slightly different hurtboxes, even firing the same types of projectiles rather than a dedicated stinger projectile. Likewise, their hives act similarly to the spawning devices we’ve encountered throughout the adventure. After everything has been decimated, the electrical current will reach the vault door and activate a terminal on the top floor. Use the newly powered-on jump pad to reach the top floor and scan the terminal to unlock the door. On the opposite side of the terminal, tucked inside of a small alcove, you’ll find the ALIMBIC PRIDE 01 datashade.


After entering the vault door, scan the BLUE BARBED WAR WASP and AMMOLITE SHARDS. When you enter the next room, you’ll be shown a cutscene that reveals the Judicator sitting at the very top. Scan the ALIMBIC INSIGNIA to add it to your logbook, then scan the panel at the back wall to start a timed puzzle. First go through the Morph Ball-sized hole to the left and perform a bomb jump to the platform above. Then wait for the moving platform to descend to your level and bomb jump to that. Once you reach the top, follow the ledge and bomb jump up once you hit the end. Then roll onto the moving platform at the very end, but be careful not to roll too far as there’s no guardrails! Once you reach your destination, carefully roll across the bridge to the tunnel on the other side and take it straight to the JUDICATOR!
If you need additional help with the puzzle, check out the video below to watch a perfect run from start to finish.
The Fourth Stronghold
Scans in This Section
Lore: History 09, History 10, History 11
Objects: Ice Bridge, Witherite Shards, Heating System
With the Judicator, we can now open purple blast shields and force fields. Use it to disable the force field on the upper level, then scan the ICE BRIDGE and WITHERITE SHARDS. Then walk over to the Stronghold Portal and scan the HISTORY 09, HISTORY 10 and HISTORY 11 datashades. When you’re done, go back to the ice bridge and disable the purple force field across. Jump to the open gap and turn right to acquire UA EXPANSION #2. On the left path, destroy the Alimbic Turret to reveal a Shield Key. Look up and scan the HEATING SYSTEM, then collect the key to disable the force field on the ground, revealing CARTOGRAPH ARTIFACT #4A. Collect the artifact and continue down the hallway, then go through the Morph Ball hole on the left and you’ll be met with MISSILE EXPANSION #5. That’s not all, though: drop below and disable the purple force field to collect UA EXPANSION #3 right after!
Exit Ice Hive and go left through the purple blast shield. In the Frost Labyrinth, you’ll have to navigate a Morph Ball maze to get to your next objective. Take the path on the right, then go up once you hit the fork. At the end of the path, you’ll find a crack in the ice with a Shield Key hovering above. Go underneath and perform a double bomb jump to claim the key, deactivating a nearby door lock. Go back to the fork and take the downwards path this time. When you reach the Morph Ball tunnel by the right wall, take the adjacent path instead. Follow that path to the top right once it start to open up and you’ll find a laser trap tunnel leading directly to ENERGY TANK #4. Go back to the very first fork and turn left to enter the door you unlocked earlier. Inside you’ll find BINARY SUBSCRIPTURE #4A. This is the last artifact we need to enter the Stronghold Void, so head over back to Ice Hive, enter the portal and get ready for a showdown!


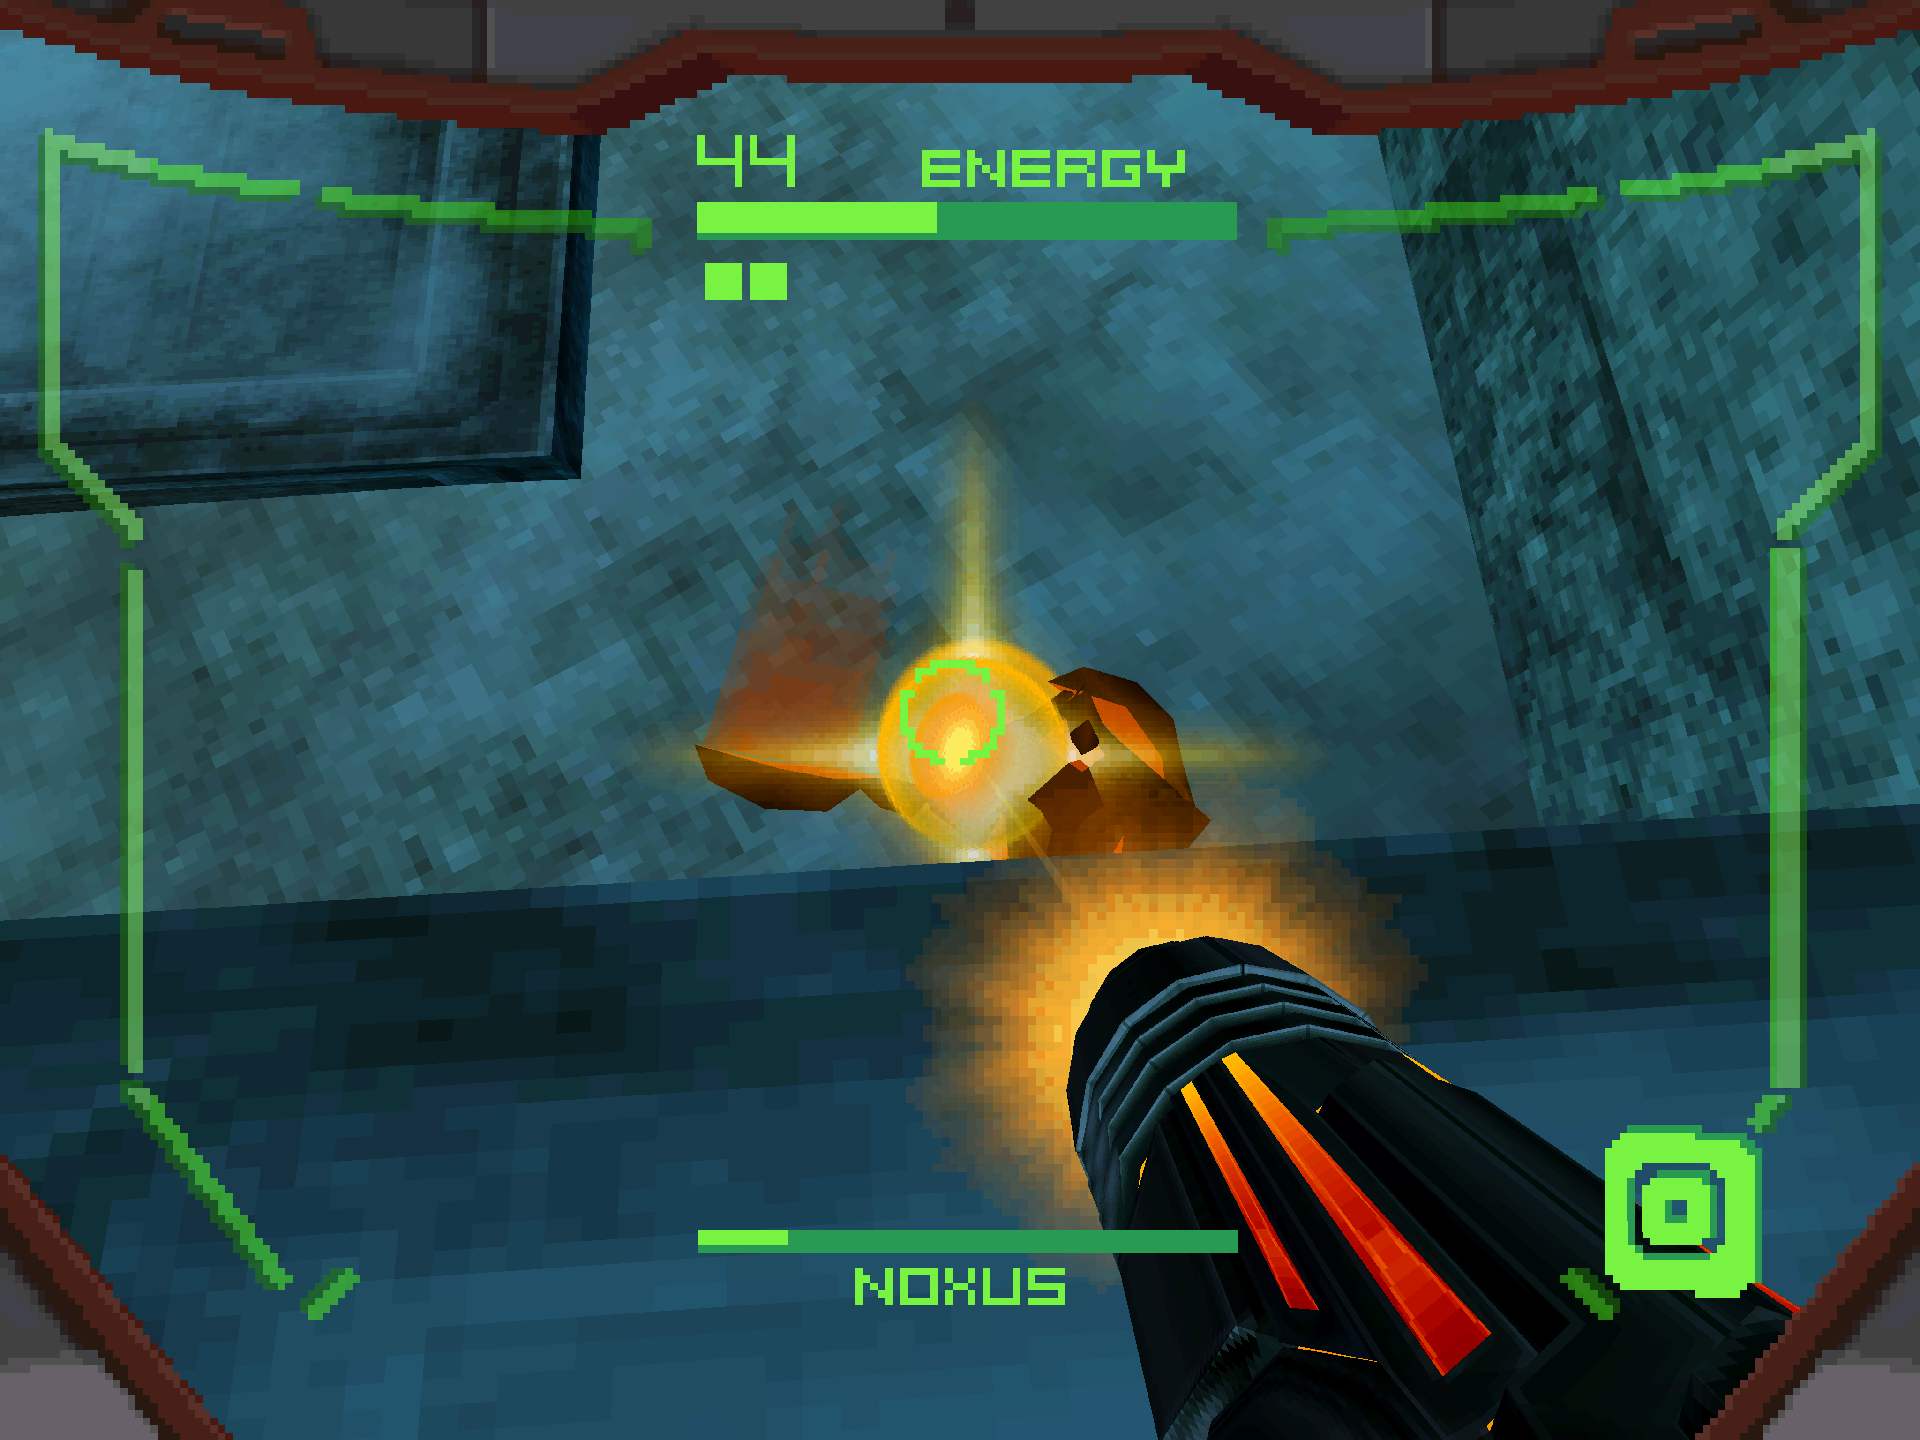
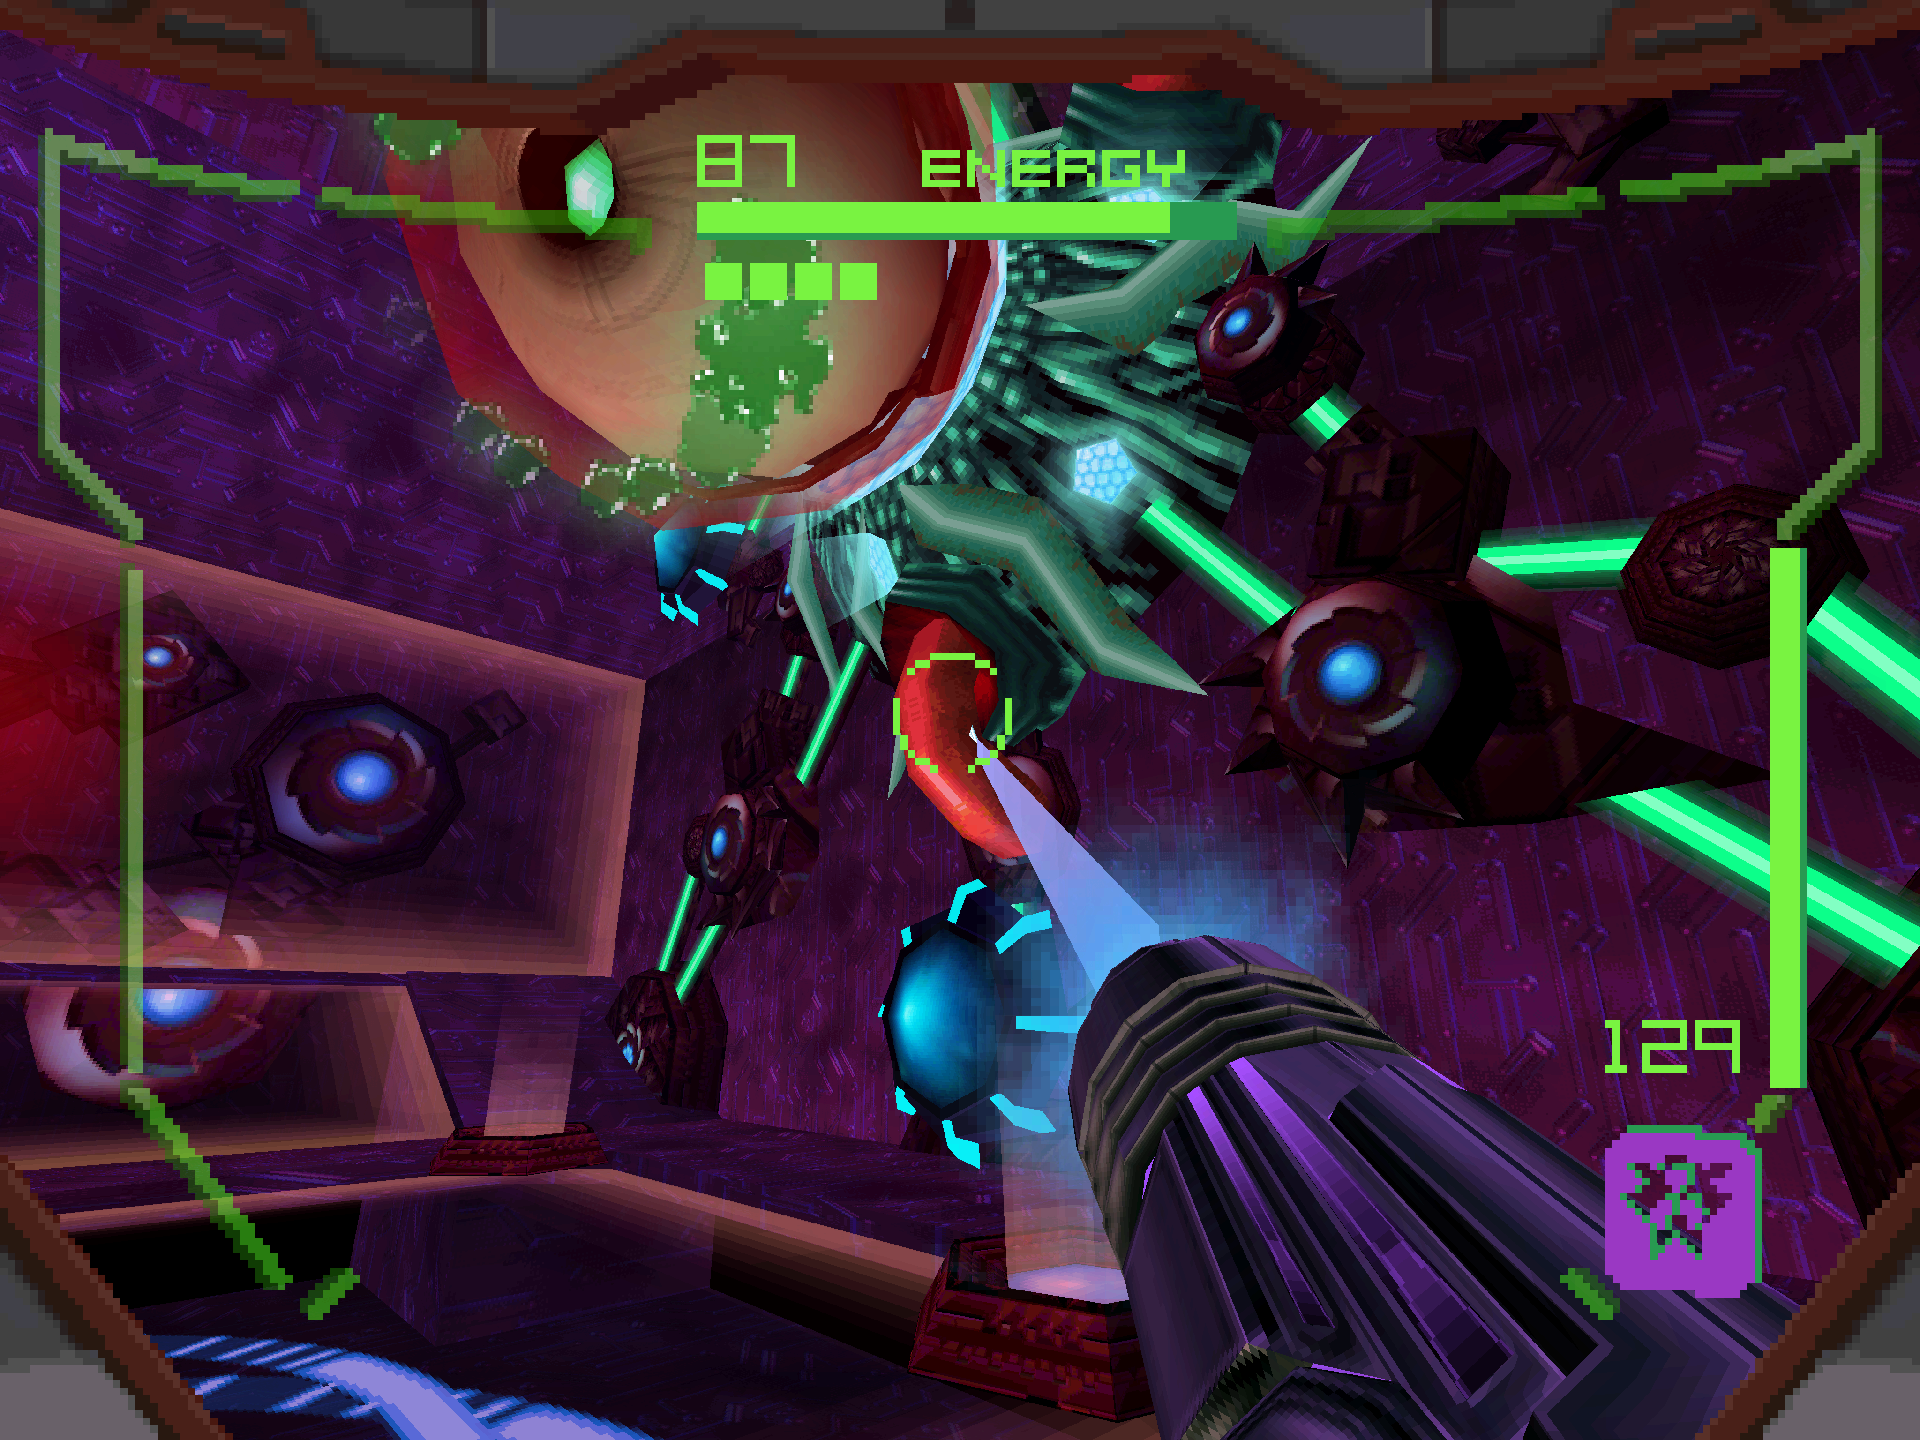
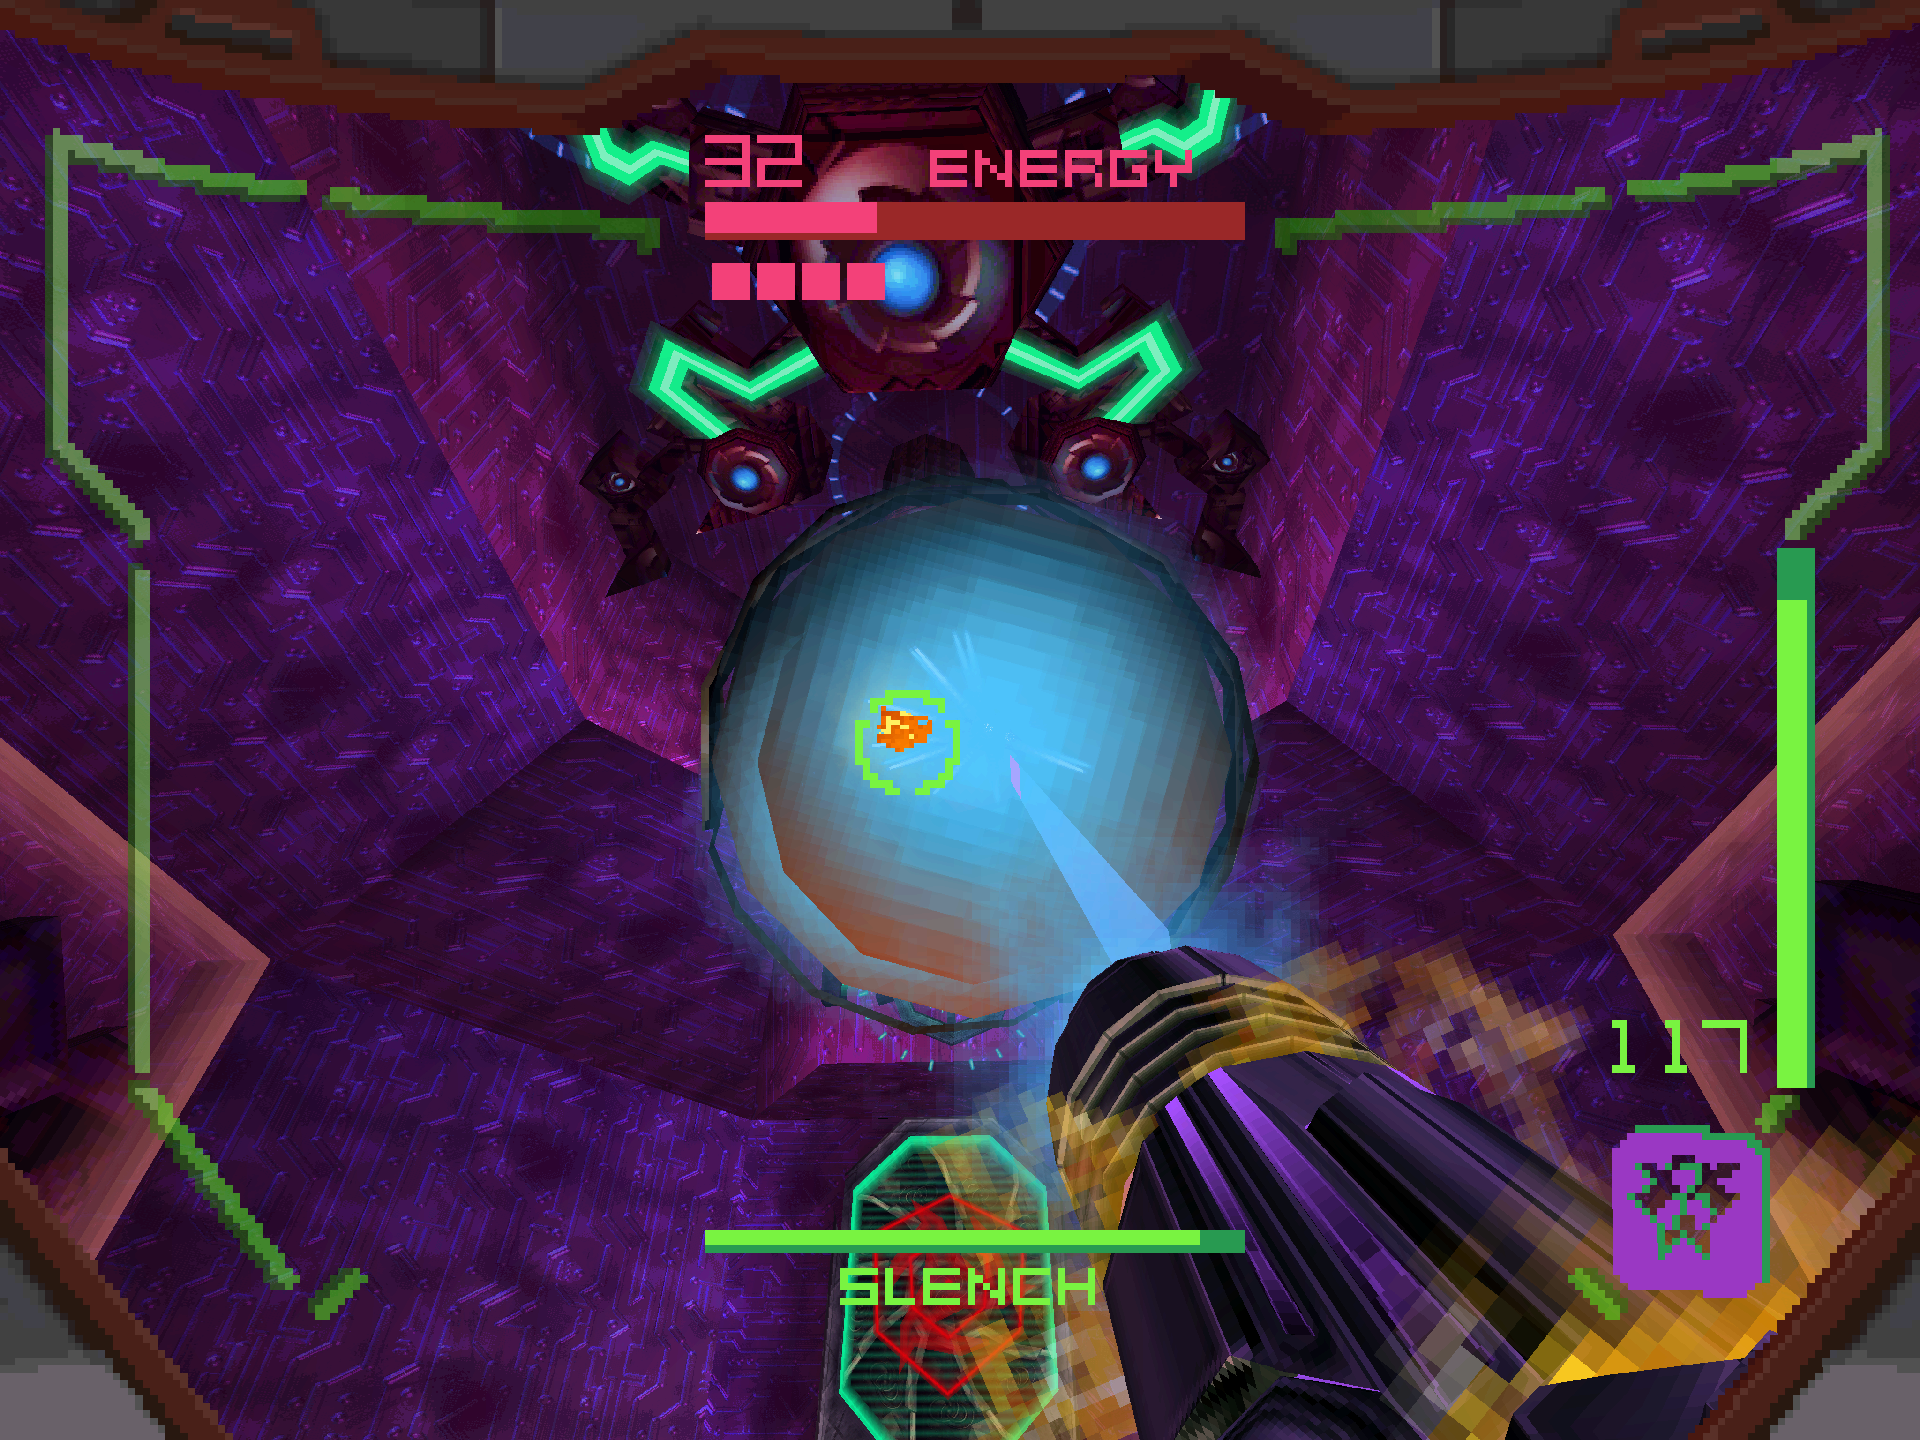
Slench 2
Scans in This Section
Bioforms: Slench 2A *missable*, Slench 2B *missable*
Slench 2 is nearly identical to the first fight and you’ll be using the exact strategies. The biggest difference is that this time it will fire superheated magma projectiles at you, with added burn damage while hovering. Your Judicator is also the only weapon that will damage the synapses this time, and will deal the most damage to the eye when it detaches from the wall. Don’t forget to scan both the SLENCH 2A and SLENCH 2B during this fight, as they’re both missable scans!
Gotta Go Fast!
Scans in This Section
None
We have half of the Ocloliths now, and you’ll never guess what happens next… another escape sequence! I know, shocker. We have seven minutes on the clock, which sounds like a lot until you realize that probably means we’re gonna get ambushed at some point. We’ll get there when we get there, but for now it’s time to leave the Stronghold Void and head for Sic Transit. Once you arrive, some new force field configurations will be set up that funnel you into the outside area. As you approach the bridge, a lone Guardian will ambush you.
Then suddenly…

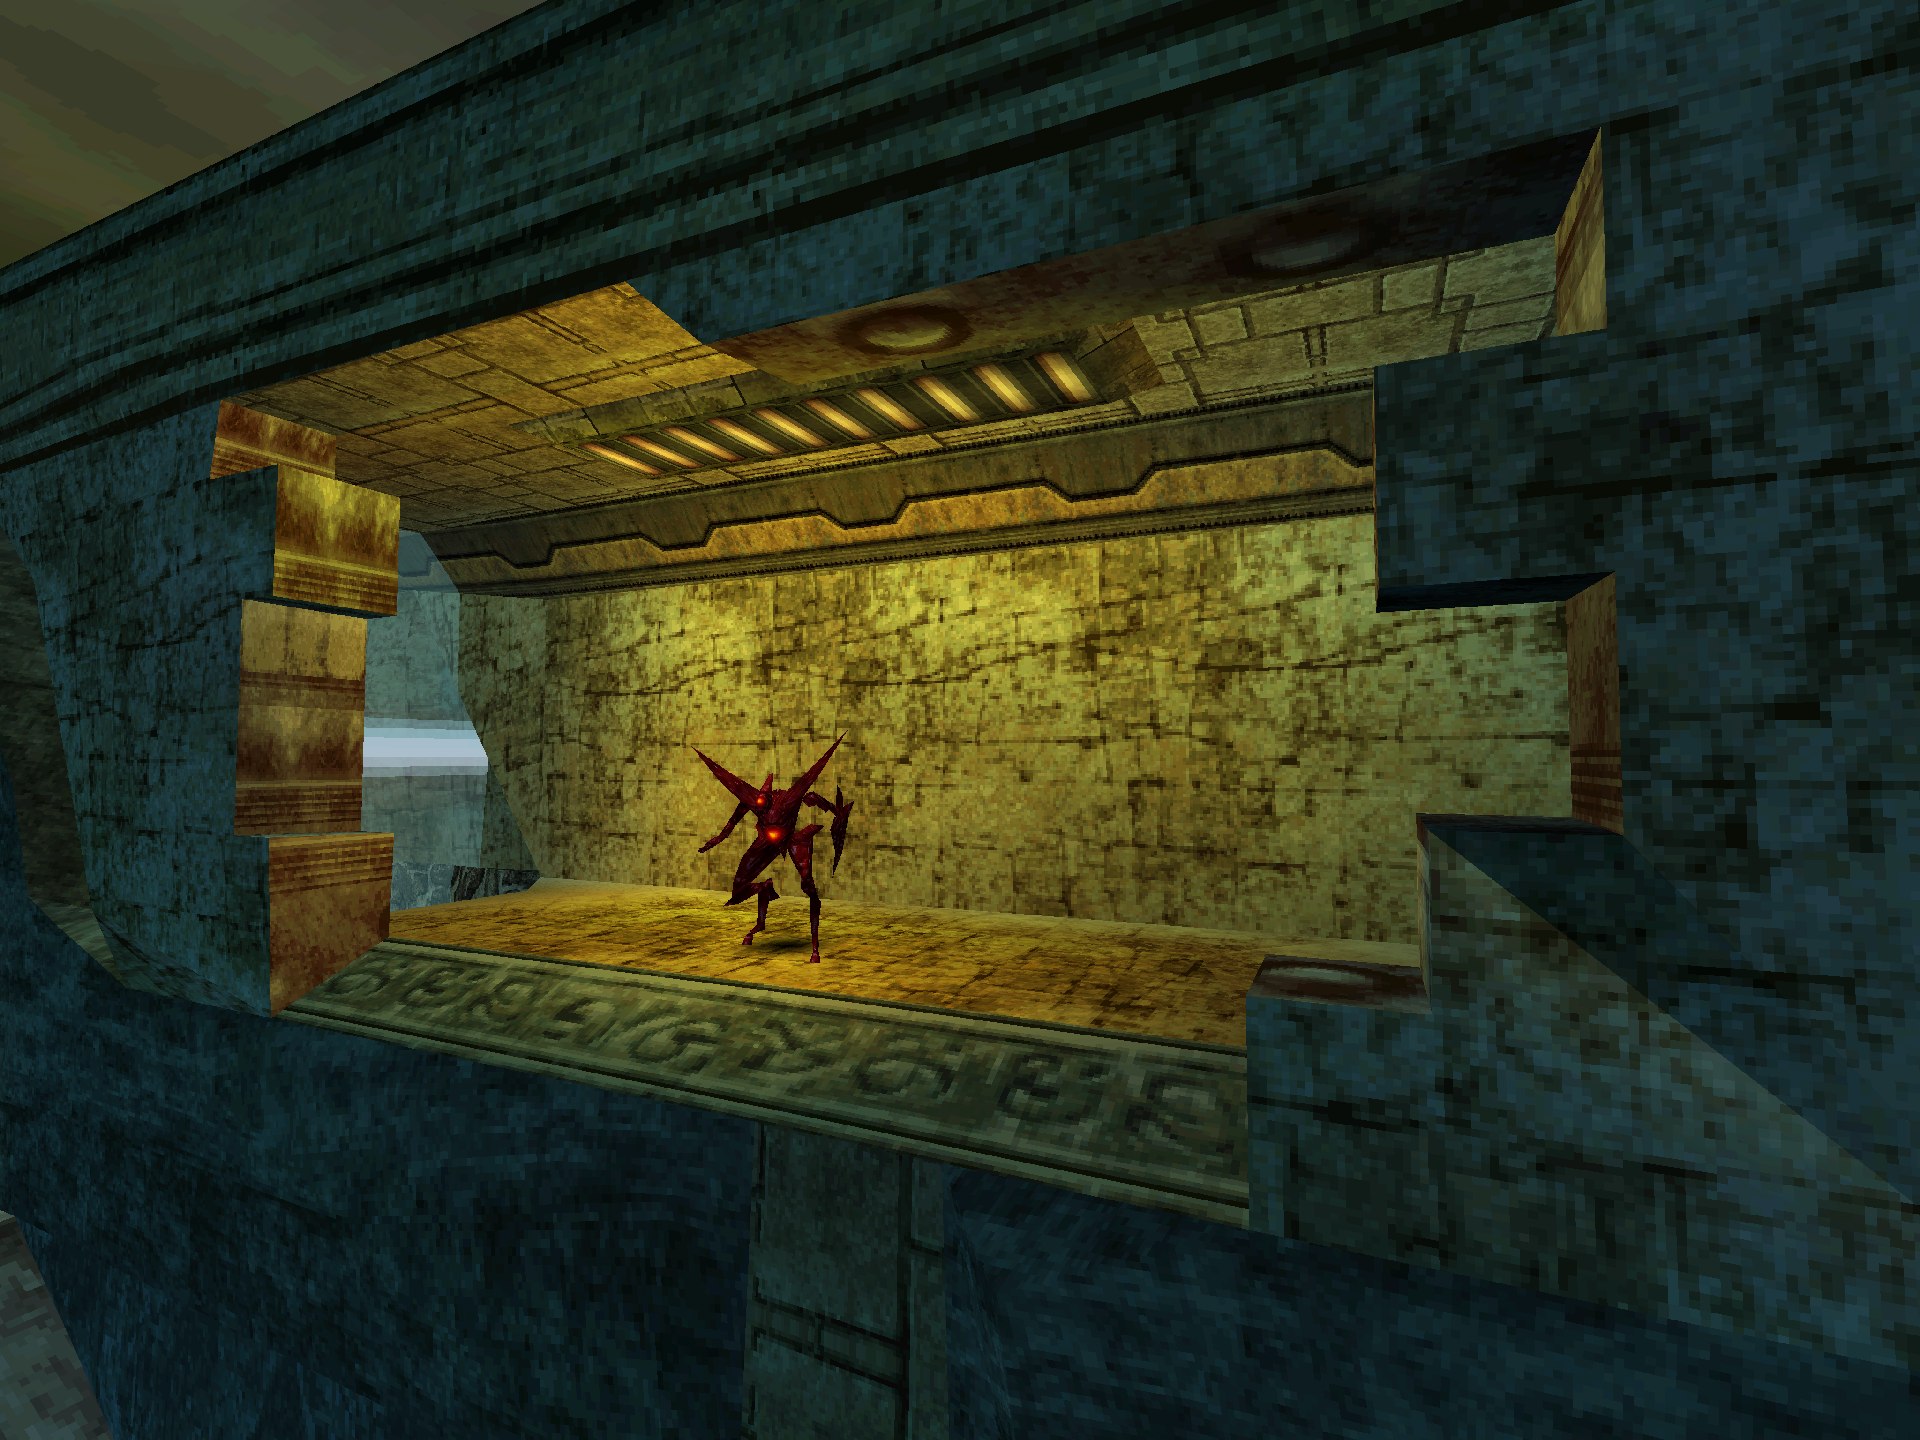
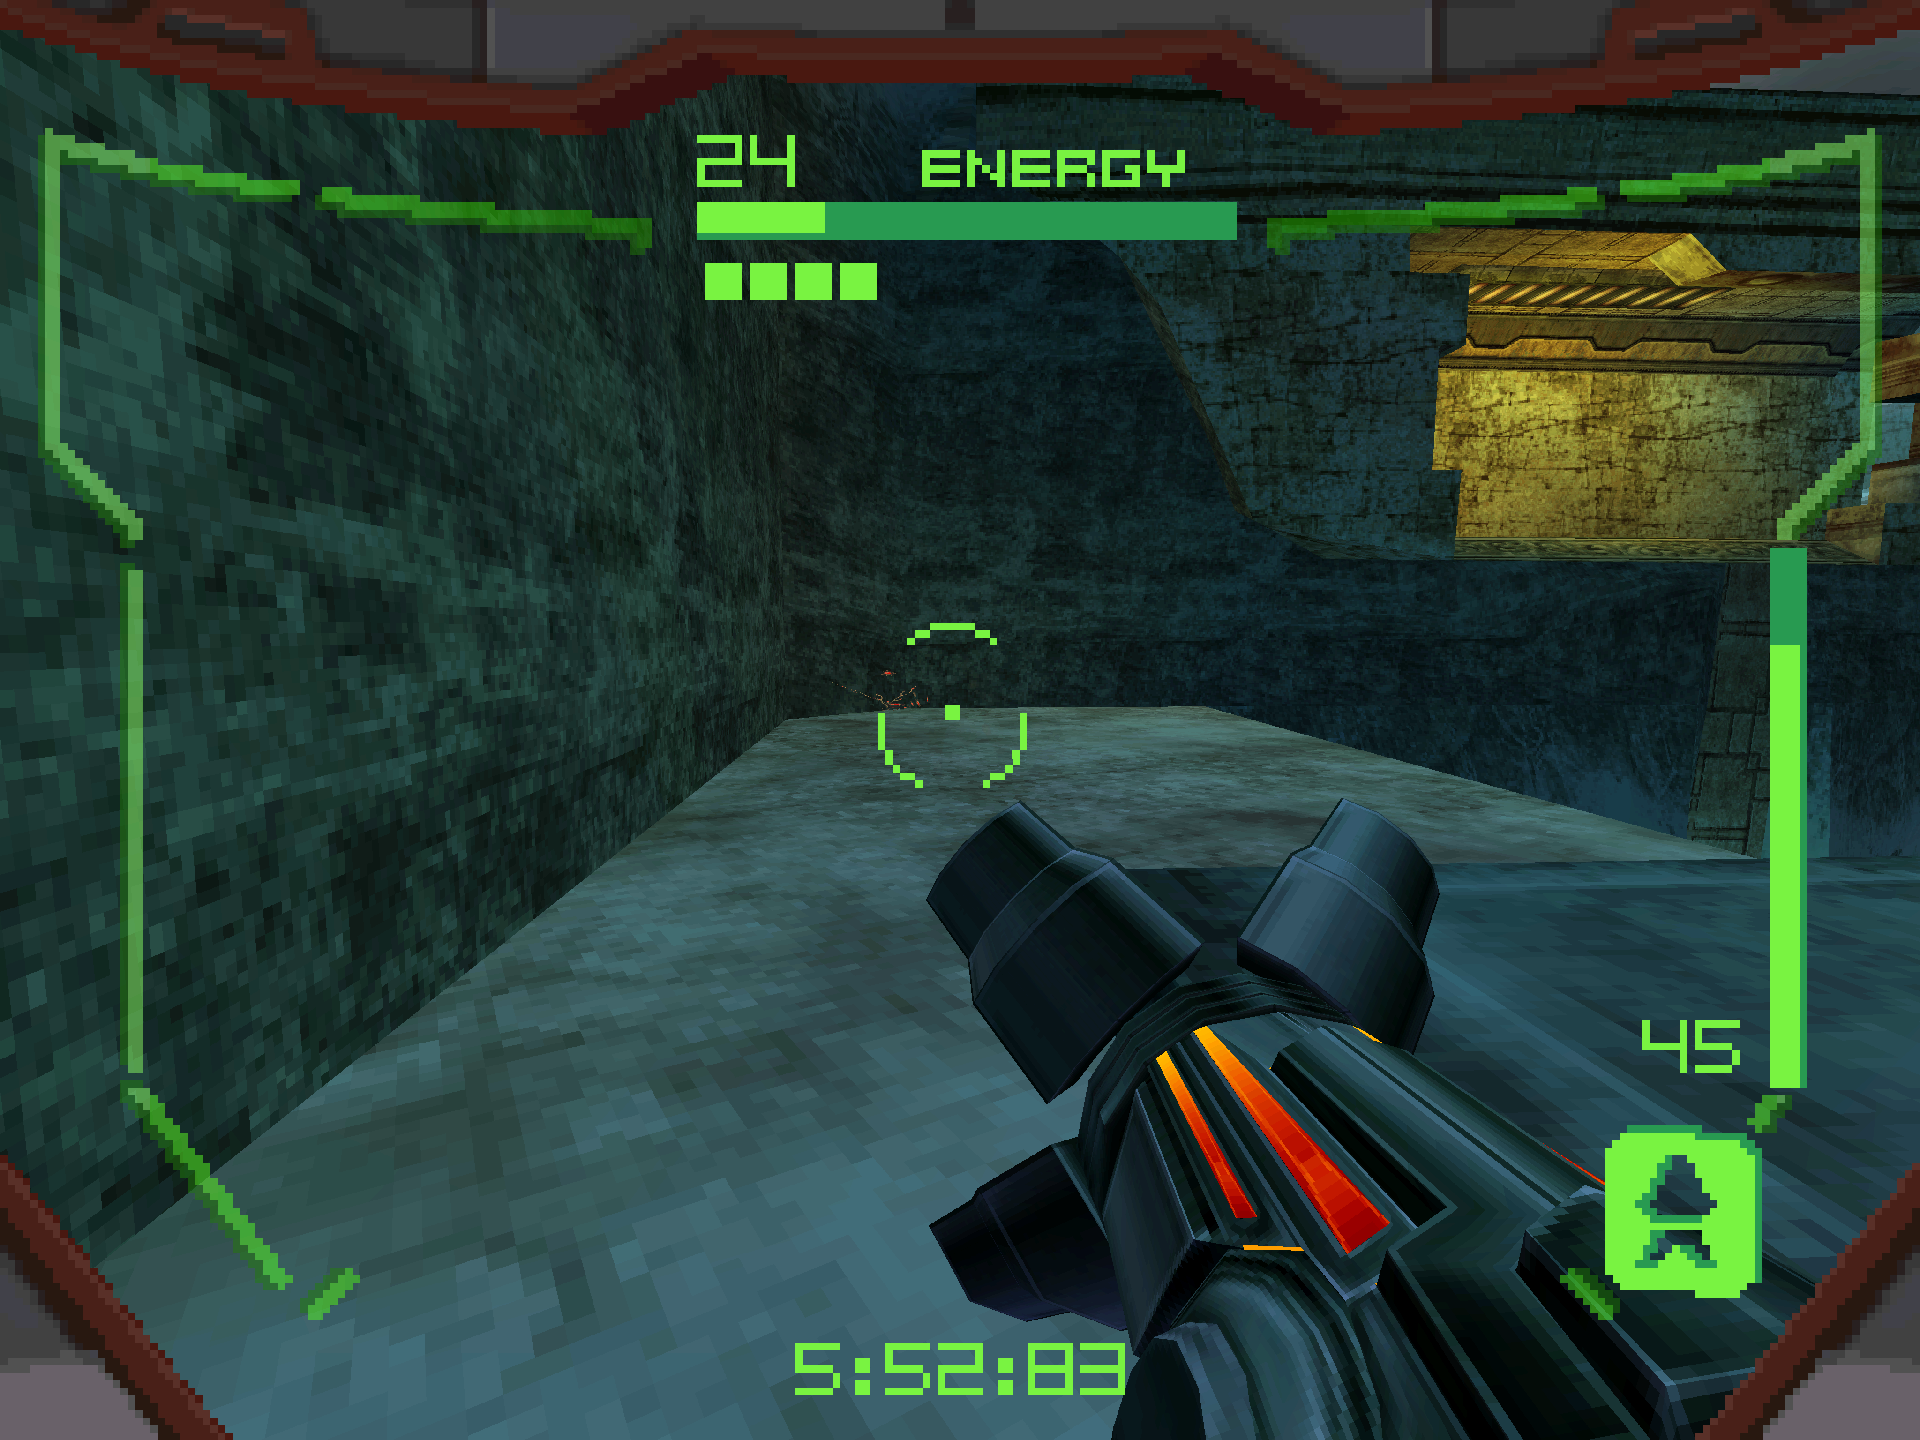
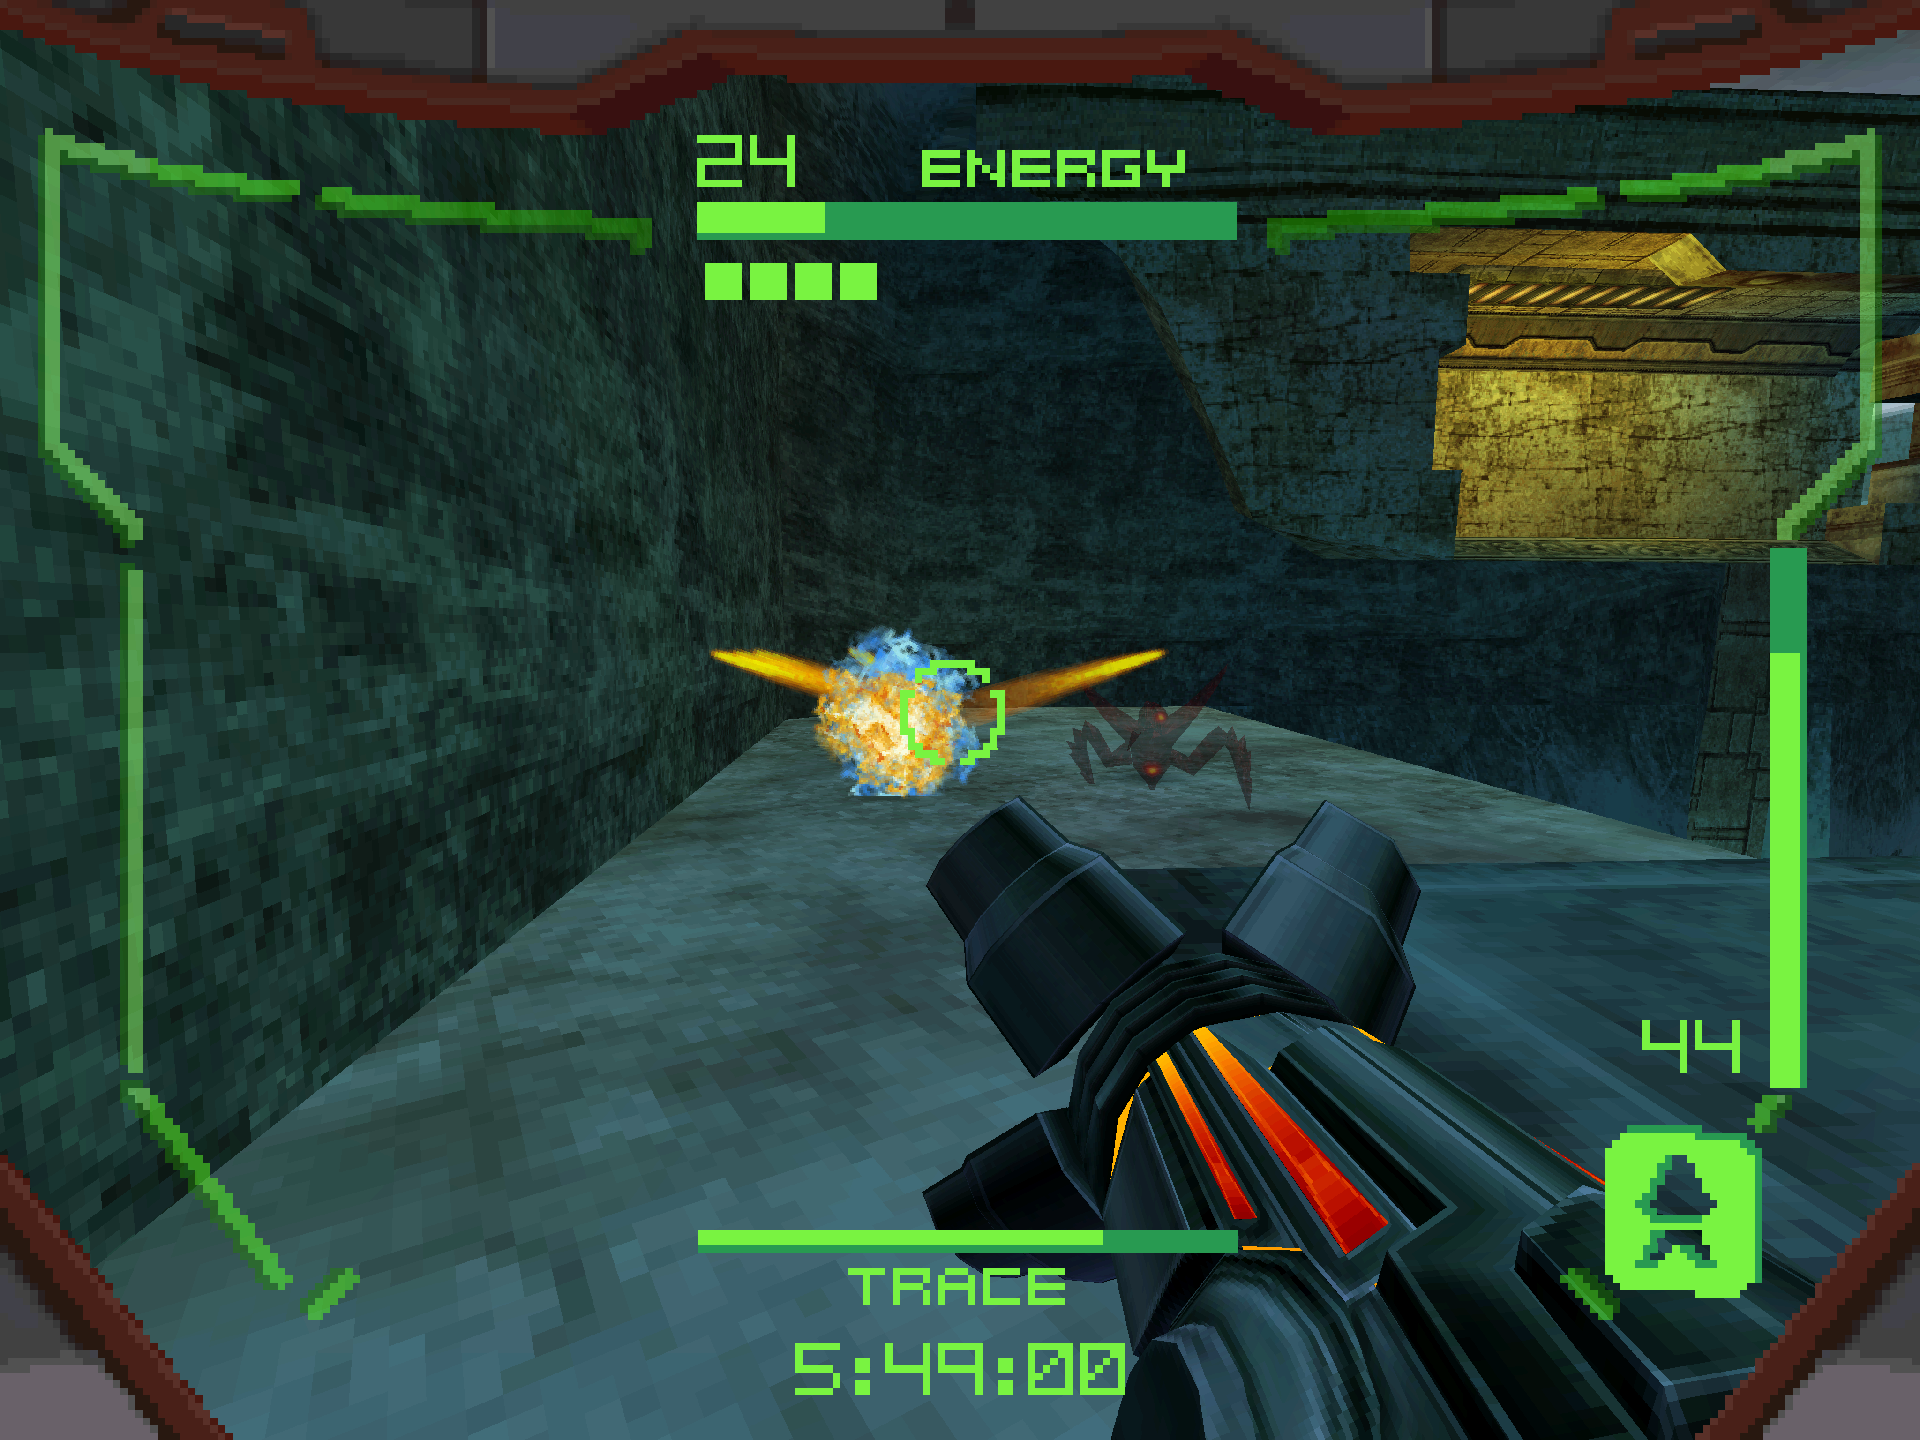
Trace
Scans in This Section
Bioforms: Trace, Triskelion
TRACE is here for payback after we made it retreat from the Noxus fight. It comes equipped with the Imperialist, a precision sniping laser that does massive damage. Trace can also turn invisible when standing still for a short period of time, giving it a bit of a different playstyle compared to the other Hunters we’ve faced thus far. This also prevents it from showing up on your radar. Trace is perched at the back of the map with an advantageous high ground over us. It underestimates our power though, because we have homing missiles! Invisible or not, your missiles will always track Trace.
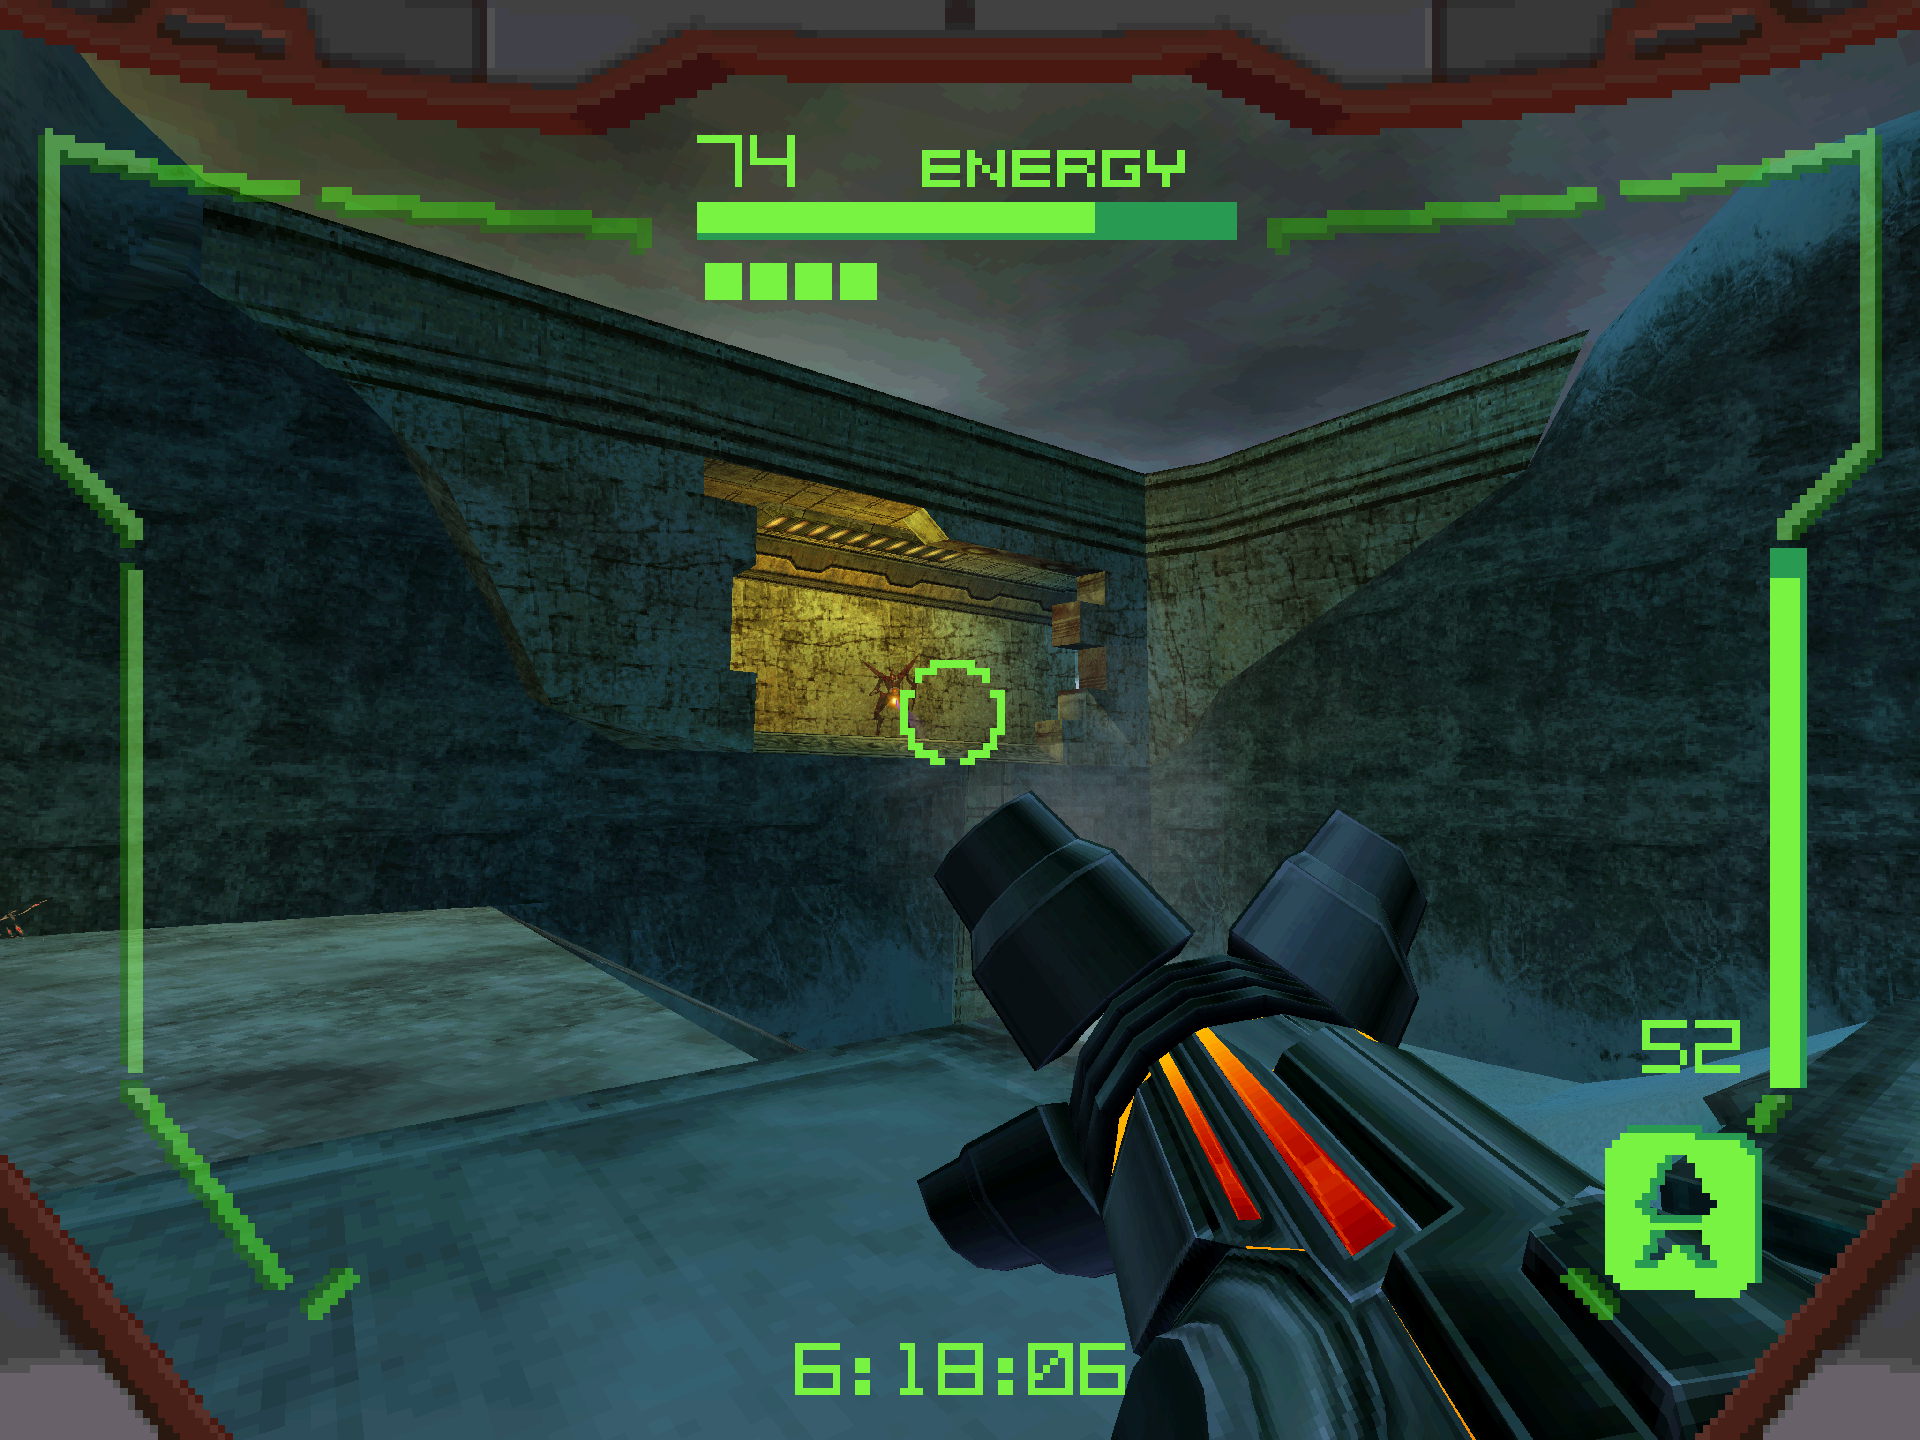
After enough damage is dealt, Trace will abandon its perch and transform into the TRISKELION. The Triskelion does a lunging attack, dealing decent damage and also making Trace hard to hit. Be careful as Trace can also turn invisible by standing still while using the Triskelion. It will use this to its advantage by running away from the fight at numerous points to hide somewhere, waiting to ambush you. When this happens, you will have to search for it because otherwise Trace will happily run down the timer and give you a game over.
Ambush!
Scans in This Section
None
After Trace has been dealt with, we probably won’t have much time left, so we gotta book it! Exit Sic Transit and head for Arcterra Gateway. Once you enter, head for the steps formed from the center structure. As soon as you start climbing, a force field will seal off the upper passage and three Guardians will ambush you. You MUST take them out to disable the force field and continue your climb! If you have any missiles left, these are still a great option to deal with large packs of Guardians. The Judicator’s Charge Shot, which fires three projectiles, also does NASTY headshot damage if you aim it well. Take out the Guardians, sprint towards your ship and whatever you do, DO NOT fall off the ledge! Get out of there and fly away!


Next Chapter: Celestial Archives, Part II