


Metroid Prime Hunters Walkthrough – Alinos, Part II
WALKTHROUGH
- Celestial Archives
- Alinos
- Vesper Defense Outpost
- Arcterra
- Celestial Archives, Part II
- Alinos, Part II
- Arcterra, Part II
- Vesper Defense Outpost, Part II
- Oubliette
The Magmaul
Scans in This Section
Bioforms: Red Barbed War Wasp, Psycho Bit v3.0
Lore: History 02, Alimbic Prophecy 06, Alimbic War 02, Gorea 01, Gorea 02
Objects: Thermal Regulator, Alimbic Garden, Glyph Pattern, Wall Scroll, Council Chamber
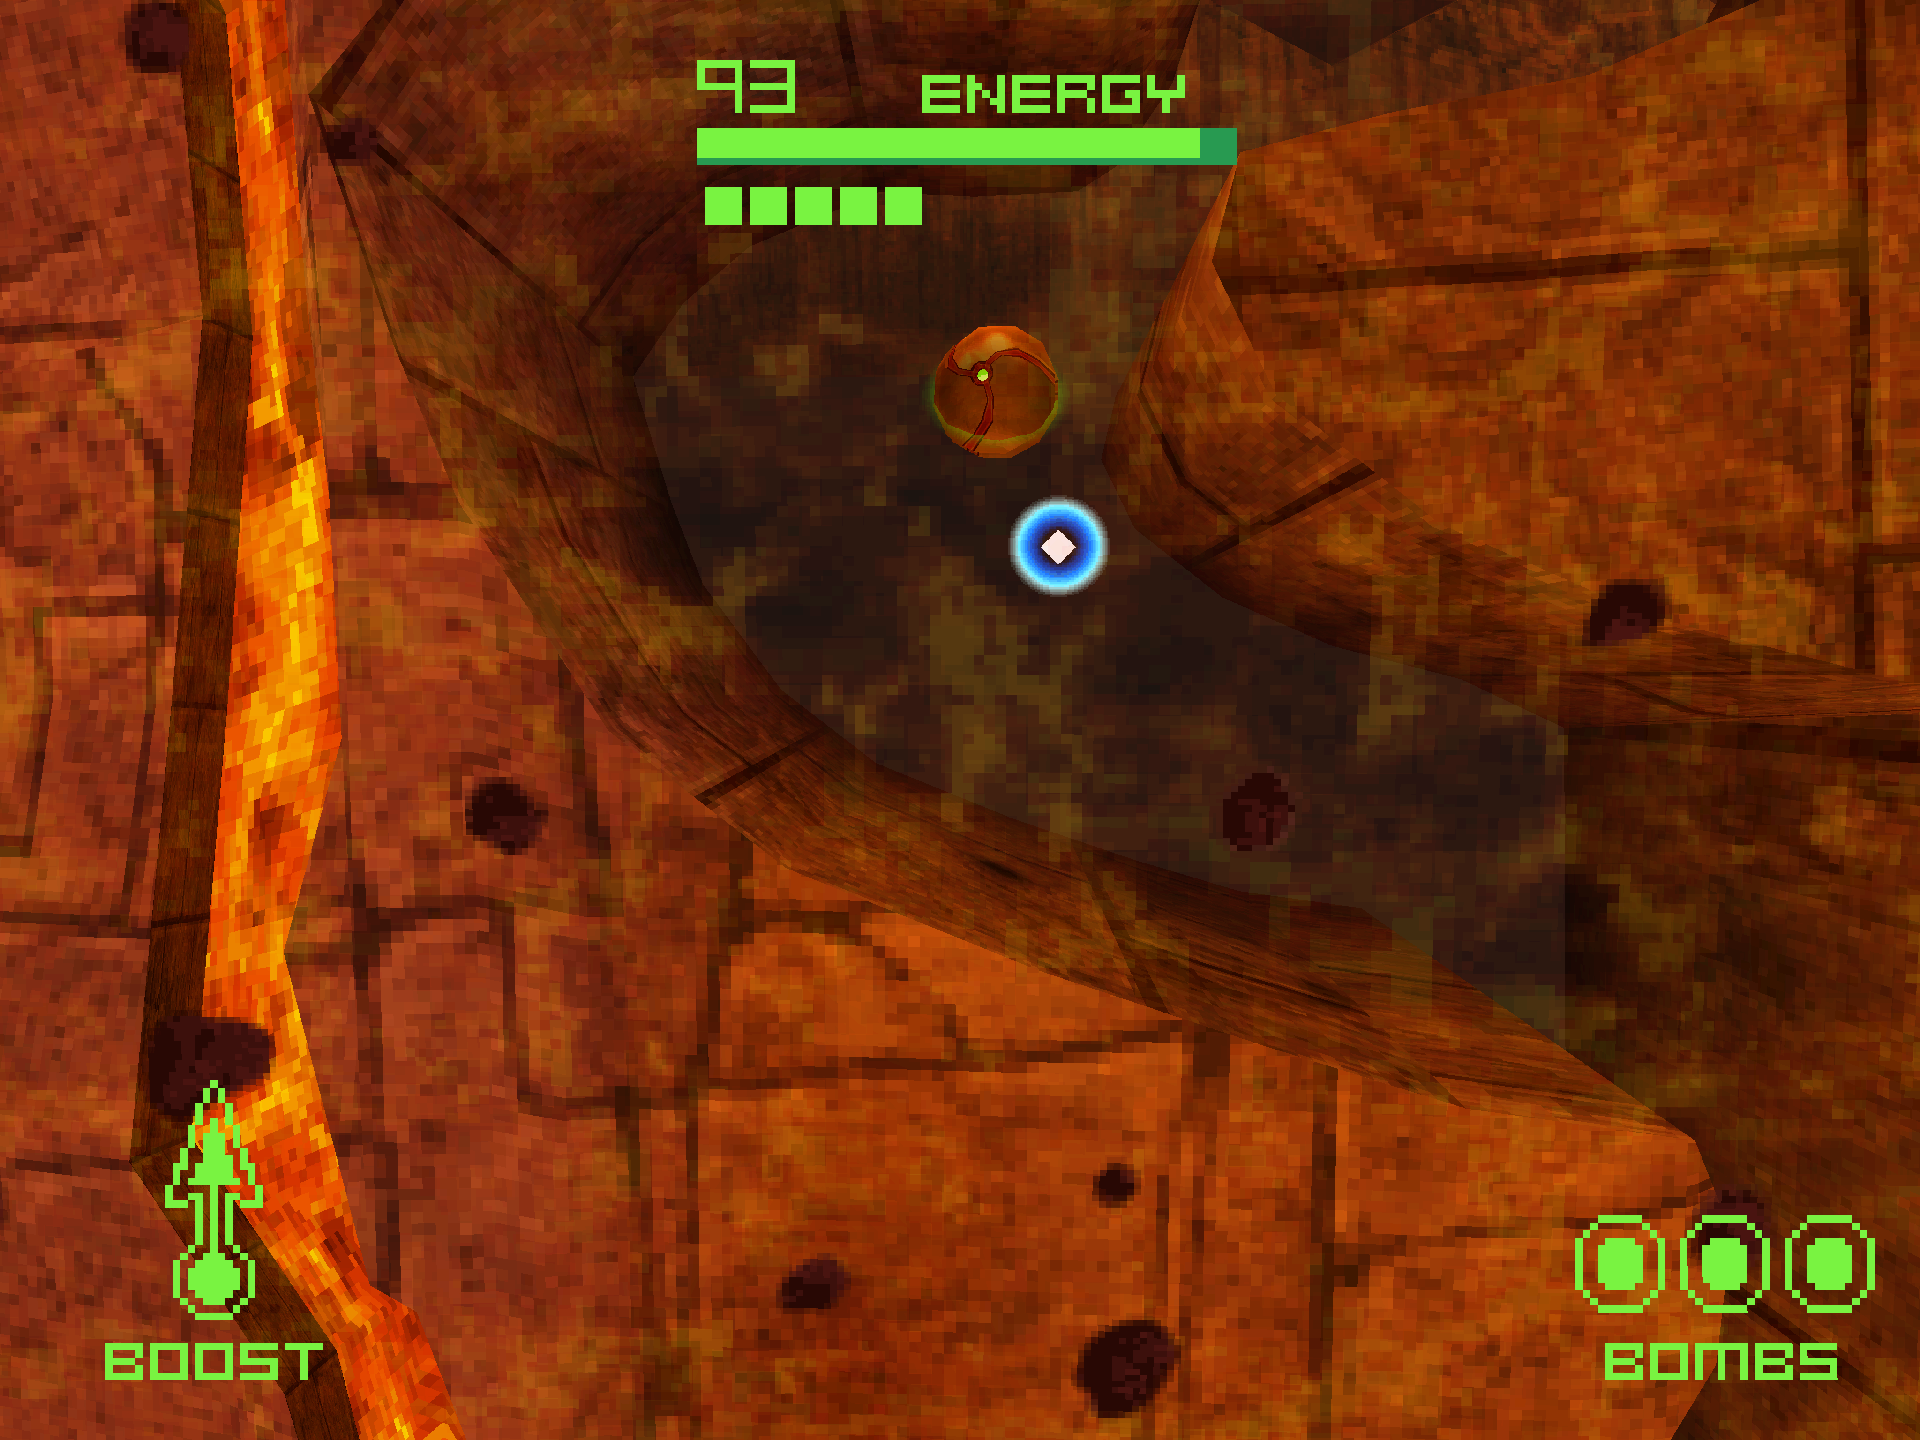
We’ve collected some new tools that’ll let us explore more of the secrets that Alinos holds, so that’s our next destination. After you land, take the portal to the left back to Elder Passage, then enter High Ground and drop to the underground level below the main floor. In the hallway to the left of where you came from, you’ll see a purple force field blocking a Morph Ball passage filled with magma and a Large Energy orb sitting on top. Disable the force field and jump right into the spice! You’ll fall into a large reservoir of magma constantly damaging you, but with various energy orbs littered about to replenish your health upon contact. The viscosity also alters the physics a bit differently, slowing your fall while also giving you a massive boost when performing a bomb jump. Follow the trail of energy down the passage, using a bomb jump if you get stuck on a piece of terrain. You’ll eventually hit a path straight out of Green Hill Zone that loops you around to the right side.
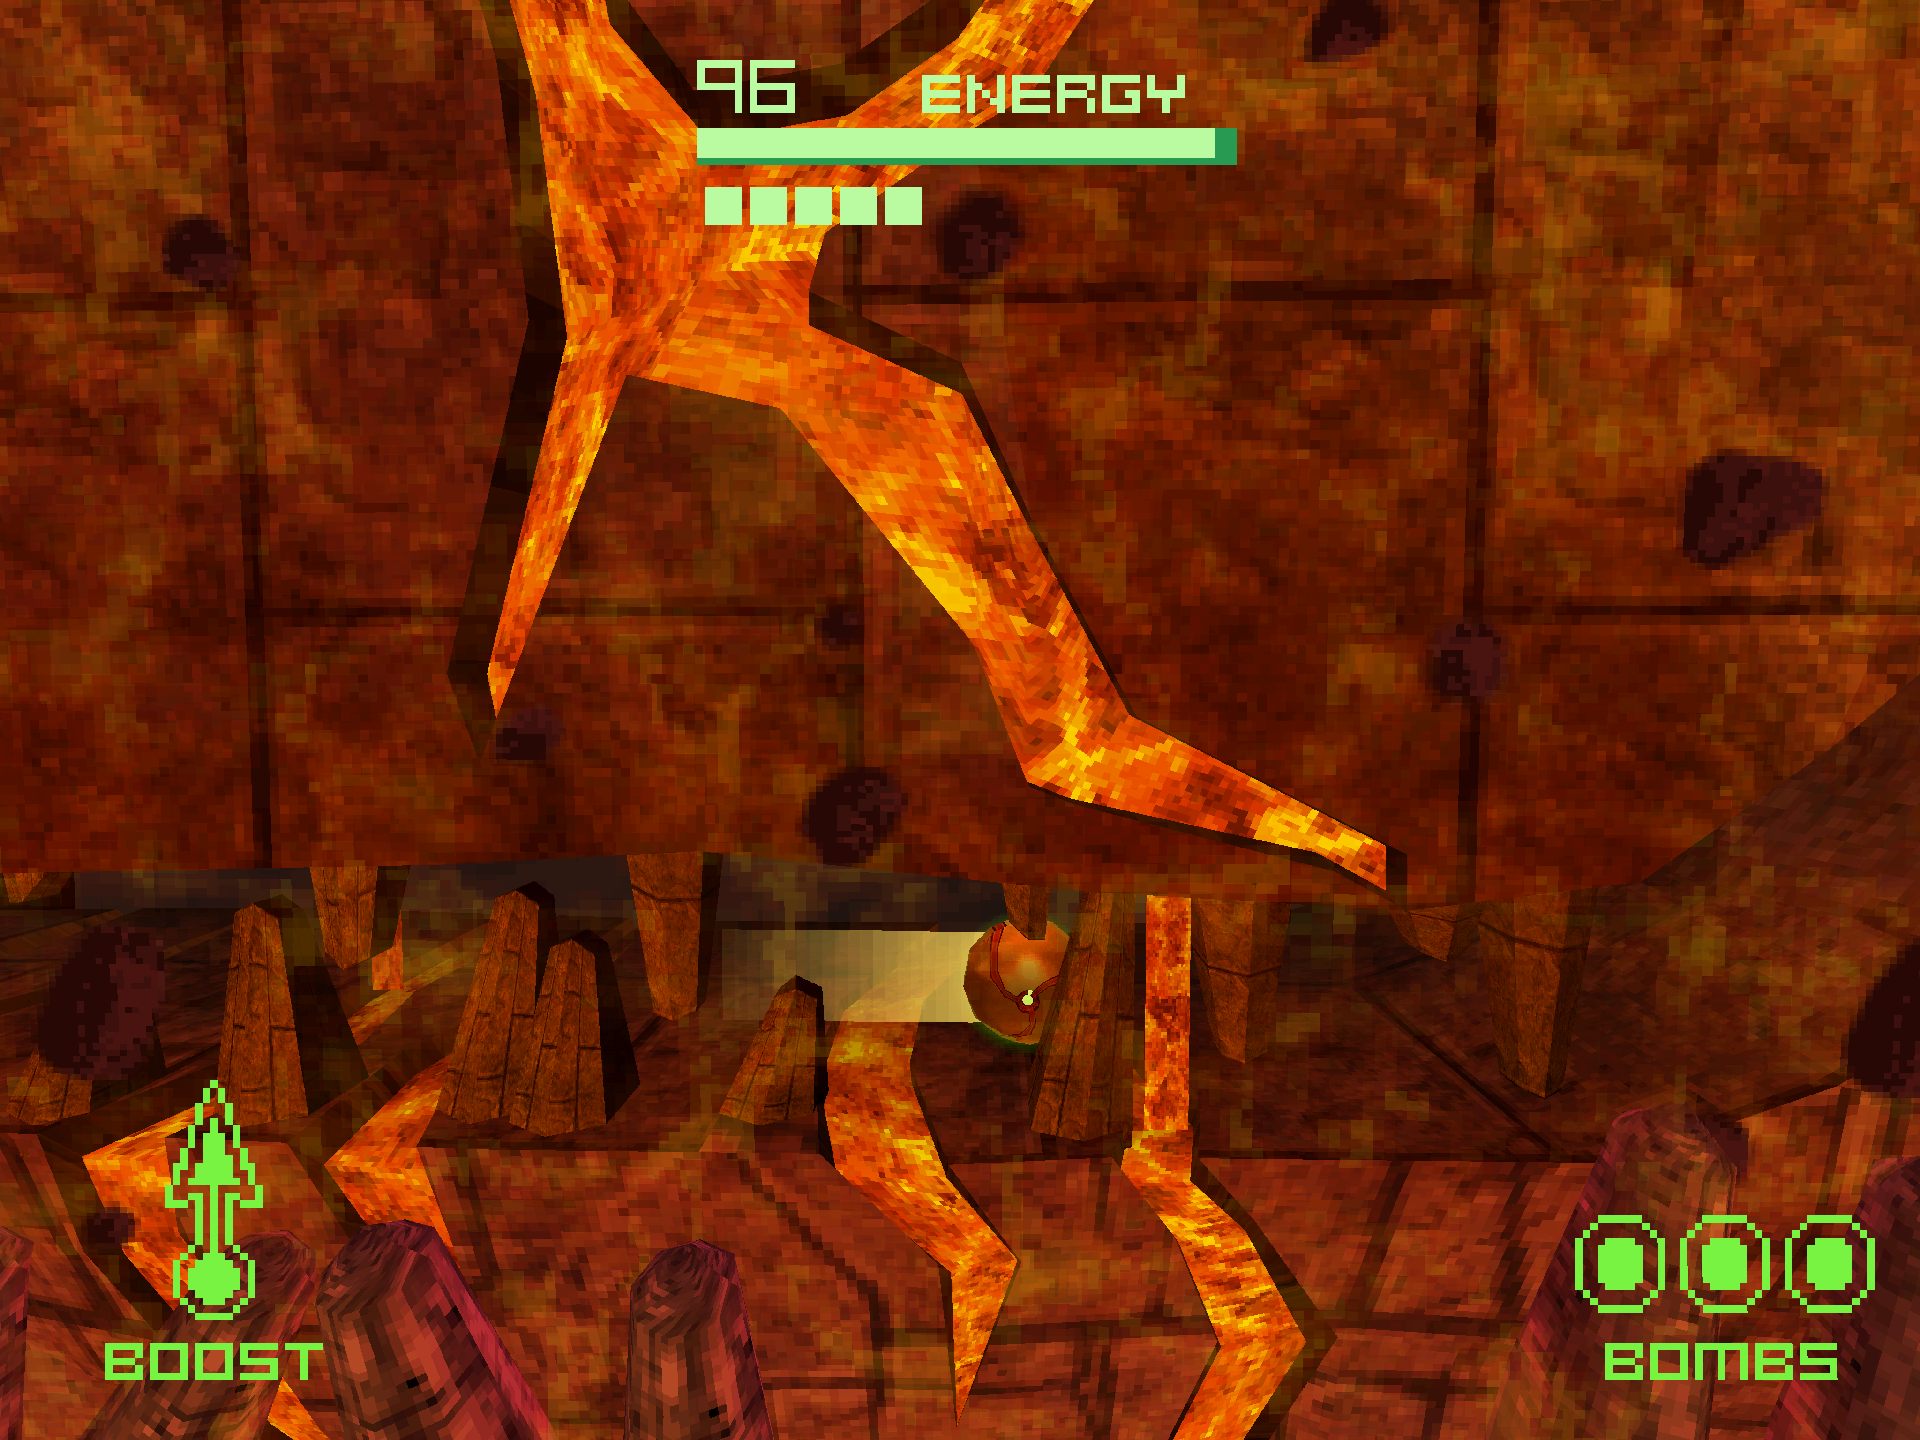
Here you’ll have to use bomb jumps to ascend, which can be a little tricky if you’re still adjusting to the physics. The first bomb on the ground is easy, but it takes longer than you would think at first for your ascent to slow down and drop the succeeding bomb. It’s something you have to “feel out” with experience, but the best tip I can give is that once you believe you’re about to hit the apex of your ascent, spam a string of bombs and one of them should connect to propel you forward. When you do this, stay in the center of the shaft and you should hit a rock formation. As soon as you hit the rock, steer left to fall on a platform close by. Plant your next bomb and hug the left wall until you hit the ceiling, then fall right and you’ll land on a platform holding UA EXPANSION #8. Plant one final bomb after collecting it to boost yourself through a tube and back to the surface of High Ground.
If you need additional help with the puzzle, check out the video below to watch a perfect run from start to finish.
After you reach the surface, jump back to the main floor and disable the purple force field at the back of the room. Take out the Alimbic Turret guarding the hallway and then scan the THERMAL REGULATOR. You’ll be next to a door flanked by two glowing blue pillars and will probably be tempted to go inside given it’s been a pretty common signpost in the game so far. While there are some unique scans to add to our logbook, the passage’s main purpose is of no use to us until we approach the endgame. For now, we’re going to leave this door and its secrets alone. Keep it in the back of your mind for later though! Continue up the incline and scan the HISTORY 02 datashade. Then at the top of the path, scan the panel on the wall to activate a moving platform. Ride the platform to the other side and scan ALIMBIC PROPHECY 06 before entering the next room. Be mindful of the gap just before the entrance!
In the Alimbic Gardens, scan the RED BARBED WAR WASP before continuing through. At the top, a cutscene will play showing Sylux’s Delano 7 flying by, presumably searching for Octoliths. Before we exit the room, pop open the Scan Visor and add the ALIMBIC WAR 02, GOREA 01 and GOREA 02 datashades to your logbook along with the ALIMBIC GARDEN. In Thermal Vast, you need to ride a series of moving platforms across a lake of lava to the other side. There’s a Morph Ball tunnel on each side of the room, don’t worry about choosing one over the other however as they both lead to the same jump pad that propels you over the fence. Move forward and scan the PSYCHO BIT V3.0 before destroying it and the spawn devices, then take the tunnel to the exit. At Alinos Perch, you’ll be ambushed by three Guardians lobbing Magmaul shots at you. Defeat them to unlock the doors, then take the door to the left to access the Council Chamber. Scan the GLYPH PATTERN and WALL SCROLL before proceeding forward, then in the main room scan the COUNCIL CHAMBER.


Fire Spawn
Scans in This Section
Bioforms: Fire Spawn *missable*
Equipment: Magmaul
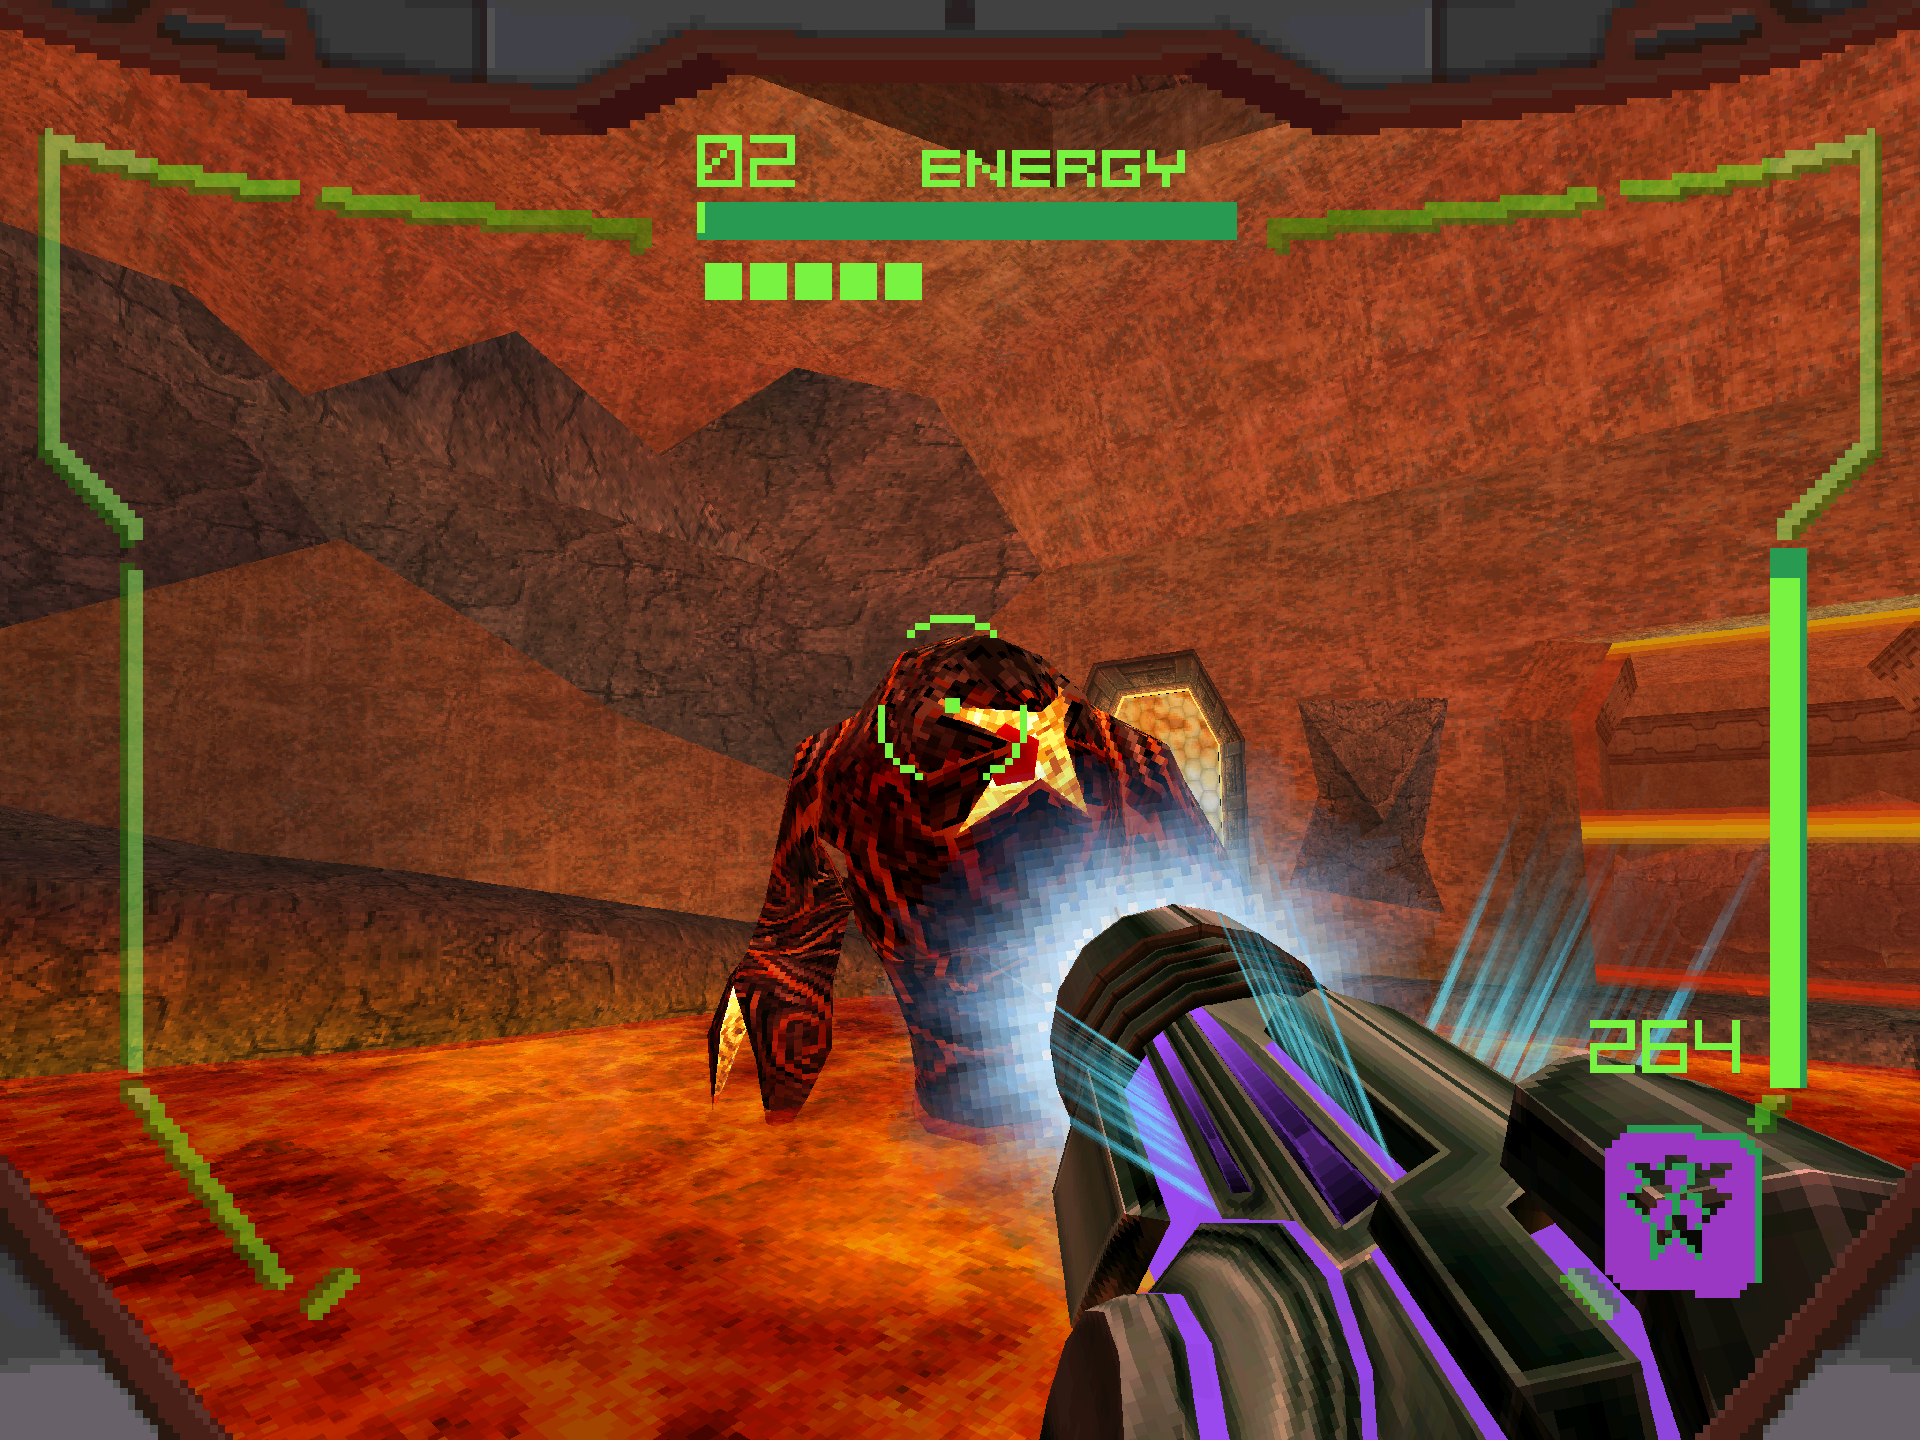
A boss fight that isn’t Cretaphid or Slench? What a relief! It’s not a lot, but it’s still a much needed pallet cleanser after facing so many carbon copies. The music that plays during the fight is a cover of the Parasite Queen theme from Metroid Prime, and an earlier version of this arrangement can be heard in Metroid Prime Hunters: First Hunt during the Morph Ball training mode.
Alright trivia time is over, we’ve got a boss to fight! Scan the FIRE SPAWN, switch to your Judicator and start blasting when it opens its bright, glowing mouth that just screams “WEAKPOINT”. It will occasionally scoop up some of the lava in the pool it resides in to hurl at you. A simple jump to the side is all you need to avoid it, though it will give you lasting burn damage if it connects. It’s a good idea to charge your Judicator while it dives underneath the lava, but otherwise this battle is pretty simple and straightforward.
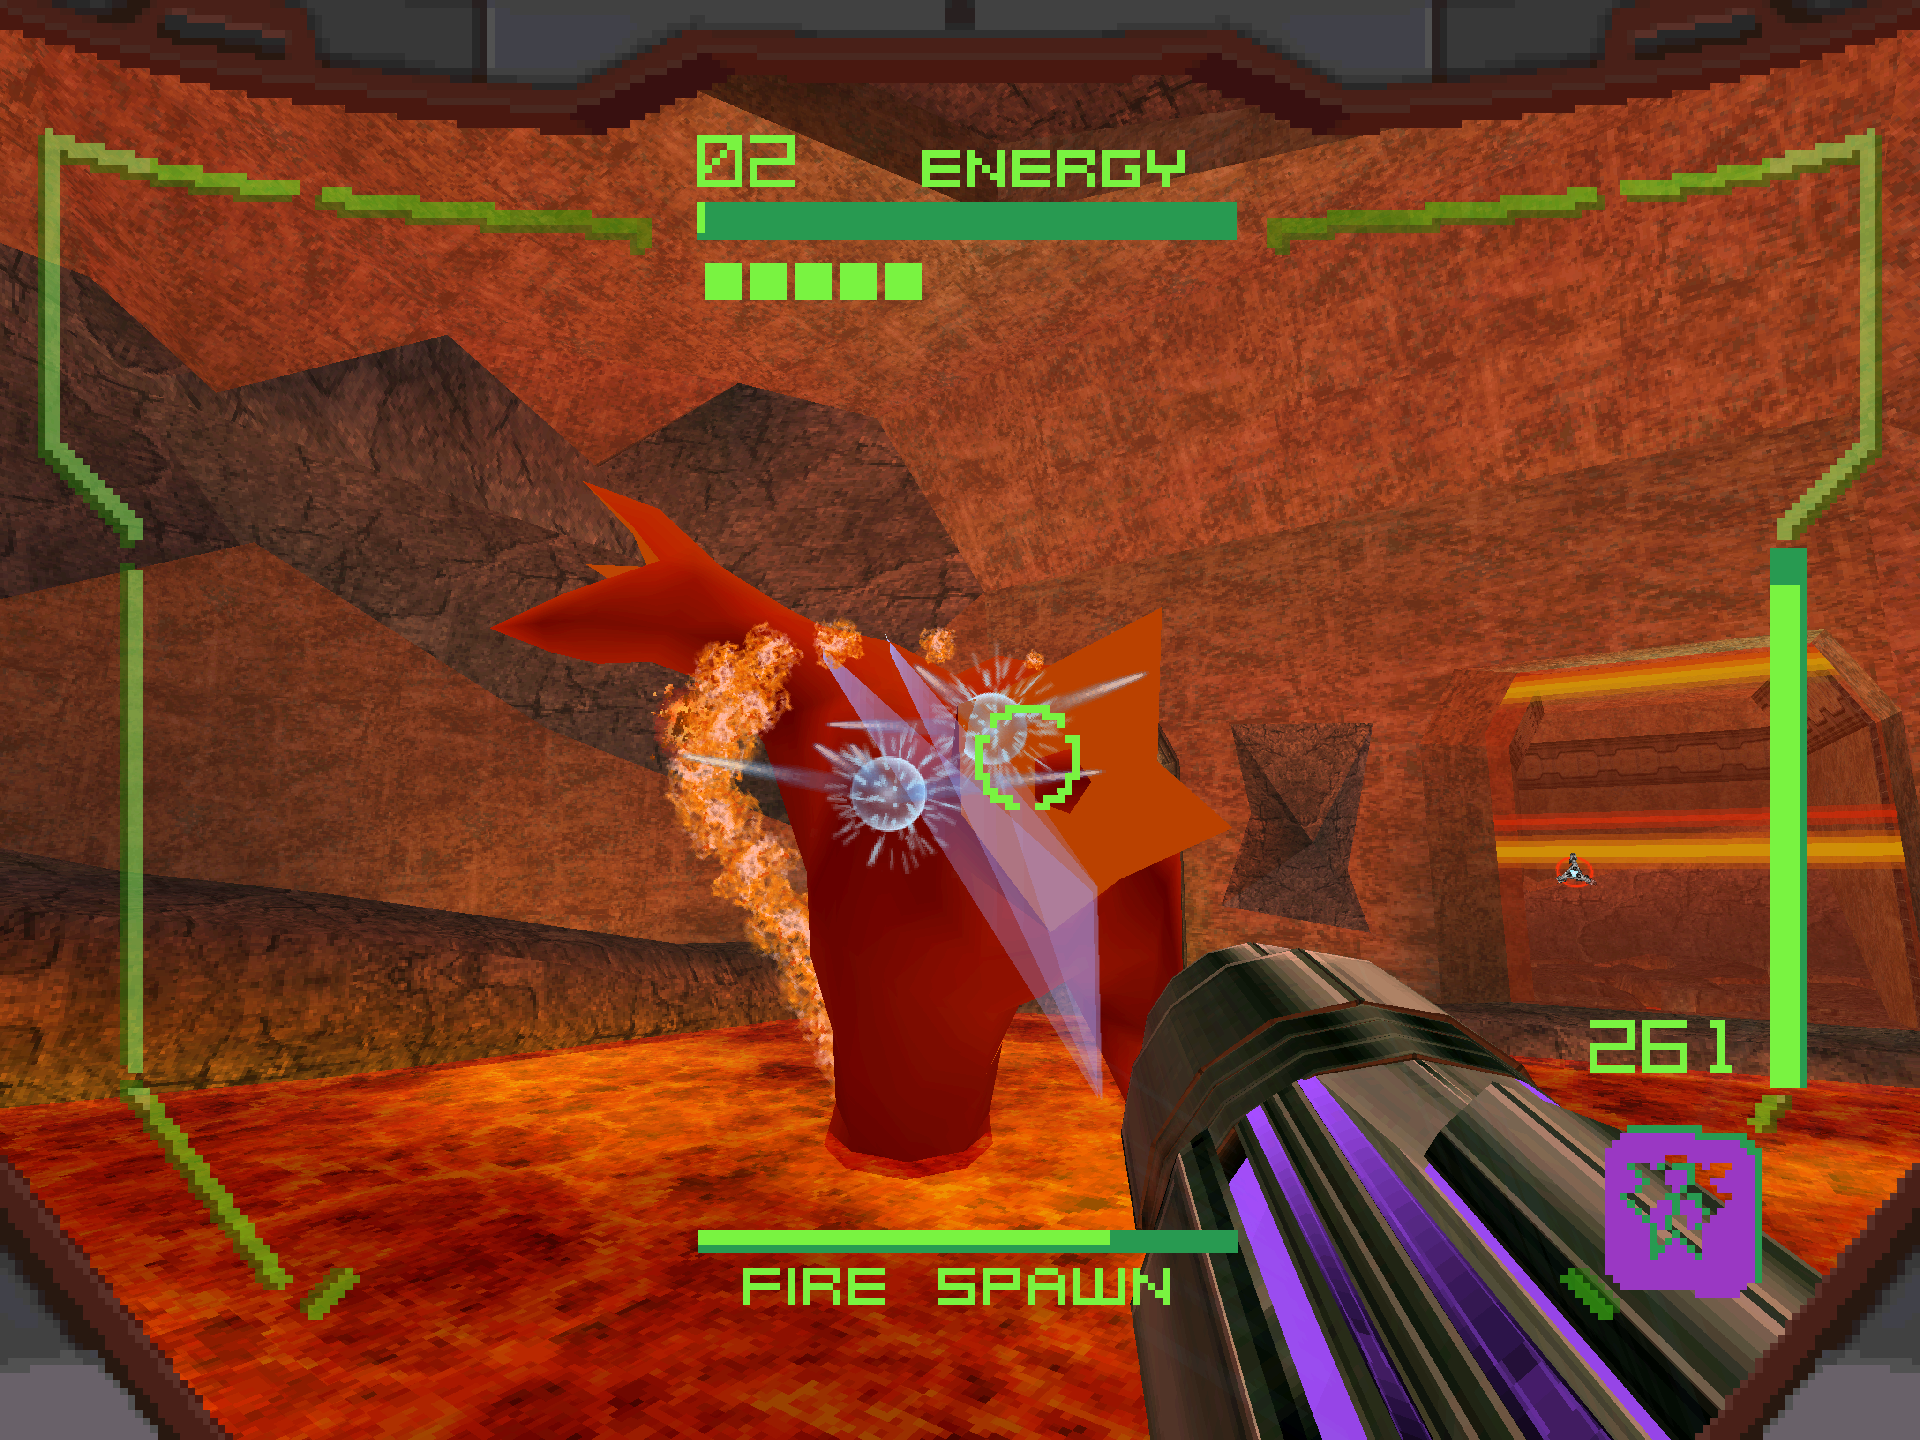
Defeating the Fire Spawn will grant you the MAGMAUL, allowing you to lob your own searing hot projectiles!
The Sixth Stronghold
Scans in This Section
Bioforms: Magma Voldrum, Ice Voldrum
Lore: Alimbic War 03, Alimbic War 07, Gorea 05, Alimbic Pride 03, Alimbic Pride 04, Alimbic Pride 02
Objects: Ceremonial Charms, Structural Debris, Backup Processor, Lava Processor 01, Lava Processor 02
After the fight, disable the top orange force field and follow the path to ENERGY TANK #6. Then take out the bottom shield which will release a Guardian firing Magmaul shots. Your new Magmaul will NOT damage it, so use the Judicator’s wall bouncing ability to make short work of it. When you’re done, scan the ALIMBIC WAR 03, ALIMBIC WAR 07 and GOREA 05 datashades, then go down the hallway and scan the security computer to disable the force field behind you blocking the jump pad. Before we go up, we’re gonna take a quick detour. Keep that jump pad in the back of your mind though for the next few minutes!
Go back to Alinos Perch and shoot the two projectile-sensitive switches to move some platforms around. The first switch is located behind the small rock structure with the jump pad on top, and the second is located along the right wall towards the back from where you entered. As you approach the latter switch, scan the CEREMONIAL CHARMS located along that same wall. Next, take the left slope up, destroying the Alimbic Turret around the corner. Up top you’ll find some spawn devices warping in MAGMA VOLDRUMS for you to turn into scrap. When you’re done, go right and disable the orange force field. To your left, you’ll find MISSILE EXPANSION #7 just chilling. Take out the Psycho Bits to the right, then shoot the projectile-sensitive switch to move a jump pad platform into place. Use the platform to reach the top and scan the security computer to unlock the door at the far side. From where you’re standing, jump to the jump pad platform below to pingpong yourself back to the door that was just unlocked. In the Crash Site, scan the STRUCTURAL DEBRIS and ALIMBIC PRIDE 03 datashade. Platform across the debris and shoot the Blastcaps in your way to get to the Shield Key sitting on some loose rebar. Grab the key to lower the Artifact Shield containing CARTOGRAPH ARTIFACT #2B and head back to the Council Chamber.


Use the jump pad you unlocked back in the Council Chamber, scan the ALIMBIC PRIDE 04 datashade and take out the Shriekbats on the ceiling. When you enter the arena, you’ll be locked in with some spawn devices warping in Voldrums, including a new ICE VOLDRUM variant. When you’re finished, activate the ship deck portal if you want to save your progress (which trust me, you’ll want to). To the left, scan the security computer to disable the bottom force field and spawn a Shield Key. Collect the key to disable the upper force field, then drop back down into the chamber and shoot the projectile-sensitive switch to activate a jump pad. Take the jump pad up to obtain ATTAMETER ARTIFACT #2B.
Enter Processor Core and scan the ALIMBIC PRIDE 02 datashade on the middle platform. Then jump to the other side and grab UA EXPANSION #9. Jump down to the floor and scan the BACKUP PROCESSOR, LAVA PROCESSOR 01 and LAVA PROCESSOR 02. On the tower with the two Lava Processors, go to the back and perform a double bomb jump to enter the structure and take a moving platform down to a Morph Ball tunnel. You can also reach it by going back up and jumping in, but this way is quicker. On the other side of the tunnel, you’ll wind up in Piston Cave with the door sealing behind you. No going back now!


This next section is basically a Morph Ball obstacle course that starts off simple enough, but gets progressively more challenging and unforgiving. The first trial involves pistons that will push us off the catwalk if we get hit. If you fall into the magma, you’ll have to use a bomb jump to get back to the catwalk. The second trial removes the magma, but now has pistons slamming up against each other. This is bad for us. If we get crushed by a piston, it’s game over. Even if we saved at the ship, it’s a bit annoying to get all the way back here so I don’t blame you if you think it’s time for a save state. When you get to the set of two, use the Boost Ball to blitz past both, but be careful not to boost too far into the final piston!


The third trial and onwards is where things begin to get tricky. For these last two obstacles, we now have to deal with vertical pistons in all sorts of different configurations running at unique intervals. Hop on top of the first piston, as it won’t ever touch the ceiling, giving you an opportunity to survey the next three in front. These pistons all hang overhead and descend much faster than they ascend. Wait for an opening and then move from one piston to the other as soon it begins to ascend again. The fourth set of pistons come from both the ground AND ceiling. It looks scary, but all you need to do is hug the ground piston and keep holding right after it lifts you up. You’ll roll right through just in time before the pistons crush you. If you roll onto the final piston, don’t worry as it won’t touch the ceiling.


This last trial is a doozy. You’ve got three ceiling pistons all coming down at completely different intervals, making this especially difficult for pattern recognition. Pistons one and two both descend at the same speed, but piston two ascends slightly faster. Piston three descends faster than the others, but ascends at the same speed as piston one. Piston three also has a slight delay between each pump, whereas one and two are instantaneous. There’s two key openings you want to look for. The first is obvious, you want to bomb jump into piston one as soon as it starts to ascend. The second is tricky because it requires a snap judgement. If pistons two and three look like they’re about to descend together, roll back out of the way immediately and try again. You will not survive otherwise. If pistons two and three are going in roughly the opposite directions of each other however, that’s your opportunity to keep rollin’ rollin’ rollin’ rollin’. As soon as you hit the frozen piston, do a bomb jump on top ASAP before piston three crushes you. Don’t worry about the piston above going haywire, it won’t actually come down. You’ll be met with one final piston slamming the ground, but this one is simple. Just hug the piston while it’s down and keep holding right as it ascends back up. The final piston won’t touch the ceiling and is just a glorified lift. Congratulations, you made it! Now all you need to do is bomb jump up the rock steps to collect the Shield Key, granting you BINARY SUBSCRIPTURE #2B.


This puzzle is very tough! I recommend watching the video below showing off a perfect run from start to finish so that you have a better idea of how to tackle each obstacle.
After the tunnel spits you back out at Processor Core, take the Stronghold Portal out of Alinos to the next showdown!
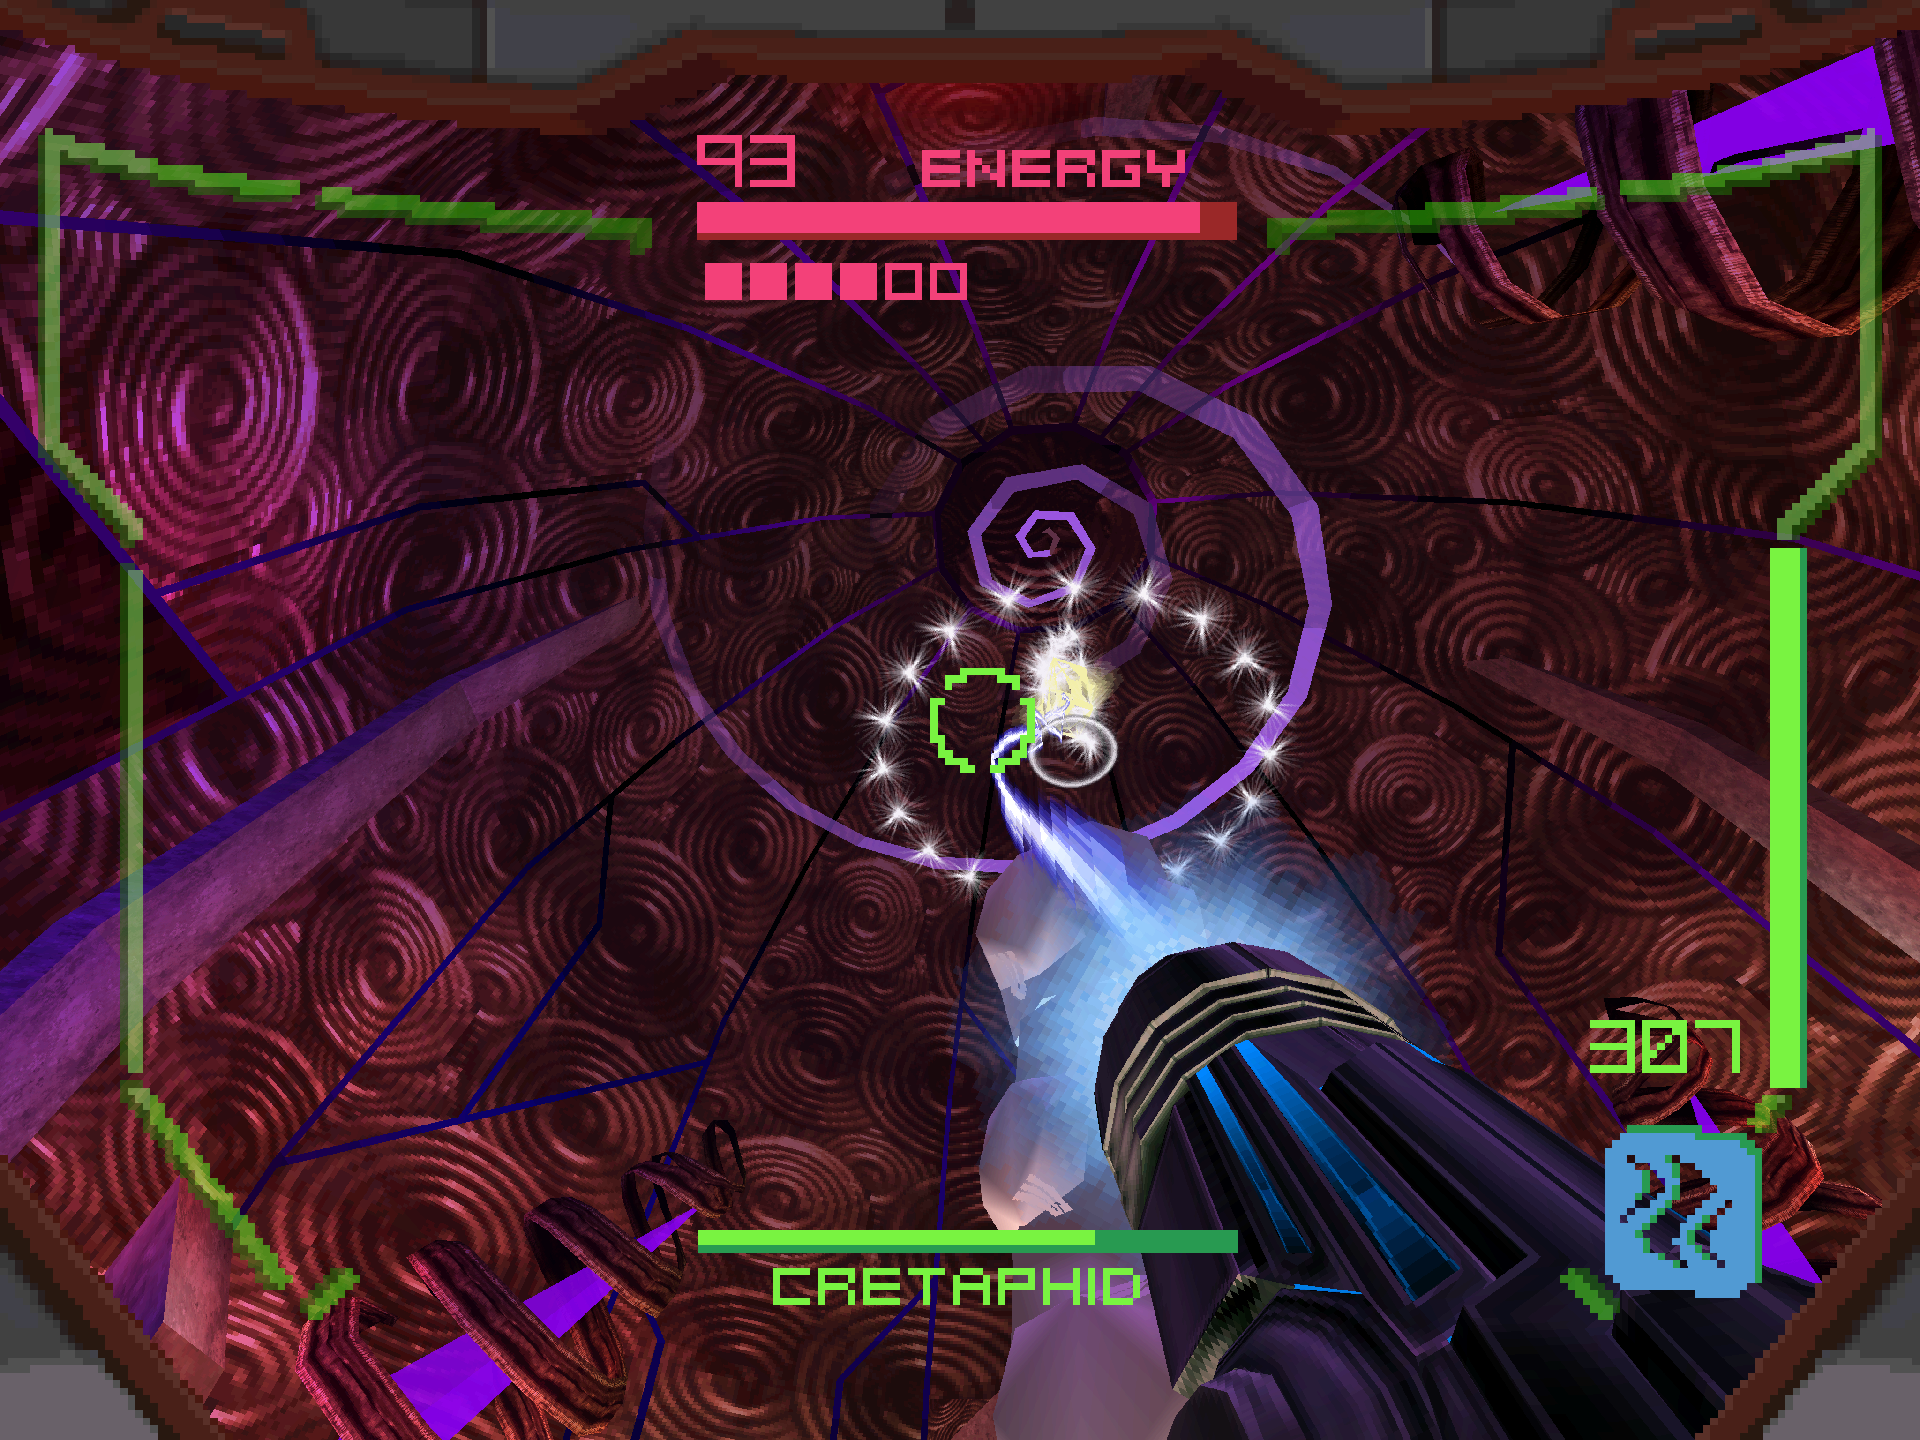
Cretaphid v3
Scans in This Section
Lore: Cretaphid v3 *missable*
We’ve got another battle with our favorite military defense system; the CRETAPHID V3 (really stretching the definition of “favorite” here). The v3 doesn’t offer anything that we haven’t seen before, but instead combines both the chemical lasers from the v1 with the heat-seeking plasma orbs of the v2 model. For the weak point phase, I recommend sticking with the Power Beam and using Charge Shots to absorb any pickups that materialize. You’re going to get hit A LOT by all of the incoming fire, so anything to top yourself off can only benefit you. When the core pops out, switch to the Shock Coil and watch its health completely melt away. Three phases of that will fry this thing real good!
Escape from the City
Scans in This Section
None
You want an escape sequence with that fight? No? Well nobody ever said life was fair. You’ve got five minutes to roll around at the speed of sound towards your gunship. Leave the Stronghold Void and take the jump pad by the Backup Processor to the door on the top level. Any Hunter or Guardian encounter here can be ignored as the doors will not lock. Same with Council Chamber and Alinos Perch, so just run past and ignore anything that looks threatening. In Thermal Vast, ignore the Psycho Bits and use the jump pad to cross the entire room. From here there isn’t really anything eventful as you make your way back to the gunship. If you do have a random encounter resulting in a door lock, abuse the Shock Coil and make short work of whatever gets in your way. Otherwise, fly your ship to safety! Our next destination is not what you think.


Next Chapter: Arcterra, Part II