


Metroid Prime Hunters Walkthrough – Alinos
WALKTHROUGH
- Celestial Archives
- Alinos
- Vesper Defense Outpost
- Arcterra
- Celestial Archives, Part II
- Alinos, Part II
- Arcterra, Part II
- Vesper Defense Outpost, Part II
- Oubliette
The Fiery Ruins
Scans in This Section
Bioforms: Zoomer, War Wasp, Spire, Blastcap, Voldrum, Dialanche
Lore: Alimbic Prophecy 02, Alimbic Datashade 01, Alimbic Datashade 02, History 01, Interment Chamber, Battle Sarcophagus, Science Sarcophagus
Objects: Alinos, Magma Station, Exposed Rebar, Flow Regulator, Magma Vent, Alimbic Scripture
Alinos, a planet once home to the Alimbic elders, has since fallen into despair after the explosion of the planet’s core. This location should yield more clues to uncover. As soon as you land at the Alinos Gateway, scan the ALINOS terminal, then jump behind the landing platform onto the ground and scan the MAGMA STATION. Next, head to the front of the area and scan ALIMBIC PROPHECY 02 along with ALIMBIC DATASHADE 01 and ALIMBIC DATASHADE 02 to the right (which as the names suggests, come in the form of datashades). Finally, go to the left and use bomb jumps to platform through the Morph Ball puzzle for MISSILE EXPANSION #2.
In Echo Hall, scan the EXPOSED REBAR and one of the ZOOMERS on the wall. Blast away the toxic plant life spread out across the floor and scan the HISTORY 01 datashade to the left of the sand pit. Once you’re finished scanning everything, enter the Morph Ball tunnel and follow the maze left, right, right, left, right, left, right, left. You’ll find yourself in a small alcove with three Zoomers. Bomb them to reveal a Shield Key, unlocking a Morph Ball tunnel in another section of the maze. To reach the door, go up the ramp you dropped down and go straight ahead until you hit the wall. Then go right, left, left, right, left, left, left. On the other side of the door will be two paths on the right. Go all the way to the one in the very back to collect ENERGY TANK #2, then take the other tunnel to the top of the room where you’ll find CARTOGRAPH ARTIFACT #2A out in the open to claim. No strings attached! The crate on the opposite end of the floor from where you came holds a LARGE ENERGY orb, so be sure to collect it so its secured in your logbook! Afterwards, go through the tunnel and scan one of the WAR WASPS before taking them out.


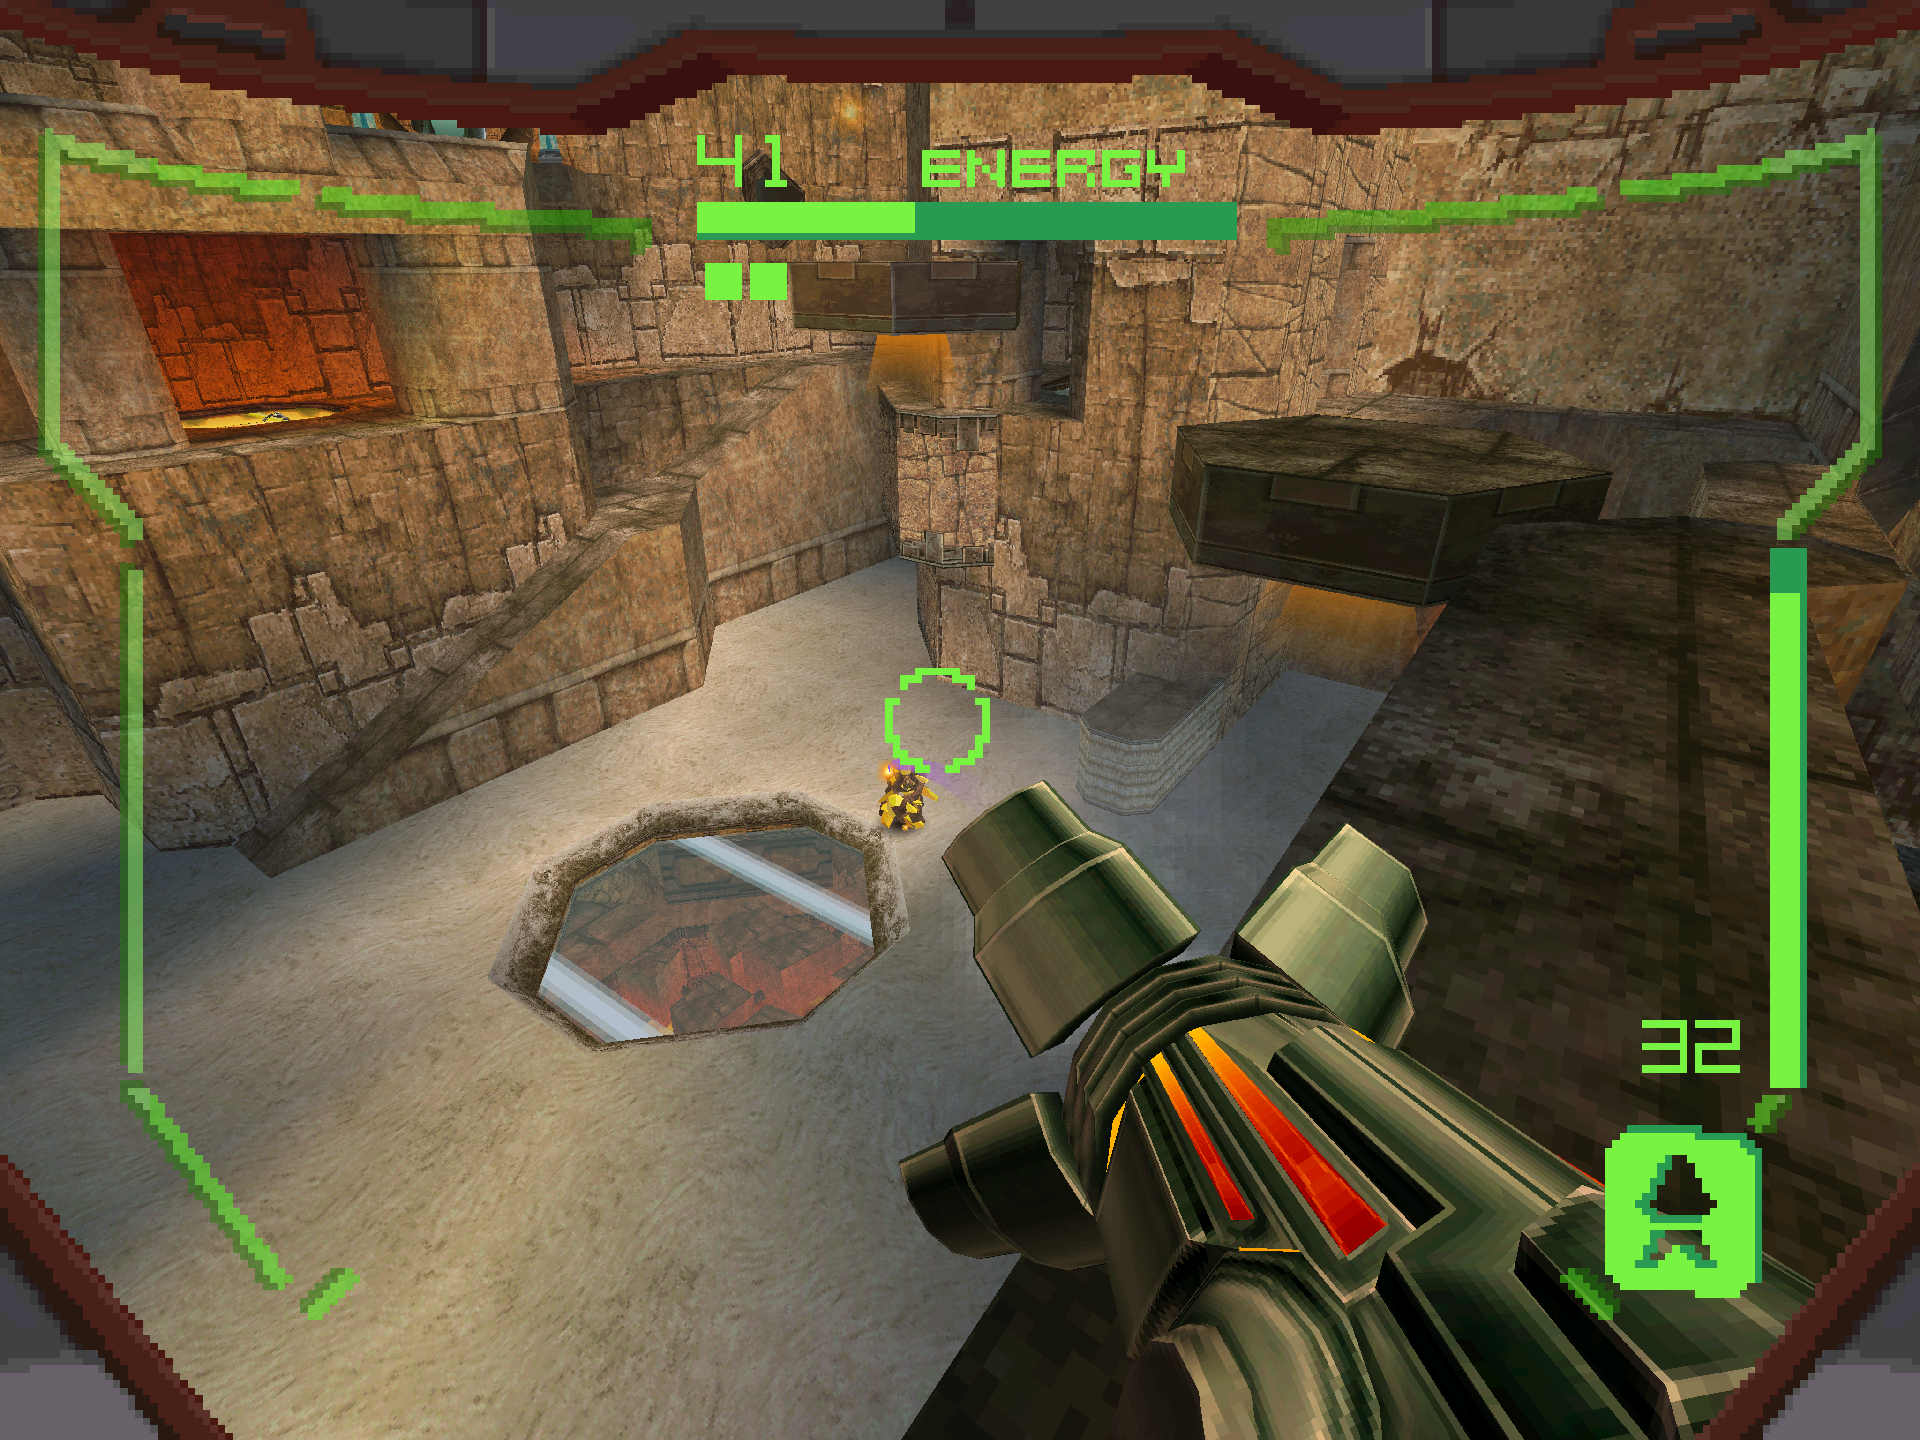
As soon as you enter the High Ground, scan the FLOW REGULATOR on the left wall, then blast the Zoomers to unseal the door at the front of the hallway. Do the same thing in the second hallway, but once you reach the third, scan the INTERMENT CHAMBER datashade. At the center, scan the MAGMA VENT as well as the BATTLE SARCOPHAGUS datashade. As soon as you jump to the surface, another Hunter appropriately using the high ground to his advantage will attack. This is SPIRE, the last known living remnant of the Diamont species. Spire, upon receiving the telepathic communication, believes that solving this mystery will give him the answers he’s been searching for on what happened to the rest of his kind. As such, he considers any rival Hunter a threat.
Spire will open up by taking some pot shots at you with his Magmaul, however a few Power Beam shots is all you need to send him retreating through the door above. Before you go chasing after him, be sure to scan the SCIENCE SARCOPHAGUS datashade and ALIMBIC SCRIPTURE at the ground level. Take the ramp in the back and jump across the platforms to find MISSILE EXPANSION #3 sitting on a ledge directly in front of you. Follow the path and scan the BLASTCAP before entering the next room.


In the Elder Passage, the doors will seal behind you once you enter. You’ll be met with a VOLDRUM, along with a device that will infinitely spawn more until it’s destroyed (you’re gonna find a lot more of these on your adventure, so have fun, I guess). Destroy the device, then blast the Voldrum. Another device will activate, so just rinse and repeat. Upon destroying the second set, Spire will pop up again from an opening in the ceiling to take more shots at you. This is your opportunity to scan him before returning fire of your own. After enough damage, Spire will transform into the DIALANCHE and try to ram you with it. This attack does quite a bit of damage, so you’ll want to keep your distance while fighting him off. Missiles are great at longer ranges, but risky at close range due to the splash damage so you might want to stick with the Power Beam if you’re not comfortable with switching weapons on the fly. After a bit more damage, Spire will retreat again. Scan the panel on the wall to activate a Shield Key, then use the key to lower the Artifact Shield and grab ATTAMETER ARTIFACT #2A contained inside. Nabbing this artifact will unlock the door back to the High Ground where the real fight begins!


Spire
Scans in This Section
None
Spire’s strengths are in close quarters combat, but his arsenal is far from optimal at long range. Up close he can hit you with the Dialanche as we’ve seen leading up to the fight, however now he can also fire off charged Magmaul shots too. A charged shot not only has splash damage, but will do burn damage over time when hit. From afar however, all he can do is lob standard Magmaul shots, which have severe drop off. Keeping our distance from Spire is the play! By this point we should have thirty-five missiles, so we’re gonna take full advantage of that! The homing effect of the charged missiles are a HUGE advantage on High Ground, so abuse those while keeping your distance. Charged Power Beam headshots also do critical damage if you run out of missiles. Spire will try to close in on you to gain the upper hand, but as long as you keep moving away from him, there’s not much he can do.

The Second Stronghold
Scans in This Section
None
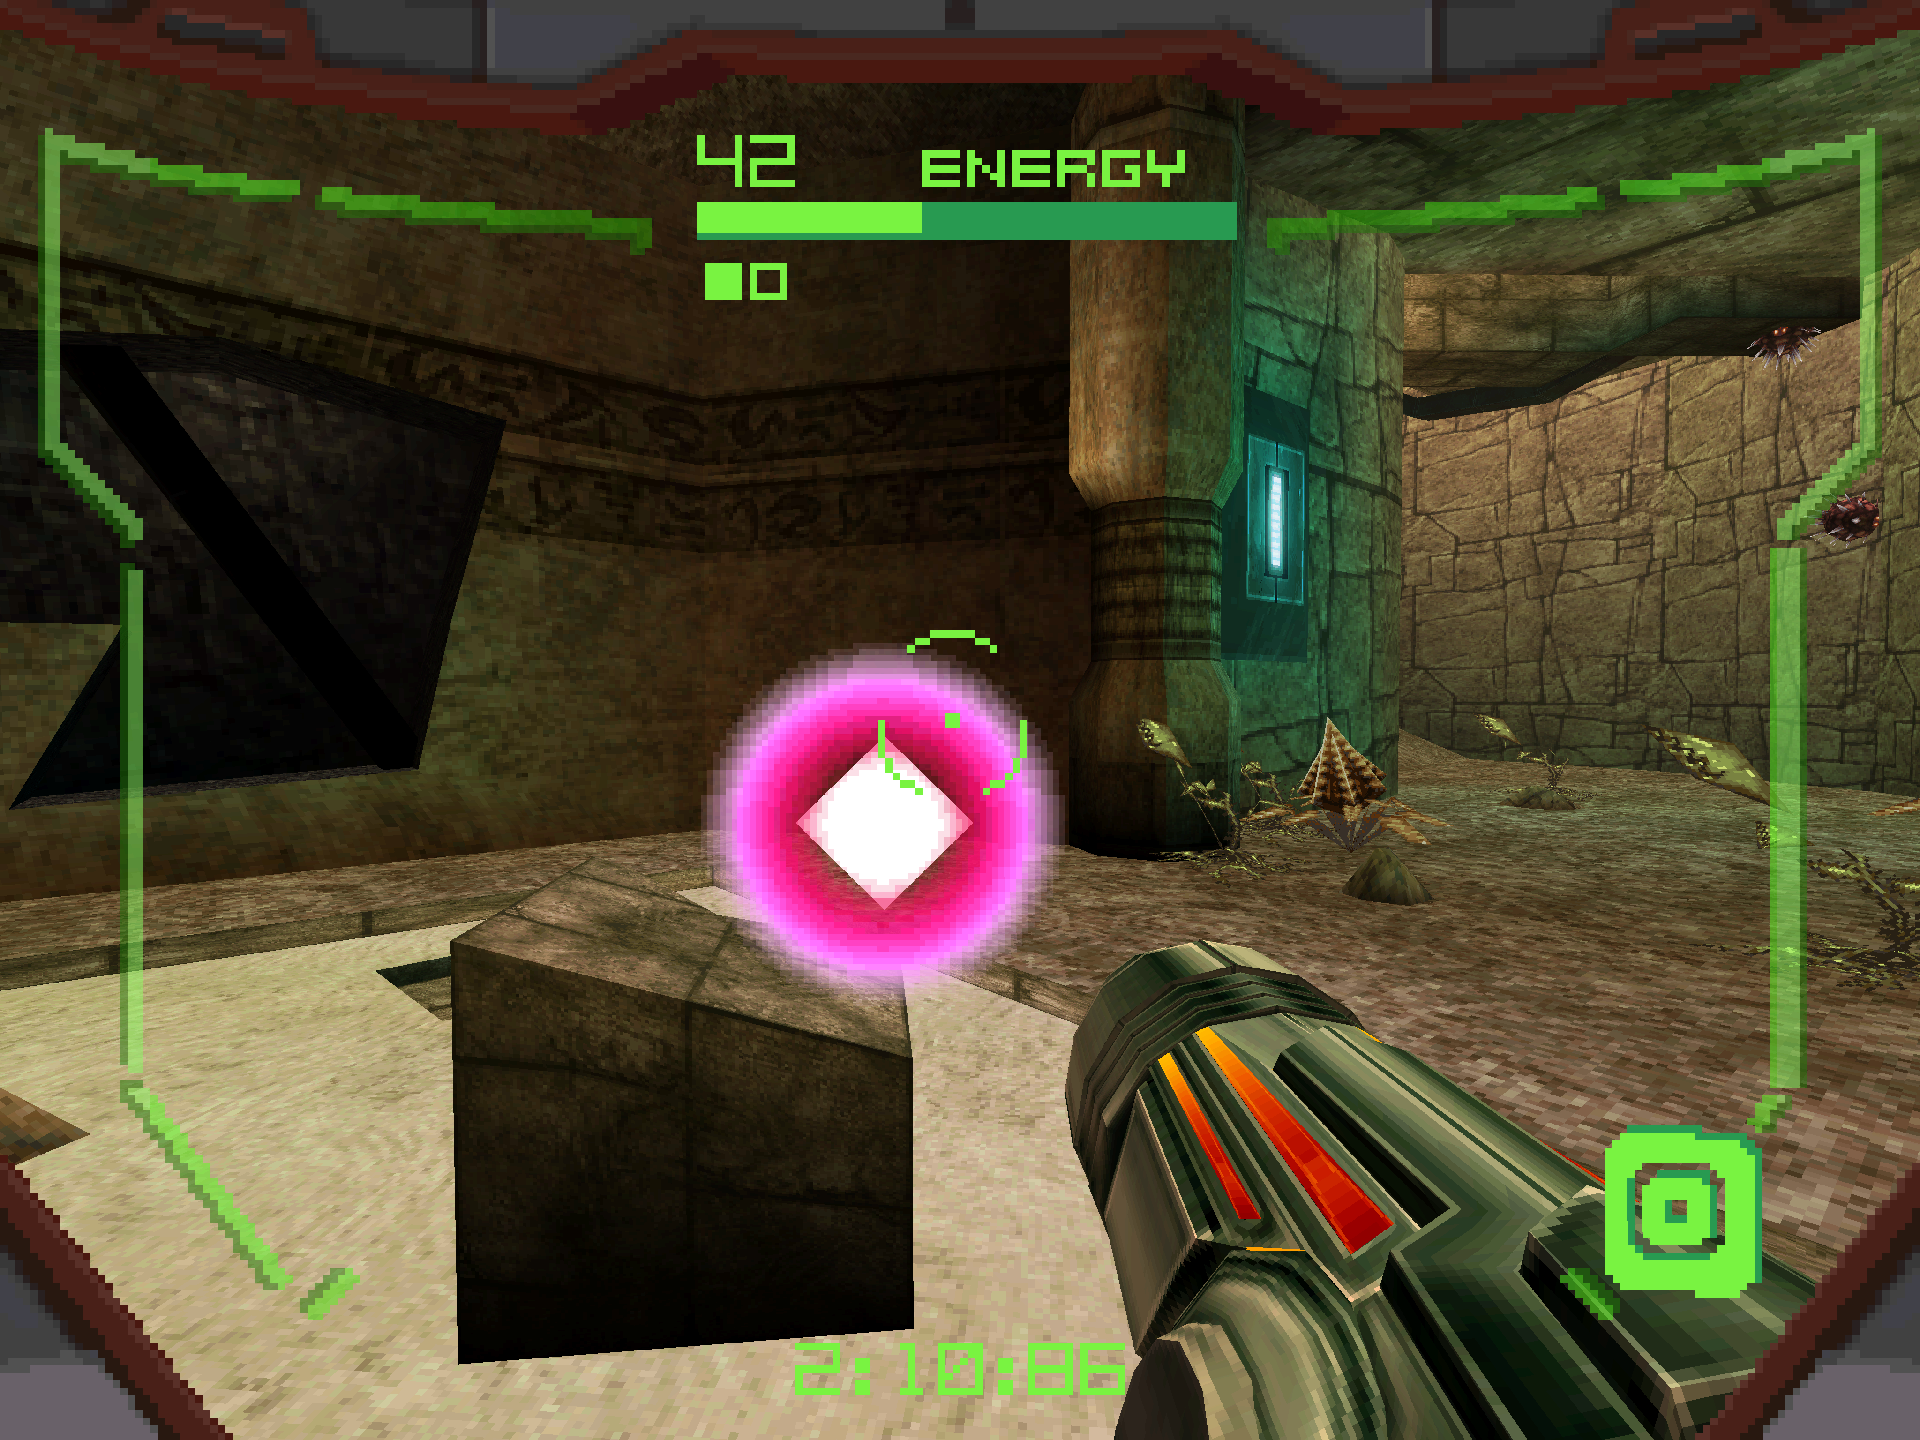
After defeating Spire, he’ll drop a Shield Key which can be used to acquire BINARY SUBSCRIPTURE #2A, the final artifact for this Alinos trip. Grabbing the artifact will move some nearby platforms in place leading to the top of High Ground, but will consequently also activate some enemy spawn devices that pump out Psycho Bits. Take out the devices and enemies first if you want and then head up to the top. Back inside the Elder Passage, you can scan a ship deck portal leading back to your ship if you want to save your progress. Otherwise step into the Stronghold Portal right next door and prepare another showdown!
Slench 1
Scans in This Section
Bioforms: Slench 1A *missable*, Energy Blaster *missable*, Slench 1B *missable*
Lore: Biodefense Chamber B
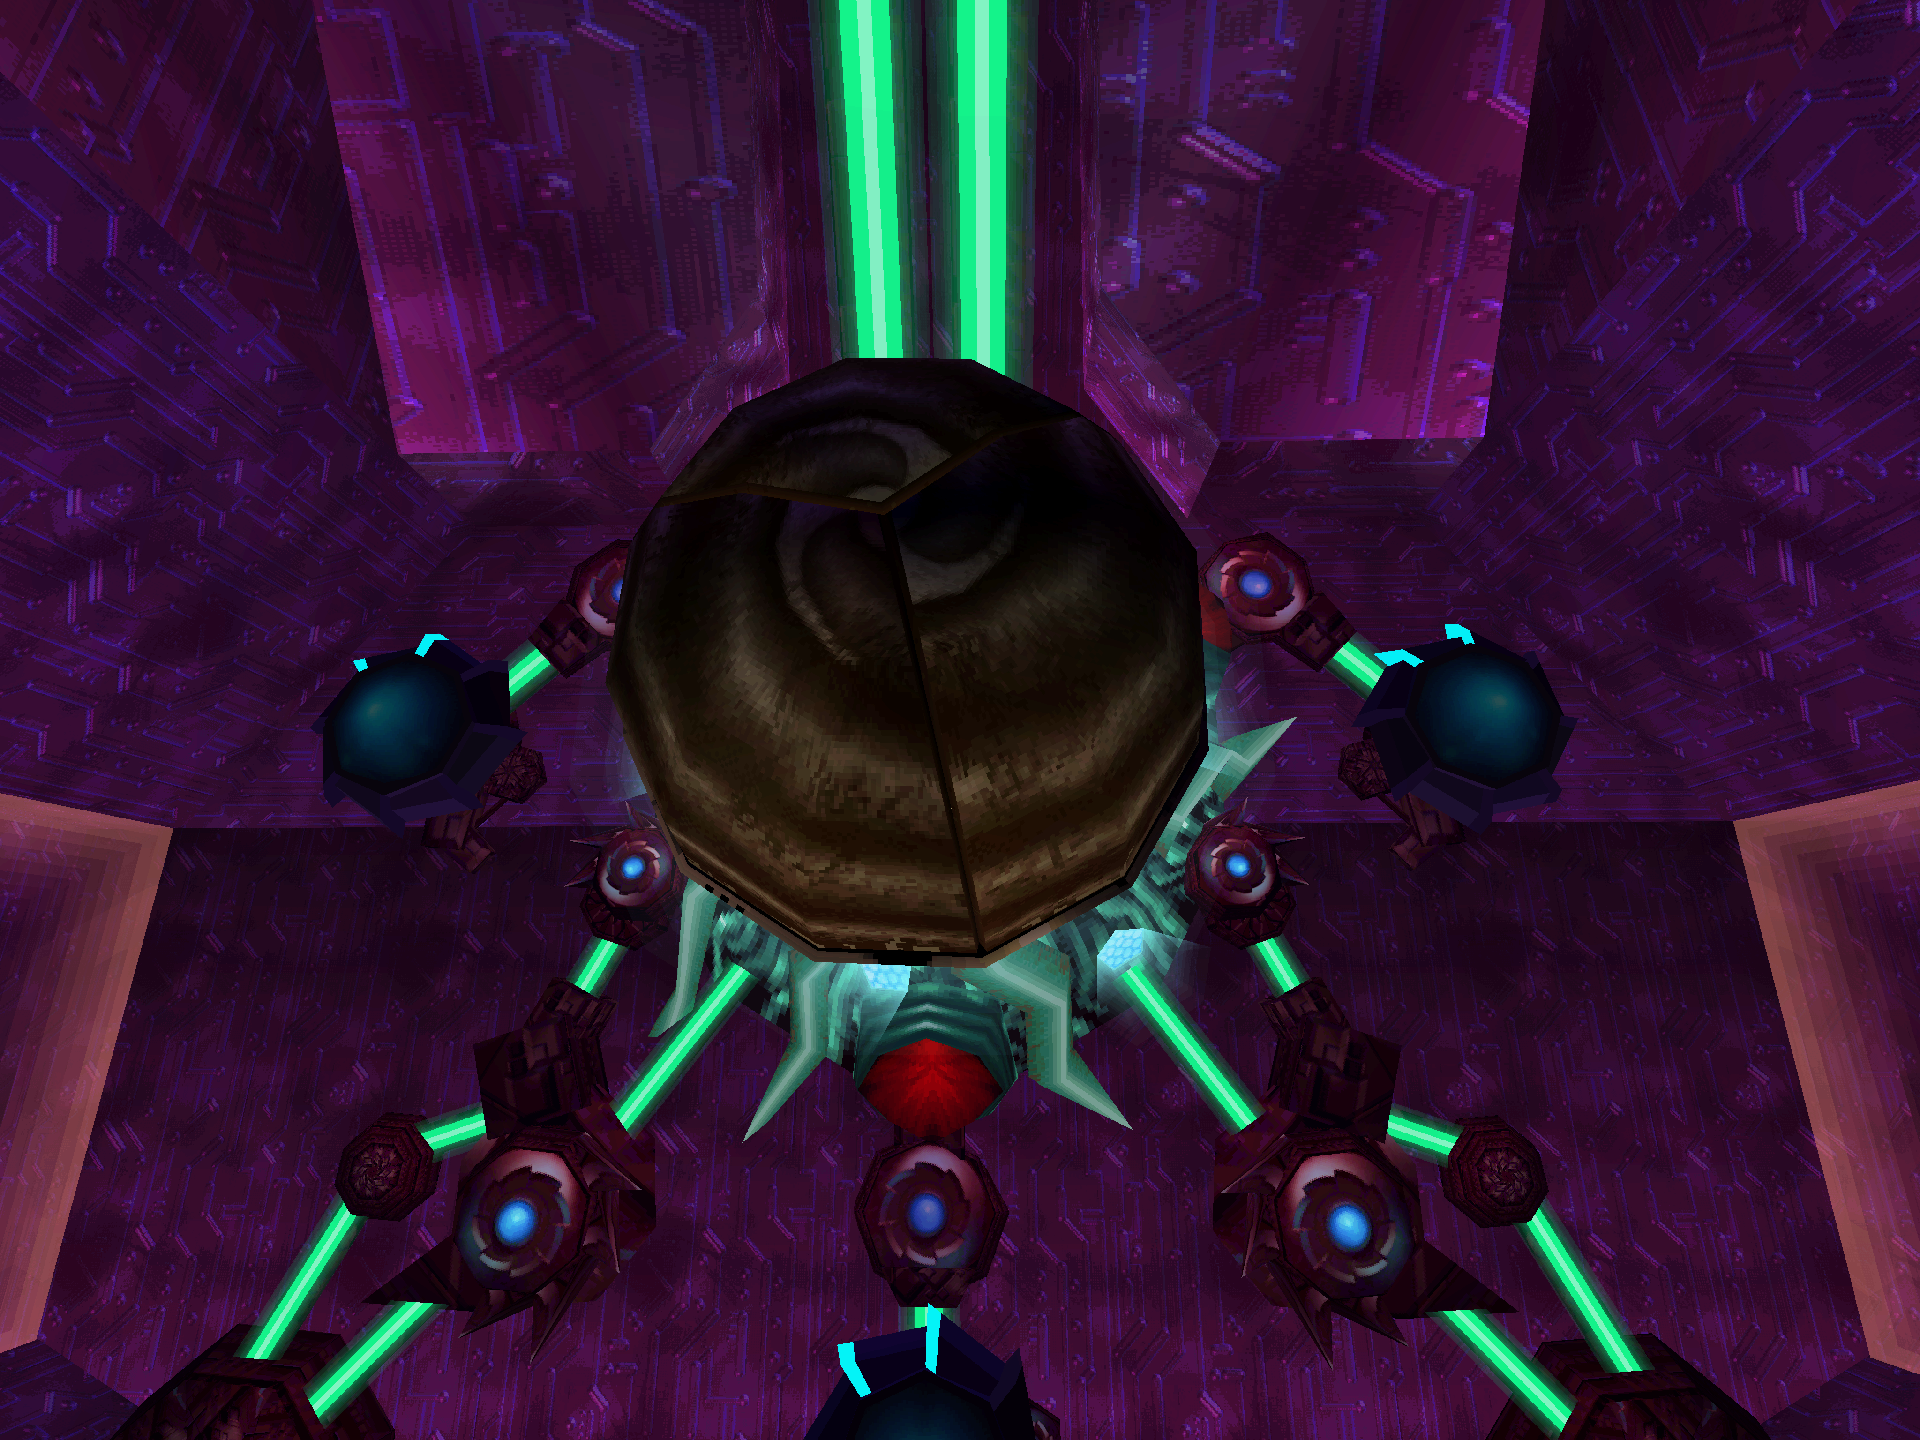
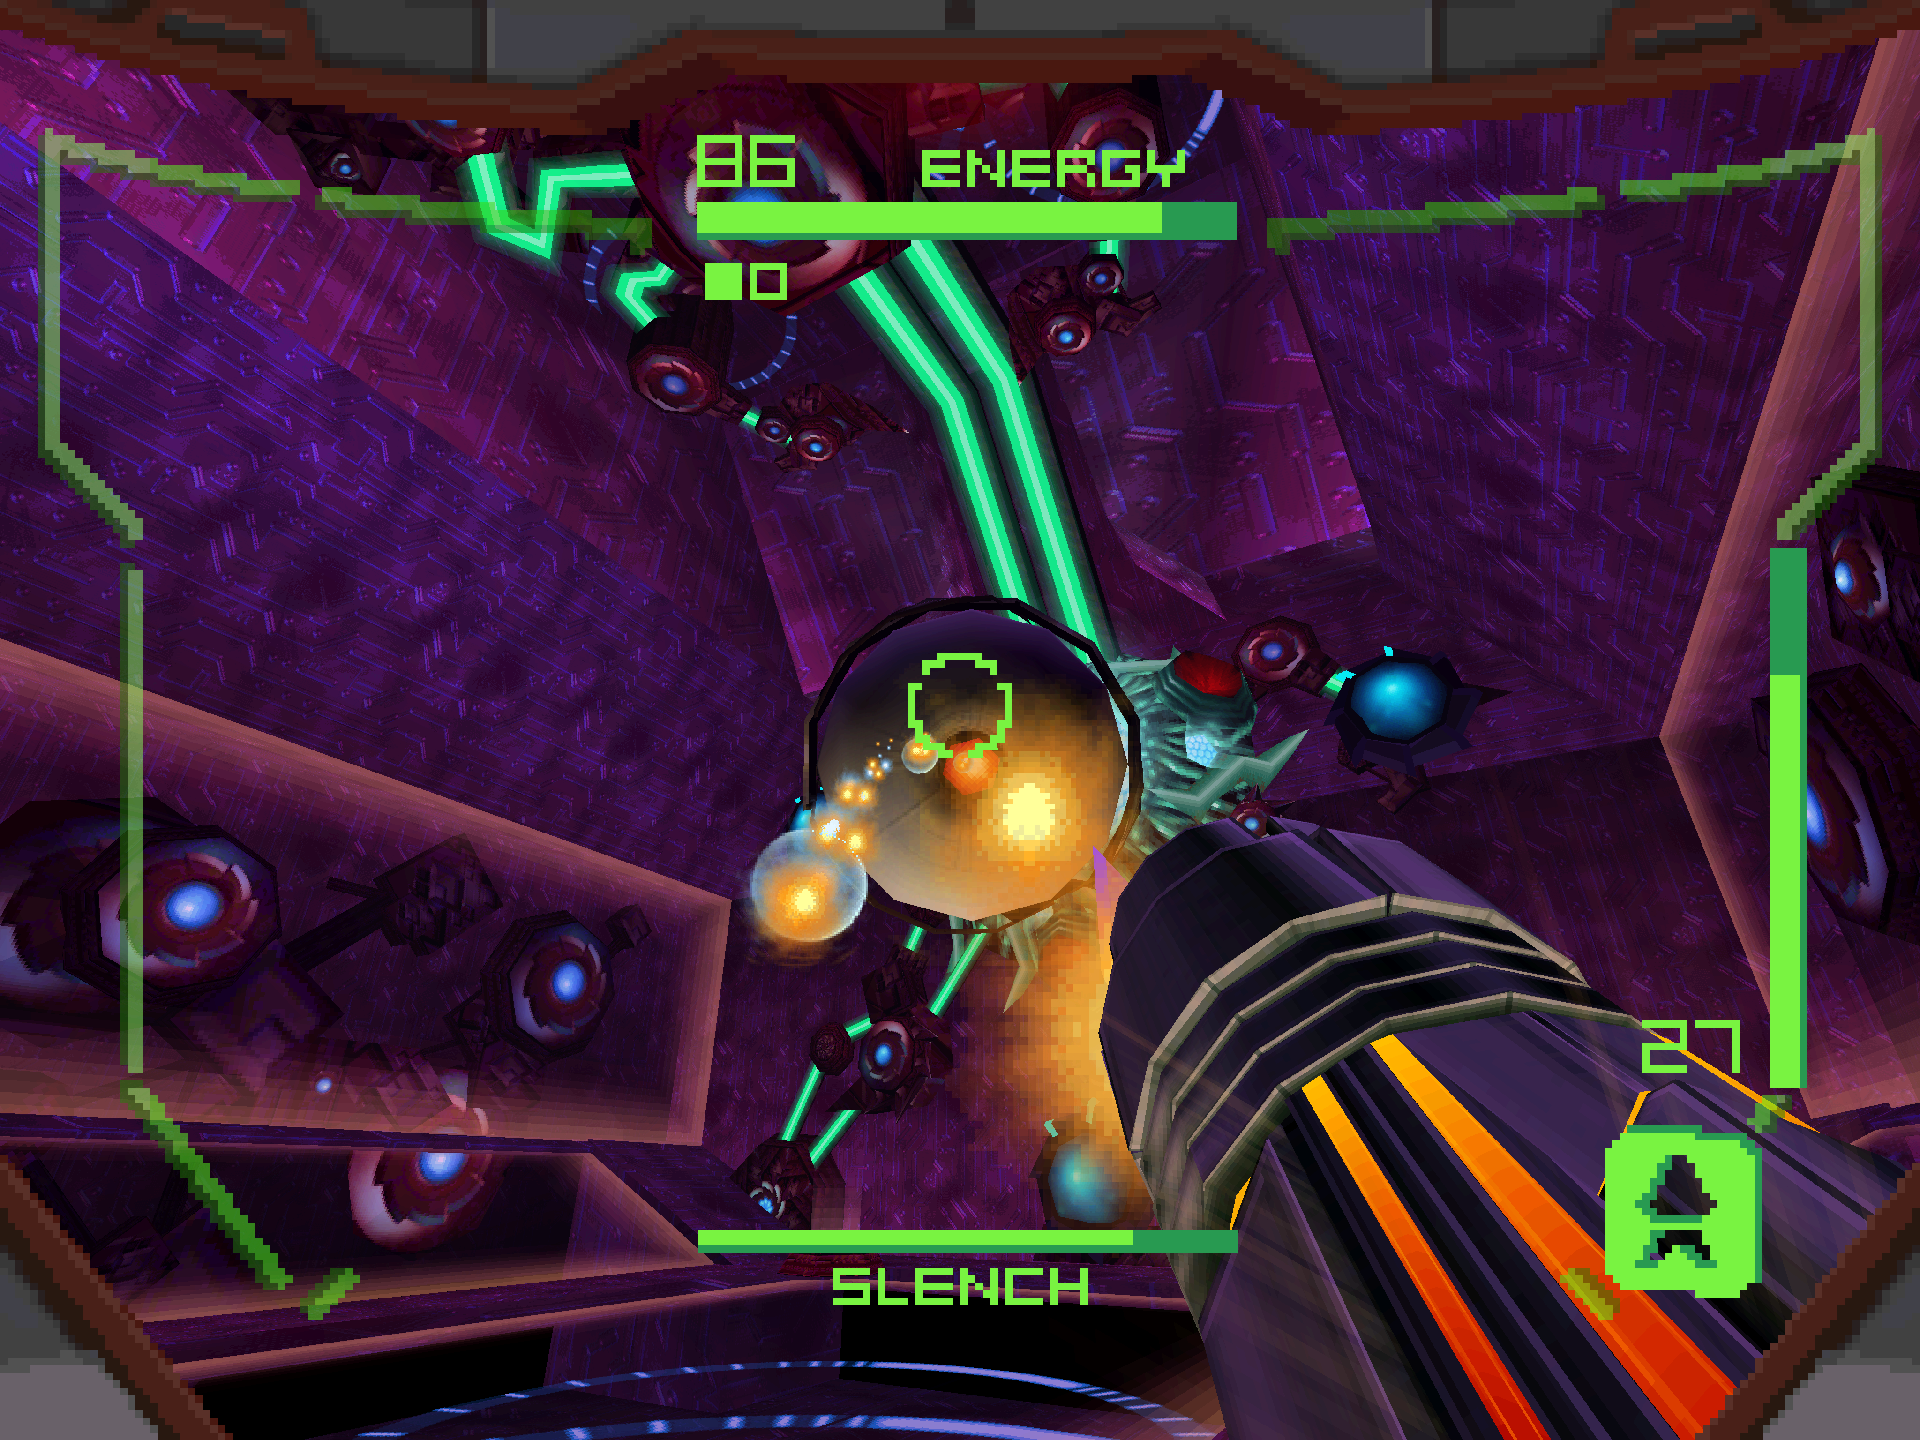
First things first, we’ve got a few things to scan right off the bat! Scan the SLENCH 1A, the ENERGY BLASTER on the wall and the BIODEFENSE CHAMBER B datashade. Now onto the fight itself! The Slench will start the fight attached to the wall with a shield blocking its weak point. It will constantly fire slow moving green venom projectiles at you, which can also be shot for health and ammo. Meanwhile the Energy Blasters on the wall powered by the synapses will periodically fire much faster projectiles at you. These synapses are the key to the first phase of the fight. You have to destroy all three to detach the Slench from the wall. If you take too long after removing a synapse, it will grow back. That shouldn’t be too much of a problem in this fight though, as they go down in a few Power Beam shots.
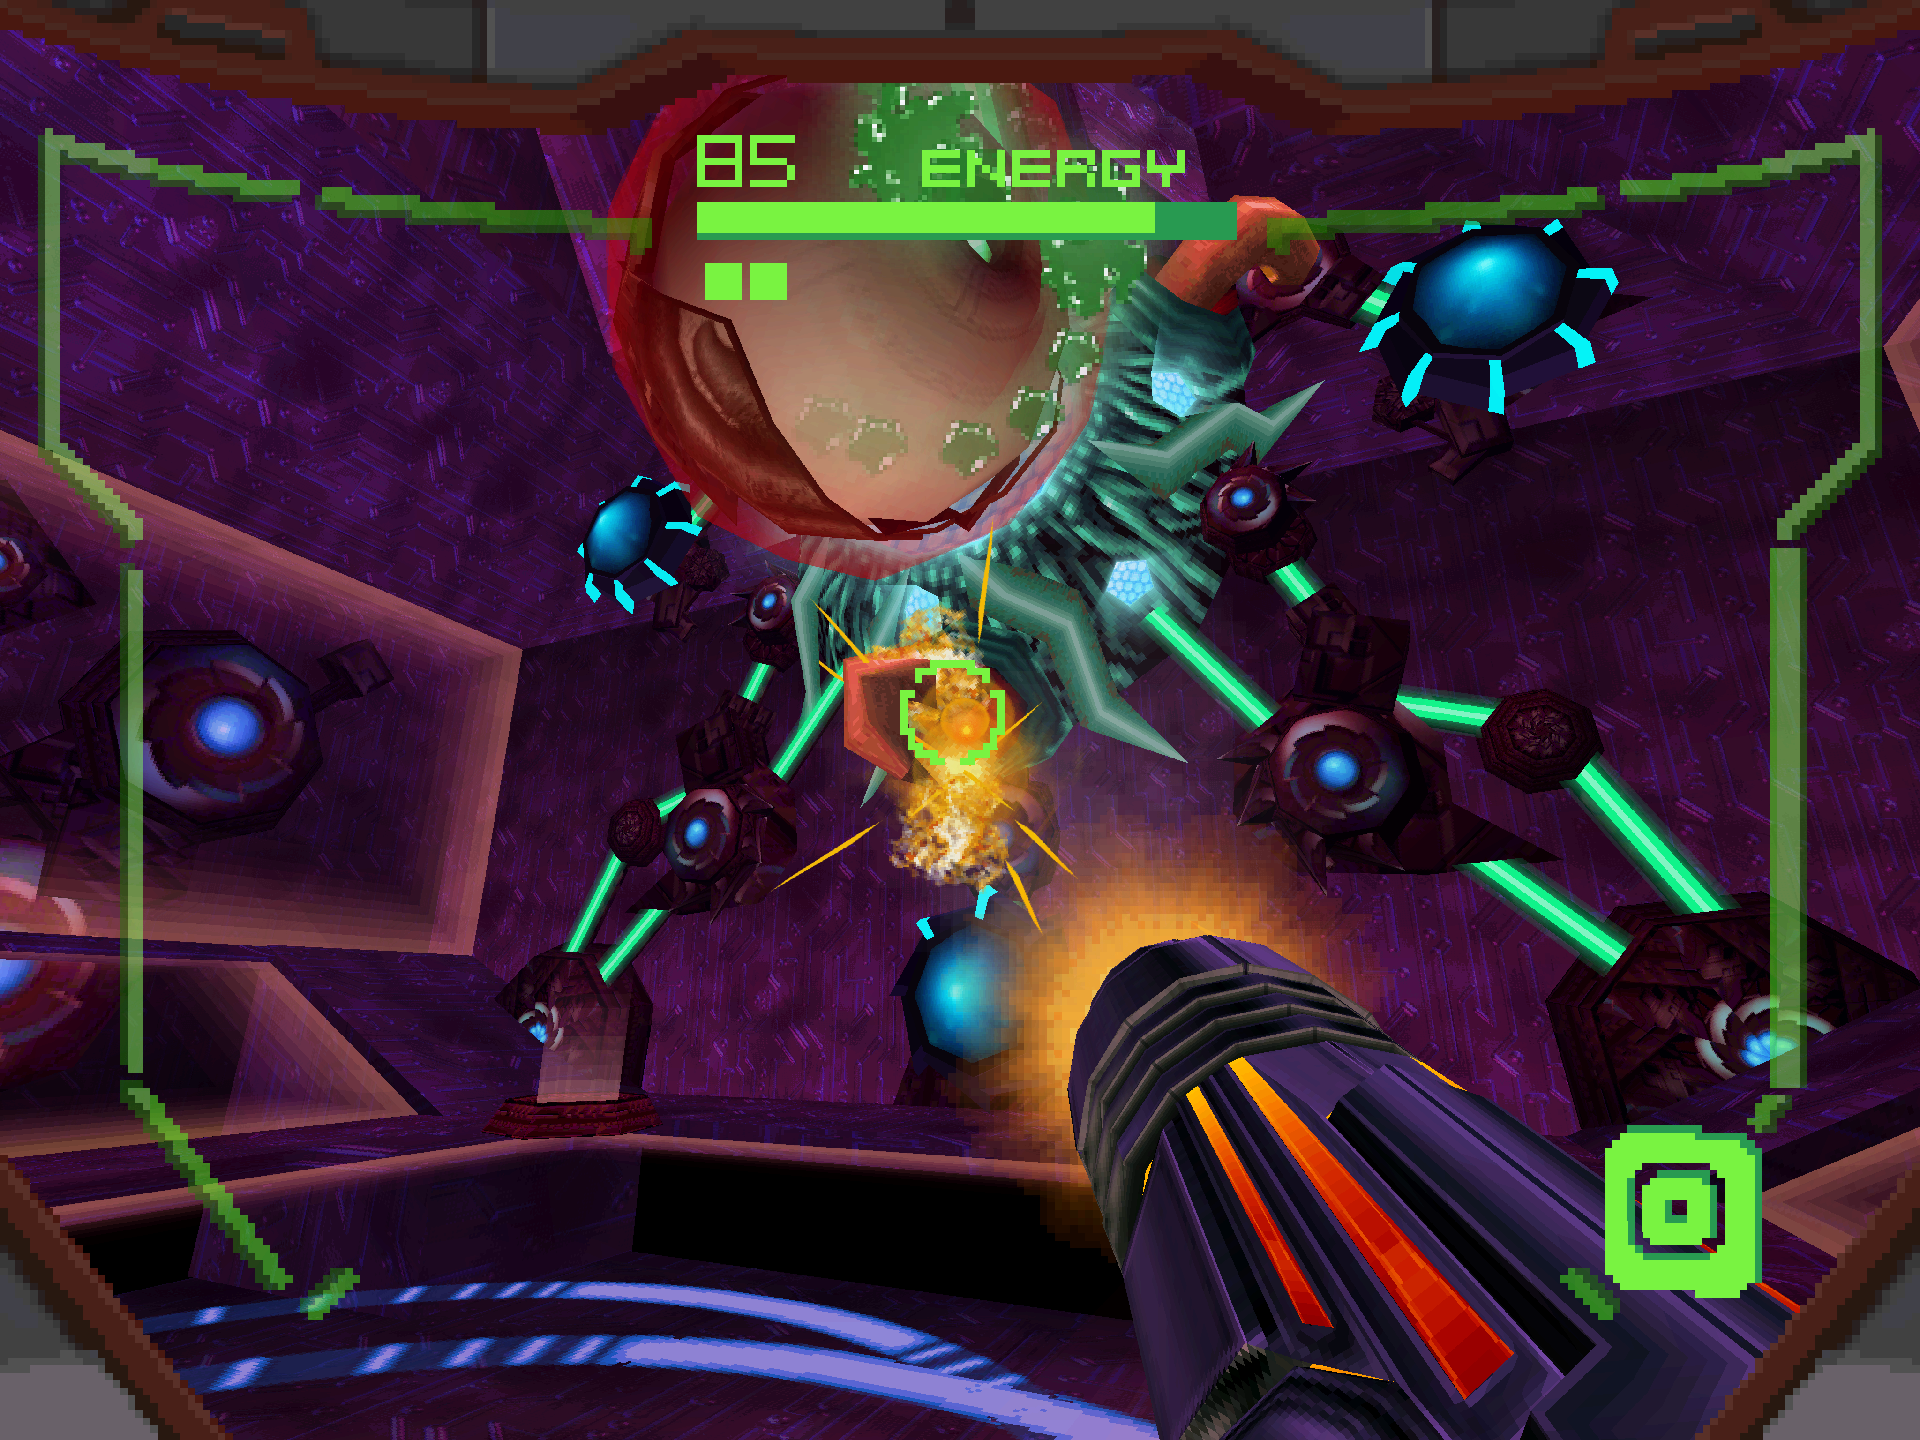
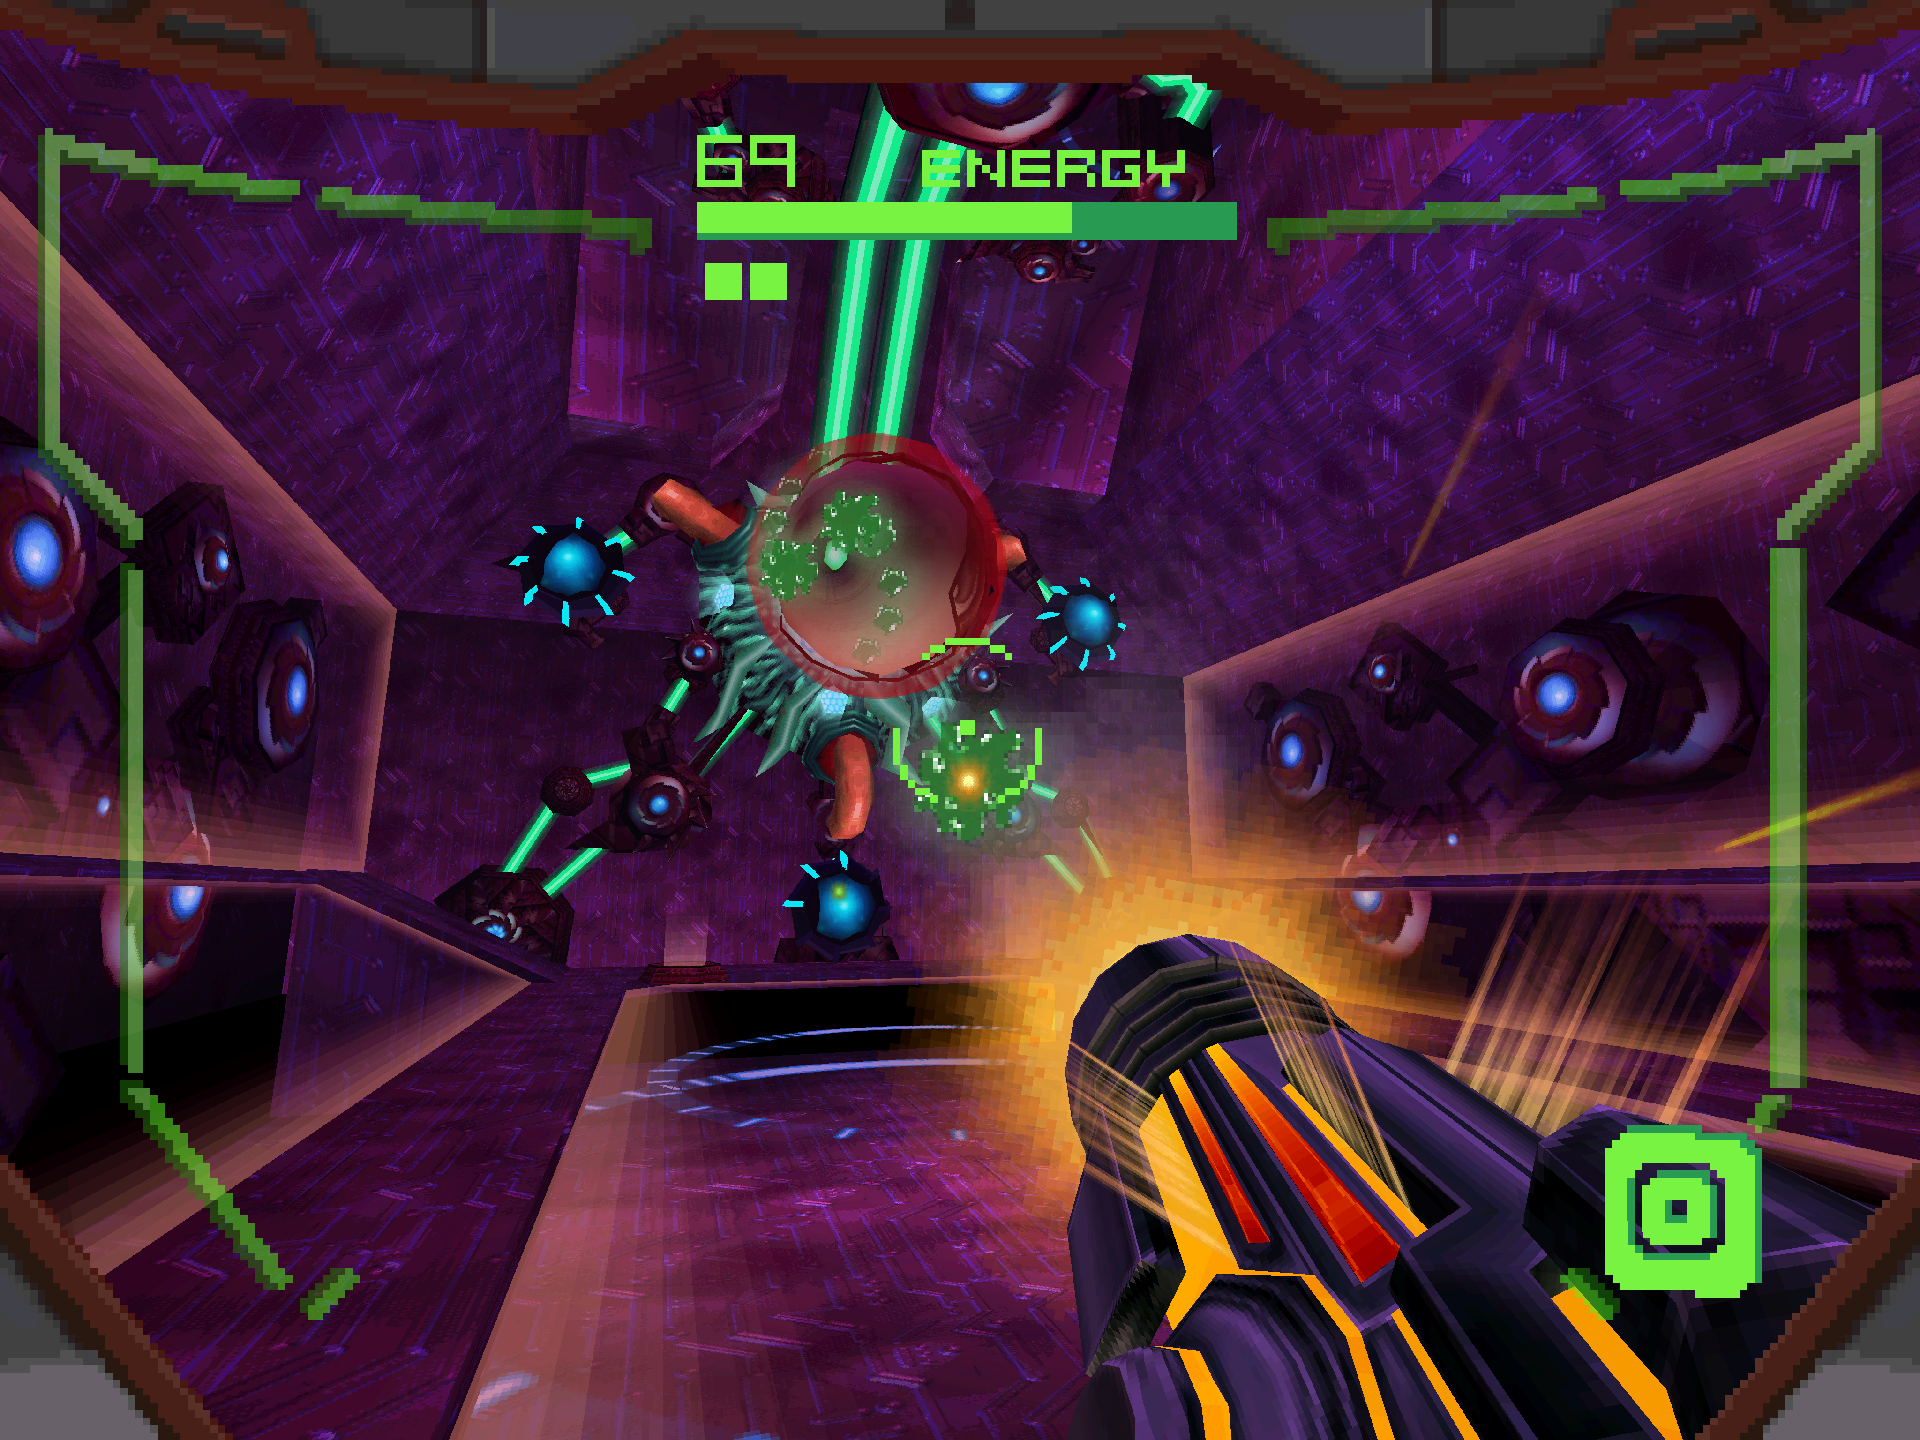
Taking out all three synapses will aggravate the Slench, detaching itself from the wall and beginning the next phase where we can start dishing out some REAL damage! As soon as this happens, scan the SLENCH 1B and secure that logbook entry! While detached from the wall, the Slench will hover around the chamber rapid firing projectiles at you with its weak point completely exposed. Keep moving around the arena to avoid getting shot while you focus your aim on the eye. As the fight progresses, the Slench will increase speed during this phase, so you might want to stick with your Power Beam if it gets too tricky to lead with your missiles.
Cybernetic Resurrection
Scans in This Section
None
Defeating the Slench will grant you the second Octolith… as well as a new telepathic message: “…the cannon holds the power…”. We don’t have much time to ponder this clue however as we have another escape sequence from that dastardly Alimbic security protocol! What’s more, we have about half the time limit we did back on Celestial Archives. Time to move! Leave the Stronghold Void and drop down the floor below to head towards the High Ground. Ignore all the Psycho Bits, drop down to the center and make your way back through the hallways until you reach Echo Hall. Ignore the War Wasps and head through the Morph Ball tunnel into the next room. Hey we’re almost at the ship and this escape is going pretty smoothly!
Too smoothly…

Weavel
Scans in This Section
Bioforms: Weavel, Halfturret
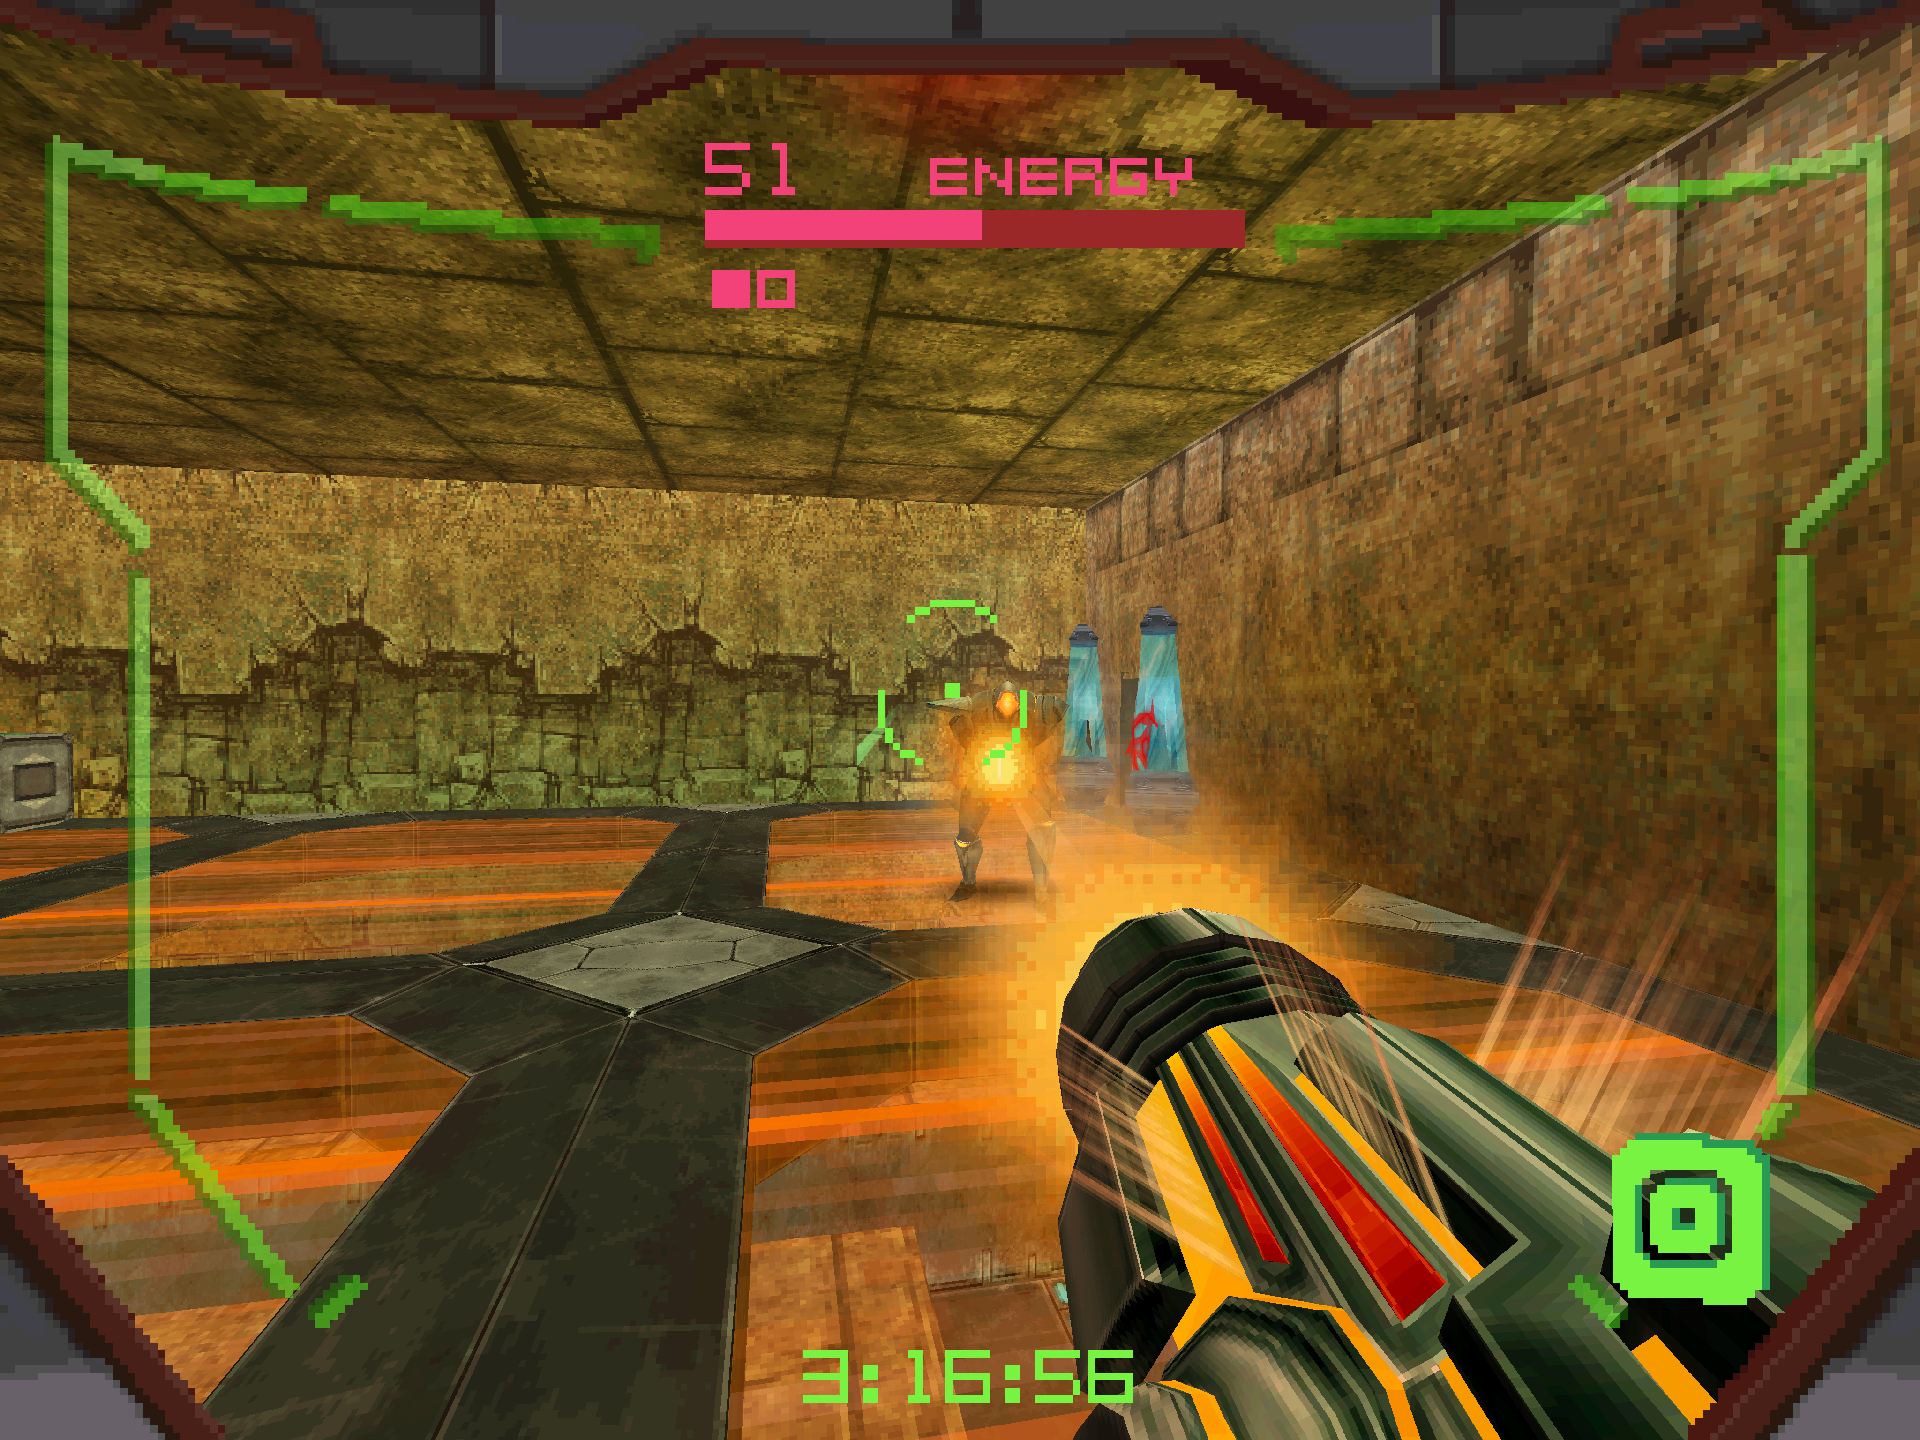
Just when we think everything is going according to plan, we’re ambushed by WEAVEL at the top of Echo Hall! Weavel is a mortally injured Space Pirate Samus fought back on Zebes in Metroid: Zero Mission. Reconstructed with a new Power Suit through the Space Pirate’s cybernetics program, Weavel now occupies a special forces unit that carries out priority missions for the pirates. Presumably, he was sent to the Alimbic Cluster to retrieve the ultimate power for the Space Pirates as a means to turn the tides in their war against the Galactic Federation.
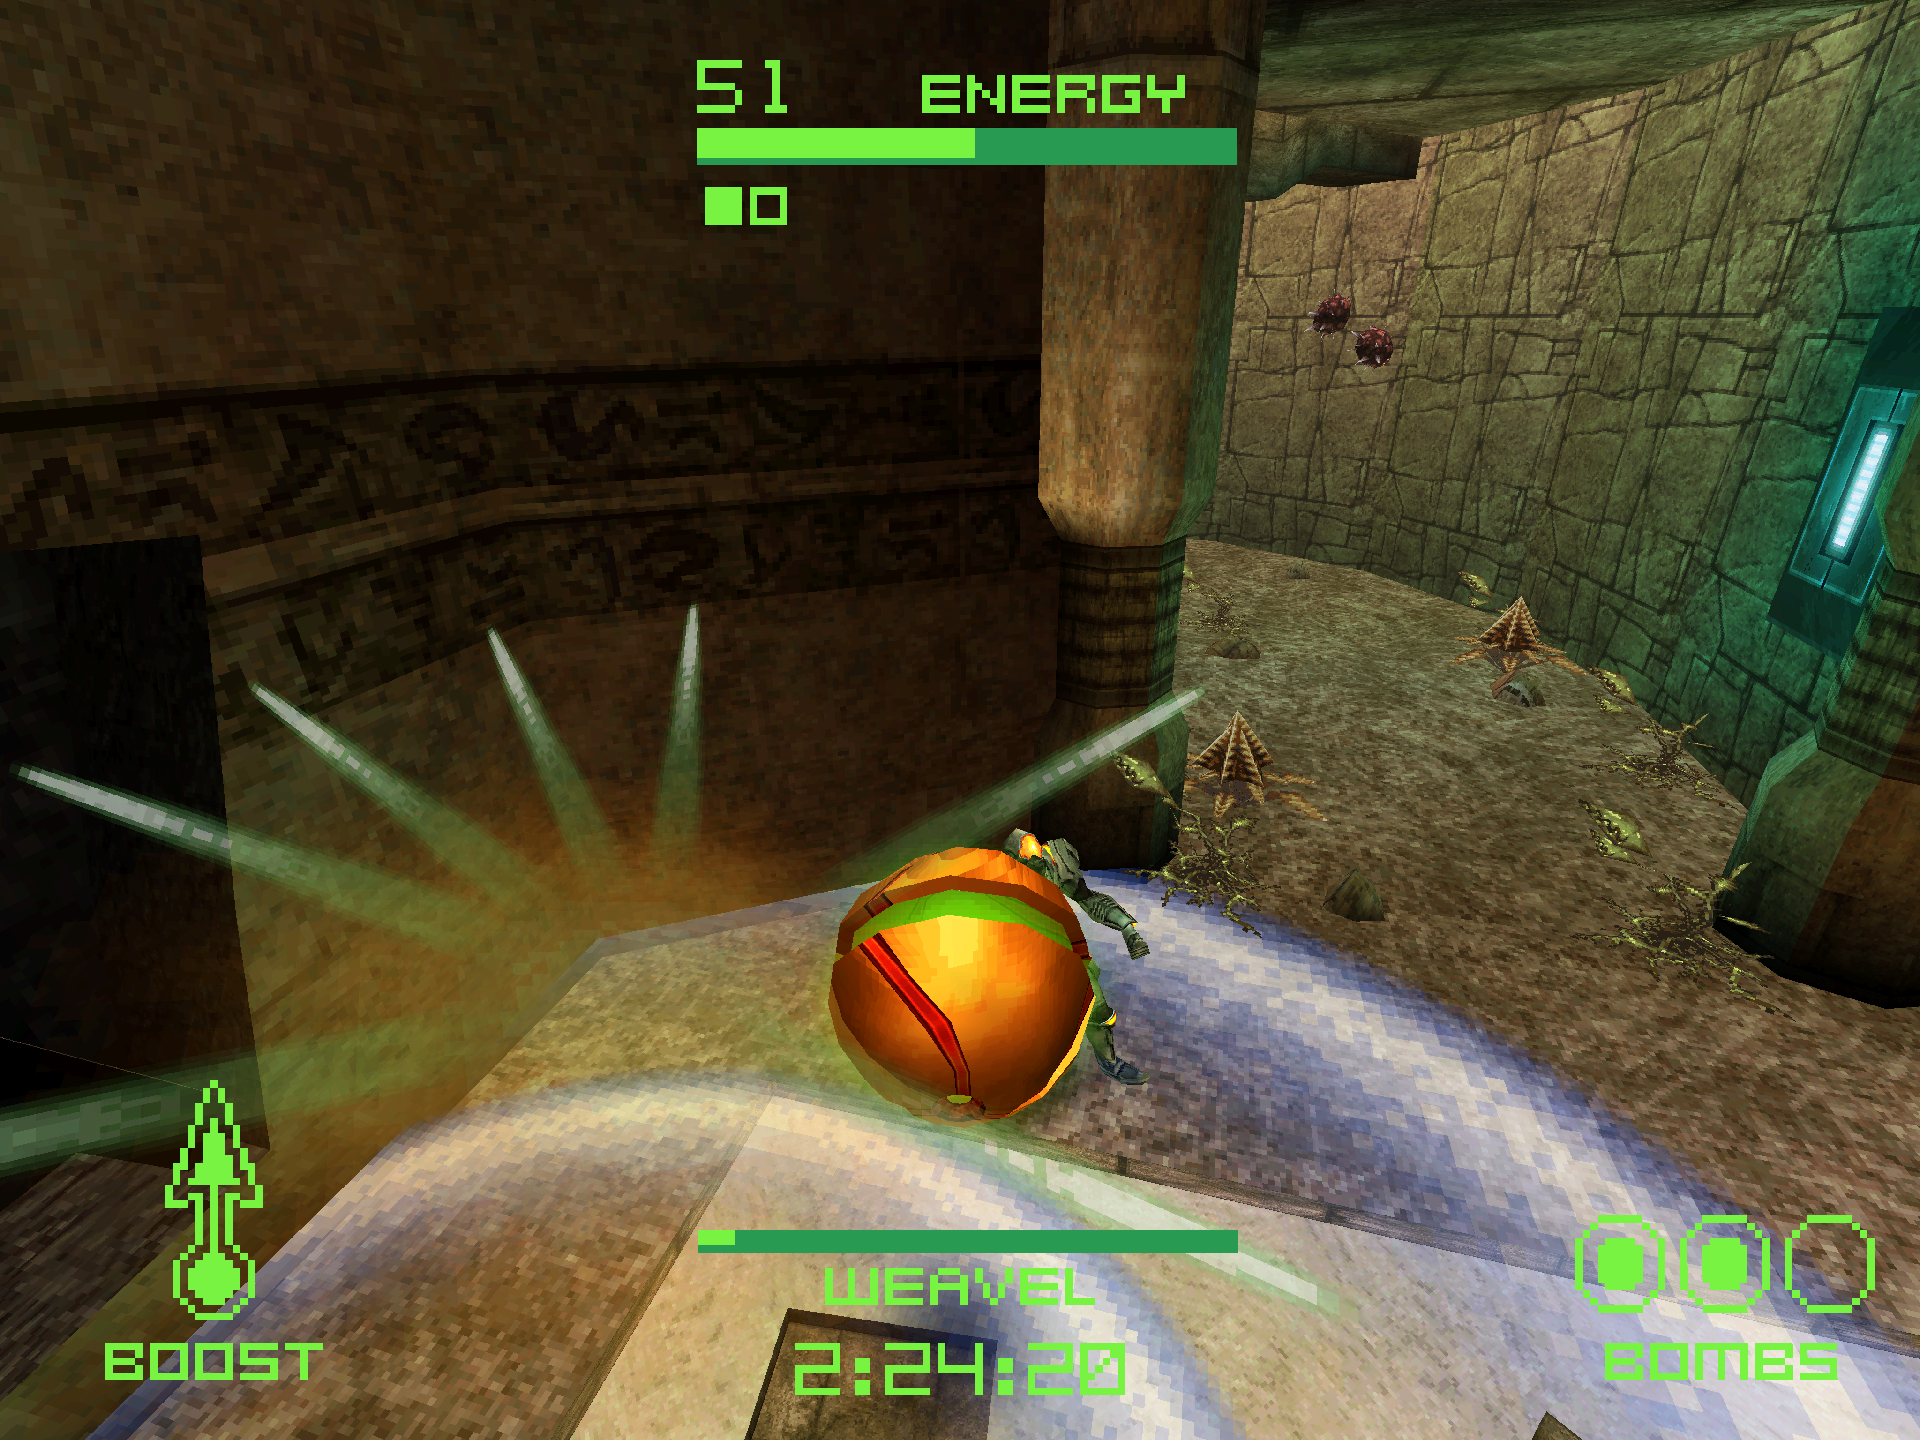
Weavel comes armed with the Battlehammer, and this thing packs a punch in this close quarters space! The Battlehammer is another lobbed projectile similar to Spire’s Magmaul, but it has a significantly faster firing rate and extra splash damage. For the start of the fight, I recommend using all of the Morph Ball’s abilities offensively if you’re comfortable with that. Otherwise, sticking with Power Beam shots is going to be the best strategy so that you don’t accidentally damage yourself with missiles up close. If you’re running low on health, there’s some crates surrounding the walls you can shoot for a chance refill. After you take out about 1/3rd of Weavel’s health bar, he’ll activate his HALFTURRET form. Weavel’s lower abdomen becomes an auto-turret that fires less damaging Battlehammer shots, while his upper torso chases us down and attempts to melee us with his energy scythe. For this, just keep circle strafing and jumping around the room while focusing all of your remaining missiles on the Halfturret, as it shares the same health pool as Weavel. After enough damage, Weavel will retreat through one of the Morph Ball tunnels.

On the other side, Weavel will be back in bipedal form with his Battlehammer at the ready. This is actually a great place to replenish resources from the Zoomers and toxic plant life littered throughout the arena. Other than that, keep using the same strategies against Weavel, though keep an eye out on that countdown timer because it ain’t stopping!
Once Weavel is taken care of, make a mad dash to your ship and get the hell out of there! We’re done with Alinos for now!
Next Chapter: Vesper Defense Outpost