


Metroid Prime Hunters Walkthrough – Oubliette
WALKTHROUGH
- Celestial Archives
- Alinos
- Vesper Defense Outpost
- Arcterra
- Celestial Archives, Part II
- Alinos, Part II
- Arcterra, Part II
- Vesper Defense Outpost, Part II
- Oubliette
The Alimbic Cannon
Scans in This Section
Lore: Alimbic Pride 05, Combat Hall, Alimbic Cannon 01, Alimbic Cannon 02, Alimbic Cannon 03, Alimbic Cannon 04
Objects: Blast Shield, Sniper Shield
As we alluded to in the last chapter, our next destination is Alinos. Remember that room we held off on exploring during the second visit? You guessed it, that’s where we need to head next! As soon as you land at Alinos Gateway, take the ship deck portal on your left to Elder Passage. From there, you’ll find the entrance to where we need to go at the slope in the back of High Ground. As soon as you enter the fan favorite multiplayer map, Combat Hall, you’ll be ambushed by some Guardians (or a Hunter potentially if they’re on the planet). Dispatch them to unseal the doors, then scan both the BLAST SHIELD and SNIPER SHIELD along with the ALIMBIC PRIDE 05 and COMBAT HALL datashades.
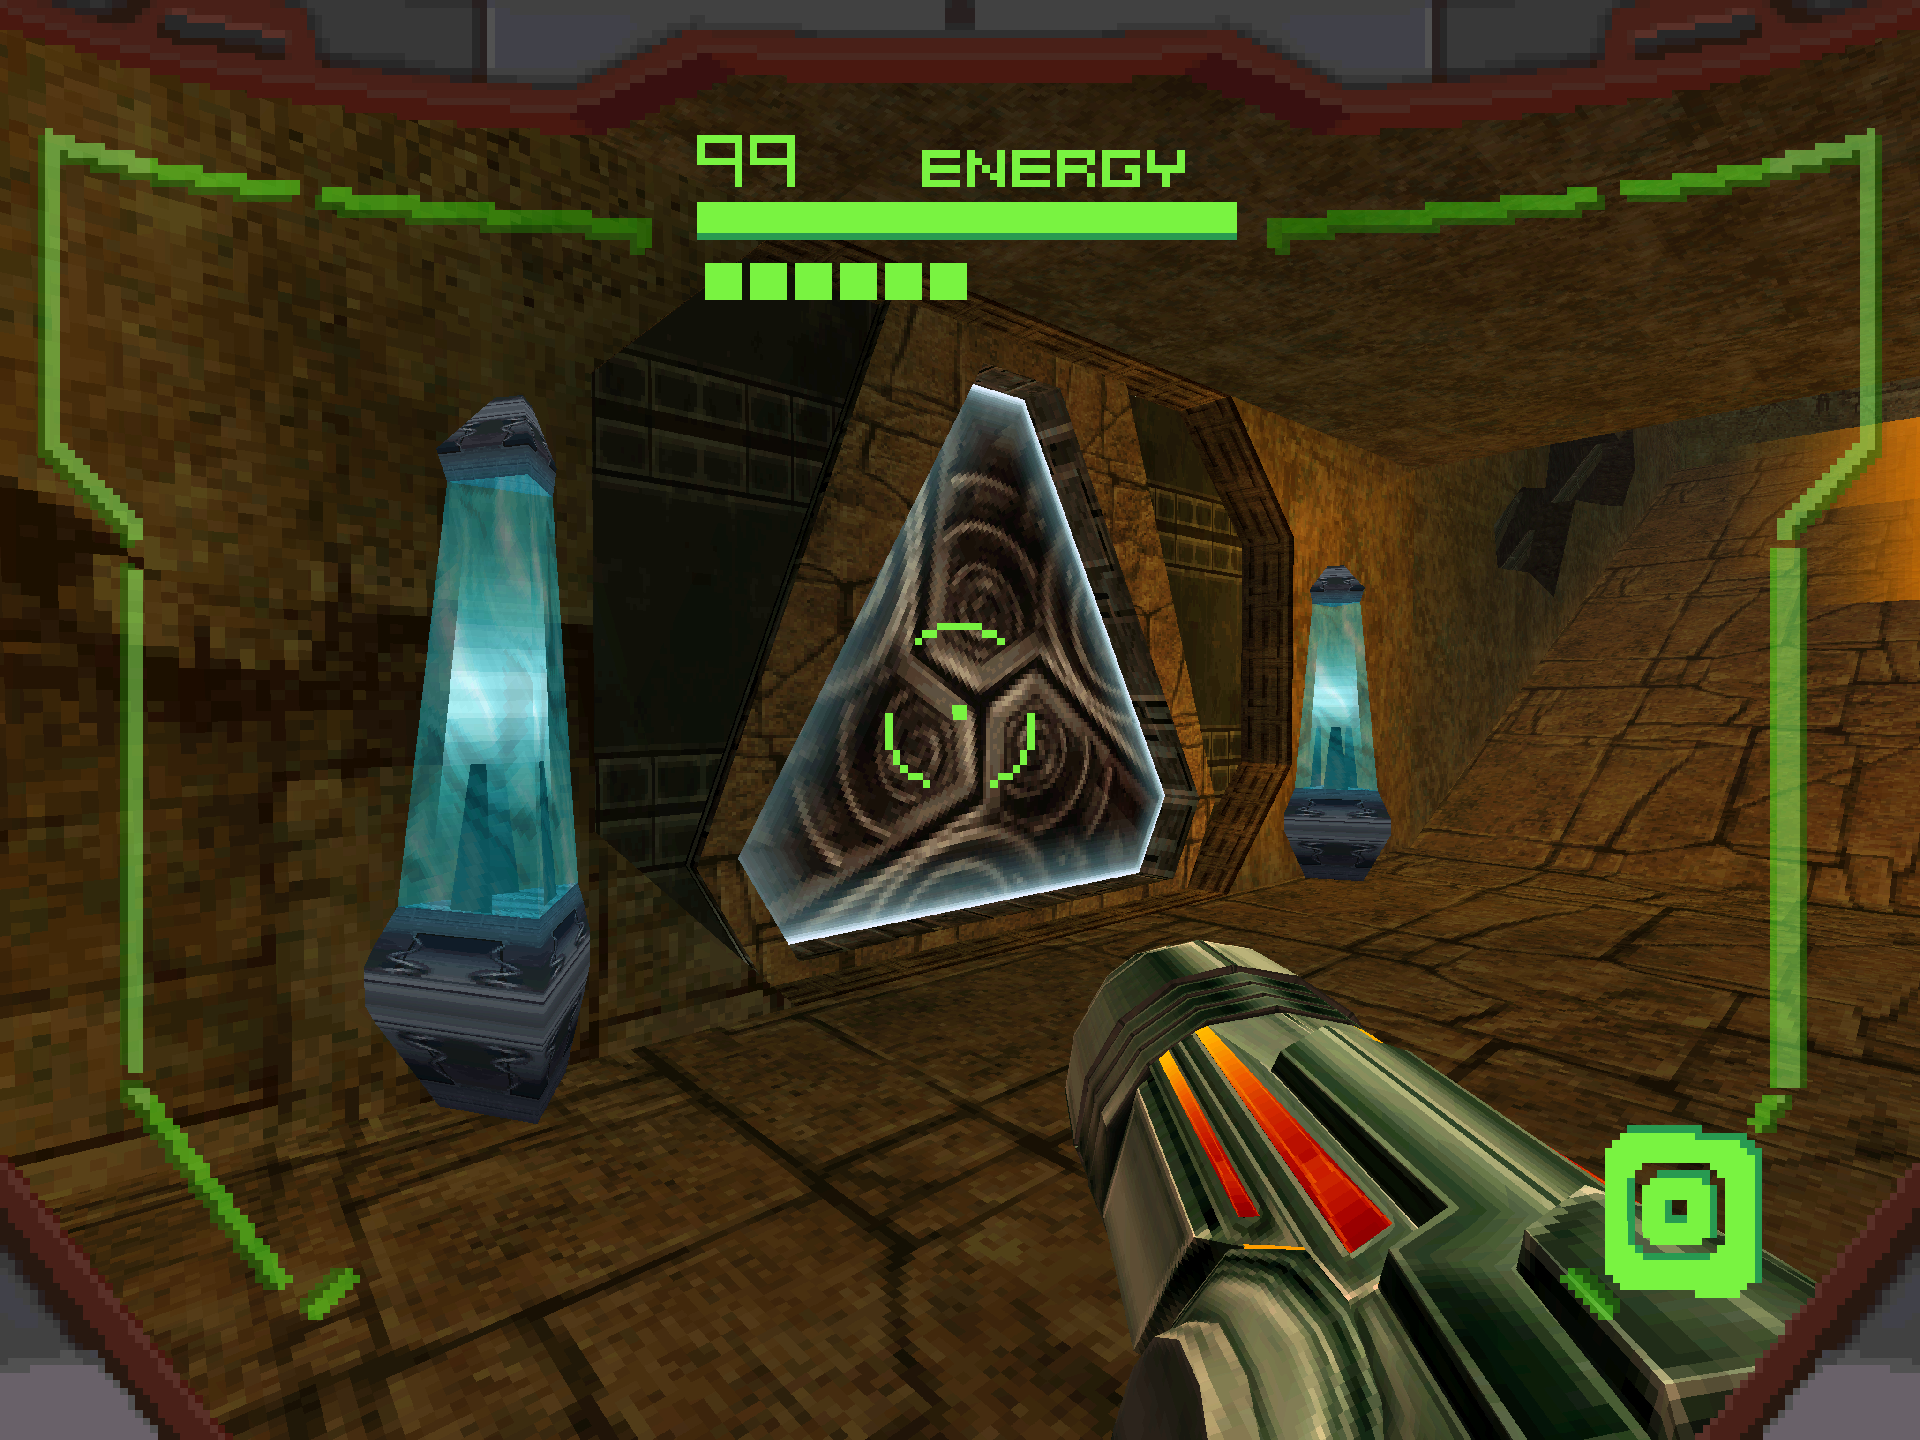
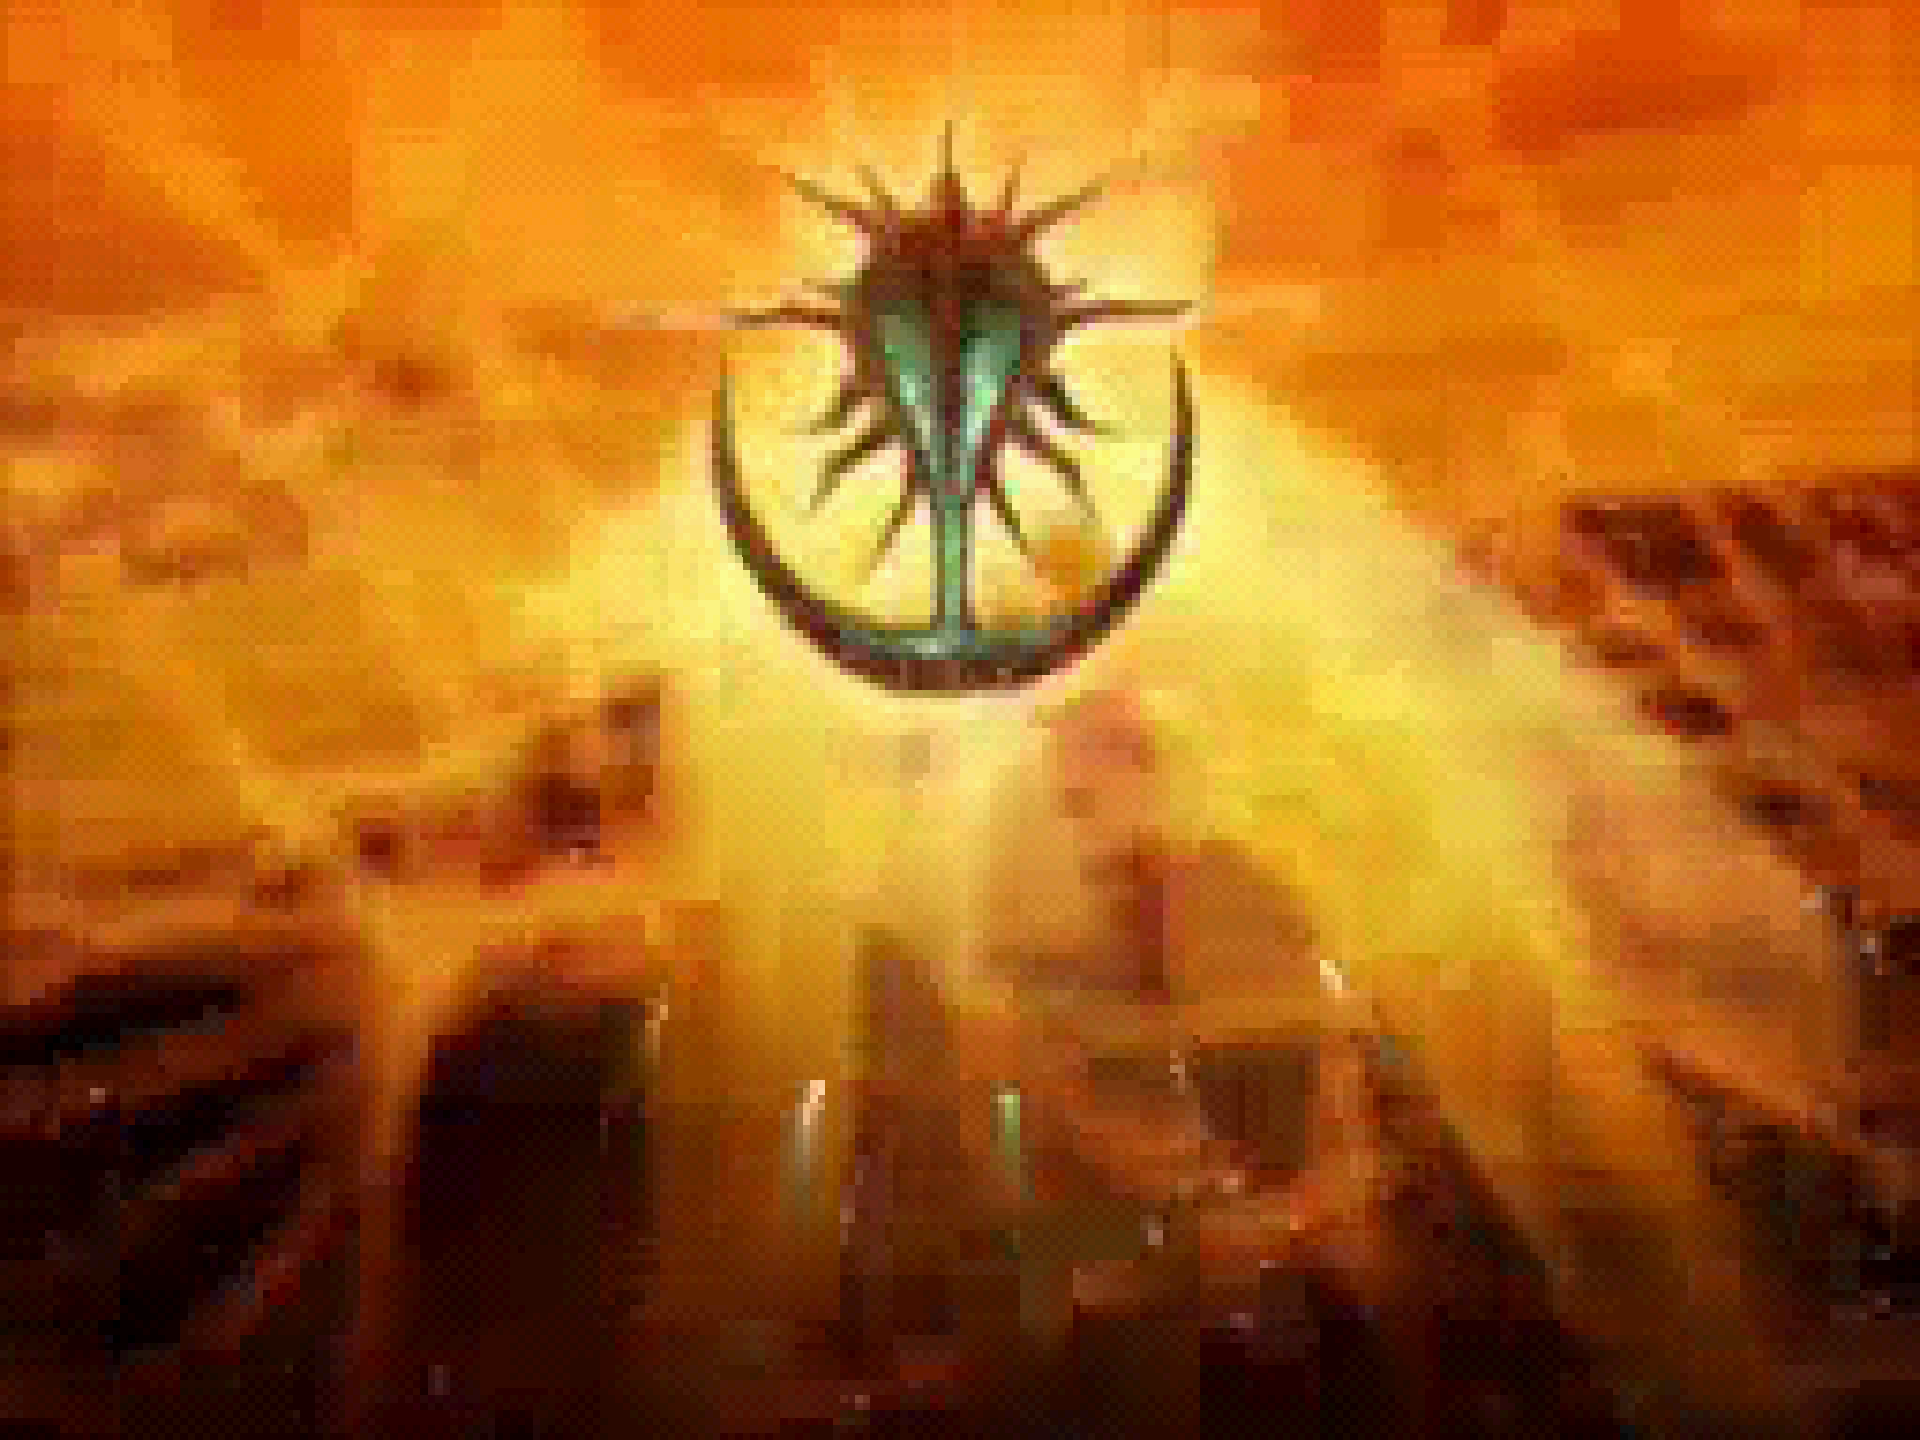
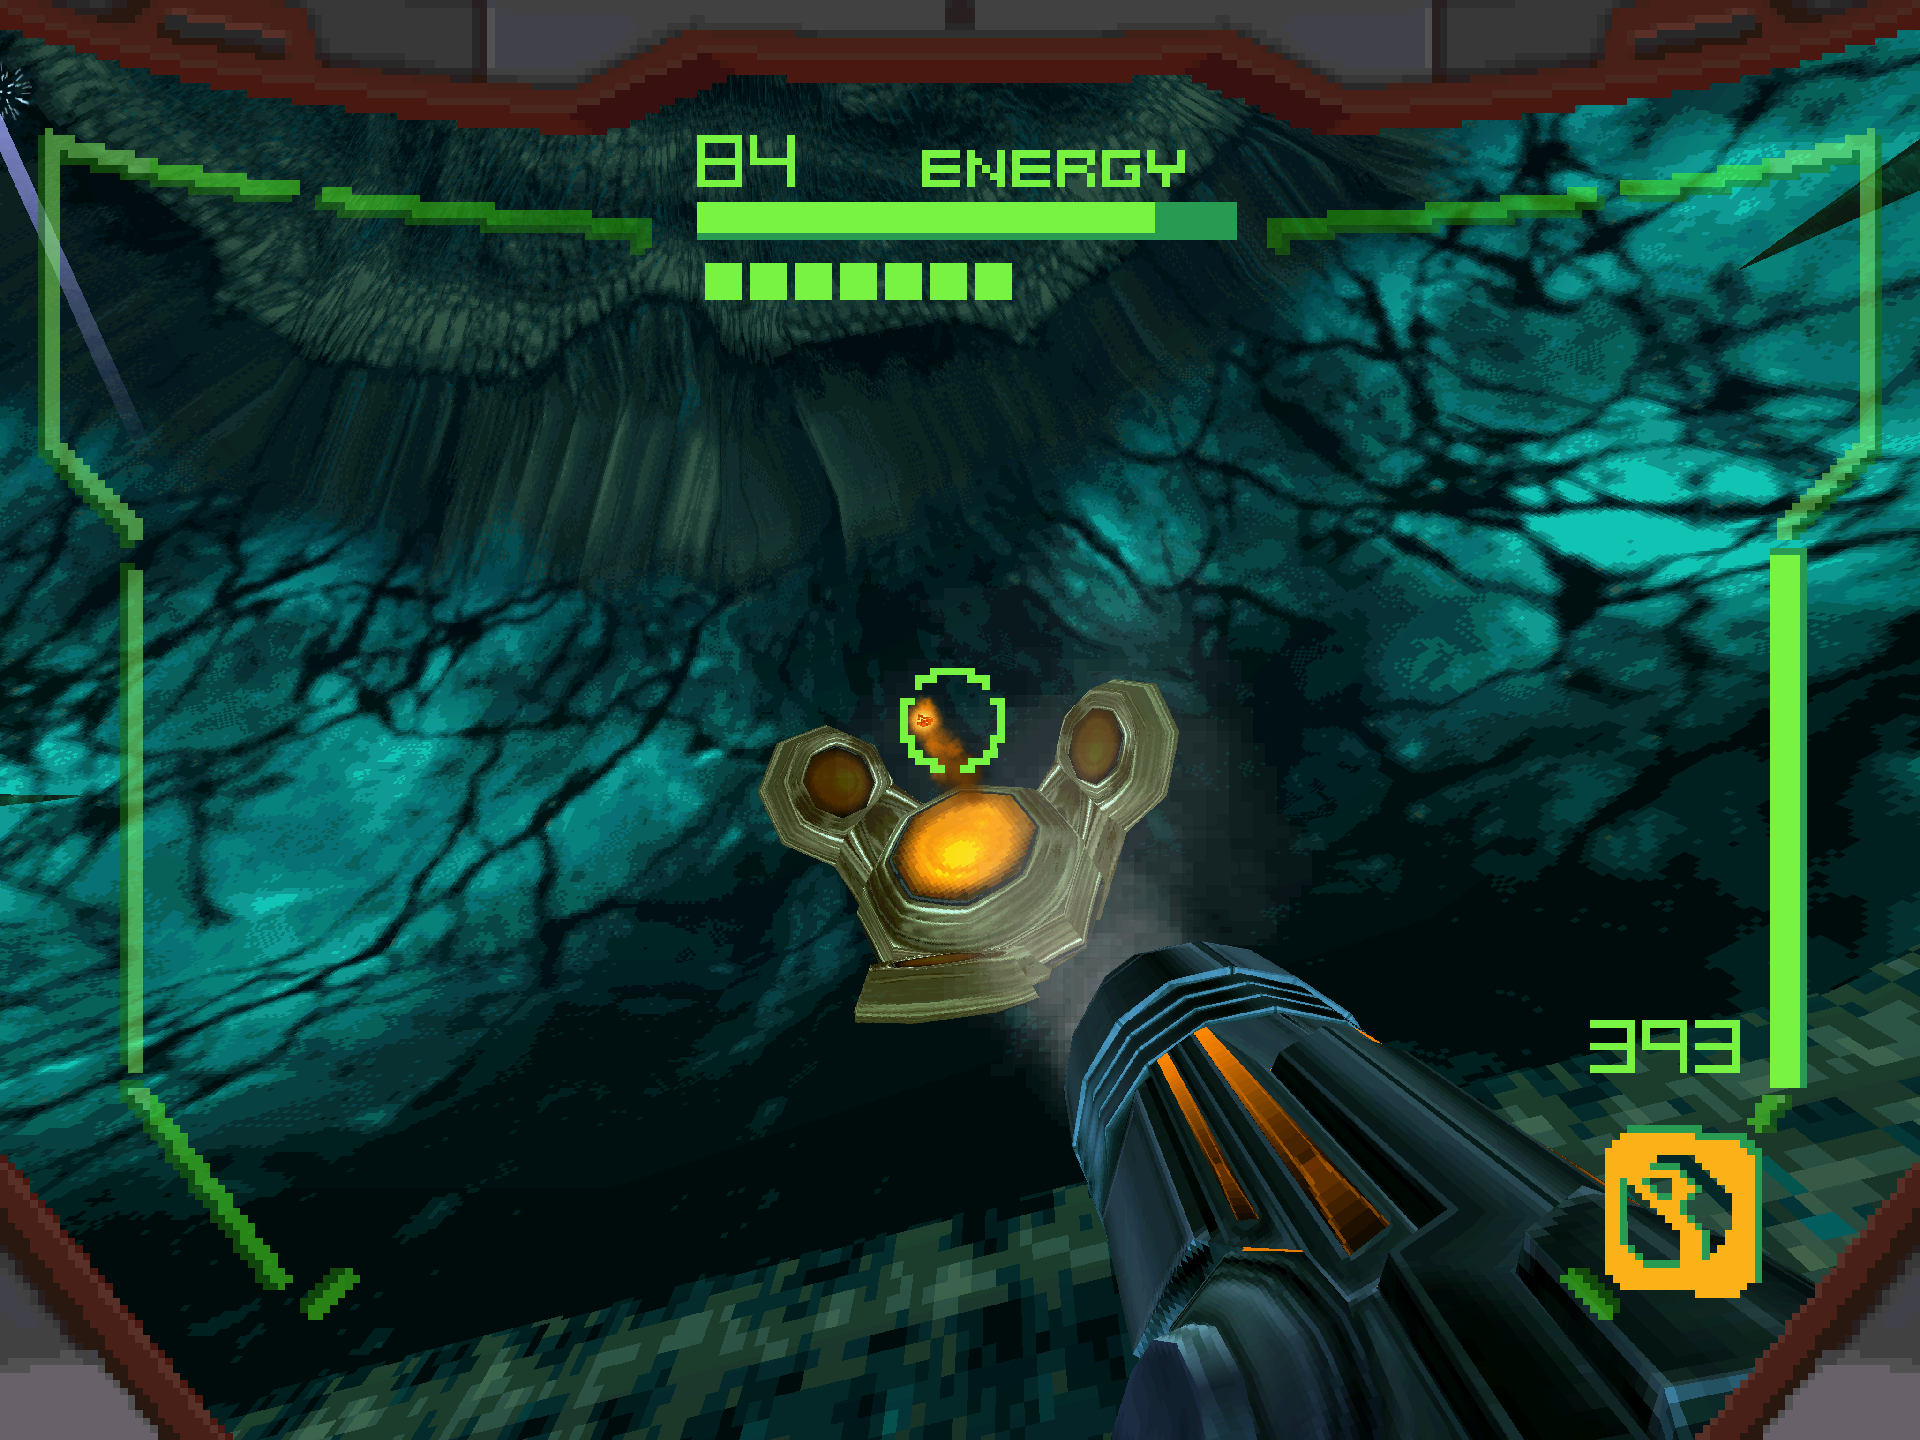
Enter the Alimbic Cannon Control Room and scan the ALIMBIC CANNON 01, ALIMBIC CANNON 02, ALIMBIC CANNON 03 and ALIMBIC CANNON 04 datashades. Then, stand in the center and use the Octoliths claimed during the adventure to activate the Alimbic Cannon and tear a hole into the Infinity Void, revealing the final area of the game… Oubliette! With this revelation it’s time to head back to the ship and fly to this mysterious location. If the ultimate power is real, this is where it has to be!
Enter the Infinity Void
Scans in This Section
Lore: Sealing Gorea 01, Sealing Gorea 02, Sealing Gorea 03, Sealing Gorea 04, Sealing Gorea 05
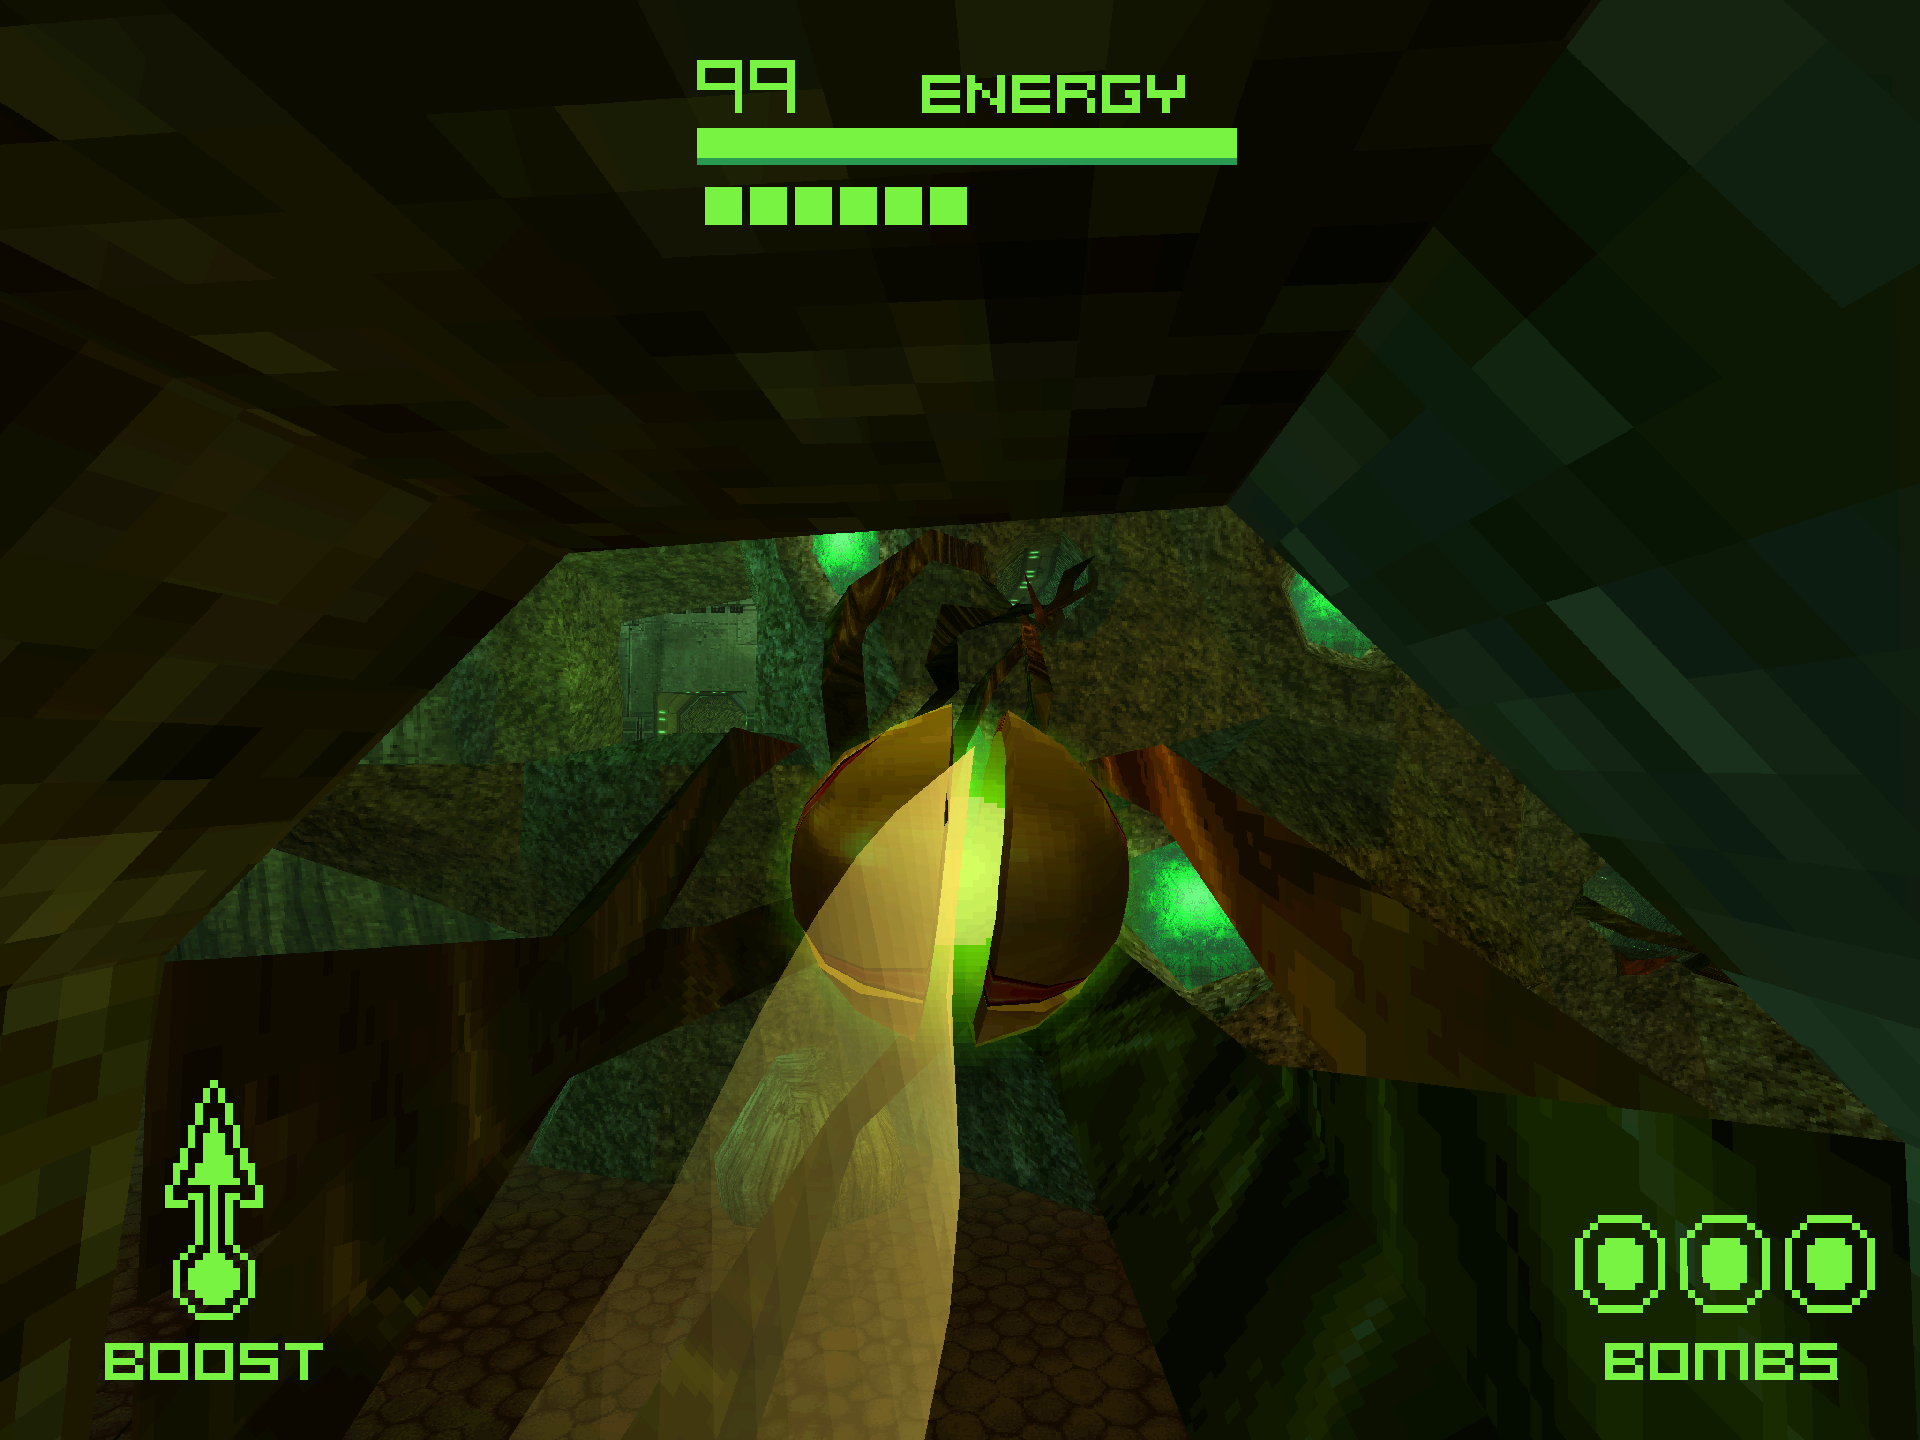
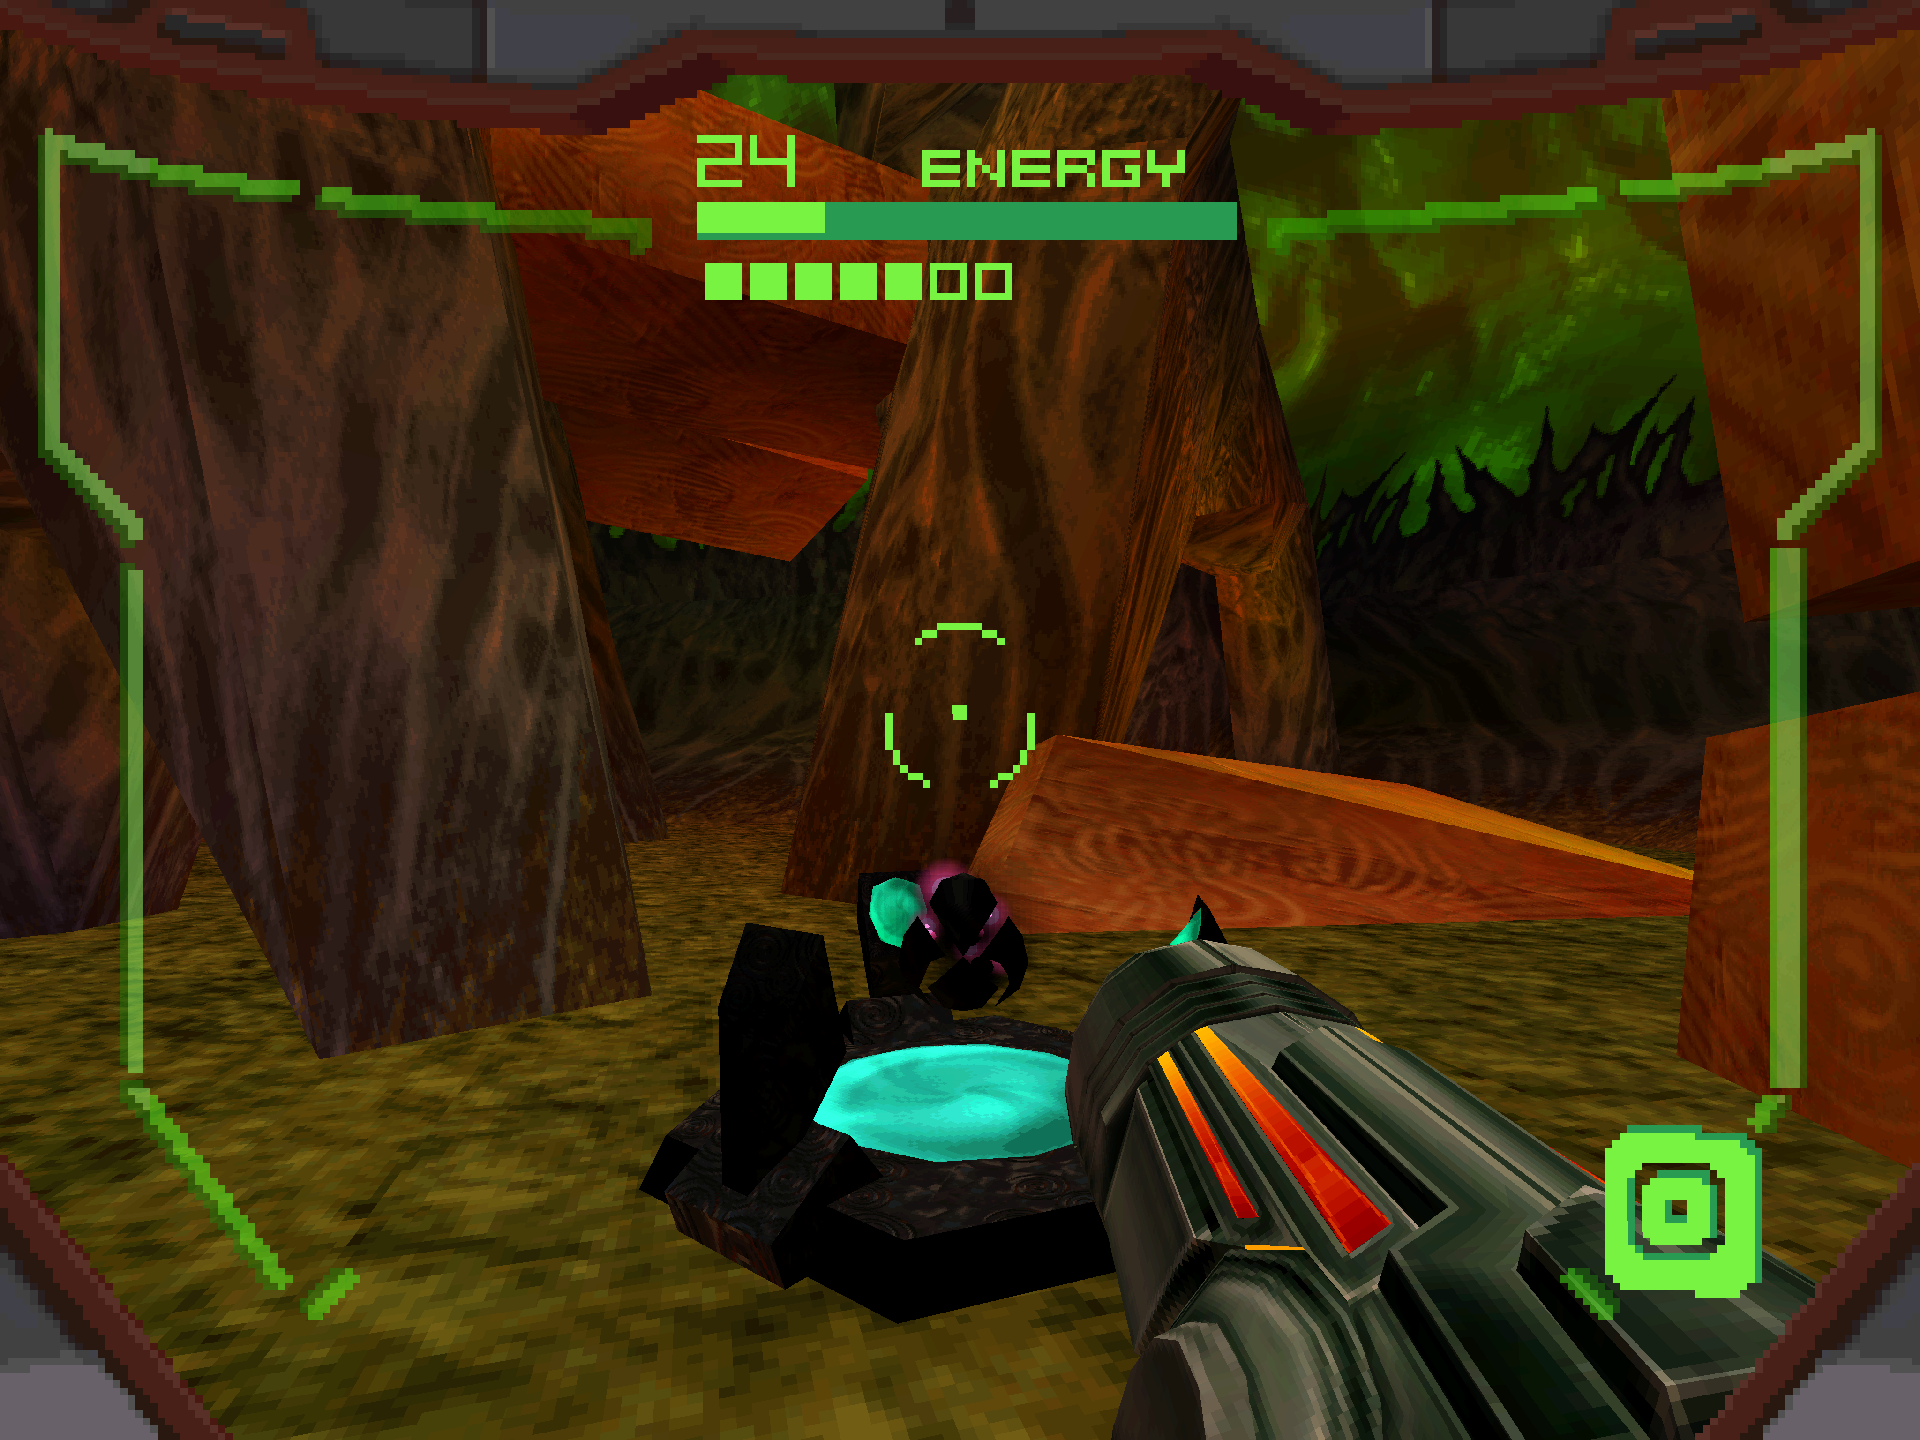
As soon as you land on Oubliette, you’ll notice some Hunters racing towards the location in their ships, with one having already landed in a nearby docking bay. Time is of the essence! Go out the door and ride the lift up, then take the portal to the adjacent window. Here you’ll find a bevy of datashades, including SEALING GOREA 01, SEALING GOREA 02, SEALING GOREA 03, SEALING GOREA 04 and SEALING GOREA 05. In the next room, turn right and take the Morph Ball path to the portal. Enter the portal to teleport to a secluded room housing ENERGY TANK #7. If you look out the window, you’ll see a little bit of foreshadowing for something later.
Exit the portal, continue down the path and jump down the hole.
Gorea
Scans in This Section
Bioforms: Gorea, Gorea Arm, Trocra, Gorea (Damaged), Gorea Seal Sphere
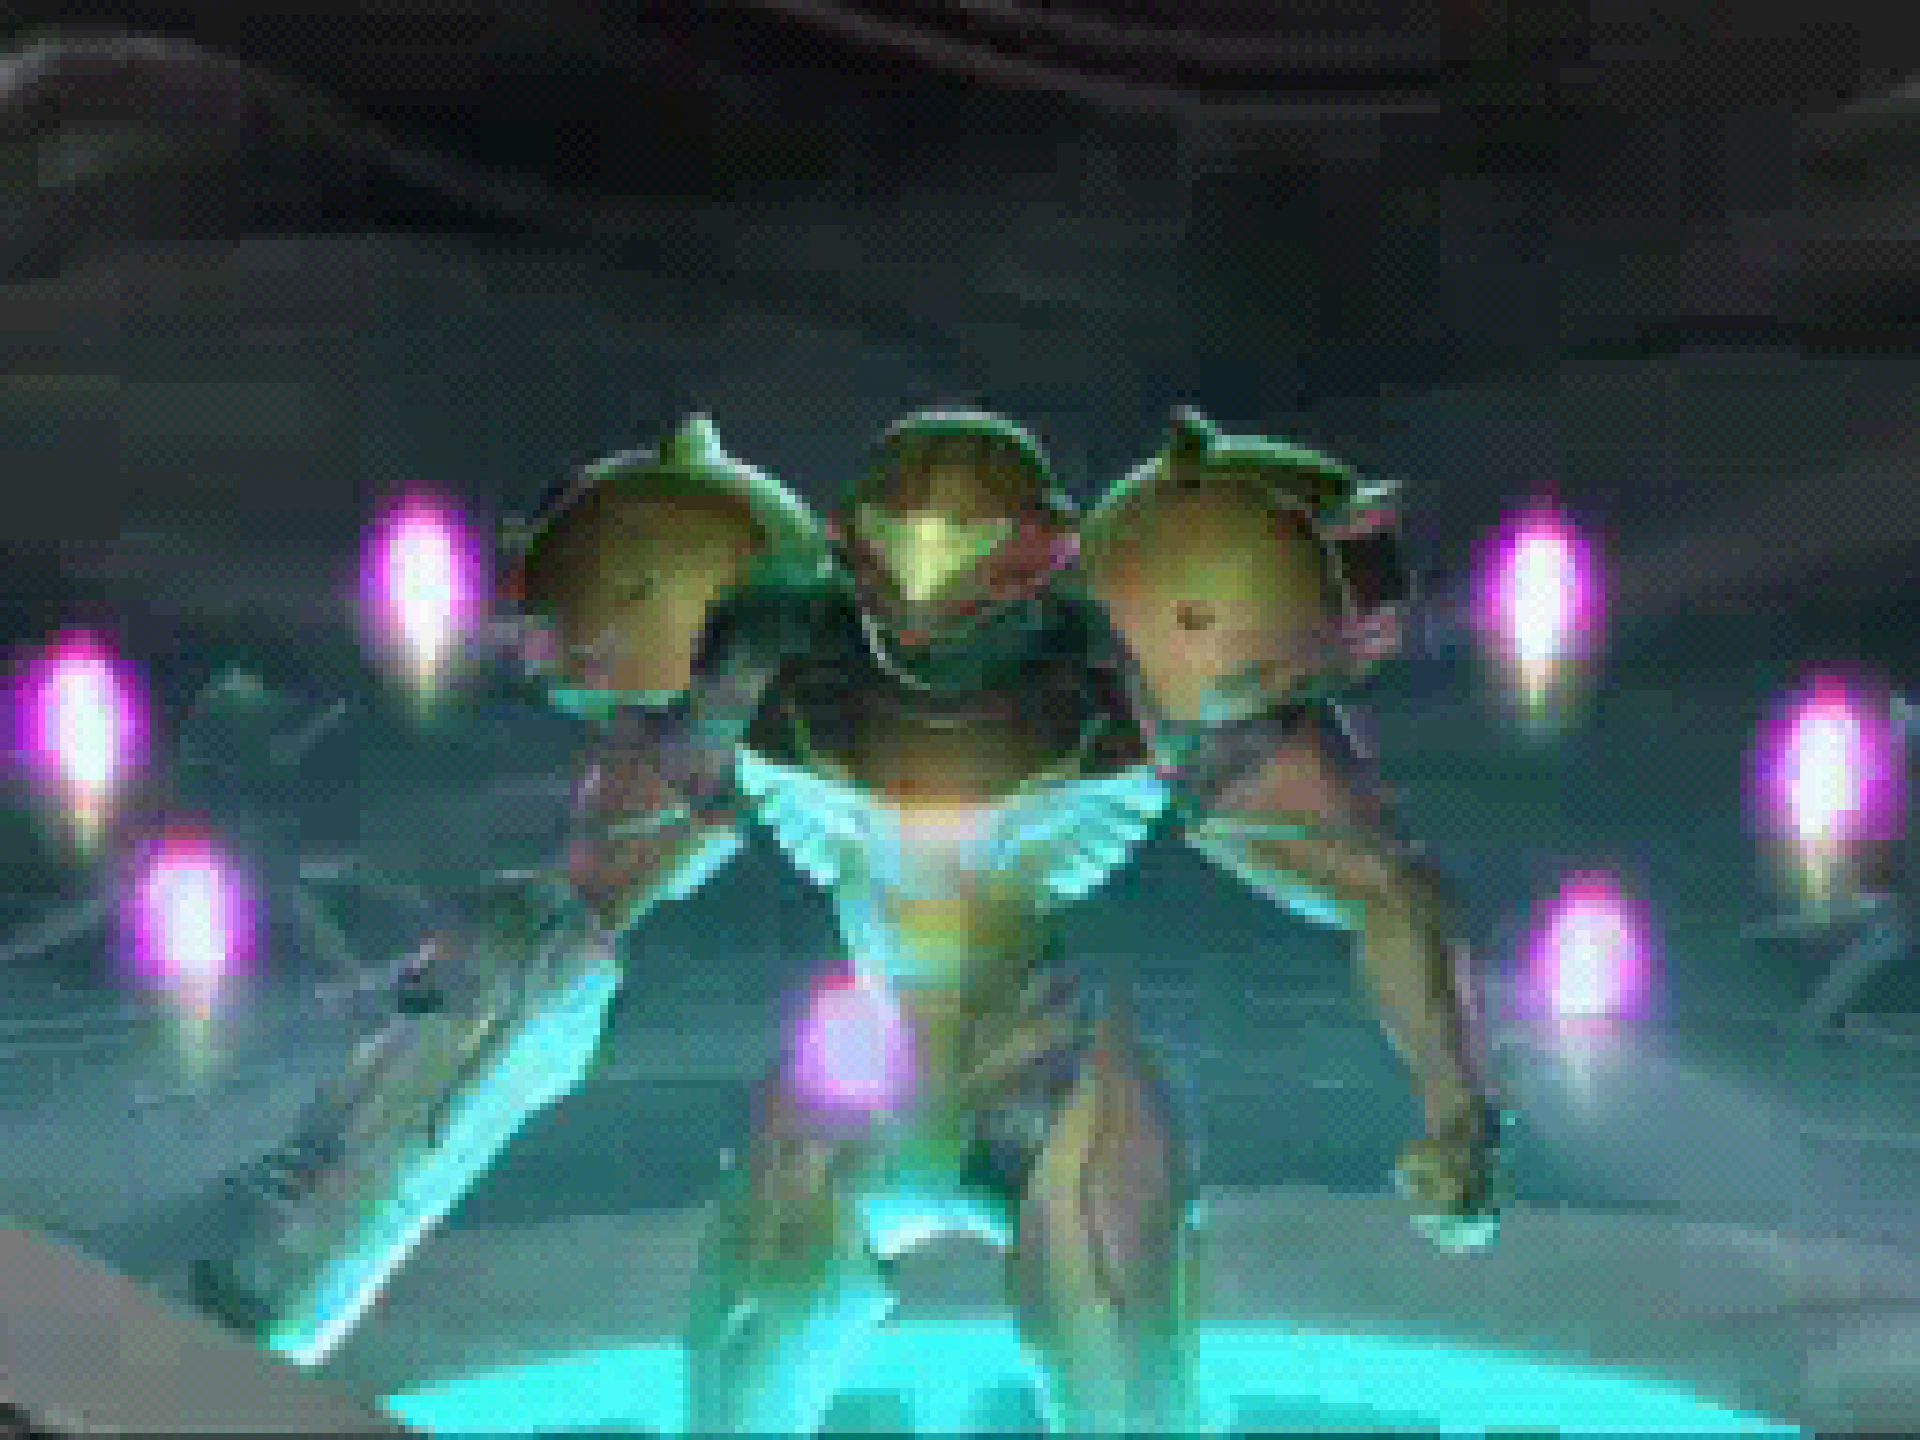
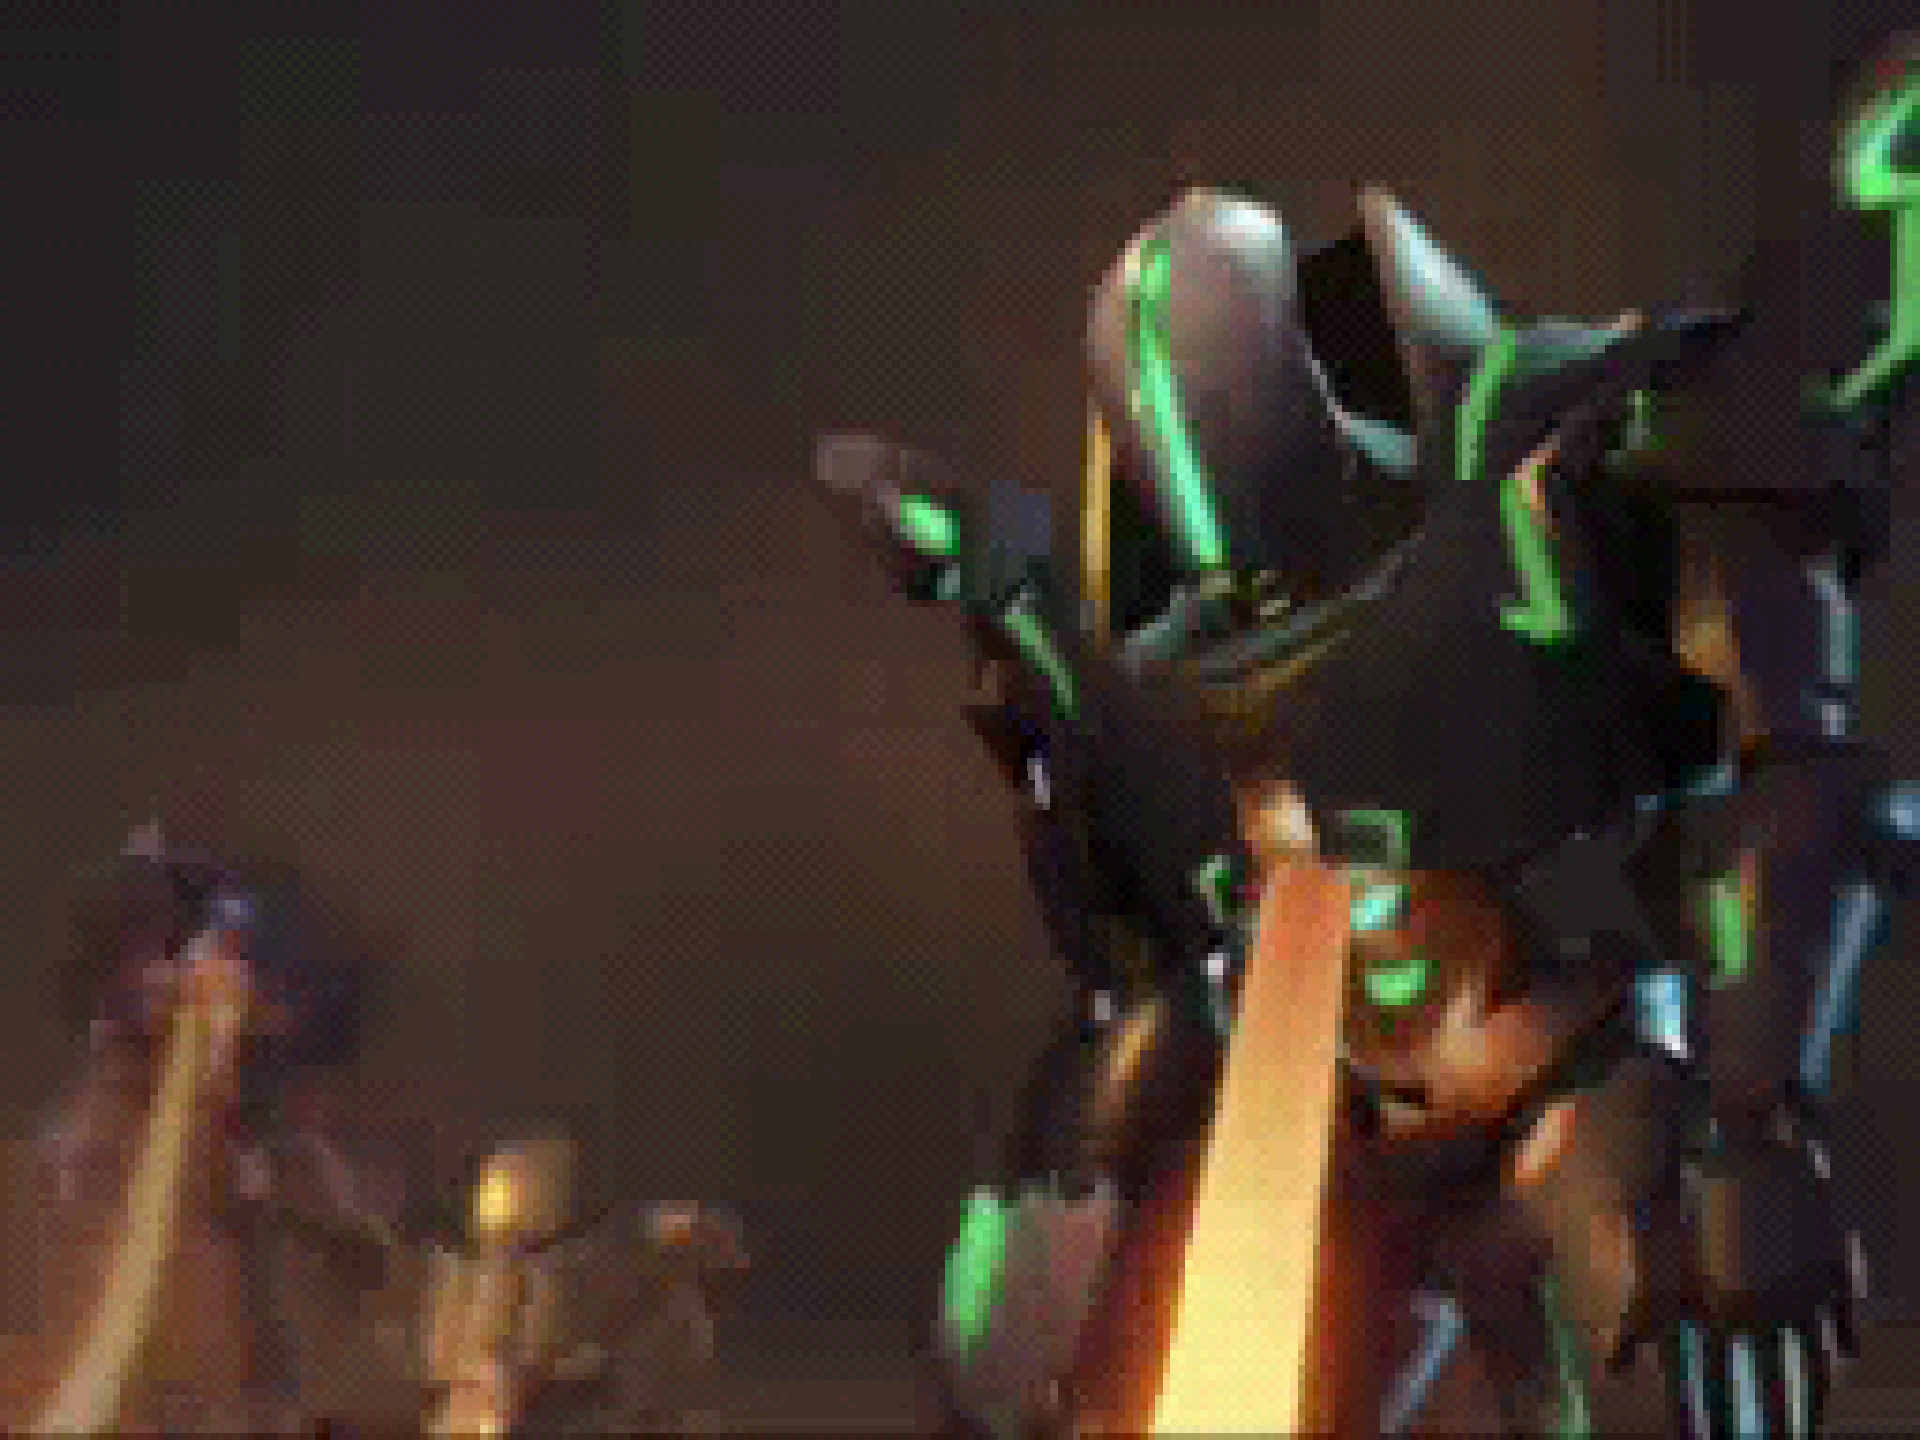
As you descend into the chamber, the other Hunters have already discovered the Seal Sphere and begin blasting away at it, unknown what its true intention is. The seal finally breaks open, revealing Gorea. Without hesitation, Gorea attacks all of the Hunters, absorbing their abilities, and knocking them unconscious. It immediately turns its attention to Samus, so it’s up to us to put this thing down!
There’s a lot of things to go over in this fight, so let’s start off simple and get our scannables out of the way. Add GOREA, GOREA ARM and the TROCRA to your logbook. Now this next step is optional but very important. Metroid Prime Hunters has two endings; the good ending and the bad ending. If we don’t do this step, we get the bad ending. The good ending also has some extra gameplay we won’t get to experience with the bad ending and is required to achieve 100% completion. If you’re trying to unlock all of the cutscenes in the gallery, you will have to beat the game with both endings, but luckily you can restart your save file from the beginning of Oubliette being unlocked to redo the sequence if you desire.
This next step is foretold in the Alimbic Prophecy scans we’ve added to our logbook at the area entrances since the start of the game. You see those colored panels on the wall? We have to use the beam with the associated color and fire at them in a specific sequence to trigger a secret event. If you mess up and fire the wrong beam or hit a panel out of order, you will have to start over from the very beginning.
- Fire the Volt Driver at the Yellow Panel.
- Fire the Battlehammer at the Green Panel.
- Fire the Magmaul at the Orange Panel.
- Fire the Shock Coil at the Blue Panel. You’ll have to jump for the beam to reach it!
- Fire the Judicator at the Purple Panel.
- Fire the Imperialist at the Red Panel.
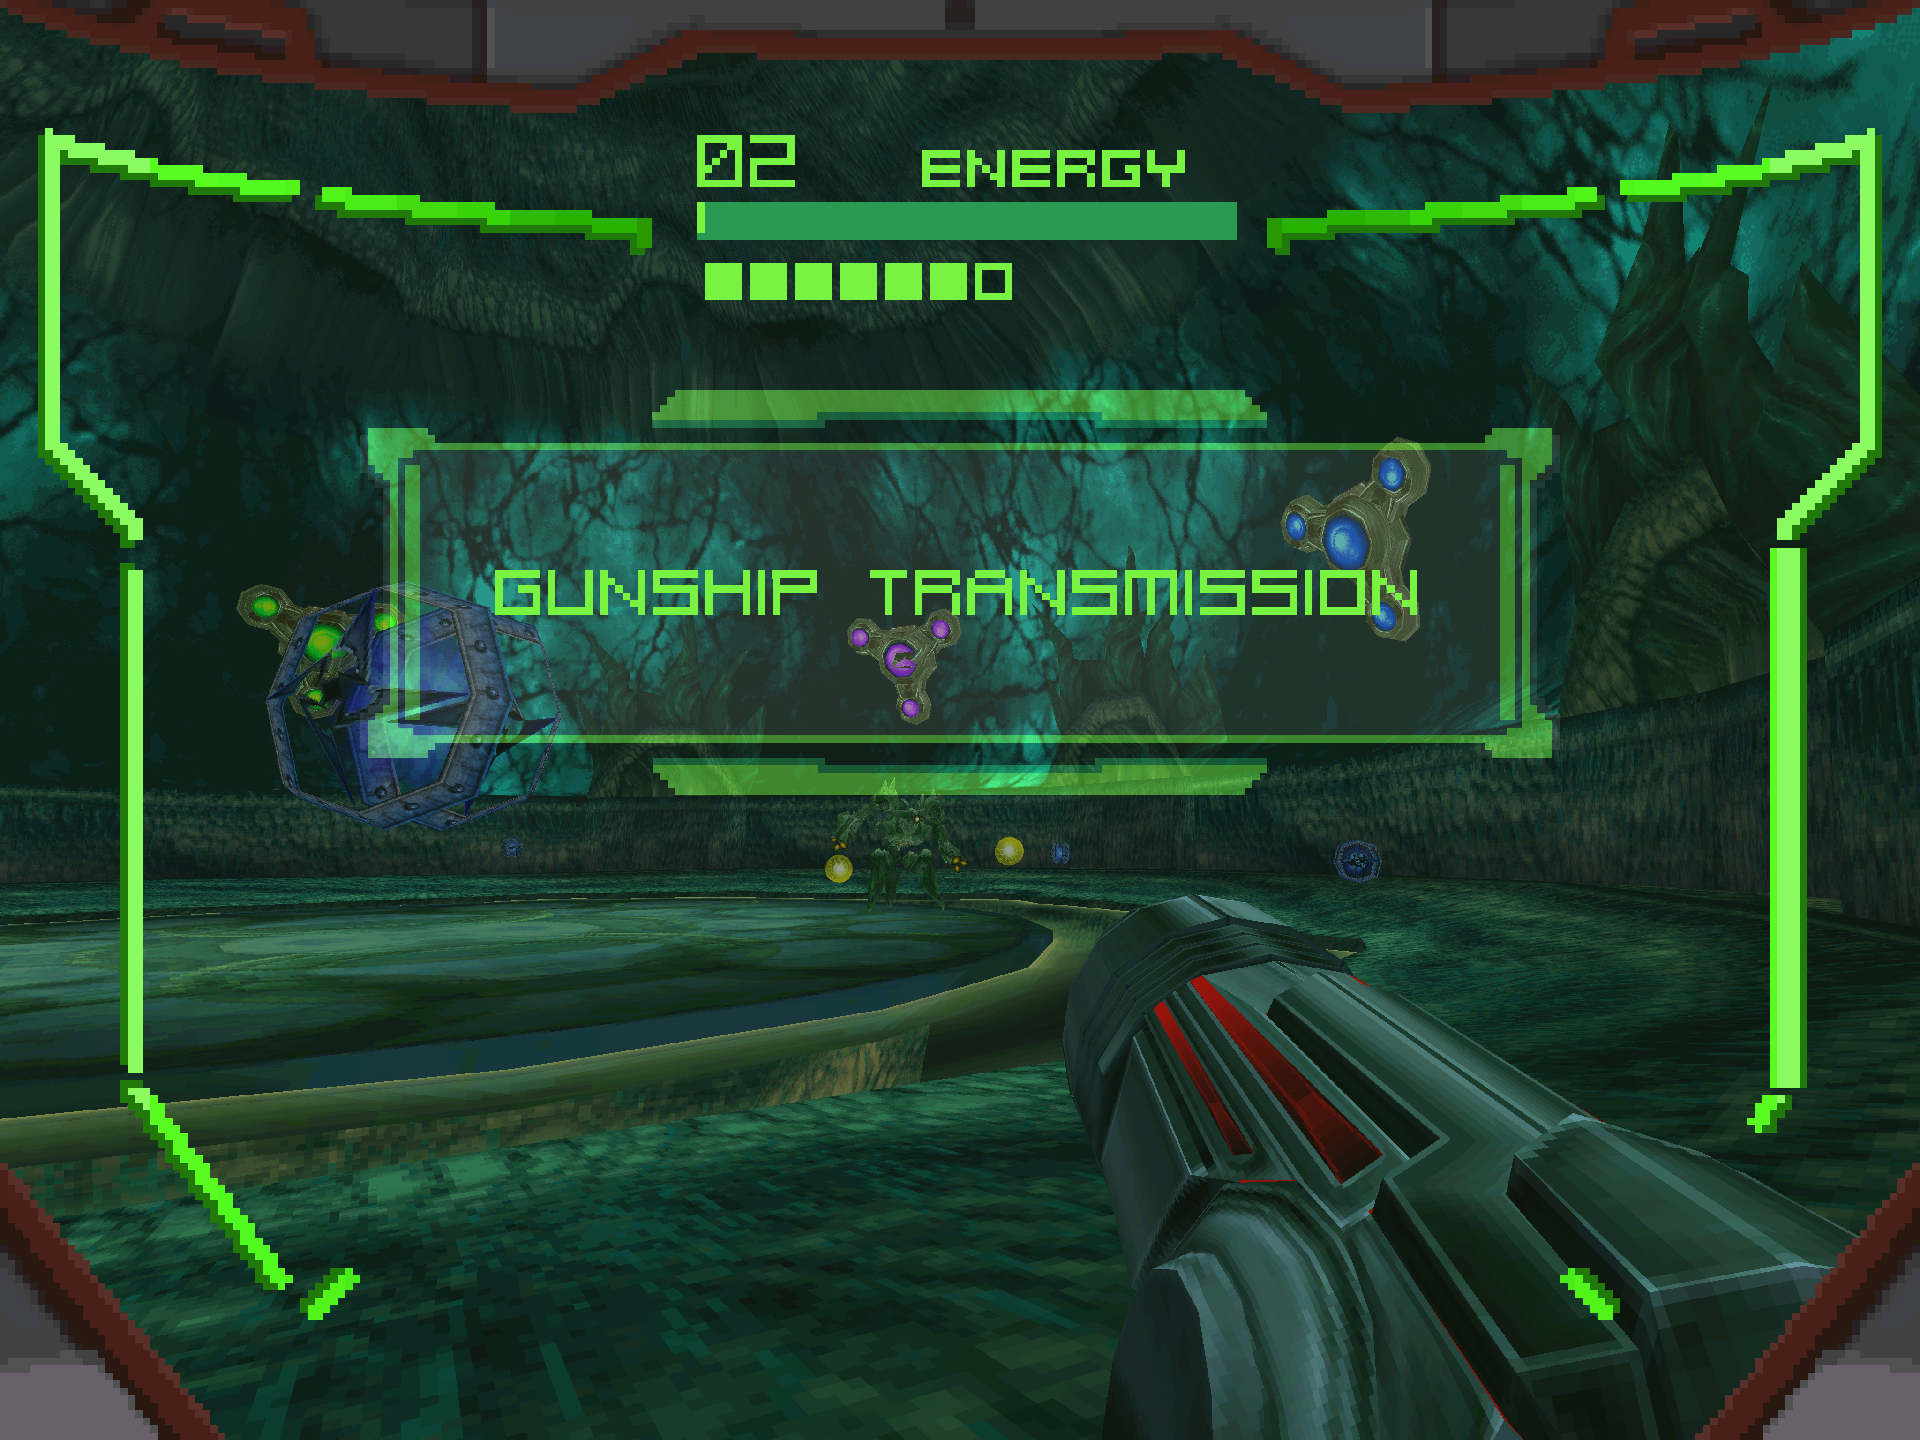
Upon successfully hitting the full combination, you’ll get a confirmation jingle along with a gunship transmission stating “Spectral sequence initiated. Photon avalanche approaching cascade threshold”. We’ll find out what that means later, but first, we still have a boss on the loose!
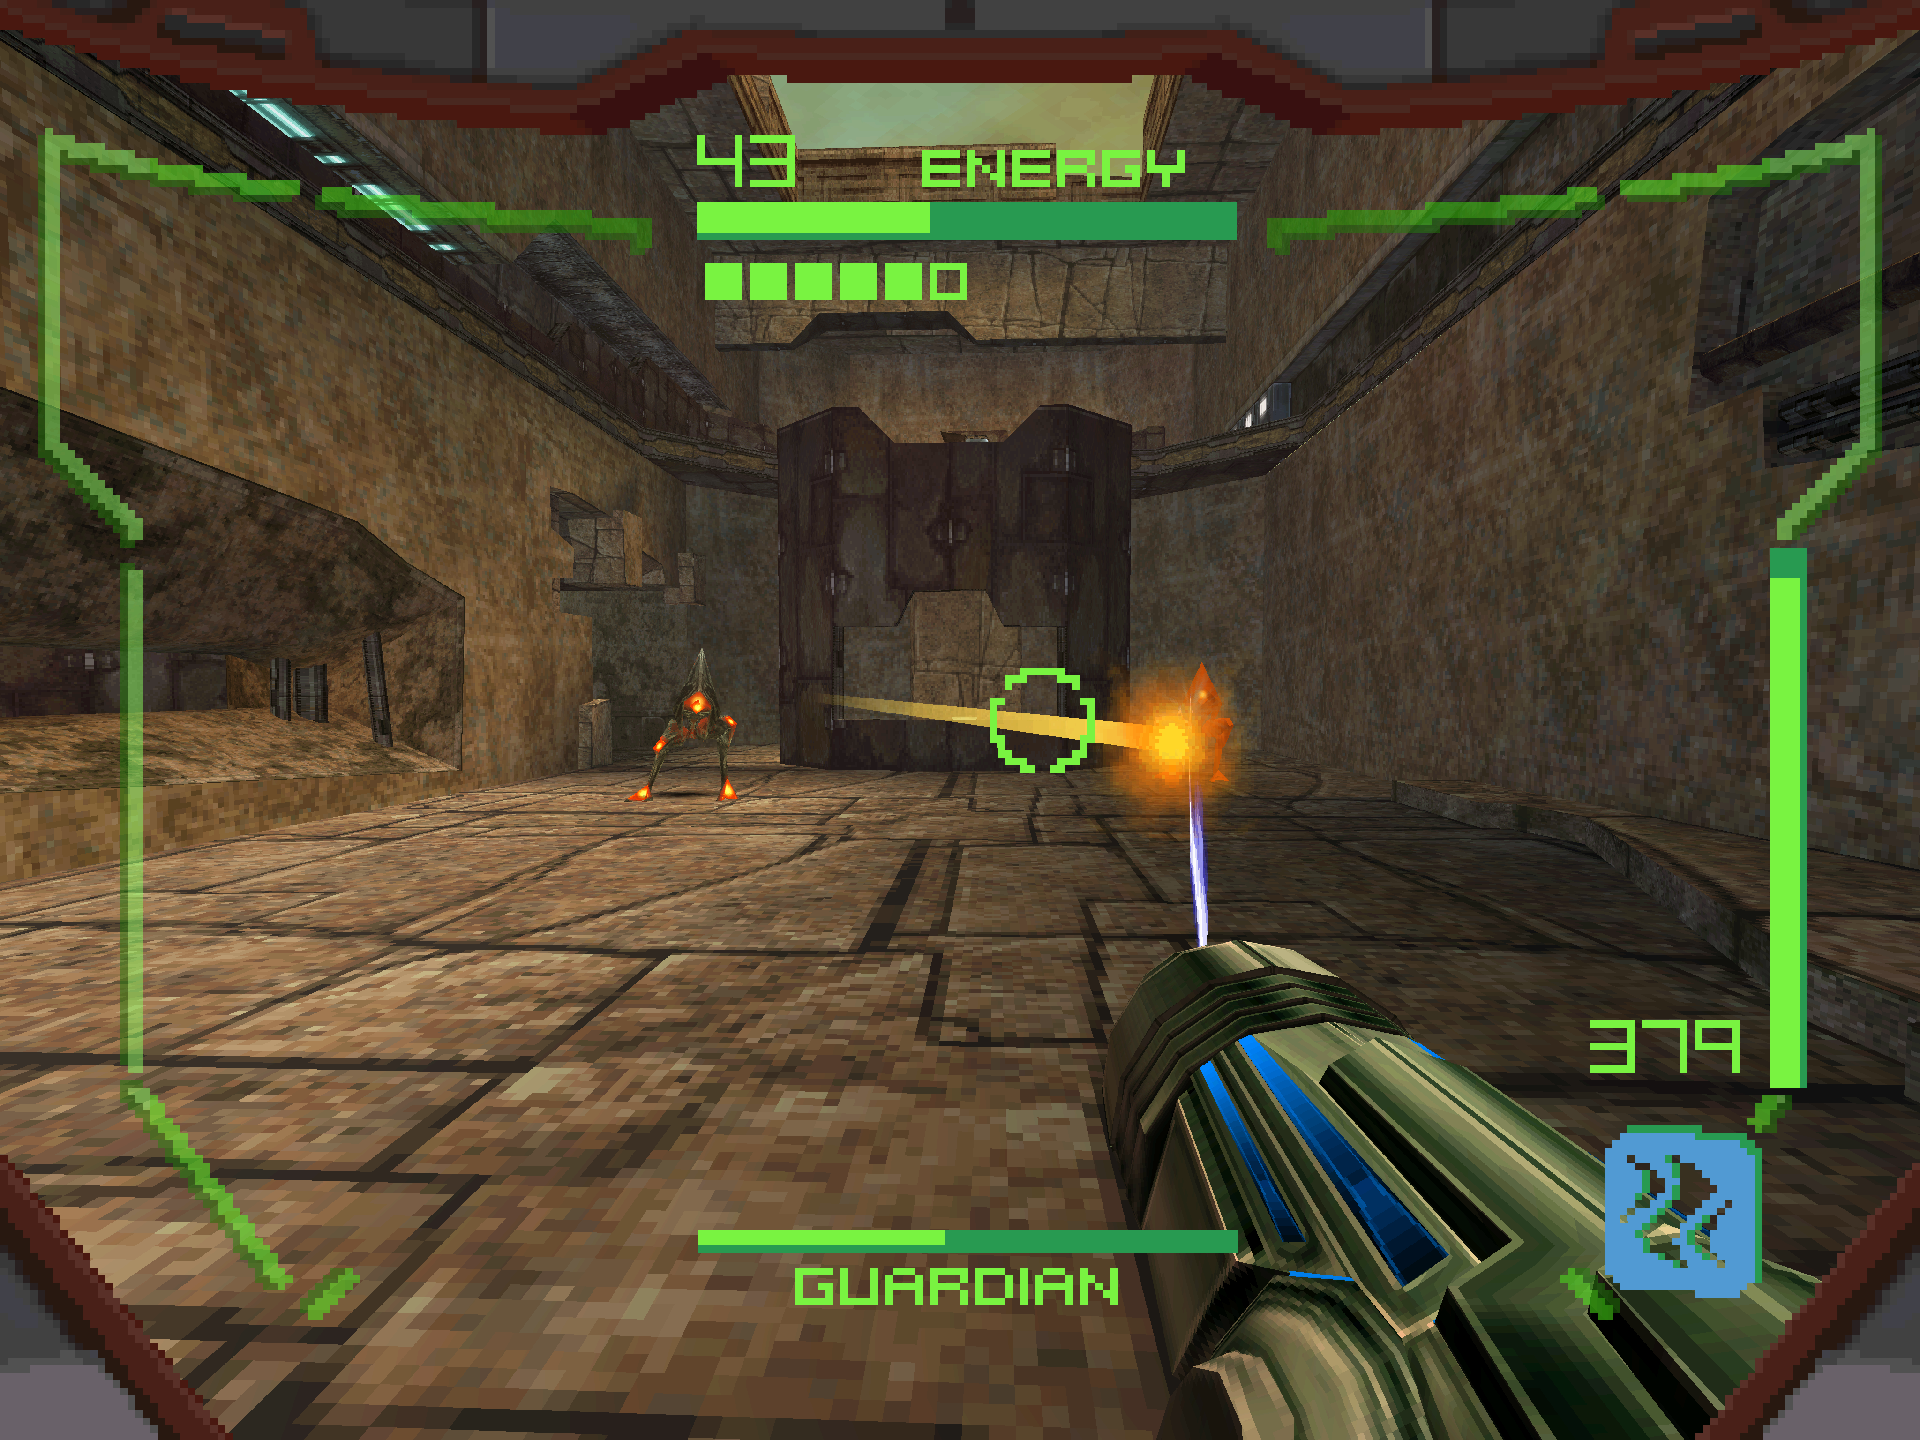
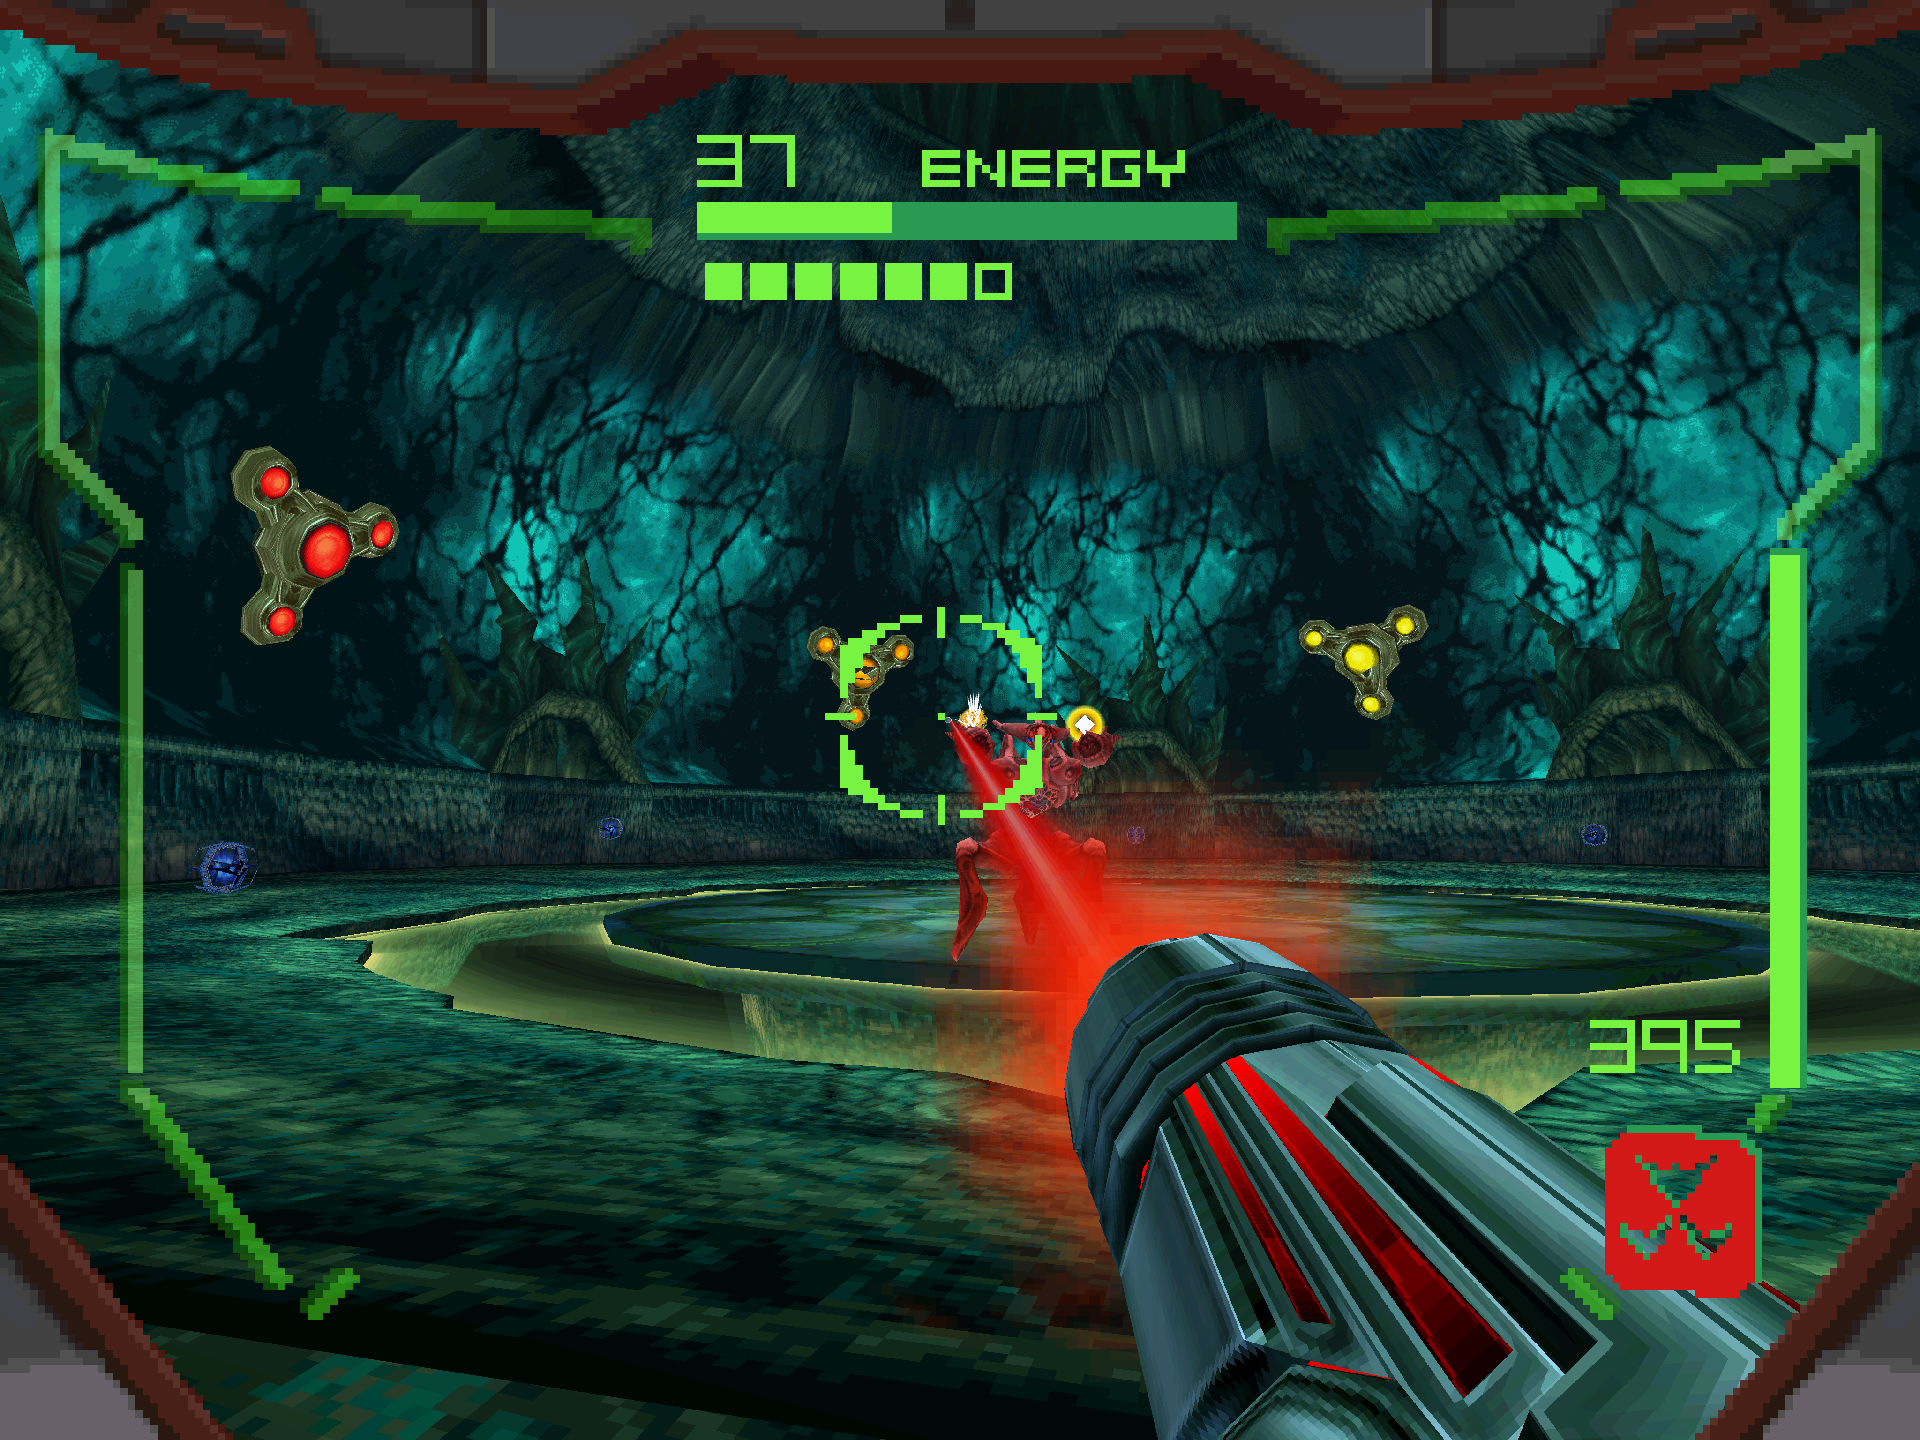
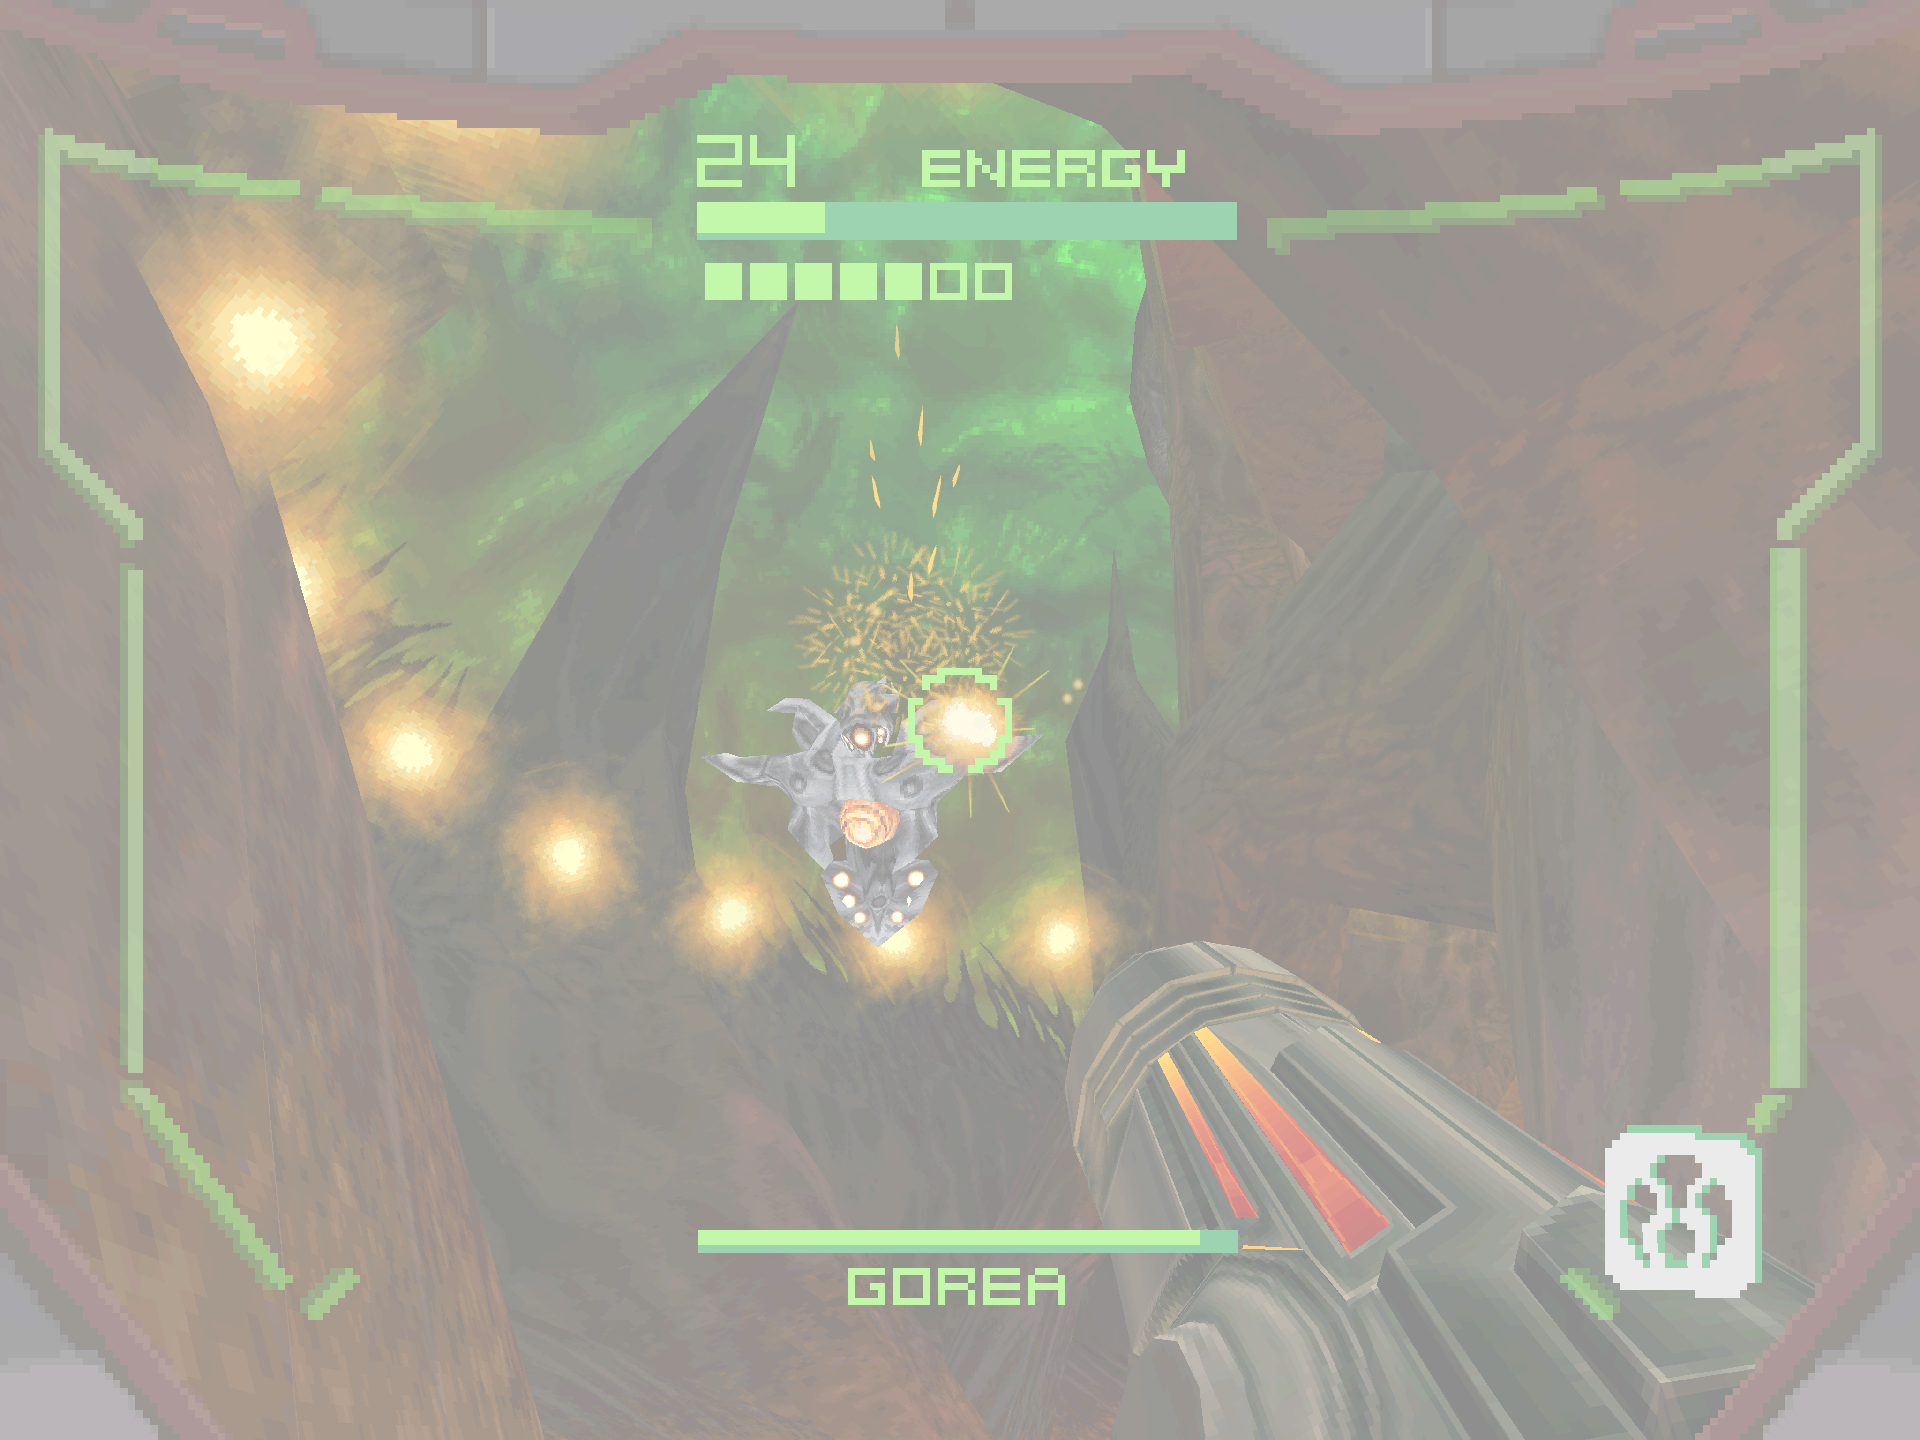
Because Gorea absorbed the rival Hunters in the cutscene, it can use all of their primary abilities against us. As long as you’re not standing still, most of the projectiles won’t pose much of a threat with exception to the Shock Coil which can reach you from the other side of the map (why can’t ours do that? Lame). To get Gorea into a damage state, we first need to destroy its arms by taking out the weakpoints on the shoulders. Each time an arm is destroyed, Gorea will drop a Large Energy orb, so be sure to absorb that with the Charge Beam before it vanishes if you’re low on health! On the flipside however, Gorea will regenerate an arm if you’re not quick enough in destroying the second. Because of this, I recommend using a similar strategy to what we did during the Slench 4A fight; take out the majority of an arm’s health, but don’t fully destroy it until you have the adjacent shoulder similarly low. Then take them both out together in succession.
Gorea will be color coded to the weapon its shoulders are vulnerable to at the time, while the music’s melody will change to the corresponding Hunter theme of the weapon it’s attacking with. The Imperialist will take out each of Gorea’s weakpoints in a single shot, so I personally recommend just waiting for it to cycle to its red color for maximum damage! The Shock Coil is also a good option if your aim isn’t up to snuff, but at this point in the game we’ve faced harder aiming challenges than this so I’d still recommend going for the Imperialist if you can. If you’re running low on health and ammo, blast the Trocras on the outskirts of the arena for a chance at pickups. Be careful about the yellow ring encircling the room as it causes damage upon contact!

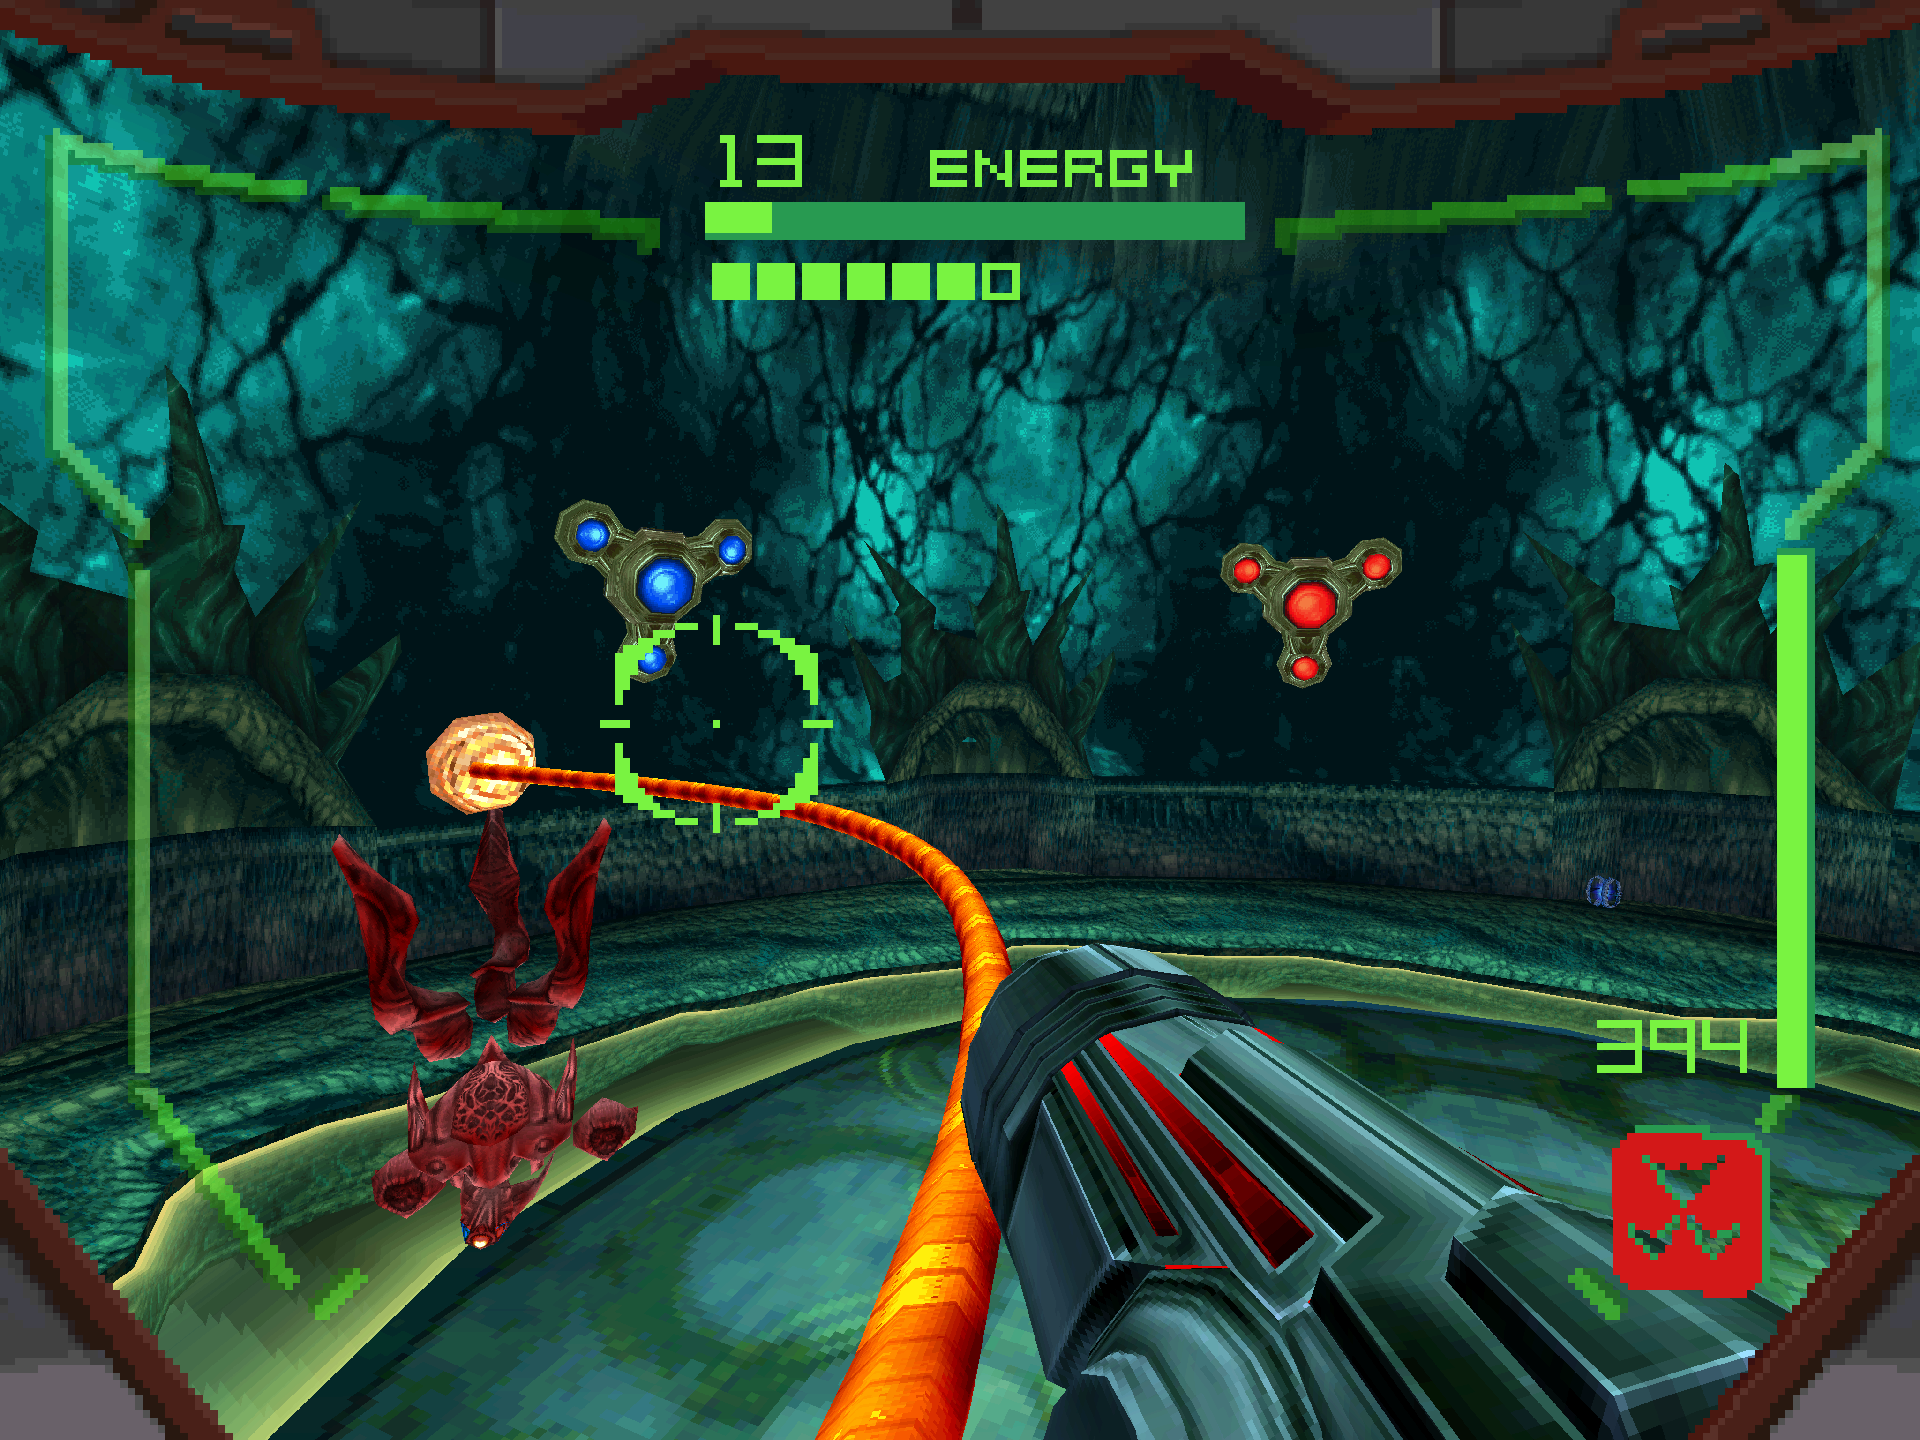
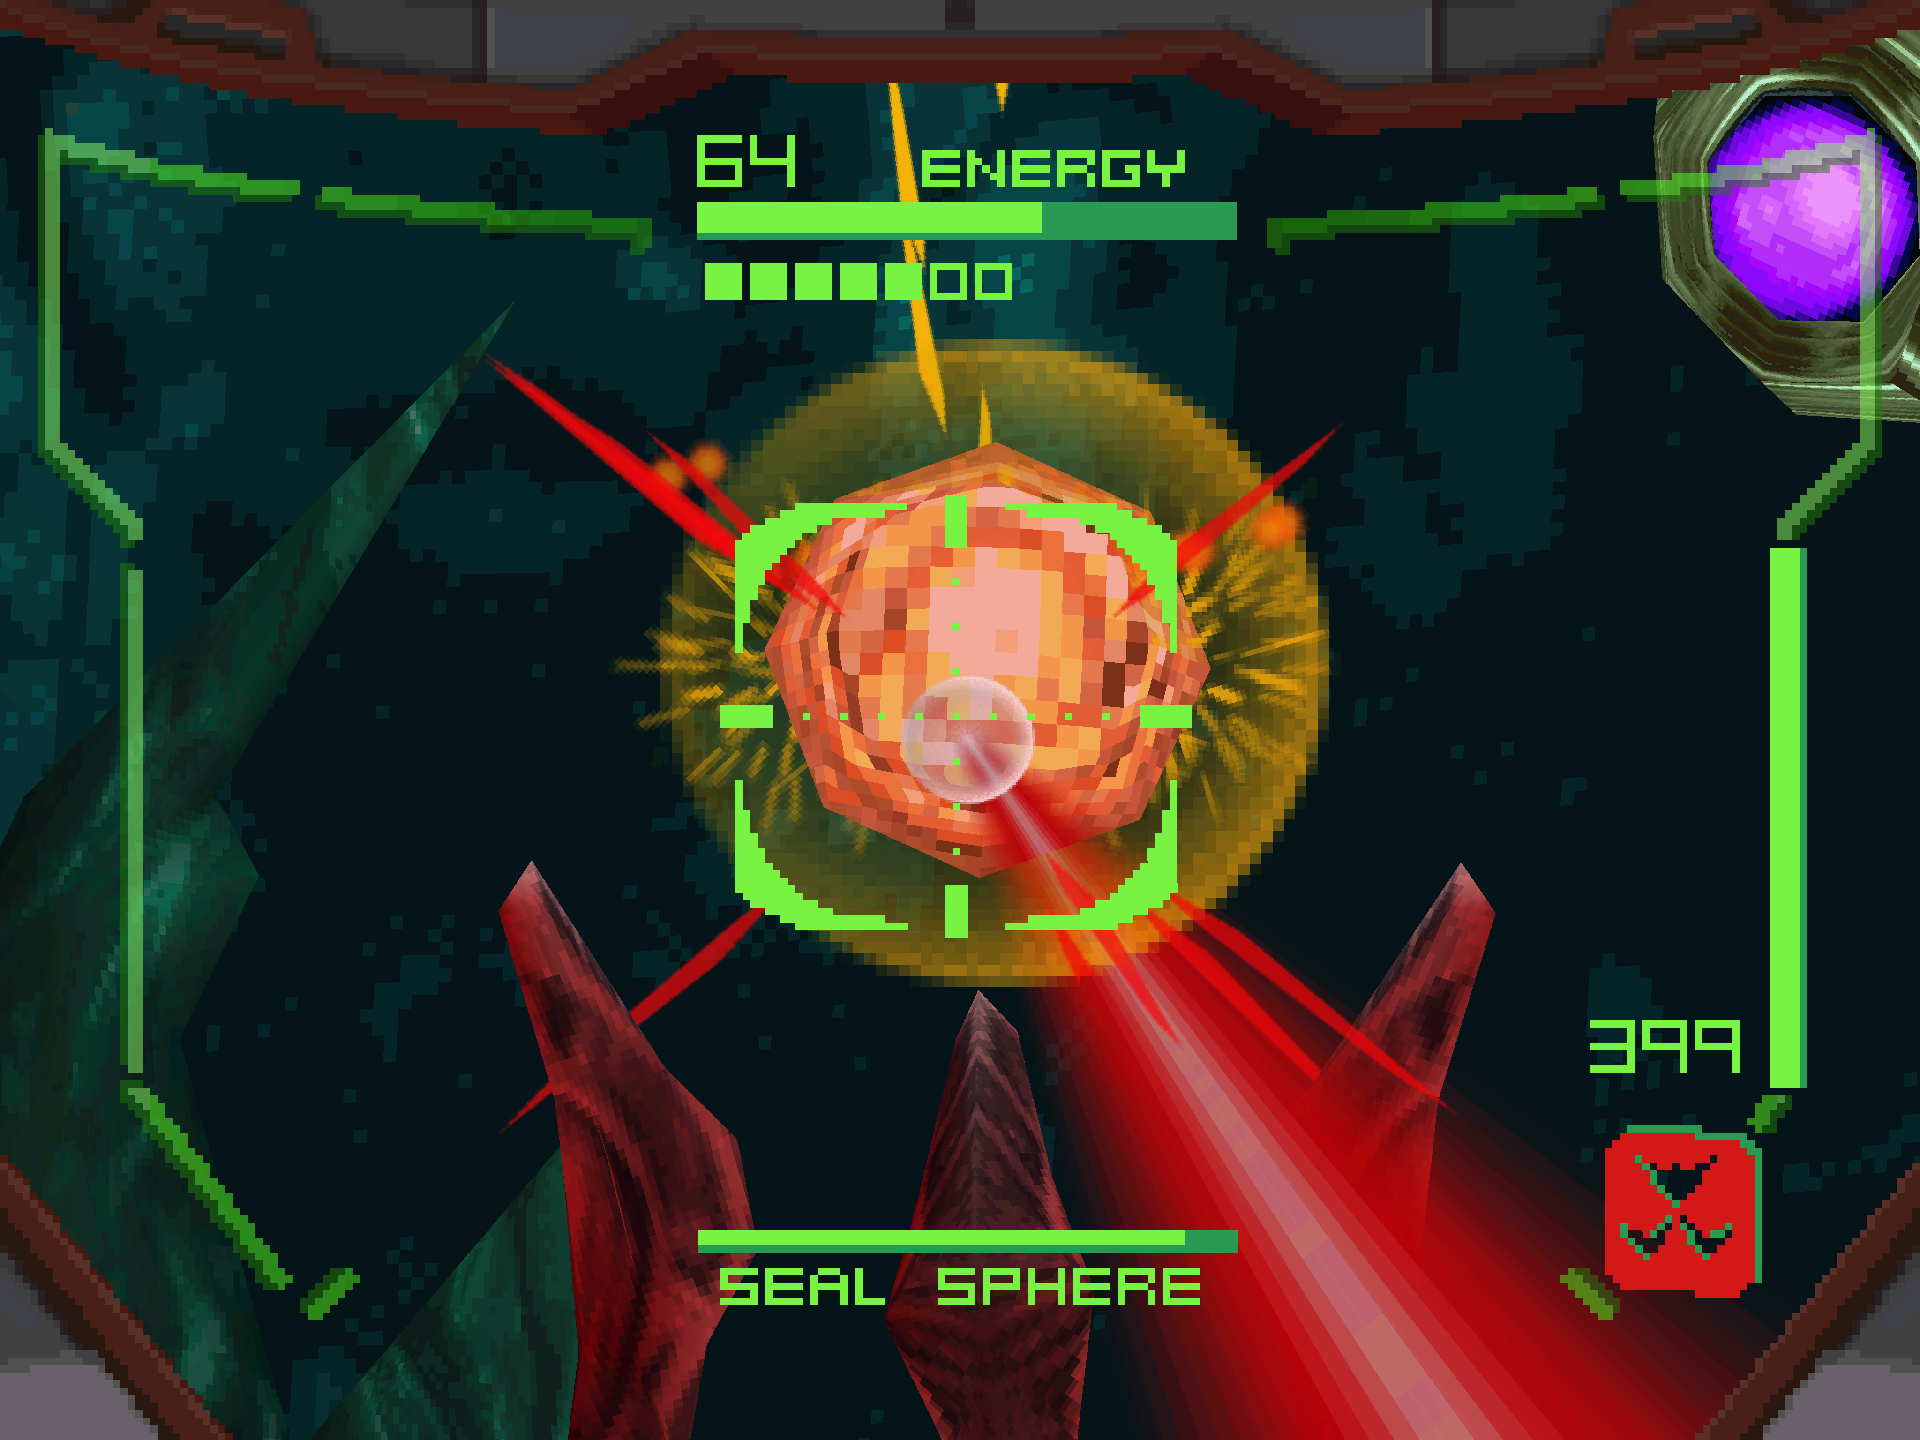
After simultaneously destroying both of Gorea’s arms, it will enter its damage state. Before we begin our counterattack, scan GOREA again in its damage state as well as GOREA SEAL SPHERE. If you get too close to Gorea in this state, it will launch the same tendril at you that it used on the other Hunters. It won’t take any of your abilities, but it will do significant damage as it tosses you around the arena. You’ll probably get attacked by this at least once while you’re trying to get those scans. When this happens, retreat to the edge of the arena and use the Boost Ball to outrun the tendril. After that, it will telepathically grab each of the Trocras and throw them at you one at a time. You can still destroy these for health and ammo even when it’s tossing them at you!
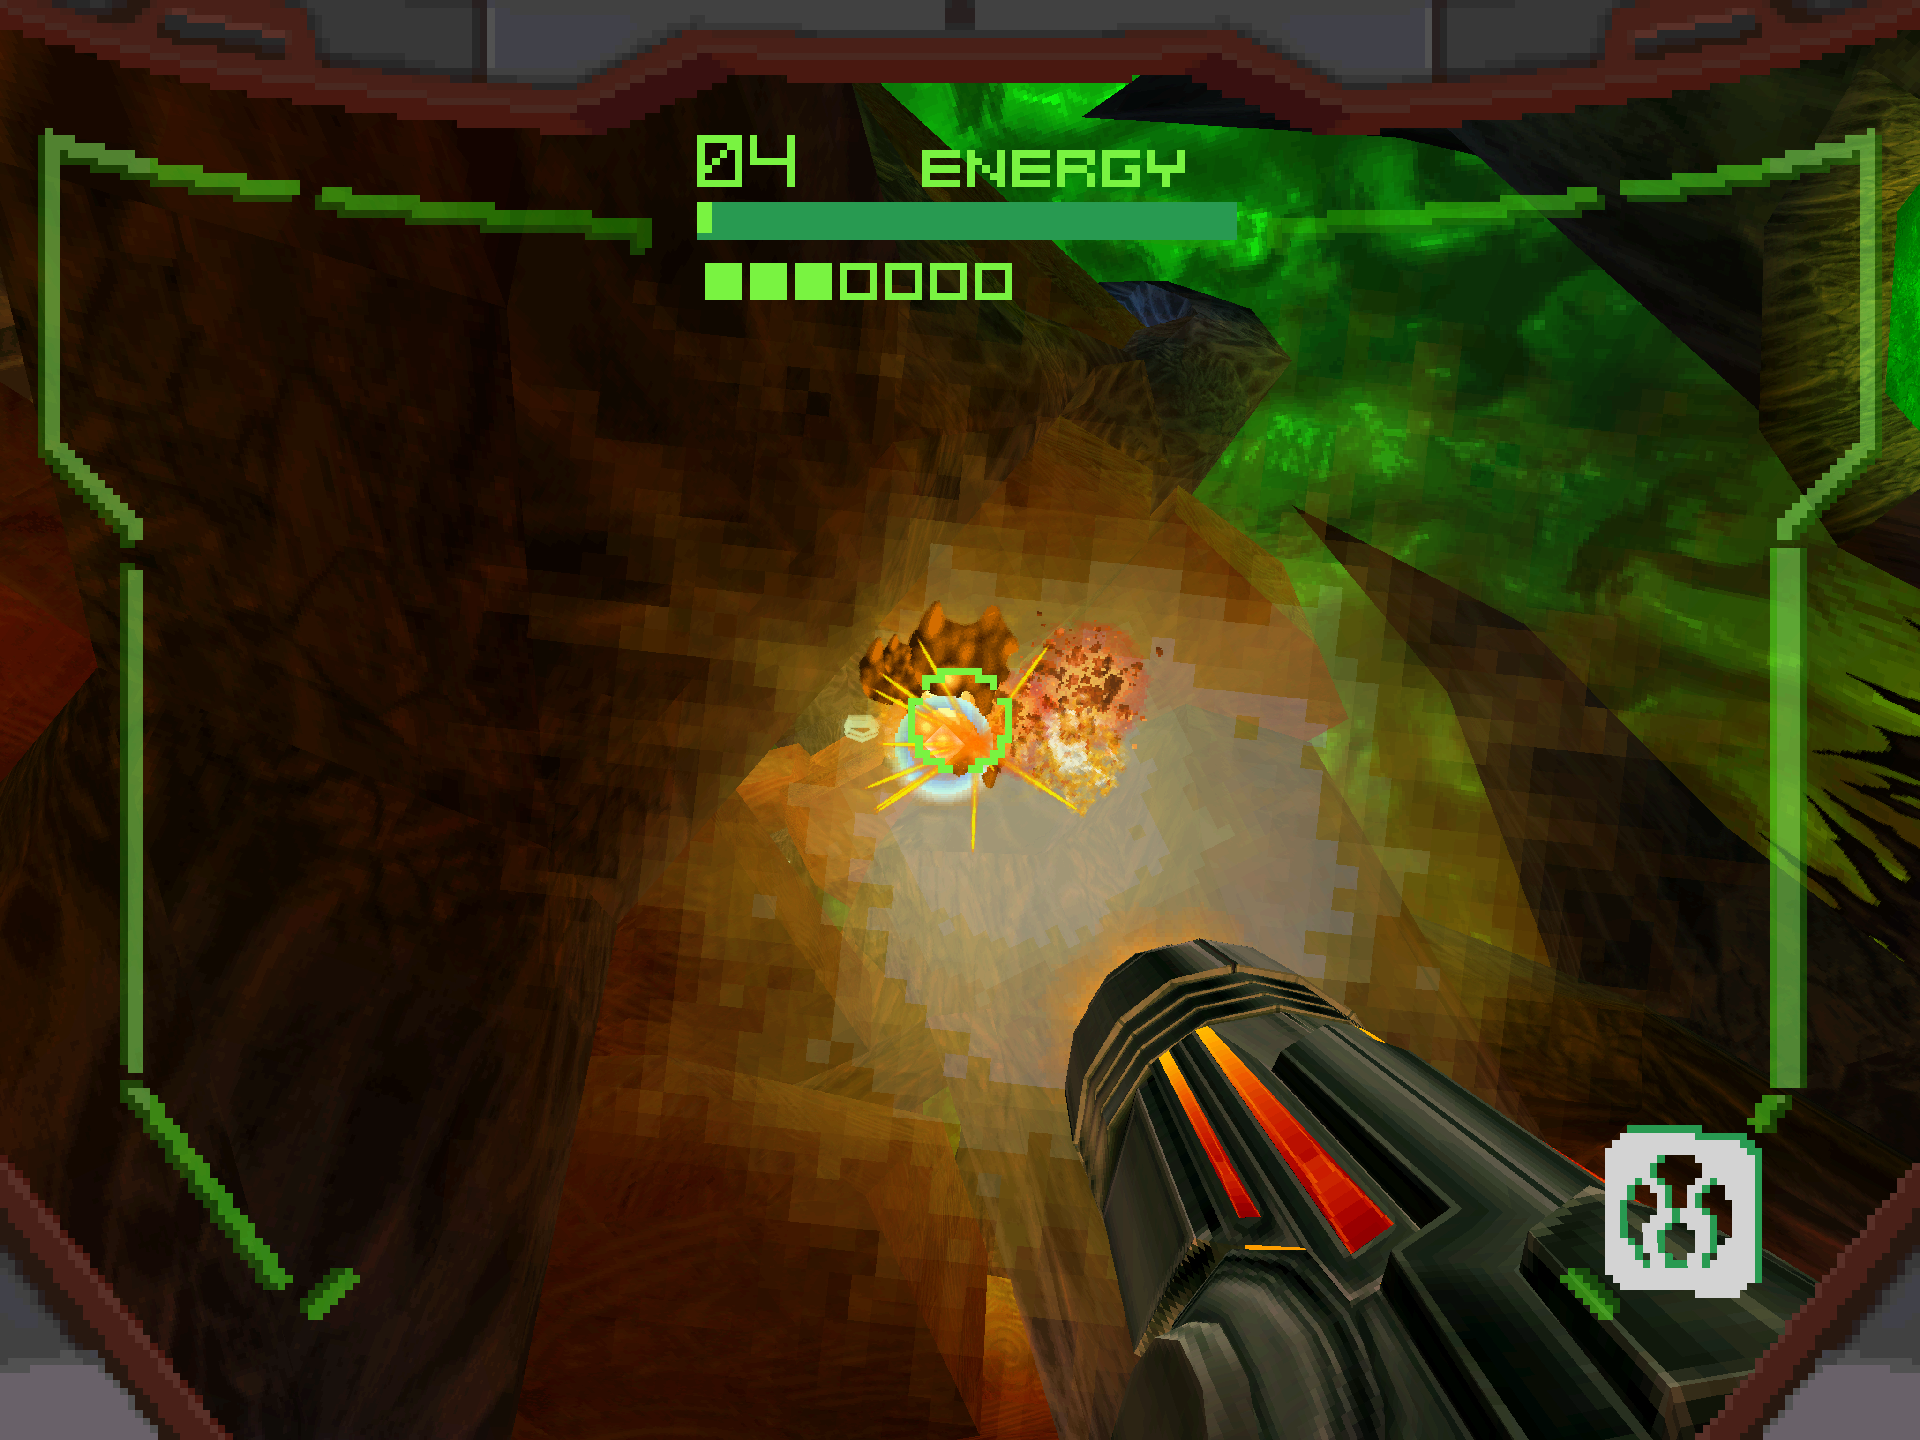
After you’ve gotten your scans, get on the opposite side of the arena from Gorea and fire at the Seal Sphere with the Imperialist. As long as you’re far away, it won’t be able to use any of its attacks on you, and Gorea moves EXTREMELY slow during this state. If Gorea does start to creep too close to you, just enter the Morph Ball, go to the next furthest location away from it and continue spamming it with Imperialist shots. After three phases of this, depending on if you did the combination sequence from earlier, you’ll have either beaten the game and earned the bad ending or you’ll be ready for the secret phase containing the good ending.
Gorea 2
Scans in This Section
Bioforms: Gorea 2
Equipment: Omega Cannon
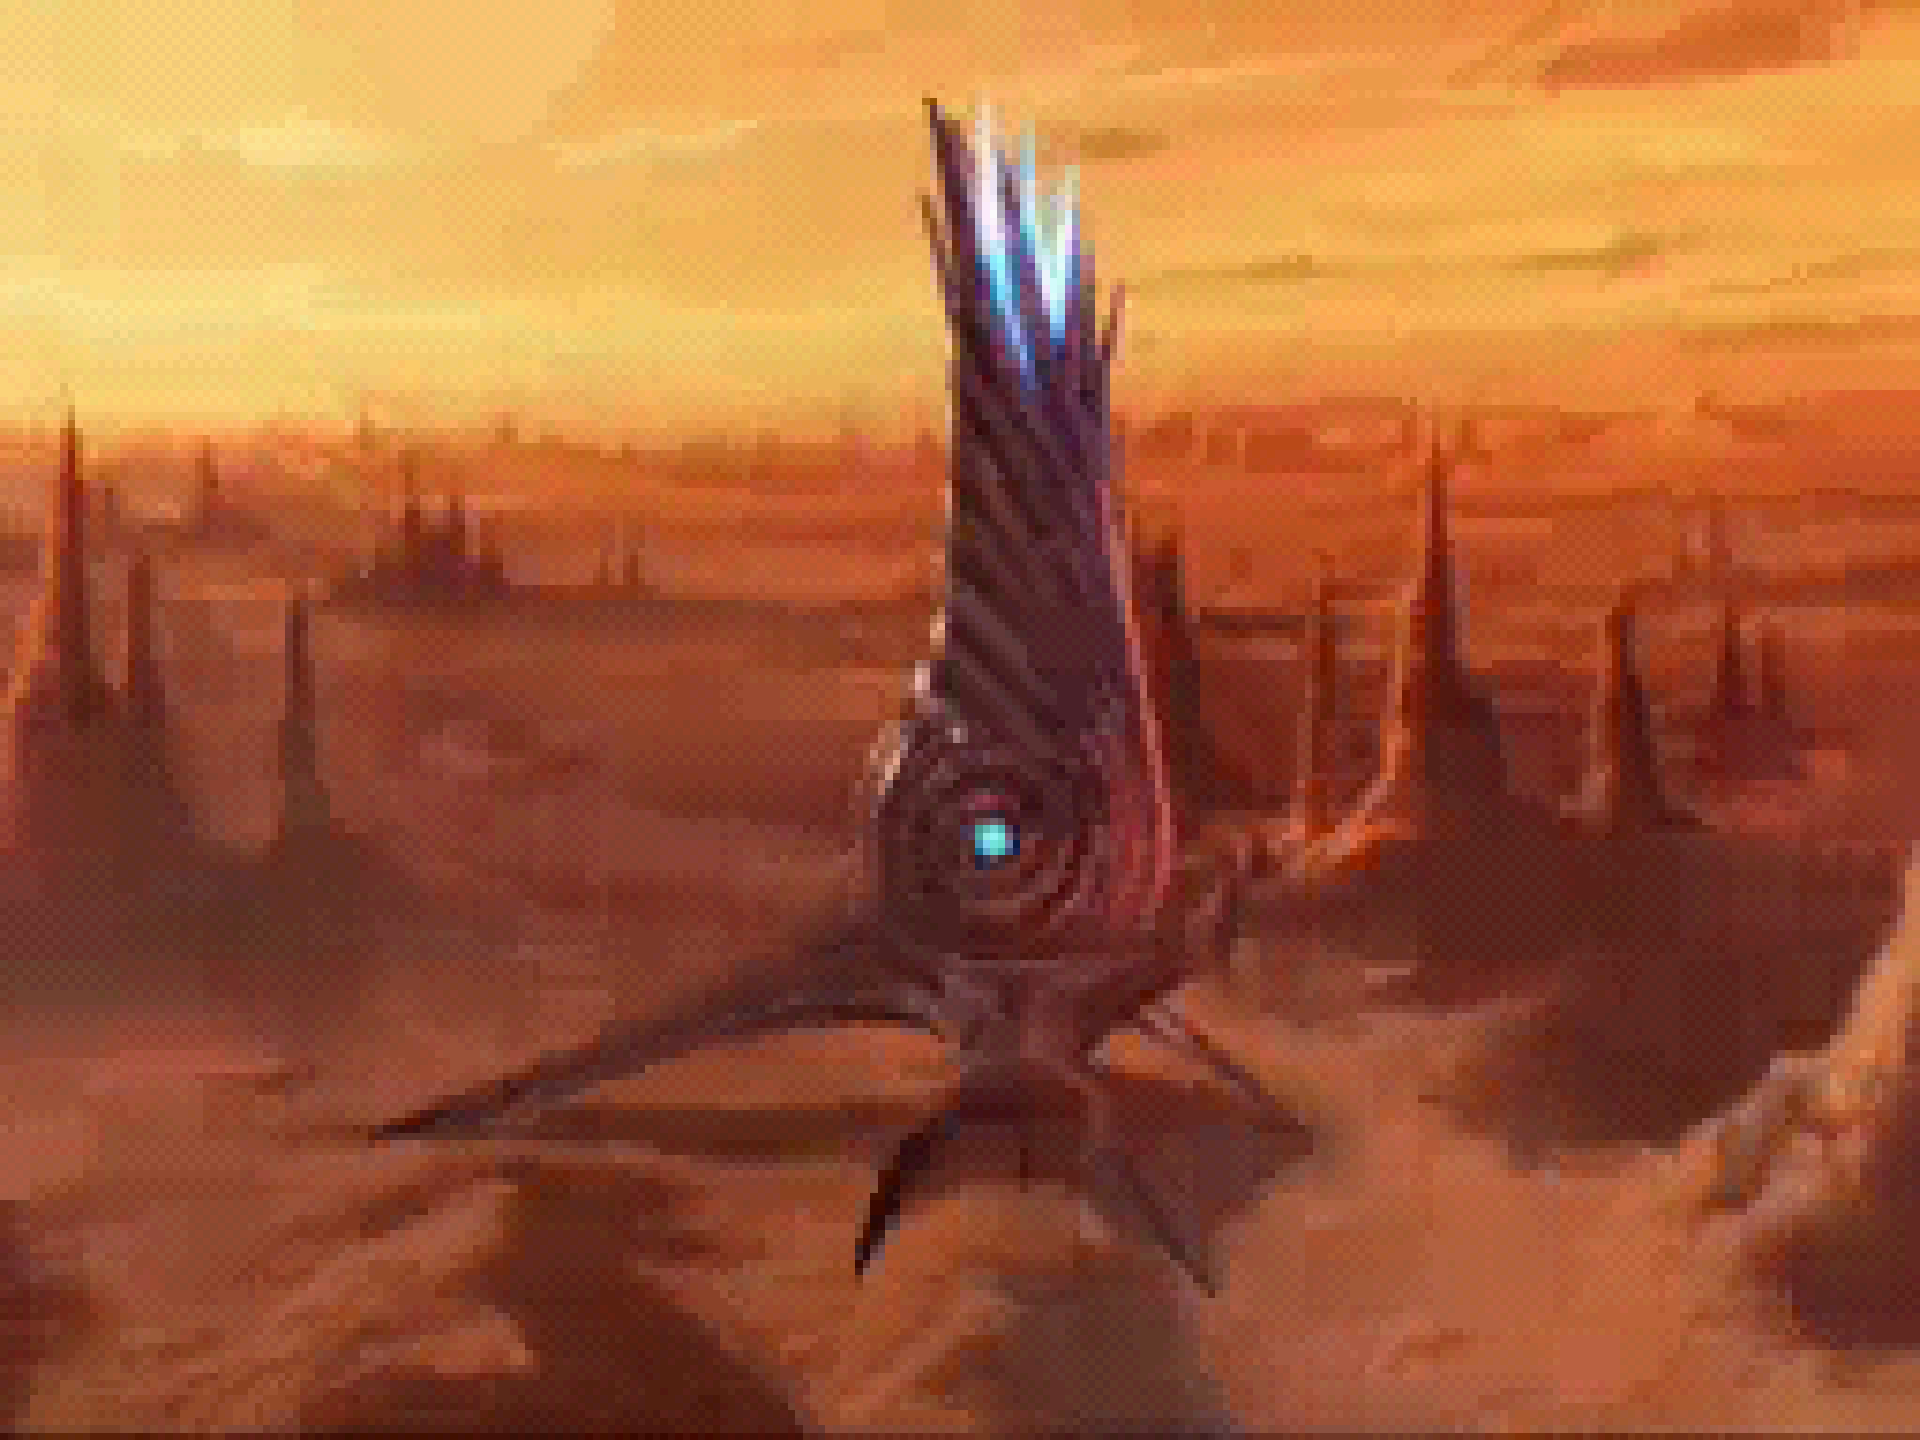
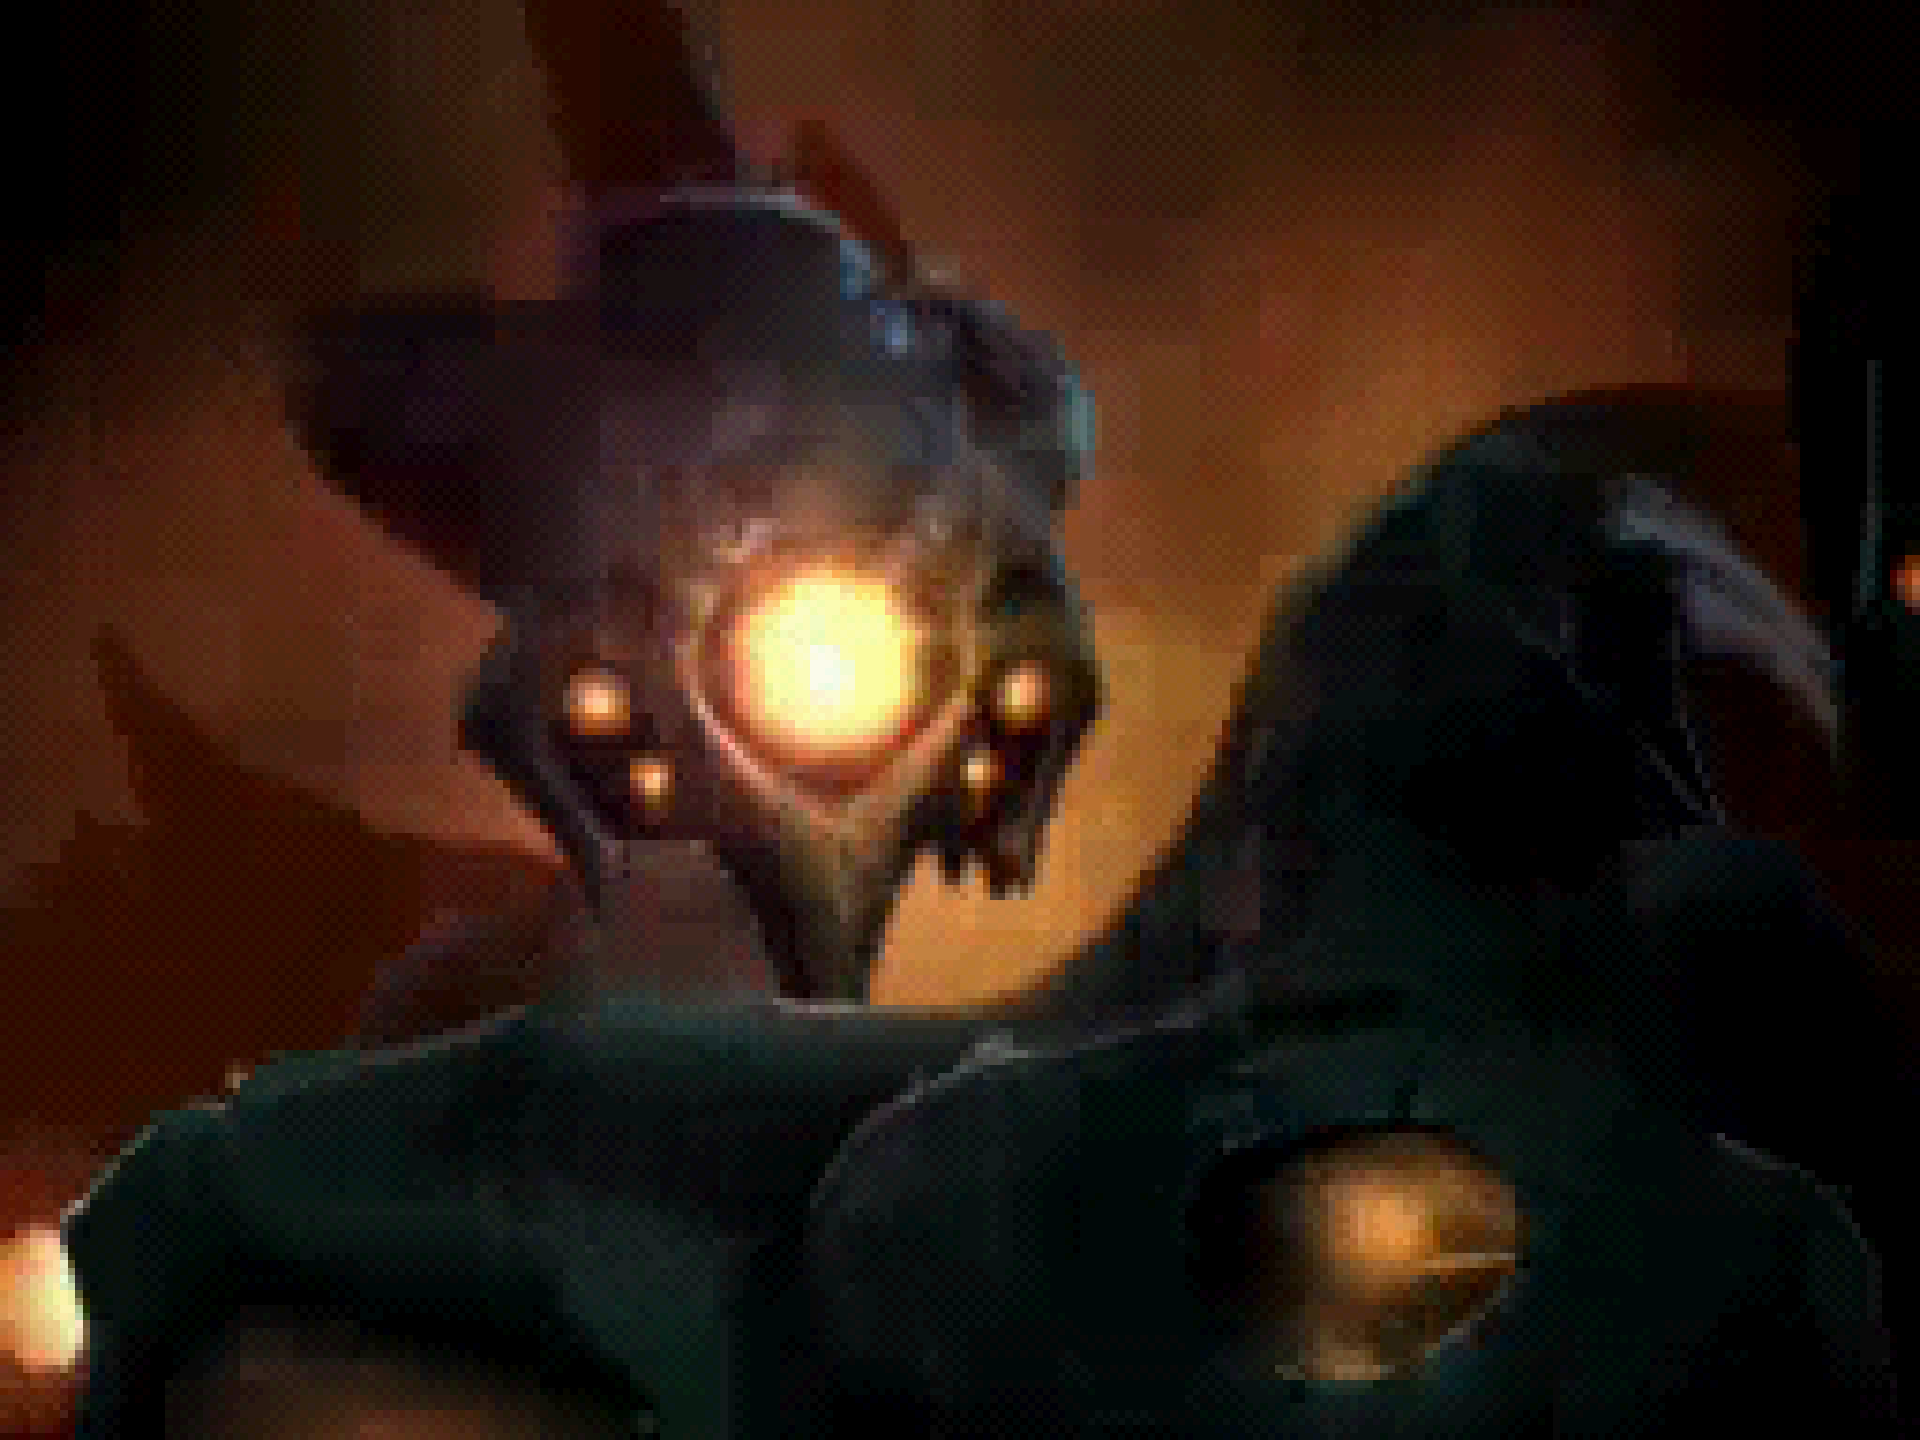
If we got the bad ending, Gorea’s Seal Sphere is destroyed, Oubliette explodes without anyone escaping and the game ends. But if you’re reading this, then you successfully fulfilled the Alimbic Prophecy and the fight isn’t over! The devices we activated absorb the Alimbic essence contained within Gorea’s Seal Sphere before it’s destroyed and fires the collected energy back at it. We get teleported to the same room we saw from the window after collecting our last Energy Tank, where Gorea awaits in its final form.
Scan GOREA 2 as soon as the battle starts. Congratulations, you have all of the logbook scans! However, we’re still missing one piece of equipment for 100% completion. Gorea’s only attack at this time is to launch a powerful laser from its Seal Sphere. This laser does about half an Energy Tank of damage each time it comes into contact with you, so we want to avoid this at all costs! Gorea is completely impervious to our current loadout, so we’ll need to find an alternate method of destroying it.
Luckily we have just the thing! Go into Morph Ball and drop down to the very bottom of the arena to avoid fall damage. In the center of the arena, contained within an Artifact Shield that will automatically lower upon approach, is the OMEGA CANNON; the ULTIMATE POWER. This slow-moving weapon of mass destruction was deemed an “abomination” by the Alimbic Elders due to the casualties and collateral damage it could inflict on anyone desperate enough to use it. It too was banished to Oubliette along with Gorea.
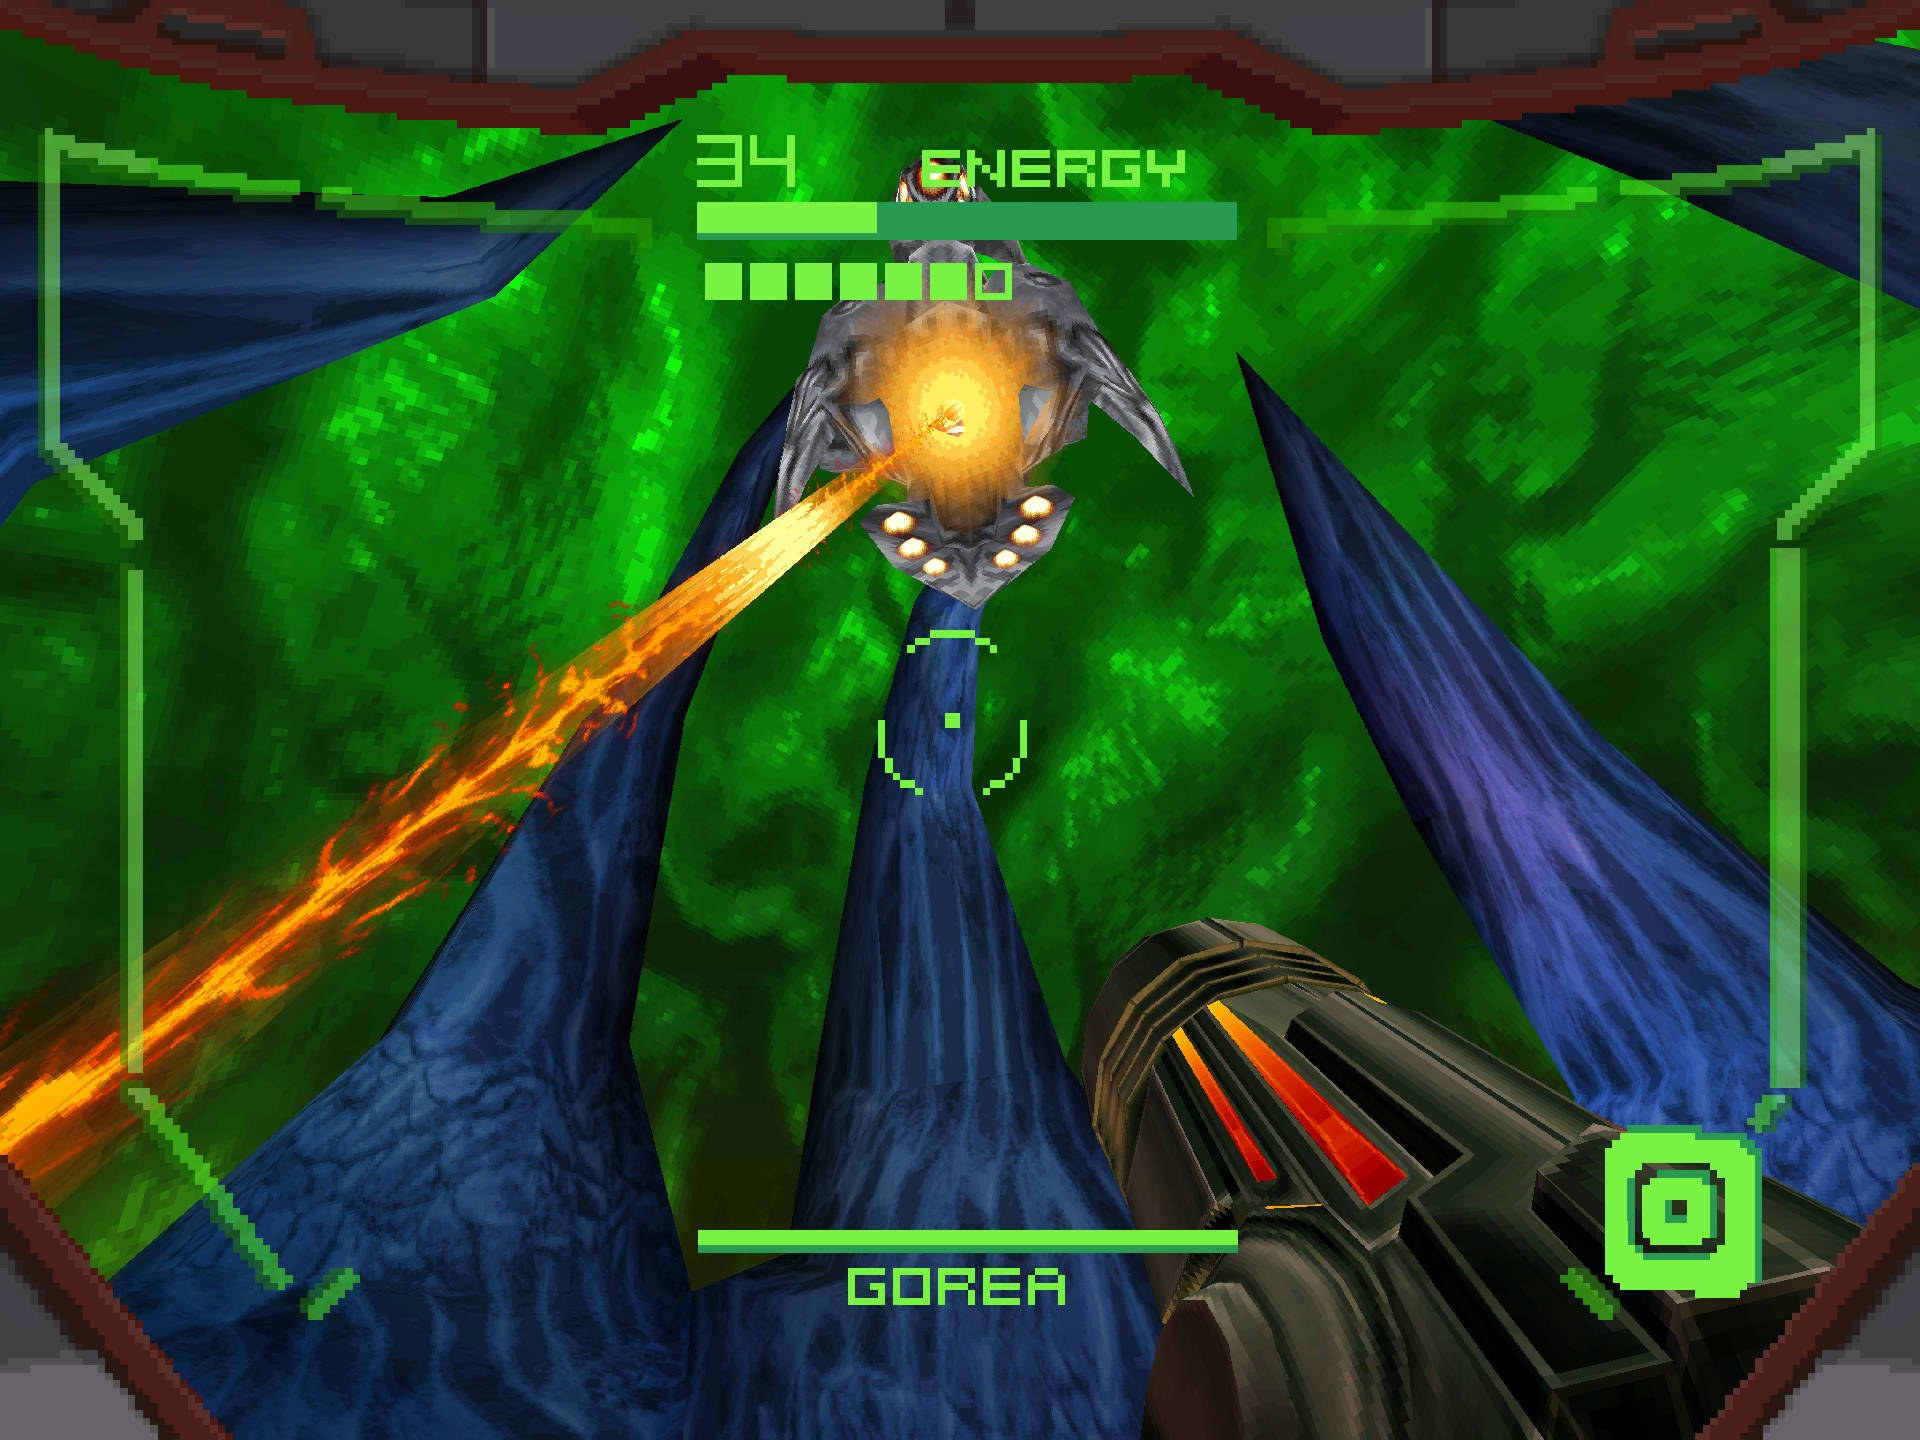
This weapon however emits enormous amounts of gamma radiation, contains infinite ammo, and has the explosive power to defeat Gorea once and for all! Be careful as the splash damage from certain angles can damage you too as well! For the rest of the fight, you wanna keep spamming the Omega Cannon while dodging Gorea’s laser. If you’re running low on health, use the jump pads to move around and collect the Large Energy orbs around the arena.
After enough damage has been dealt, Gorea will teleport to the top of the arena again and fire molten rock projectiles at you that can phase through the landscape. The Omega Cannon will make short work of these and even drop Medium Energy orbs on occasion, so safely dispose of those as you climb back to the top. As you do more damage, Gorea will continue to teleport and hurl more rocks at you, but after enough damage has been dealt… the threat of Gorea will be no more!
Mission Complete!
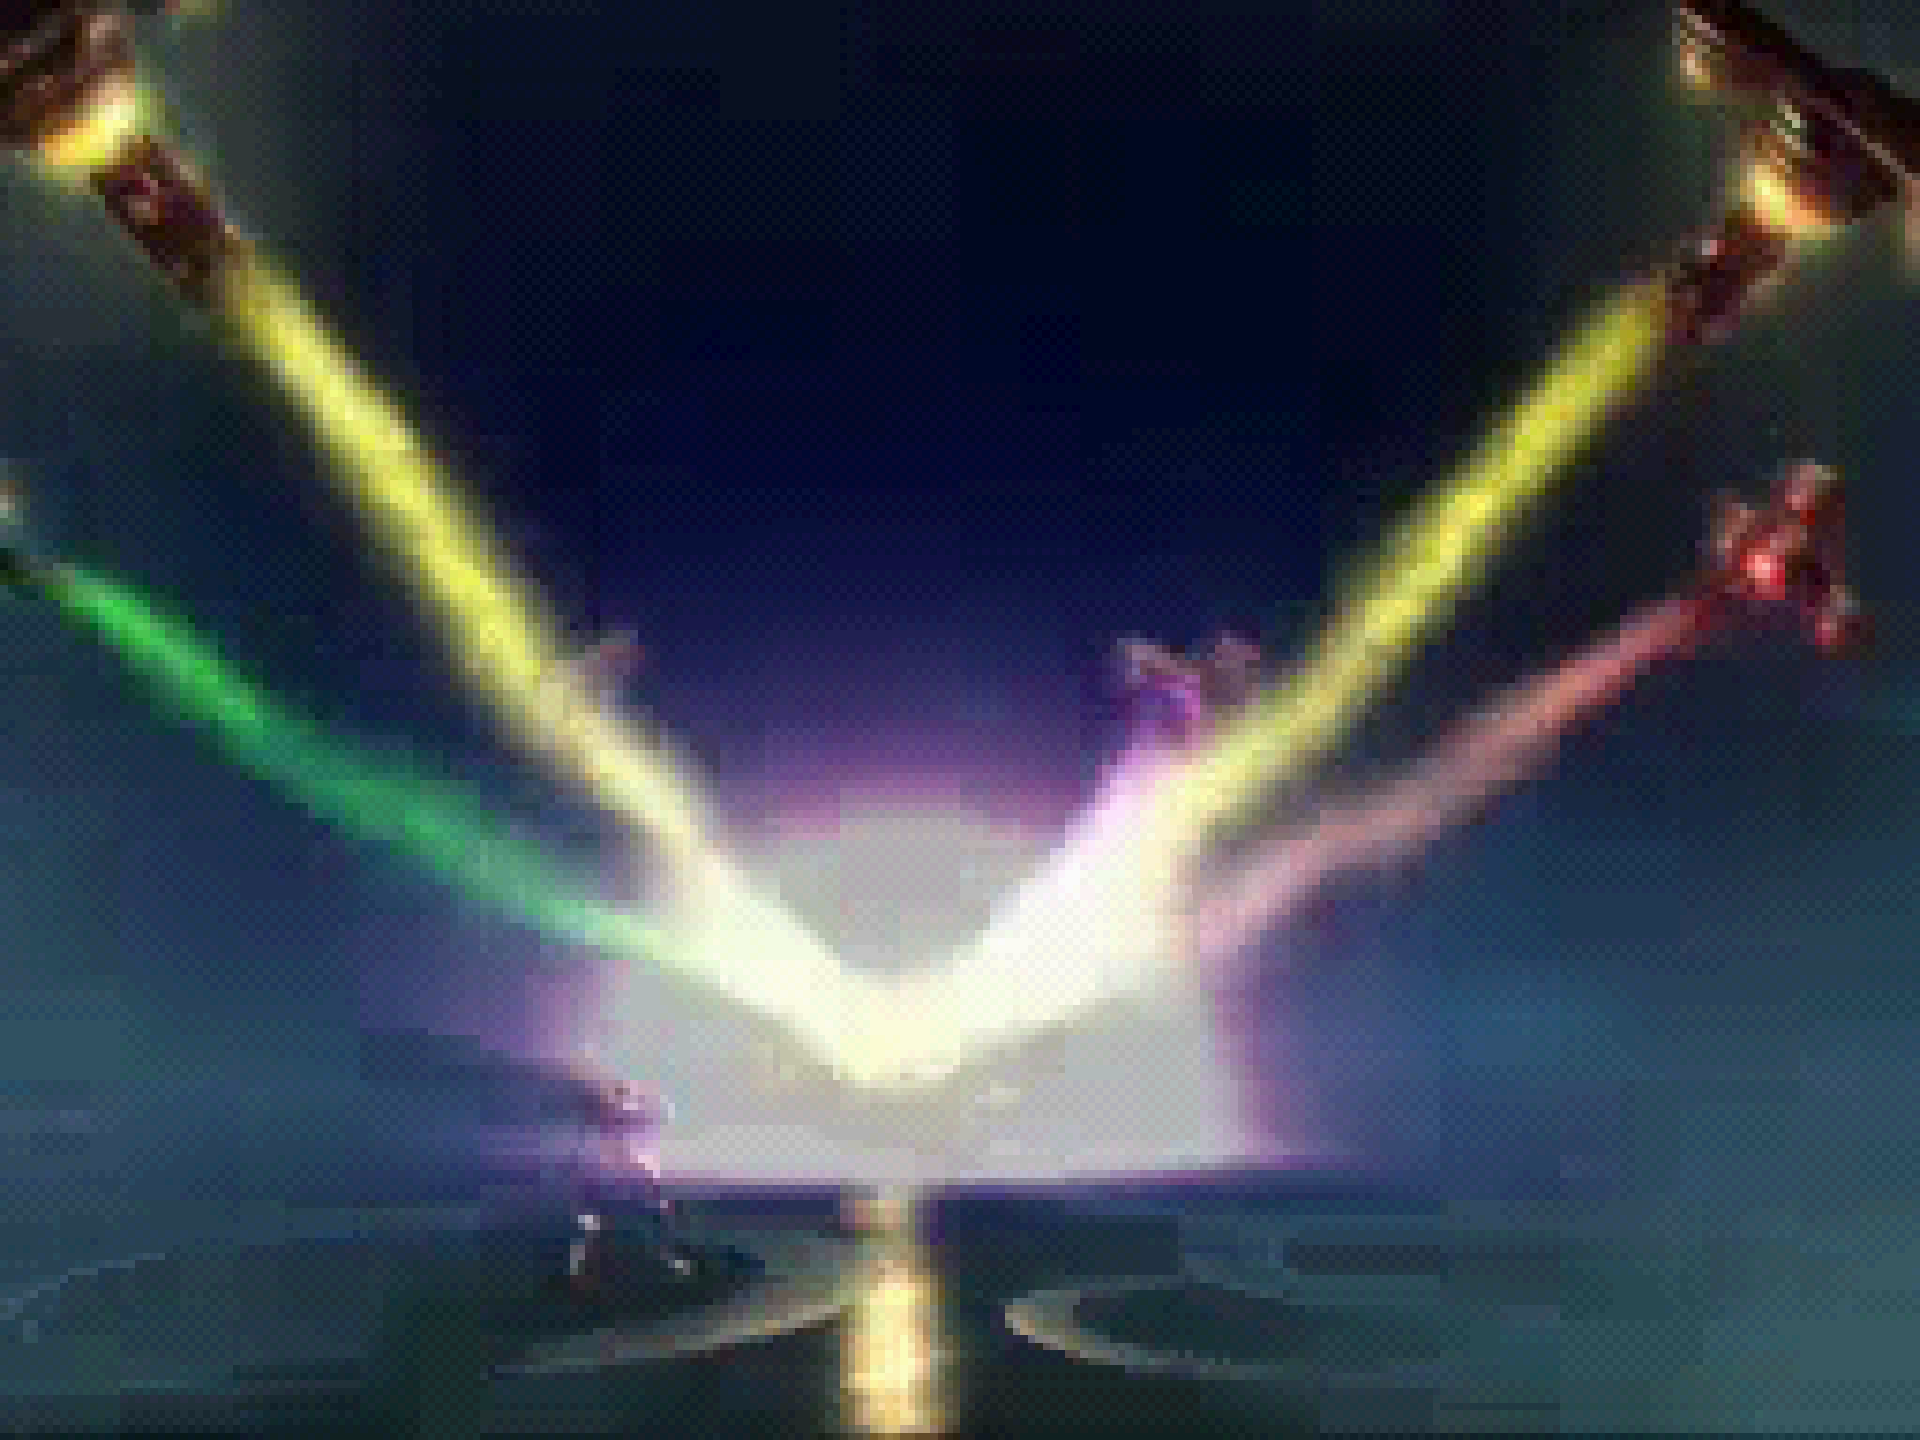
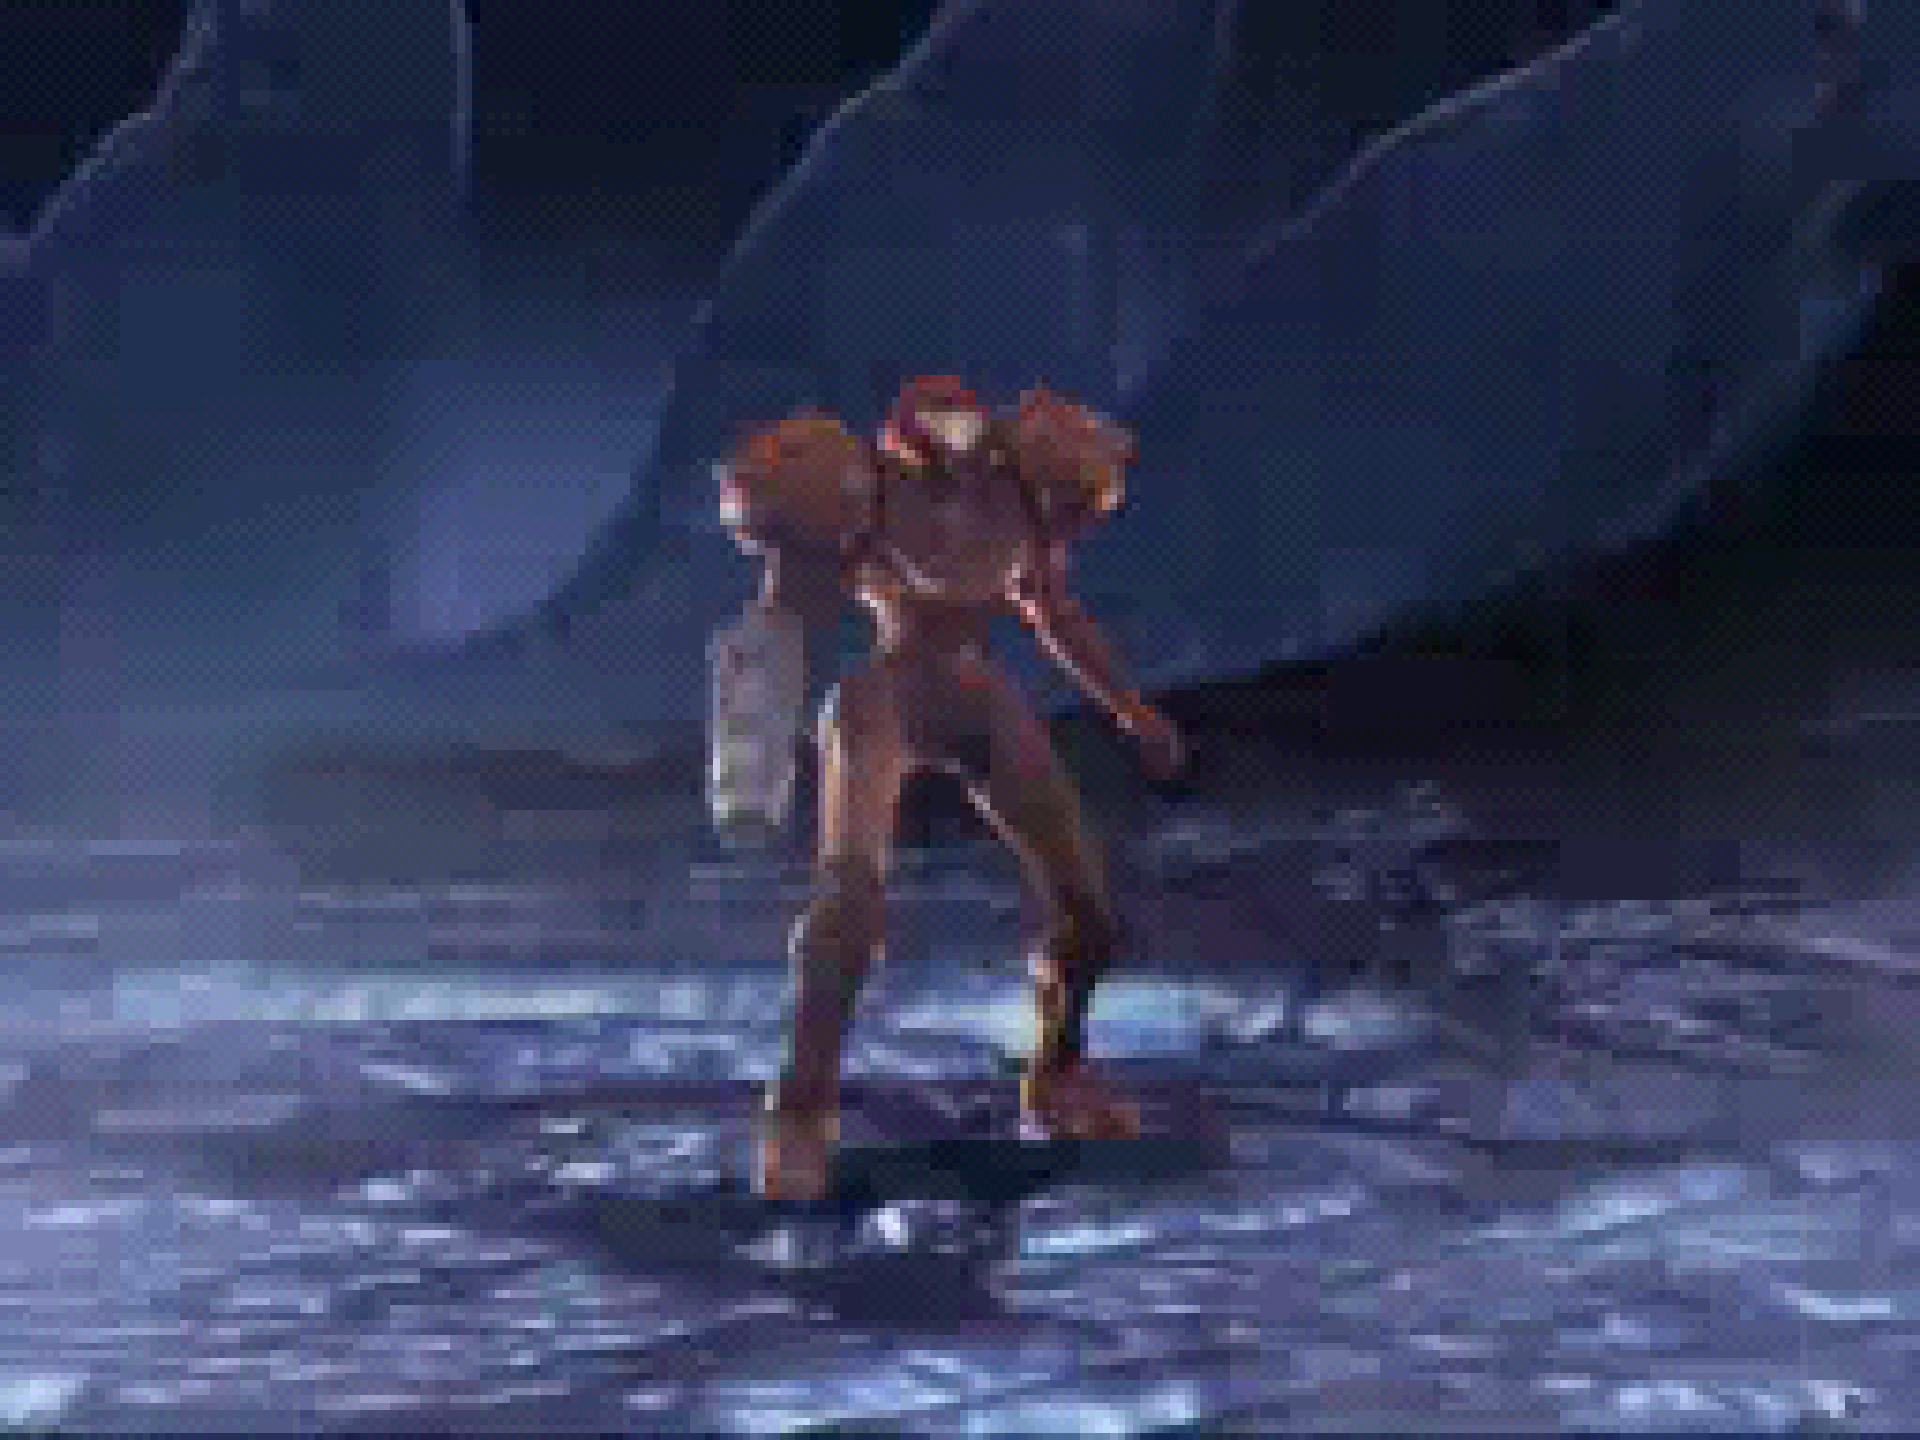
With the power of the Omega Cannon too much for it to handle, Gorea is reduced to atoms. Like before however, the destruction of the Seal Sphere causes a chain reaction within Oubliette. Samus, along with the other Hunters, all escape Oubliette in the nick of time. Back at the gunship, Samus receives a final telepathic vision from the Alimbic spirits once contained within the Seal Sphere, thanking her for ending Gorea once and for all. With the threat eliminated and the ultimate power secure, Samus flies off to collect her bounty as she awaits her next mission.

Acknowledgements
Hey everyone, it’s Doominal Crossing back at you with another singleplayer walkthrough! As I always like to do when wrapping up these guides, first and foremost I want to thank YOU, the reader! Whether you’re a first time player that had trouble getting 100% completion, or you just wanted to follow along and enjoy the game from a unique perspective, you guys are the reason we put these out in the first place. I hope you enjoyed this guide through the Alimbic Cluster to celebrate the twentieth anniversary of Metroid Prime Hunters!
Next, I want to thank the staff at Nintendo, Nintendo Software Technology and Retro Studios who contributed to the title being celebrated in this guide. These projects are a labor of love and our way of giving back to the development teams that put in so much hard work into the games we continue to enjoy. If anyone who contributed happens to stumble upon this, I hope you come away knowing how much your artistry means to the Metroid community!
Finally, I want to thank my fellow Omega Metroid staff, especially Andy Spiteri who developed the initial skeleton of the singleplayer guide before I wrote the walkthrough, as well as Pete “SPIRE_FAN” Grigsby who was essential to shaping the multiplayer guide up to what it ultimately became.

See you next mission!