


Super Metroid Walkthrough – A Derelict Ship

Walkthrough
- Ceres Research Station
- Welcome to Zebes
- Overgrown With Vegetation
- Fires of Norfair
- Heavy Artillery
- A Derelict Ship
- Dark Waters
- The Hunt for Ridley
- The Final Battle
Getting to the Ship
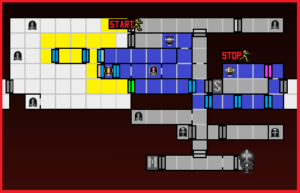
Back up in Crateria again! And with a Grapple Beam too! I’m feeling ready to rock and explore the planet even more! First things first – we’re so close to Samus’s ship that we may as well stop by to save and recharge. There won’t be a Save Station for the next little bit, and we’ve got a fight coming up soon enough, so best to get your affairs in order.
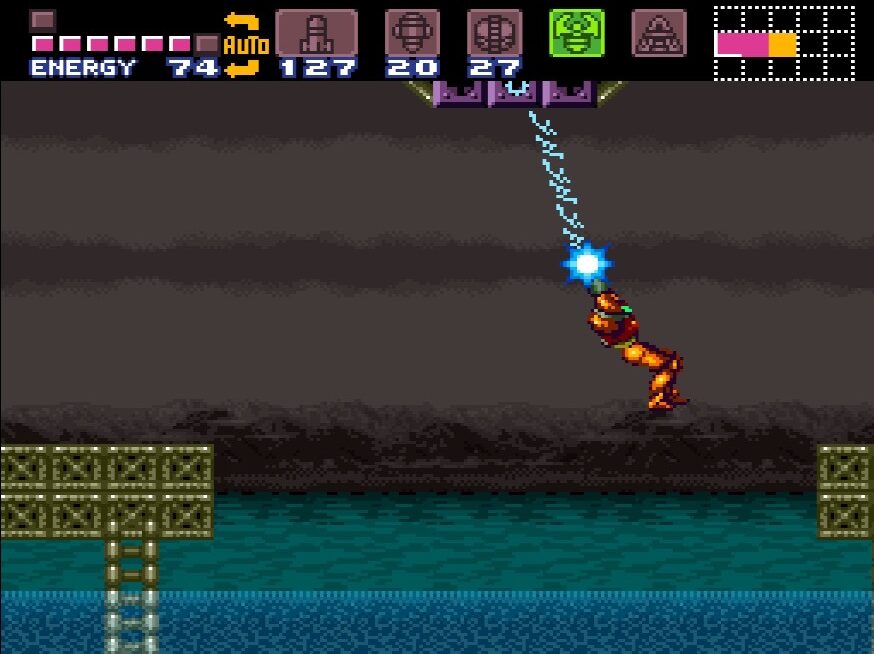
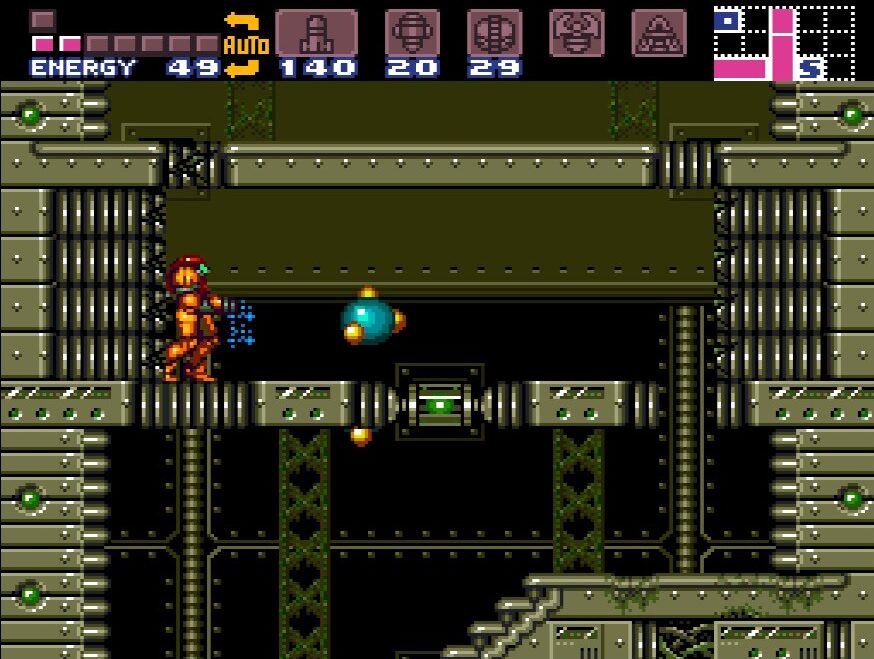
Once that’s done, continue right, pressing forward through the yellow blast door until you get to a room full of water with but a singular line sticking up at the center. Now that we have our Grapple Beam though, this is no match for us! Not only that, but you can swing by and snag MISSILE EXPANSION #26, which might be the easiest pickup in the game yet!
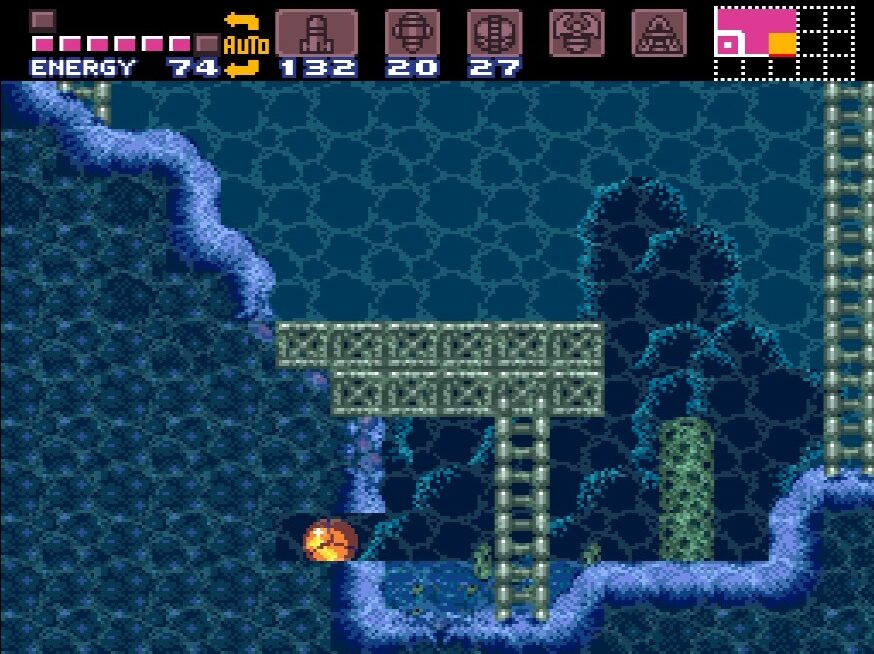
Continue right and you’ll see yourself in a giant open space full of water and what looks like scaffolding. Let’s call this area the Crash Site (important to give it a name since we’ll be referencing this open area quite a bit).
We can actually grab a quick expansion right away here. Roll down into the water and head to the left most wall underwater. Give it a shot and you’ll see a small passageway. Jump up and roll through to grab MISSILE EXPANSION #27.
Get out of the water and back up on land. Make your way across the scaffolding, using your Grapple Beam to latch onto bricks and enemies to get you across. Needless to say, try not to fall since in our current state, wading through the water is a plodding nightmare. Once you’ve cleared the area, blast that green door open and enter the Wrecked Ship.
Creepy… no signs of life anywhere. Power’s out too. Something obviously bad happened here, but we never really do find out what (at least until Metroid: Zero Mission). Don’t stand around too wide eyed however – there are ghosts that will appear out of thin air and try and steal your soul/damage you.
As it is right now, pretty much every door is locked and useless to us until we can return power to the ship. Your first instinct will be to explore, but let’s focus on opening things back up for now.

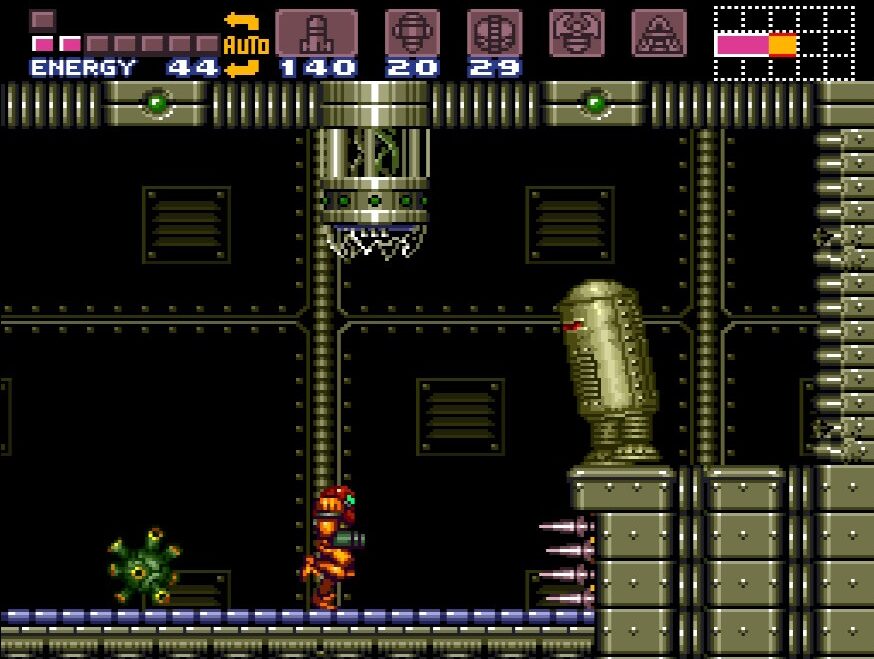
Drop down two map tiles and lay a bomb at the far lefthand side wall at the bottom, on the smaller platform with the sloped stairs. I know I said we were going to wait until we had power to explore, but this room is actually less dangerous to us with the ship dormant than awake.
You’ll see a bunch of spiky looking platforms that normally would be moving up and down, trying to crush our bones, but are now nice and docile. Head over to the far lefthand side of this room and grab MISSILE EXPANSION #28.
Head back out and continue down towards the bottom of the Ship. When it looks like you can’t go down any further, shoot the floors and roll through. You’ll keep going down until you run into a green blast door. Open it and drop down.
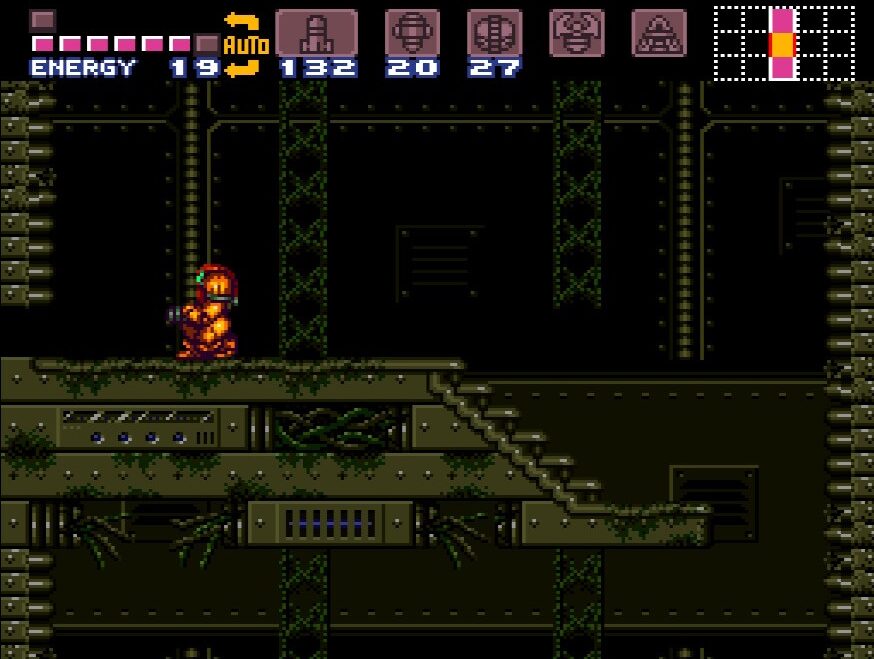
It’s a good idea at this point to make sure that you have enough health and Missiles because we got a boss battle coming up and it will be the toughest one we’ve come across yet by far. Once you’re prepared, roll over to the right, bomb the wall, roll over some more, take out the Guard Door, and step inside to face Phantoon…
Crateria Route:
BOSS BATTLE: PHANTOON
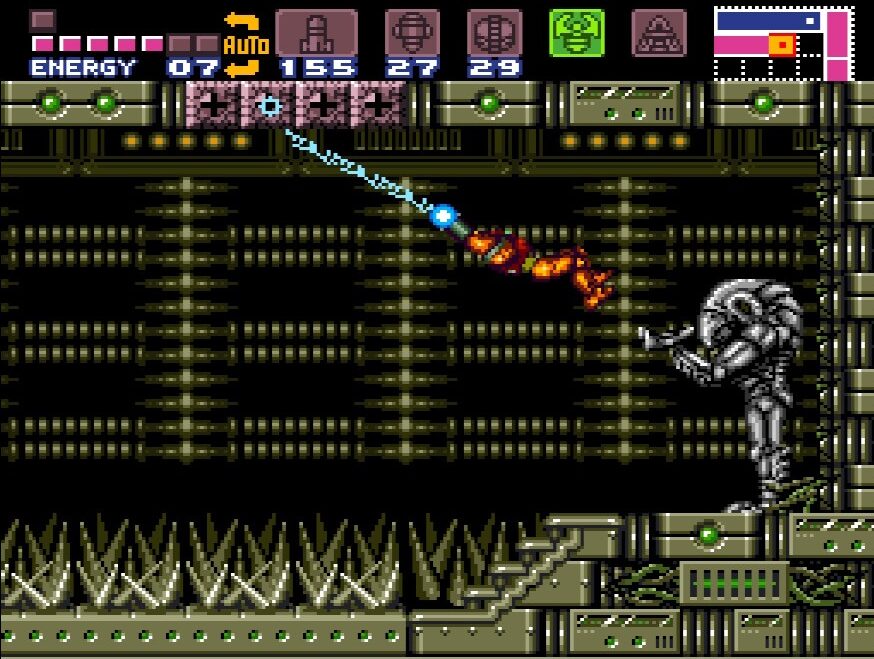
Buckle up. Most of the bosses so far have been pretty manageable. Dare I say “easy”. Not this guy. If you’ve followed the guide and got all of the optional Energy Tanks I’ve recommended, you’ll probably have enough health to bully your way through this, but this will still be a tough fight.
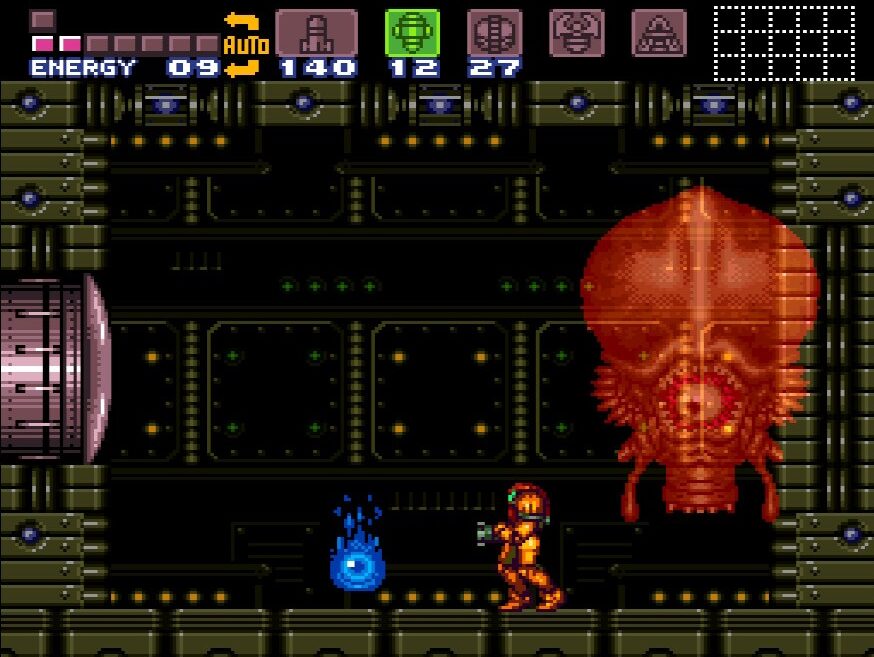
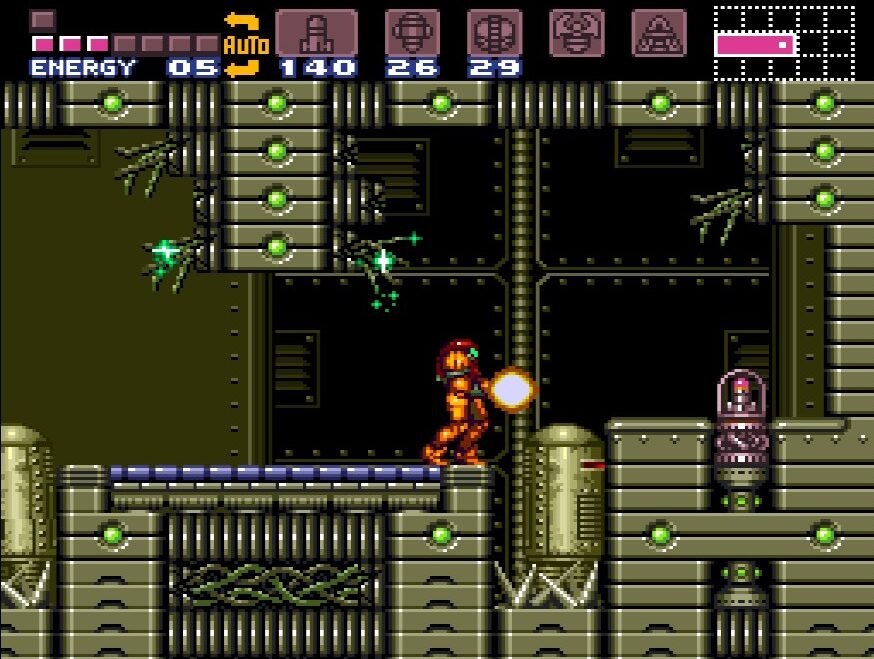
So. Phantoon. This guy is a giant squid looking ghost who spends most of the battle phased out of physical space, meaning your Missiles are going to go straight through it. Phantoon will only phase into physical form for a brief moment at certain parts, giving you a small window of opportunity to blast it with Missiles.
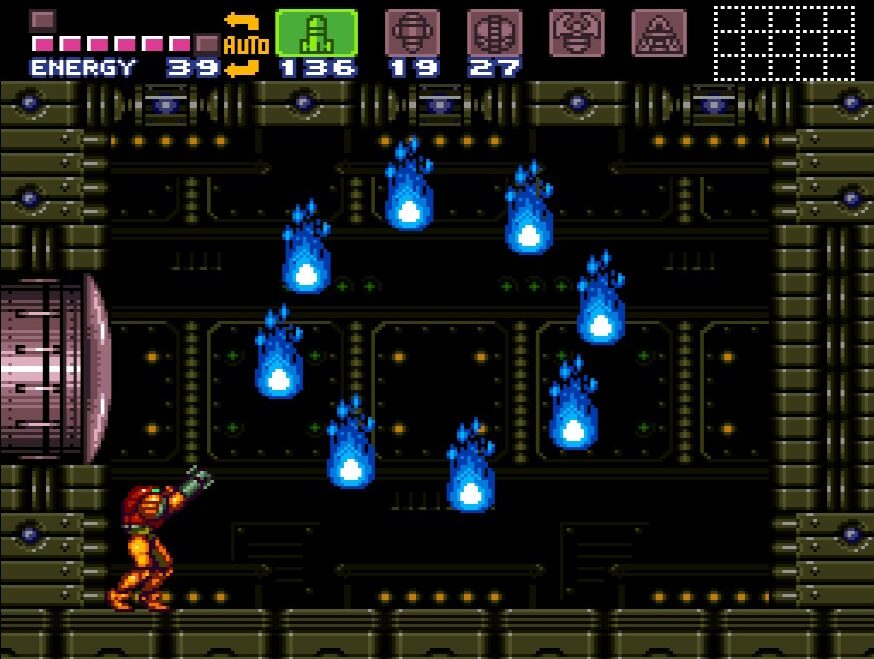
Making matters worse, the Ghost will constantly be throwing blue flames at you, which can do a decent bit of damage if they connect. You can shoot the flames to give you health and ammo, however, the flames (much like Phantoon itself) take a second to materialize in physical form, so they’ll need to settle for a second before you can shoot them. Unfortunately, they’ll damage you whether they’re physical or not.
Phantoon will drop flames on you at random, flinging three or so in quick succession. Use your beams to quickly get rid of them before more flames arrive and the battlefield gets cluttered. Phantoon may decide to drop a straight line of flames on you as well, so if you see the blue line in the sky, quickly dash over to whatever side is free and take cover.
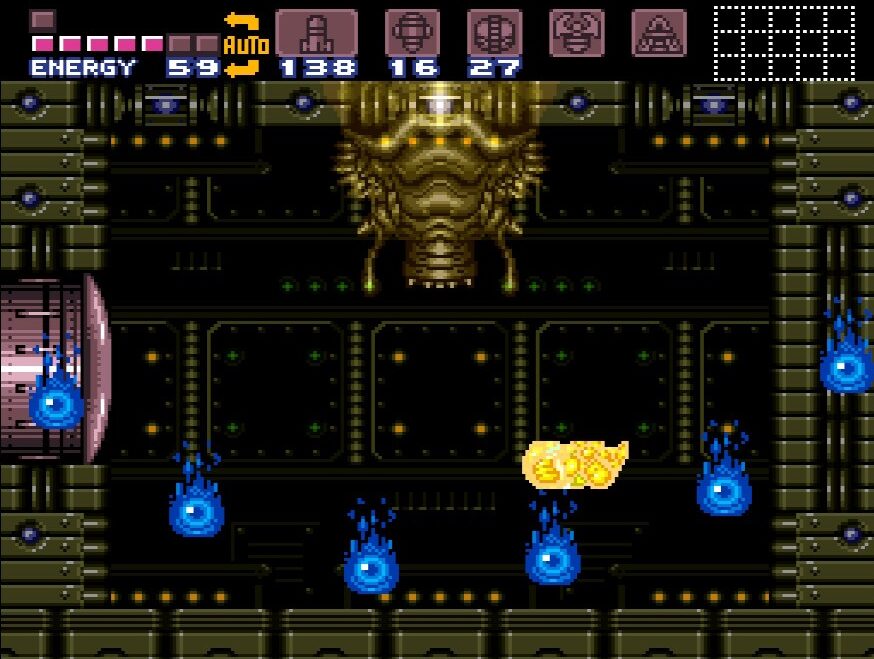
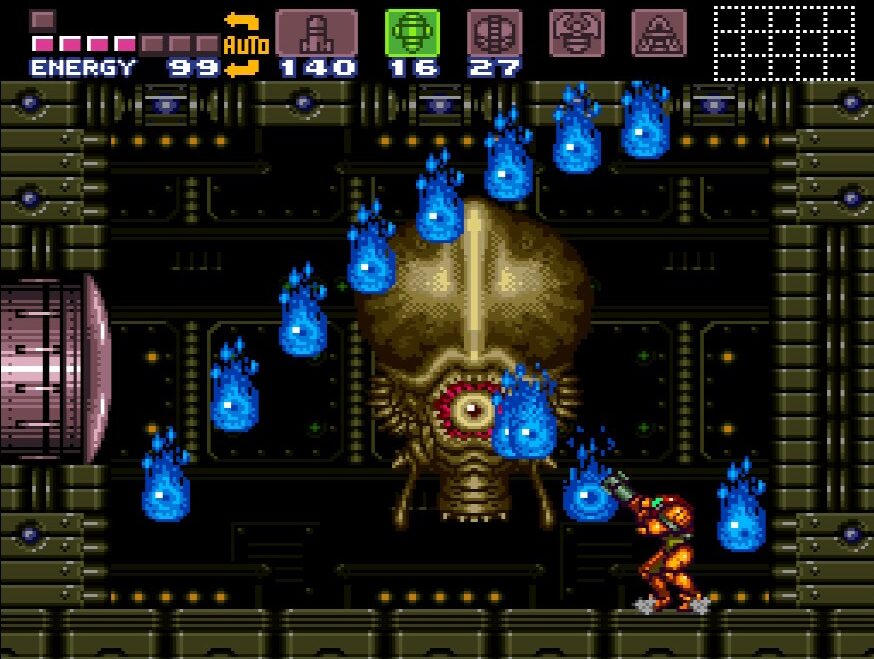
Fortunately, Phantoon has a tell which we can exploit. Whenever you see a blue ring of fire quickly form around it, that means that very soon this Ghost will be in physical form. Dodge the flames and blast Phantoon when it becomes solid. Try not to hit any of the blue flames flying around it, but also don’t be too conservative with your ammo. Now, very important to note: you have two options here. You can blast Phantoon with a Super Missile when it becomes solid, which obviously deals the most damage, but will send the Ghost into a frenzy; OR, you can hit it with a few regular Missiles, which do less damage, but cause Phantoon to stick to its usual routine.
If you choose to go the Super Missile route, after you connect, Phantoon will head towards the top center of the room and start throwing waves of flames at you from the left and then the right. This attack is incredibly hard to dodge, especially if you’re trying to jump over, but luckily, there’s a trick! Fire up a charge beam and hold it; when you jump and have that energy flowing through your Varia Suit, you’ll be able to spin jump through the blue flames with no damage! Hallelujah! This is almost a proto-Screw Attack, so use this, and avoid the six or seven flame waves Phantoon will send out.
Conversely, another strategy I’ve found is to get below Phantoon and step to either the left or the right of itand shoot straight upwards. If done right, your beams will destroy all the fire at the very top of the room before they even have a chance to start swinging. If done incorrectly, you’ll at least take out a few flames, and if you quickly jump just a smidge after firing upwards, you should avoid the trailing fire coming after you. There’s no reason to do this unless you can’t get the charge beam going in time, so this this method as a backup.
Repeat all these processes and wait for the blue ring of fire. When you see that, get your Missiles and/or Super Missiles ready and pelt Phantoon when it’s solid with your Missile of choice. The more damage that Phantoon takes, the faster all of its attacks get, so make sure you blast it when the opportunity arises as the longer this battle goes on, the harder those attacks will be to avoid. Five or six Super Missiles and you’ll finish him off, but again, if you want to play it a little safer, use regular Missiles. If you can stun him and fire off numerous Missiles in a row, then boo-yeah. If not, this process will take a little longer. Keep up the attack, and soon enough, the Ghost from beyond will fall.
Whew. This was by far the toughest battle in Super Metroid yet, and to add insult to injury, we don’t even get a cool item for beating him. However, as soon as Phantoon has crossed the void, power will be restored to the Wrecked Ship! Let’s explore!
Exploring the Wrecked Ship
Once you’ve rolled out of Phantoon’s room, you can immediately see the light switch has been turned on and there’s life inside the Wrecked Ship. We’ll try and work our way systematically up through the Ship and grab everything all at once so we don’t have to come back later. Let’s start off by heading to the far lefthand side of the bottom hallway and entering the Map Station room. Download it and the exit back into the main hallway and up through the blue door in the ceiling.
We’re now in the Wrecked Ship’s Main Shaft, the long vertical room that runs the entirety of the Ship. We can grab a pretty easy powerup just by heading up and entering the first room on the left. Walk over and grab SUPER MISSILE EXPANSION #5.
Exit back in the Main Shaft, and walk directly across from the Super Missile room to the wall on the right hand side. Bomb the wall at the bottom and roll over to a secret room on the right.
When you enter this room, you’ll see these weird spore looking things flying towards you. Take them out with a regular Missile just so they’re not buzzing around your head the whole time. Continue all the way right until you get to the wall. One power bomb later, and you’ll see a bunch of Morph Ball openings appear. Slide into the second-one-from-the-ground up, roll over and snag SUPER MISSILE EXPANSION #6.
Back in the Main Shaft, keep heading up. Skip over the next room on your right for now, and instead use the Save Station if you need it. Keep progressing upwards, shooting the ceiling, until you get to a blue blast door on the ceiling. Jump up and get ready.
This room is kind of annoying. It has a bunch of Ki-Hunters and other enemies in it that you have to defeat before any of the doors unlock. You’ll need to destroy all the enemies to unlock the doors every. single. time that you enter this room, so we’ll try and make our trips in here as limited as possible.
Once all the enemies are defeated, enter the door on the far right of the room. There are some weird drone things that kind of look like a brown R2D2. Shoot them continually with your beams to push them backwards. Keep doing this until the bots fall into a pit of spikes. Keep doing this until you’ve made your way to the far right side of the room, at which point, you can grab MISSILE EXPANSION #29.
Head back into the upper hallway of the Wrecked Ship, beat all the enemies yet again, and exit towards the far left hand side this time. You can skip ahead to the next portion and grab the Gravity Suit if you want, but there’s a few pickups here for us to snag first.
We’ll be back outside in the upper area of the Crash Site. If you look towards the sky, you’ll see some moving platform creatures zipping back and forth. Jump on the lowest one and keep jumping up onto a higher one until you’re basically at the top of the screen. Wait until the platform is heading west towards the left wall. When you see the wall start to approach, shoot it, and jump over to retrieve MISSILE EXPANSION #30.
Drop to the ground, and make your way to the left hand side of the upper section of the Crash Site. Either use your X-Ray Scope or drop some bombs to reveal a block for a Super Missile to destroy. Shoot it and drop down into the narrow passageway. Roll down and over to the left to grab MISSILE EXPANSION #31.
Unfortunately, taking this path is a one way trip, and you’ll fall to the bottom of the Crash Site. Oh well. Make your way back over into the Wrecked Ship and up and over into the upper section of the Crash Site again. It’s time to get our final suit!
Wrecked Ship Route:
The Gravity Suit
Once you’ve made your way back up to the upper Crash Site, head down and run along the ground. When you get to about the halfway point of the room, you’ll see some small, Morph Ball shaped tunnels underneath you in the ground. Plant some bombs and roll down below. Press over to the right hand side until you come across a door.
Enter the room, blast the enemies away and keep heading right. Make your way through the glass tube and into the next room. This room will be covered in spikes, but luckily there are some hooks across the ceiling that we can grapple across. Continue to the right and eventually you’ll see a Chozo Statue… but an empty handed one. Whaaa??
This next part is pretty weird. Since the Chozo isn’t carrying his usual offering, the best substitute would be… Samus? Whatever works I guess! Drop down into his hands and curl up in a ball. Big Choz will wake up and carry you safely across the spikes and into a previously hidden basement part of this room. The Chozo Statue will eventually drop you in front of a blue blast door. Shoot it open and head through and you’ll finally have the GRAVITY SUIT!
Once the cool animation of Samus gearing up is over, exit the room to the right, back towards the Chozo Statue. In the same spot where he dropped you, lay a bomb and roll over to the right. There are some more of those annoying R2D2 drones that you’ll need to shoot out of your way, but eventually they’ll fall into their spiky pits and you’ll be able to pass. You’ll see another Chozo Statue, and while this one doesn’t move, it does offer you MISSILE EXPANSION #32. Fair trade off.
We’re not done yet though! Lay a power bomb and this poor Chozo Statue will evaporate, revealing a hallway behind it. Now there’s enough room for you to activate your Speed Booster (you’ll even run right over the R2D2’s who are STILL walking in their spikey pits). Speed Boost to the end of the hall and then Shinespark straight up. You’ll come crashing into an upper section of the Ship, which will lead you to RESERVE TANK #3! Drop back down once you’re done and make your way back to the room you acquired the Gravity Suit in.
Once you’re there, take the door to your left and drop back down into the Crash Site. We need to enter the Wrecked Ship one last time (that’s it, I promise!). Get back inside and make your way to the room we skipped earlier, the hall right under the Save Station room.
This room has spikes galore, on the ceiling, on the pillars, rising, falling… yuck. Make your way across carefully and exit into a vertical hall. Press on up and shoot the ceiling when it looks like you can’t go any higher. There will be three portions of the ceiling you can shoot; jump up the middle one and open the pink blast door.
You’ll find yourself in a big room full of water and some platforms to jump across. The ground is covered with spikes and some nasty aquatic life, so be careful and watch your step. Jump across the platforms, letting them sink a little bit before you jump so you don’t hit the ceiling, and grab ENERGY TANK #9!
Now, if you are so inclined, you can keep following this part of the Wrecked Ship right, eventually reaching another part of Crateria. From that part, you can make your way down to Maridia.
I prefer to take the long way to Maridia, as I think the tube entrance is a little easier to follow and manage, so that being said, I’m going to encourage everyone to take the scenic route, exit the Wrecked Ship and head back to the Crash Site, go back down to Red Brinstar and then stop when they reach the glass tube in Maridia. If you want to explore this alternate way, you definitely can, but this guide will assume that you’ve taken the Brinstar route to get to Maridia.
When you’re finally there, lay a power bomb and watch the glass crack…
Wrecked Ship Route 2: