Metroid Walkthrough – A Few Things You Should Know Before Playing
Walkthrough
- A Few Things You Should Know Before Playing
- The Planet Zebes
- Ridley’s Lair
- Kraid’s Lair
- Mother Brain
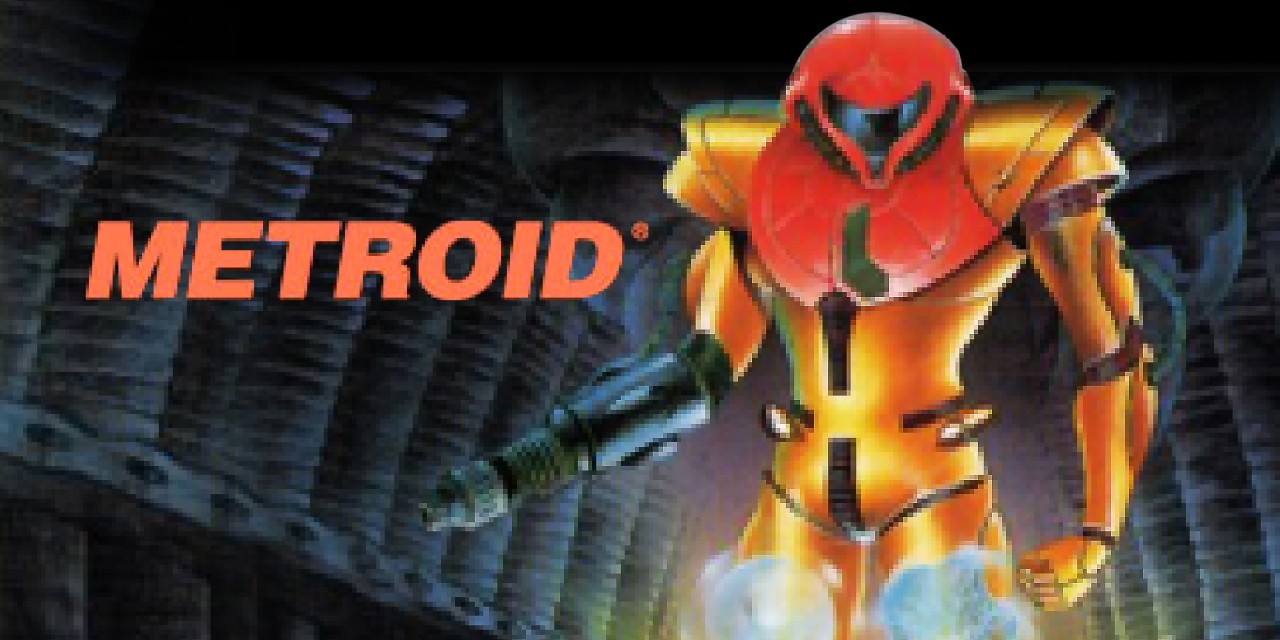
Welcome to the complete, 100% walkthrough for the game that started it all – 1986’s Metroid!
Before we begin, there are a few things you should keep in mind. Obviously, Metroid is a very old game, so there are certain aspects that don’t necessarily translate into the 2020’s all that well, which can certainly make for a… frustrating single player experience if you started with some of the later games in the series. Fortunately though, I’ve got your back! With a little nudge in the right direction and some timely advice, we can make your journey through Zebes much more user-friendly!
That being said, since most of the core game of Metroid is walking the halls and staying alive while not getting lost, this is really more a game based on your ability to perform than it is you having the right strategies for overcoming environmental puzzles. That’s a fancy way of saying that, in the actual walkthrough, I may write something like “head back towards the Brinstar elevator”, which sounds simple enough, but may require several attempts to actually get there. Nevertheless, let’s use these tips and tricks to make this journey as pain-free as possible!
Keep moving!
I can’t state clearly enough how important it is to always try and be moving and jumping. You want to be careful with your movements obviously, but standing around is a good way to get pulverized by the many hostile lifeforms on Zebes. At the start of the game and especially once you acquire the Screw Attack, jumping is your friend. Samus is just barely faster than most enemies, so momentum is good.
Know how to control your jumps
When you’re jumping, similar to most games, the amount of time you spend holding the jump button will determine if you have a long, heavy jump or a short, crisp jump. You’ll need to do both frequently, so getting attuned to this is key.
Use the map!
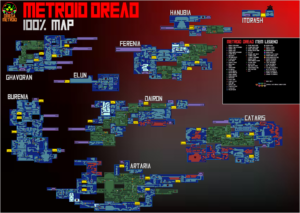
One of the biggest complaints about this game people have in modern times is how incredibly hard it is to navigate. Due to the NES’s hardware limitations, most hallways tend to look pretty similar, so use Omega Metroid’s custom built-from-the-ground-up map to help you navigate!
Avoid enemies if you can
You get nothing for defeating an enemy. There’s no experience, nothing to level up, no reason to confront any enemies if you don’t have to. Destroying enemies is good if you need a health or missile top-up, but otherwise, don’t engage them if you don’t need to. Freeze them, avoid them, whatever.
Enemies will not re-spawn until you collect any items they drop
Pretty self-explanatory. Use this to your advantage in rooms where you have small creatures flying at you constantly.
Enemies will keep moving as the game is loading
Or to put it more plainly, if you are moving through a door and the next room is loading, enemies will still be moving and can hit you and inflict damage. This is kind of bogus, but something you’ll need to be aware of.
Your beam will slow enemies momentum
When you fire your beam and connect with an enemy, it will almost push backwards against its momentum, giving you more time to fire shots. This is especially useful I find when you have creatures coming down over your head.
The Ice Beam and Wave Beam don’t stack
Again, pretty self-explanatory. You can have one or the other, and each have their own advantages and disadvantages.
There are 8 Energy Tanks in the game, but you can only carry 6
This one is a major bummer. Despite there being 8 Tanks, Samus only has enough room in her Power Suit to carry 6 Tanks, unfortunately. If you find the extra two tanks and grab them, it will fill your energy to the max, but you won’t get that extra tank. In this guide, I’ll be guiding you to collect the 6 most convenient Tanks, and leaving out the 2 most inconvenient.
Pretty much every power-up is optional
This guide is going to walk you through grabbing 100% of all items in Metroid, but if you want to beat this game quickly, you can skip over almost every expansion and ability. The only requirements to beat Metroid are the Morph Ball, Bombs, and any singular Missile Expansion. After that, the rest is optional. Of course, getting the rest of these power-ups will make your journey far easier, but they are optional nonetheless.
Take advantage of the Switch’s features
I have to imagine that almost everyone reading this, if you’ve decided to give the original game a try, is going to be playing this on your Switch. Even on 3DS and Wii U however, save states exist and they are absolutely something you should be taking advantage of. On the Switch, you can even hold down the L and R buttons and rewind the gameplay if a mistake is made or you need a do-over in a challenging room. There is no shame in doing this, so do it anytime you need to!
