Metroid Fusion Walkthrough – Sector 5: Cold Arsenal
Walkthrough
- Biological Space Labs
- Sector 1 – Atmospheric Interference
- Sector 2 – Unknown Saboteur
- Sector 4 – Ultra-High Speed
- Sector 3 – Rogue Security
- Sector 6 – Frozen Parasites
- Sector 5 – Cold Arsenal
- Sector 3 – Meltdown
- Habitation Deck – Signs of Life
- Sector 5 – First Encounter
- Main Deck – Power Failure
- Sector 2 – Overgrown With Vegetation
- Sector 5 – The Nightmare Awakens
- Sector 4 – Diffusion
- Sector 6 – Revelations
- Sector 1 – Neo Ridley’s Cry
- Sweeping the B.S.L.
- The Final Confrontation
Yellow Locks
Adam instructs us that upgrading our arsenal to eventually confront the SA-X is top priority. Adam sends us to grab a Ice Missile upgrade, but to do so, we’ll need to unlock Level 3 Yellow Locks. You know what to do.
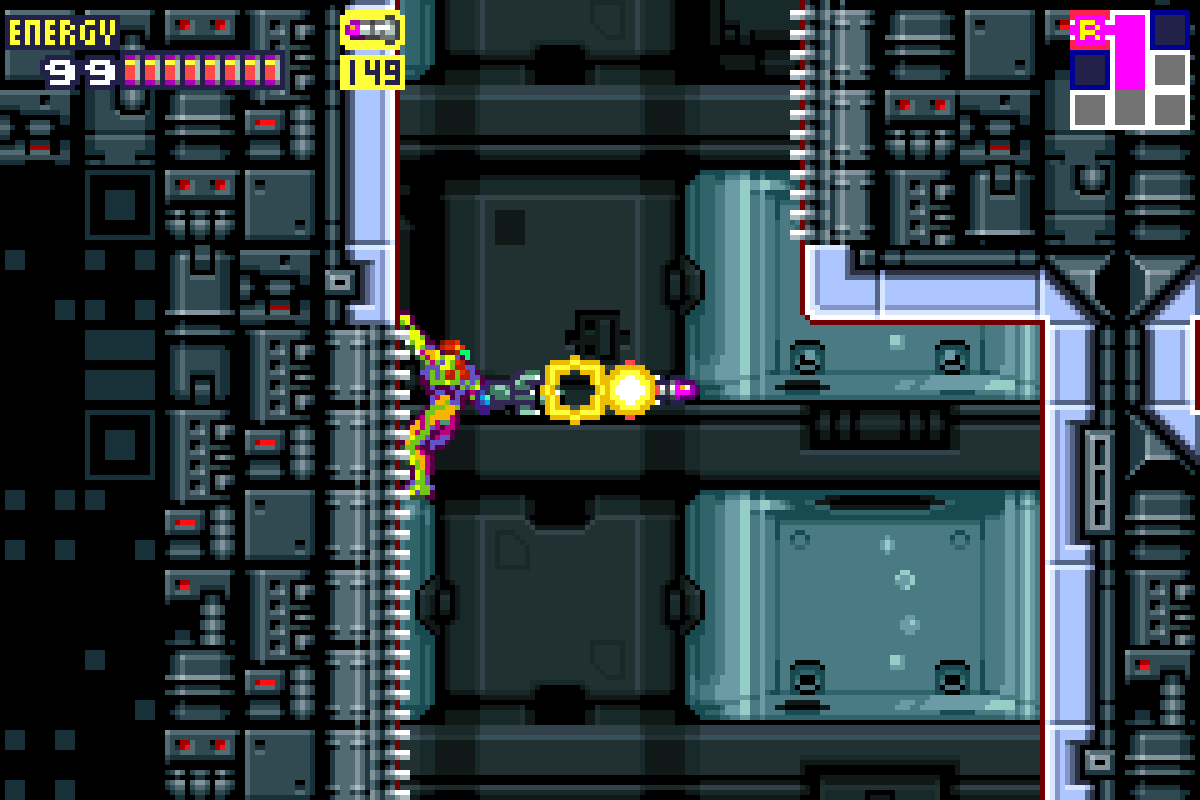
You’ll start off in a vertical hallway with monkey bars on each side. Don’t even bother dropping to the bottom of this hall – instead get on the monkey bars on the left side, right at the top, and shoot off a couple Missiles at the wall to reveal an opening. Jump over and roll through. Head into the next room.
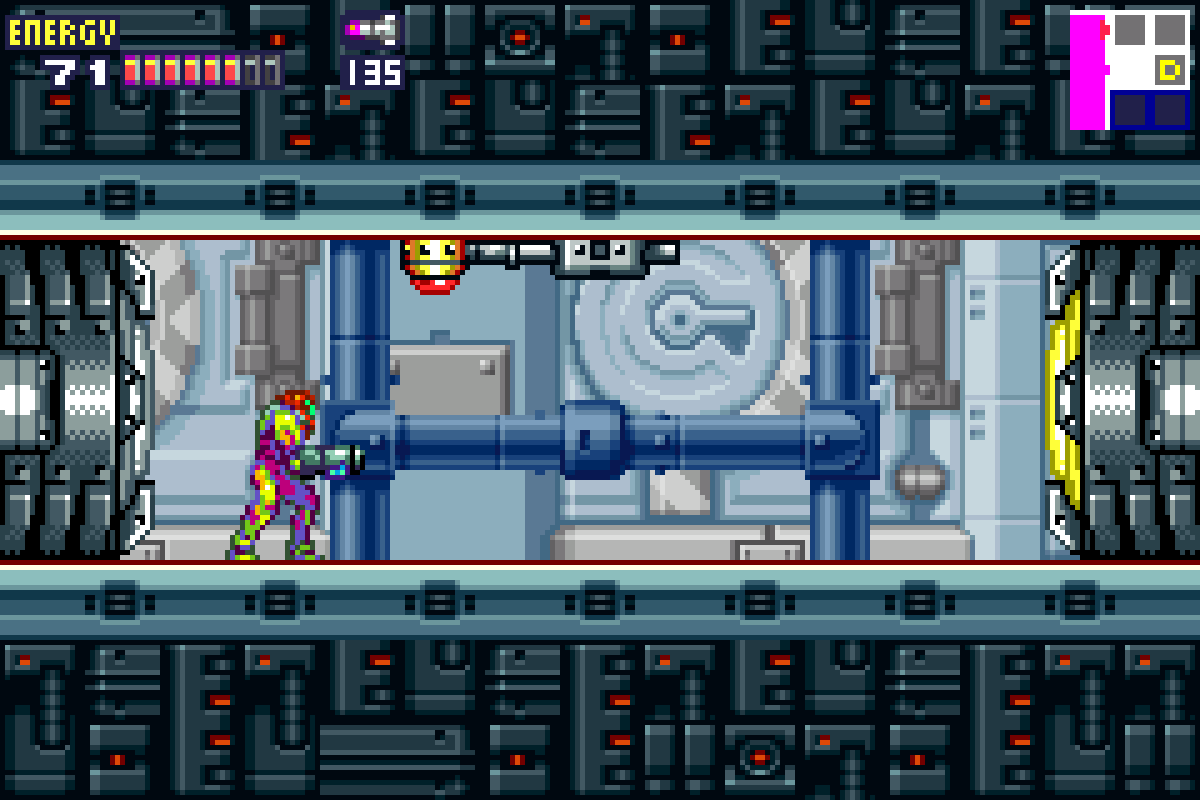
You’ll find yourself in a large room that we’ll call the Big Freezer. Despite this being such a huge room, there’s only one door that we can actually go through. Work your way towards the lower right hand door and you’ll find yourself in another freezer room which we’ll call the Thin Freezer. Work your way down to about the middle of the room; about halfway down, you’ll see a Save Room on the map towards your left. Head there towards it (you won’t actually be able to access it because of a door lock, but still) and when you get to the lock, turn around and start running. Your Speed Boost will activate and you’ll break the floor in the Thin Freezer room, allowing you to drop further to explore.
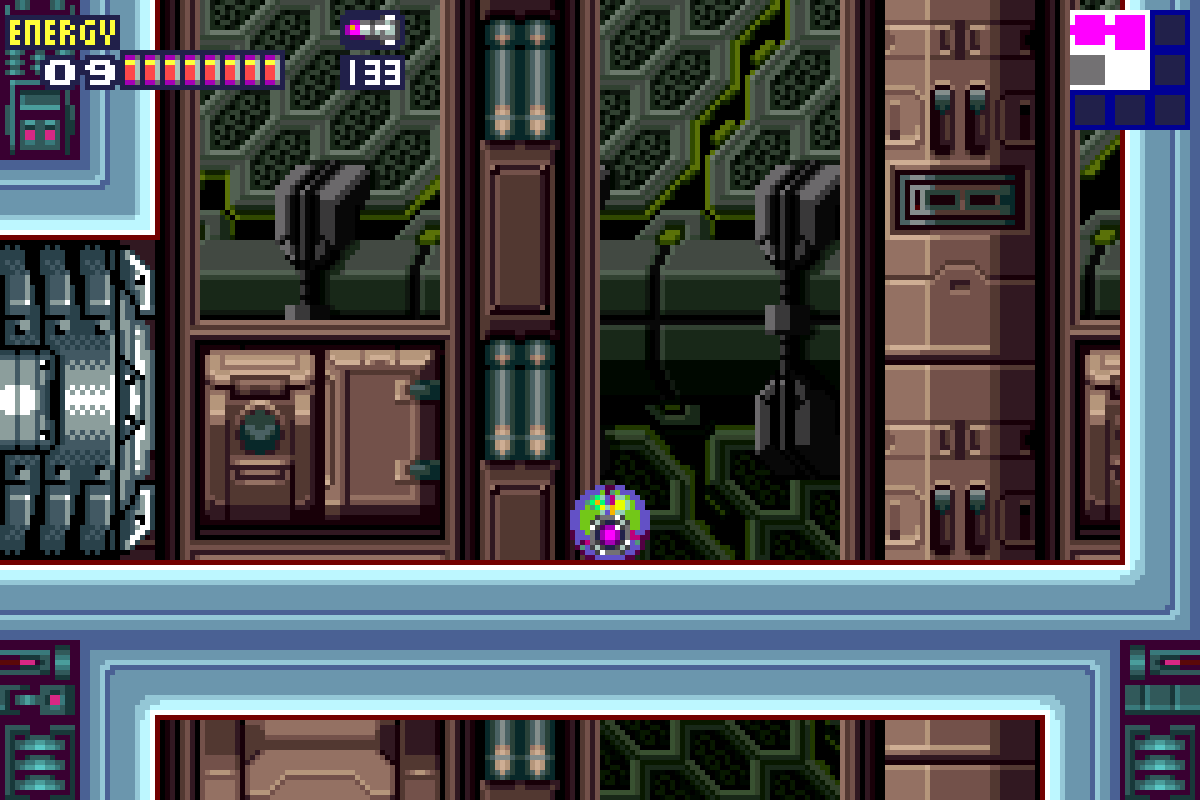
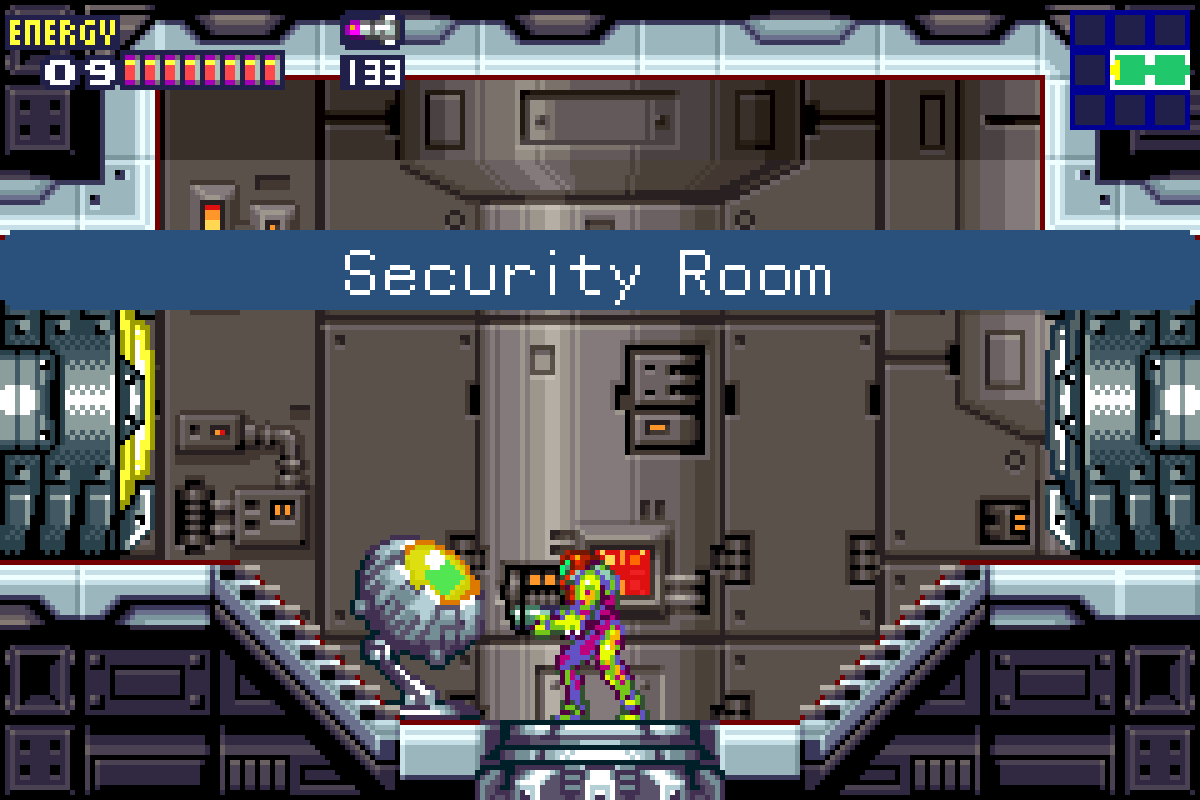
Work your way towards the bottom right door in the Thin Freezer and exit. Keep pressing forward and you’ll drop down in front of another door. However, instead of going through, bomb the floor and drop down to a lower part of the map. Head over to the left and you’ll find yourself in a Save Room. Do your business and press forward. You’ll run right into the Security Lock Room. Step inside and activate the terminal. Boom! Yellow Locks are no more!
Ice Missiles
Head out of the Lock Room and you’ll enter a long vertical room. This room can be somewhat annoying since there are tons of Zeela’s everywhere constantly shooting at you. Worse yet, when you shoot and destroy them, half the time the X will just automatically reform right back, so you actually need to destroy them two or three times to finally get rid of them. Work your way to the top, either avoiding or eliminating the Zeela’s, and head right towards the Save Room.
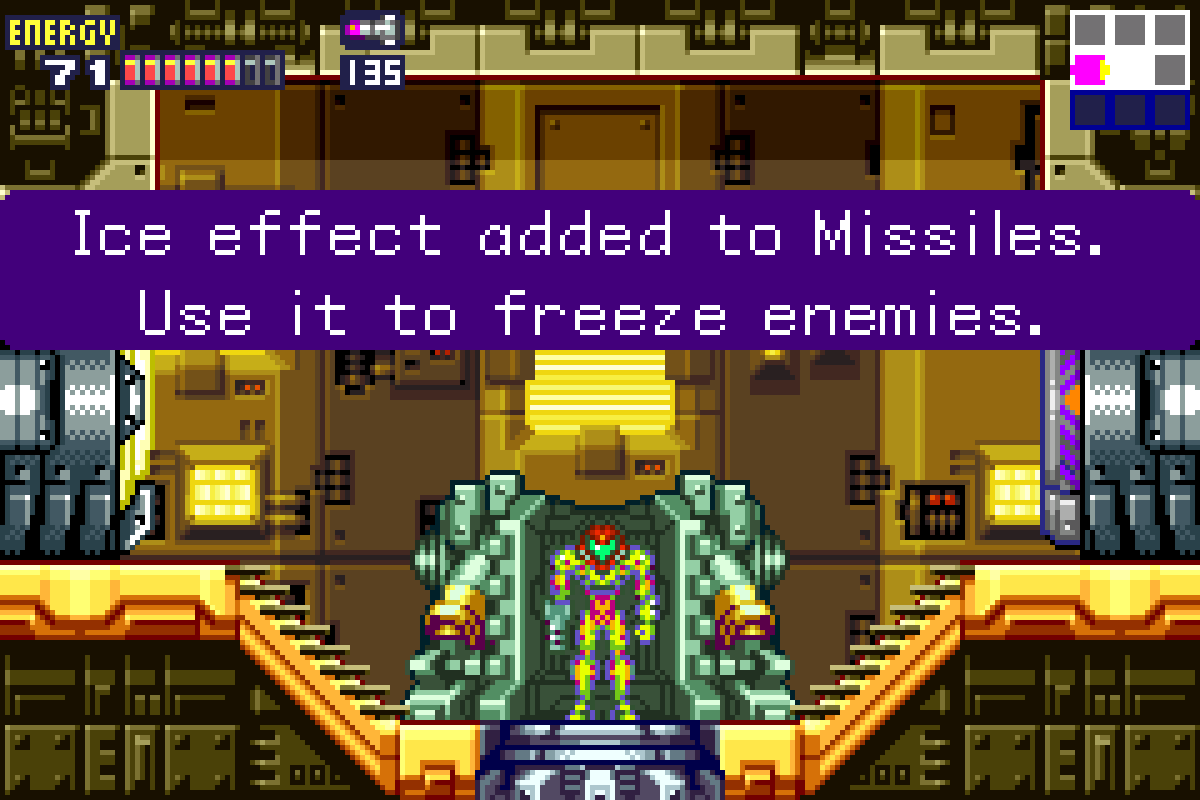
Once you’ve finished your business, exit the Save Room and head back into the Thin Freezer. Head up and take the door on your top right (the one just under the Red Locked door). Press forward two rooms, blasting open the door lock. and you’ll finally be at the Data Room! Step inside and grab the ICE MISSILE upgrade!
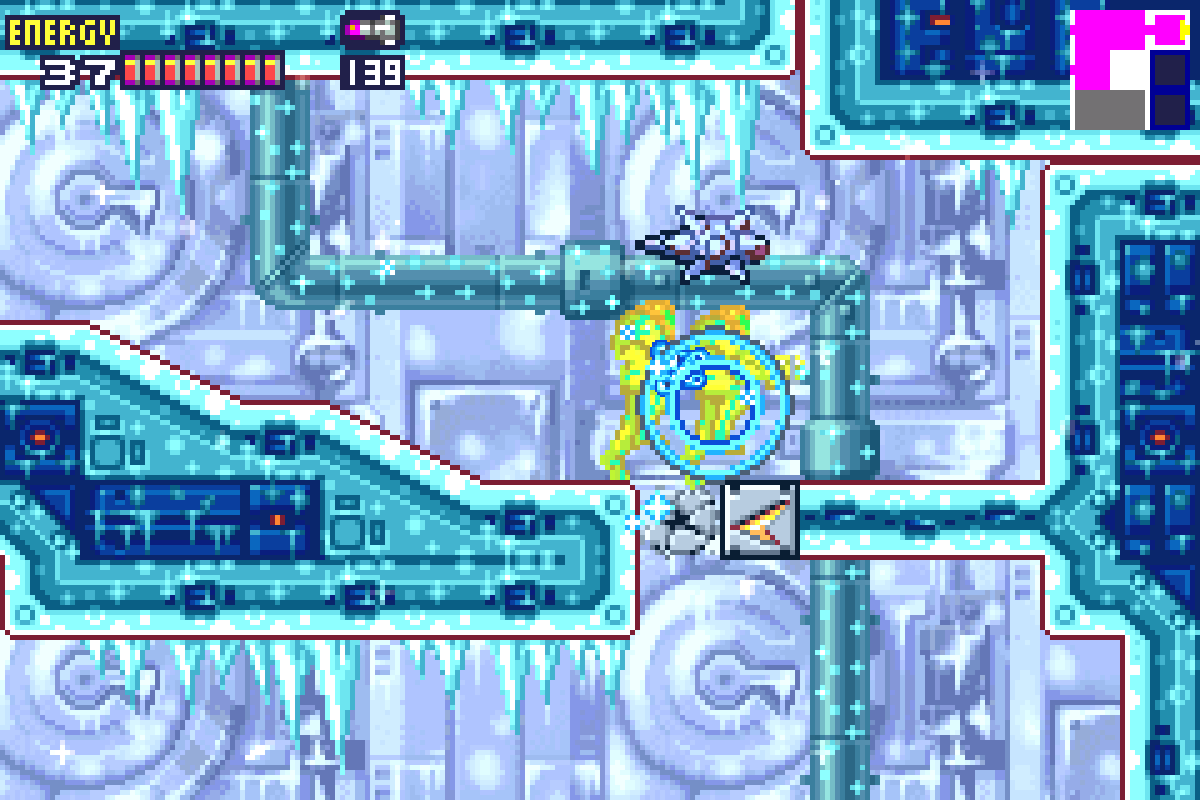
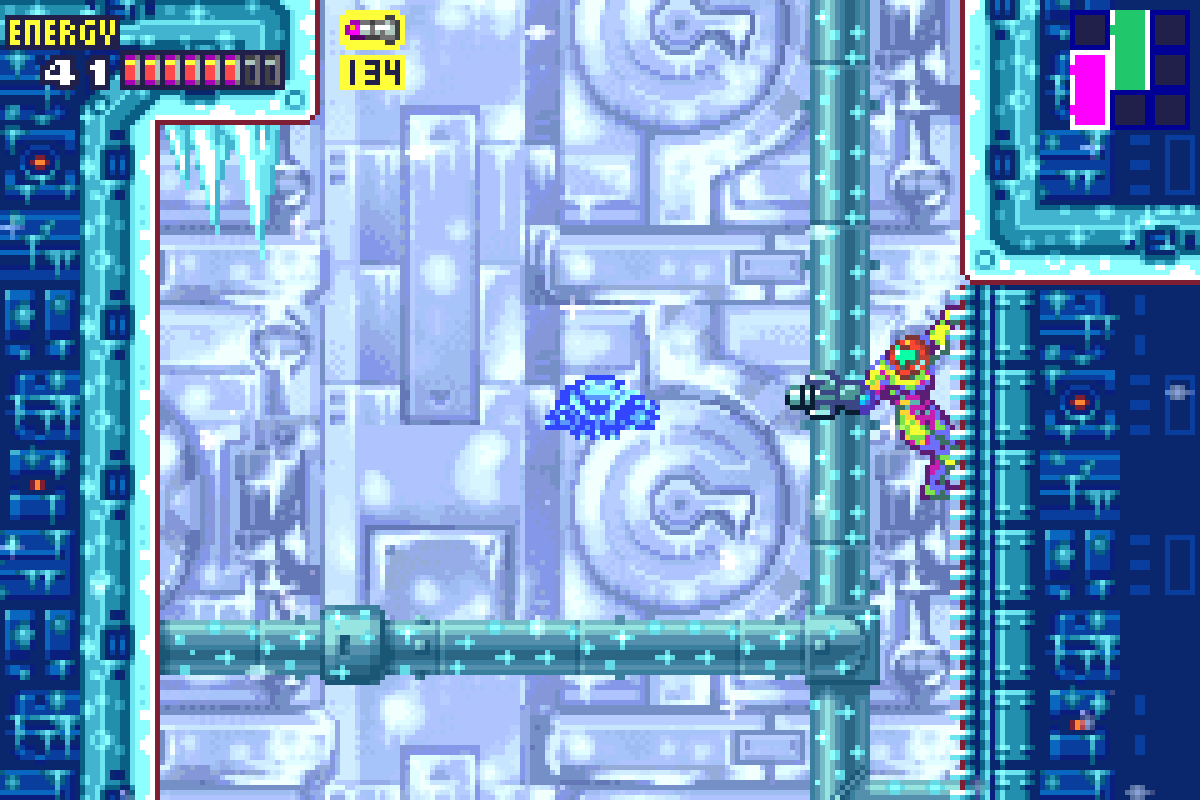
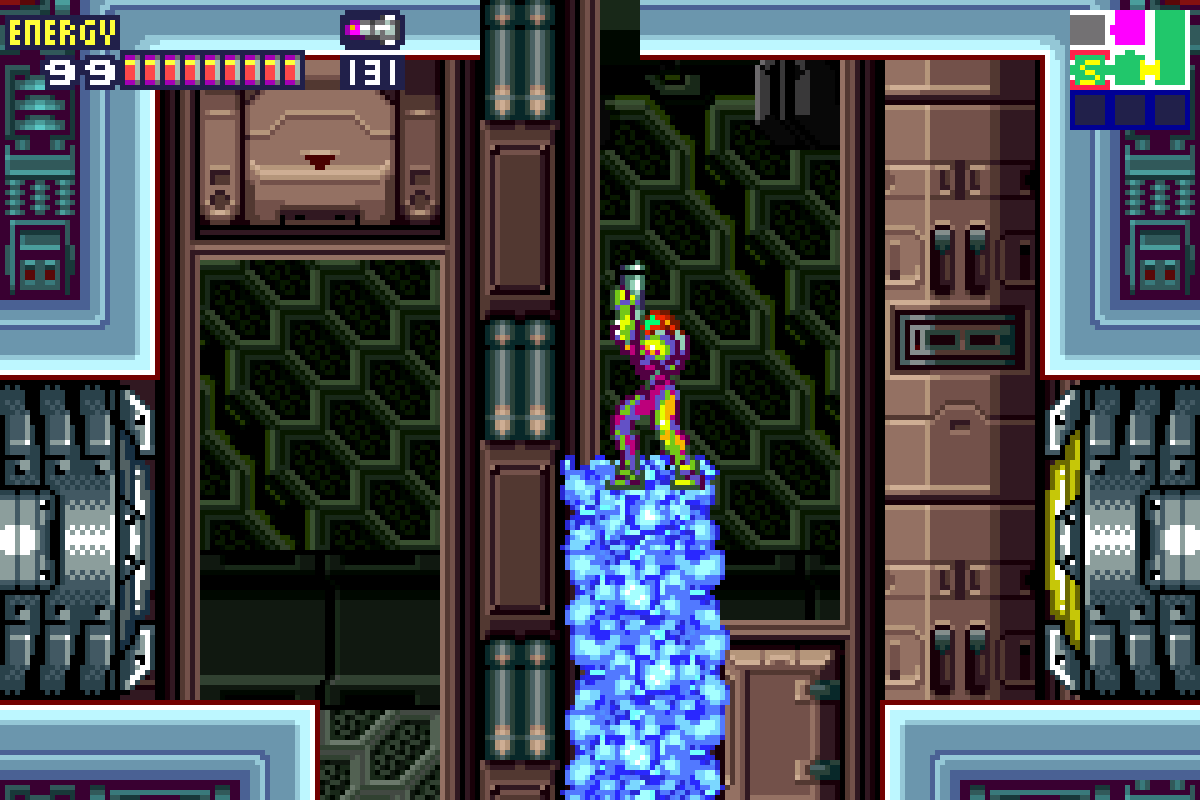
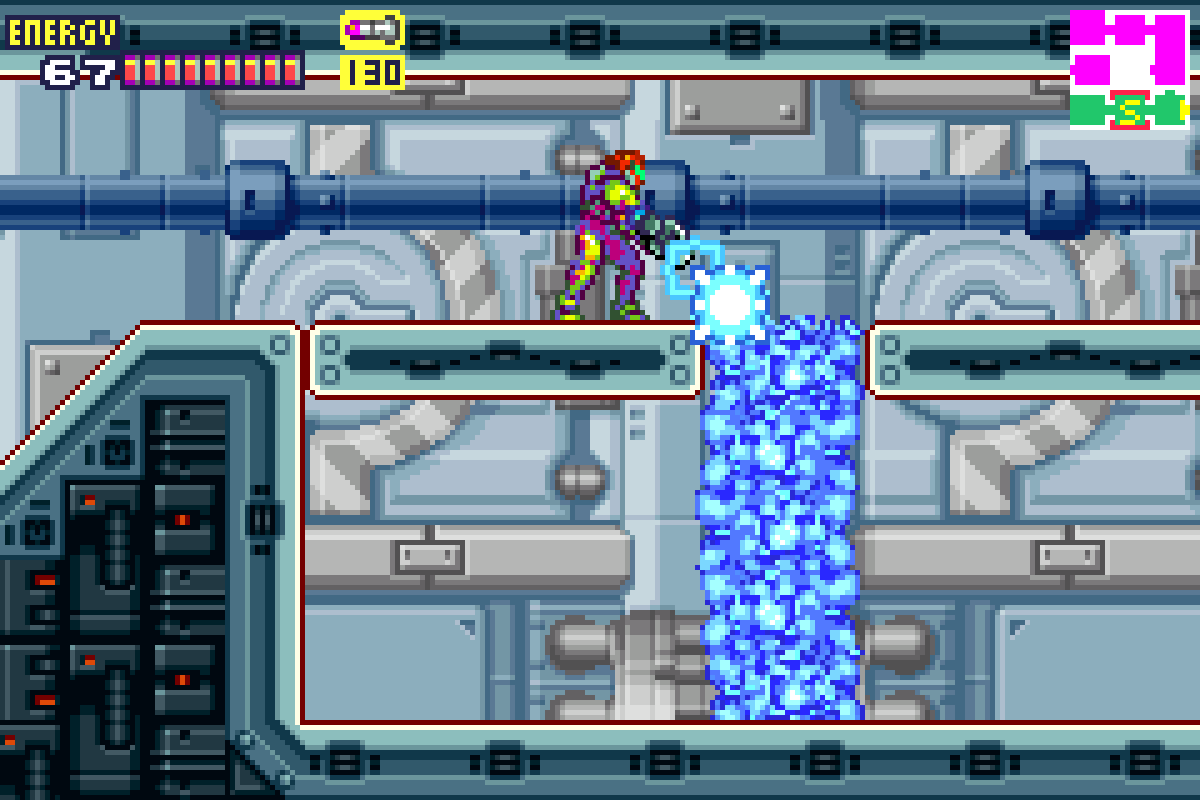
Since the way we came from is locked from the other side, press forward and go right. You’ll be in another chilly room; bomb the floors and you will start to fall. This is a huge vertical hallway, but don’t let yourself fall to the bottom quite yet. Rather, as you’re falling, hug the right hand side and grab the monkey bars. Climb to the top, and then lock on to the floating cockroach looking esq-Ripper. Shoot an Ice Missile and freeze it in place; this will give you a platform to stand on. Jump over and jump into the door to your left.
In here, you’ll see another of those weird vampire-bat-X-posing-as-an-expansion type enemies, this time, posing as an energy tank. Shoot it, and then bomb the wall to reveal a pathway to ENERGY TANK #9.
Once you’re done, exit and drop down the bottom of the hallway. There’s a Save Room two doors down that we just visited, but it’s actually the room right before the Save Room we want to be in. You’ll see an X float inside the room and infect the hive looking enemy (called a Kago) and turn it into a long and tall version of itself. This looks like trouble, but actually, the mutated Kago doesn’t move, so we don’t need to worry about getting attacked. Furthermore, you can now freeze the tall Kago, making it the perfect platform to stand on. Freeze it and jump on top, shooting the wall above you and exit left.
This next room is pretty neat, and a cool example of how Metroid Fusion uses X mutation to its advantage (actually I wish they did this more often). You’ll see a platform with a space in the middle and a Kago directly underneath. Skip past it for now and go shoot the Zeela on the wall. The X parasite that spawns from it will form another Zeela; shoot that as well, but do not absorb the X. Instead, let the X float around until it decides to fly over and infect the Kago, turning it big and tall, and conveniently, filling in the space in the platforms for us. Freeze the Kago, go to the end of the platform and start running towards the door on your left. Let your Speed Boost activate and you’ll go crashing through the wall in the next room. Pretty neat little piece of business there I think. Go up and exit into the Thin Freezer.
From the Thin Freezer room, make your way to the Big Freezer, where by the way, a very ominous looking silhouette is flying around in the background.. Work your way to the upper left hand side. You’ll see a couple enemies that like to jump pretty high and casually float back down. Freeze them while they’re high in the air and use them as platforms to get to the upper left door, Enter and you’ll see MISSILE EXPANSION #29 sitting there for the taking. Exit this room and drop down to the lower left and go through the Yellow door. As conditioned to bombing the floor as you may be by now, ignore your instinct. Instead, destroy the bug at the top and springball jump up and bomb the ceiling in the upper right corner to grab MISSILE EXPANSION #30. Exit this room to the left and watch as all hell breaks loose…
Next Chapter: Sector 3 – Meltdown


