


Metroid Dread Walkthrough – The Complex of Dairon
Walkthrough
Bombs Away
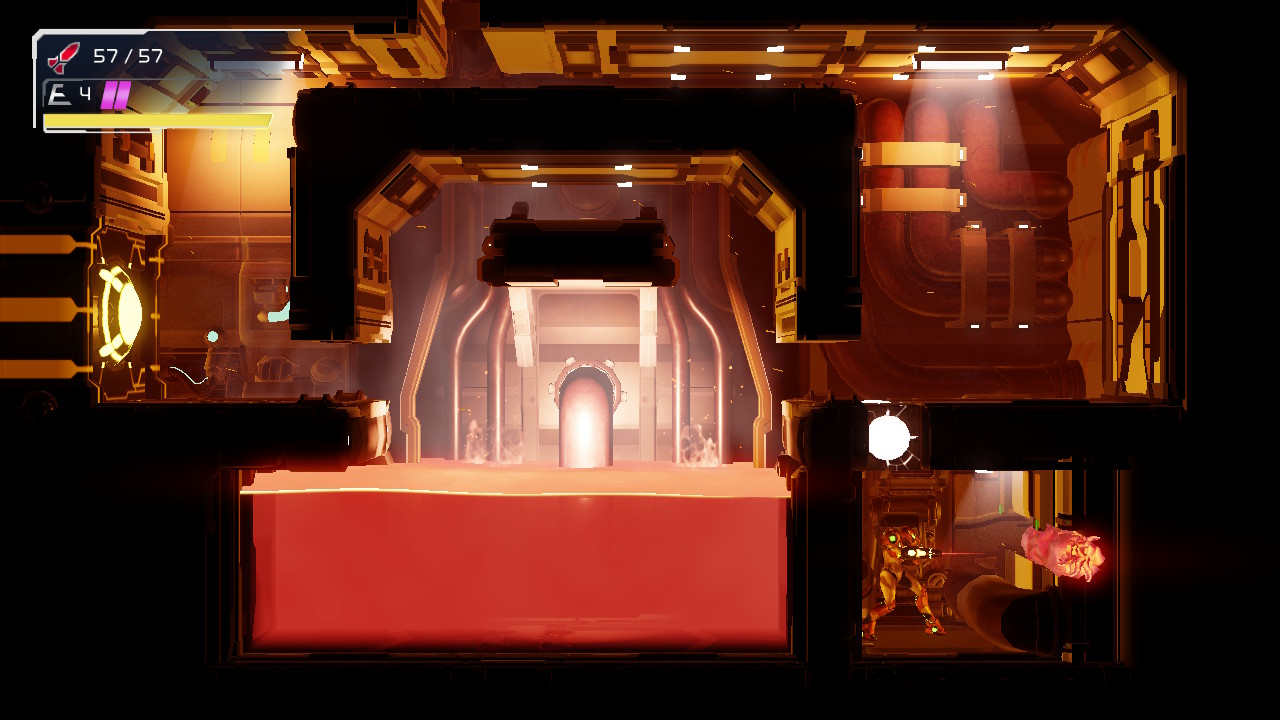
When you arrive in Dairon, shoot below you to make the tumor explode and drop down. You should recognize this room from earlier; head over to the right and blast the Wide Beam cover on the door and enter. Drop down to the bottom of this room and you’ll see an Energy Part. The game intends for us to come back with the Gravity Suit to snag this, but it’s actually simple enough to get it now. You’ll want to perform a slide jump under the ledge – basically slide under, but the split second before your slide ends and you start falling into the lava, jump! You’ll grab the ledge and be able to easily snag ENERGY PART #3.
(If you really wanna get crazy with some of these techniques, this room is actually the exact place you need to be. Check out Sequence Breaks for more!)
Get into this new room and follow the path until you eventually get to a Network Station. Adam will give us some intel about Dairon, and you can save your game.
Keep going and you’ll exit the hot part of Dairon and get back into the factory part. Watch out for these werewolf-esq monsters – you can counter them, but they charge at you, like, right away, so be on your toes. Jump up by the hint butterflies and proceed up, over, and into the E.M.M.I. Zone.
As you might recall, the E.M.M.I. patrolling Dairon comes equipped with Speed Booster technology, so if it catches you, jumping up and sliding under things is your best bet. There’s no way you’re going to outrun this robot unfortunately, so keep that in mind.
This is going to be tricky. You may have to exit the E.M.M.I. Zone from doors that will lead you to dead ends, just to avoid this thing catching you and stabbing you through the heart, so no shame in that. Let’s begin.
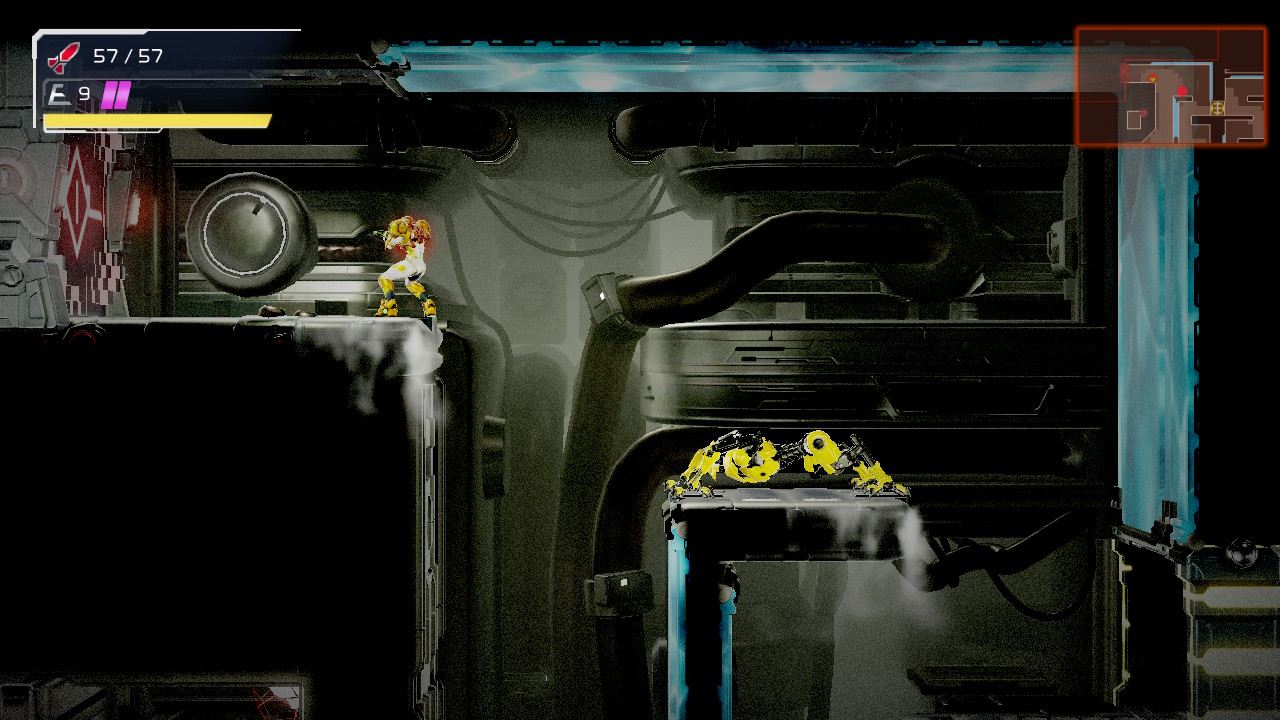
Jump up and shoot the wall, pressing left. Drop all the way down, past the spider rail, slide under the pillar, riding the spider rail on the other side all the way up. Keep pressing upwards, and eventually, you’ll see an E.M.M.I. door to your left. This isn’t the door you want, but if you need a quick exit, take it. If not, head towards the right when you see the E.M.M.I. door and through the door on the right. Slide under the pillar, head up, and you’ll see a block with a tumor in it. Blast it and head up. You’ll see another E.M.M.I. door to your right, but this one’s also a dead end. Instead, keep pressing towards the left as fast as you can. You’ll finally see an E.M.M.I. door to the left that’s not a dead end, so hightail it there and exit. With a little luck, you should have avoided the E.M.M.I..
You’ll now be in the dark again. Just like before, this area’s power is offline, and with it, everything else we need to proceed normally. This is pretty much a straight path forward, but with one fork in the road. When you get to the big fish tank looking room, head upwards instead of continuing straight. Keep going up and watch out for these damn werewolves.
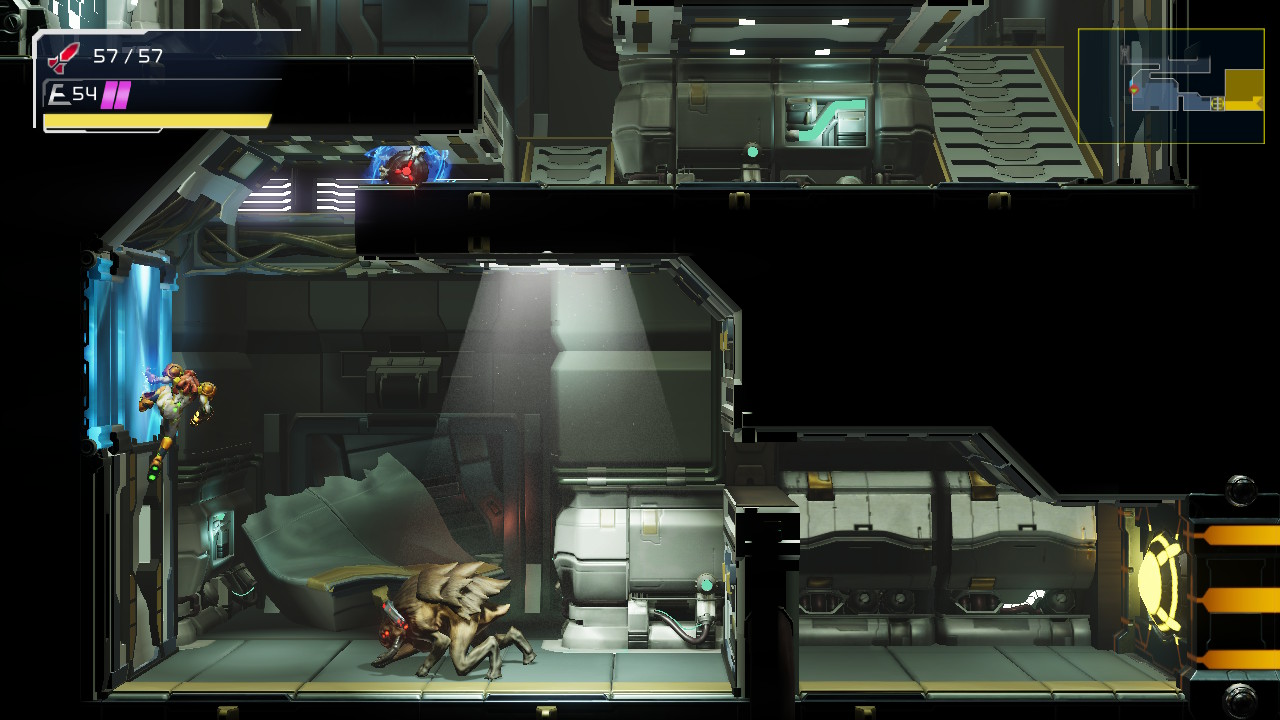
Exit left and you’ll find yourself in a huge room that, when the power is operational, serves as a cold storage room that would normally damage us. You should see a creepy (and familiar!) silhouette in the background. Wonder what they’re working on here…? Anyways, continue towards the bottom and jump on the spider tracks above the pool of water. Follow them up and continue into the next room. Here, you’ll finally be able to turn the power back on, so hit the lights!
Once the power is restored, shoot the tumor and roll out of this room and back into the larger hallway from before. Head up and you’ll see a door with a missile cover on it. Shoot it, enter the room, and grab BOMBS from the Chozo Statue!
Through the Complex
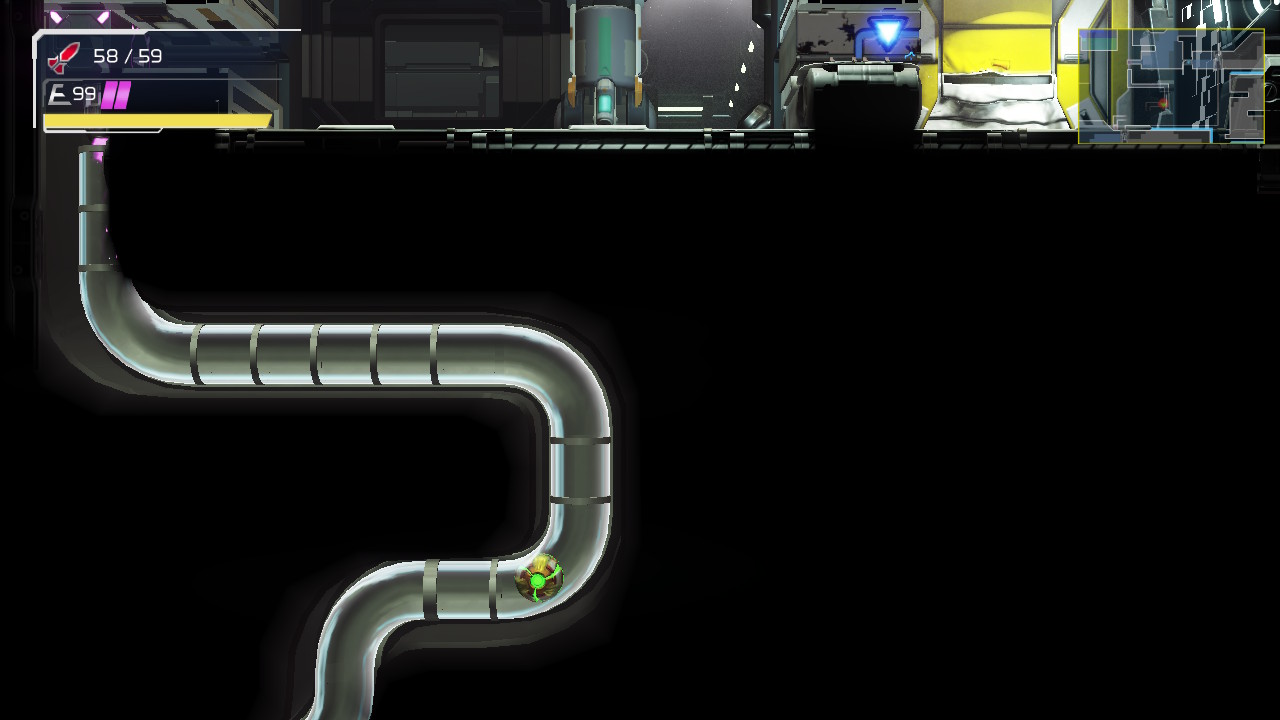
Using your snazzy new item, lay a couple bombs on the floor and drop below. Keep bombing until you get to the wall covering the missile expansion. Jump up and lay a bomb in the air, breaking the wall and allowing you to roll over and grab MISSILE EXPANSION #12. There’s a little pink slot on the floor that you can fit in; this is a Morph Ball Launcher. Get inside, lay a bomb, and let it carry you to the end.
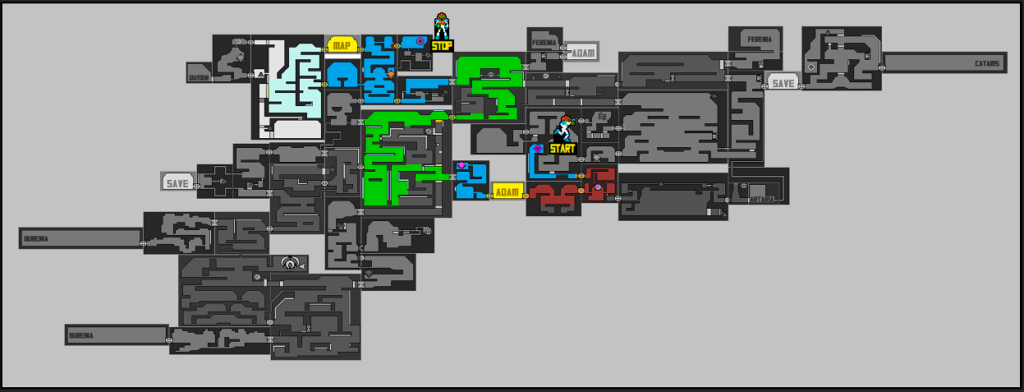
You’ll now find yourself back in the same vertical hallway from before. If you want to head up, save, and download the map data for Dairon, do so, otherwise, drop to the bottom and take the door to your left.

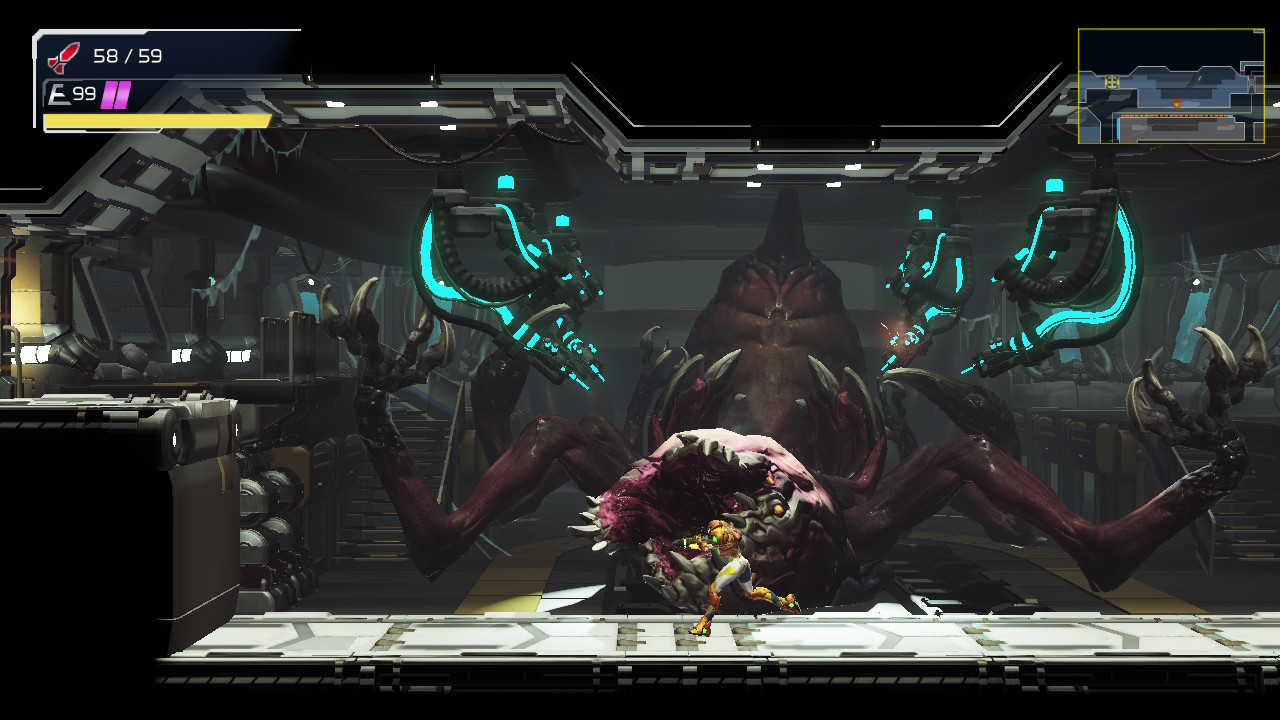
Get into the Morph Ball Launcher and let it take you down into a room with an E.M.M.I. door and a very scary looking creature in the background. Ignore the E.M.M.I. door and head left into the next room, where you’ll want to head left and take yet another Morph Ball Launcher.
When you get spat out, you should be next to some spider tracks. If you go to the wall directly opposite the spider tracks and jump and lay a bomb, you should see a small tunnel open up. Roll through and grab MISSILE EXPANSION #13. Roll out and use the Save Station on your left. Once you’re done, exit the Save room and use one more Morph Ball Launcher in the bottom right corner. When you land, immediately aim up and shoot the ceiling. You should see MISSILE EXPANSION #14 just sitting there, so go grab it! Now, enter the E.M.M.I. Zone.
Quickly make your way to the bottom of this first room and exit left. Keep going and drop down, sliding under the pillar and jumping up to the door on your top left. The E.M.M.I. will be lurking around here, so be swift.
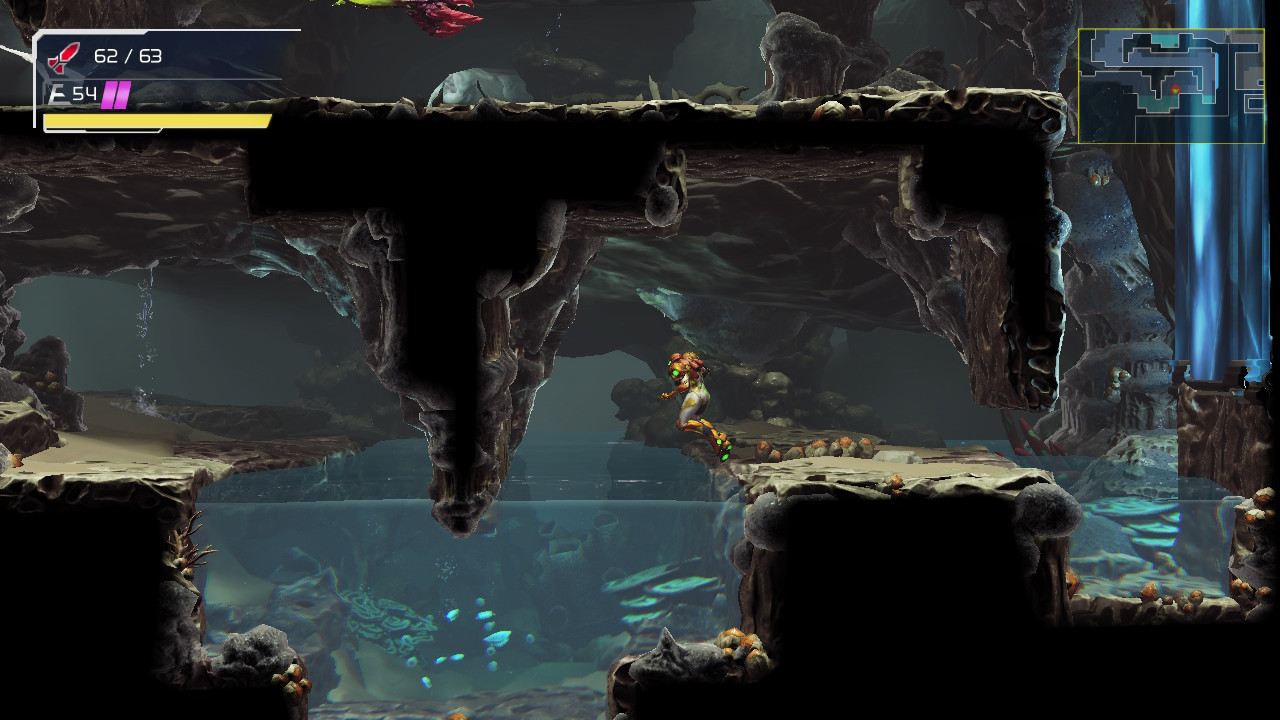
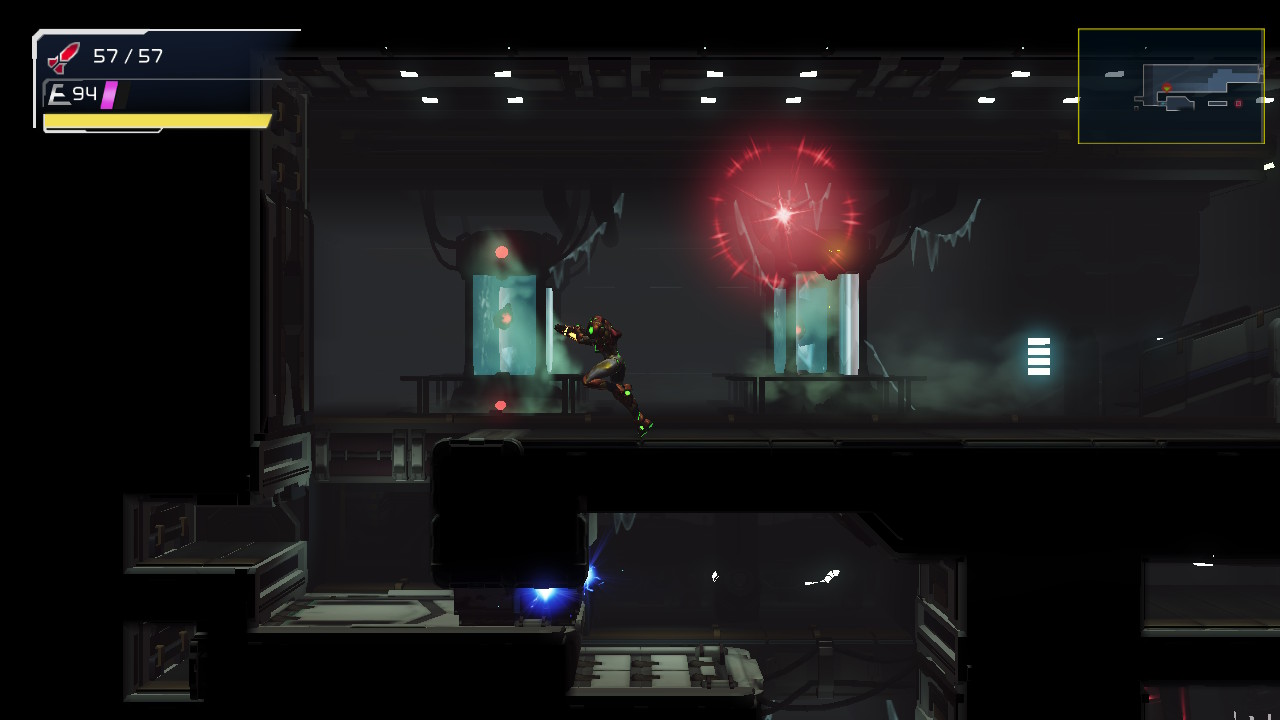
Once you exit, you’ll be in a very different looking part of Dairon. Gone are the sleek, metallic surfaces and in their place are wet, sludgy caverns and rocks. Follow the pathway, doing your best to avoid these more powerful enemies, and eventually, you’ll land at a tram car that will take you to Burenia.
Next Chapter: The Depths of Burenia