


Metroid II: Return of Samus Walkthrough: The Tunnels – Omega Metroids
Walkthrough
- A Few Things To Know Before Starting
- The Ruins – Alpha Metroids
- The Waterworks – Gamma Metroids
- The Complex – Gamma Metroids
- The Tower – Zeta Metroids
- The Tunnels – Omega Metroids
- The Finale – Queen Metroid
Looming Danger
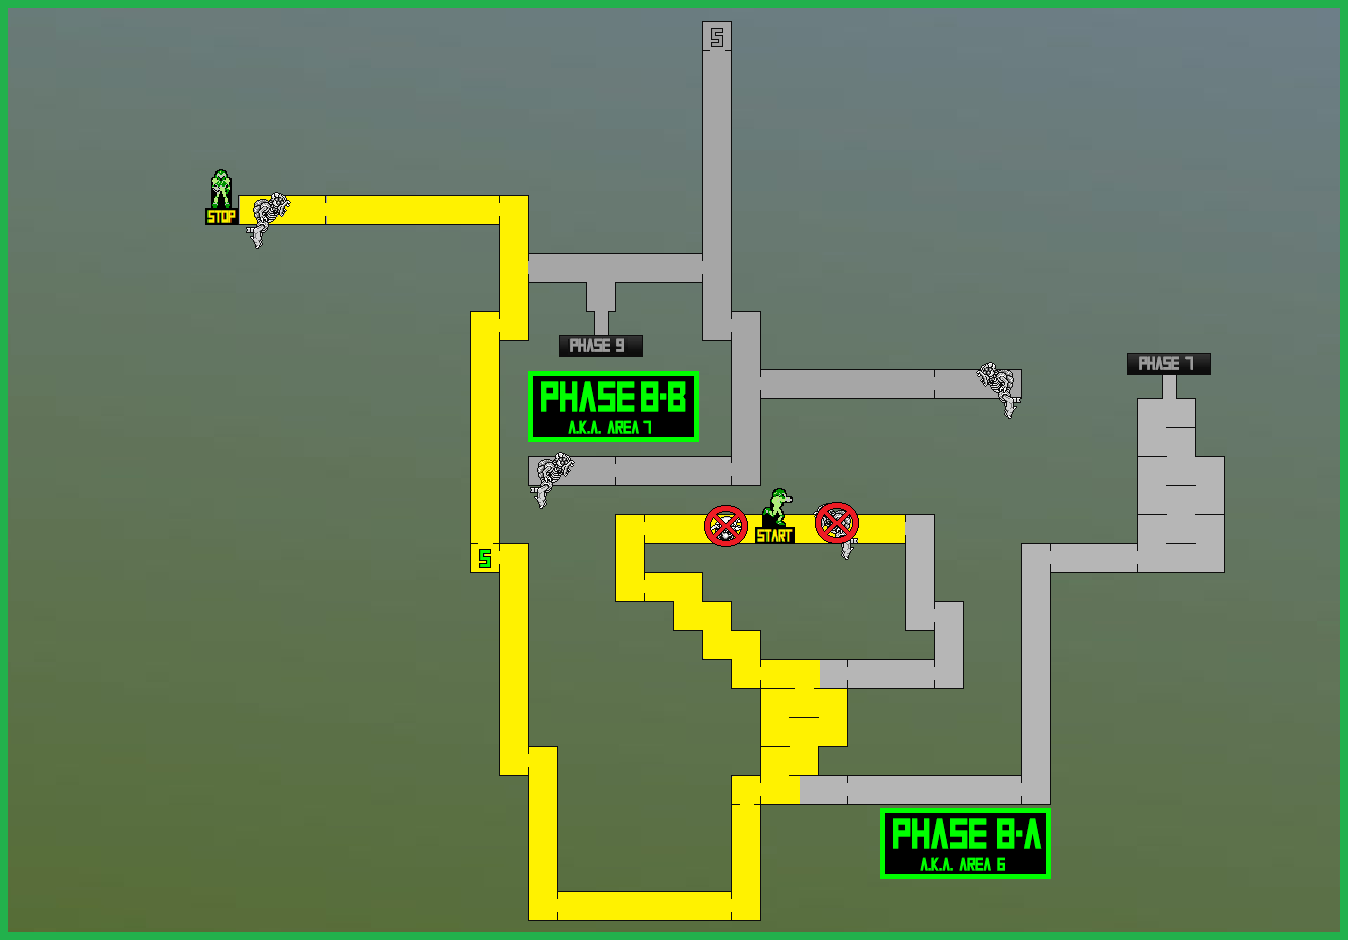
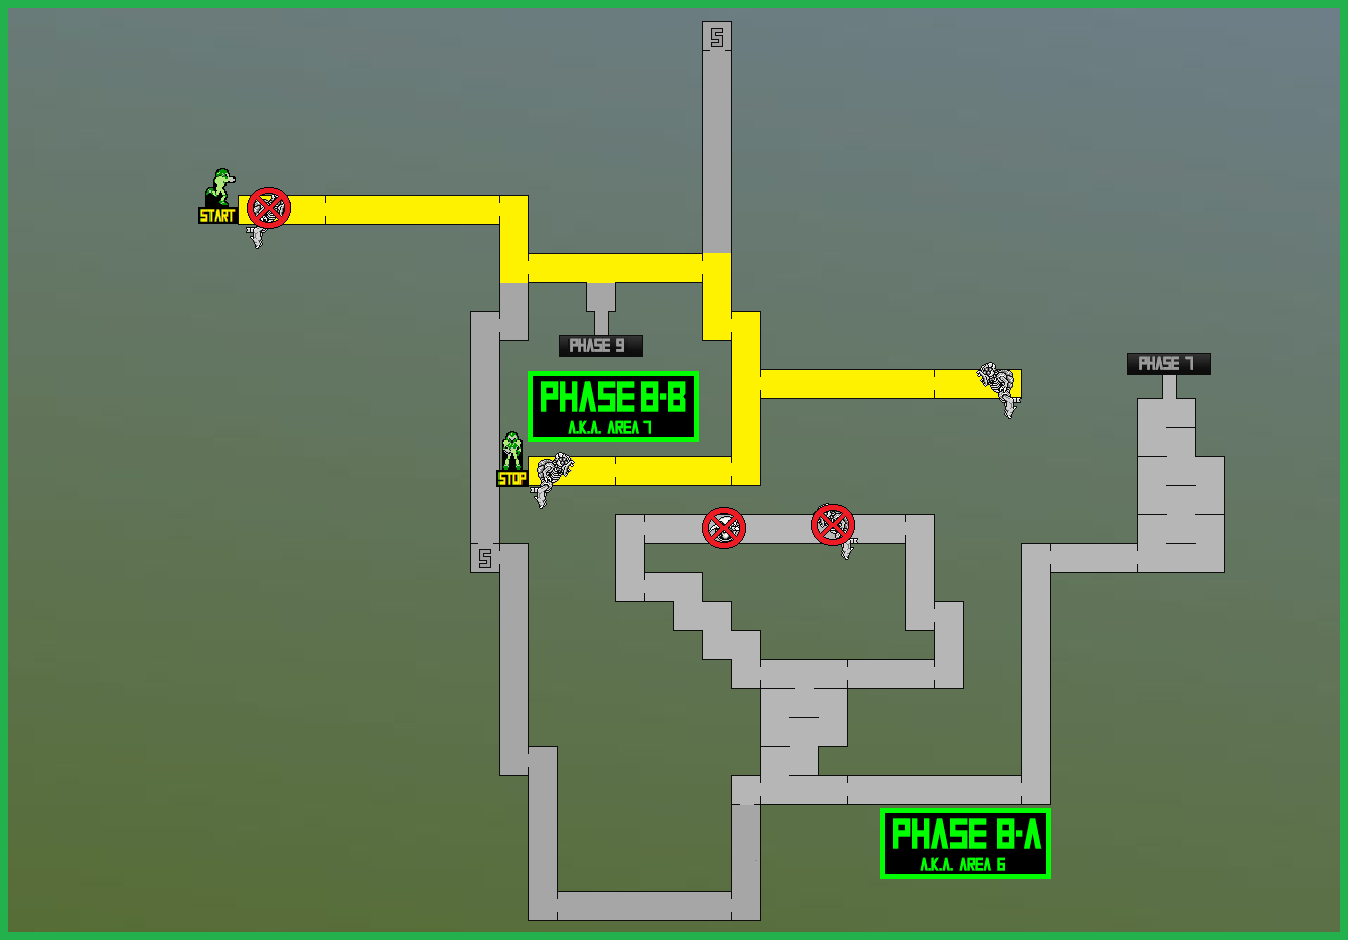
You should be starting at the Phase Eight entrance, located just after the beginning of the Phase Seven entrance. Just a few quick notes before we get going – I know I said it in the last chapter, but I want to reiterate: go and refill your missiles and your health! There is a very good chance, even with full health and ammo, you will need to backtrack to top up after what lies ahead, so just be ready for that and make sure you’re setting yourself up for success!
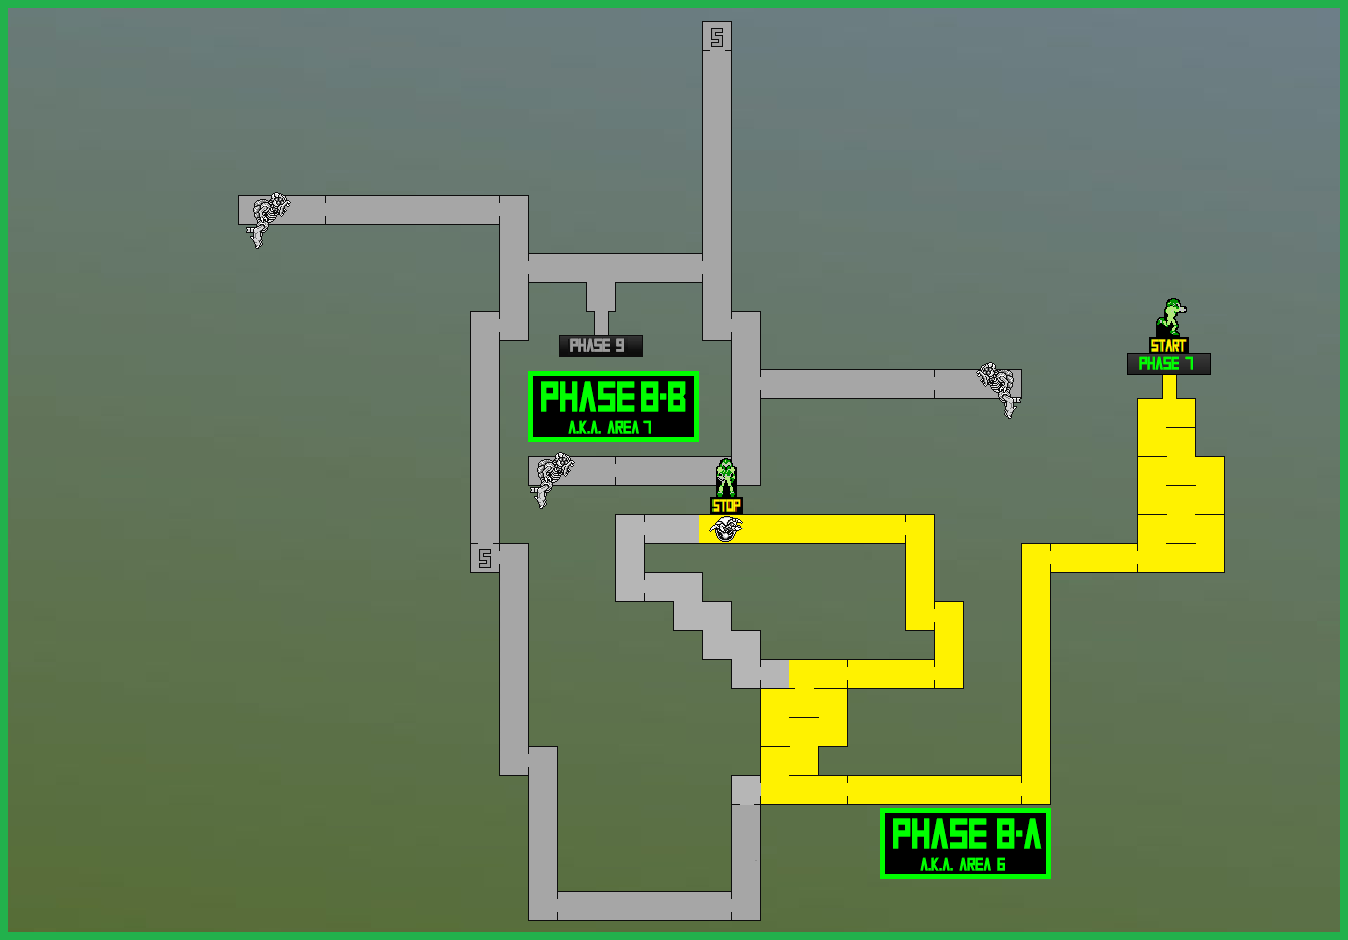
The other two notes – firstly, you’ll notice on the map that Phase Eight is divided into two two parts, A and B. To be honest, I’m not sure why this is, and I was tempted to just call the first half Phase Eight and the second half Phase Nine, but I ended up sticking with the conventional Metroid naming. Making it even weirder, there are three earthquakes that we’ll see during this phase, so why there’s not a part C, I do not know.
Lastly: there are no more items, no more distractions. Just marching from Metroid to Metroid. This is great because it means we are nearing the end, but also bad in a way because my ability to guide you is also limited. There’s no tricks or upgrades left, only you and your ability to defeat the Metroids in your path. The map routes will be more critical than ever, so use them!
Ready? Let’s go!
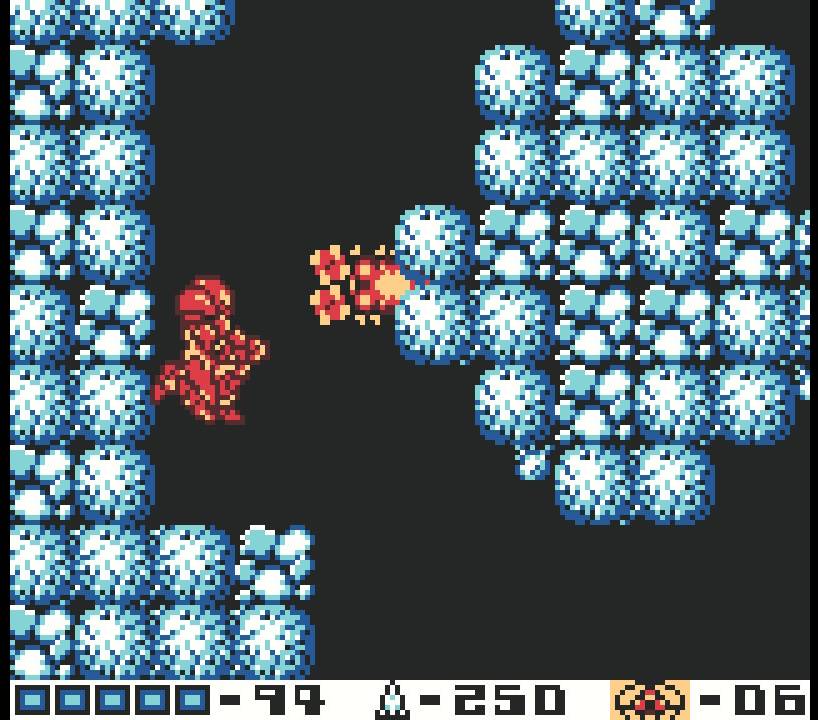
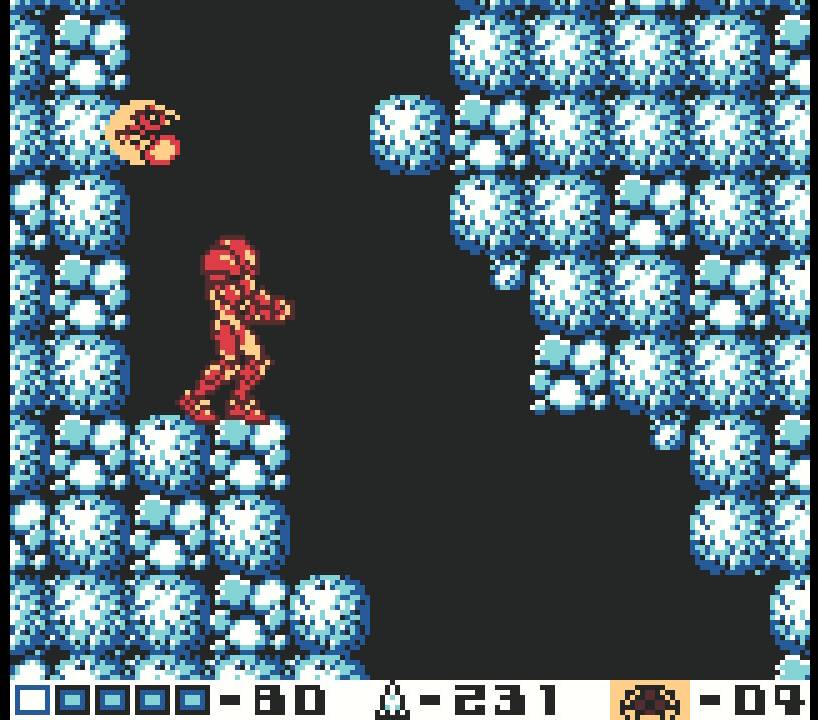
Drop down several platforms covered with spikes until you see a passageway to your left. Go through it and Space Jump your way over the platforms, heading through another passageway on the left. Drop down a giant shaft and, yet again, go through the left side passageway. This new room has more platforms that houses Skorps, Glow Flies, and Skreek’s, so once again, Space Jump across and enter the new room, although keep this room in mind since, with all the enemies, it’s not a bad place to get health and missile refills.
Press forward a bit and you’ll come to what looks like a fork in the road – an entrance leading up, and one leading left. The left entrance is full of lava right now, and will lead us into Phase Eight Part B (ugh), so instead head upwards. Start climbing up, and once again, you’ll see that you can either go left or right. It really doesn’t matter which way you pick since it’s all just a big circle anyways, so pick a path and follow it.
Press forward on your selected route and blast away any enemies that get in your way. You should go through a room or two until you eventually make it to the top. The top room will have a couple shallow pools of lava, so avoid that and press forward. You will eventually run into a Metroid shedding its skin, so get ready! Out will come… an ALPHA METROID. Okay, easy enough. This is the final Alpha Metroid on SR388, so do what you need to do to finish it off.

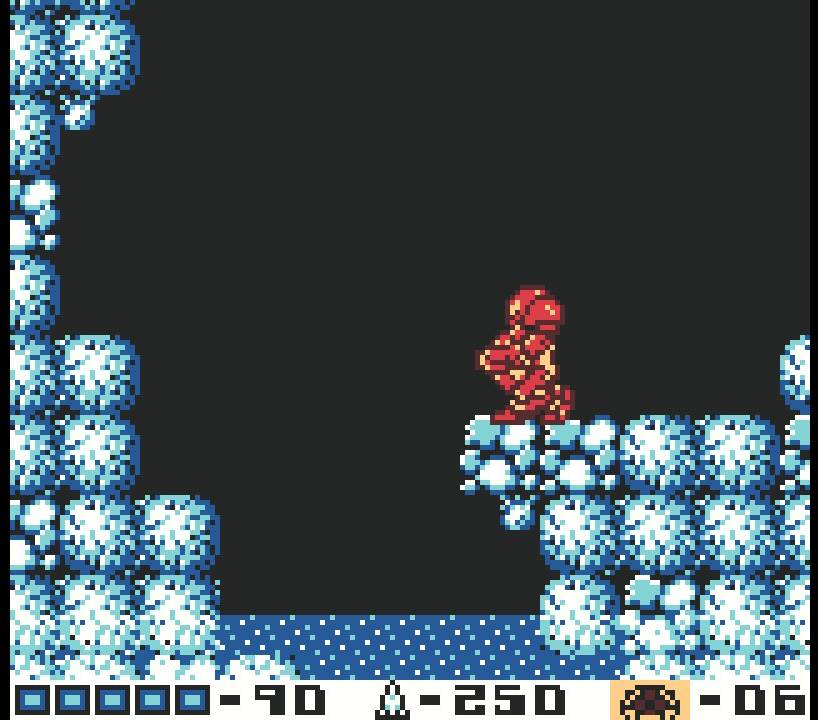
You’ll hear the familiar sounds of an earthquake, so make your way back down – past a second empty Metroid husk, by the way. Take whatever path you didn’t take the first time if you want and make your way back to the cul de sac entran- wait a second! There’s lava covering the way now!
With no other options available, head back to where you fought the Alpha Metroid, and prepare yourself – it’s time to see what was inside that other Metroid husk…
Phase Eight-A Route:
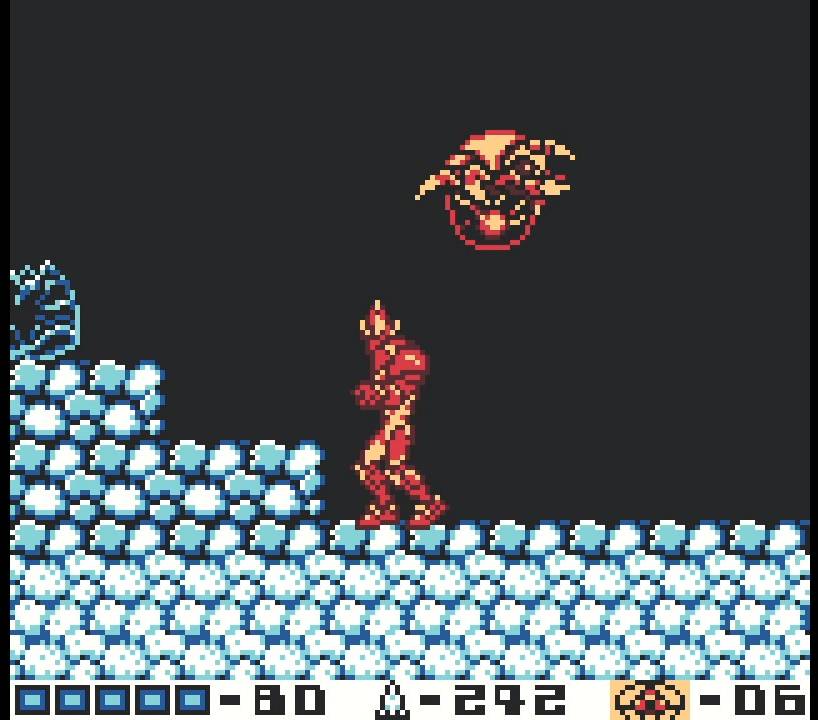
Omega Metroid
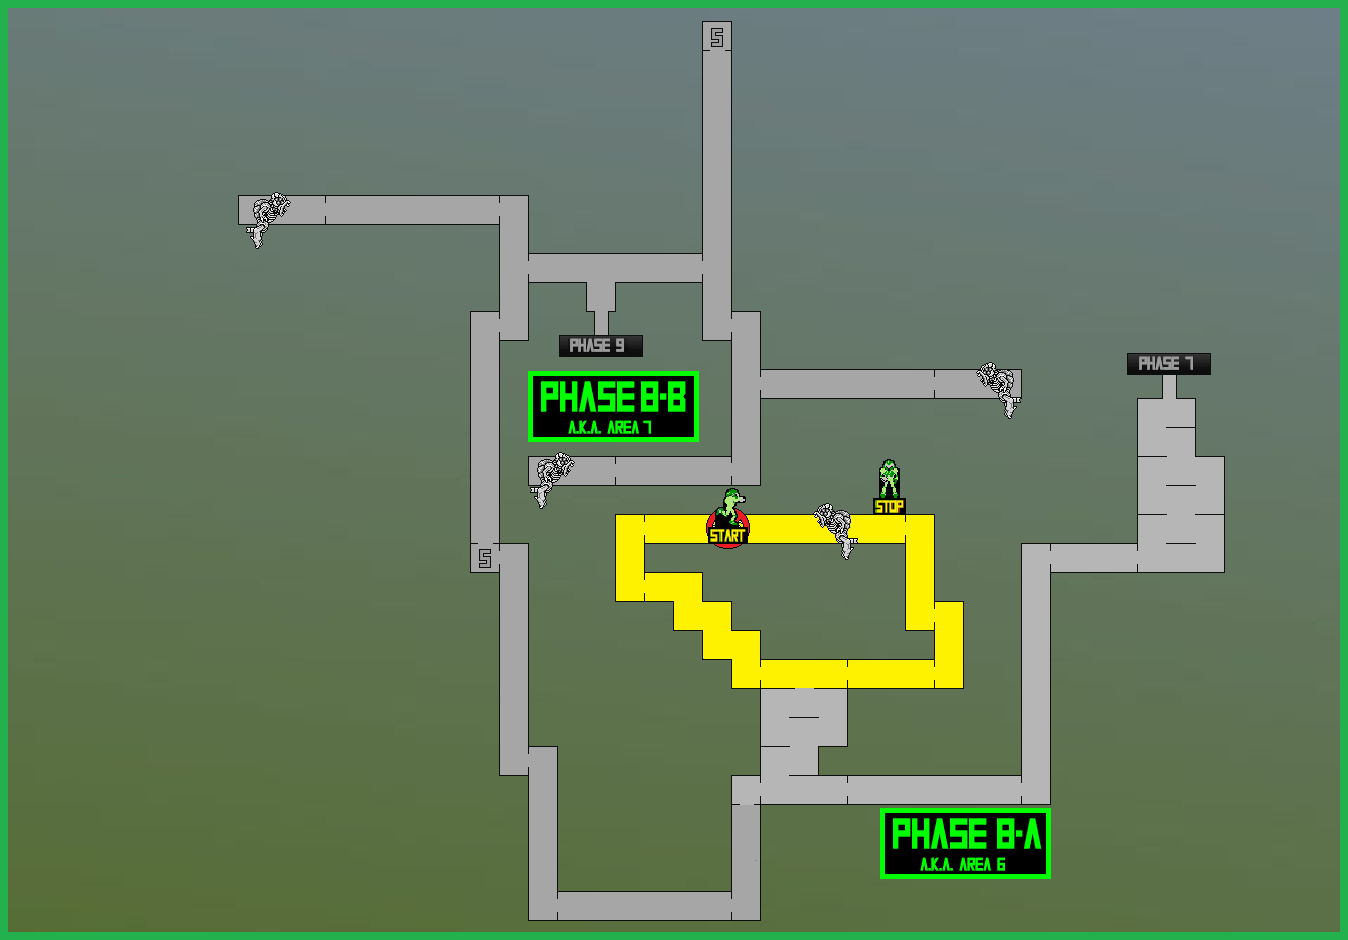
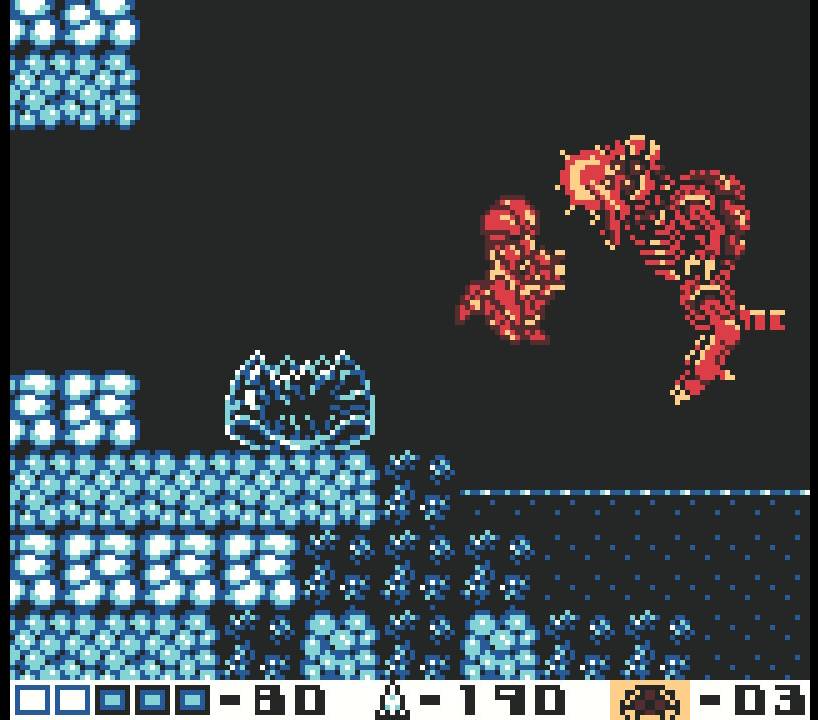
The apex predator of SR388 has finally revealed itself – the indomitable OMEGA METROID!
These hulking creatures are the final line of evolution for most Metroids, and certainly the most powerful opponent we’ve faced thus far. The Omega isn’t quite as speedy or agile as the Zeta Metroid, but the Omega Metroid more than makes up for it with steely defence and brute strength.
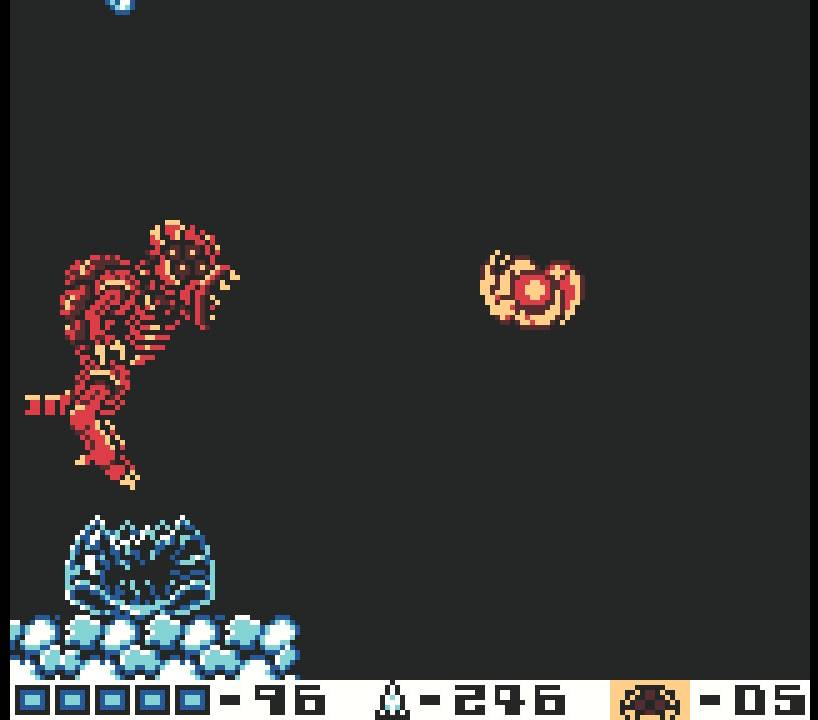
Most of the same movement patterns from the Zeta Metroid are true for the Omega Metroid as well – it will always be flying around, and it will often try and position itself directly above you, or somewhere else where it will be inconvenient to hit. It can shoot out a fireball which does major damage to you, and creates a shockwave on the floor if it misses.
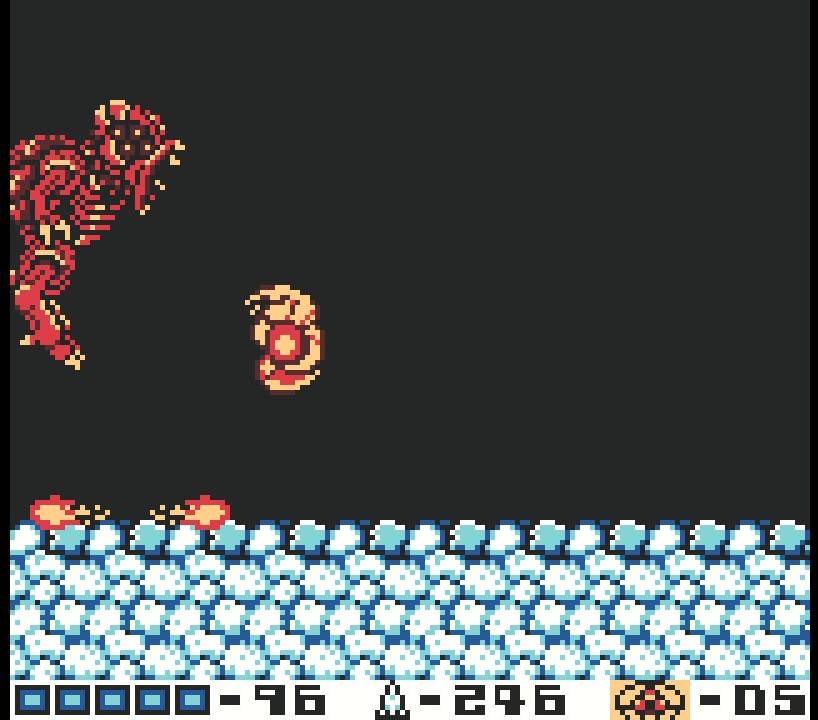
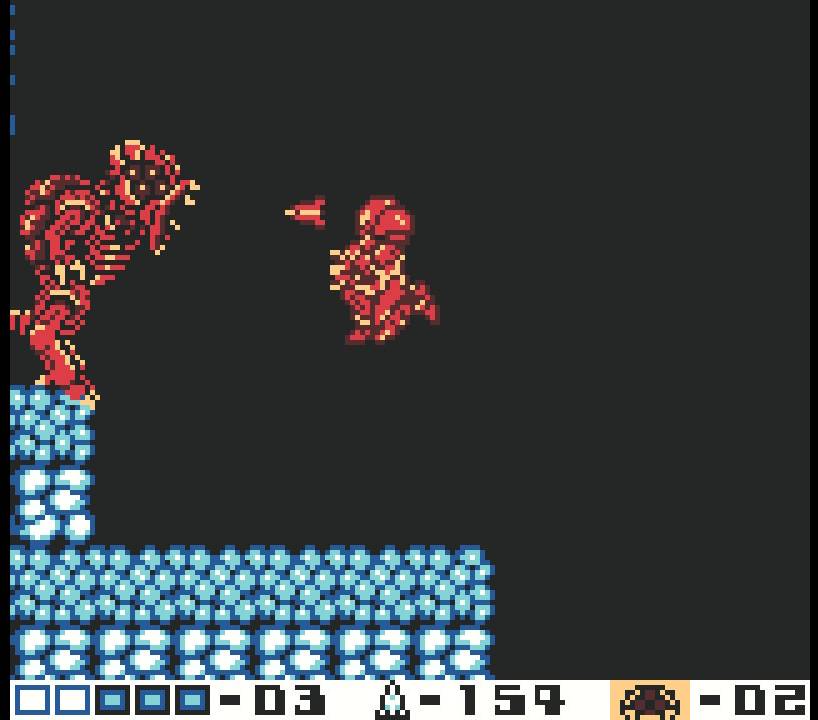
Thankfully, in terms of attacks, this is pretty much it. The difficulty comes not from not knowing what to expect, but from being able to go head-to-head with the Omega in close quarters combat. This Metroid is an absolute tank, requiring THIRTY (3-0) missiles to either its back, chest, or head in order to put it down. You will absolutely miss on some of these shots too, so expect anywhere from 40 to 60 missiles in order to get the job done.
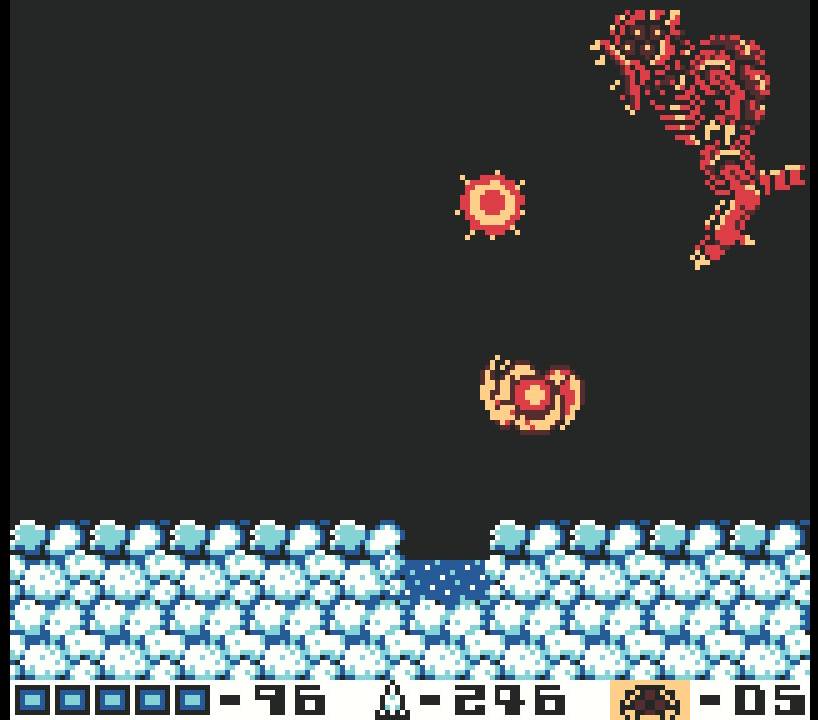
What will help you immensely in this fight is the Screw Attack. The Screw Attack itself won’t damage the Omega Metroid, but it will allow you to become impervious to damage, so you can Screw Attack into or away from the Omega and you won’t take any damage. You can also Screw Attack through the fireballs, so make sure to do that as well. This is a great asset when you need to just put some space between you and the Omega Metroid.
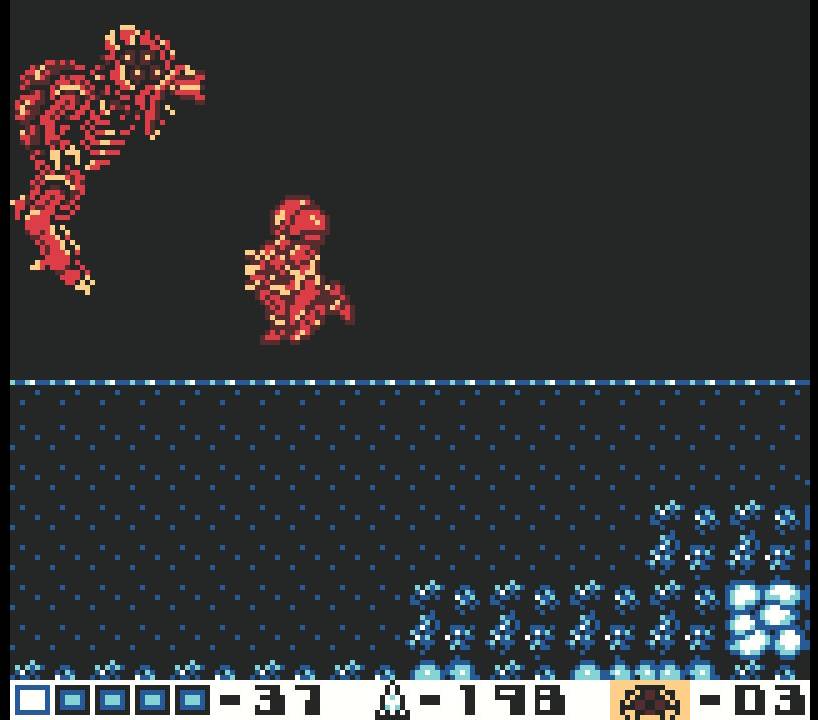
I’ve found the Omega Metroids are (for whatever reason – maybe because they’re slower?) also more susceptible to getting lured into that attack rhythm – you know the one where you hit it with a missile, stun the creature backwards a bit, and then by the time its recovered and moving again, you’ve nailed it with another missile. It’s not always perfect, but check out this video to see what I mean. If you can do this, it will make your life significantly easier.
Keep attacking, Screw Attack as much as you can when you’re not firing missiles, and hopefully you can lure the Omega into that familiar pattern of missile/stun backwards/charge forwards/missile. With enough punishment, this Metroid will fall.
Omega Metroids in the Tunnels
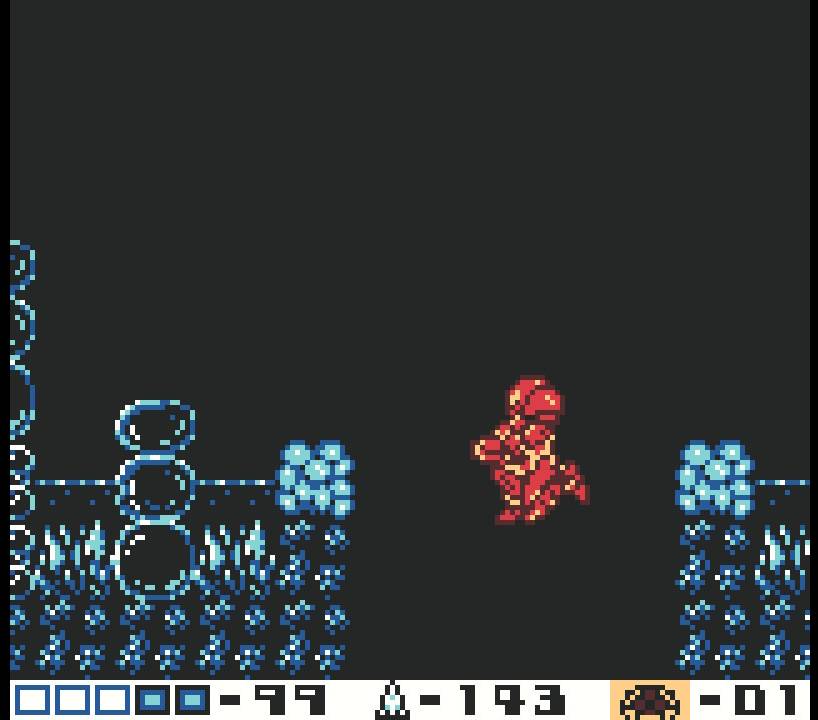
Once the first Omega Metroid has been vanquished, you’ll feel the earthquake, letting you know that you can proceed ahead. Depending on how your fight went, you may want to backtrack to the Tower and refill your missiles and energy; I know it’s a ways back, but better now than later, because that was just the beginning. Conversely, you could head back to the room with Skorps, Skreek’s, etc and grind away some health there too.
This next part will be a fairly straightforward path – there are three Omega Metroids left hiding in the tunnels of SR388, and we’ll need to hunt them down and finish them off. On a personal aside, I love this part – it’s very Aliens-esque as we trek closer and closer to the nest. Once again, the written walkthrough here is probably going to sound fairly easy, but what lies ahead will be tougher than nails.

When you’re ready, get yourself to the Phase Eight Part B entrance and drop down, blasting away any Skorps you see to collect either health or ammo. Go through the left passageway and you’ll be in a new room with a bunch of floating blocks over a pool of lava. Carefully cross the room, and take the left passageway.
Work your way up this next tunnel, blasting away any Glow Flies in your path. There are two long shafts that you’ll need to climb up. Eventually, you’ll go through a passageway that takes you to a Save Station and you’ll know things are getting heavy now, cause gone is the upbeat SR388 theme; in its place is the creepy and ominous theme of the Omega Metroids. They’re close now.
Climb up the shaft – there are no enemies or intrusions in your way, just a bunch of floating platforms. Take the right-side passageway and continue your ascent. You’ll see a passageway on your right, but ignore it for now and keep on climbing. Go through the passageway in the top-left.

The next room looks like a literal death trap, with thin pillars of rocks for you to jump on and spikes underneath if you fall. Press forward, and whatever you do – don’t fall, okay? When you get to the end and see the passageway, buckle up and take a deep breath: when you go inside, an OMEGA METROID will be waiting for you! Employ all of the same strategies as last time, and with a little luck, hopefully you eradicate the beast relatively unscathed.
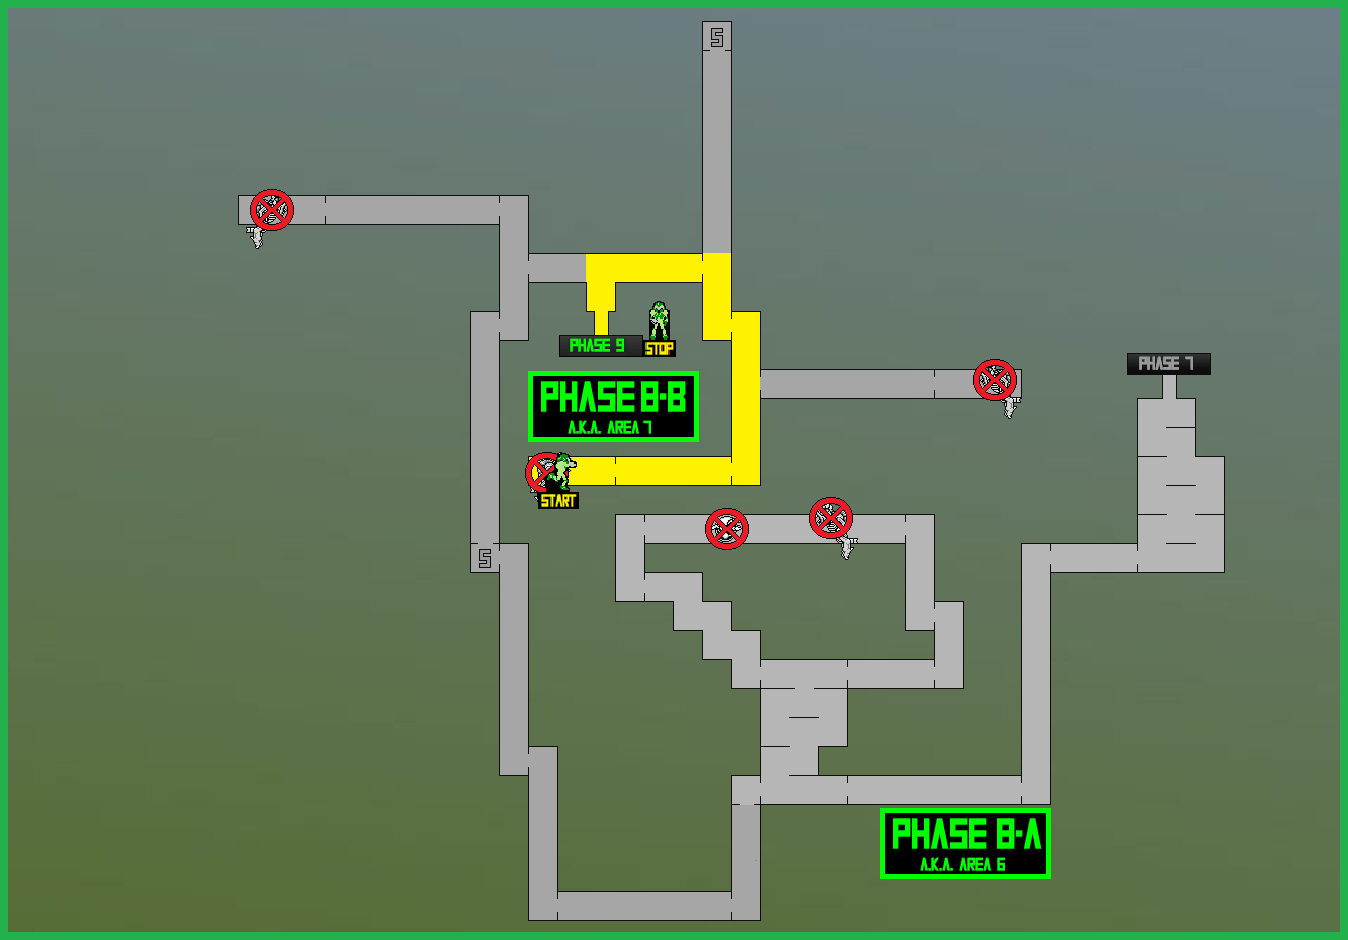
From here, backtrack back to the tunnel with the rightside entrance we skipped past. Enter it and press forward. This new room has rocky pillars and spikes underneath as well, but more importantly, it has a big pit in the middle. This is the entrance to Phase Nine, so skip past it for now and continue forward until you reach the end of the room.
You’ll enter another long shaft, with options to either go up or go down. Going up will lead you to a Save Station, so if you want to play it safe, ascend upwards and save your game. Either way, you’ll need to take the bottom entrance. This is yet another long shaft, which luckily enough has some Moto’s creeping around who, more often than not, drop big energy refills! There are two passageways you can choose to enter – one in the middle-right and one on the bottom-left – so let’s choose the middle-right to start off with.
Enter and cross the rocky pillars. Once you get to the end, step past the Metroid husk and prepare to faceoff with an OMEGA METROID! Using the same tactics as before will yield the same result, so destroy the foul creature and continue your march. Backtrack to the previous shaft and head towards the bottom-left entrance.
For the final time, cross the rocky pillared, spiky floored pit; I don’t need to tell you what awaits when you enter the new room. This is the last OMEGA METROID in the game, so employ the same strategies as before and the Omega Metroids will be no more.
Phase Eight is finished, so head back to the giant pit from earlier. Only one Metroid remains.
Omega Metroids in the Tunnels Routes:
Phase Eight to Phase Nine Route:
Next Chapter: The Finale – Queen Metroid