


Metroid II: Return of Samus Walkthrough: The Waterworks – Gamma Metroids
Walkthrough
- A Few Things To Know Before Starting
- The Ruins – Alpha Metroids
- The Waterworks – Gamma Metroids
- The Complex – Gamma Metroids
- The Tower – Zeta Metroids
- The Tunnels – Omega Metroids
- The Finale – Queen Metroid
The Varia Suit
Deeper and deeper we go into SR388! Ready? Let’s go!
Once you’re at the Phase 3 entrance, drop down the tunnel where the acid used to be. Drop down and keep dropping and dropping; eventually, when you hit the bottom, you’ll want to take the right passageway. Follow the path and you’ll walk over a Morph Ball tunnel that takes you to another pool of lava. Since we can’t go down there, Morph down and roll through the tunnel you walked over.
Walk left and keep pressing: eventually, you’ll get to a large vertical tunnel. Climb up and up and take the left passageway when you hit the top. You’re now officially in the Waterworks.
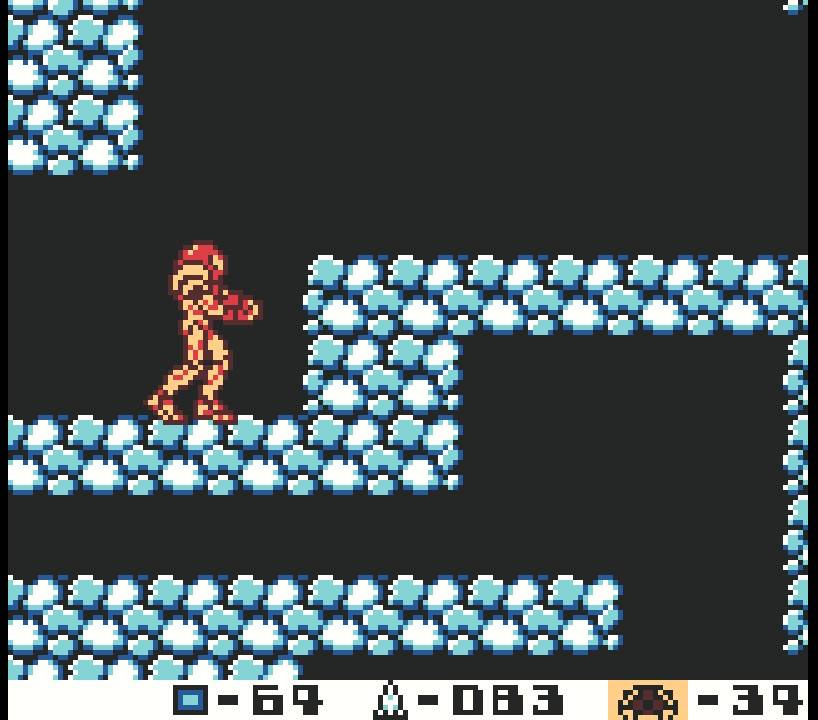
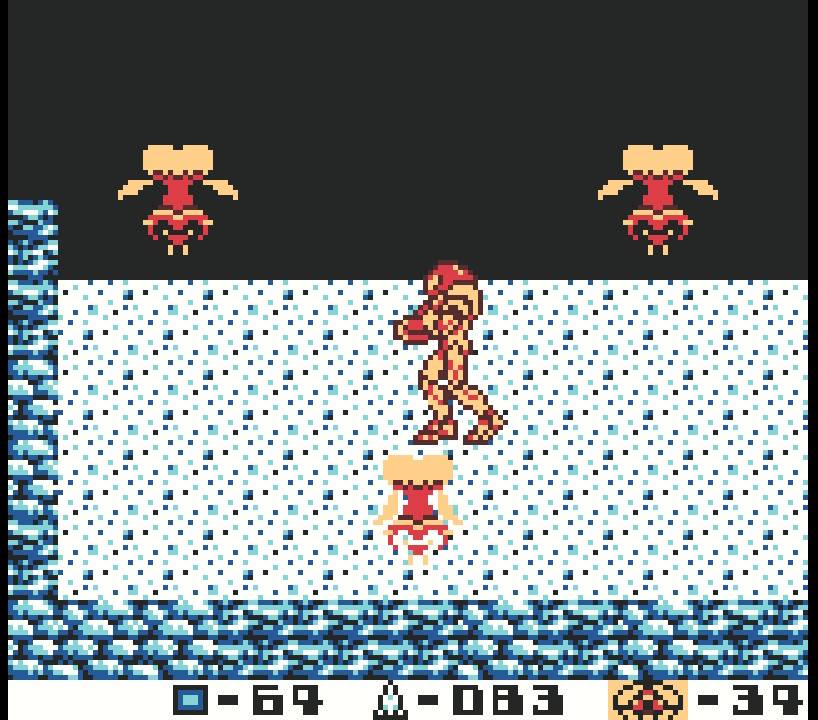
You’ll be in a room filled with sand pits and a couple of strange looking floating enemies called Septogg’s (not much, what’s up with you?). They won’t damage you, and you can actually ride them, though they will sink right away. Proceed past them and into the next room. You’ve got an ALPHA METROID to take care of, so do what you need to do and move on.
The next room you enter is a giant space that houses a building in the middle – we’ll be referring to this building as the Hydro Station. Press forward a bit, taking out any enemies in your way and drop when you get to the Hydro Station entrance. Instead of going in, take a quick detour.
Stand on the pillar and jump up to the small ledge just above the Hydro Station’s entrance. Spider Ball your way upwards and you’ll reach a small clearing where a couple of Chute Leeches and a new spiky enemy called a Senjoo are waiting for you. Take them out and spider crawl up the side of the Station. You’ll see a small tunnel in the wall, so roll in and you’ll be rewarded with MISSILE EXPANSION #7!
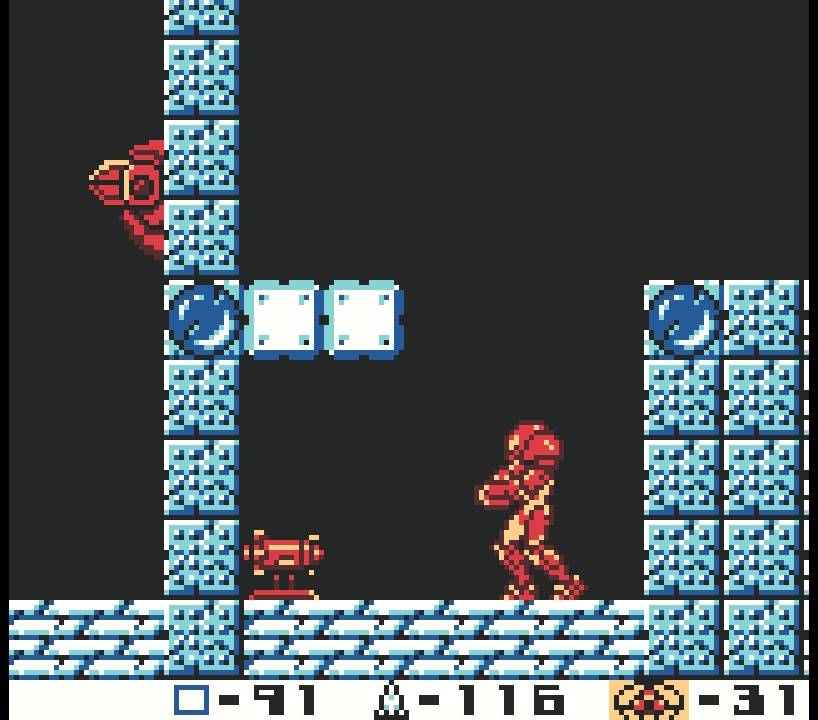
With that done, drop back down and enter the Hydro Station. Use the Save Station if you need to and press forward. You’ll be in a new room with two pipes running vertically through the room – we’re going to be using both of those soon enough! Be careful, as a little further in, there’s an automated sentry called an Autrack that will shoot lasers at you. You can actually freeze the lasers with your Ice Beam, but these enemies can be tricky, so just stay frosty. Make your way all the way to the other end of this room and take the leftside passageway.
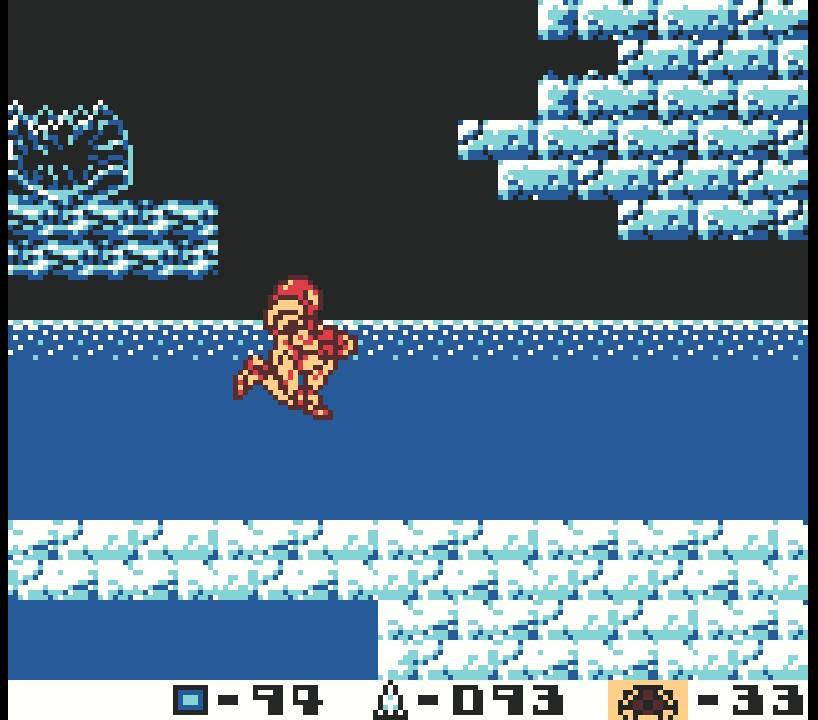
You’ll walk past another Save Station and then be back outside after. Walk forward on the bridge a bit and then drop down into the water. There’s a passageway on the lower eastside of the Hydro Station that you’ll want to slip through. As soon as you enter, get to the far wall and use your Spider Ball to climb up and grab MISSILE EXPANSION #8.
Once that’s done, drop down to the very bottom of this submerged tunnel. Anyone else notice that this version of Samus’s Suit just comes fully equipped with Gravity Suit capabilities by the way? Water ain’t got nothing on you in this game! Once you’re at the bottom, roll through the white meshy part of the wall and drop down.
Press forward in the water and you’ll run into another ALPHA METROID! Take it out and continue forward. When you come to the small tunnel going upwards, wait! There’s a hidden tunnel on the ledge just below you that you’ll want to roll through. Follow the path and you’ll come across MISSILE EXPANSION #9 (check out this video for a better idea where that secret tunnel is). After you grab that, roll back and then crawl up the tunnel with your Spider Ball and you’ll go through one of the pipes from the earlier room. When you finally pop out, roll to your left and continue forward. Bust open the red missile door and you’ll see the Chozo Statue has… nothing?!
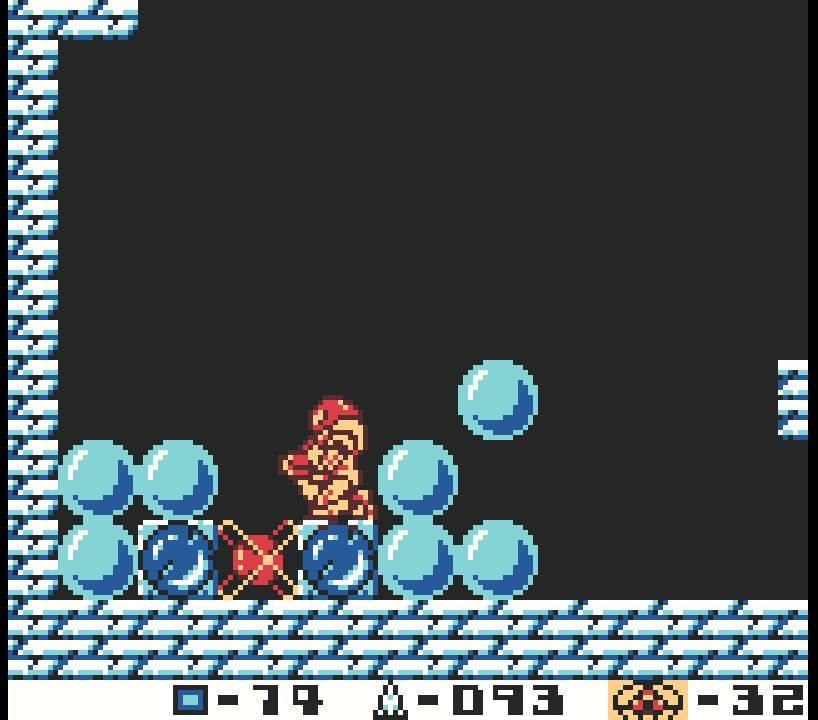
Not to worry – bomb the floor just before the Statue and drop down into the little alcove directly underneath the Chozo. Bomb again by the wall and you’ll be shot up into a tunnel in the wall. You’ll roll into a mew room with a bunch of blue orbs and one red one – destroy all the blue orbs with bombs until you can reach the red one. Blast it open and you’ll acquire the VARIA SUIT!
Varia Suit Route:
Arachnus
With your spiffy new suit equipped, you’ll now want to make the long trek back to the waters at the very bottom of the Hydro Station where you entered.
Once you’re there, jump up so you’re directly outside the Station – go in and use the Save Station if you want, but after you’re done, exit back out through the left. Jump up to the ledge above the entrance and use your Spider Ball to start climbing up the side of the Station; either blast away or avoid any enemies you see!
You’ll eventually reach an upper ledge that has an entrance that a very-bombable-looking block is in front of, but ignore it for now and keep on rolling up until you’re at the very top of the Station. There’s a weird tree-esque enemy here called a Blob Thrower (is this the best enemy name in the series?) that’s shooting out little blobs that you can shoot for health if you need it, but if not, just jump over it.
Press forward a bit and you’ll see an opening on the roof. Fall down and head to the left. Blast open the red missile door and enter the new room. You’ll see the welcome sight of a Chozo Statue…. however, you’ll notice something looks a bit… off. Shoot the orb the Statue is holding and get ready!
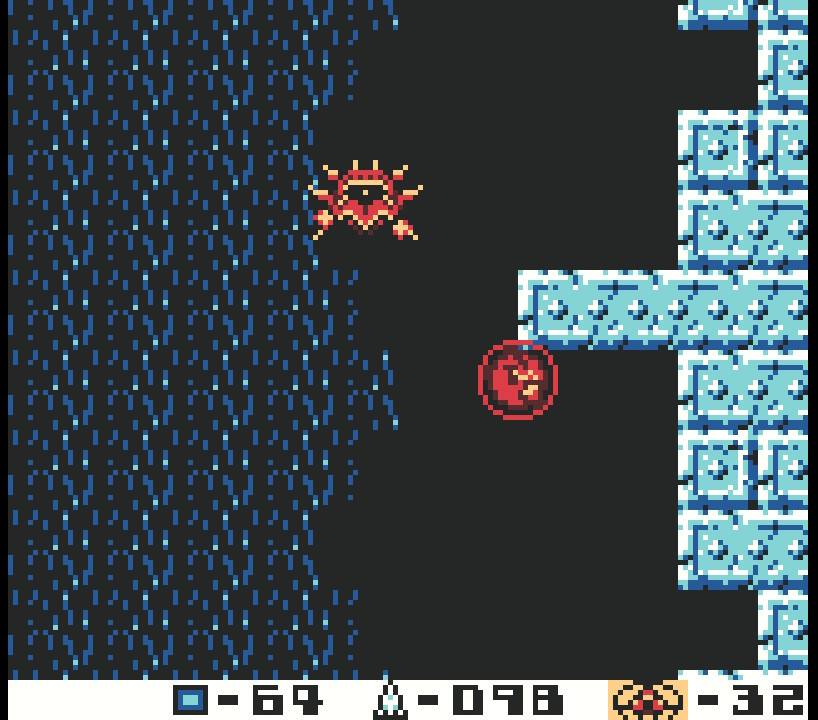
Out will pop Arachnus, an armadillo-looking creature native to SR388 and a constant thorn in Samus’s skin! This isn’t a boss battle per say, but Arachnus can still give you some trouble if you don’t know what to do, so let’s dive in!
First and foremost, you will want to avoid Arachnus jumping around everywhere. It will usually jump in short, high bursts (maybe three of them give or take will cover the entire battle area), so don’t get caught under or around the shell while it’s airborne! Arachnus will also shoot out fireballs at you when you’re facing it, which can be hard to avoid. You can freeze the fireballs, but you need to hit them just right
Now, you’ll be rightfully tempted to combat Arachnus with your missiles and bombs, similarly to how you would combat any of the Metroids, but this is actually by far the least effective way to combat this monster. Arachnus will take a ton of missiles to even do modest damage, getting the missile to hit where you need to is hard, and you will take so much more damage doing this, chances are you’ll be seeing that Game Over screen before you can say “Hasta la Vista, baby”.

No, the key is to enter Morph Ball form and lay some bombs. When you lay a bomb, Arachnus will usually jump, so just position yourself to where Arachnus is going to land and lay your bombs there. By the time the space armadillo lands and re-positions itself to fire, the bomb should go off, causing Arachnus to jump again and giving yourself the time to position your next bomb.
Five bombs should do it, so if everything goes according to plan, this fight should take about 30 seconds. If you run into trouble, just try and reset and start the pattern all over again.
Once Arachnus is no more, you will acquire the single most underrated powerup in the series – the SPRING BALL!
Arachnus Route:

High Jump Boots
Now that Arachnus is no more, make the trek back up to the top of the Hydro Station and head towards the left. Jump over the Blob Thrower and drop down to the lower ledge; remember that very-bombable-block we passed by earlier? It’s time now to destroy it! Roll through and enter the passageway back into a different level of the Station.
As soon as you walk in, yet another ALPHA METROID will appear and try to take you out. Lay the smackdown on this Alpha with your usual five missile shuffle and then bomb the floor to enter the alcove below the Metroid husk. Morph down and jump towards the right wall; you’ll enter a secret tunnel. Roll forwards and then jump up and then fall down the second water pipe.
You’ll land on a platform that you will want to drop down from. Go towards the left hand wall and jump up in Morph Ball form. Press the joystick towards the left and you’ll enter another secret tunnel in the wall. Lay a couple bombs and keep rolling until you come out on the other side.

Destroy the enemy in front of you and then jump up on the ledge and blast the red missile door with 5 missiles. Shoot the orb that the Chozo Statue is holding and you will see my personal favorite beam in the game- the WAVE BEAM. Just as a reminder, the beams don’t stack in Metroid II, so you don’t need to grab the Wave Beam if you don’t want it. There are no wrong choices so only take this if you choose. Either way, roll back through the tunnel.
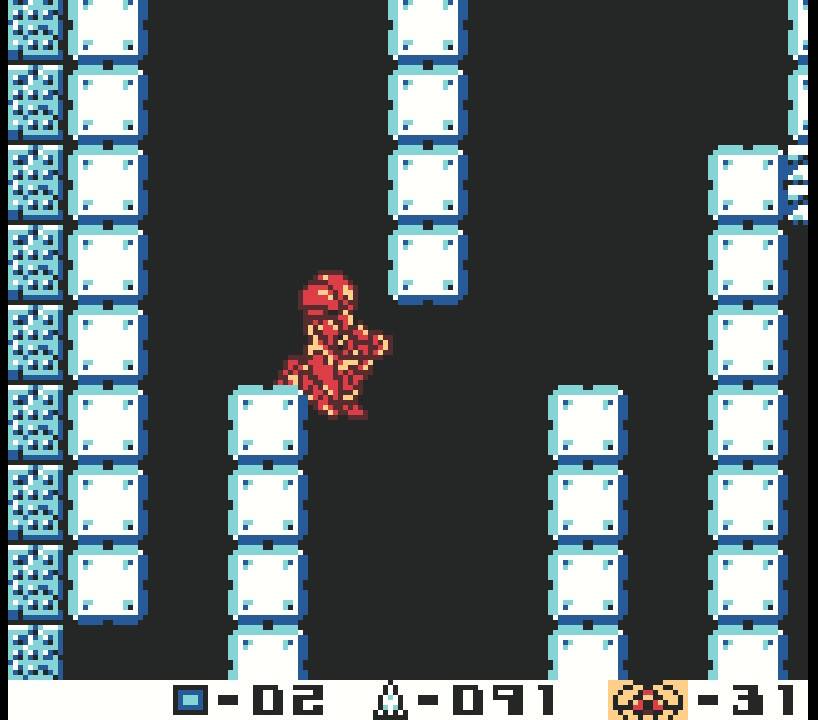
Now that you are back under the platform that you originally fell from press forward and go through the right passageway. You’ll be in a new vertical shaft with a ton of blocks in straight lines; drop to the very bottom and take the passageway on the left.
Press forward in the room and destroy two Wallfires; there are a couple of easy missile expansions here. Right after the second Wallfire, destroy some blocks and drop down to the alcove to grab MISSILE EXPANSION #10! Directly above, jump up using your Spring Ball and, at the last moment, activate your Spider Ball to stick to the roof. Lay a bomb at the one breakable block and move out of the way. When the block is destroyed, roll through the opening to grab MISSILE EXPANSION #11.
Keep pressing towards the left, destroy the last Wallfire, and take the left passageway. Drop down and go back through the right and you will enter a similar looking room to the room directly above. Destroy two Wallfires and then shoot the breakable blocks at the bottom to grab MISSILE EXPANSION #12. You will see another couple expansions but you cannot access them from this side of the room, so backtrack to the vertical shaft with all the lines of blocks.
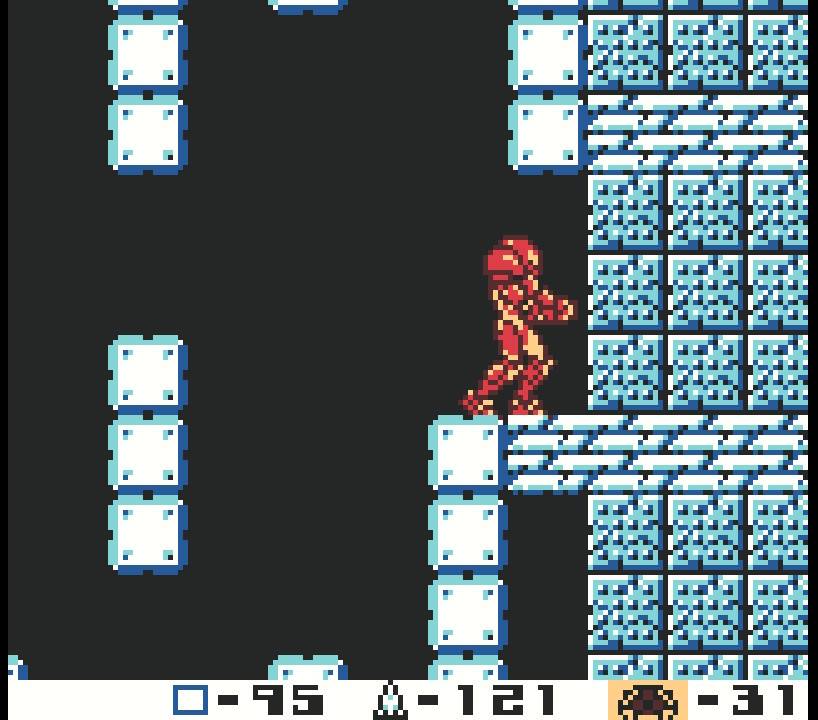
About halfway up on the right is a passageway that’s somewhat hidden, but getting there is a pain. You can either use your Spider Ball to climb up or you can shoot away the blocks, jump straight up, and use the blocks as platforms when they respawn. You can damage yourself doing this, so be careful.
Either way, get yourself through the passageway; this new room is just a big shaft, so drop down and head through the red blast door. Shoot the Chozo Statue to reveal your latest powerup – the HIGH JUMP BOOTS! Alright! Before you leave, though, lay a bomb on the floor to get yourself under the Statue.
Spring Ball jump towards the wall and you’ll find yourself in another little tunnel. Lay some bombs, roll through, and what do you know – it’s the expansions from earlier! Jump up to the ledge and shoot the blocks below you to grab MISSILE EXPANSION #13, and then shoot the blocks above you, use your new High Jump Boots to fly high and grab ENERGY TANK #2!
That is now officially everything the Hydro Station has to offer, so make the long journey back to the outside of the Station (I know it’s easier typed than done!) and stop when you get to the west side entrance.
High Jump Boots Route:
Metroids in the Waterworks
When you’ve made your way back outside the Hydro Station and are ready to rock, head left across the ruined bridge and through the leftside passageway. You’ll be in a vertical shaft with a bunch of floating platforms now. Start climbing up and keep going until you see a passageway in the top right corner. Head through and you’ll be back in the giant room with the Hydro Station, Morph down and use your Spring Ball to jump up and stick to the ceiling above the passageway you entered from.

There’ s another expansion hidden here, but it’s tricky to spot, so use the below video to help you out! Basically, you want to roll alongside the wall and keep rolling until you’re in a little groove where the ceiling is flat for a second. You’ll want to lay a bomb here, but be careful – obviously your bomb will deactivate your Spider Ball! The best trick is to lay the bomb and as soon as it detonates, activate the Spider Ball again; you’ll start to “climb” up. Lay about 5 or 6 bombs and you’ll enter a tunnel; roll over to the right to grab MISSILE EXPANSION #14!
With that taken care of, roll back out of the tunnel and back to the Hydro Station room wall. You actually want to keep rolling upwards on the wall until you see a ledge. Unmorph and head through the entrance to your left. Inside this new room are some spikes and a Metroid husk – you know what that means! You’ll have an ALPHA METROID on your tail, so give it a little “how’s your father” and destroy it. If you need, by the way, there’s an Energy Refill tucked away in the corner of this room! Once you’re finished, drop back down to where we started, outside of the Hydro Station.
Head back to the vertical shaft room with the floating platforms and this time drop down, taking the righthand passageway at the bottom. You’ll fall into a new room with spiky vines at the bottom and a platform with a Metroid husk in the center. There are paths to your left and right, and it doesn’t exactly matter what side you take first, but if you want to follow along, let’s head right. Press forward through the small room until you enter another, and then buckle up – evolution is about to take place in front of your very eyes!
Waterworks Route 1:

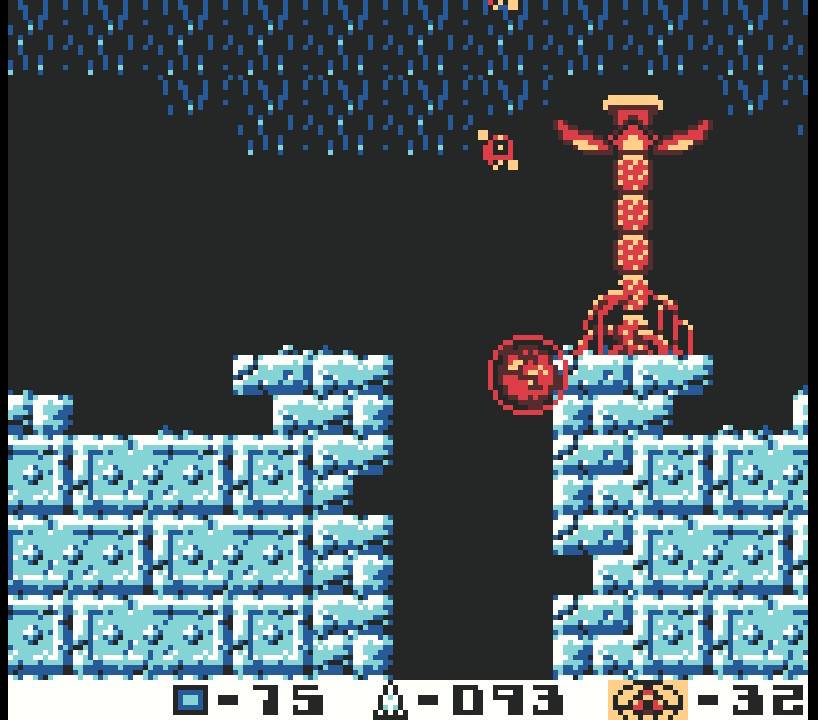
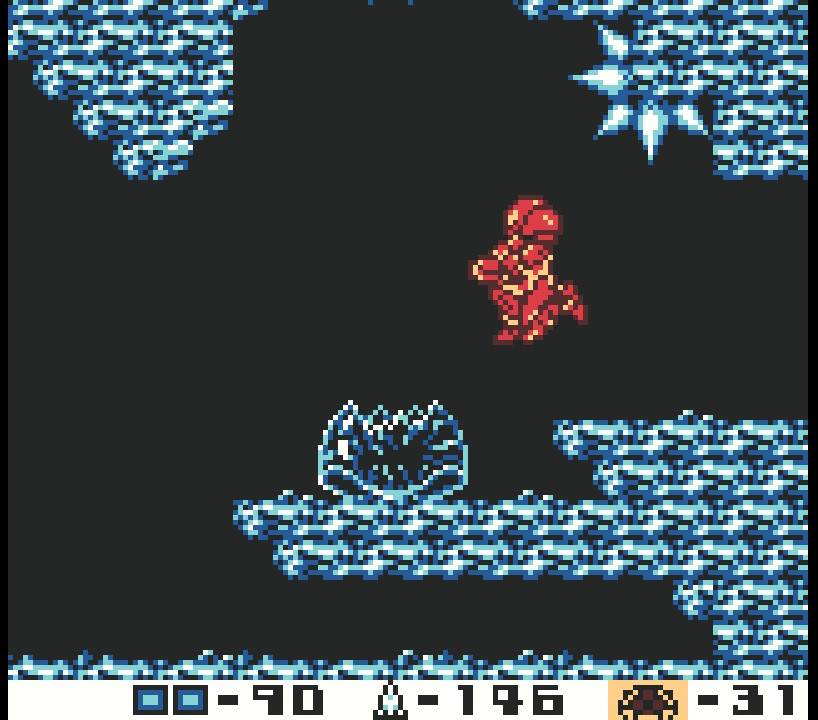
Gamma Metroid
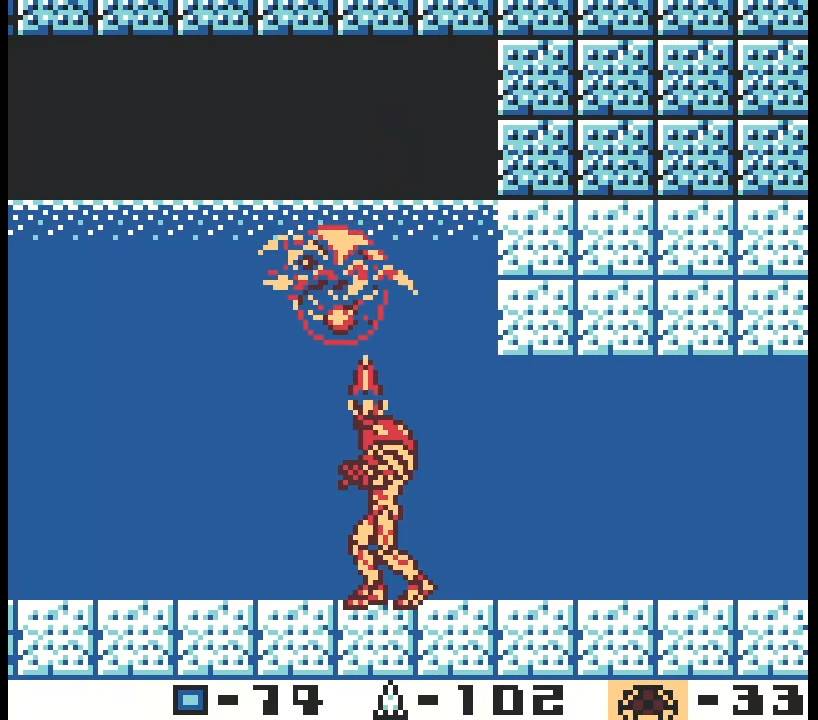
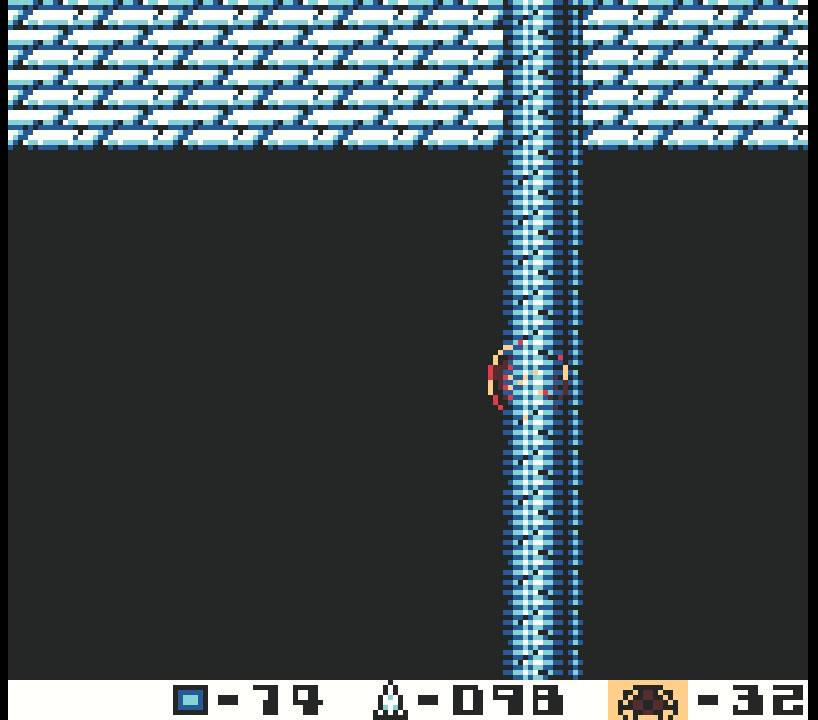
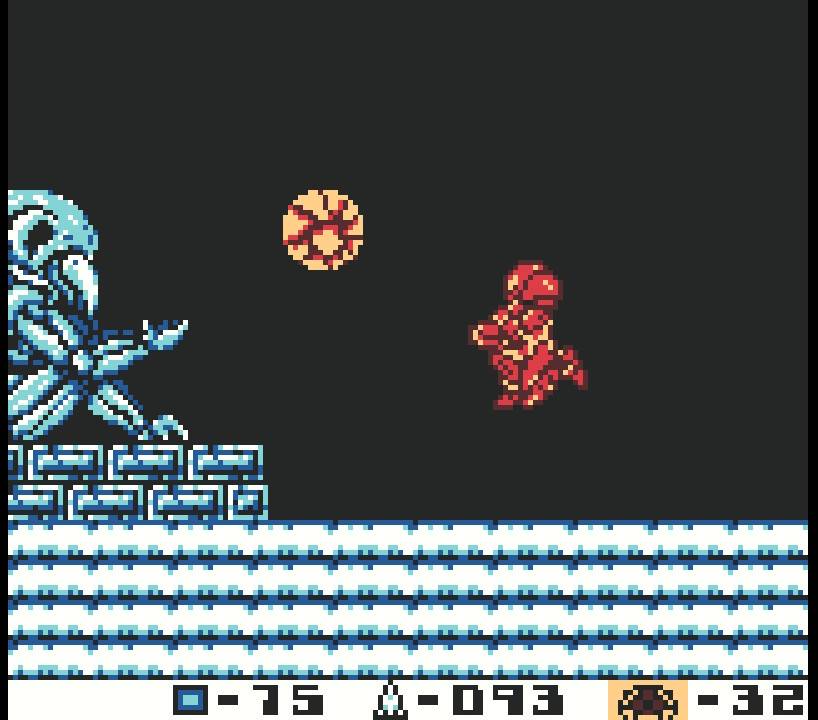
As you enter the room, you’ll run into what looks like a regular Alpha Metroid, until it starts to change and evolve into a deadly GAMMA METROID! Gamma Metroids are bigger, bulkier, faster, hit harder, and have a higher defence, so you’ll need to be on your game. Additionally, the Gamma’s also have some sort of electrical bolt that they will fire in short bursts, typically in a sweeping, clockwise motion. Luckily, this attack doesn’t shoot far (it almost looks like it’s attached to the Gamma, actually), but that means getting close to this Metroid is going to be bad for your health.
That’s too bad, as Gamma’s have the same tendency as the Alpha Metroids to just ram into you as their primary attack, and their bigger bodies makes them harder to avoid. Fortunately, that also means that their weak spot is bigger too! You’ll want to direct your missiles to the underside, directly to the face, or to the back. Gamma Metroid’s will require double the missiles – 10 – to be destroyed, so aim true.

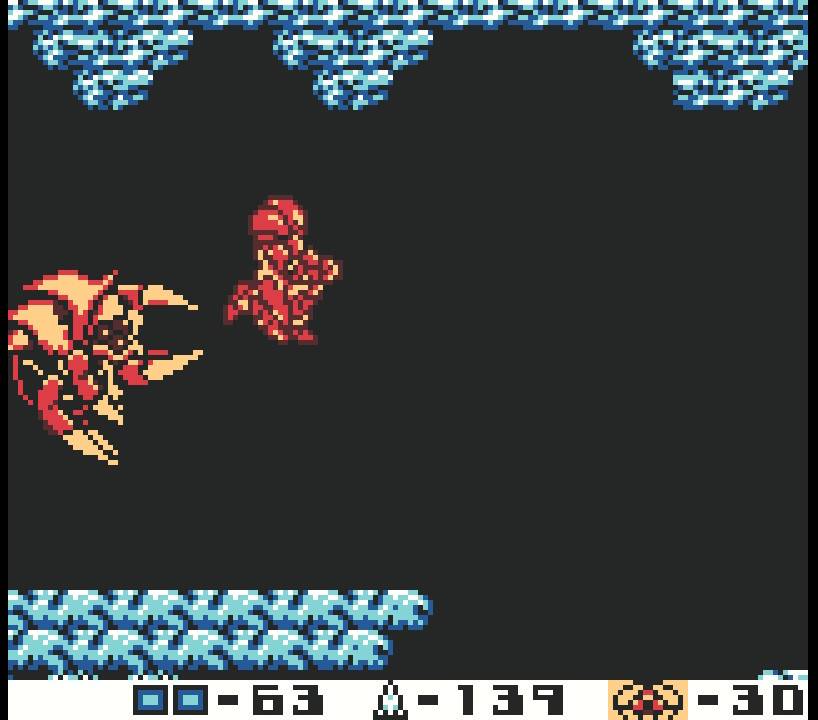
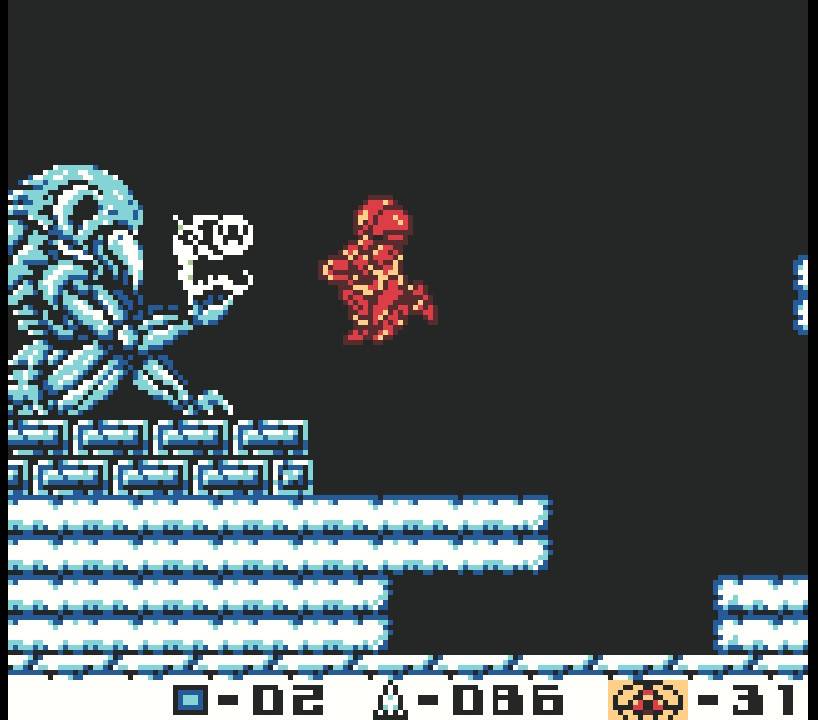
A couple of quick hacks that might make your life easier: use the same jumping technique that we employed on the Alpha Metroids where you jump straight up to lure the Gamma after you, allowing you to blast its underside. Another neat trick that we can pull off (not in every Gamma fight, but in a few) actually involves using the Game Boy’s limitations to our advantage! If you need a reset or a break, just walk away from the Gamma and put some distance between yourself and it. If any creature is off-screen, it’s basically frozen. This means you can creep forward a bit and blast the Metroid with a free missile shot if it’s positioned right!
Try and get the Gamma into a rhythm where you’re standing stationary and blasting it with a missile, the Metroid gets knocked back, and when it comes back towards you, BAM – another missile! Ten missiles later, and you will destroy this monster!
Metroids in the Waterworks Part 2
After your first Gamma Metroid has been eliminated, head back towards the platform with the Metroid husk and take the right passageway. There are a few Metroids here, so let’s do this fast and dirty!
As soon as you enter the right passageway, you’ll have an ALPHA METROID to contend with, so do your thing and press forward, past another Metroid husk, through the left passageway. Drop down in this new room and you’ll see it looks identical to the room you just left – spiky vines on the floor, a platform with a Metroid husk, and passageways on either side of you. Head towards the right first and press forward. The next room is full of sand, but your Wave Beam will carve that up like a turkey on Thanksgiving, so press forwards into the next room. Walk forward a bit, past yet another Metroid husk, and a second ALPHA METROID will accost you. Remind this annoying Metroid who’s house SR388 is, and once the Alpha is destroyed, backtrack and take the left passageway.
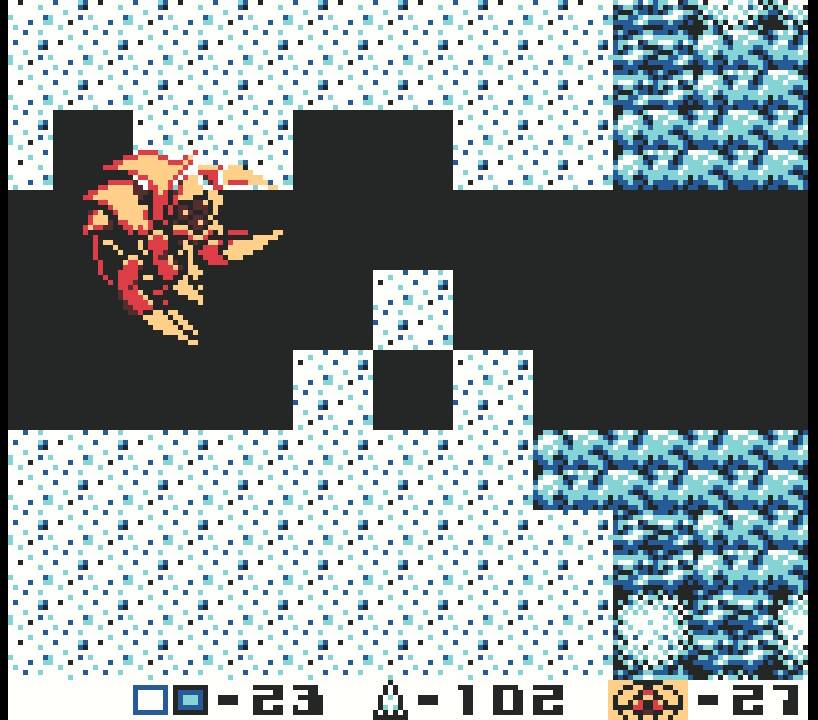
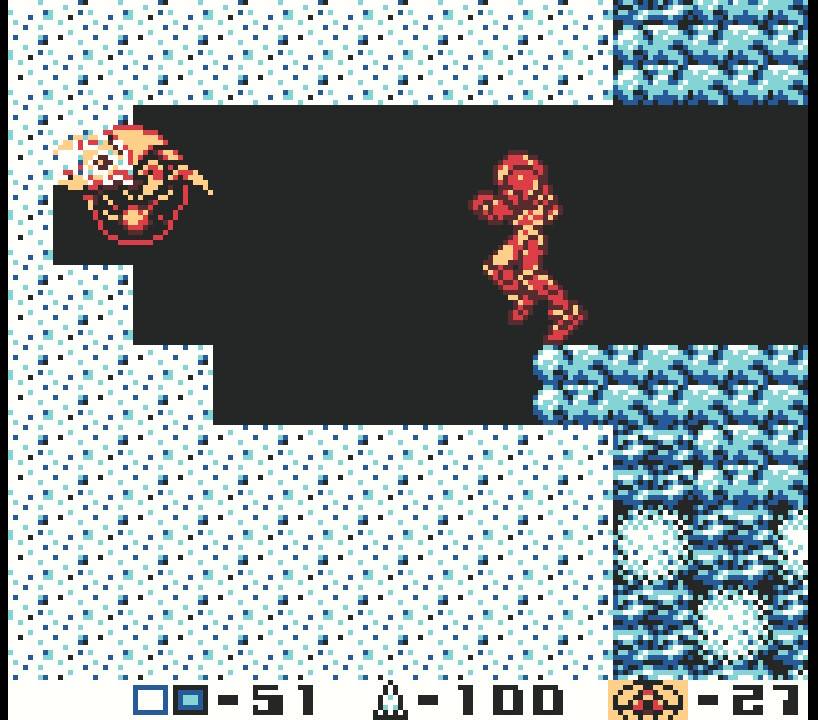
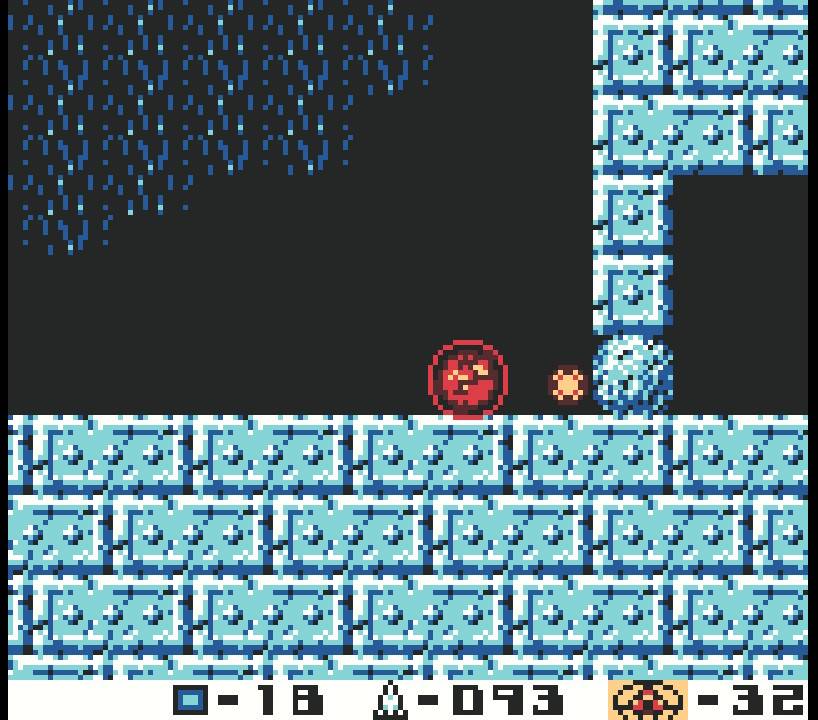
You’ll be in another room covered in sand, however, this side has a nice little surprise – a GAMMA METROID! Break away the sand and try and just pump it with missiles. The tight space can be good and bad – good if you can level the Gamma with missiles and halt its advance; bad if the Gamma gets close to you since there’s really nowhere to go. Either way, you’re probably going to take some damage here, which is actually fine, because in the room behind the Gamma there’s an Energy Refill. Use it as SR388 starts to rumble with another earthquake.
With your business in the Waterworks taken care of, it’s time to press forward and delve deeper into SR388. Backtrack and leave the Waterworks. Get yourself to the Phase Four entrance (use the routes!) and get ready to enter the Gamma Metroid infested Complex.
Waterworks Route 2:
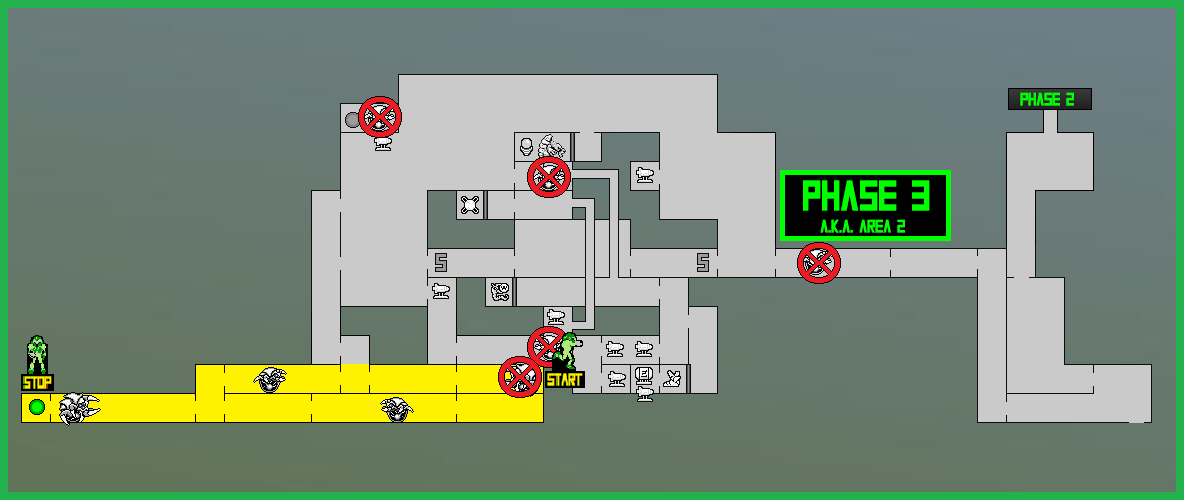
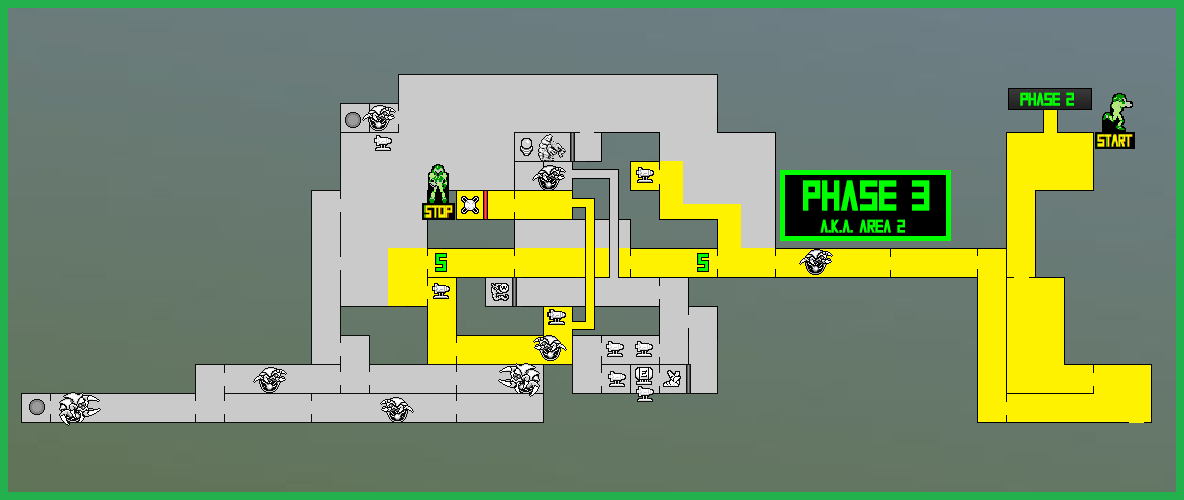
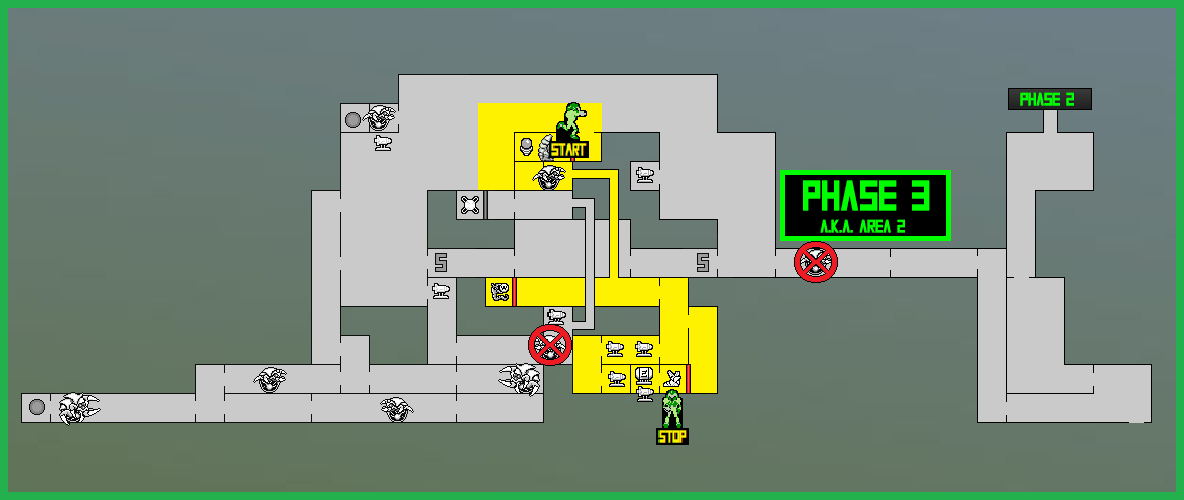
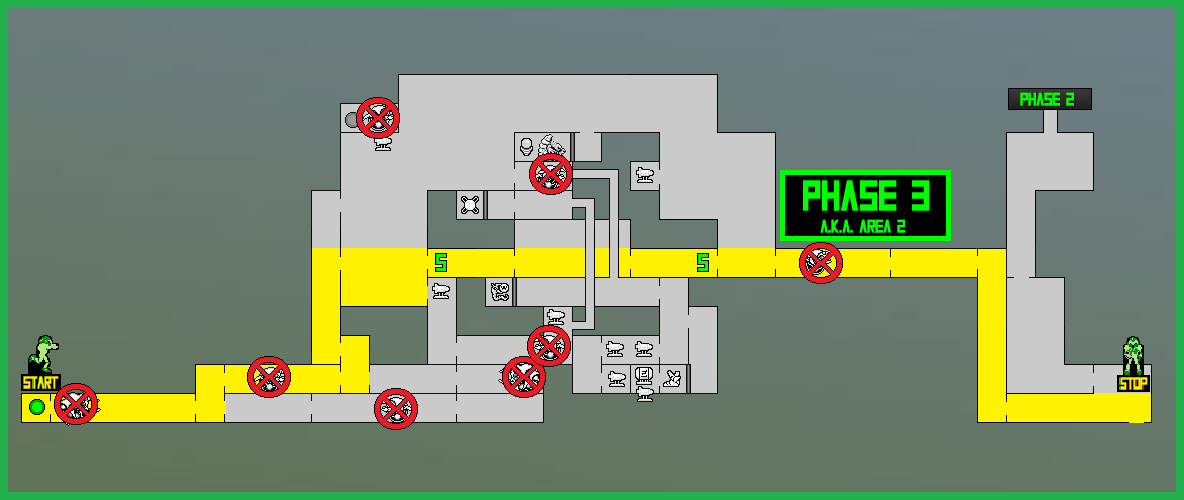
Phase 2 to Phase 3 Route:
Next Chapter: The Complex – Gamma Metroids