


Metroid II: Return of Samus Walkthrough: The Ruins – Alpha Metroids
Walkthrough
- A Few Things To Know Before Starting
- The Ruins – Alpha Metroids
- The Waterworks – Gamma Metroids
- The Complex – Gamma Metroids
- The Tower – Zeta Metroids
- The Tunnels – Omega Metroids
- The Finale – Queen Metroid
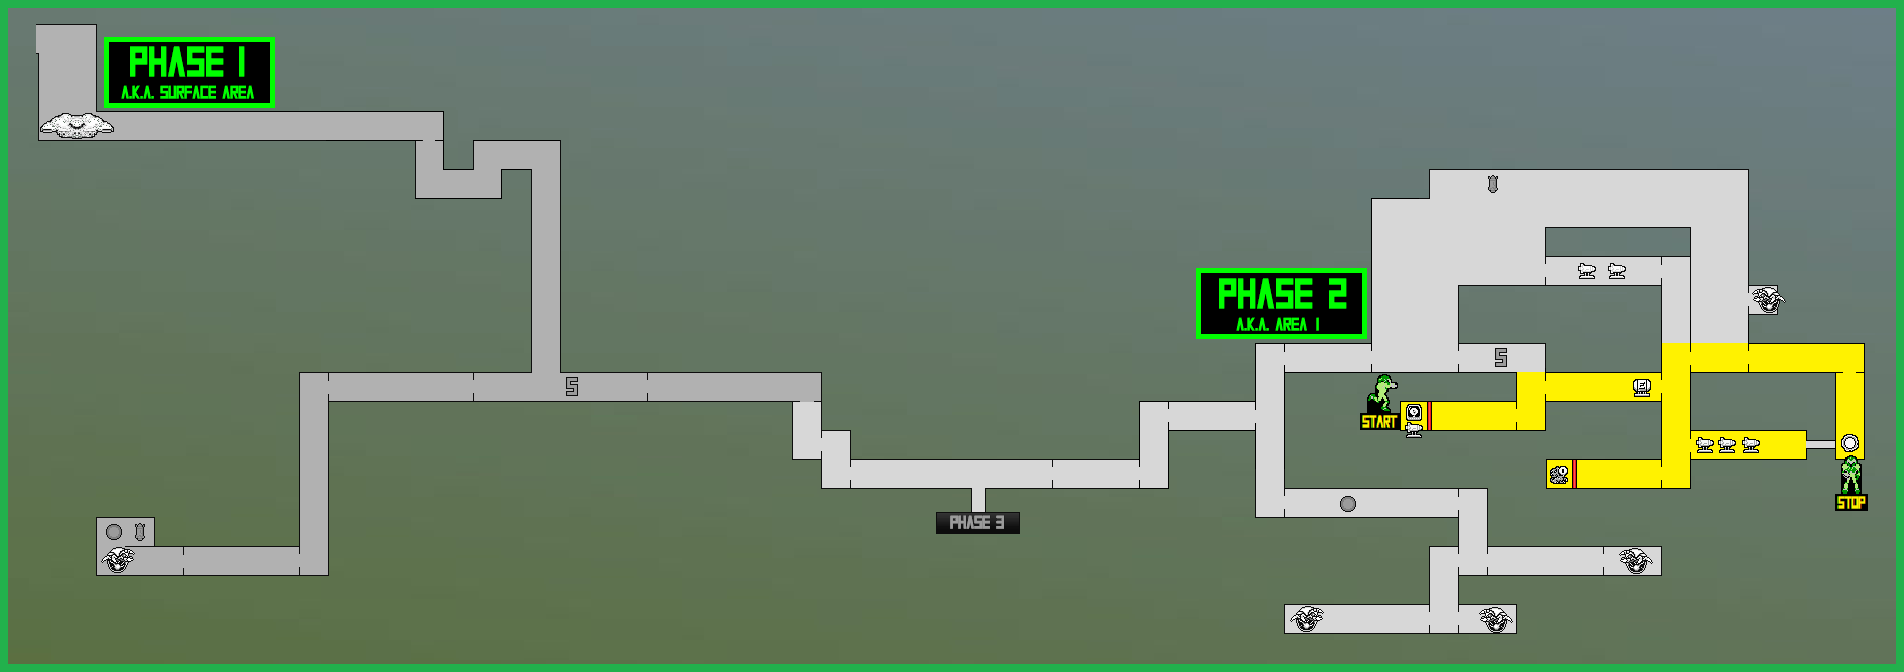
Phase One
Welcome one and all to SR388! I’ll be your tour guide in directing you where to go on this lovely planet to make sure you have all the necessary upgrades, maximum firepower, and a location for all the various Metroids you need to eliminate! As a quick aside, I strongly recommend reading the games manual (which you can find here!) to get not only a story summary and some extra context for your mission, but a glossary of enemies, items, and of course, Metroids. Ready? Let’s go!
You’ll begin standing beside your Gunship. Take a moment and listen to the glorious 8-bit Surface theme, and then start moving to your right. By the way, you’ll start with 30 missiles and your Morph Ball already, which is great and much-welcome! Jump up some stairs and enter the passage on your right. Keep moving forward, working your way through some enemies until you see a big you can drop into. Fall down it and then jump up and shoot downwards below you to break the blocks and fall on the ground.
Double tap the down button to enter Morph Ball form and then roll through the small passage. Shoot upwards and jump up to the top of the platform, and then get ready to do it all over again – shoot your way back down and drop into a new screen. Keep shooting downwards; you’ll need to drop through about ten or so little bridges until you finally hit the bottom!
You’ll now be standing on a higher peak with the option to go right or left. Go right if you want to quickly save, otherwise, head left. Press on until you enter a new screen to your left. Press forward until you reach another screen and then drop down; let yourself drop down (a good rule of thumb is to always be shooting downward as you fall) until you reach the platform sitting in shallow water. Exit left and press forward.
Keep moving towards the left for a while, handling any enemies that pop up, entering a new screen at the far left. Get ready – your first Metroid fight awaits!
First Alpha Metroid Route:
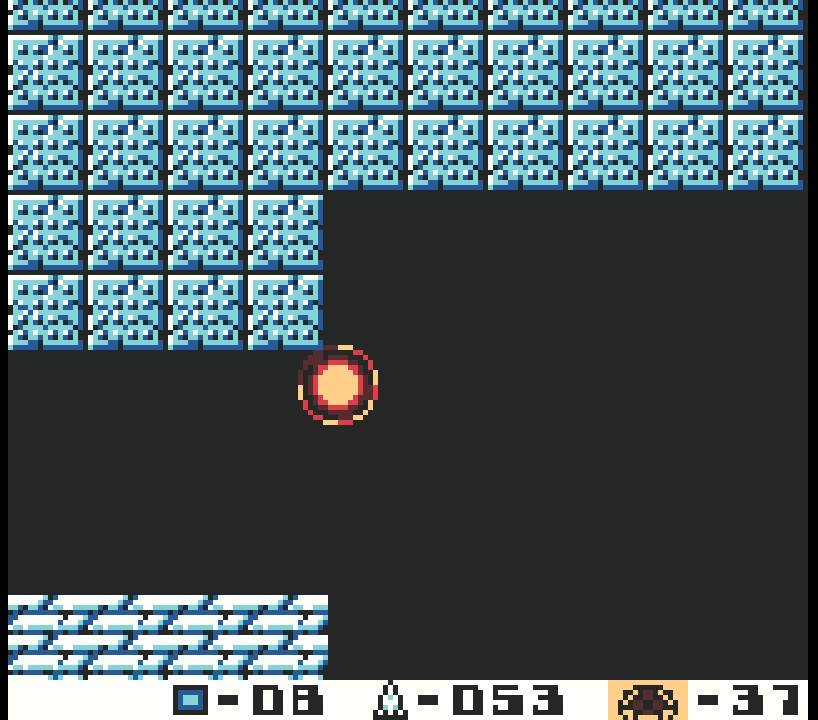
Alpha Metroid
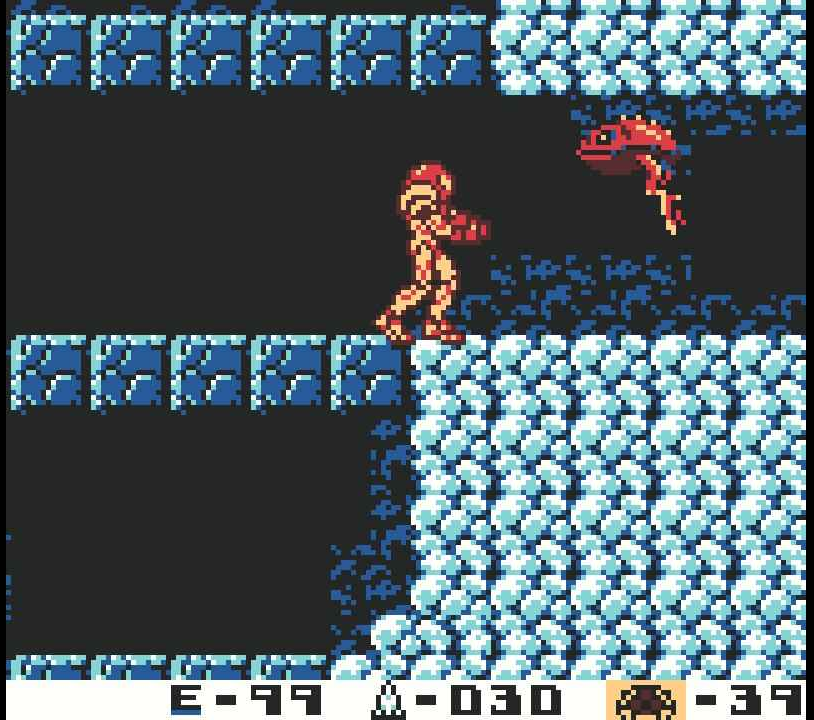
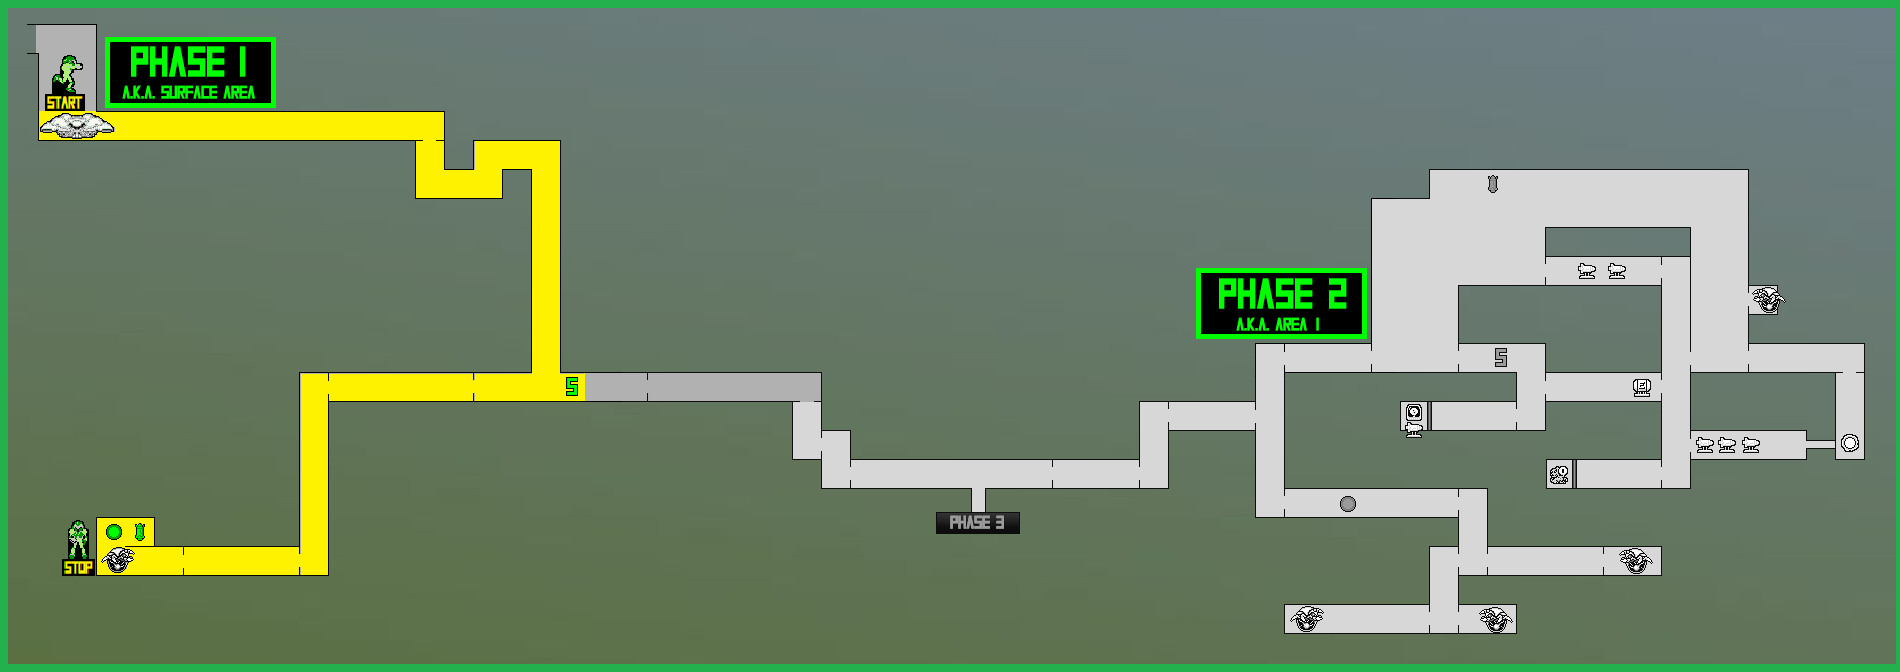
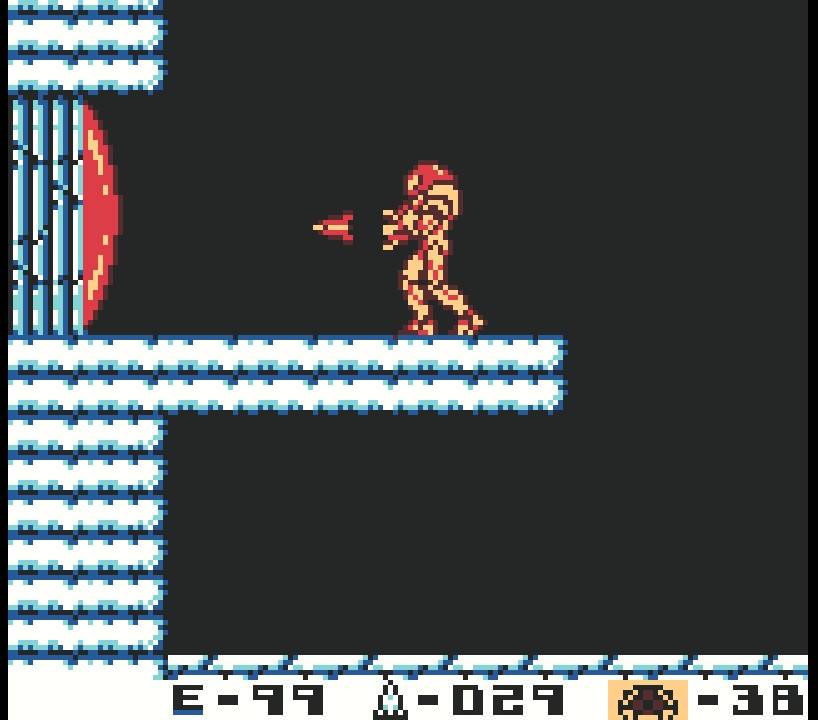
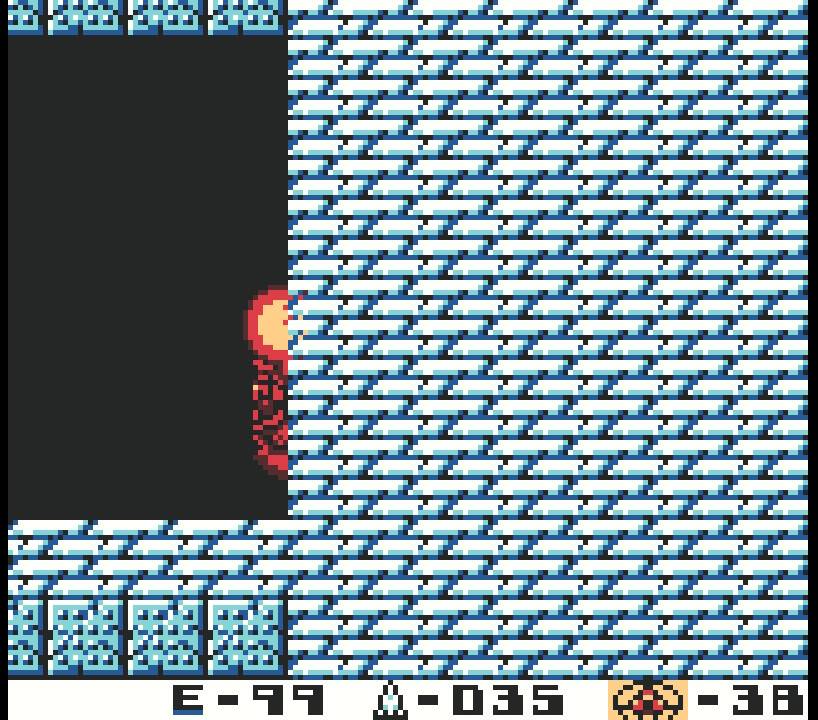
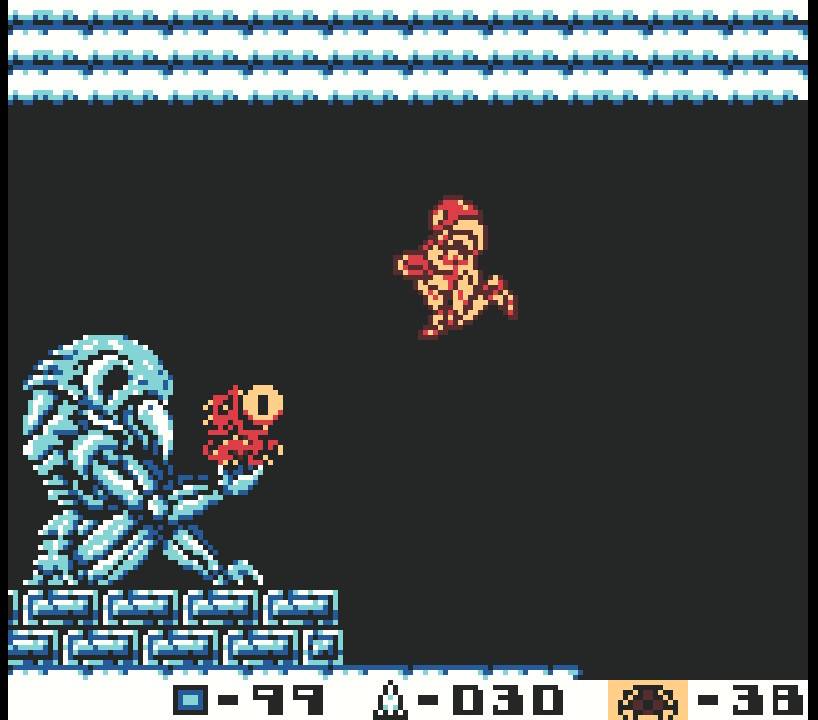
You’ll come across a Metroid husk – which are going to be great visual queues as to which direction a Metroid will be in – and from it, a new type of Metroid will emerge: the Alpha Metroid!
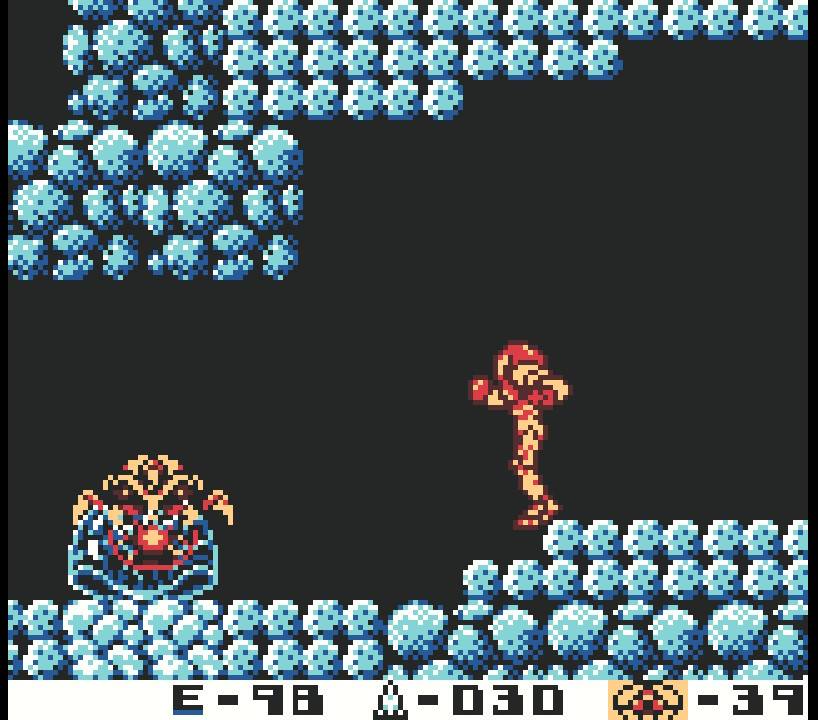
As I mentioned earlier, there are no “strategies” per say – you just need to nail the Alpha Metroid with FIVE missiles to its underbelly. The Alpha doesn’t really attack either; it’s only move is to just fly into you, so on the whole, they shouldn’t give you a ton of trouble, but just in case, use this quick trick to take them out: Alpha’s will always fly and bob in the direction that you are moving, though on a second or so delay. Jump up, and the Alpha will follow, which will open up its underbelly for attack! Shoot your missiles upwards and try to chain the shots – the Alpha will recoil upwards after you shoot it, so try and get it into a rhythm where you’re firing a missile upwards, it recoils, adjust slightly so you’re under the Alpha, and fire again.
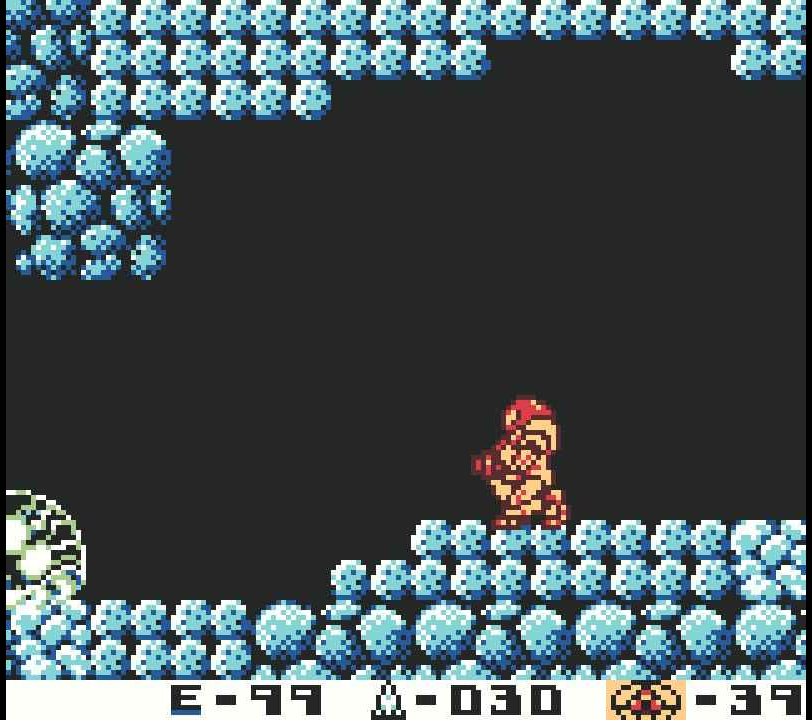
Five missiles will destroy the creature, and the sounds of an earthquake will be heard all across the planet. The earthquake indicates Phase One is over. If you need it, jump up to the ledge directly above the Metroid husk and refill both your energy and missiles (may as well!). Phase Two is about to begin!
Bombs Away
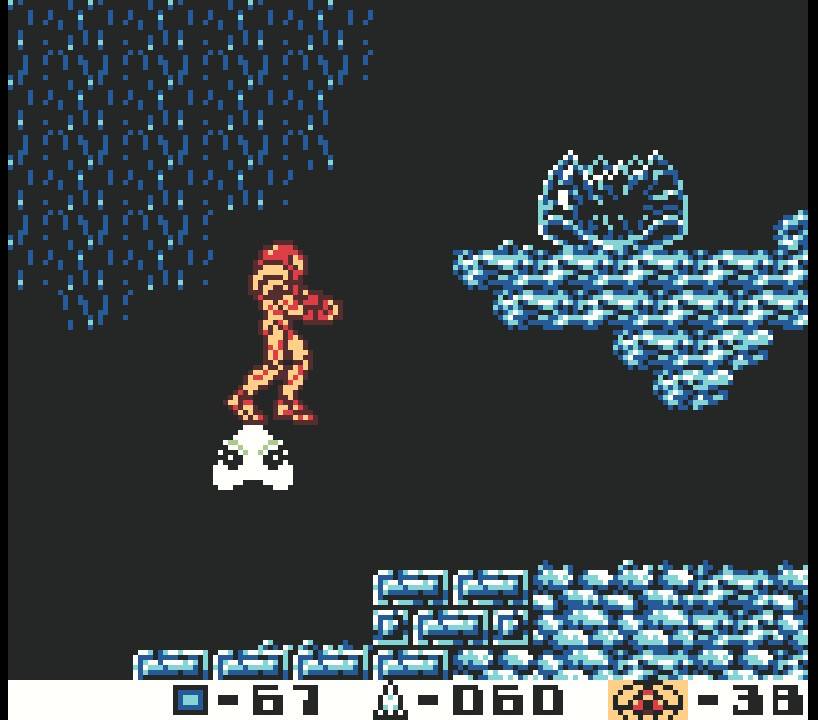
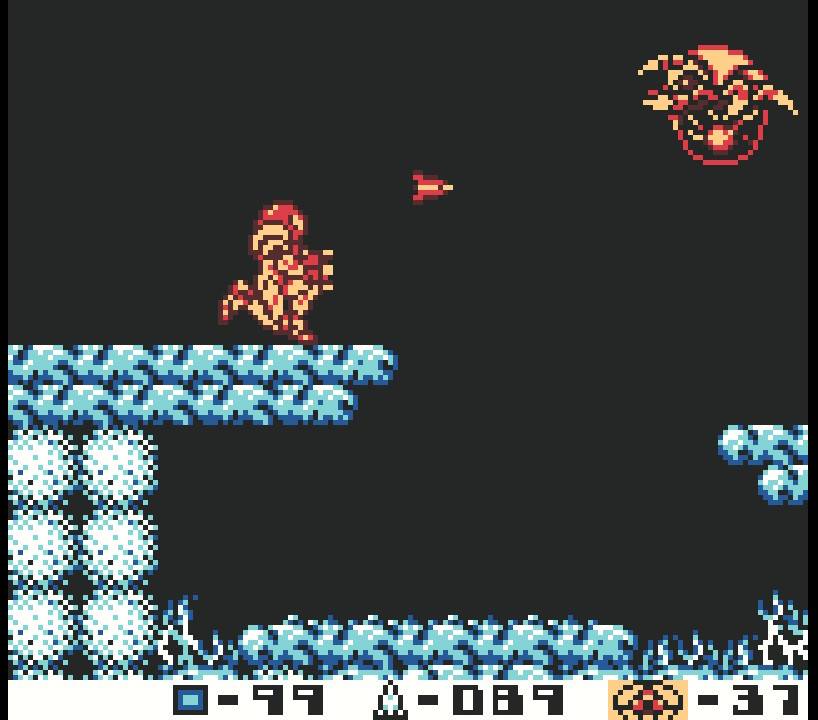
Make your way aaaall the way back to the Save Station from earlier and you’ll see that the righthand path is now accessible now that all the lava has dropped! Press forward a couple of screens and then drop downwards and into the passageway on your right. Follow the path until you get to a hallway with a bunch of small platforms and lava underneath (though to be fair, the Game Boy Color makes it appear so it’s blue, so maybe it’s acid? Or blue lava? Does that exist??). Press through the passageway on the right and into a new room.
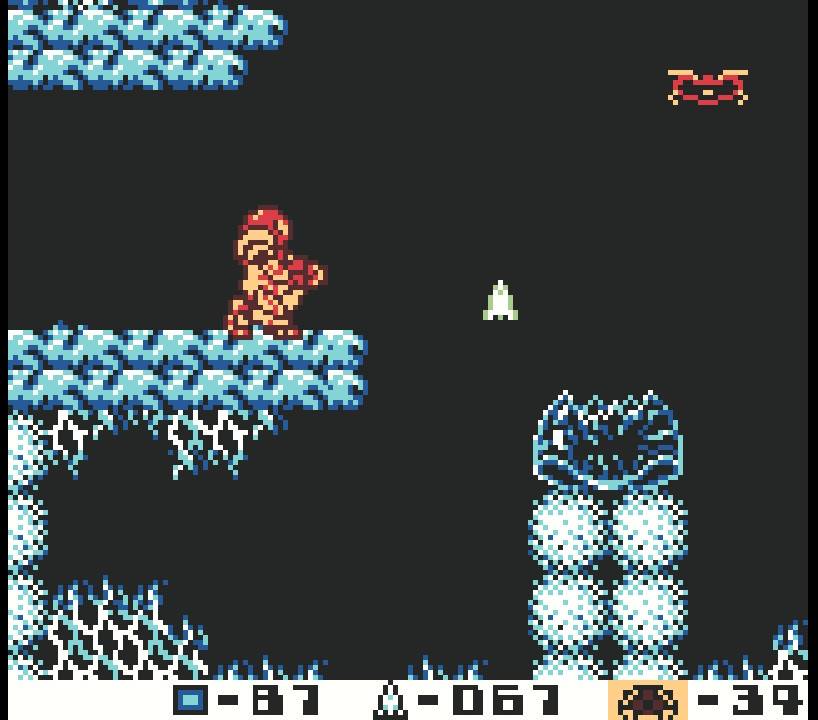
You’ll notice the music has stopped and there are more pits with lava. Make your way across, but be careful – there are Chute Leeches in every pit, and they’ll jump up and try to bonk you as you cross. In the next room over, jump all the way up and when you reach the top, exit right. Go right another screen again and you’ll finally come to a large shaft full of platforms. You’ll be about halfway up this shaft, so go up first!

Cross the new room, dodging those pesky bugs that pop up, and when you come out, you’ll be in what’s commonly known as Area 1. Walk forward a bit and you’ll see the entrance to a giant temple, left behind by the Chozo. The temple itself is in decent enough shape, but everything else is in ruins. When you’re ready, head inside the temple!
A different, more mysterious theme will start to play when you enter (you know, all things considered, I actually think Metroid II’s music is consistently excellent), so make your way forward and use the Save Station. Press through the passageway on your right. Drop all the way to the bottom and then head left.
Walk straight a bit and you’ll run into a red door; unload five missiles at it and you’ll be able to enter. There is a giant Chozo Statue (look at that sprite work! *chefs kiss*) holding an item sphere. blast it away to reveal your first powerup – the BOMBS!
Immediately after getting the bombs, put them to work and bomb the floor under the Chozo Statue (you’ll be able to see the Missile Expansion, bomb right above it). Drop down and grab MISSILE EXPANSION #1!
Bombs Route:
Spider Ball
With your new items in tow, head back out to the long shaft you dropped down. Earlier, you should have seen there was a passageway about halfway up on the righthand side; go through it now.
Straight ahead of you on the wall will be an enemy called a Wallfire – it looks like a Chozo head and fires, well, fire out of its mouth. Shoot the Wallfire and then stand on the wreckage still attached to the wall. Morph down and roll into the wall through a secret connecting tunnel (you’ll need to lay a bomb halfway through) and you’ll pop out right beside a floating ledge that will have ENERGY TANK #1 on it! Score! Grab it and exit the room through the right.
Drop all the way down in this new shaft until you hit the very bottom. Enter the left passageway and press forward until you run into a red door. Blast it with five missiles, walk inside, and a Chozo Statue will be there with the ICE BEAM sitting in its hands! Retreat back out until you’re at the bottom of the shaft and start climbing! You’ll want to leave through the first passageway on your right.
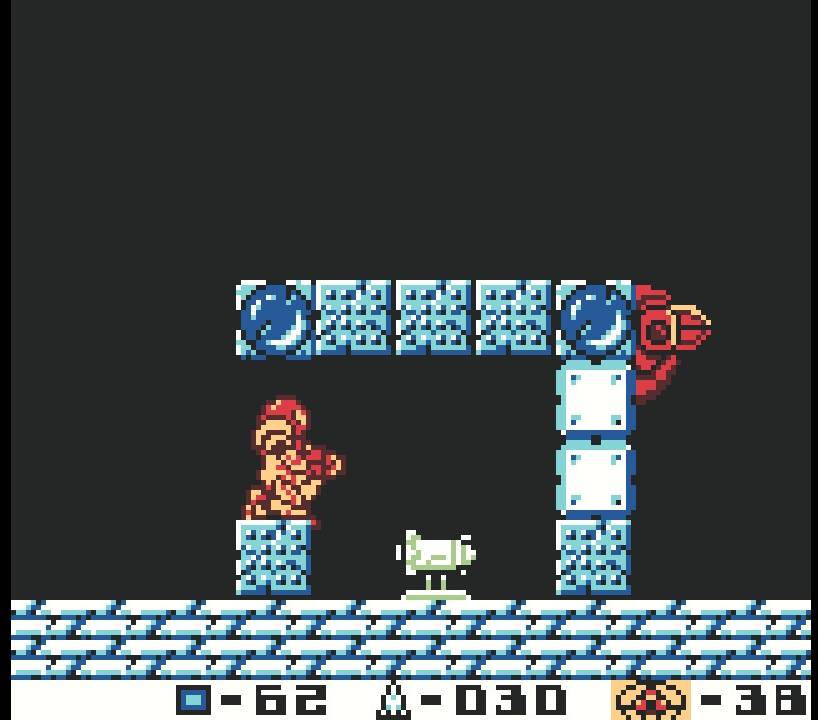
You’ll be in a new room filled with goodies now! Take out the Wallfires, and walk forward – you’ll see the first Missile Expansion in a boxed area. Simply shoot the bricks on either side and you can enter, grabbing MISSILE EXPANSION #2. Walk forward a bit, and same as before – you’ll see a boxed area with the Expansion underneath. Either shoot or bomb the tiles on the floor, drop down, and grab MISSILE EXPANSION #3!
Right above Missile Expansion #3 is a final Expansion, this time nested in the upper portion of the room. The game intends for you to come back with the Spider Ball, but we can take advantage of the Game Boy to get this Expansion now. Shoot the block in the ceiling and you’ll see that you can’t jump high enough to reach the Expansion. No problem though – wait a second; jump up and time it so you hit the opening as soon as the block respawns. If you’re timing was right, you’ll take a bit of damage from the respawned block, but it will propel you upwards beside MISSILE EXPANSION #4!
Once you’re done, head back out into the shaft and start climbing again! Jump up a bit and take your first passageway to the right, which will actually take you back outside into the Ruins. Walk ahead (ignore the Metroid husk for now) and go through the rightside passageway). Use your bombs to slip through the opening in the wall, press forward, and drop down!
Continue to fall and at the bottom of the shaft, you’ll see the prize you came for: the SPIDER BALL!
Spider Ball Route:
Metroids in the Ruins
Now that you have the Spider Ball, start testing it out because it’s going to be essential to your game! Once you’re in Morph Ball form, press down again and you’ll start sticking to surfaces, allowing you to climb up walls and roll across ceilings. Admittedly, it’s not the fastest and sometimes it just kind of stops working if you stop moving, but hey, nobody’s perfect.
Start crawling your way back up and get back to that Metroid husk just outside the Temple we passed earlier. Freeze the Chute Leech, jump up and use your Spider Ball to climb the wall. You’ll see a ledge in short order; get on it and you’ll enter a new room with an ALPHA METROID waiting for you! Destroy it and exit, dropping down and entering the Temple again.

Start climbing up, destroying all the Wallfires, and use your Spider Ball to get into the top-left passageway. You’ll see MISSILE EXPANSION #5 as soon as you enter; bomb or shoot the blocks on either side to claim it. Walk forward a bit and do the exact same thing to grab MISSILE EXPANSION #6.
You’ll come out on the roof of the Temple. Bomb the rock in front of you and drop down, exiting the area by the left passageway. Work your way through the room with all those pesky Skreek’s and when you hit the shaft, drop all the way down, going through the passageway on your right.

Use your bombs to roll under the Metroid husk and press forward through all the pillars – freeze and destroy the Gullugg’s here, don’t try and avoid them, it will be top difficult. Eventually you’ll come out and see a bunch of sand (or at least I think it’s sand?) blocking your way. Shoot it to carve out a path for yourself!
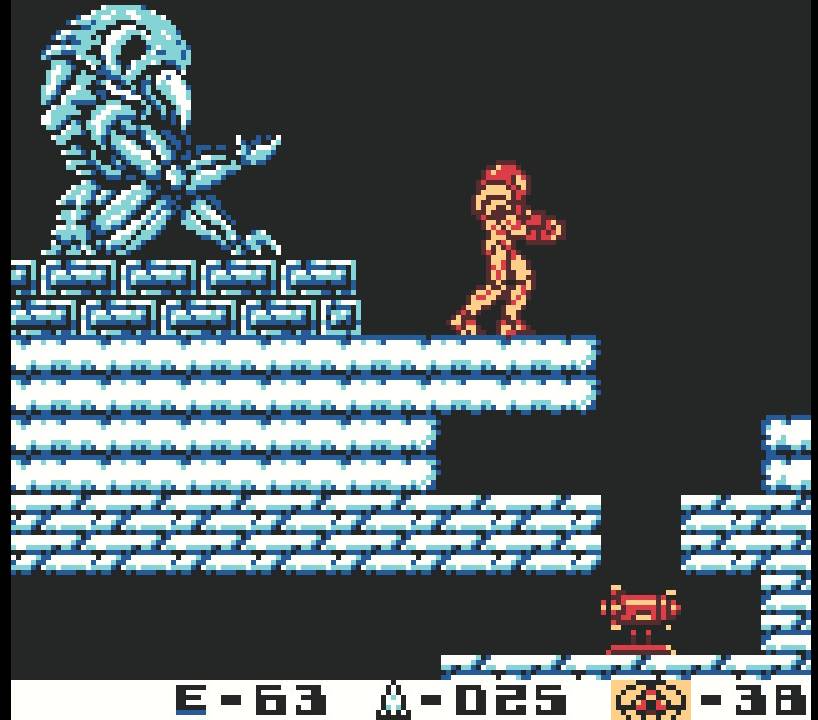
Drop down now and you’ll land on a platform with another Metroid husk on it. You can go either way, but for now, go right. Work your way across the new room, destroying all the enemies in your path, until you reach the far right passageway. Enter the new screen and you’ll be face to face with an ALPHA METROID! Handle your business and retreat back to the Metroid husk.
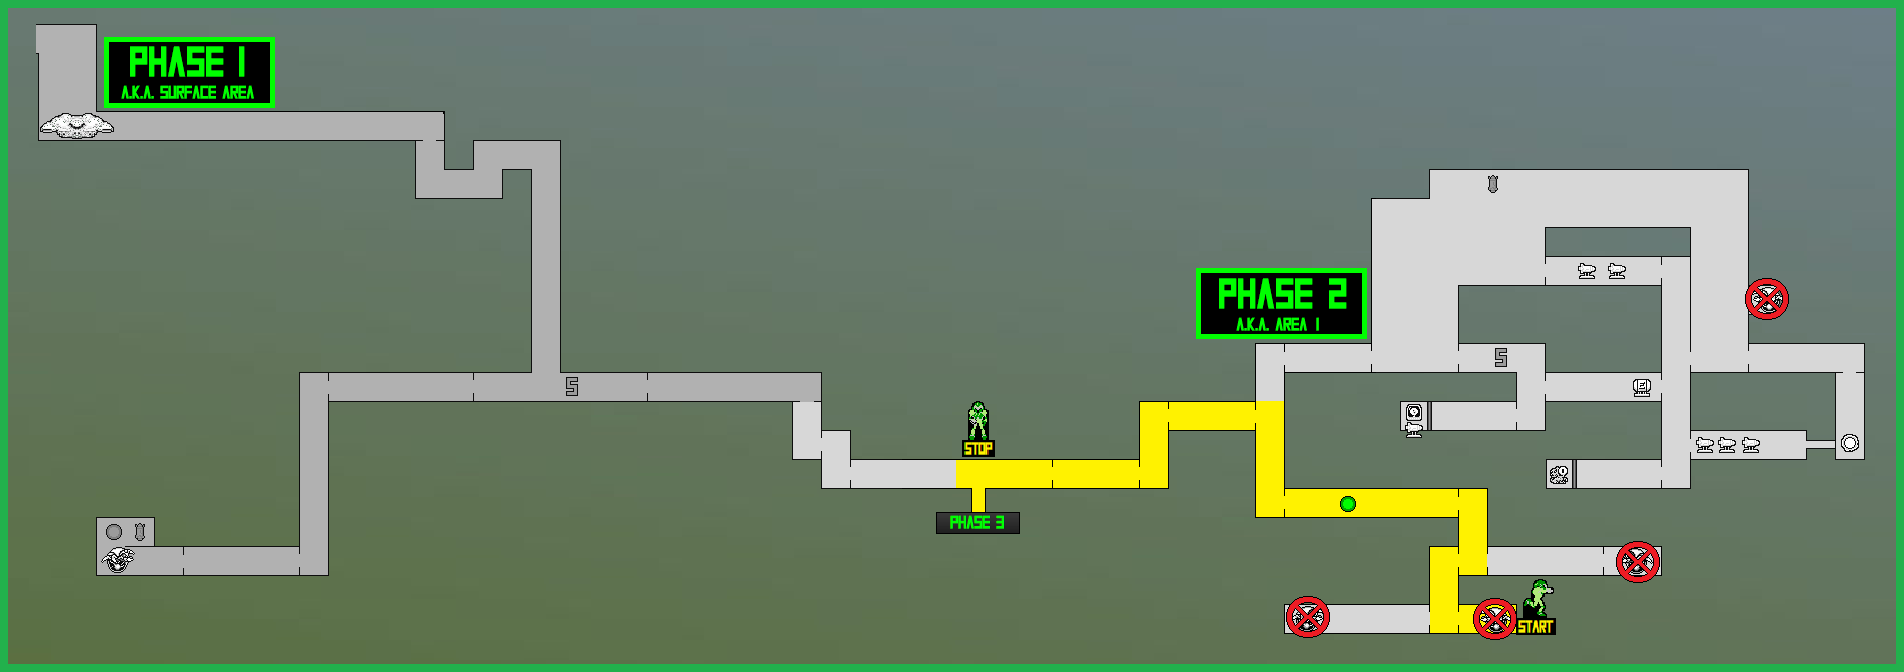
Go through the left passageway and drop down; you’ll land at another Metroid husk that has another left or right scenario. It doesn’t matter which way you take, but let’s just choose right to start. You’ll immediately be faced with another ALPHA METROID, so destroy it and head back to the husk. Once you’re there, go left and head straight until you go through another way where the fourth and final ALPHA METROID of Phase 2 resides. Do your things and you’ll hear an earthquake!
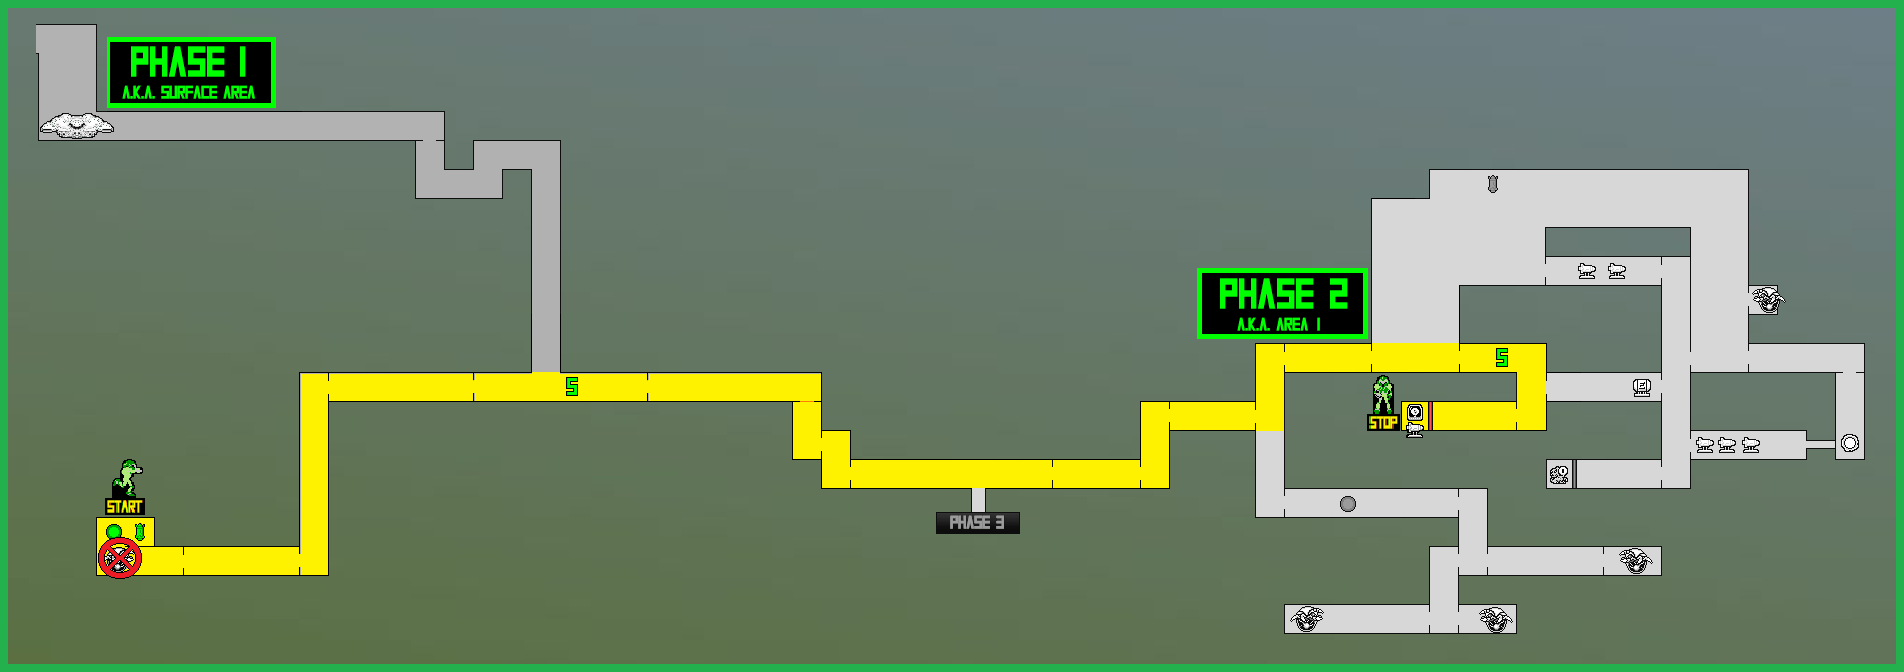
This will signify that a new pathway in SR388 has opened up, so make the long, long trek back to the pathway between Phase One and Phase Two (use the map routes, I know that probably doesn’t mean much to you!). Once you’re there, get ready to explore even further into this hostile planet.
Alpha Metroids in the Ruins Route:
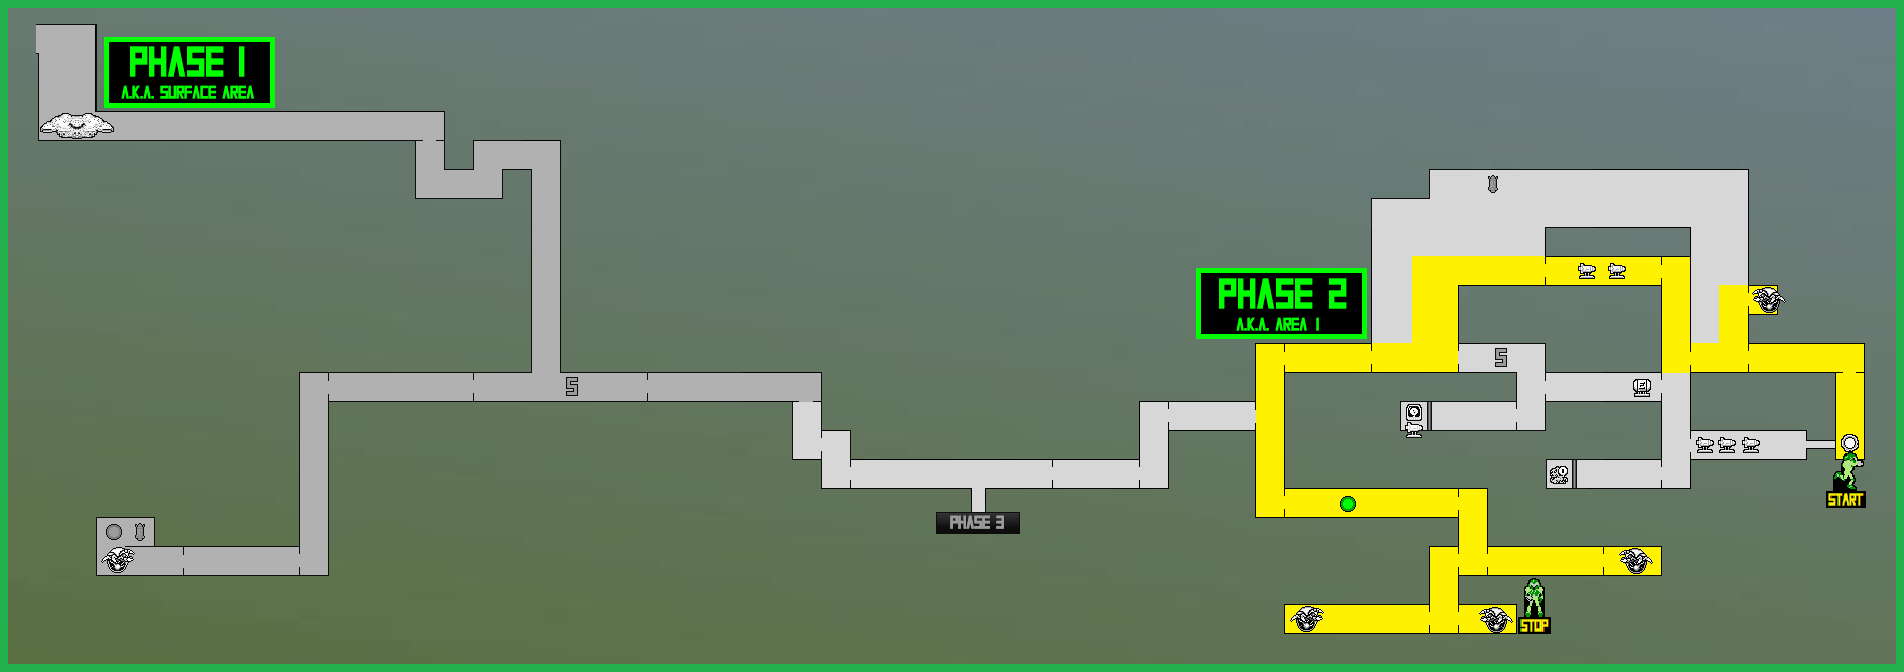
Phase 3 Entrance Route:
Next Chapter: The Waterworks – Gamma Metroids