


Metroid: Samus Returns Walkthrough – Area 7: Chozo Laboratory
Walkthrough
- Return to SR388
- Area 1 – Ancient Chozo Ruins
- Area 2 – Hydroelectric Station
- Area 3 – Aeion Mines
- Area 4 – Crystal Caverns
- Area 5 – Flooded Greenhouse
- Area 6 – Diggernaut’s Domain
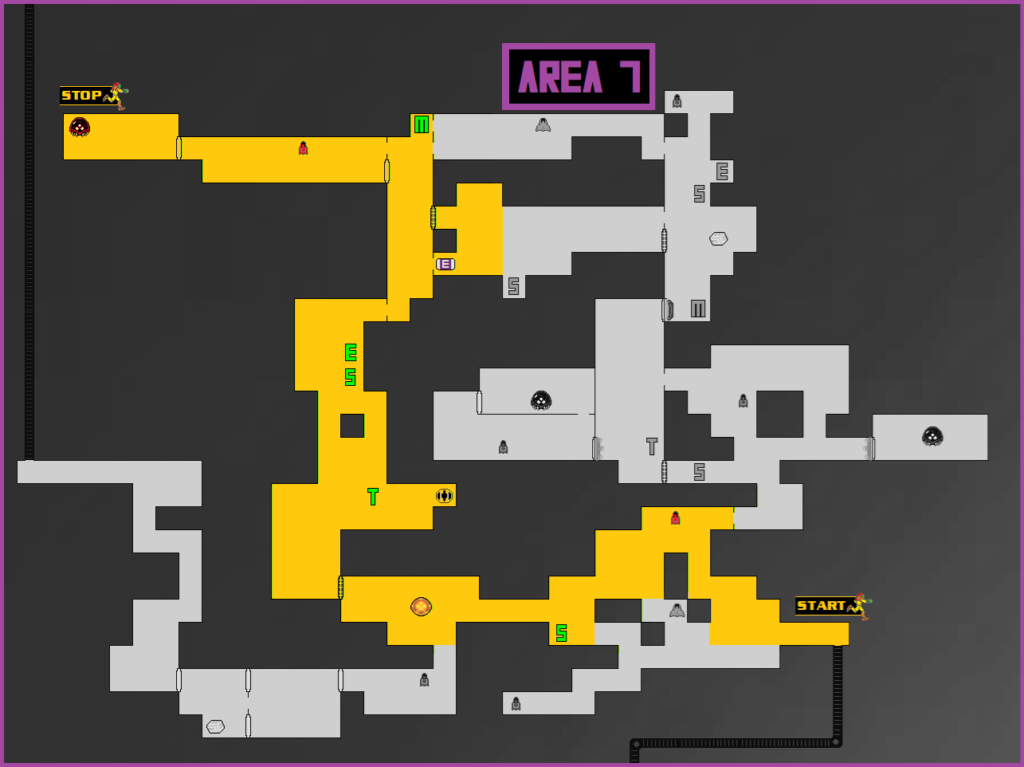
- Area 7 – Chozo Laboratory
- Area 8 – The Nest
- The Last Metroid
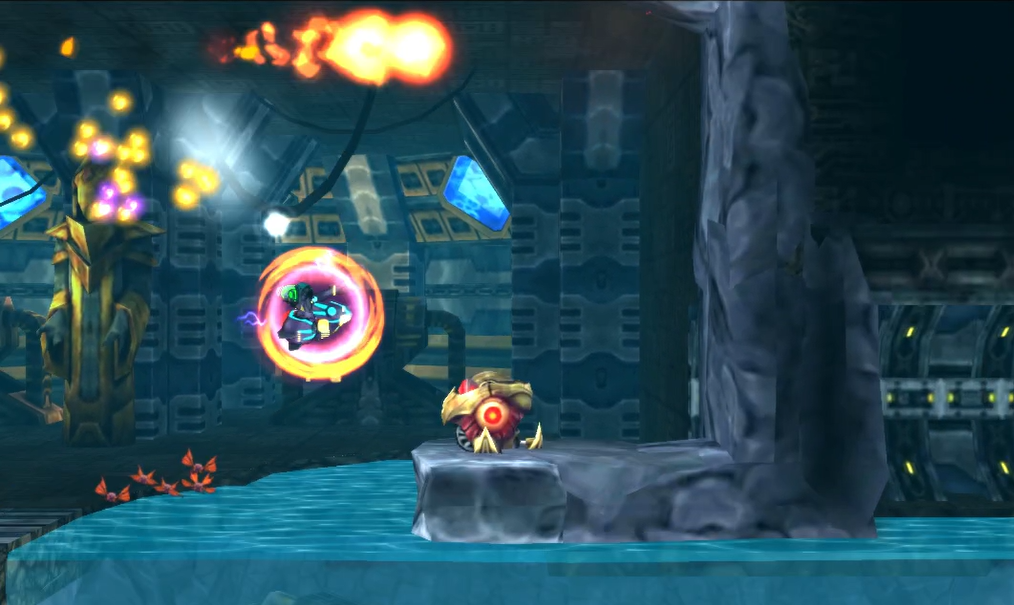
Omega Metroid #1
Into a new area we go again, but you may have noticed that the elevator ride went up instead of down, which means we’re slowly circling back to the Surface. It’s still a long way to get there, though, so let’s get to it.
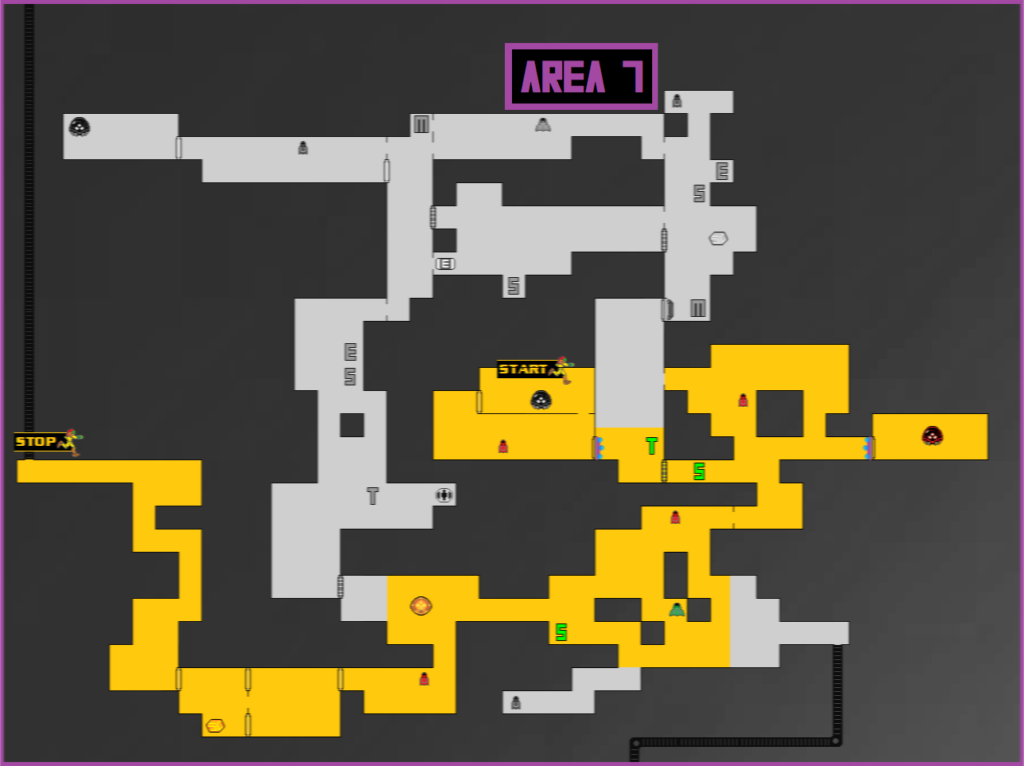
You’ll start off in the familiar purple caves, so press forward until you reach the Chozo Seal. There are only three Metroids in the area, though you’ll get no points for guessing what types of Metroids they are. From the Chozo Seal, head upwards and to the right, going up a few ledges until you see an Aeion recharge orb on a high ledge; get up there and use your Scan Pulse. You’ll see a missile block on the opposite wall; destroy it and tuck over to grab MISSILE EXPANSION #50!
Head back to the Seal and continue pressing left, eventually going through a charge beam door. You’ll now finally be in the Chozo Laboratory, home not only to one of the best pieces of music in the game, but also to a bevy of automated robots, technology, and experiments. Samus Returns doesn’t outright say that the Metroid species were created in these Laboratories, but it’s heavily implied. There will be Autracks, Autoads, Wallfires, and more mechanical menaces are everywhere in this area, so be careful.
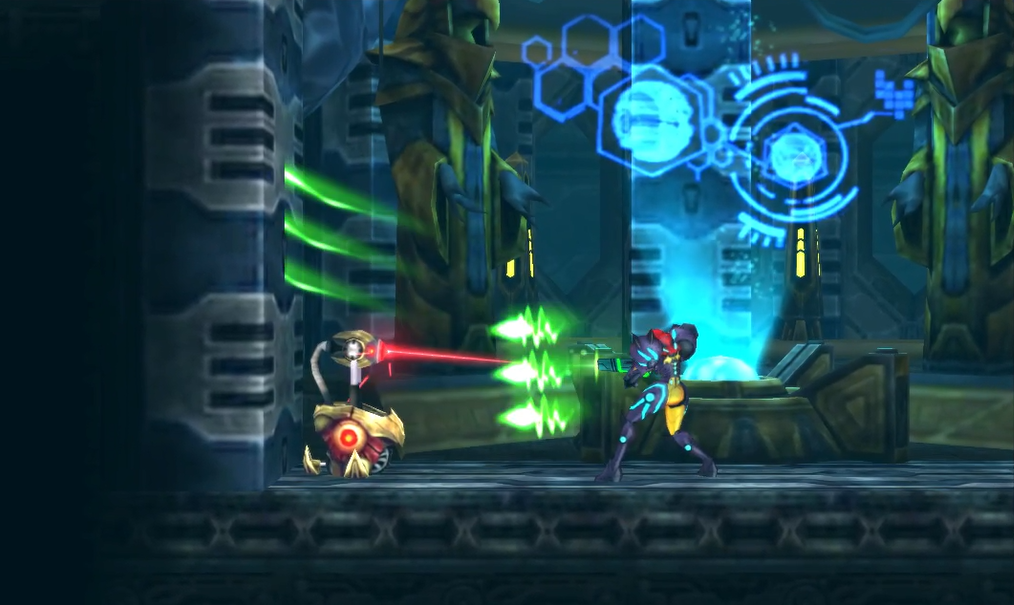
The first room will be a long shaft filled with enemies, so carefully work your way up, destroying anything trying to shoot a laser beam at you. Keep on climbing, stopping only when you get to a horizontal pathway with orange spikes on top and red weeds on the bottom; there will be a Teleportal to the right, but what you’ll want to do is actually activate your Lightning Armor and head left, dropping down to the very bottom of this hidden shaft. Once you’re at the bottom, perform a Spiderspark to go shooting to the top of the room; once you hit the top (keep your Spider Ball active!), roll over to the left wall and position yourself so you’re in between the spikes and the weeds. Spiderspark again and you’ll go crashing across the room, landing right beside POWER BOMB EXPANSION #3! Spiderspark one final time to get out of there
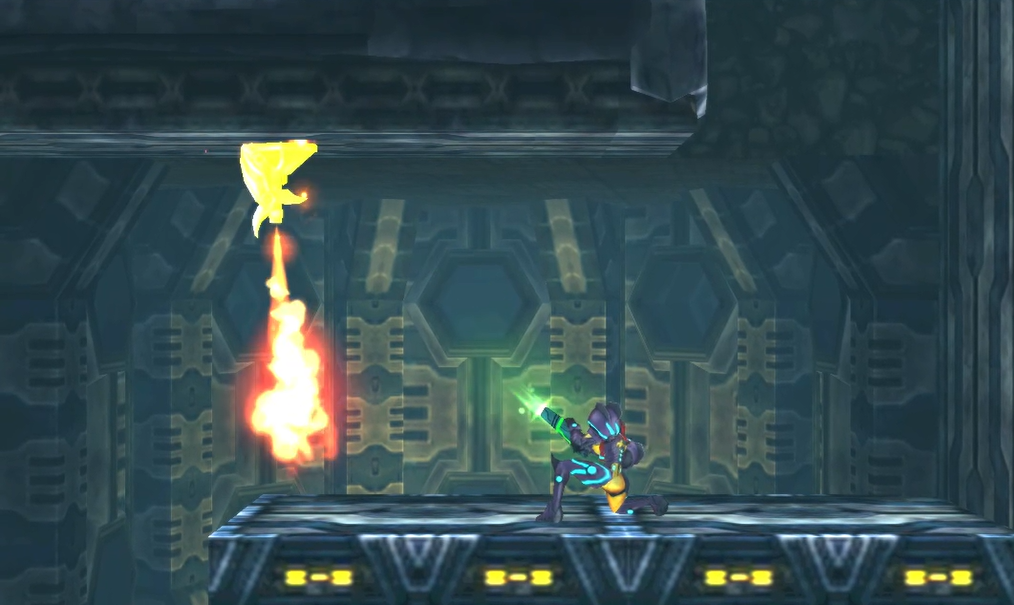
With that done, continue your ascent upwards. There will be a million Wallfires spitting flames at a fairly speedy clip, so don’t be afraid to use your Phase Drift as you climb. You’ll eventually hit a Save Station and an Energy Recharge Station at the top, which you’ll definitely want to use; save your game and continue climbing. You’ll finally see a Blast Door on the right; head through and – you’ll never guess! – work your way upwards!
Take a quick detour and go through the charge beam door on the right wall and you’ll enter another fairly large room with a couple of pools of water, some orange spikes, and some red weeds. When you get out of the first pool of water, you should see a small alcove with a Autrack hanging upside down; destroy it and then bomb the floors, and you’ll go tumbling down to a secret passage; press forwards and you’ll see another Autrack and a small platform; use your Spider Ball to stick to the left wall and lay a bomb just above where the wall meets the floor (the floor is pitfall blocks that will send you tumbling to the Save Station beneath it). Head through the opening, lay a Power Bomb to destroy the block, and then snag ENERGY TANK #8!

Destroy the red Grapple block and exit back into the original shaft that you came from. Keep working your way up until you see a Blast Door on your left; go through it. You’ll be in a new room with red weeds on the floor and spikes on the ceiling, but at least there’s a lot of room in between the two. Jump over to the very end, but before going through the door on the left, jump up to the ledge on the right; lay a Power Bomb and a Morph Ball tunnel will open up. Roll through it; stopping to bomb open some passageways and blast away the Wallfire with your Beam Burst, and eventually you’ll roll right into MISSILE EXPANSION #51. Grab it and then head back to the door on the left wall.
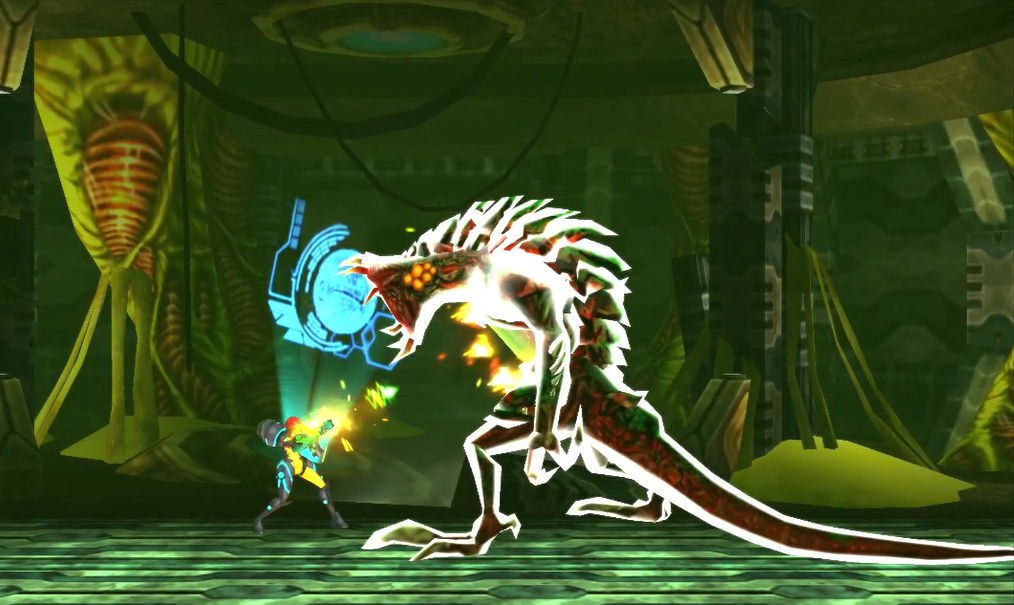
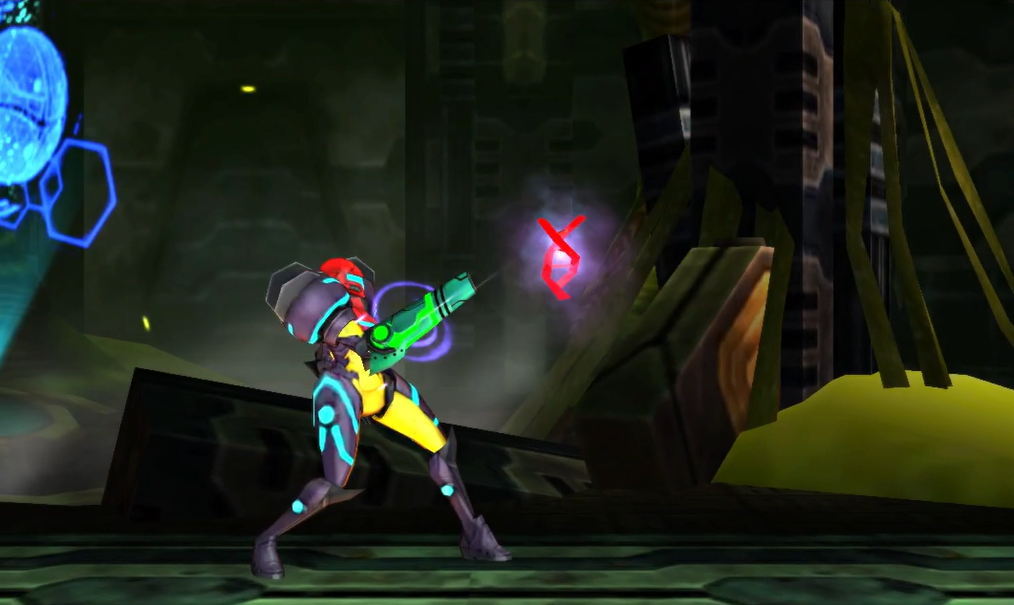
Buckle up, because as soon as you go through it, you’ve got an OMEGA METROID right in your face. The good news is that this is basically the exact same fight as last time, so the same strategies will be applicable here. The bad news is that this fight will still be extremely difficult. Take the fight to the Omega, and eventually, the gruesome beast will fall.
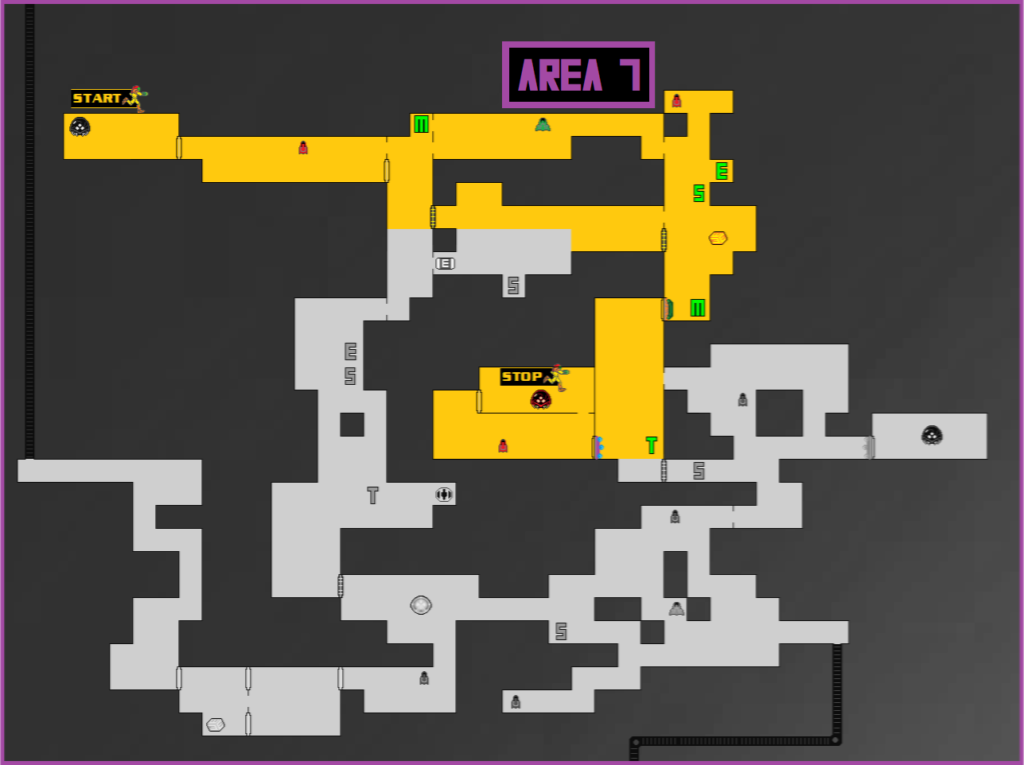
Chapter 8.1 Route:
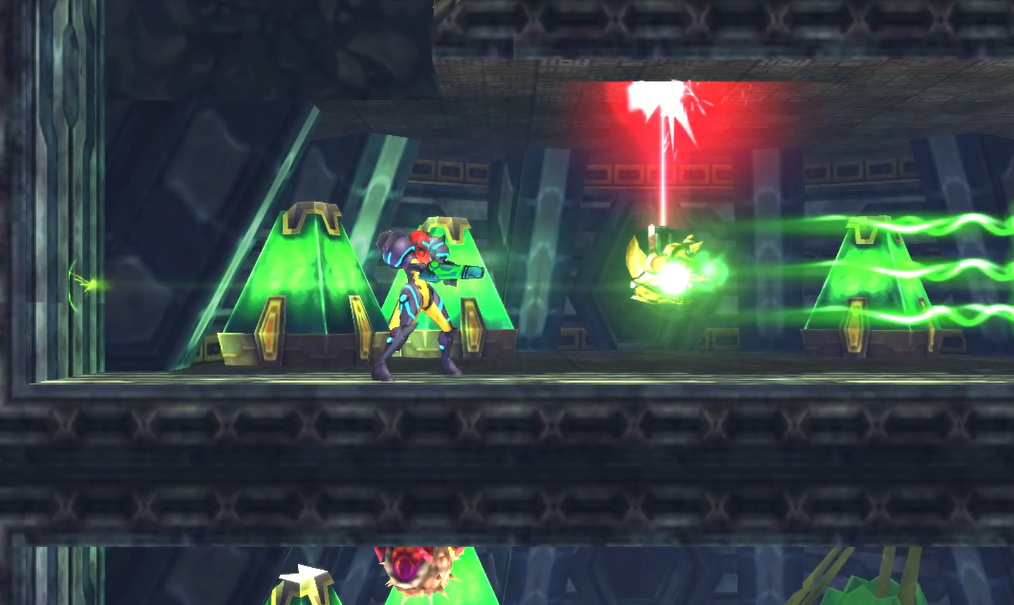
Omega Metroid #2
One down, two to go. Retreat back two rooms until you’re in the longer shaft room; keep climbing to the very top of that room and you’ll come across a Missile Recharge Station. You probably need it, so stock up and then drop down.
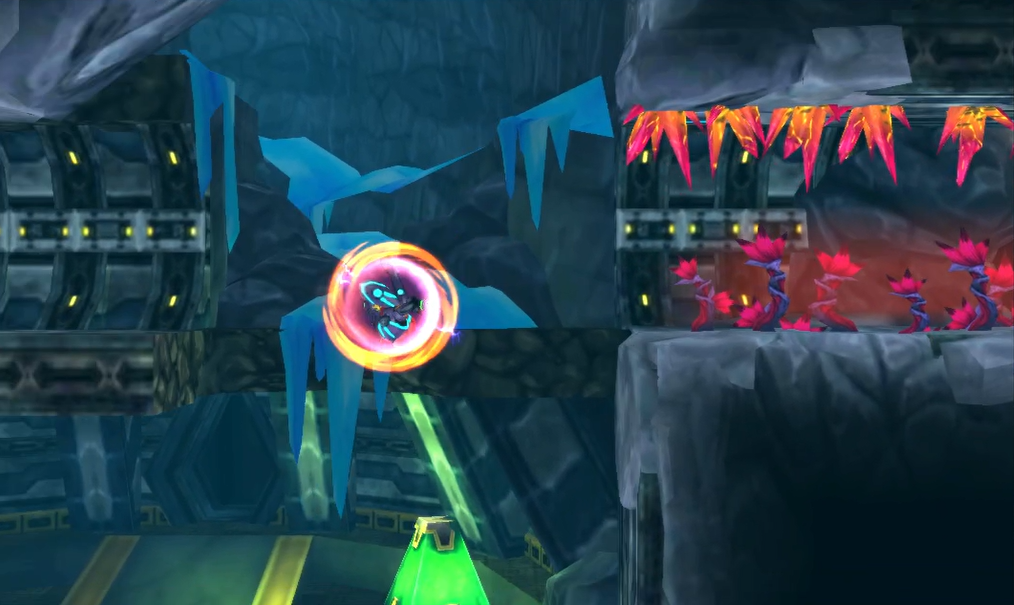
Make your way back into the room we grabbed the Energy Tank from, with the water, weeds, and spikes. You’ll see a small tunnel in the upper left of this room, so jump up and then yank a Grapple block to the right. Drop back down and then jump up in the opening in the ceiling to see that, now wouldn’t you know it, the Grapple block is covering that darn fan that was blowing downwards earlier. Get yourself on the wall and Spiderspark in between the weeds and spikes; you’ll go flying the the far wall, where all you’ll need to do is follow the tunnel downwards and you’ll grab AEION TANK #8!
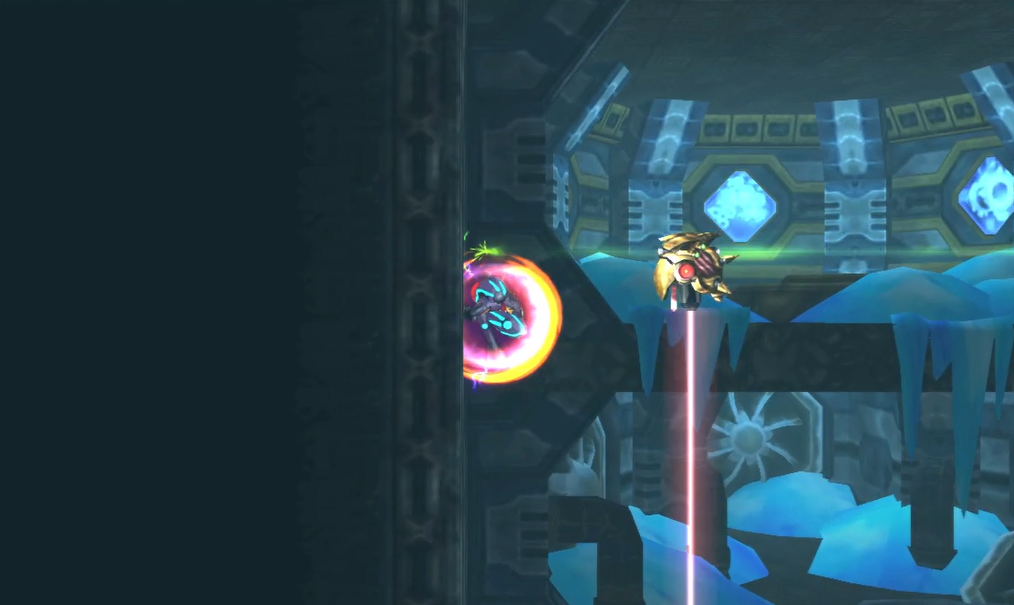
Follow the tunnel out and you’ll be at the bottom of another long vertical room. Quickly jump back up to the top of the room and you’ll see a split; there’s a small tunnel in the top left corner, and a narrow shaft to jump up on the right. Go right for now, and jump up until you grab the ledge beside the red Grapple block; use your grapple beam to pull yourself over to the right wall, in between the orange spikes, using the blue Grapple block in the wall to your left. Roll through the top tunnel to grab MISSILE EXPANSION #52 and then destroy the red Grapple block.
Once you’re done, head back down and this time take the tunnel in the upper left corner of the shaft. Get on the wall and Spiderspark in-between the spikes, and you’ll conveniently land right beside SUPER MISSILE EXPANSION #12! Booyah! You’ll need to follow the path out, meaning you’ll pop out on the other side of the room you entered, but no big deal. Go back through the Energy Tank room and get back to where you were. Drop to the very bottom of that room and refill your ammo, then take the Plasma Beam door on the left.
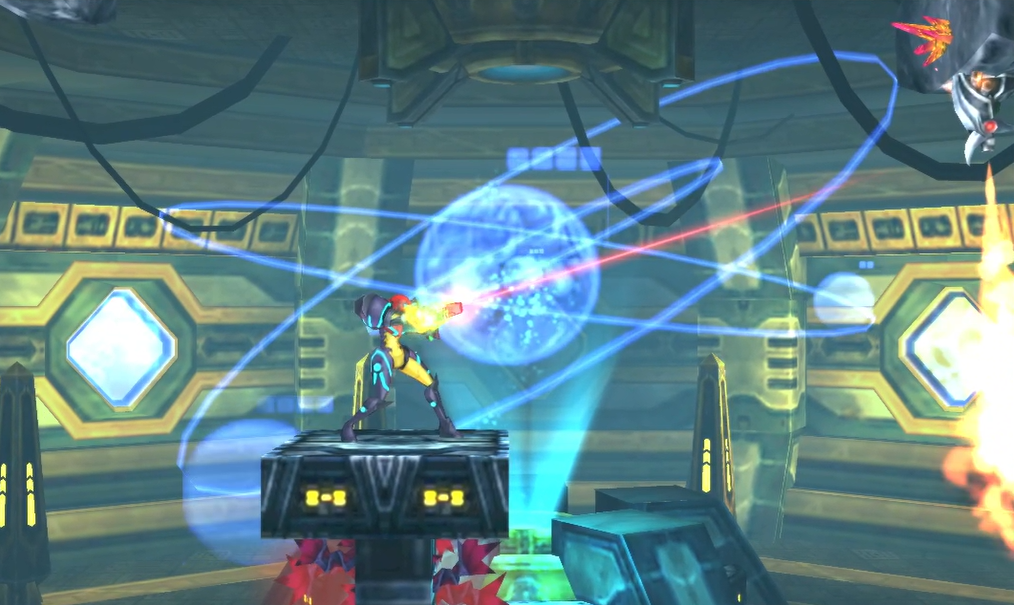
This next room looks like a creepy mad scientist’s lair, complete with vats of green ooze and Metroid imagery; kinda gives you the chills, no? Knowing this is where it all began? Keep dropping and you’ll eventually see a Teleportal and a Spazer Beam door which you’ll want to head into. This next room is another spectacularly creepy room, one with the very technology used to create the Metroids in the background.

In the middle of the room, there will be a platform with some orange spikes underneath it and an expansion just below them in plain view. Get yourself over to the leftmost wall and you’ll see a little ledge poking out just above the weeds with a small alcove you can fit into. Get yourself so that you’re sticking to the outside of the block sticking out, NOT the inside tucked in the alcove. Spiderspark and you’ll be shot pretty much directly on top of MISSILE EXPANSION #53.
Grab it and then head back to the left wall, this time, continuing upwards until you see a door in the top right corner. Your Metroid radar will be going berserk, so you know what this means. Step inside the room and you’ll be accosted by an OMEGA METROID. Take the fight to it using the same tips and tricks from earlier; hopefully with more repetition, these fights have gotten a bit easier for you. Either way, keep the attack up and you’ll destroy the second Omega Metroid lurking in the Chozo Laboratory.
Chapter 8.2 Route:
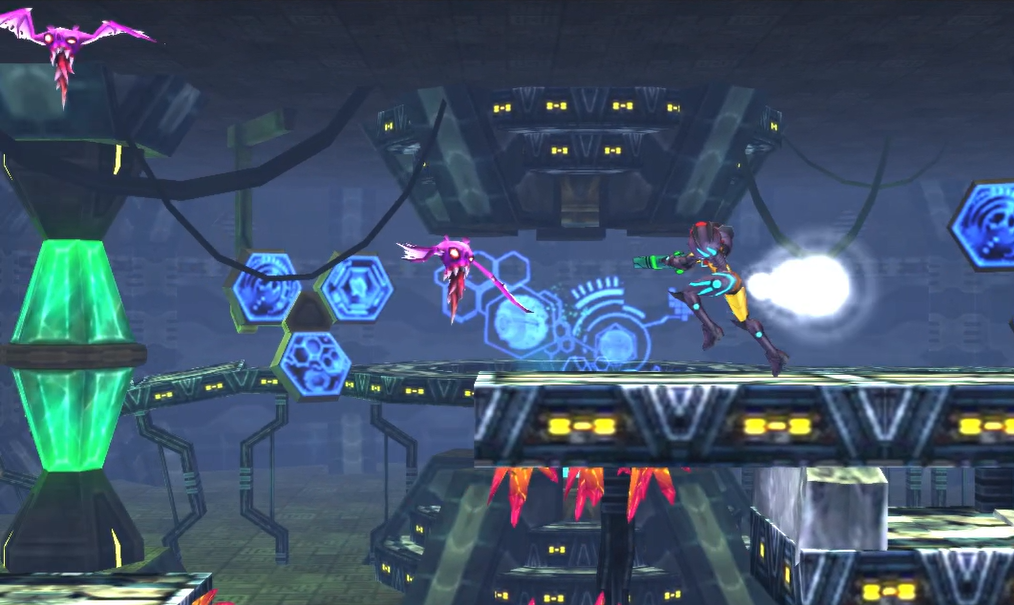
Omega Metroid #3
Your mission in Area 7 is almost complete. There’s only one Metroid left to contend with, and luckily, it’s not even too far away!
Exit back through the Spazer Beam door and tuck into a tunnel below the Teleportal. You’ll be in a room with a Save Station, so use it if you want, and press forward, laying a Power Bomb to open up the tunnel. Jump up and destroy all of the machines trying to kill you. There will be a platform with a couple of Wallfires rapidly firing flameballs at you; destroy them and then use your Scan Pulse. You’ll see a lone block in the very top corner start to glow. Fire a missile at the block and jump up to grab MISSILE EXPANSION #54.
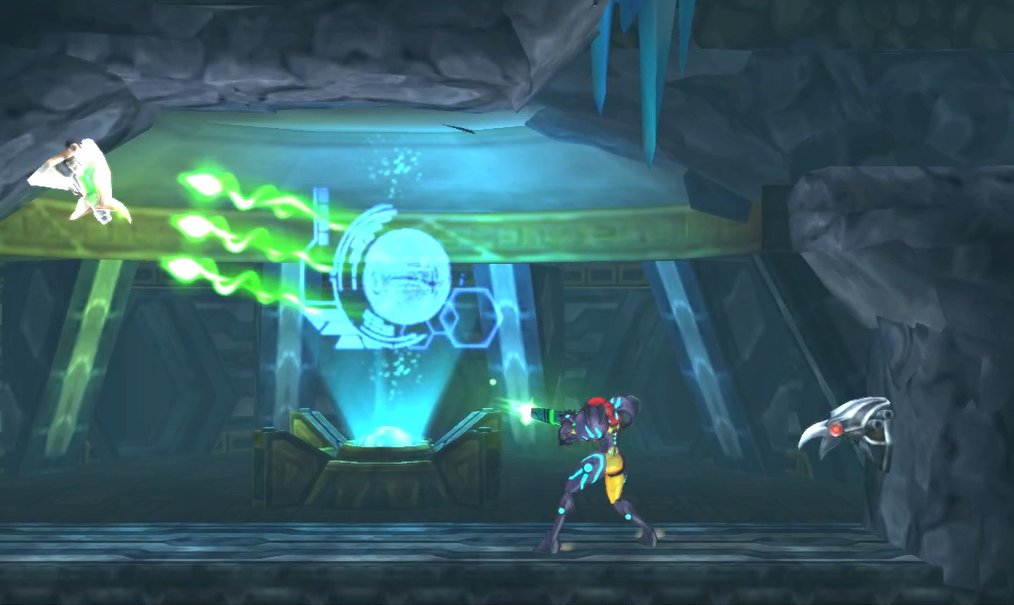
Keep climbing up until you see a Metroid husk and a Aeion refill. Quickly go to the left and shoot open the one-sided Blast Door and then make your way to the right; take out all of the Wallfires and then stop and then stop and take a second to appreciate what a cool room this is! There’s a giant planetarium in the background, which looks really slick. I’m a sucker for a good planetarium, which is why the Observatory in Metroid Prime is one of my favorite rooms in the series. This is right up there with it in this writer’s humble opinion!
Keep pressing forward, destroying any enemies in your path, and then drop down and down until you see a Spazer Door on the right wall. Blast it open and get ready – the last OMEGA METROID of the game awaits! By now, you should be familiar with the strategies needed to combat this hulking menace, so take the fight to the Omega and annihilate it once and for all. Congrats! That’s every single Omega Metroid down. Only one remains…
With all three pieces of Omega Metroid DNA in hand, make your way back to the Chozo Seal. Before you get there, take a quick detour, though, in the purple caverns right before. On the far wall directly across from the Area 6 elevator, use your Scan Pulse and you’ll see a Power Bomb block hiding in the wall. Destroy it and then roll up through the tunnel. You can activate your Phase Drift if you want to help you out with this, but when you get to the top of the tunnel, you should see a bomb block and a Super Missile block in the right corner of the wall. Lay another Power Bomb, grab the ledge and then shoot a Super Missile to destroy the block. Use your Spider Ball to quickly roll over and grab SUPER MISSILE EXPANSION #13!
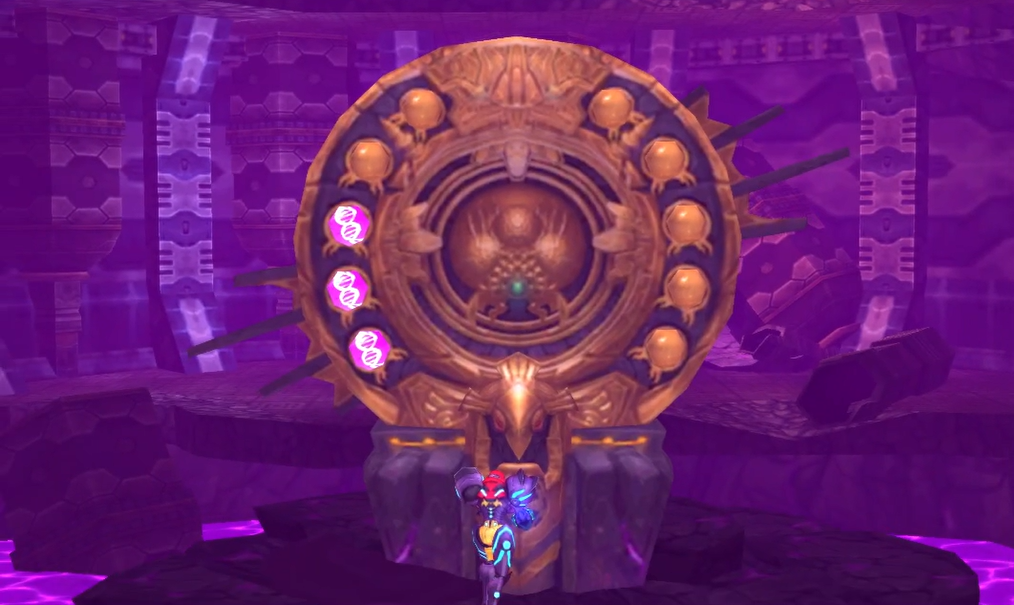
Now you can make your way back to the Chozo Seal, only stopping along the way if you want to. Once you’re there, insert the Metroid DNA and the acid will drop. Once it’s clear, drop down and destroy the red Grapple block, going through the tunnel. Follow the path and drop all the way down until you arrive at the bottom. Destroy the creatures in front of you and press forward to the Blast Door, BUT WAIT! Lay a Power Bomb here and some blocks above you will break. Jump up into the new tunnel that was opened up and activate your Phase Drift – there are pitfall blocks in here! With time slowed down, roll across the blocks to grab MISSILE EXPANSION #55.
Go through the door now and you’ll be in a puzzle room complete with orange spikes, Grapple blocks, and more to play with. Screw Attack through the floor directly in front of the door and you’ll go crashing down to a lower platform. To make your life significantly easier, turn on your Beam Burst and destroy anything mechanical that moves. There’s a Grapple block on your left which you’ll want to yank towards you, so pull it and then head through the top left Blast Door.
In the new room, Screw Attack the floor by the left door again and you’ll go crashing into a small nook. Head over to the right and then, with the Grapple block out of the way, jump upwards and bomb the top of the Morph Ball tunnel, slipping back into the previous room. From here, fire a missile directly in front of you through the small crack in the wall to destroy the missile block, and then destroy the red Grapple block.
Go back from where you came and then take the Blast Door back into the first room. Get to the lower platform, destroy the missile block again, and slip into the tunnel. You’ll shoot another missile through a small crack to destroy a block and then destroy a second red Grapple block. Get out of the tunnel and make your way back to the opening you just cleared. You’ll probably need to destroy the missile block again, so do so and climb into the tunnel; you’ll drop down further and be confronted with an Autrack and Autoad. Destroy them and go through the Blast Door on the left. You’ll finally be rewarded with AEION TANK #9!
That’ll do it for Area 7, so make your way back up to the very top and follow the pathway, clearing some light missile block and grapple puzzles, until you get to the elevator to the final area of SR388…
Chapter 8.3 Route:
Next Chapter: Area 8 – The Nest