


Metroid Fusion Walkthrough – The Final Confrontation
Walkthrough
- Biological Space Labs
- Sector 1 – Atmospheric Interference
- Sector 2 – Unknown Saboteur
- Sector 4 – Ultra-High Speed
- Sector 3 – Rogue Security
- Sector 6 – Frozen Parasites
- Sector 5 – Cold Arsenal
- Sector 3 – Meltdown
- Habitation Deck – Signs of Life
- Sector 5 – First Encounter
- Main Deck – Power Failure
- Sector 2 – Overgrown With Vegetation
- Sector 5 – The Nightmare Awakens
- Sector 4 – Diffusion
- Sector 6 – Revelations
- Sector 1 – Neo Ridley’s Cry
- Sweeping the B.S.L.
- The Final Confrontation
The SA-X
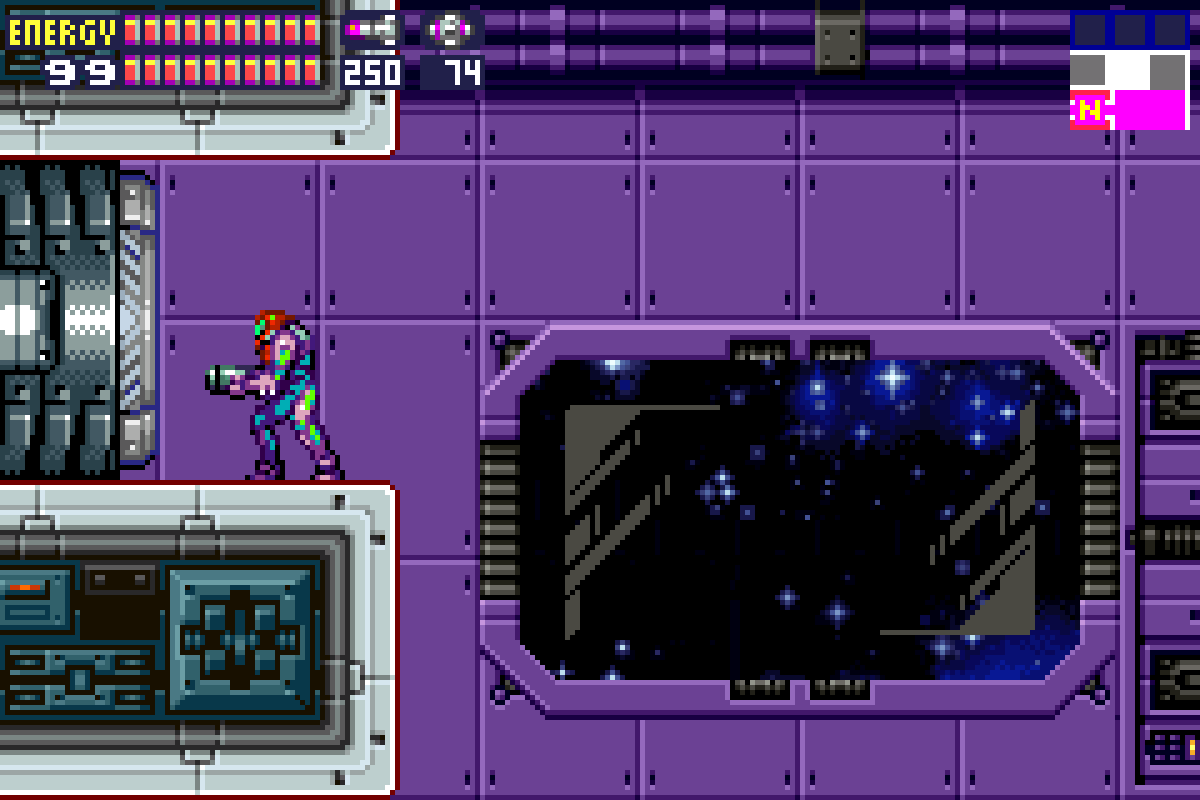
Once you arrive at the Operations Deck, steel yourself, because it’s finally time to confront the menace that has been terrorizing us the entire game.
Get towards the top, and you’ll hear a crash. The SA-X has arrived.
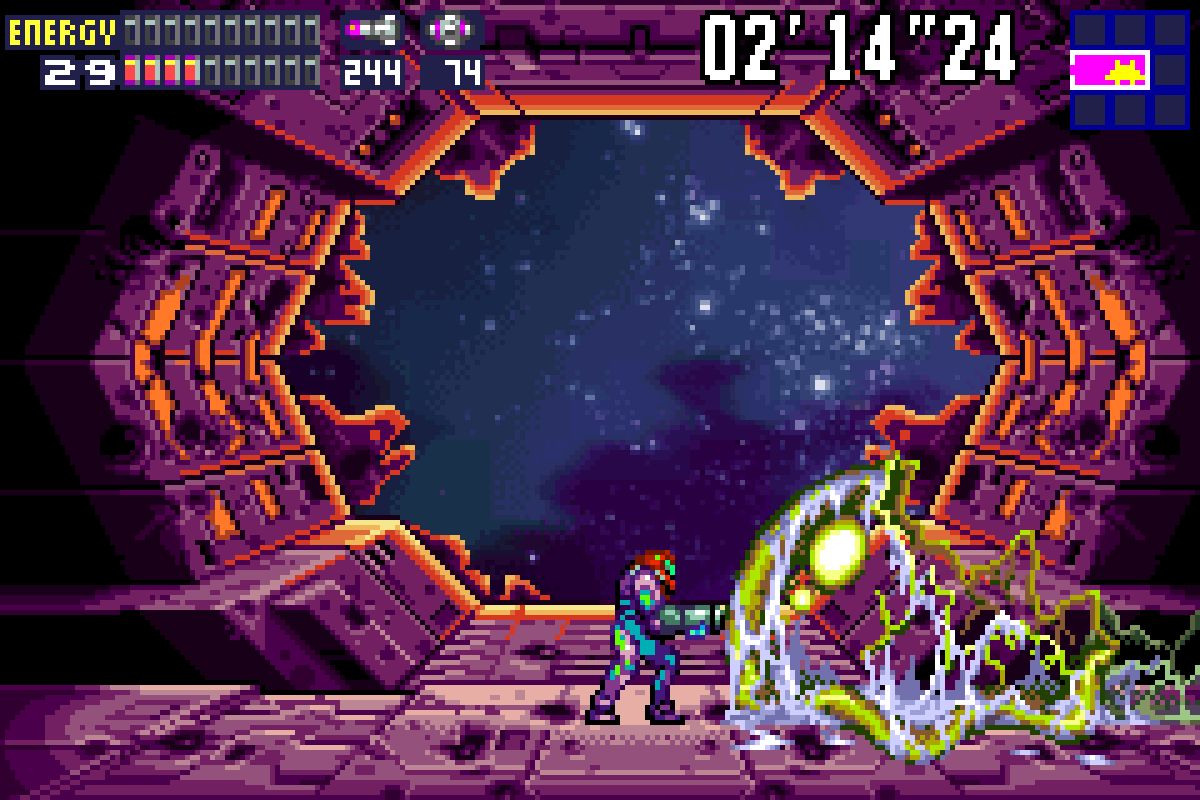
You’ll be fully loaded for this fight, with max Missiles, Power Bombs, and Energy Tanks, and it’s a good thing, because the SA-X is not playing around. The SA-X is you, but with a key difference: it will be shooting the Ice Beam at you, which will inflict massive damage on you due to Samus’s Metroid DNA. If you get hit by the Ice Beam, that’s a full tank of energy gone. Yikes. Speaking of massive damage, you’ll also lose a full tank of energy if the SA-X hits you with a Screw Attack. This is tough because the SA-X will constantly be jumping and shooting, so you don’t have a lot of room for error.
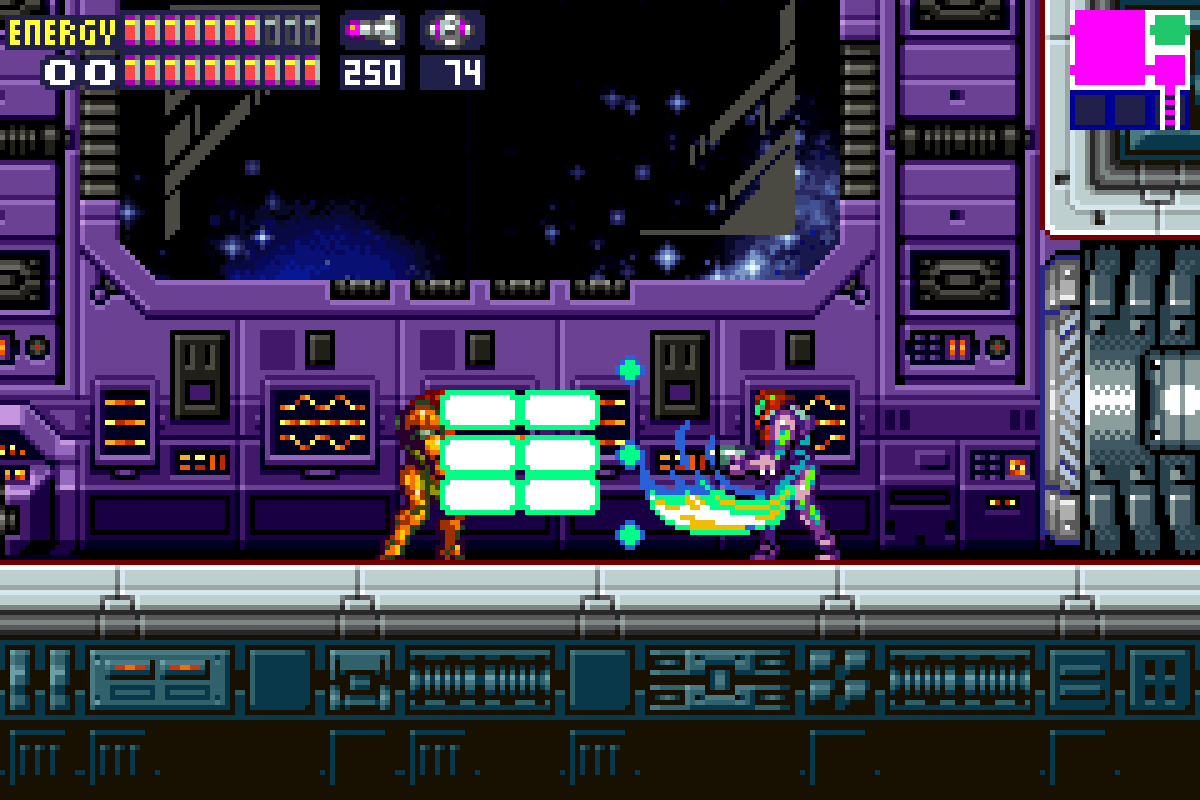
The good news is that aside from the Ice Beam and Screw Attack, the SA-X doesn’t really have any other attacks it utilizes. No Power Bombs, Shinesparks, etc. at least to contend with. The other saving grace is that your Screw Attack will allow you to pass through the SA-X’s Ice Beam shots, so make sure that you’re jumping constantly. You’ll want to use charged shots against the SA-X; Missiles will freeze it, but won’t do any damage.
I’ve experimented a few different ways to fight this fight, and the most effective method I’ve found is one that actually seems a little daunting – fight the SA-X at close range in close quarters. If you choose, you can make use of the two floating platforms above you, get up there and wait for the SA-X to up, blasting it a charged shot and then running back down after only to lead it back after and repeat the cycle, but I find that not only does this take forever, but your chances of a mistime and getting blasted by the Screw Attack jump up exponentially since this strategy involves the SA-X jumping to follow you a lot.
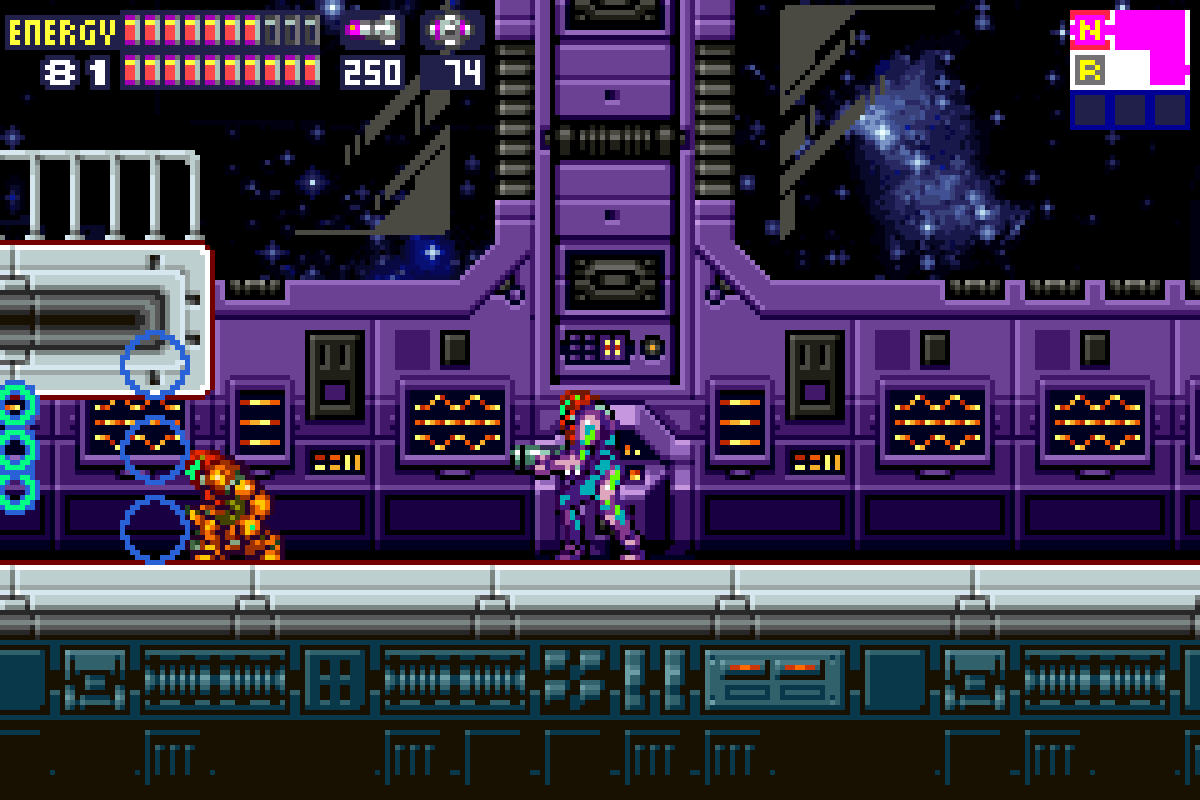
Instead, get on the ground and stay there. We’re going to try and lure the SA-X into a groove that, if we execute successfully, we can finish this battle fast and dirty in. Charge up a shot and hit the SA-X; jump as soon as you’ve fired, because chances are good that the SA-X fired an Ice Beam at the exact same time as you. Jump over the SA-X – it might have already started its own jump at this point, so just make sure you jump high enough over the SA-X to clear it. Land behind the SA-X, and immediately charge up another shot; the SA-X should still be landing from its own jump, so wait until it’s on the ground (the SA-X’s Screw Attack protects it from your beams just as yours does its) and as soon as it looks at you, blast it again.
The key is jumping over it as soon as you’ve fired and getting another charged shot ready to go right away. This can be risky, since sometimes the SA-X will do something unexpected such as Screw Attack in the wrong direction or fire a shot you’re not expecting, but for the most part, the SA-X will follow the same pattern of jumping after its hit, turning around, walking right into another charged shot, and repeating. You might have to take some damage to bait it into this cycle, but once you get it going, you can finish the SA-X off quickly. I counted about 15 charged shots until the SA-X fell.
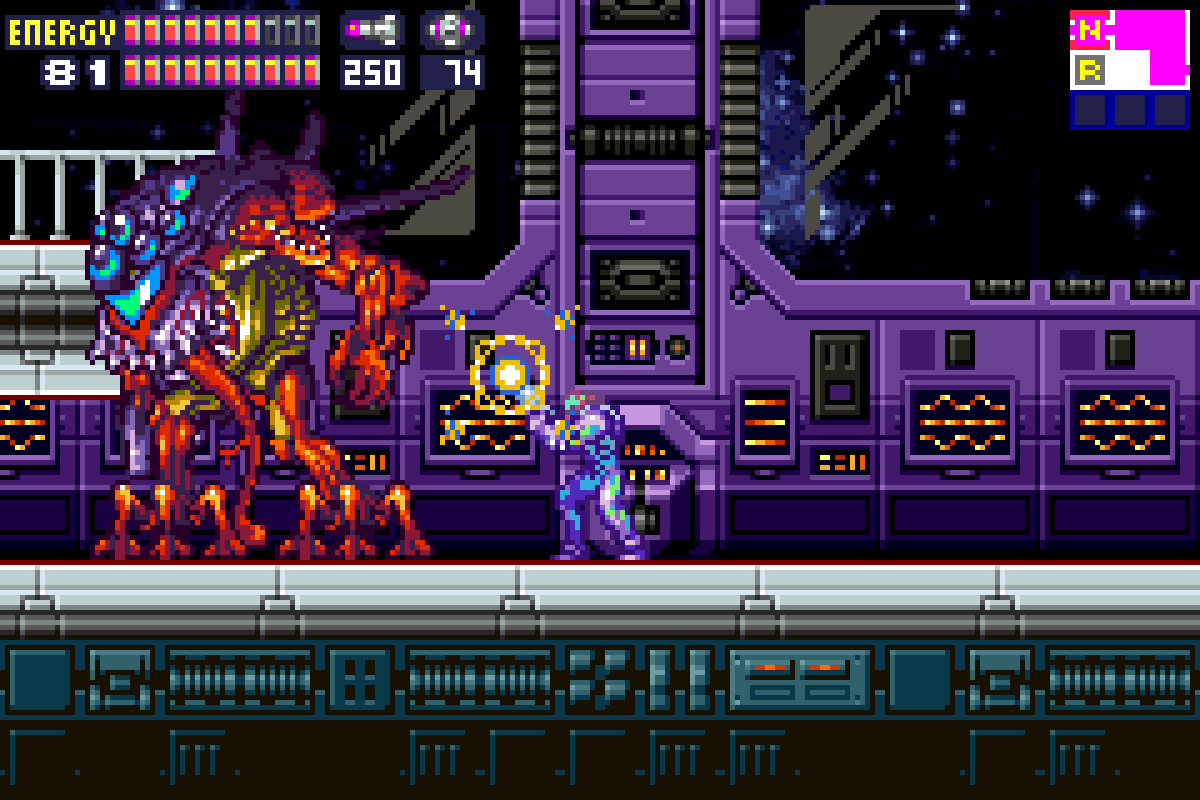
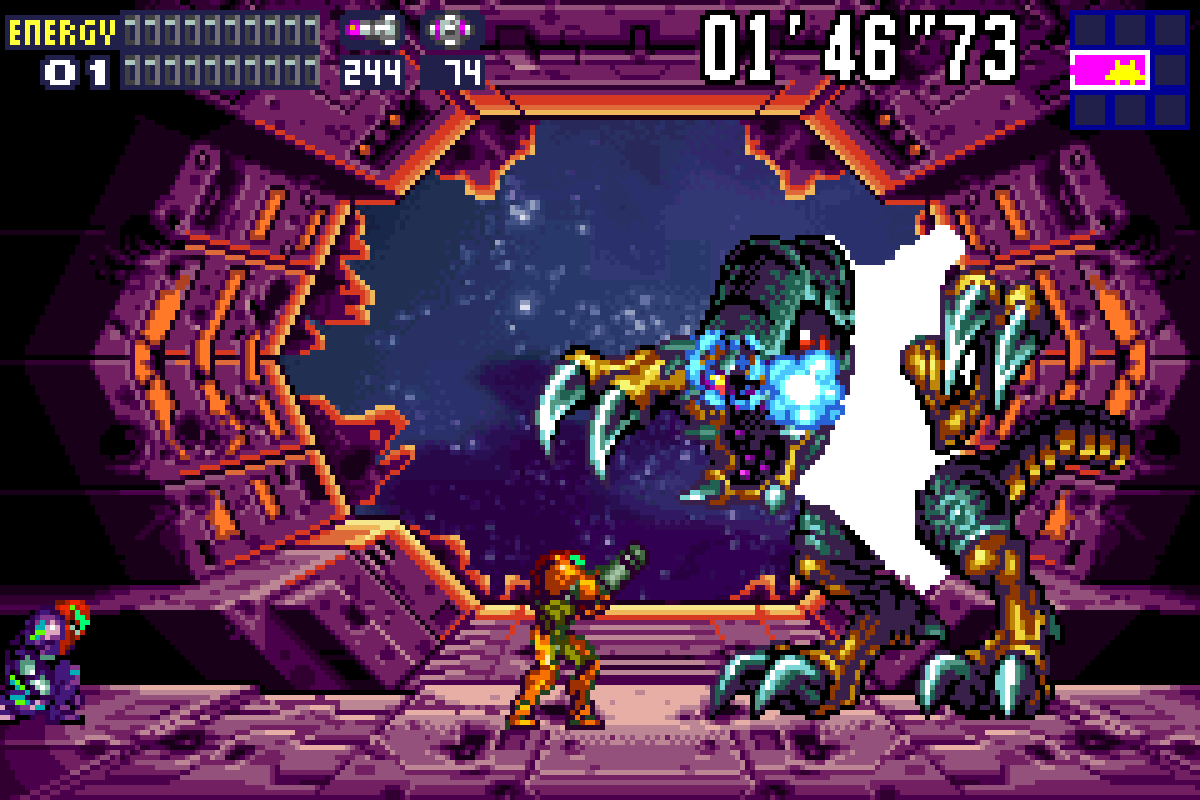
The fight won’t be over once the SA-X falls, though. Instead, the SA-X will mutate into some kind of weird Samus/X/Metroid looking monster. Although this thing looks pretty scary, he possesses almost no real threat. He’ll jump in the air and try to land on you, but he’s so big and so slow that avoiding him will be so easy, you’d have to really be trying to get hit. You’ll only need a couple more shots right to its skull, and you’ll defeat it.

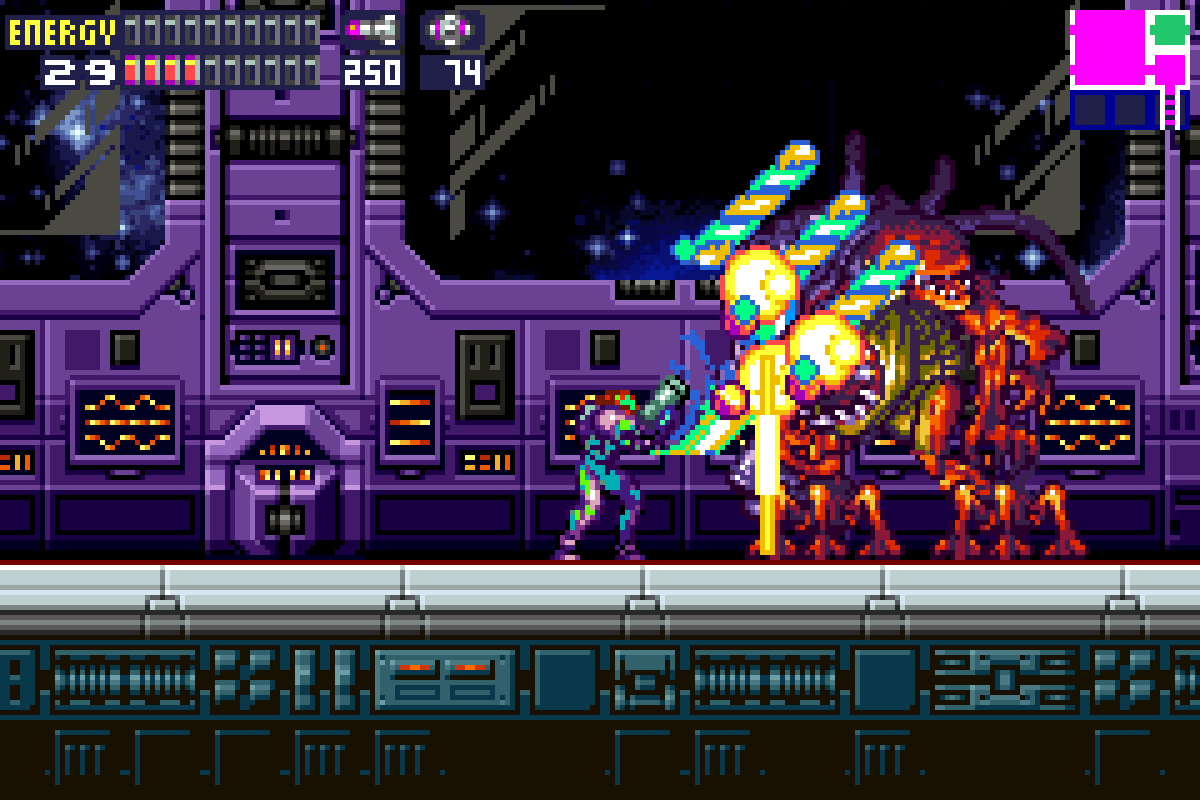
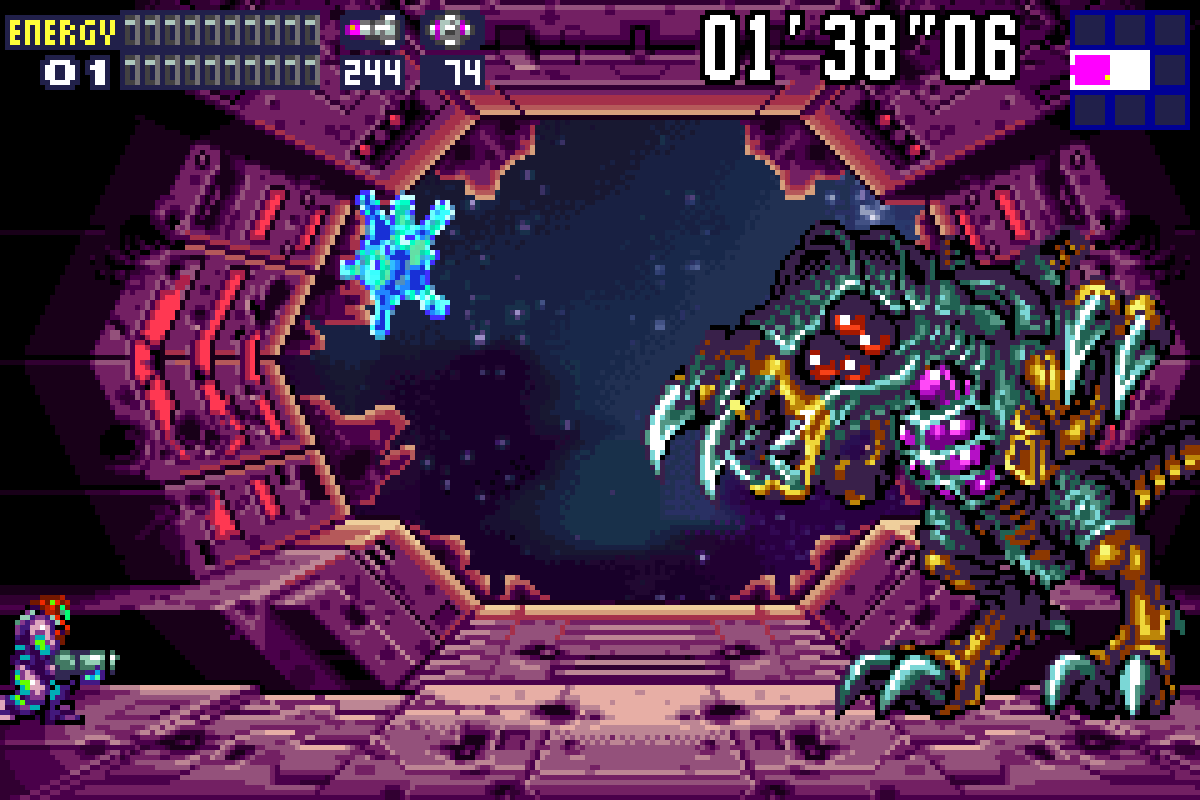
A Core-X will appear, and you’ll deal with this one the same way you’ve dealt with all the rest, but don’t get sloppy – this one shoots Ice Beams at you, which inflict big damage. Destroy it. Before you’re able to absorb the X that spawns out of the Core, it will float away… darn. Nevertheless, finish what you set out to do – hit up the Operations Room and change the course of the B.S.L.
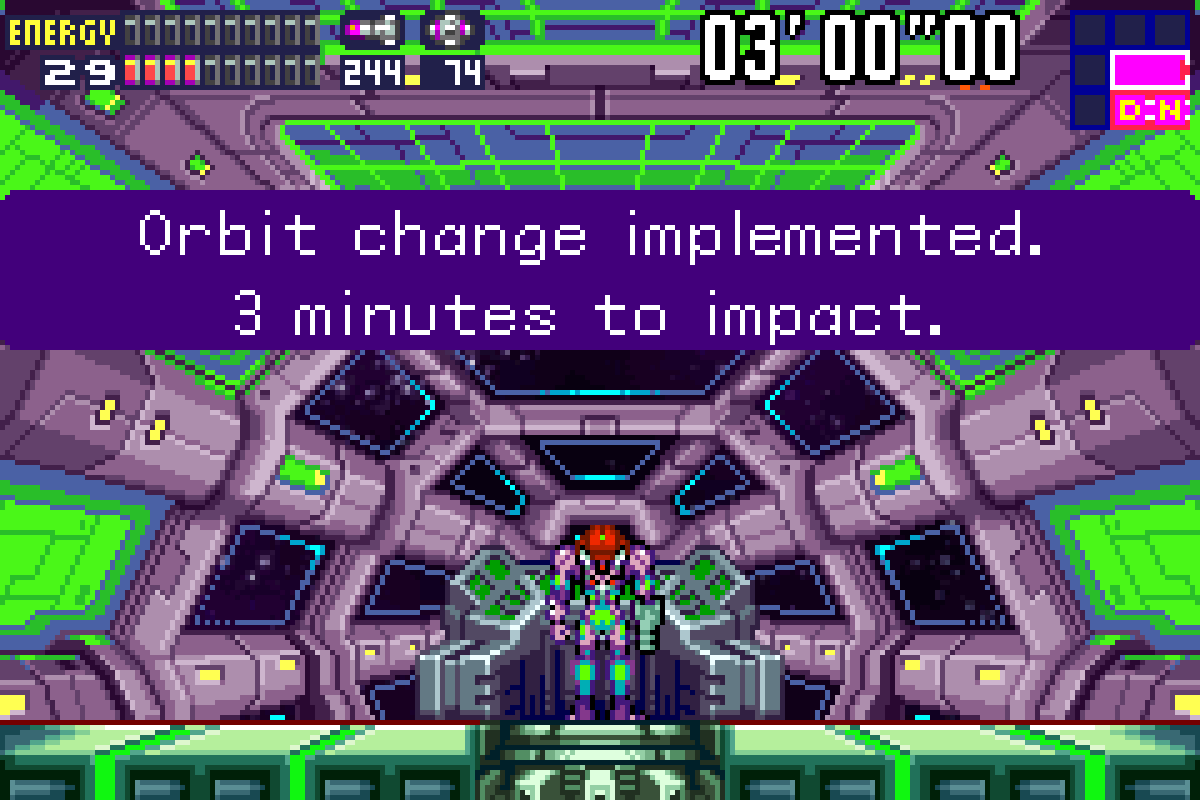
Now that you’ve changed the orbit, you have 3 minutes to get off the B.S.L.
RUN!
The Final Battle
Head down towards your ship (there’s a Recharge Station along the way, but don’t bother with it). Once you get to the Docking Bay, you’ll find that not only is your ship gone, but there’s a massive Omega Metroid waiting for you. With Samus still in a weakened state from the X attack at the beginning of the game, there is no way that we stand a chance against this colossal beast. All of your weaponry will be useless against the Omega, so to save yourself time, just walk up and let it slash you. The hit will rock you, bringing you to your knees and leaving you with 1 bit of energy left.
Just when things look worse than ever though, the X-Core of the SA-X will show up and reform. The SA-X will blast the Omega Metroid with its Ice Beam before finally absorbing a slash from the Omega itself. The SA-X will be destroyed, but its core will be right there for the taking. Jump up and grab it and you’ll have what we fans commonly call the Omega Suit, complete with the Ice Beam!
Now that you’re equipped with full health and the Ice Beam, the rest of this battle will be fairly perfunctory. This isn’t to say you’re out of danger yet – the countdown is still on, and if you dilly dally around the Omega Metroid, it will slash you again, sometimes multiple times in very quick succession, which will drain a tank of energy and leave you grounded for about 5 valuable seconds.
What you’ll want to do is employ hit and run tactics. Aim up and shoot the Omega right in its belly with a charged shot; run to the right, fire, and run back. If you see the Metroid raise its arm to strike, turn around and get away from it. Repeat this process until the Omega is destroyed.
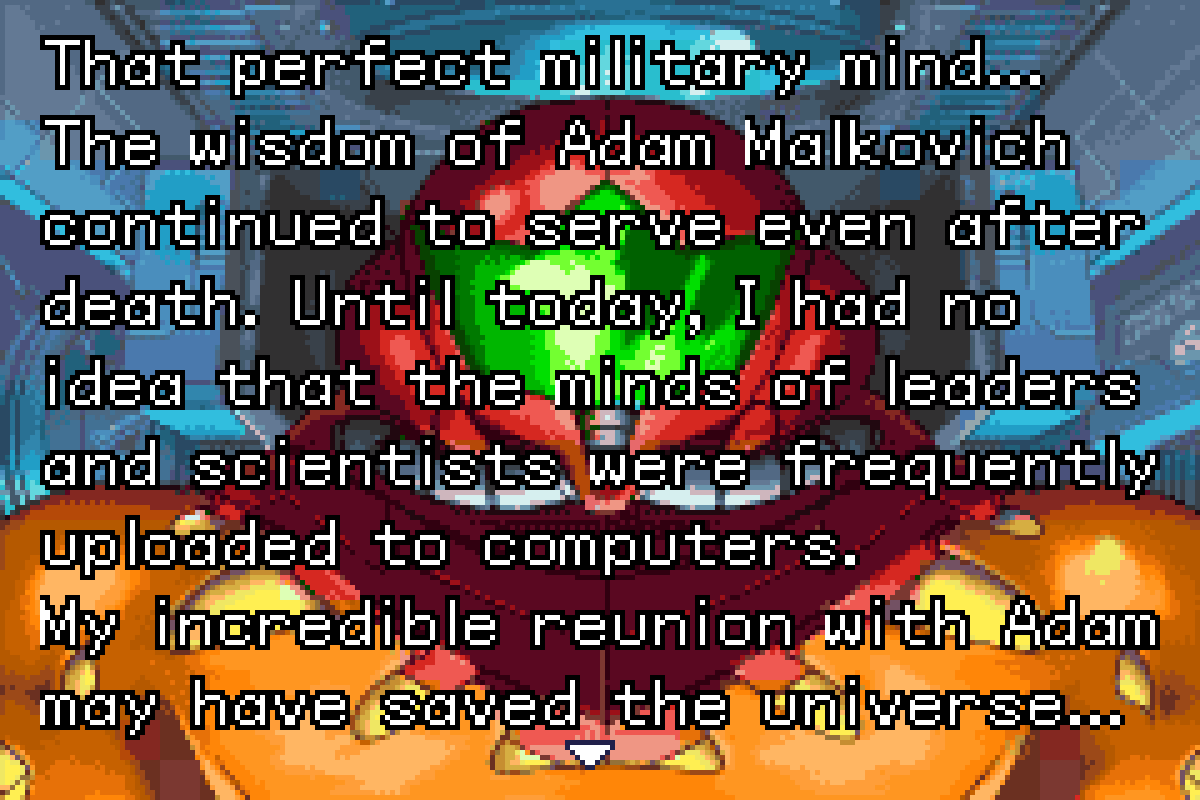
Your ship will show up and get you off the B.S.L. station before it crashes into SR388. Adam, with the help of the Etecoons and Dachoras, swooped in for the rescue, ensuring that Samus lived to fight another day. With that, the X have been destroyed and the galaxy is at peace… for now.
Congratulations – you’ve beaten Metroid Fusion! Thank you for reading this walkthrough and allowing me to be your travel guide through the Biological Space Labs! Feel free to challenge yourself to beat the game in a harder difficulty or with a quicker time.

Acknowledgements
This was the second walkthrough that I ever wrote for Omega Metroid, which wasn’t even a full website yet at the time of its completion, so this guide holds a special place for me as I was finding my way and my voice making guides! Truly, thank you to everyone who followed along, opened up the map, or used ths guide to find that one elusive expansions!
Thanks goes to my Omega Metroid colleagues: GameWyrm for image editing and capturing, Doominal for proofreading and edits. Special thanks must always go to my wife Samantha, for allowing me to pour countless hours into this adventure. Thank you for letting me indulge my passion for Metroid! That’s it for now, Hunters! As always…

See You Next Mission